How to Make Paper Snowflakes
 For directions on creating a paper snowflake, refer to our short and easy paper snowflake steps. And be excited about the winter-themed effect of the snowflakes hanging around your home. With this added decoration to your Christmas eve, your loved ones will surely enjoy the ambiance created by the perfect snowflakes you made.
Difficulty: Easy-Medium
We are constantly searching for paper crafts to include as part of our decorative ideas at this joyful time of year. There are many paper-folding activities and we have many origami instructions that you can share with your family and friends, including a variety of easy-to-make snowflake patterns, and this time, you can learn how to make paper snowflakes.
If you want to give your home a cold and snowy vibe, decorating paper snowflakes is a perfect craft idea for children and people of all ages. You can use this paper snowflake to make a snowflake wreath for your front door, stick it to your windows, stick it to your walls, or even hang it from the ceiling.
Whether it's Christmas time or any other day, paper snowflakes are always fun to make. With just a few folds and cuts with a pair of scissors, a piece of paper can transform into a beautiful and dazzling array of patterns that draw ooh's and ahh's from anyone who sees it.
Get out a sheet of paper and a pair of scissors because we're going to learn how to make paper snowflakes that are so cool, you'll be frozen with awe.
Paper Snowflakes Will Also Work on Chipboard?
No, the paper you must use is lightweight; the thinner the art paper or bond paper, the better it is for the snowflake's origami.
How to Make a Paper Snowflake?
Before making the actual snowflake, you will need to fold the origami sheet in a simple way, then you can follow the instructions below to easy learn how to cut your paper snowflake.
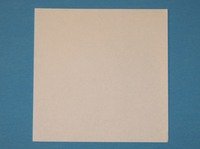 |
Step 1: Start with a square piece of paper, but if you only have regular 8.5x11 paper, follow these instructions to make a square sheet. |
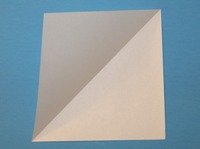  |
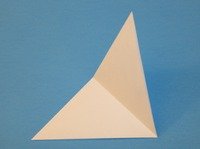
Step 2: Fold the one corner to the other to form a triangle. |
 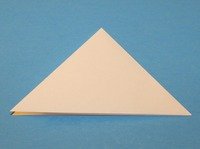 |
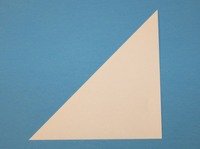
Step 3: Fold the triangle in half |
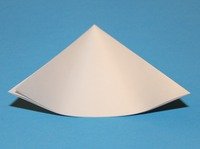  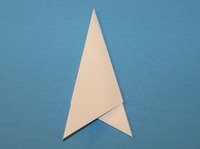 |
Step 4: Roll up the left and right corners until the sides are even, then flatten. We're basically folding the triangle into 1/3rd. Make sure to keep the top of the triangle sharp and pointy. |
 |
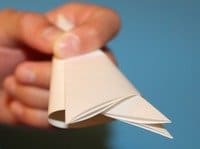
Step 5: Turn the paper over to see a triangle. |
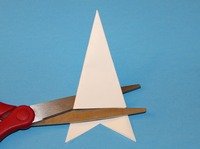 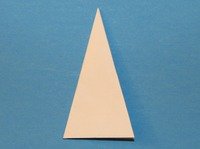 |
Step 6: Cut at across the bottom of the triangle. |
 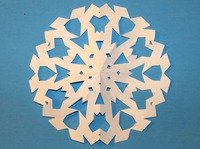 |
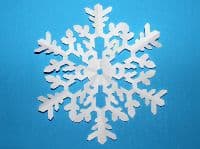
Step 7: Now snip and cut away at the triangle any way you like. When you're done, slowly unfold the paper to reveal your masterpiece. |
|
Step 8: Go to Next page for awesome patterns and templates to make cool snowflakes like this one! |
