It’s that time of year again, so let’s fold an origami Christmas stocking and get into the spirit! Tape it to your monitor, stand it up on your desk, or hang it by the fireplace to put everyone in the holiday mood. Okay, maybe not too close to the fireplace, paper is highly flammable, after all.
Origami Paper Christmas Stocking Instructions
Category: Christmas Origami
Difficulty: Intermediate
Follow our clear step-by-step instructions to create a Christmas stocking origami and add a handmade touch to your holiday décor.
Step 1
1
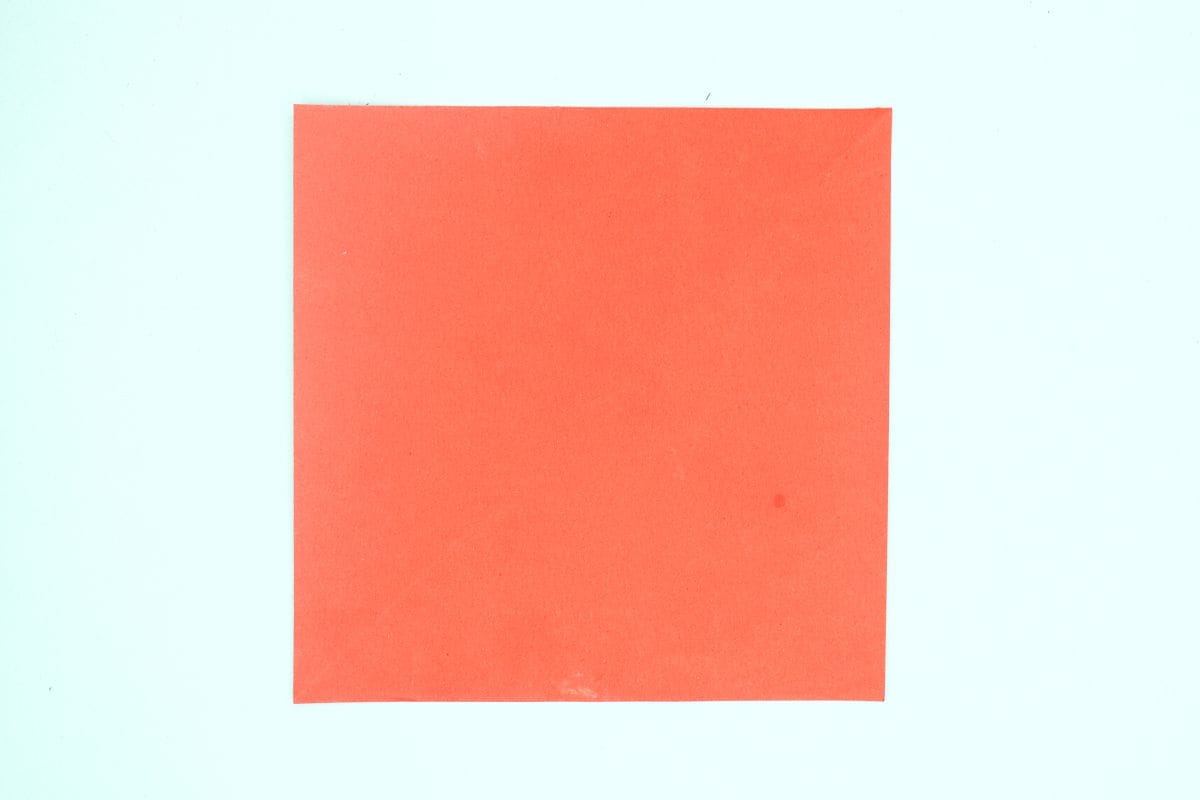
Start with square sheet of origami paper. I am using an 7×7 inches origami sheet.
If you only have regular paper, follow these instructions on how to make a square origami paper.
If you only have regular paper, follow these instructions on how to make a square origami paper.
Step 2

2
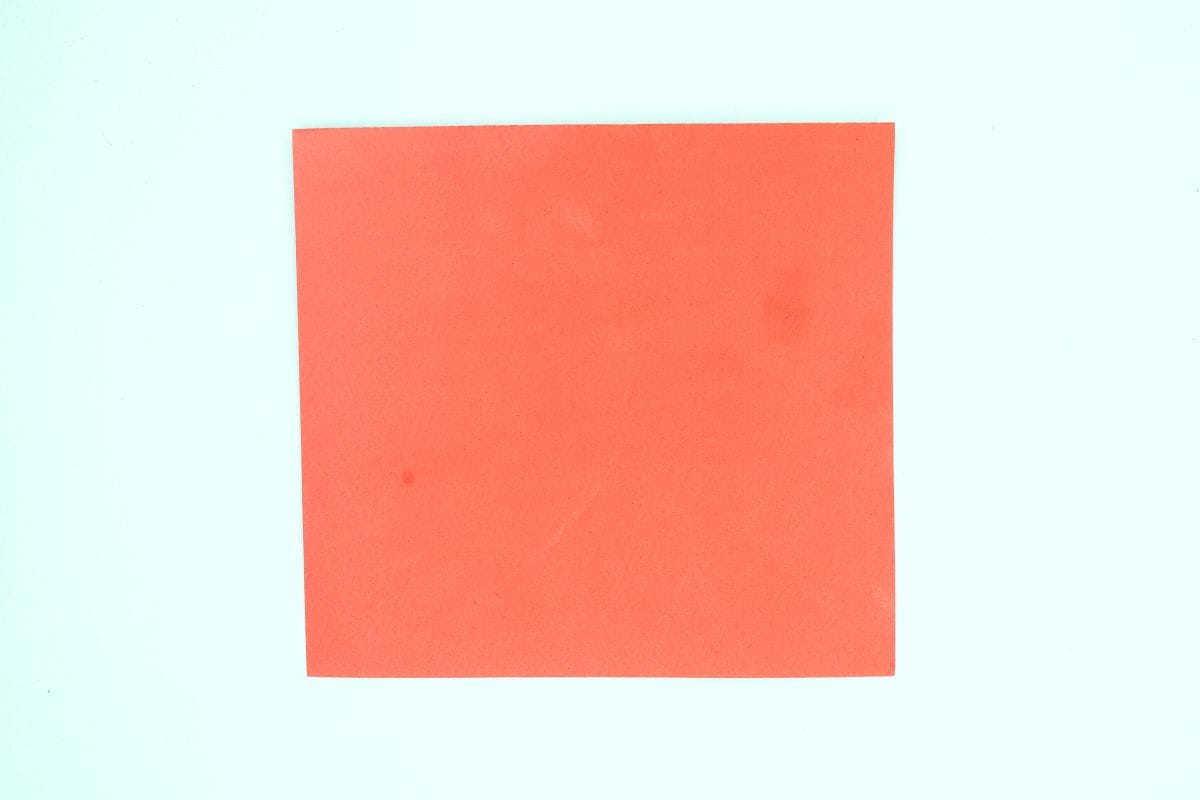
fold down a small strip from the top.
Step 3
3
Turn the paper over
Step 4

4
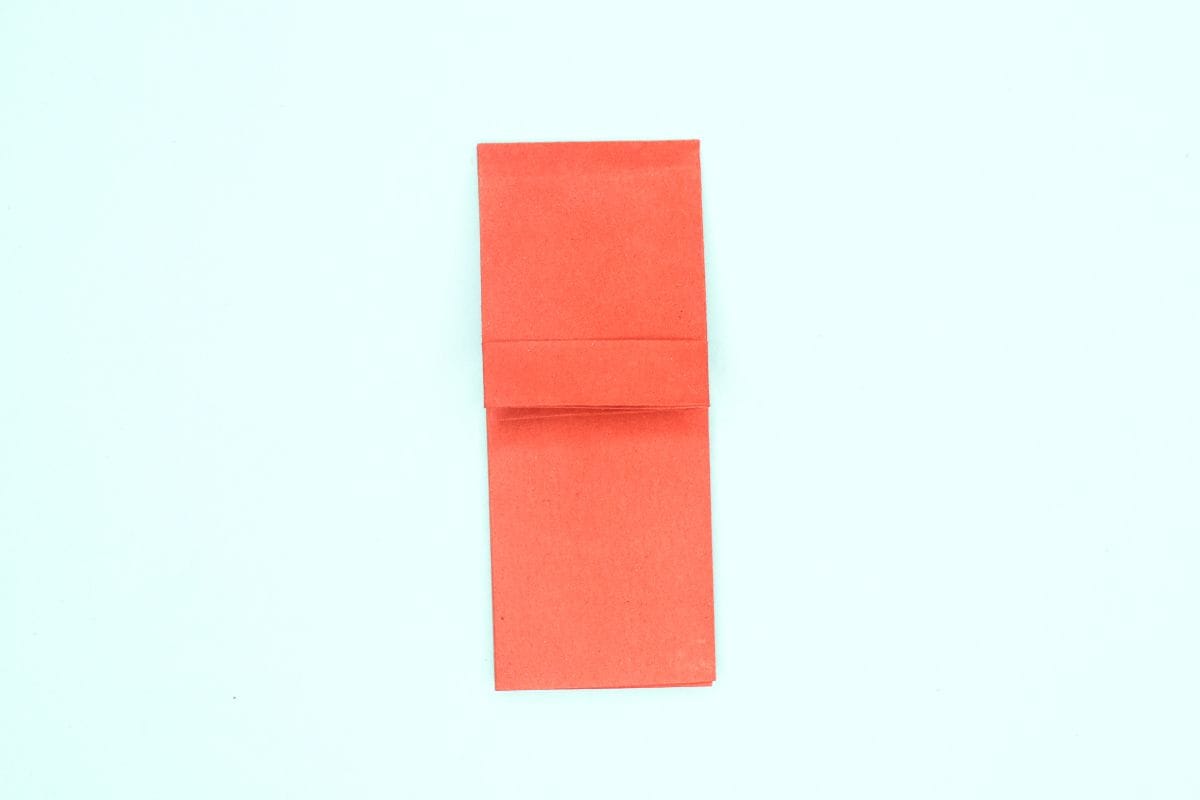
Fold the paper in half.
Step 5

5
Unfold the paper
Step 6

6
Fold right side to the center crease.
Step 7

7
Fold the other side to the center crease.
Step 8

8
Fold in half again by folding the right side over to the left.
Step 9
9
Fold down about 1/3rd of the top.
Step 10

10
Unfold the top.
Step 11

11
Fold the bottom 2/3rd to the left to make a diagonal crease.
Step 12
12
Unfold the diagonal crease.
Step 13
13
Open the flap.
Step 14

14
Mountain fold of the diagonal crease and the flap should fold to the left.
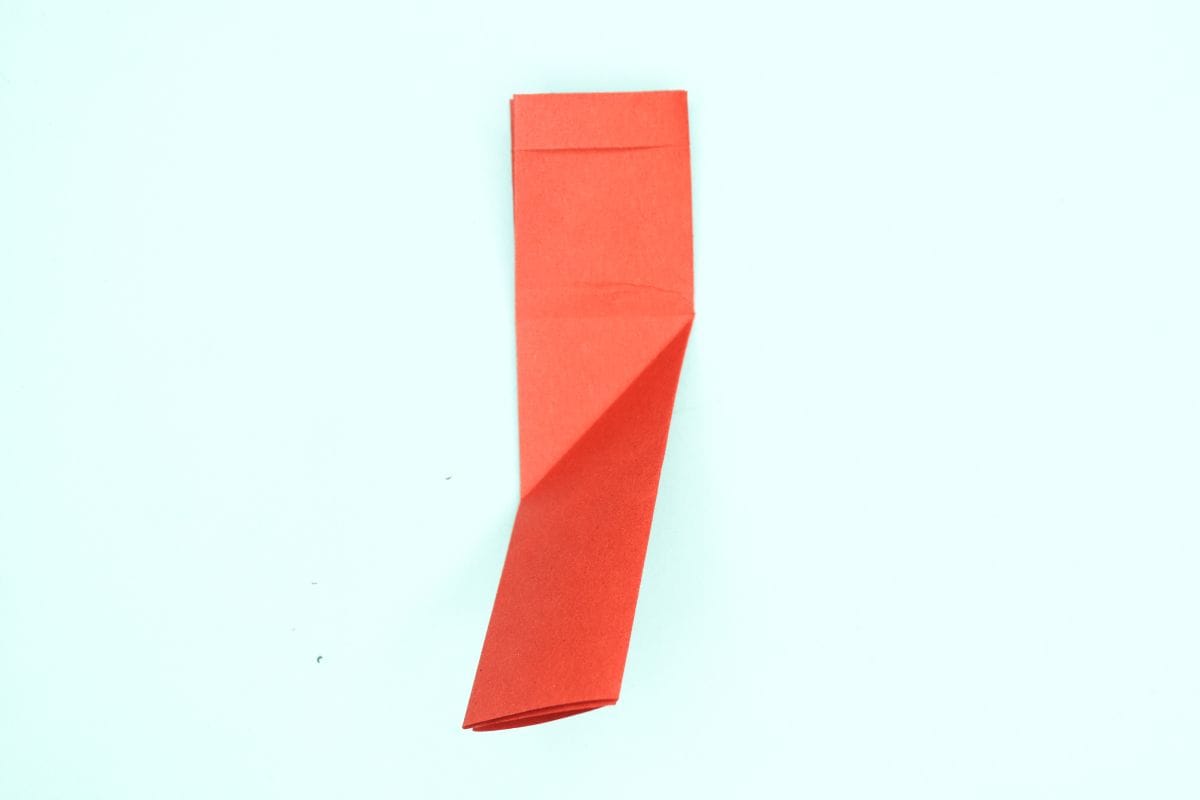
Step 15

15
Flatten the fold.
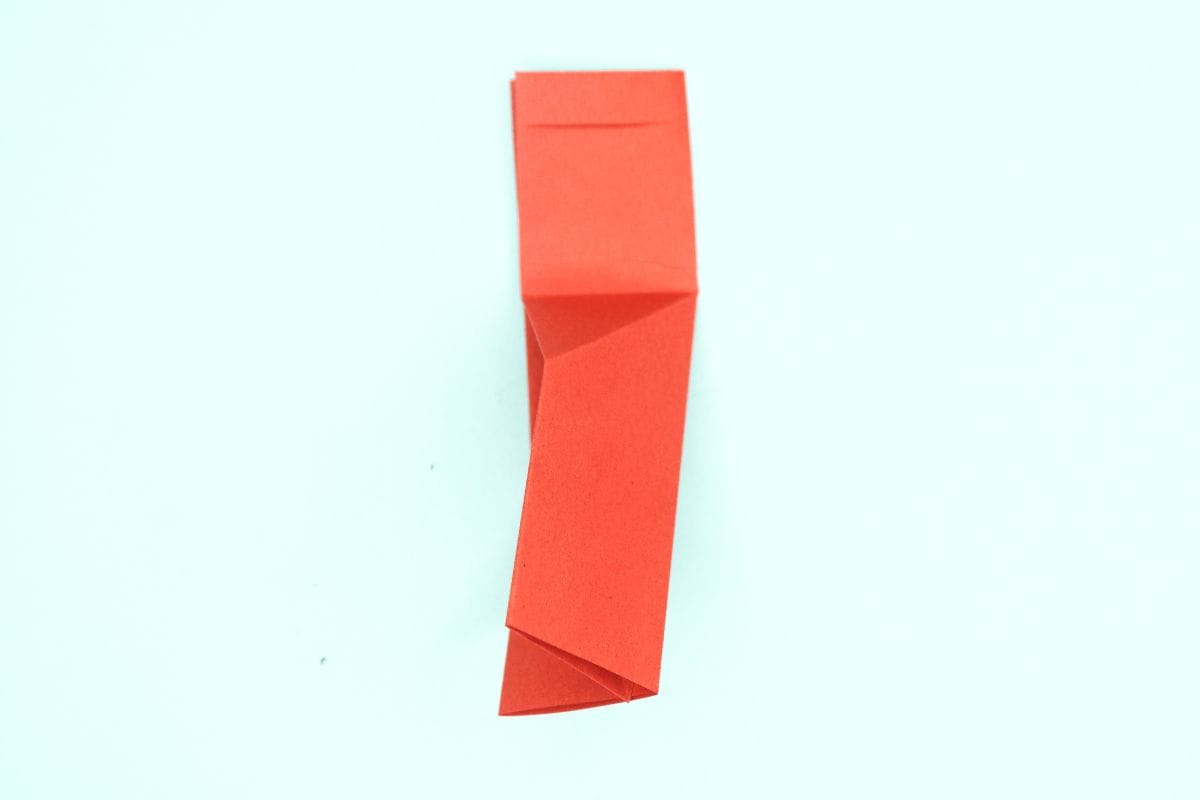
Step 16

16
Fold the left side over to the right.
Step 17
17
With the flap you just folded over, take the top half and fold it down.
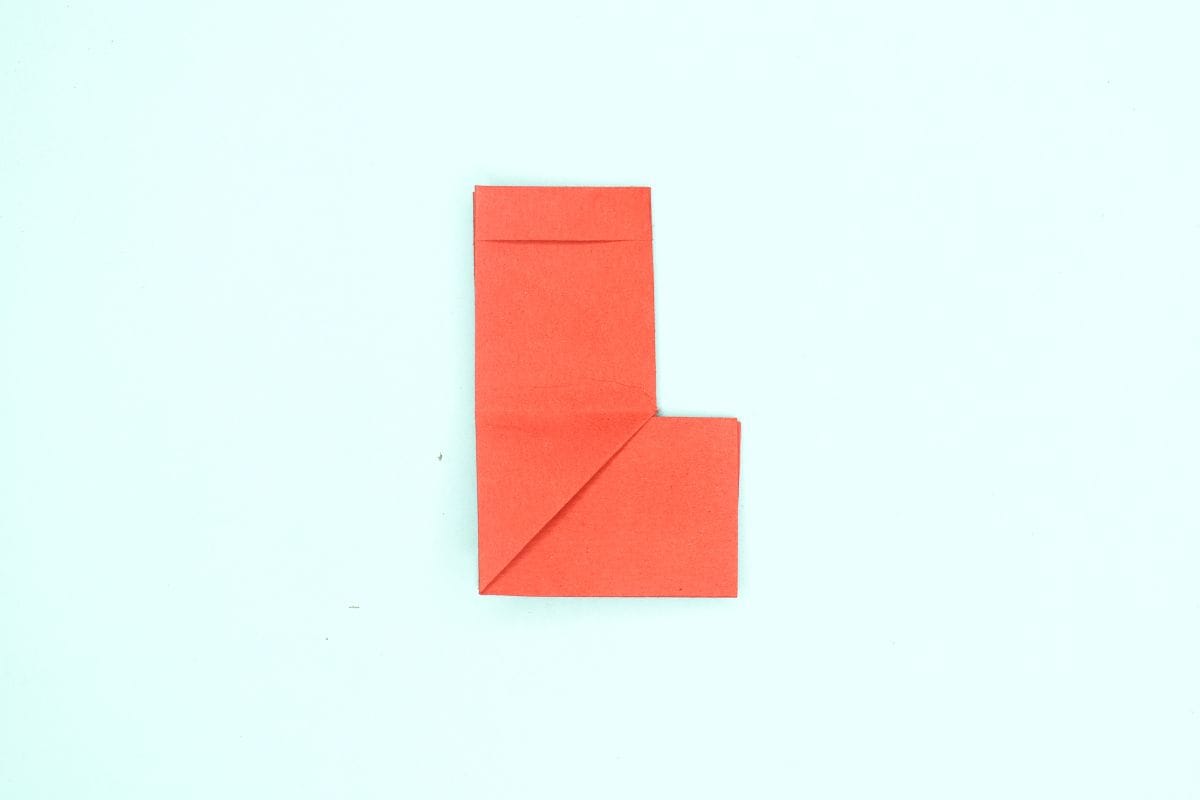
Step 18

18
Diagonally bend down the toe part of the stocking, then unfold.
Step 19

19
Open the front of the stocking.
Step 20

20
Do an inside reverse fold of the small triangle.
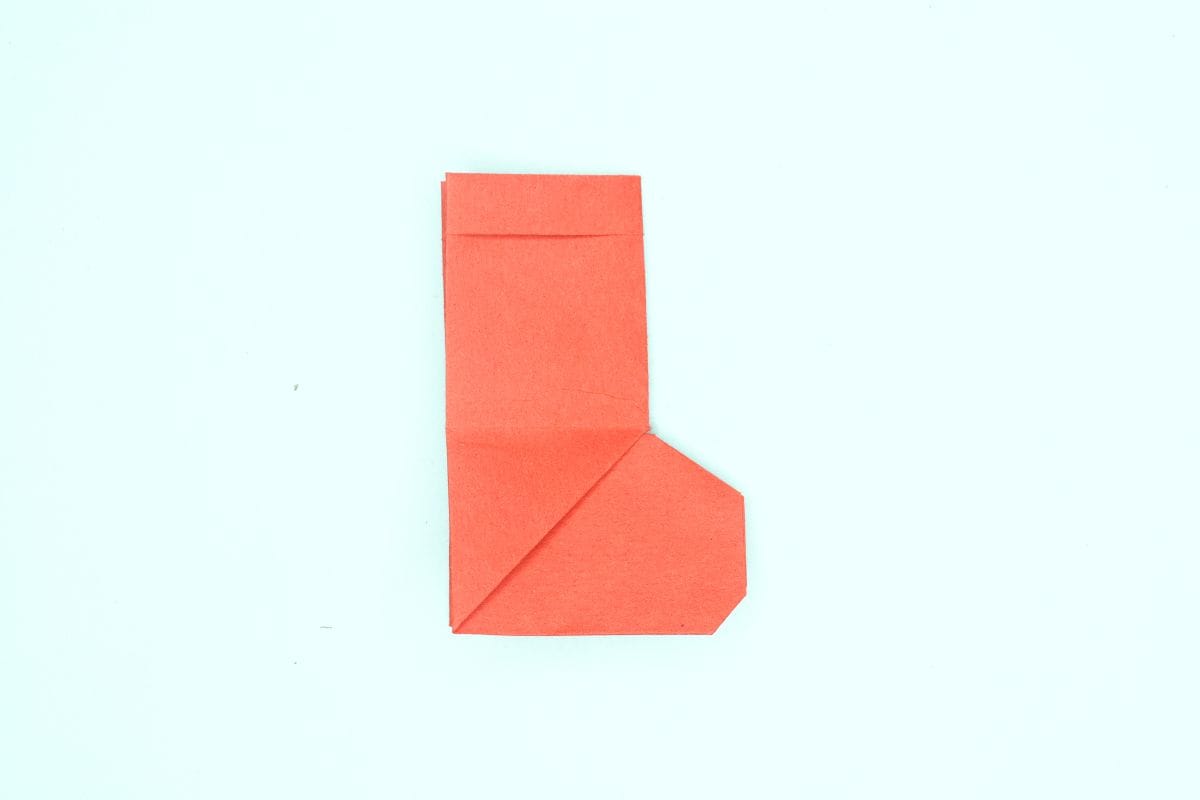
Step 21

21
Flatten the fold.
Step 22

22
Bend up a small part of the bottom of the toe, then unfold the toe.
Step 23
23
Now bend that small part inwards.
Step 24

24
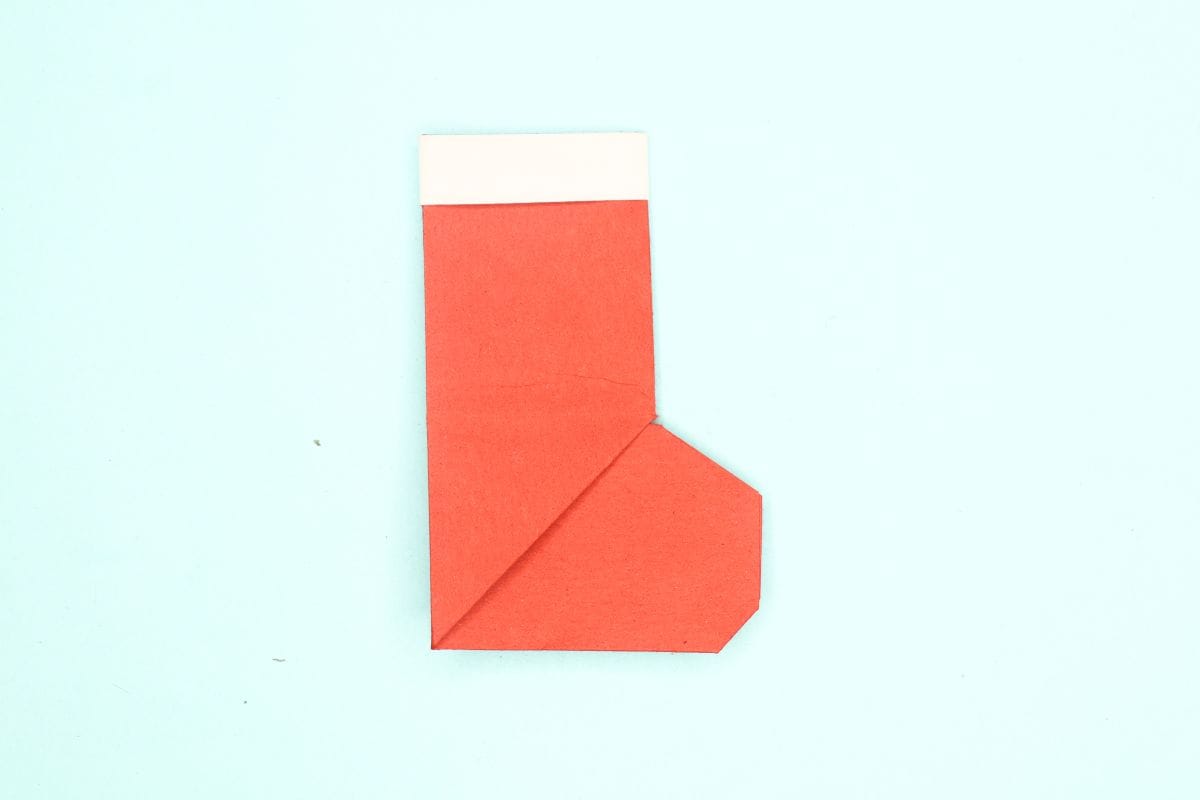
Take a white strip and glue it to the top of stocking.
Step 25
25
You origami stocking is done.
Share and Comment
We would love to see your creations! Scroll down to the comments section and share a photo of your origami.
Leave a Reply