Make a Paper Crane: Origami Crane Instructions and Diagrams

Origami CraneFollow the steps below to make this Origami Paper Crane.

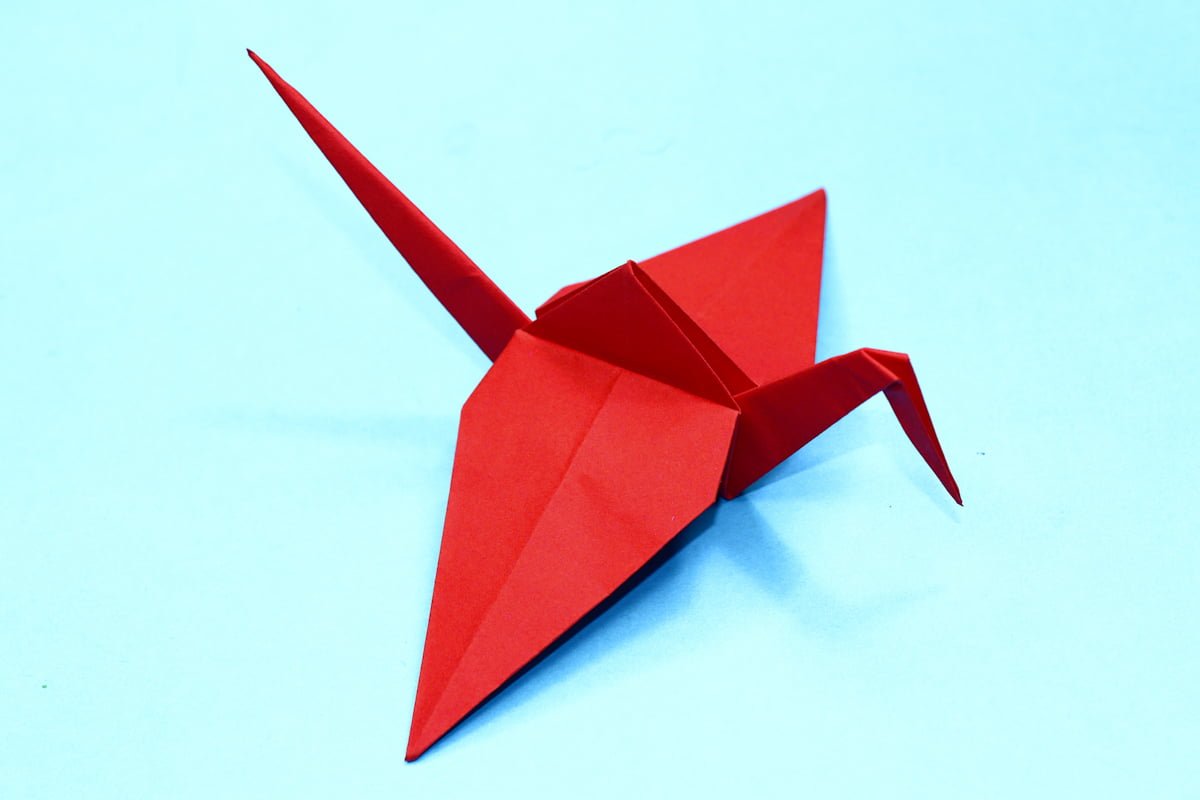
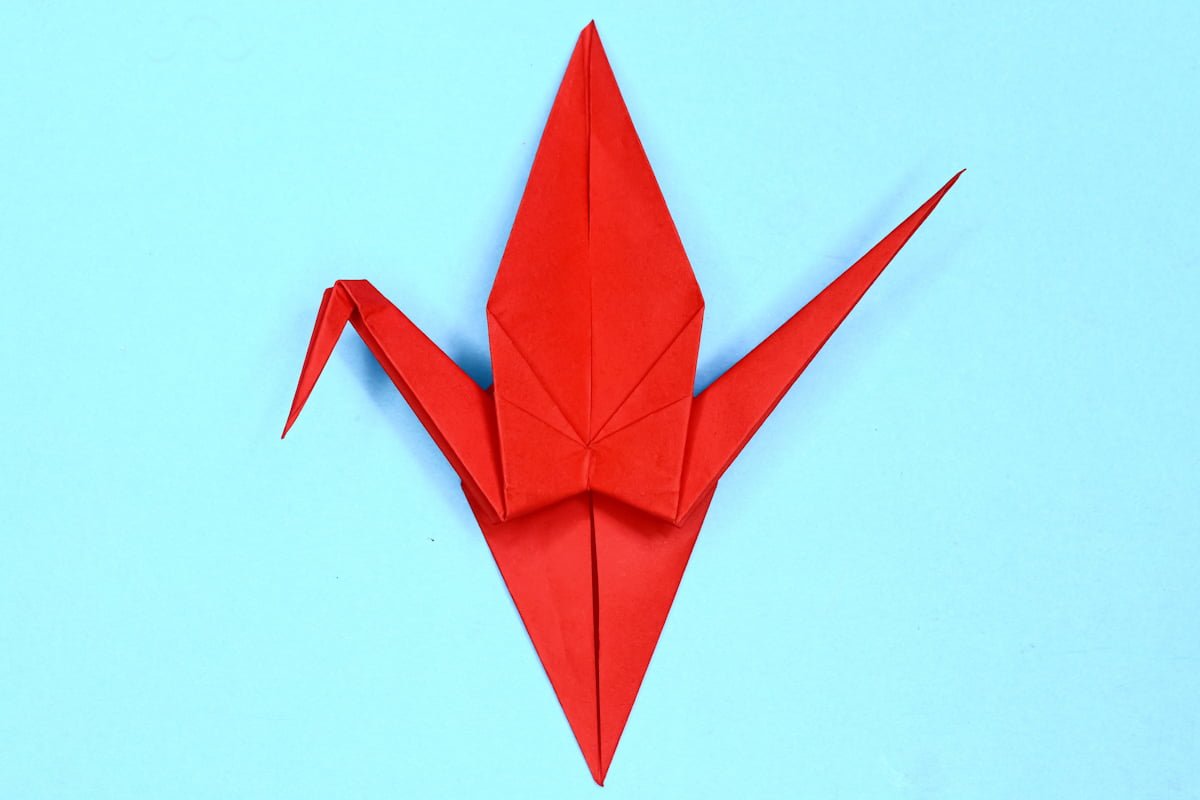
The origami crane is one of the most popular and recognized paper construction ever. When origami is brought up in a conversation, you cant help but think of the origami crane. It's popularity is definitely waranted because it is a beautiful piece of art.
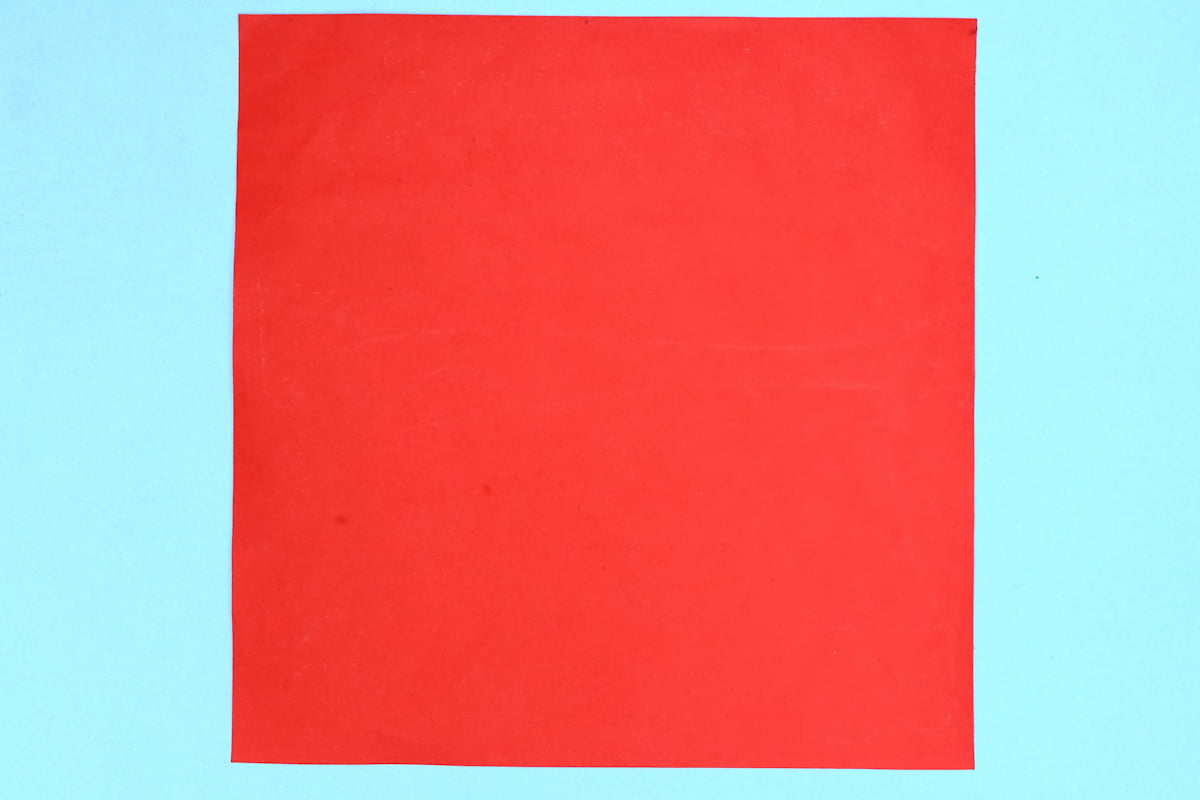
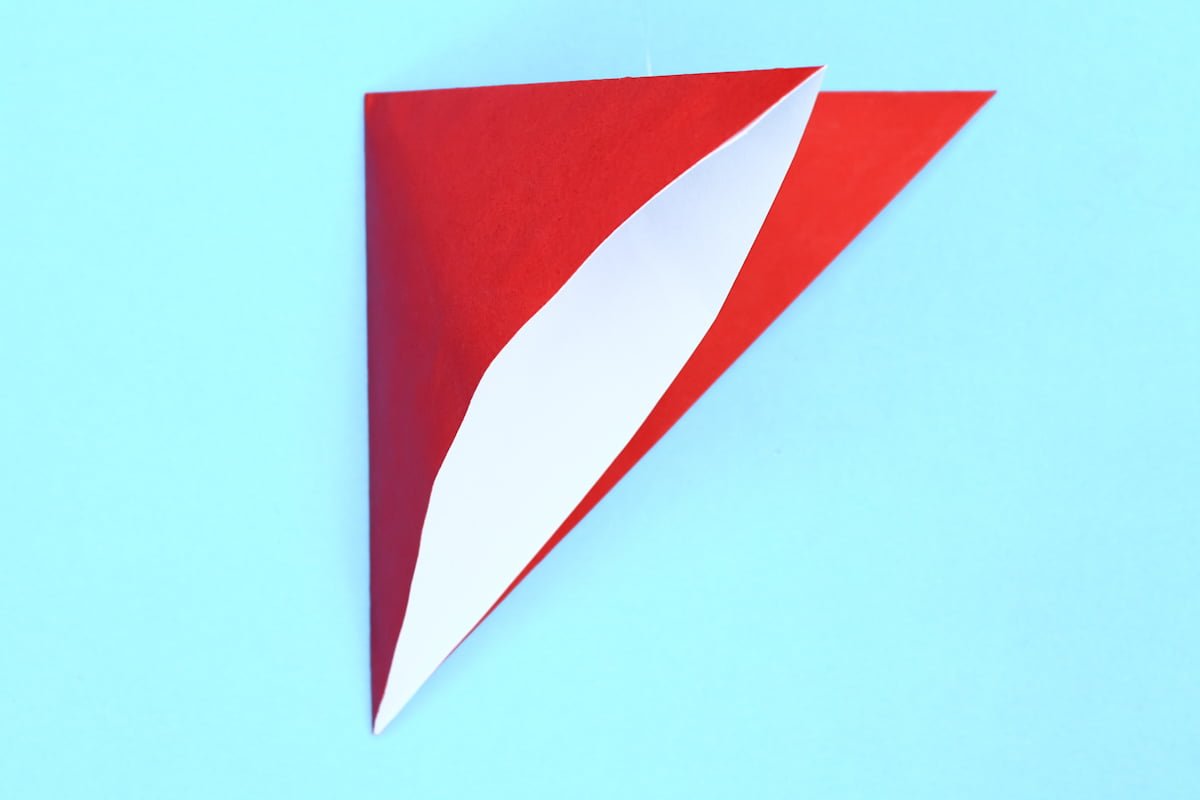
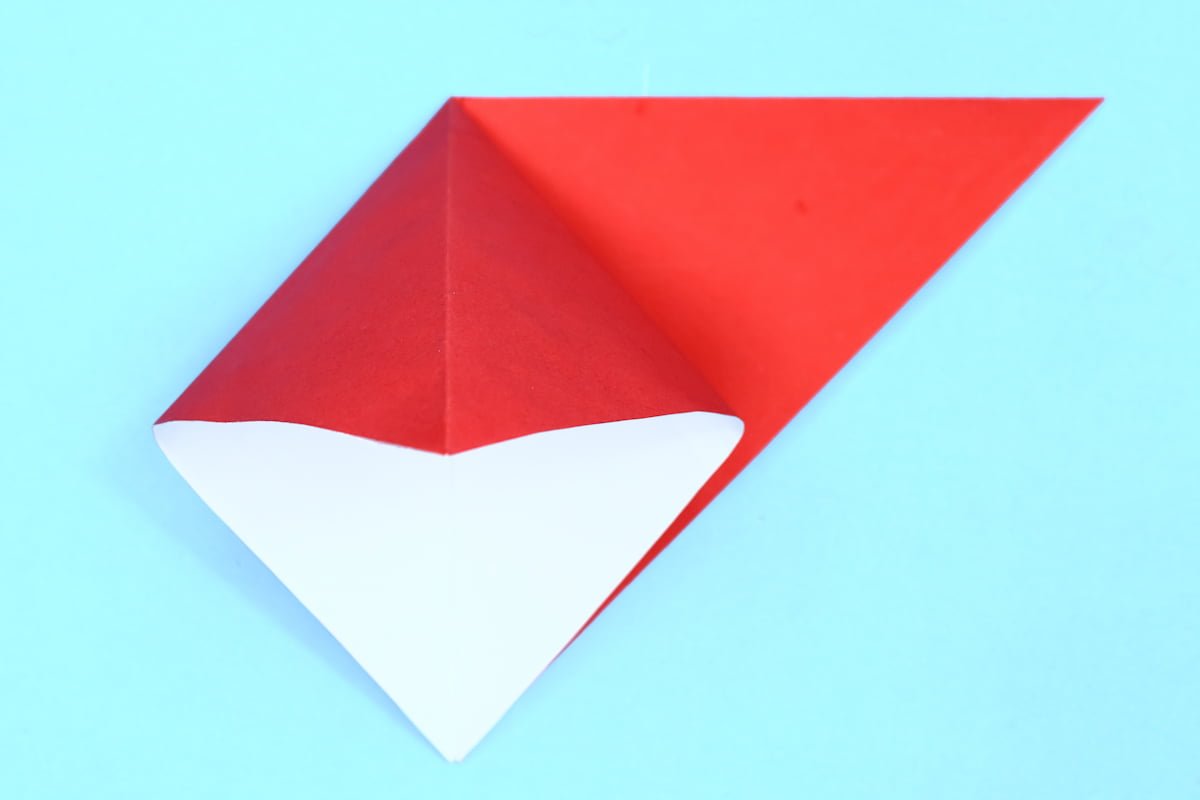
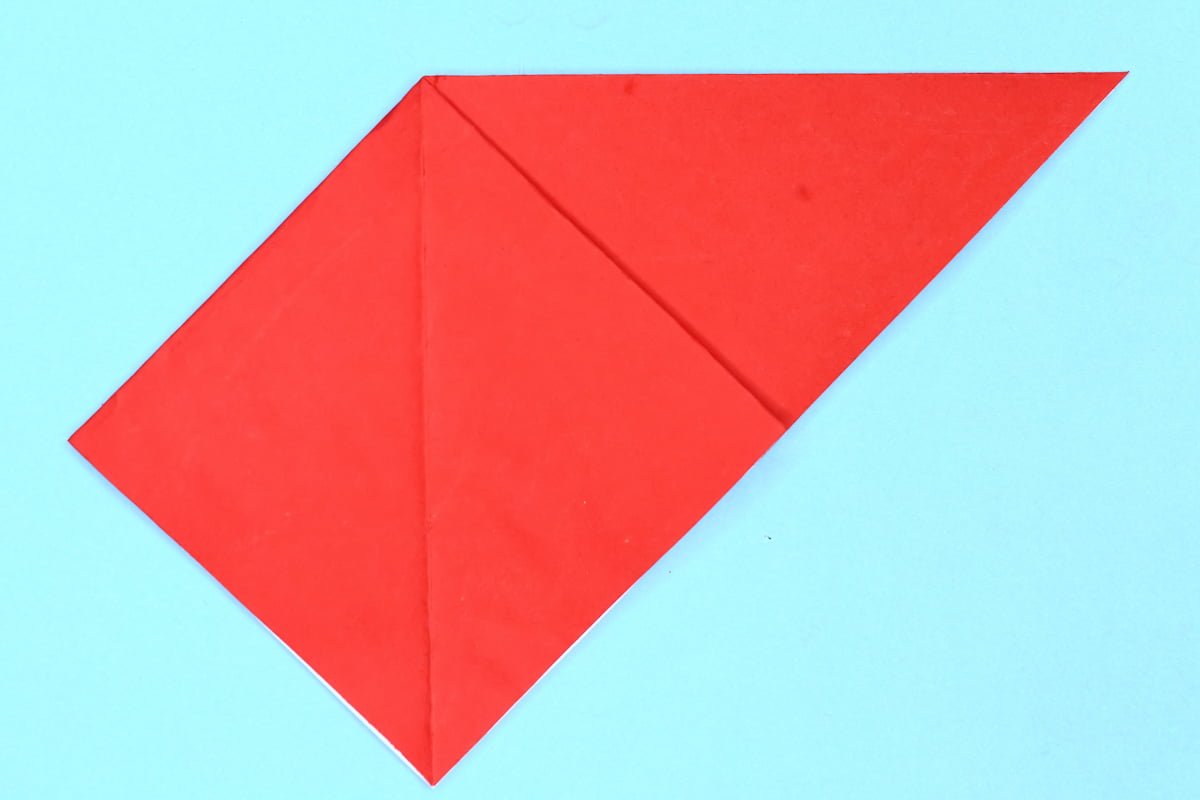
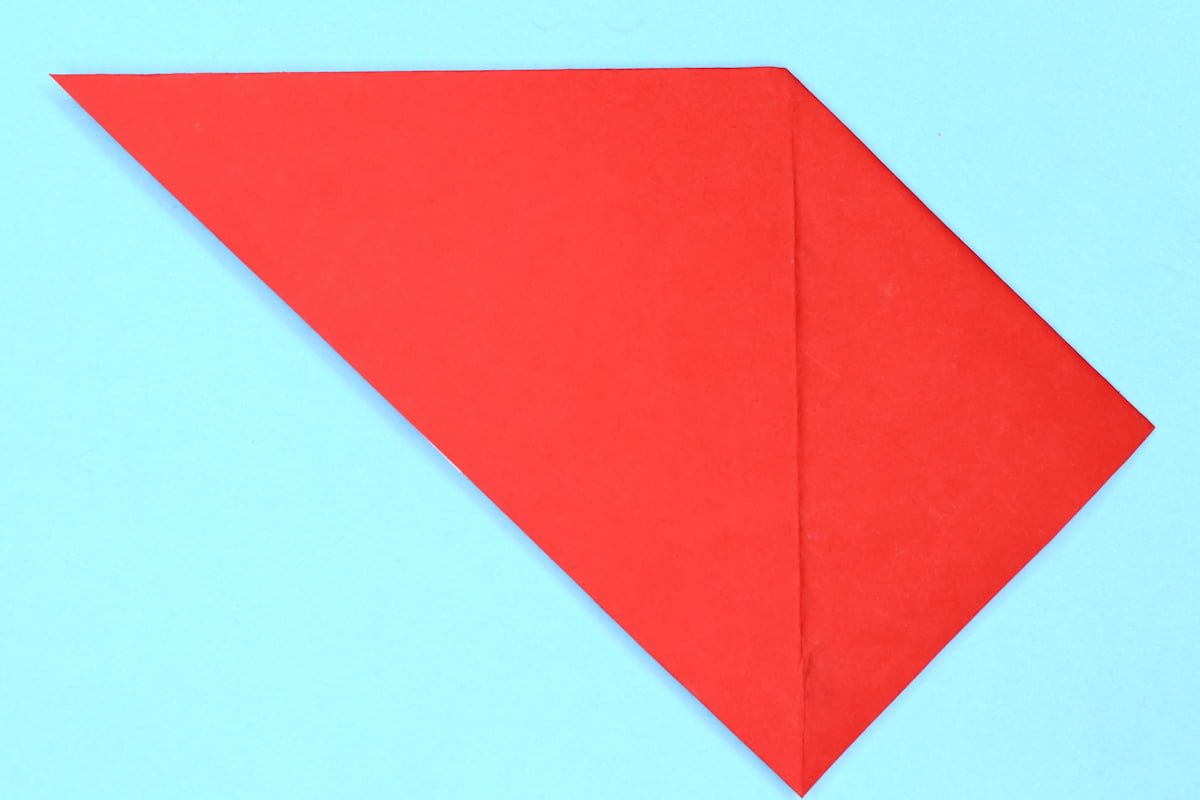
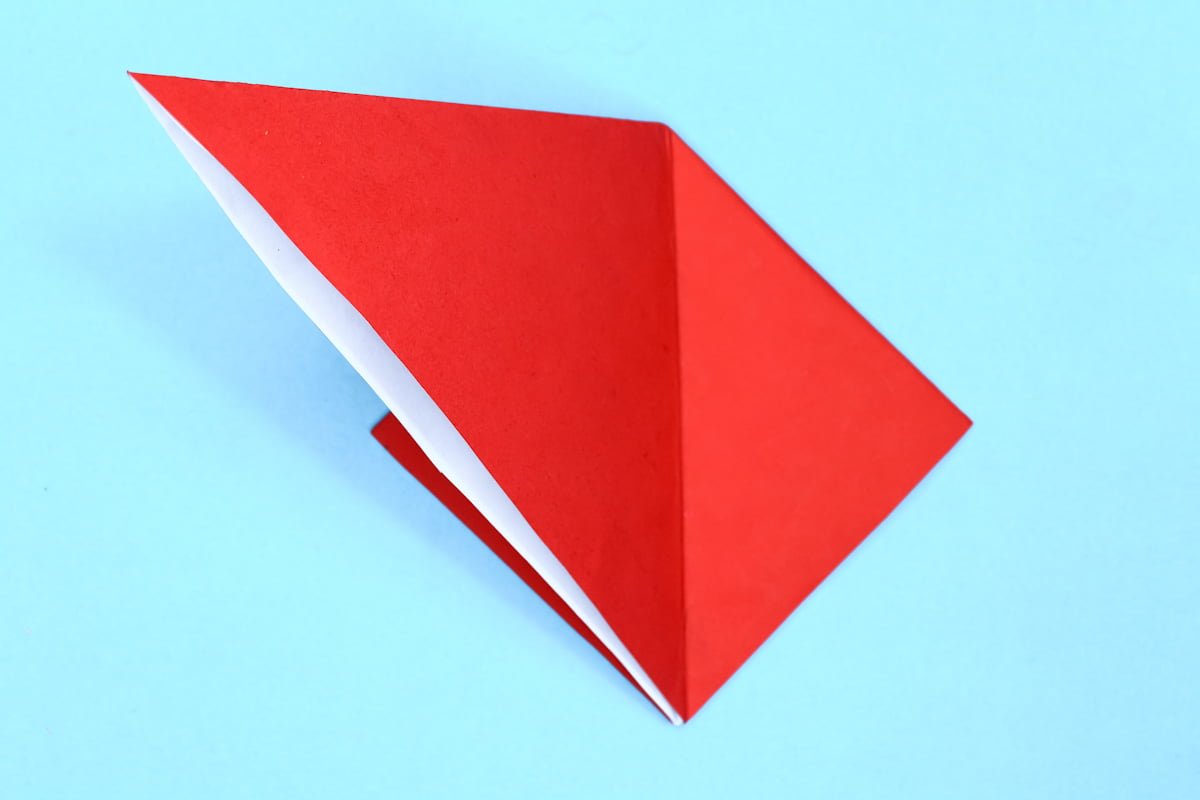
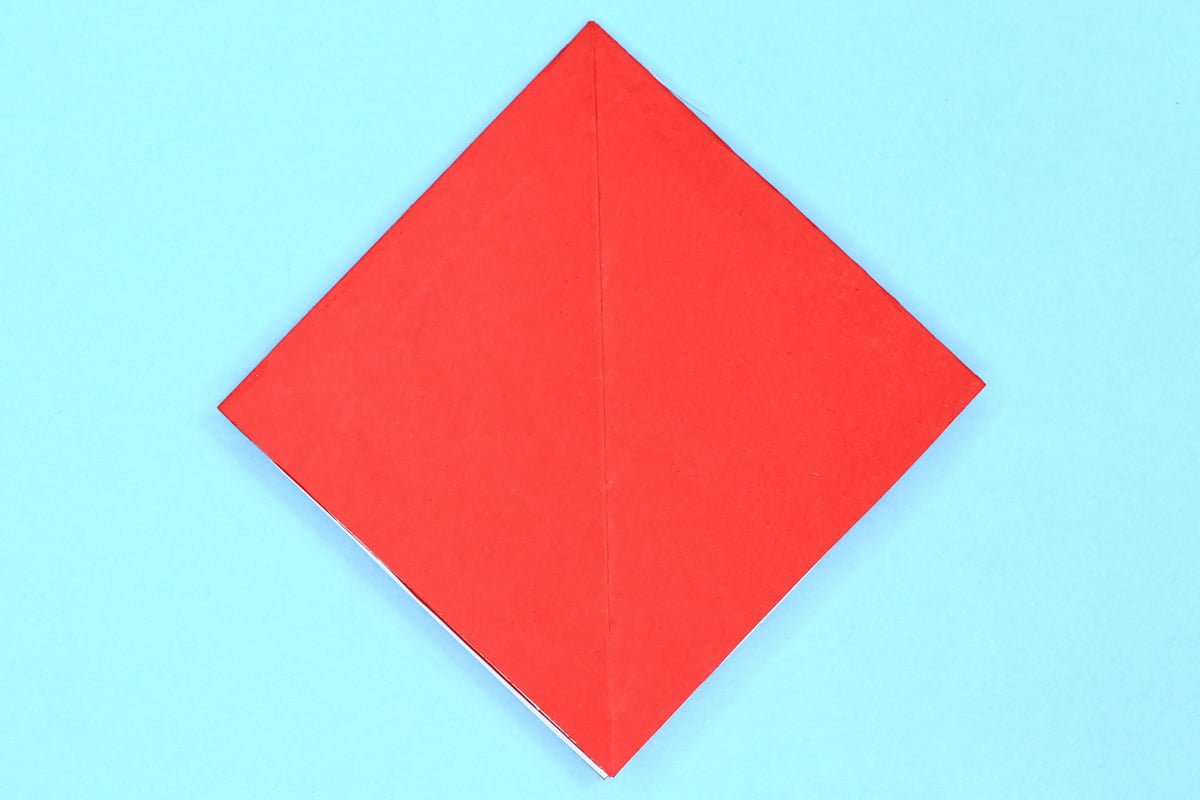
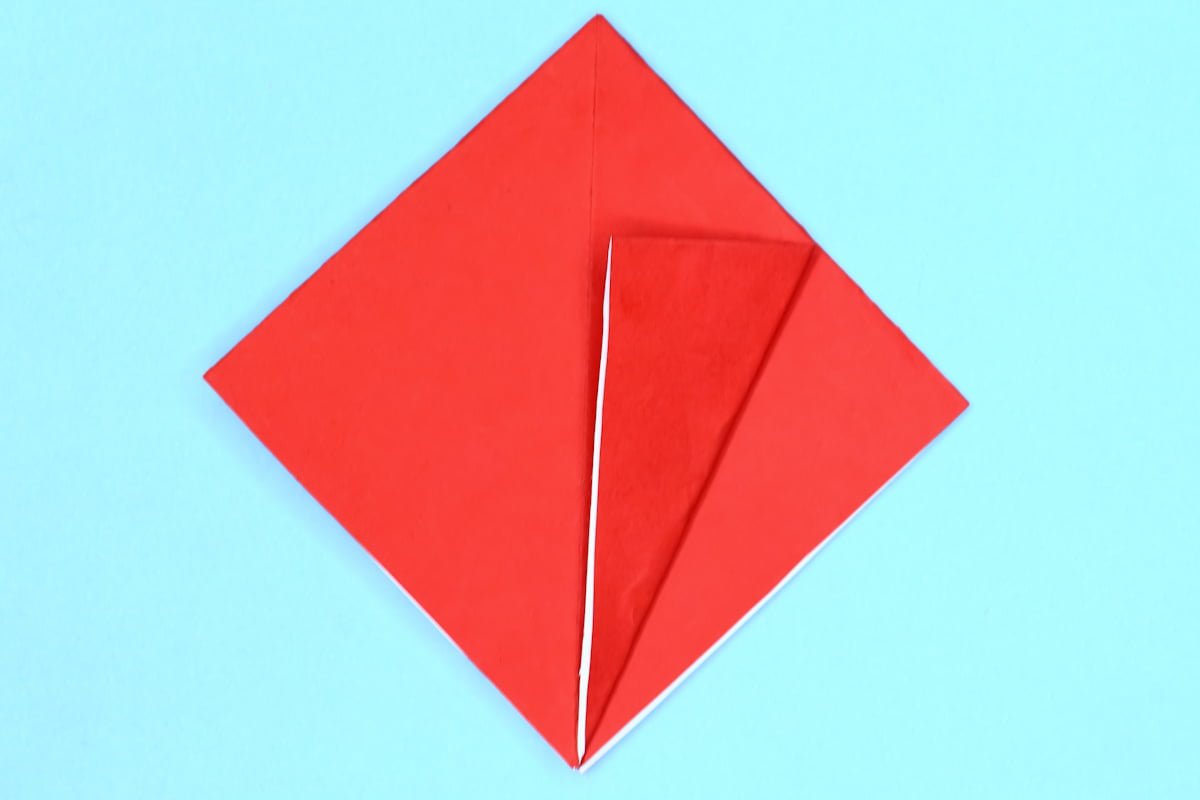
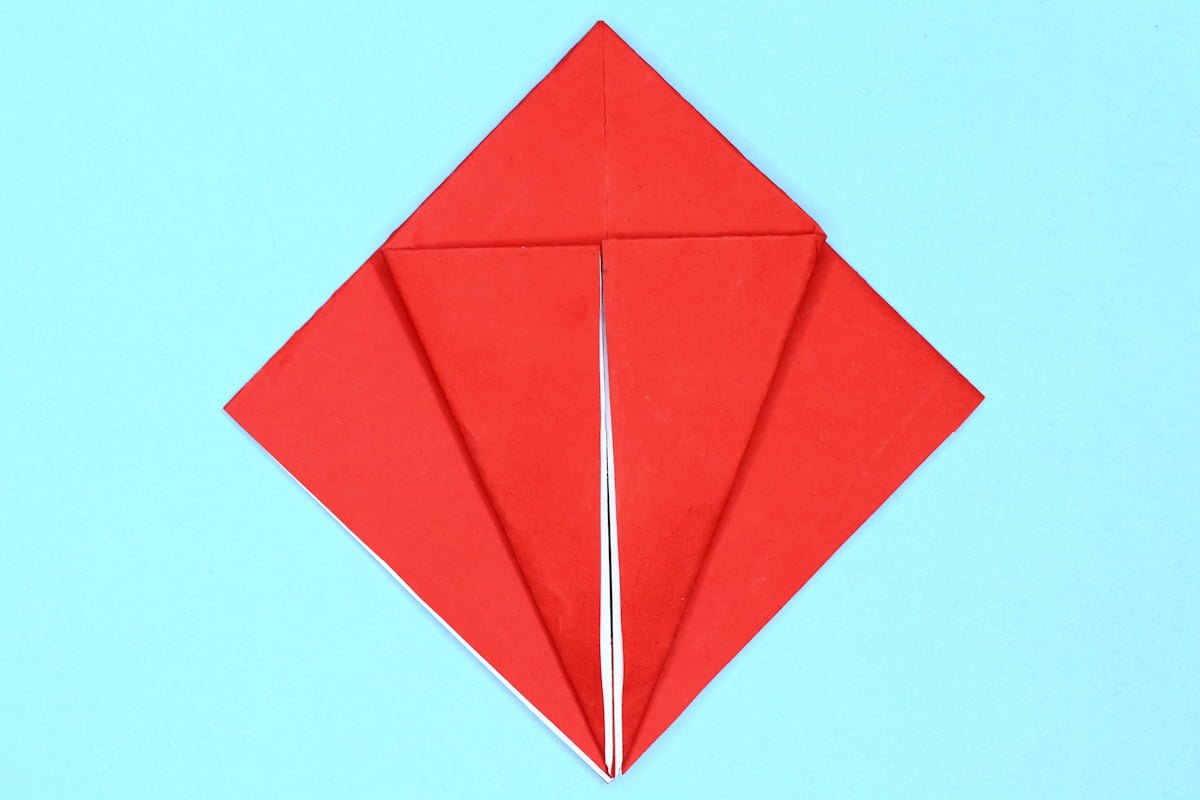
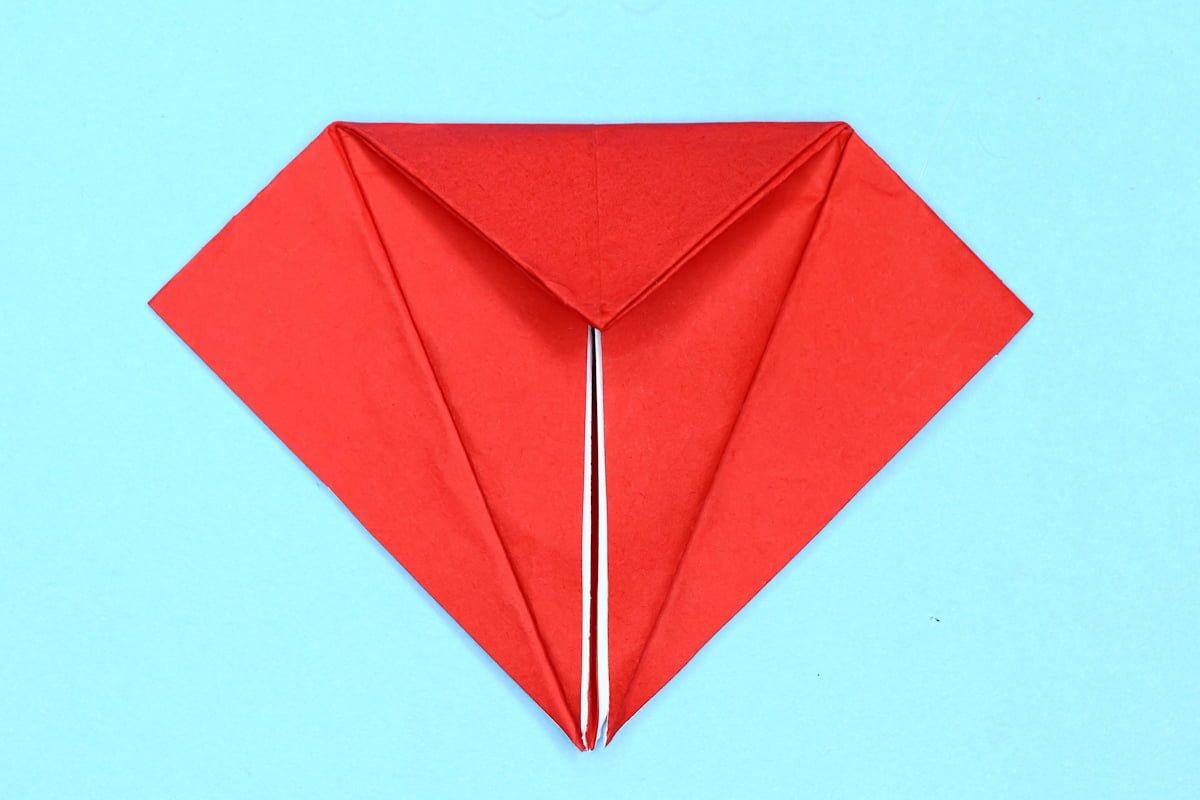
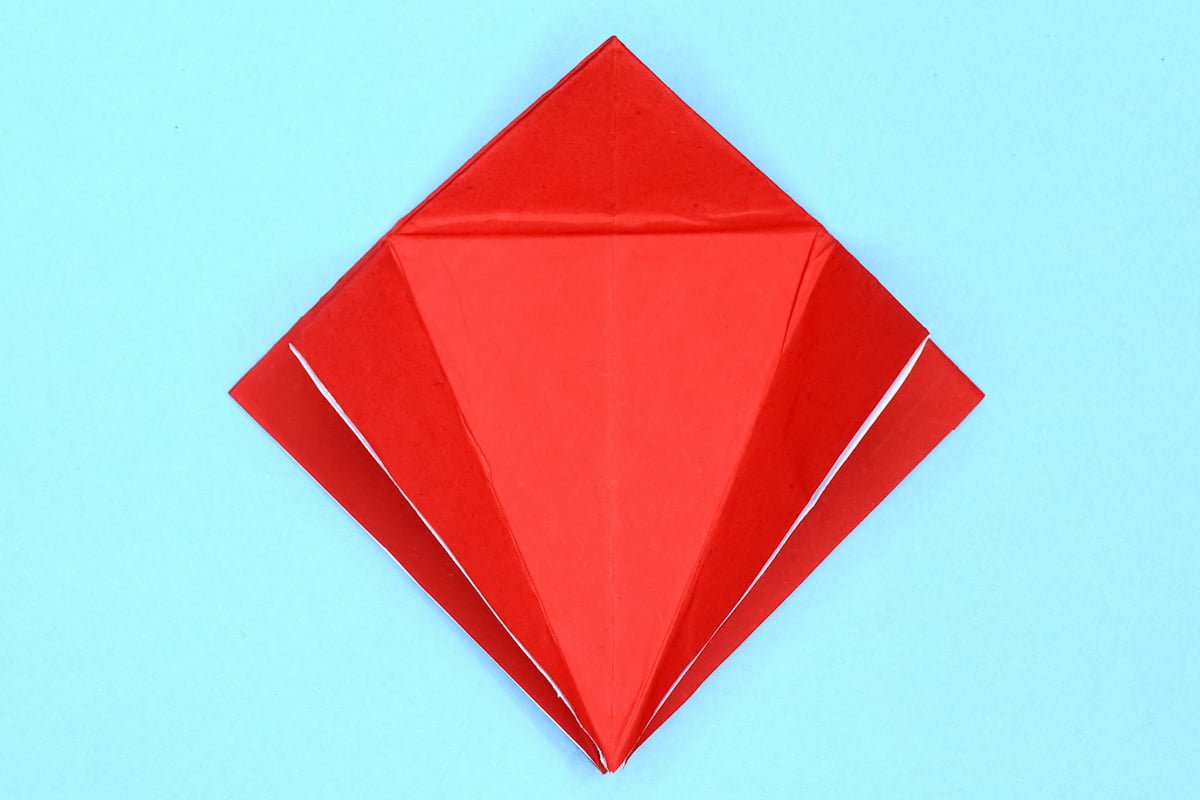
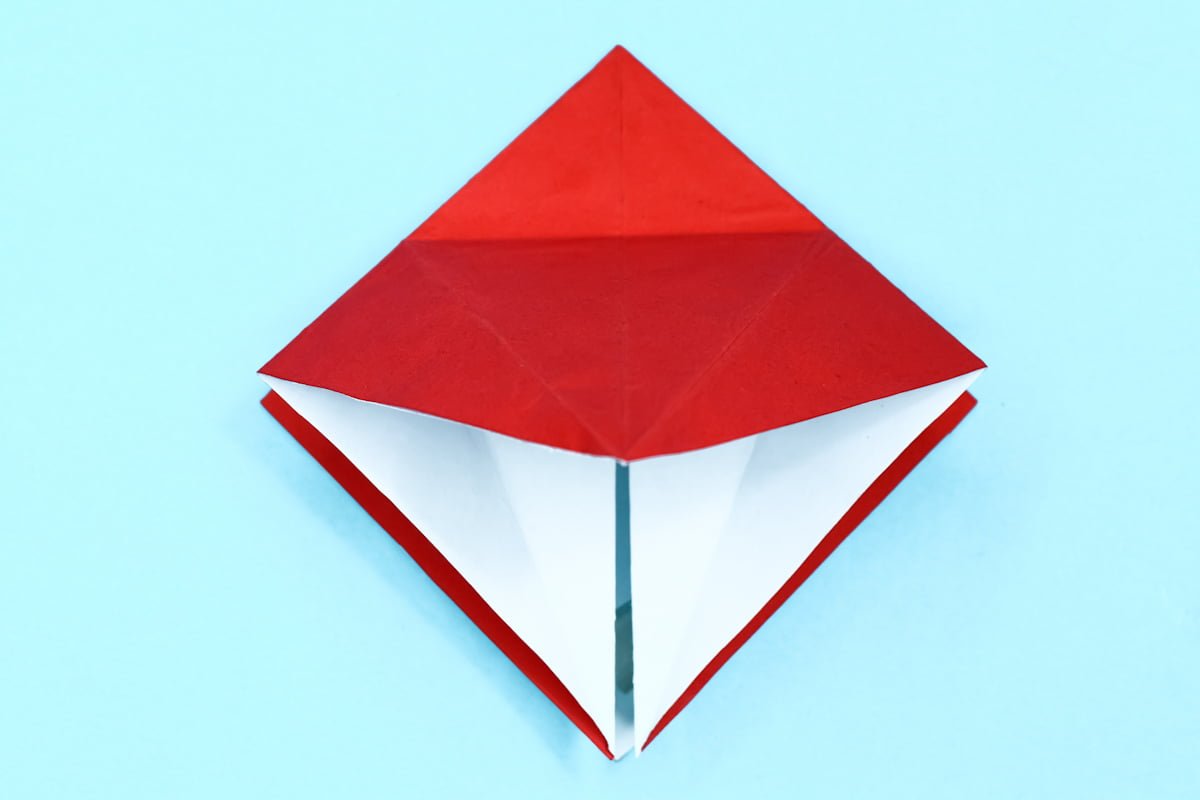
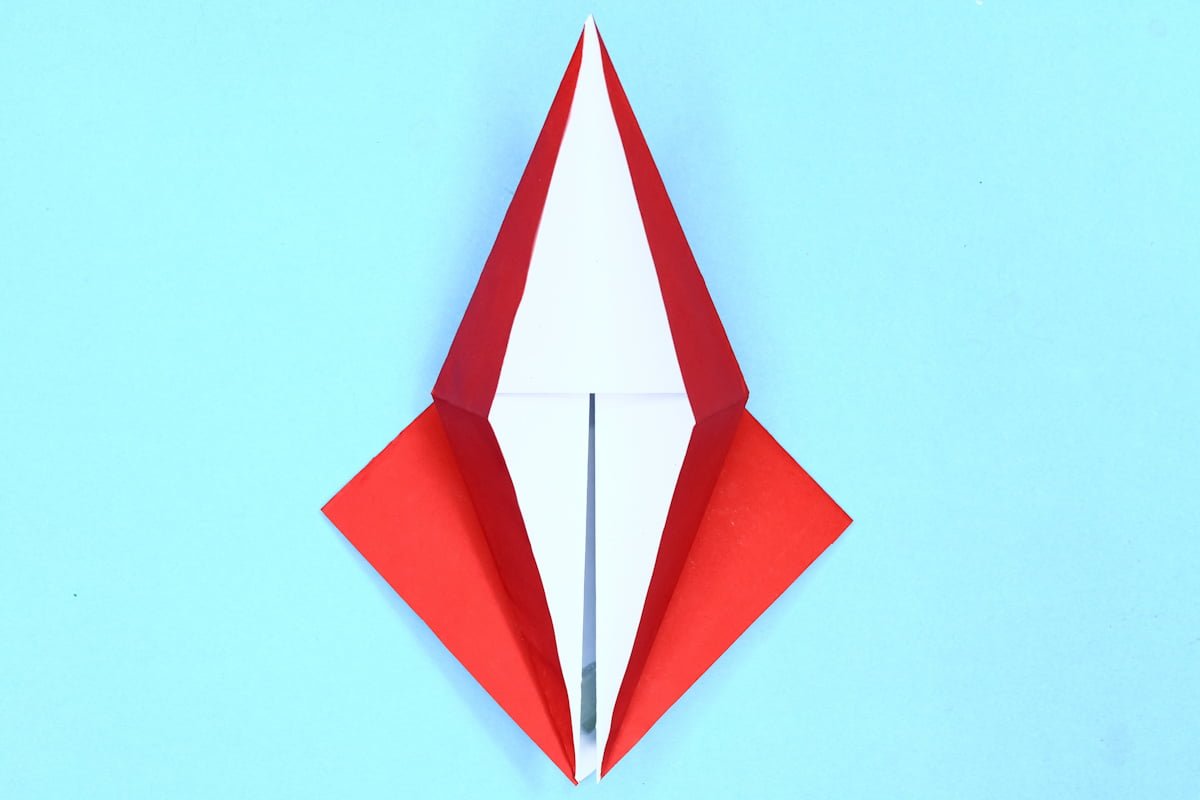
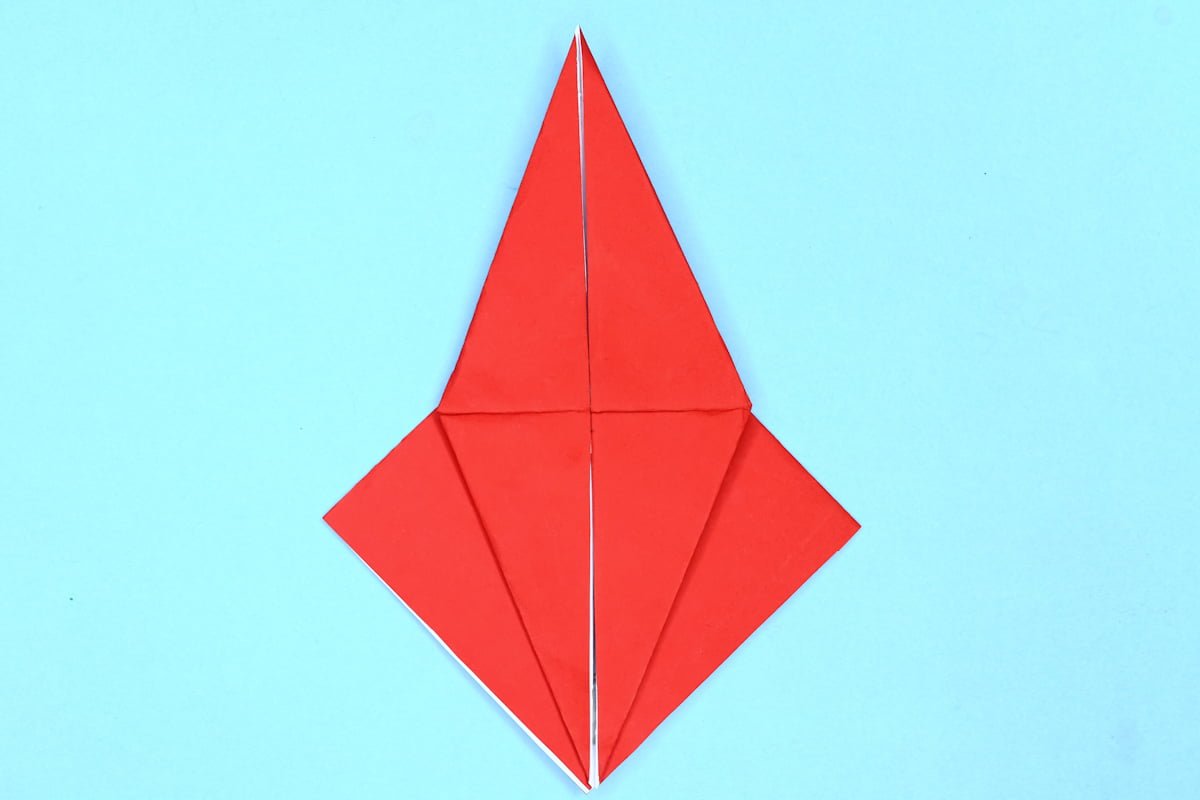
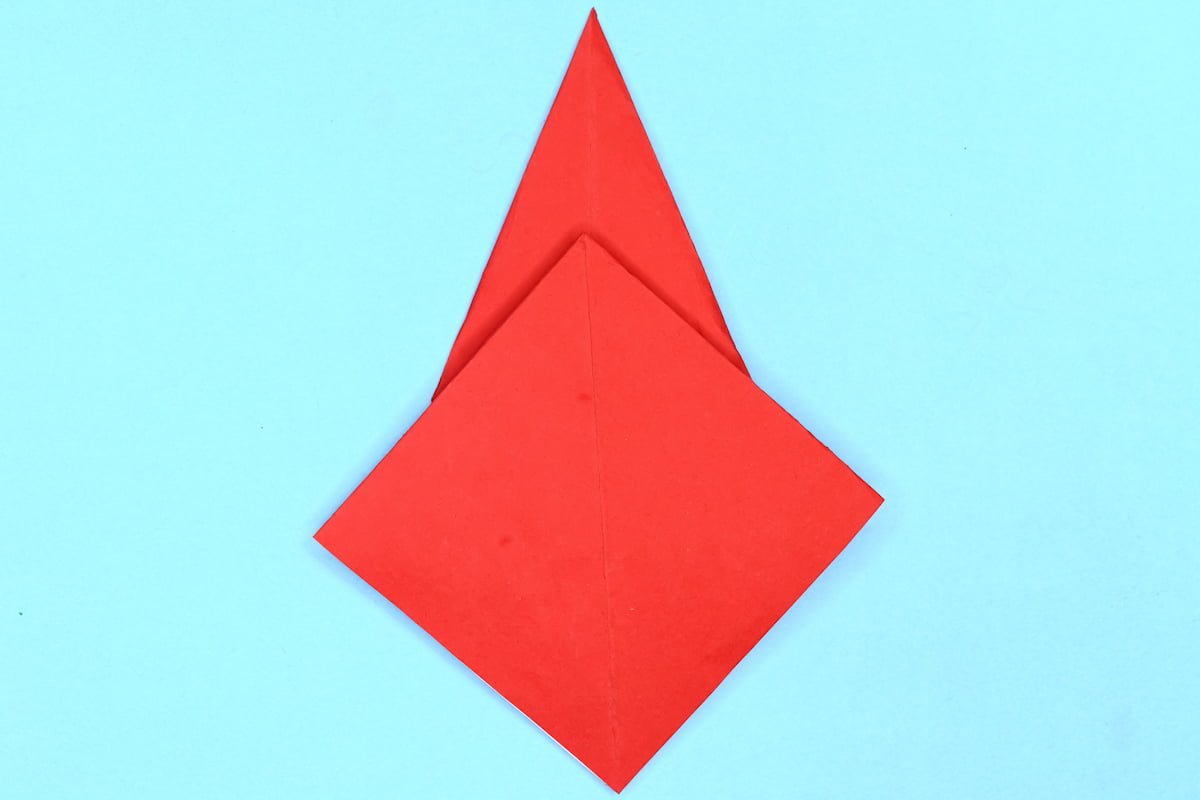
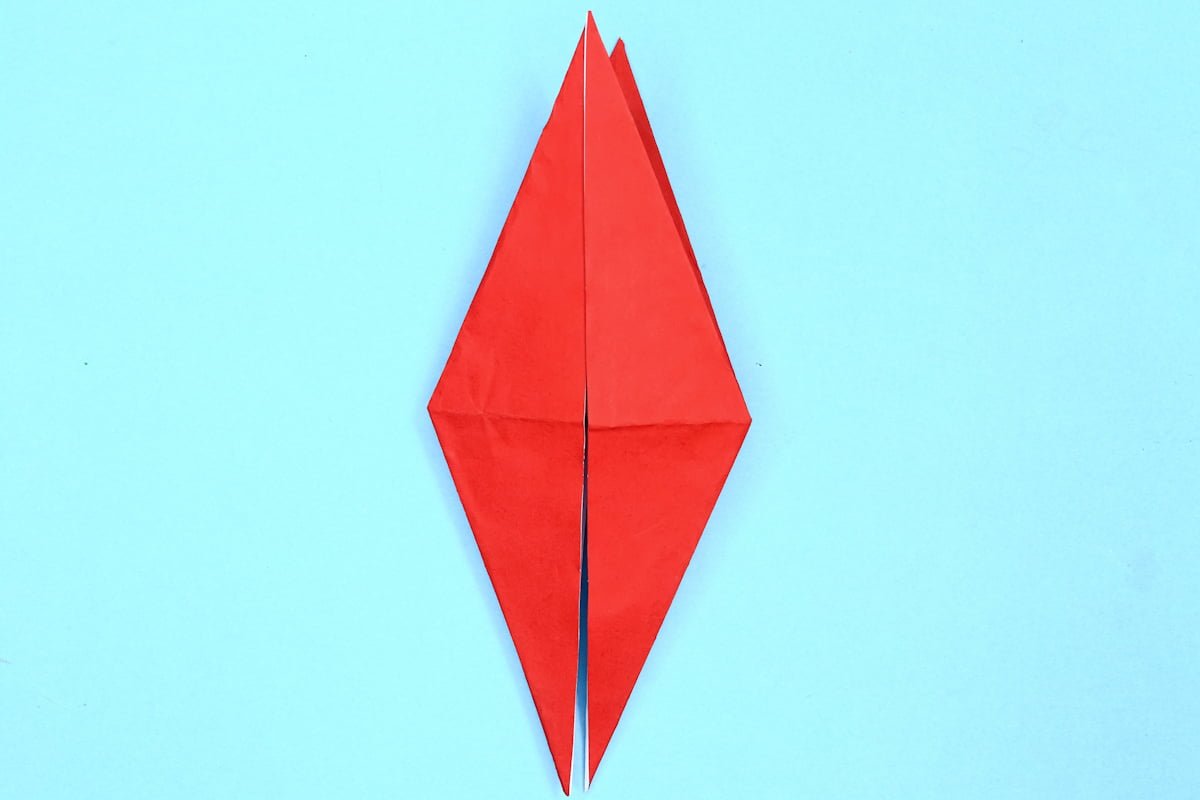
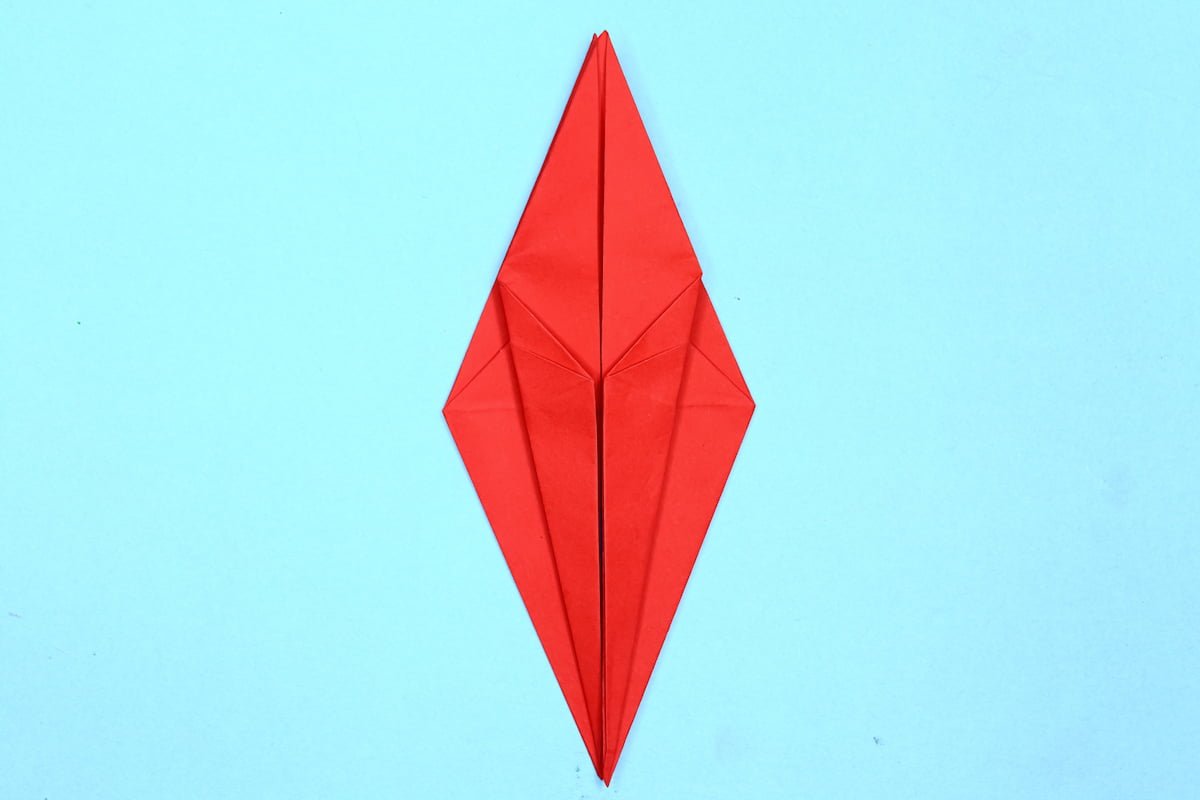
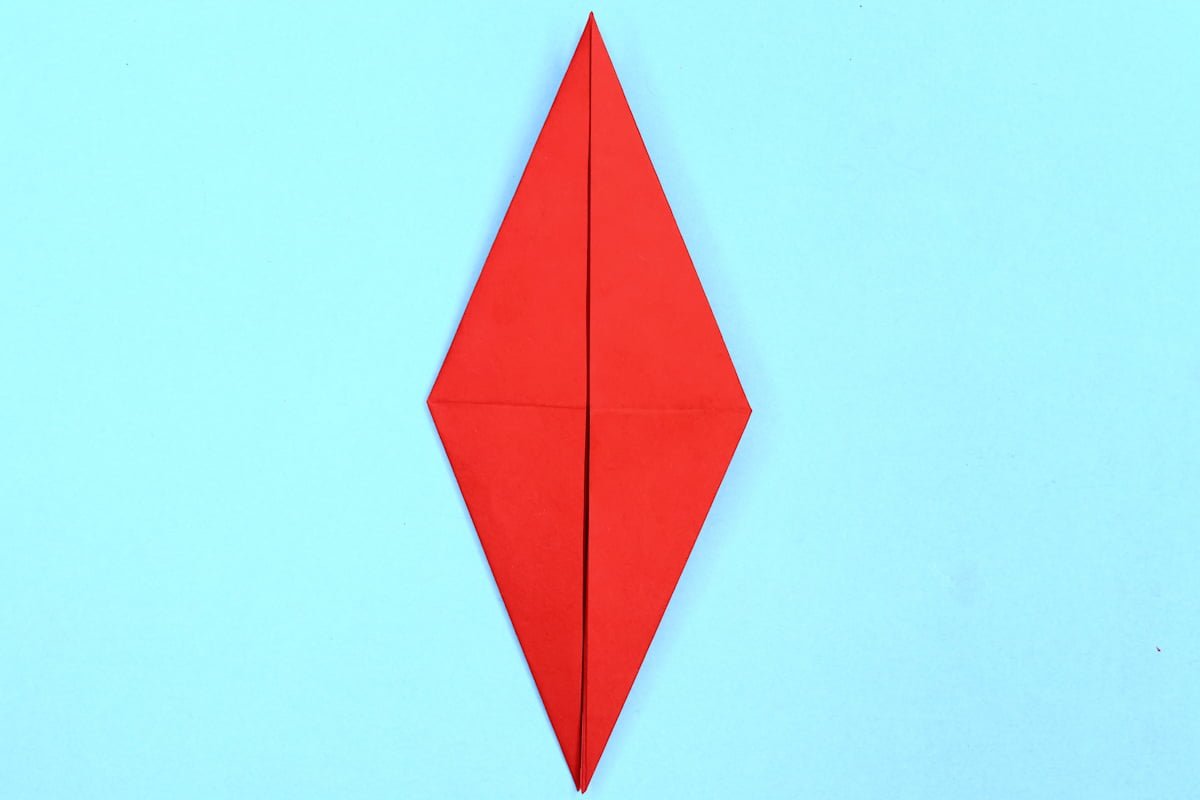
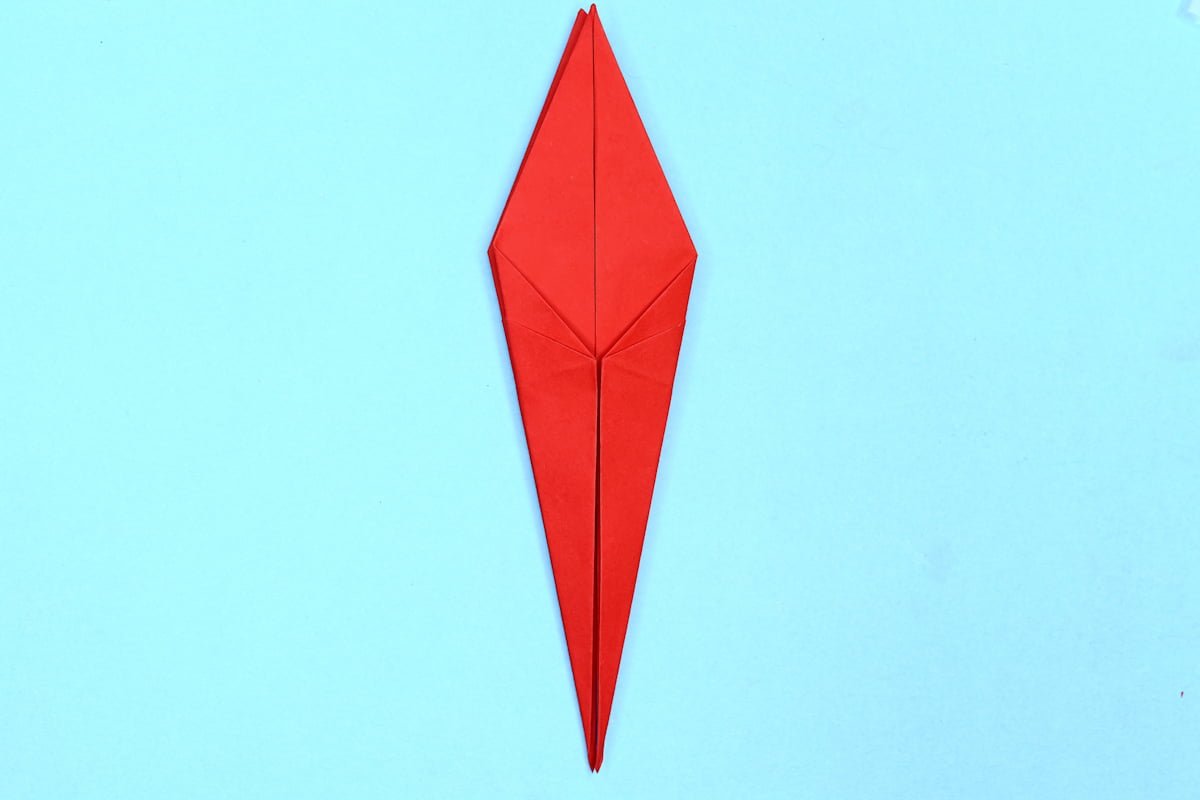
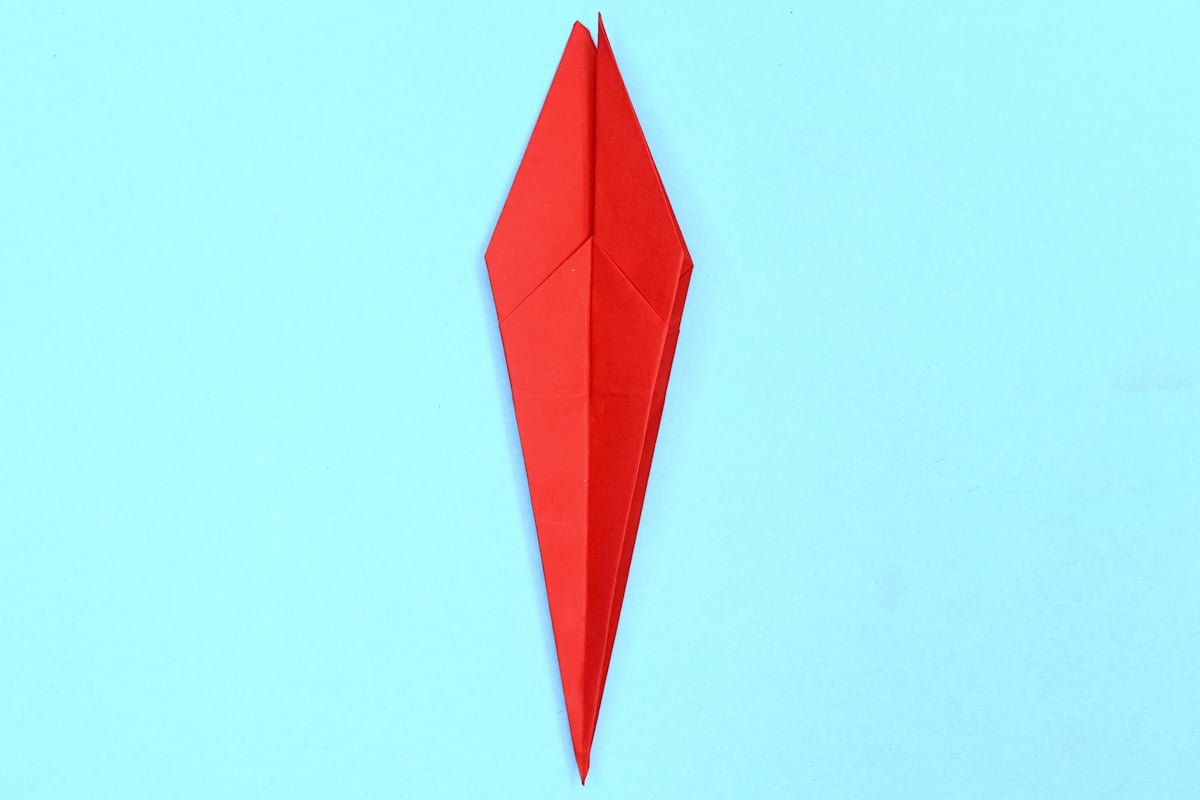
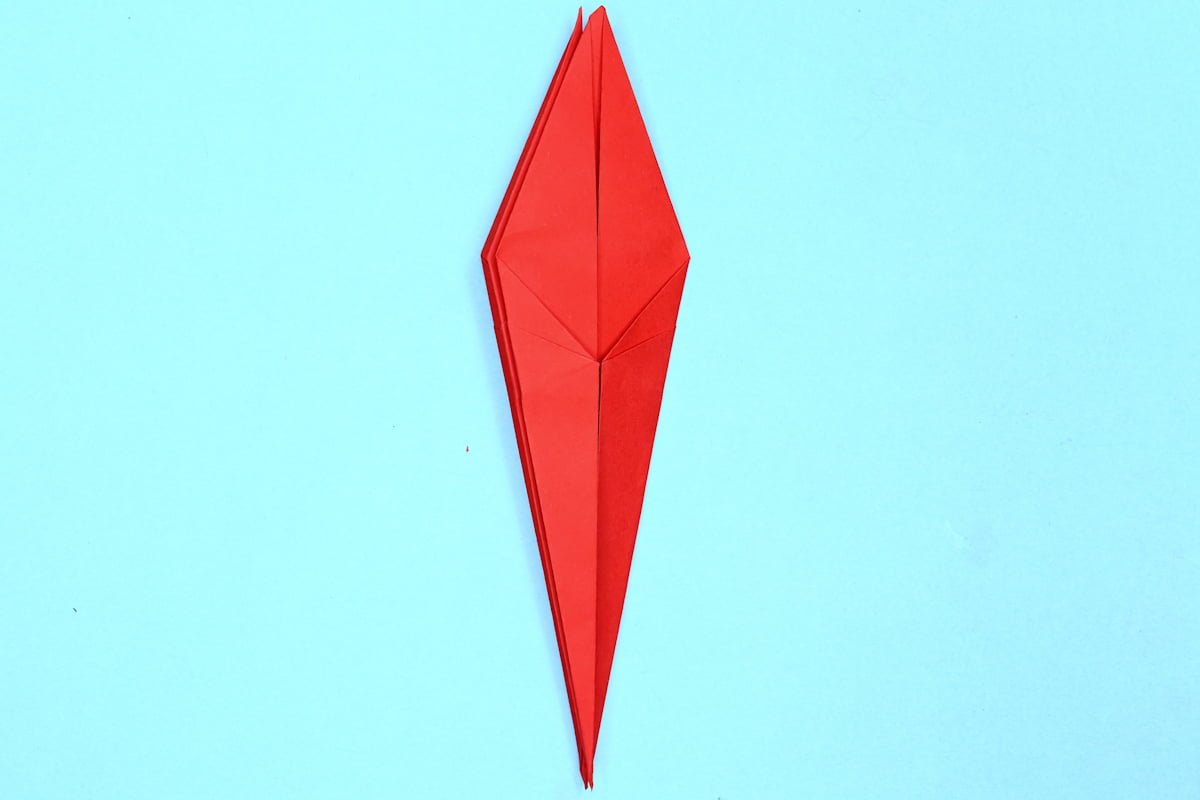
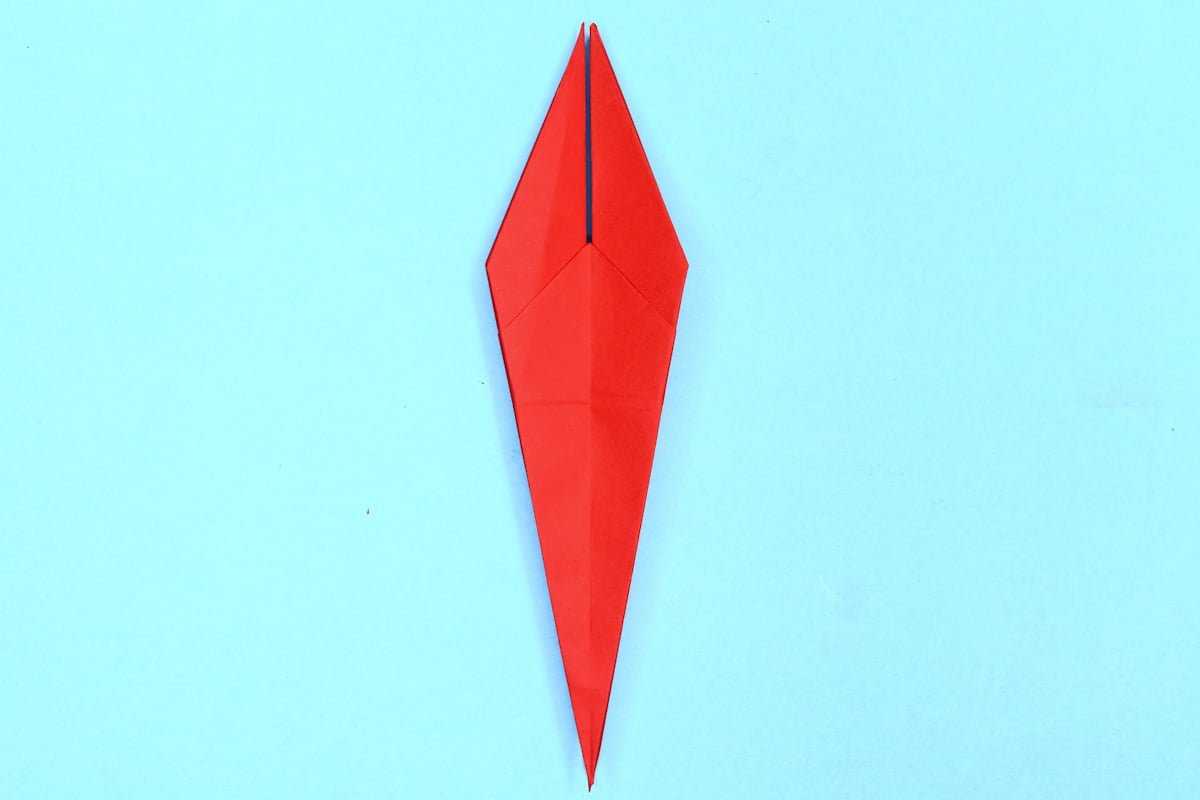
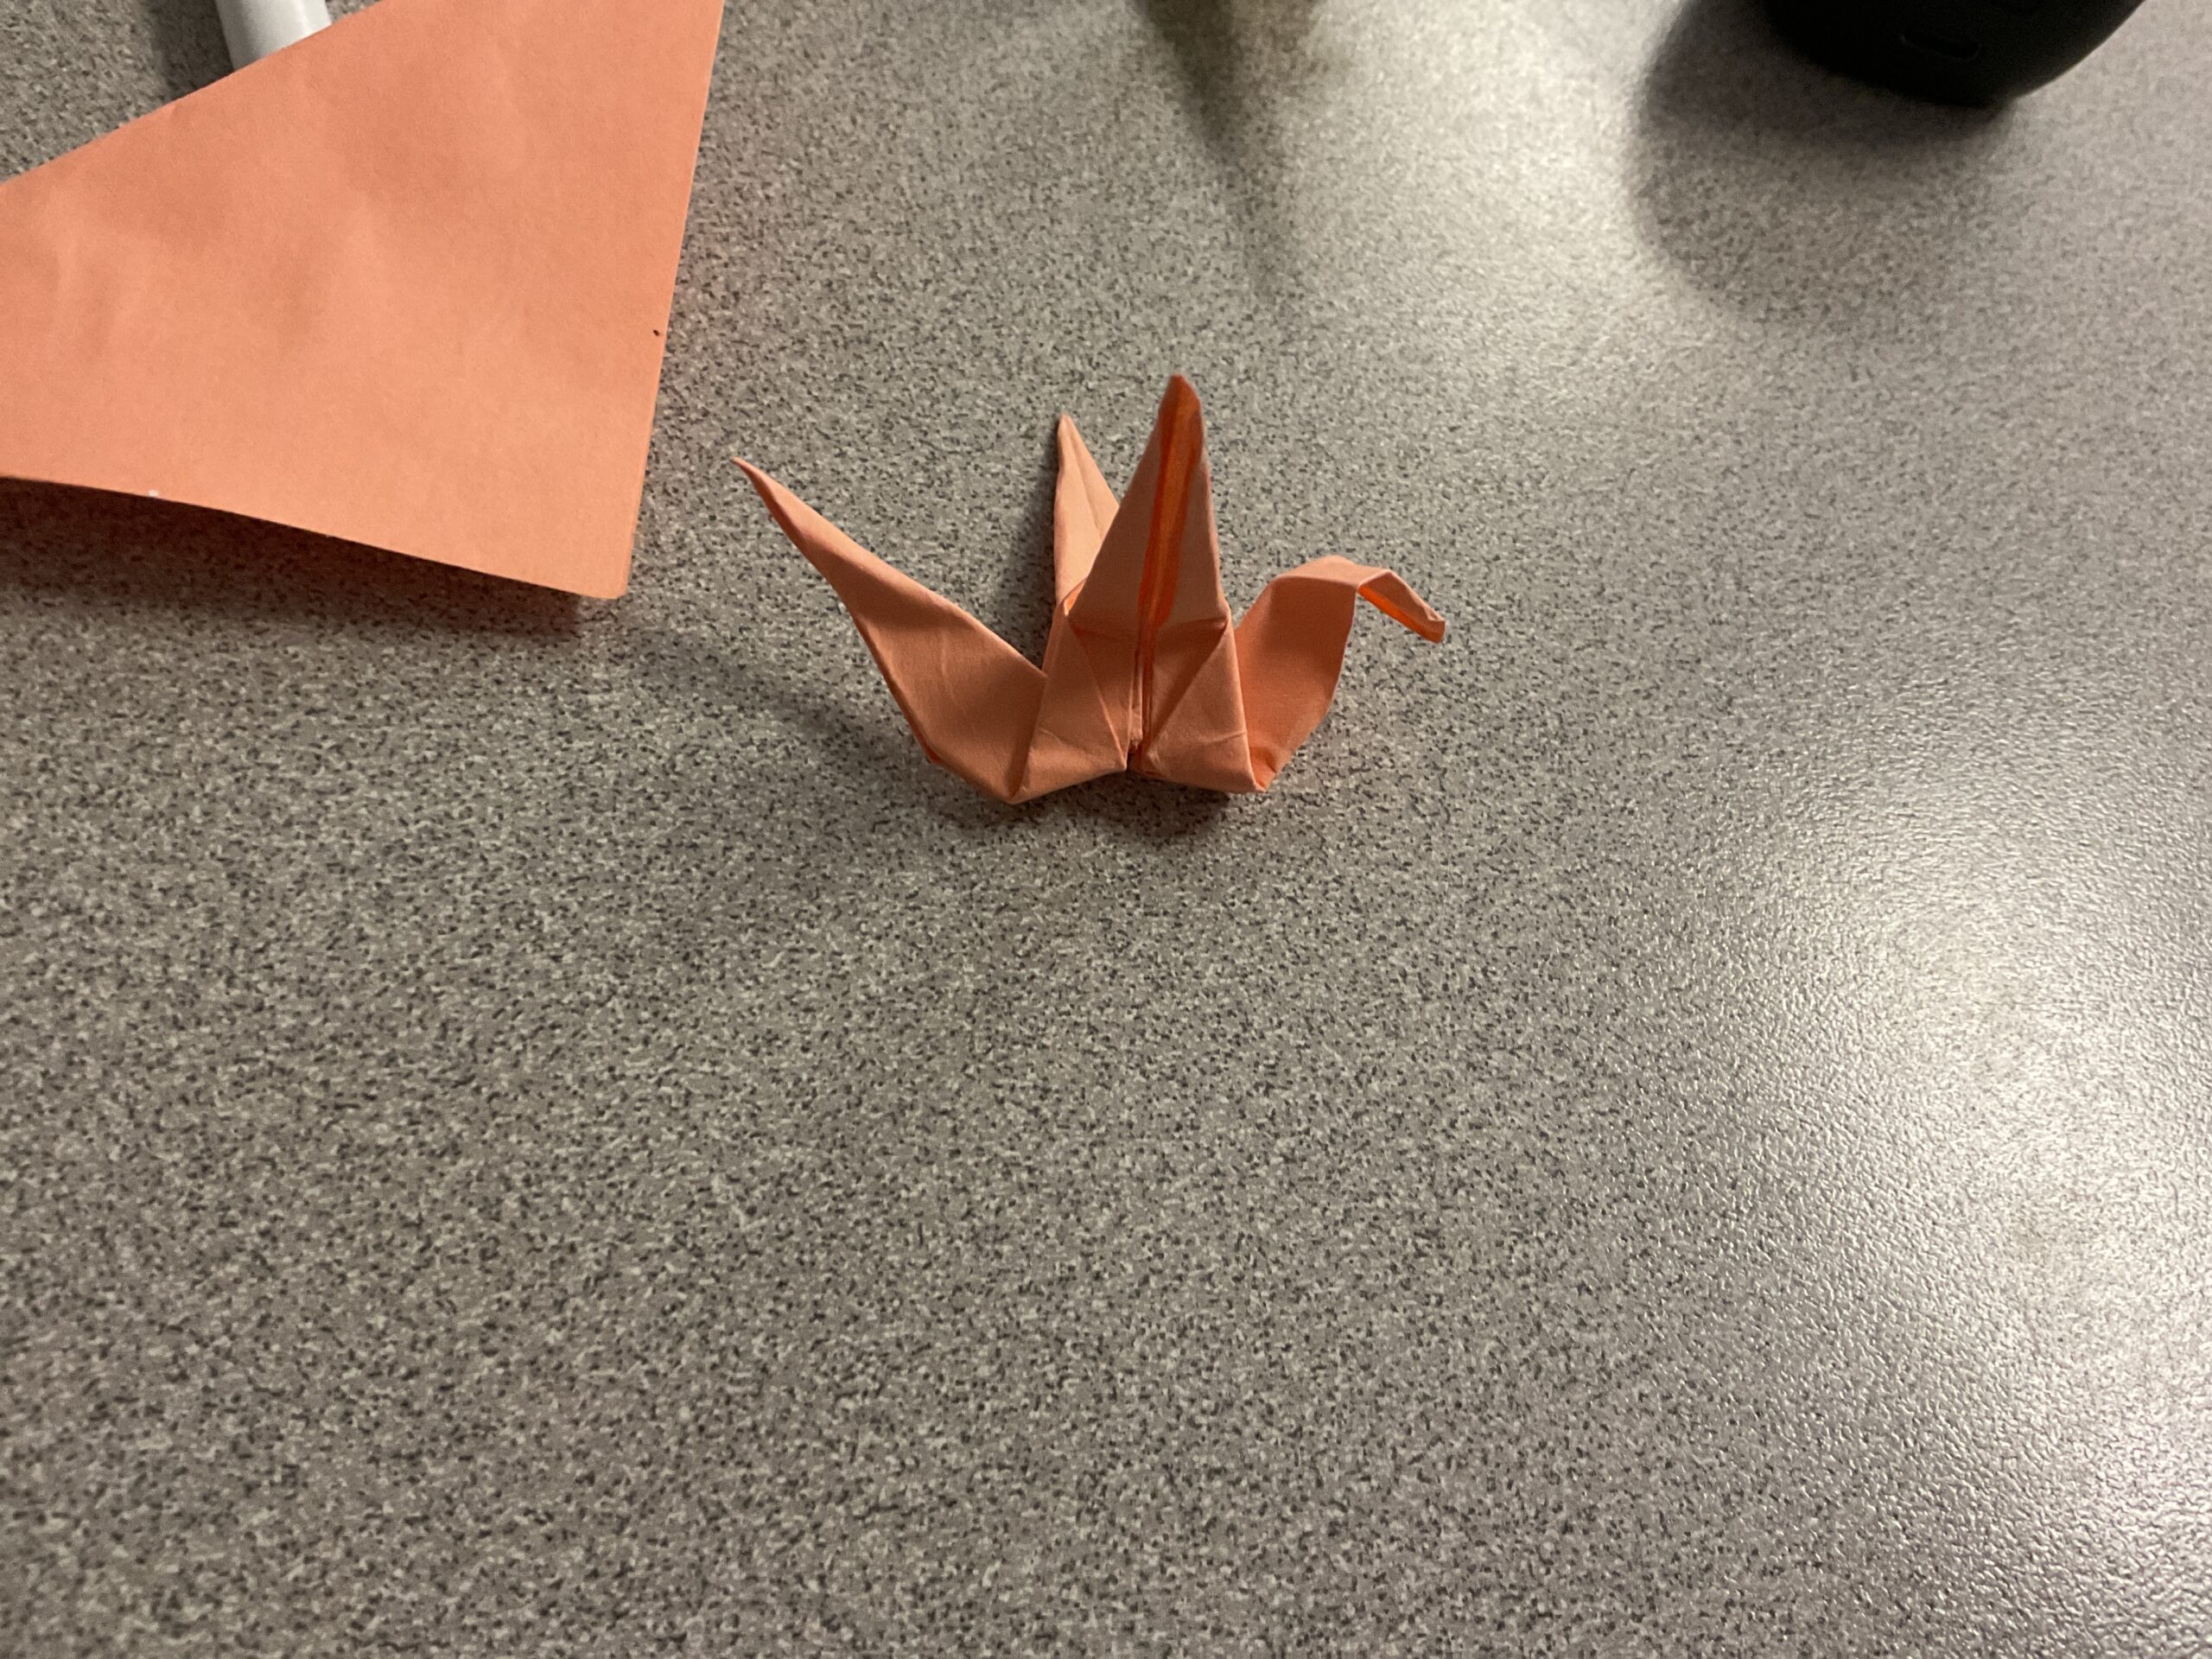
These origami crane instructions and diagrams were written to be as easy to follow as possible. I recommend using origami paper if you want them to turn out nice, but regular paper will do fine.

How to Make an Origami Crane? [VIDEO]


Step 1 Step 1: Start with a square piece of origami paper. If you only have regular 8.5x11 paper, follow these instructions to make a square sheet.
Step 2 Step 2: Fold the paper in half by taking the top corner and folding it to the bottom corner. The crease should run from the left corner tip to the right like in this picture. Use your nails to make a sharp crease.
Step 3 Step 3: Fold the triangle in half by taking the left corner and folding it to the right.
Step 4Step 4-2Step 4-3 Step 4: Take the top flap and open it, creasing the left and right sides so you can fold the the top/right corner to the bottom corner
Step 5 Step 5: Now we'll turn the paper over and do the same thing to the other side.
Step 6 Step 6: To do that, lift the left flap up so it stands vertically like the picture.
Step 7Step 7-2 Step 7: Grab the left and right side of the flap and open it up. Crease the sides so you can fold the top corner down to the bottom.
Step 8Step 8-2 Step 8: Take both sides of the top layer and fold them in to meet at the middle, then unfold. This step is preparation for the next step.
Step 9 Step 9: Open the flap upwards.
Step 10 Step 10: Fold the left and right sides inward.
Step 11 Step 11: Flip it over and repeat steps 8 to 10. It should look like this when you're done.
Step 12 Step 12: Take the upper layer of both sides and fold the lower parts into the center like you see in the picture.
Step 13 Step 13: Turn the paper over and do the same thing to the other side.
Step 14 Step 14: Take the right flap and fold it over to the left.
Step 15 Step 15: Flip the whole piece over and do the same to the other side (folding the right flap over to the left).
Step 16 Step 16: Take the bottom flap and fold it over to the top like you see in the picture.
Step 17 Step 17: Flip the paper over and do the same thing to the other side.
Step 18 Step 18: Take the top layer of the right flap and fold it over to the left.
Step 19 Step 19: Flip it over and do the same thing to the other side (folding the right flap over to the left). Both sides should look like this now.
Step 20 Step 20: Just like you see in the picture diagram, take the left and right pieces underneath the top flap and pull them apart. Crease the bottom of those pieces so that they'll stay spread apart.
Step 21 Step 21: Take one of those pieces that you pulled apart, and slightly open the top corner so that you can bend a portion of it down to form the head. After bending a portion down, crease the sides of the head up so the piece will stay bent.
Step 22 Step 22: Bend the wings down at a 90 degree angle and voila! You made a beautiful origami crane!

Click on "Like" below if you like this crane!