Flying Ninja Paper Airplane
 Difficulty: Medium
Airtime:
Speed:
Distance:
Stunts:
It dashes, it flips, it turns on a dime. Sometimes you think the Flying Ninja will do this or that, but it will do that or this instead. It's sneaky, it's tricky, it's unpredictable.
How to Make Flying Ninja Paper Airplane?
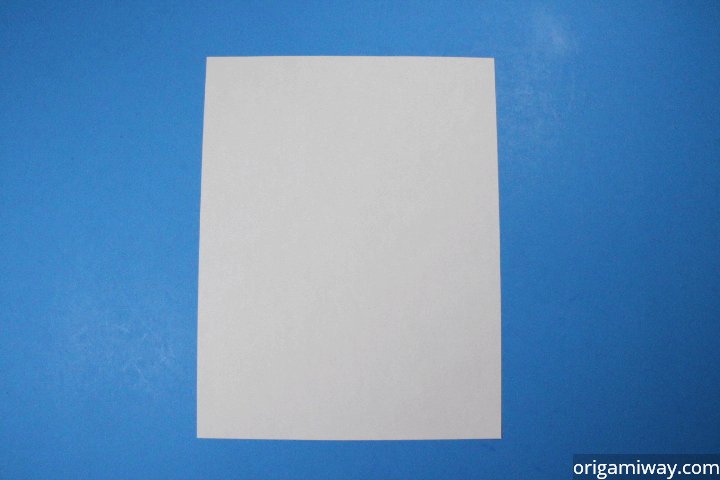 |
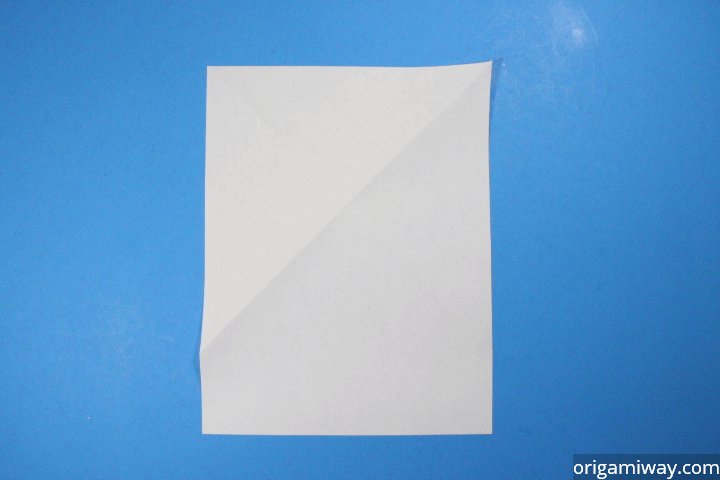
Step 1: Start with a regular piece of rectangle paper that's 8.5 x 11.0 inches (215.9 x 279.4 mm). |
 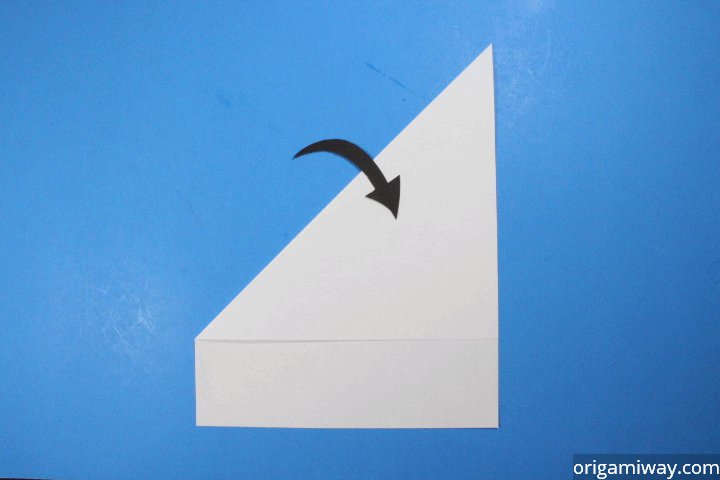 |
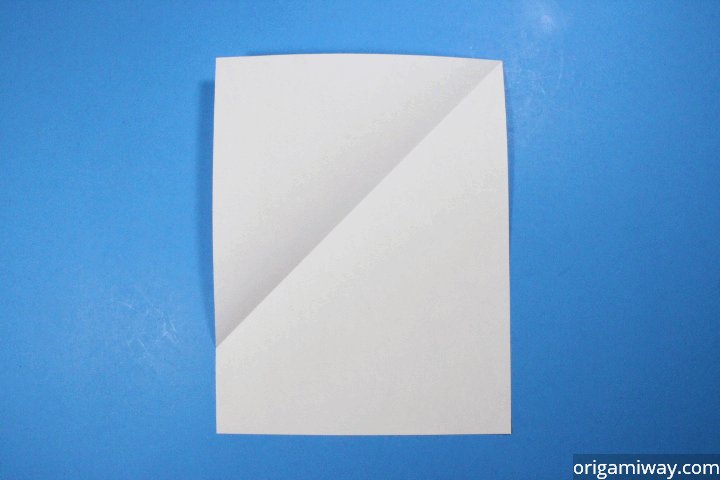
Step 2: Fold the top left corner down to the right edge as shown. Make the top right corner as pointy as possible. |
 |
Step 3: Unfold. |
  |
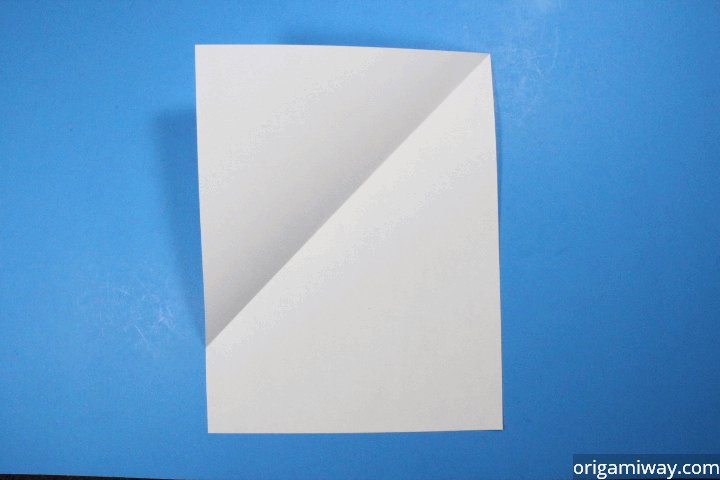
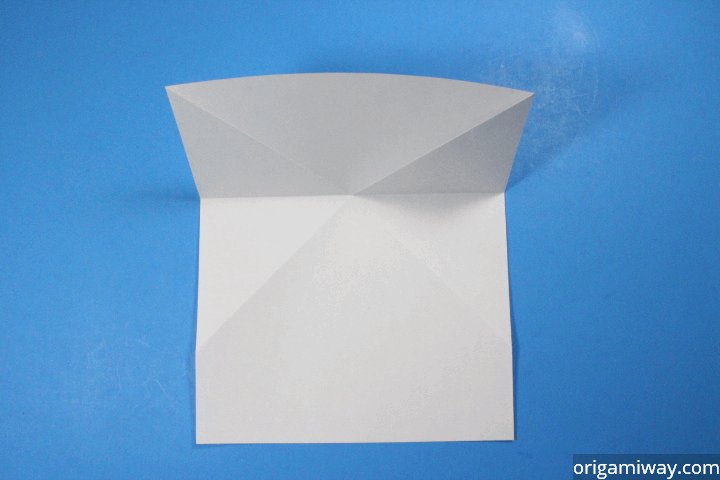
Step 4: Fold the top right corner to the left edge as shown. |
 |
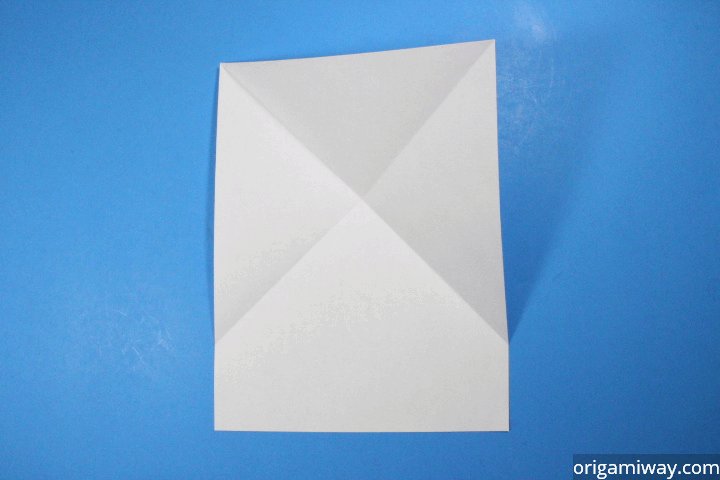
Step 5: Unfold. You should now have two diagonal creases that form an "X" |
 |
Step 6: Turn the paper over. |
 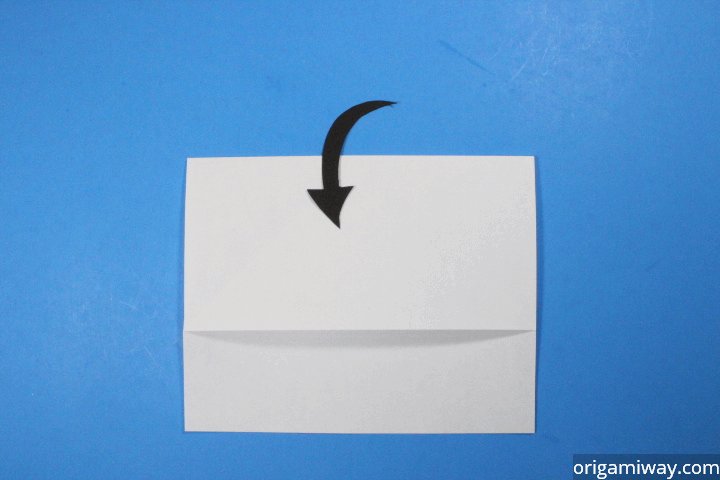 |
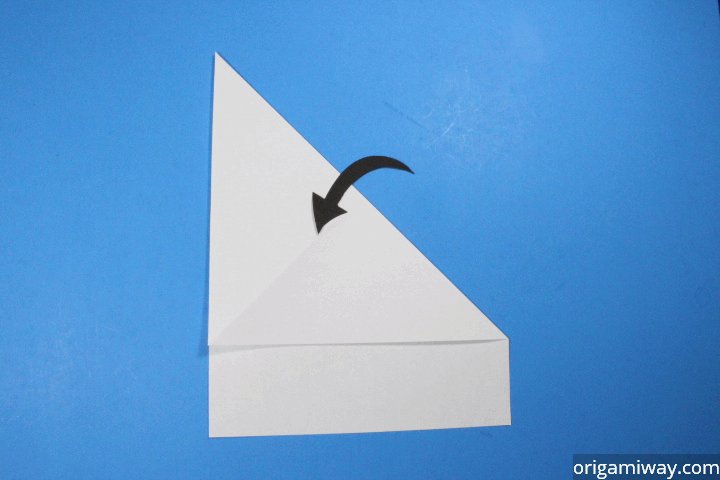
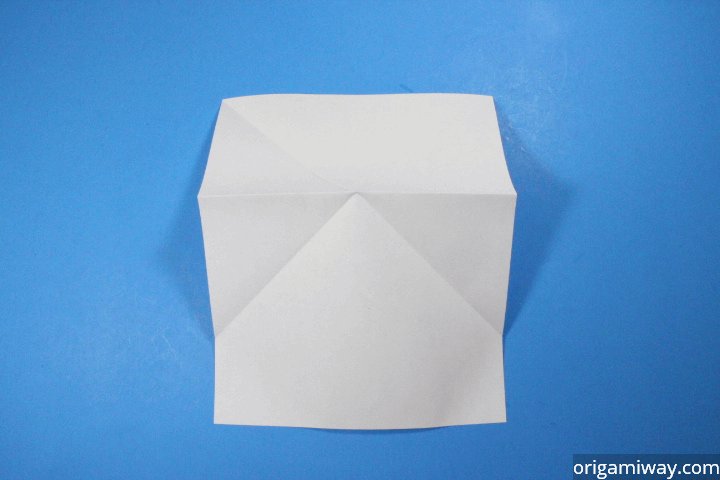
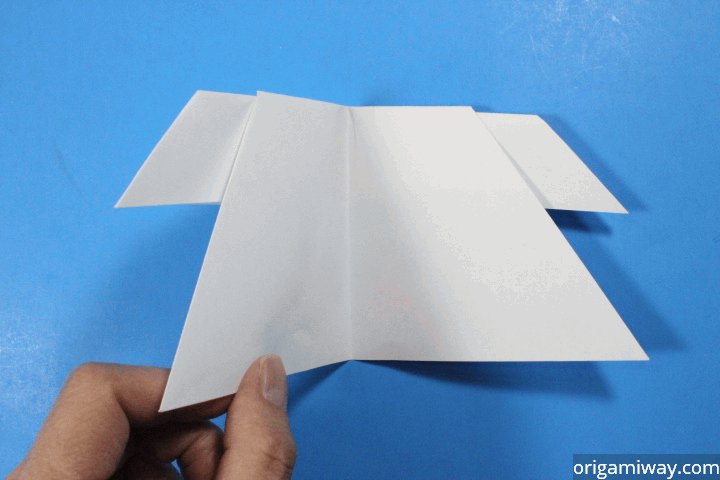
Step 7: Fold the top down by lining up both top two corners to the bottom of both diagonal creases. In other words, fold down at the "X" of the diagonal creases. |
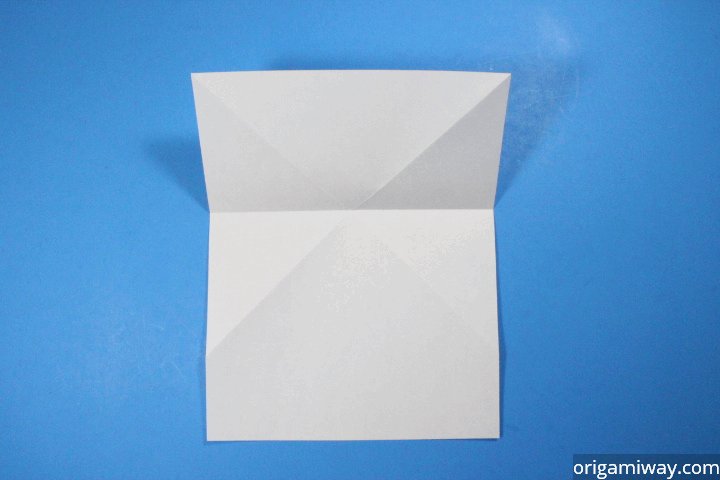 |
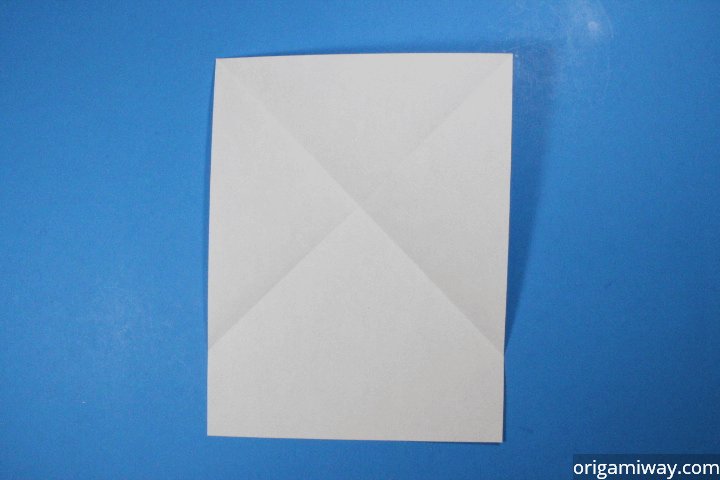
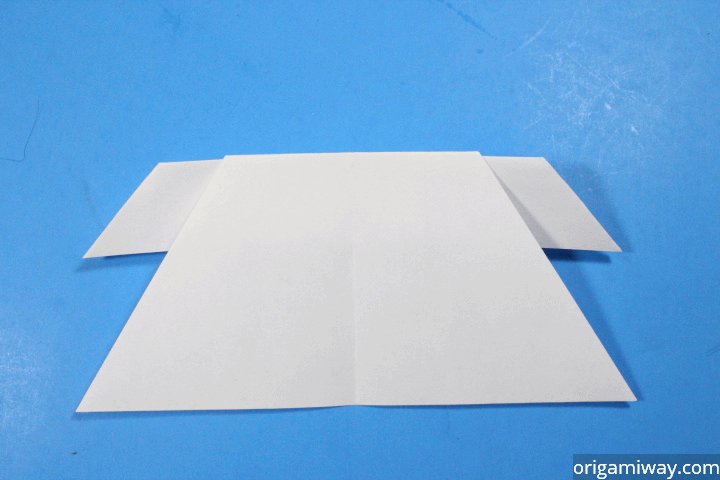
Step 8: Unfold. |
 |
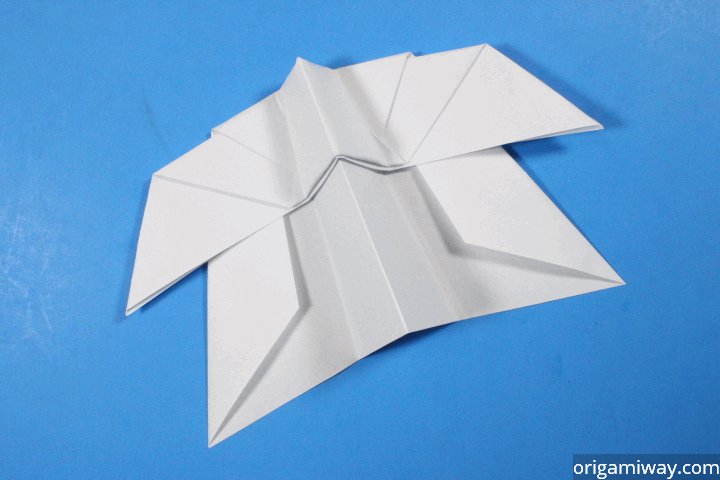
Step 9: Turn the paper over. Go to Next page to continue with the Flying Ninja Paper Airplane. |
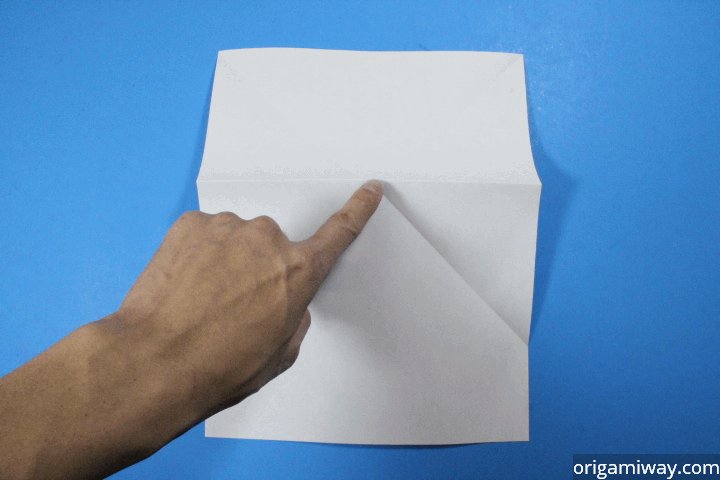 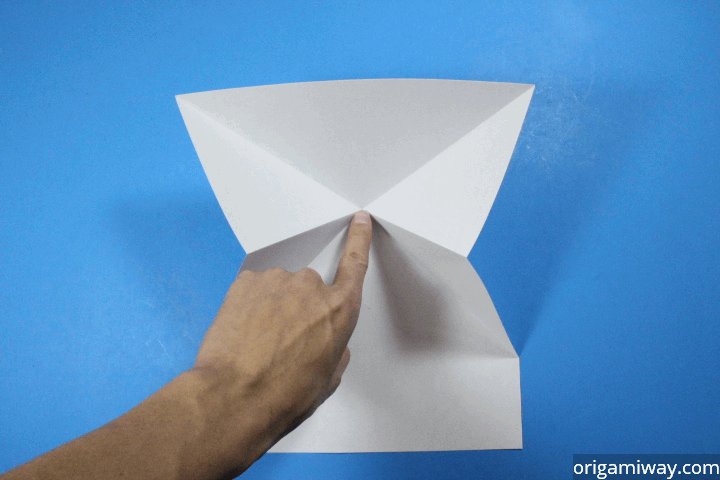 |
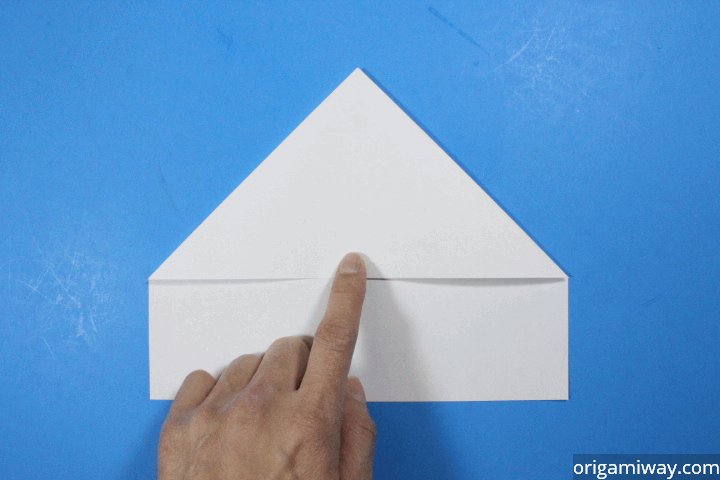
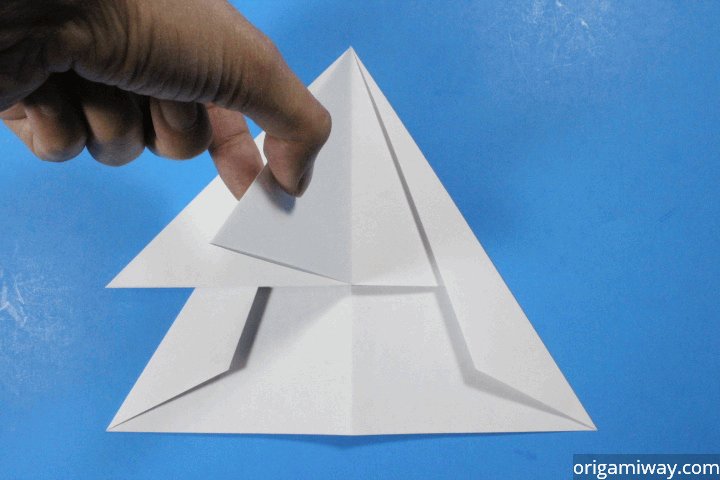
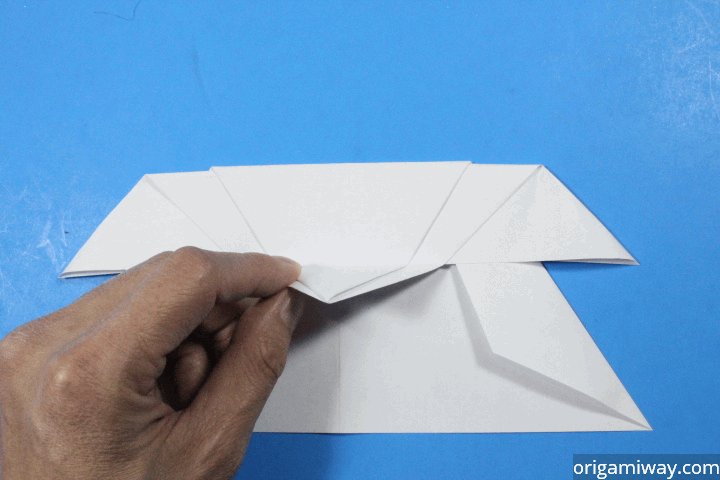
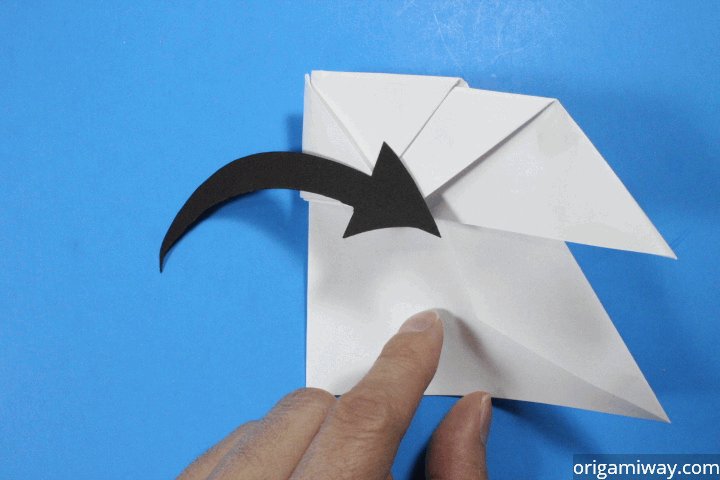
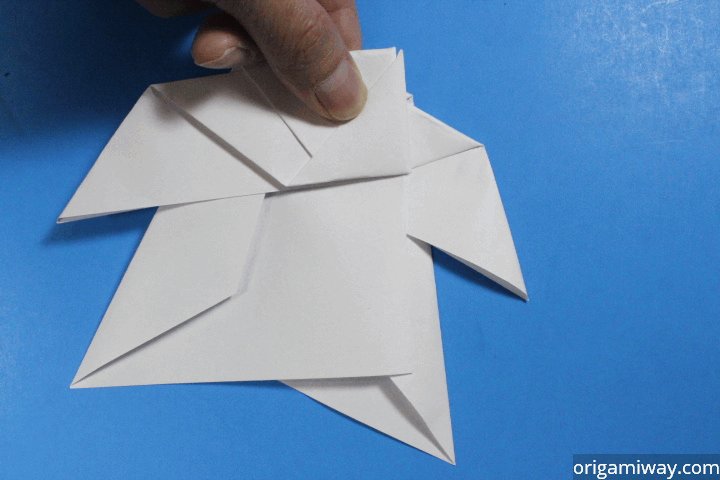
Step 10: Put your finger at the center of the "X" crease and push in to pop the "X" in. |
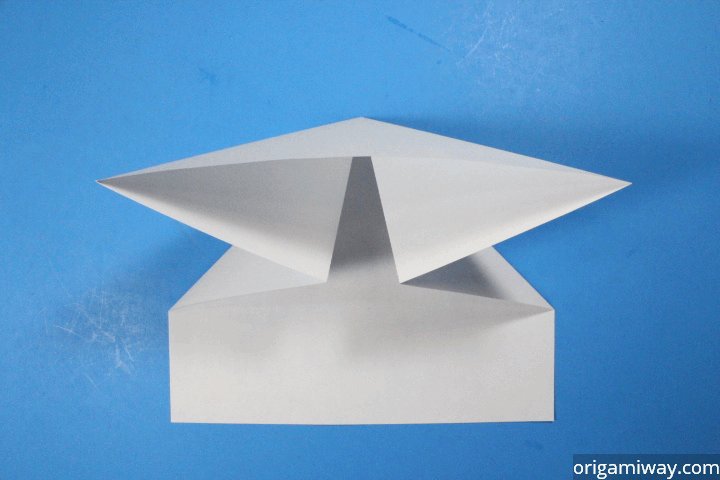  |
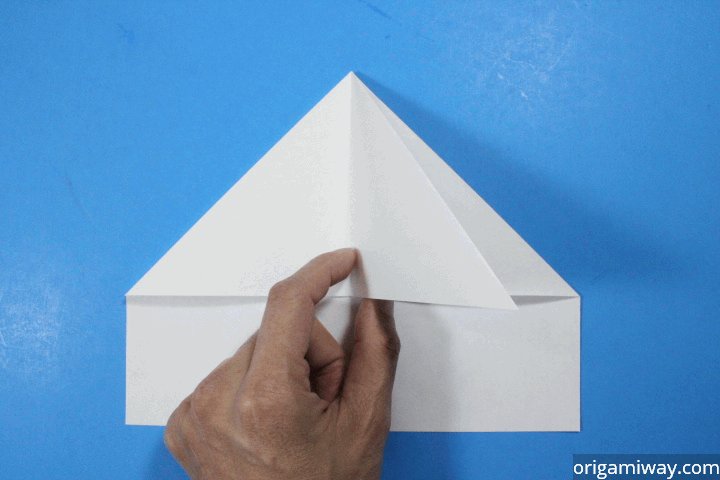
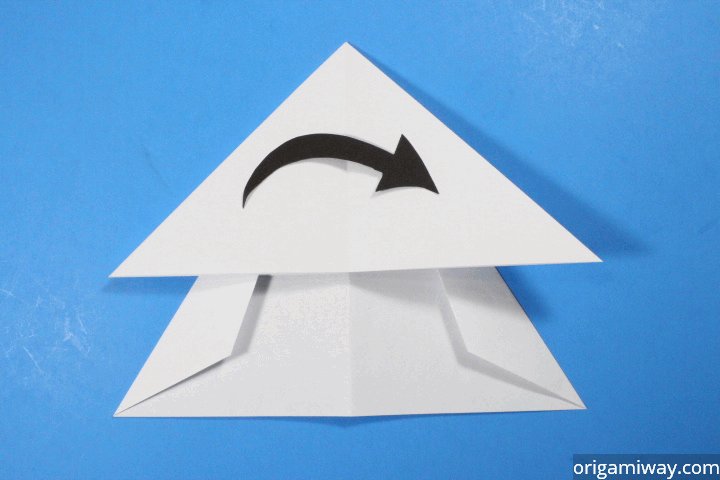
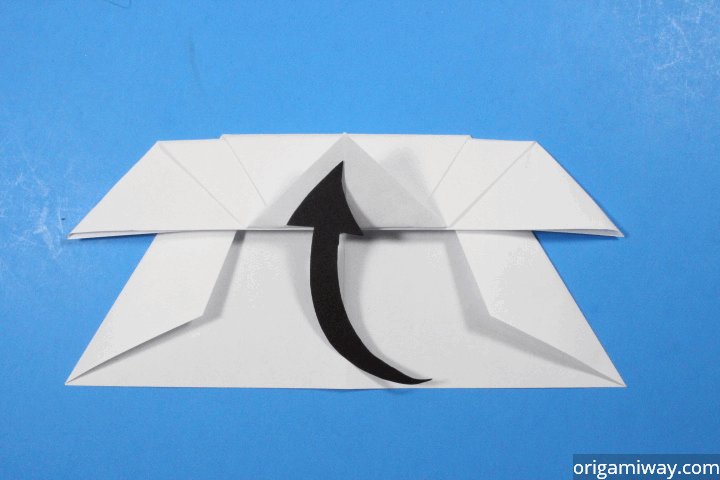
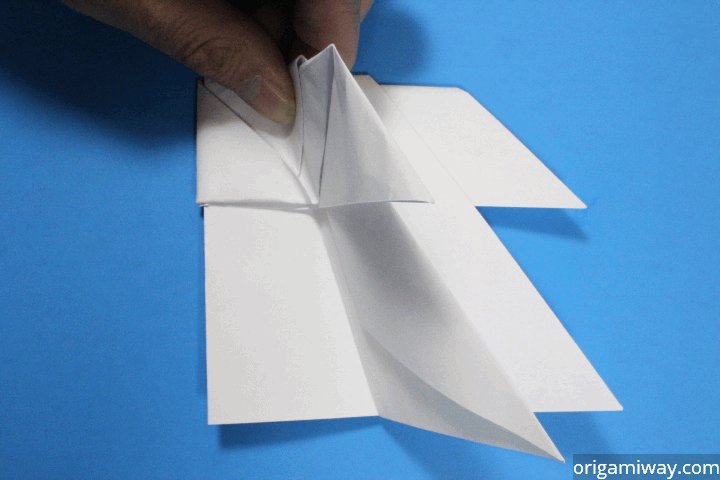
Step 11: The creases should collapse in, so help it out and flatten it to get the triangle. |
 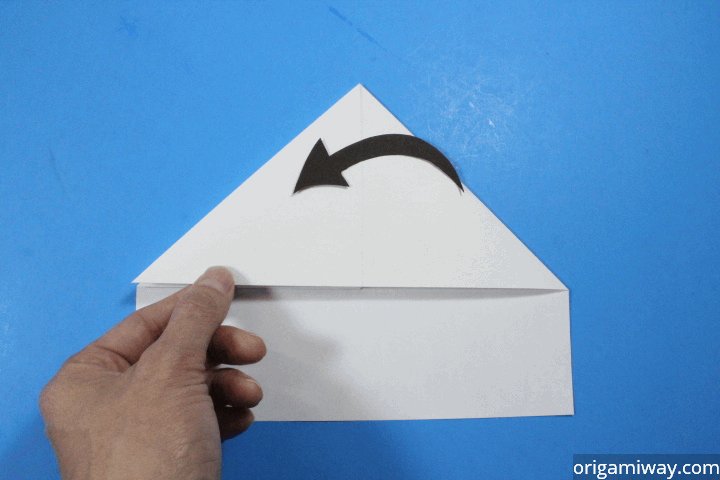 |
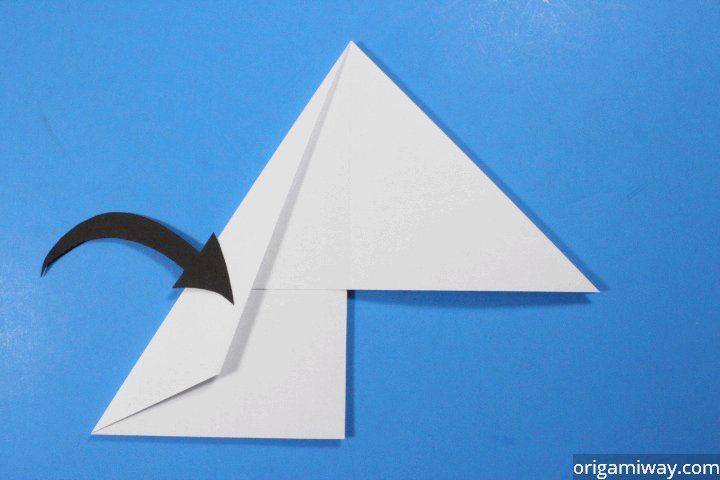
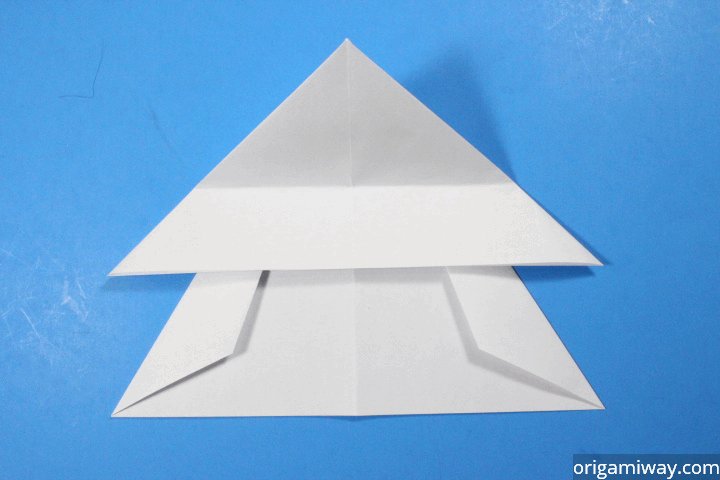
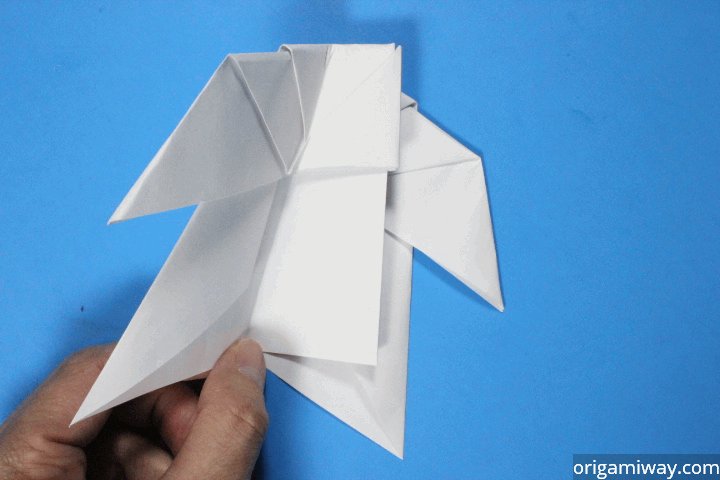
Step 12: Take the top flap of the right side of the triangle and fold it to the left side. |
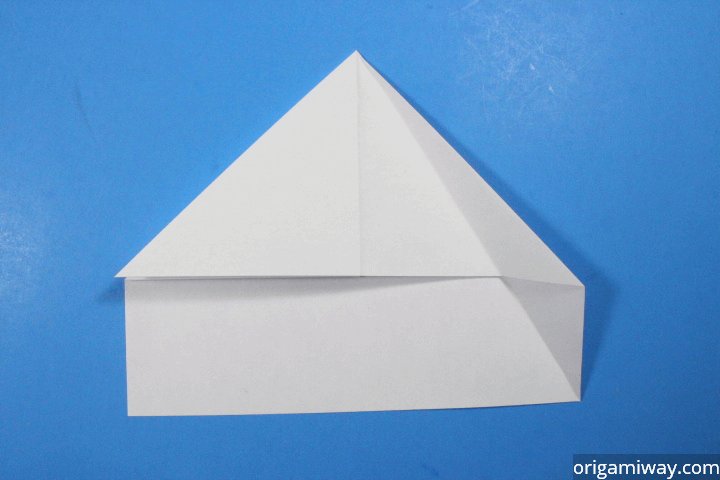 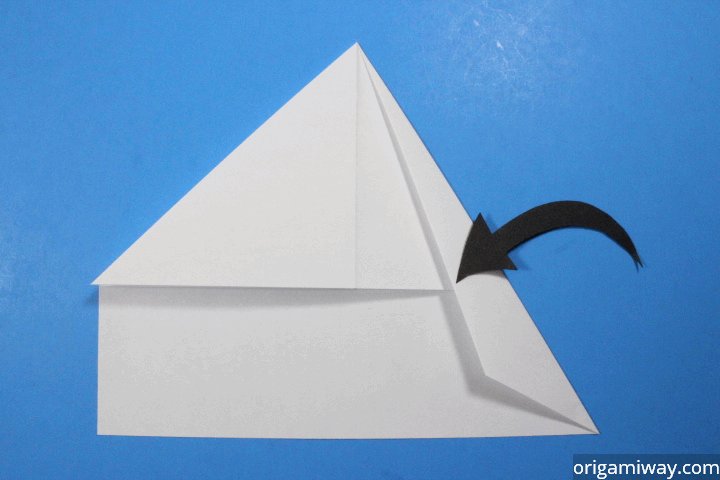 |
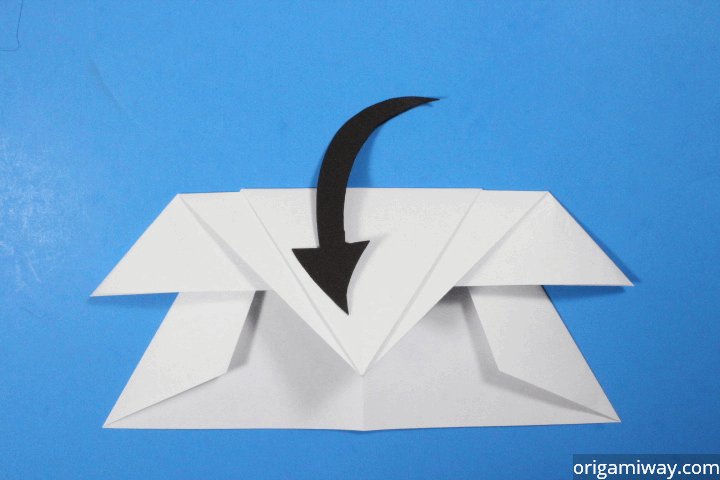
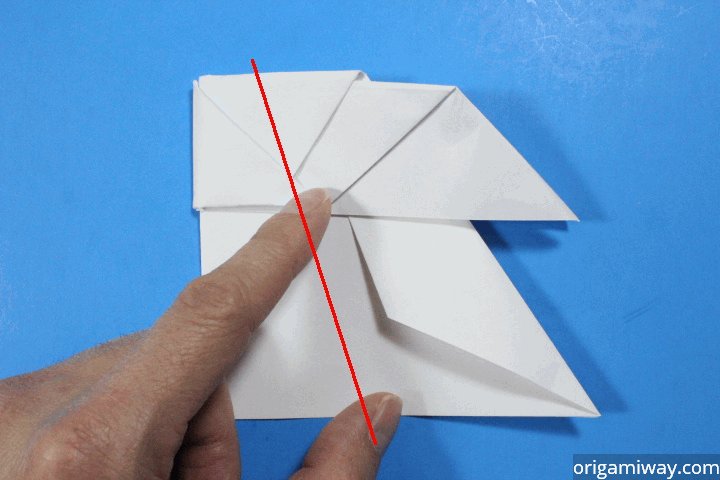
Step 13: Make a crease that runs along the top point of the triangle and bottom right corner, and fold right flap in. |
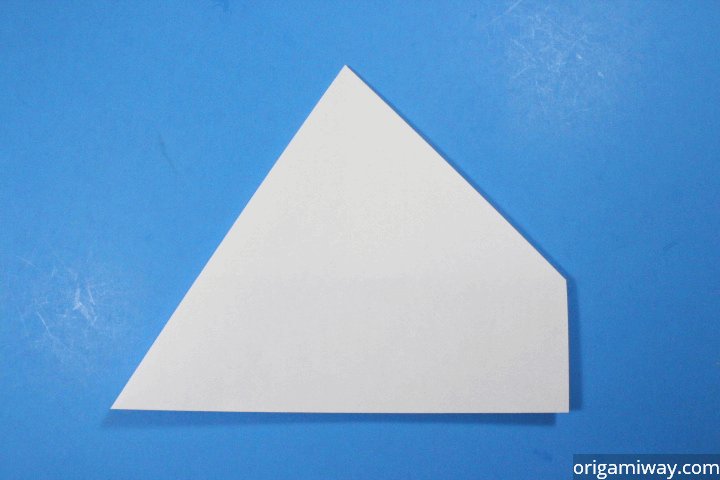 |
Step 14: Turn the paper over. |
  |
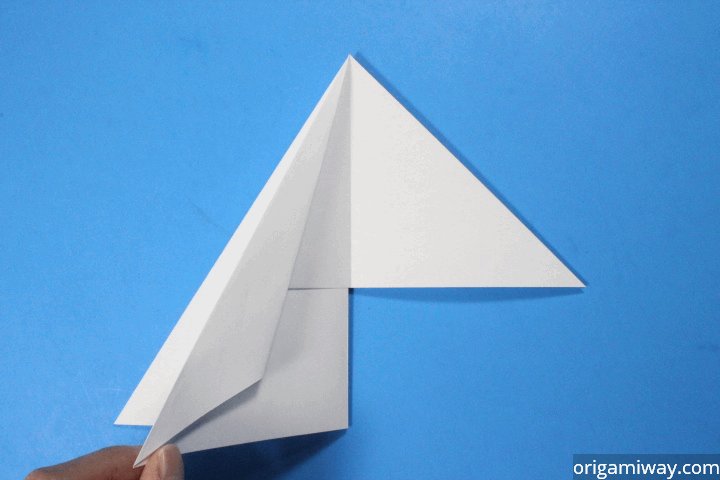
Step 15: Take the top flap of the right side and fold it over to the left side. |
  |
Step 16: Like step 13, make a crease that runs from the top point to the bottom left corner and fold the flap in. |
 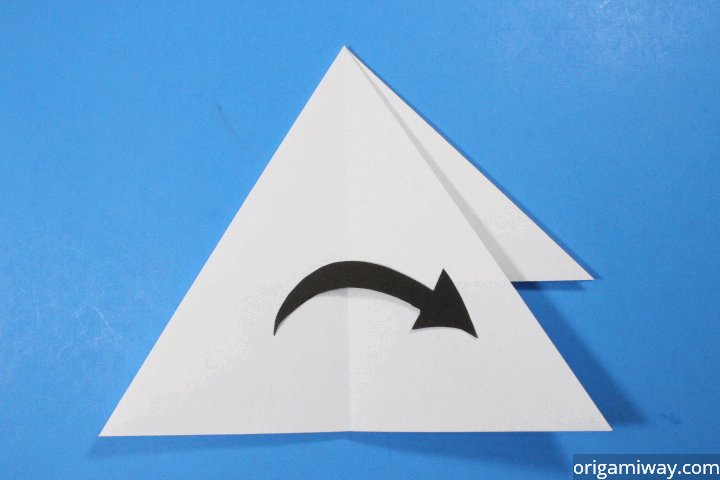 |
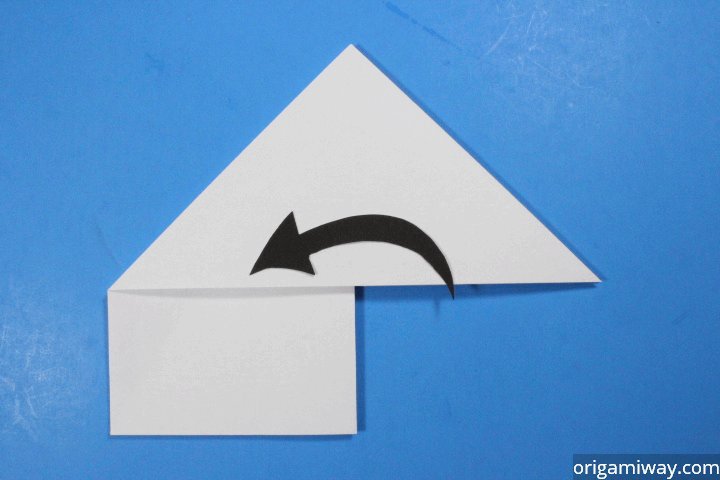
Step 17: Now fold the top flap of the left side over to the right side. |
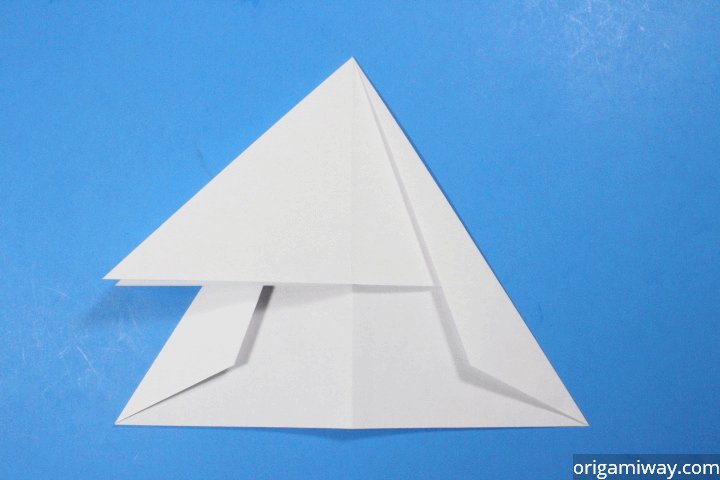 |
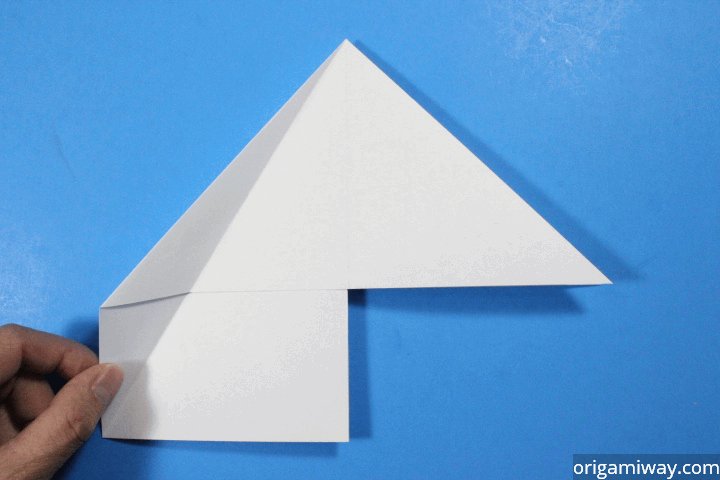
Step 18: Turn the paper over. Go to Next page to continue with the Flying Ninja Paper Airplane. |
  |
Step 19: Take the top flap of the left side and bring it over to the right side. |
  |
Step 20: Fold the top point down to an inch away from the bottom edge. Make sure the point is at the center of the paper where the crease is. |
  |
Step 21: Now fold that same point up to the top edge. Again, make sure it's centered. |
 |
Step 22: Turn the paper over. |
  |
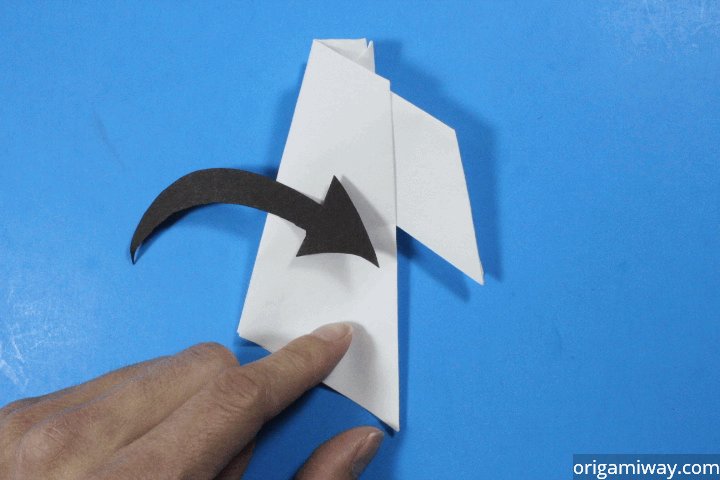
Step 23: Fold the left half to the right. Almost done! |
  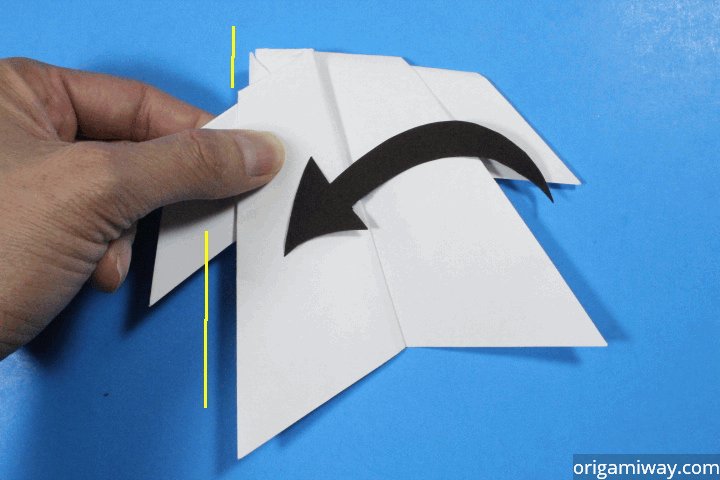 |
Step 24: This may be a tricky fold. Fold the right side along the red line. This is the wing. After the fold, make sure the edge of the wing (that's indicated by a long yellow line in the picture) is parallel to the body (that's indicated by a short yellow line). |
 |
Step 25: Turn the paper over. |
  |
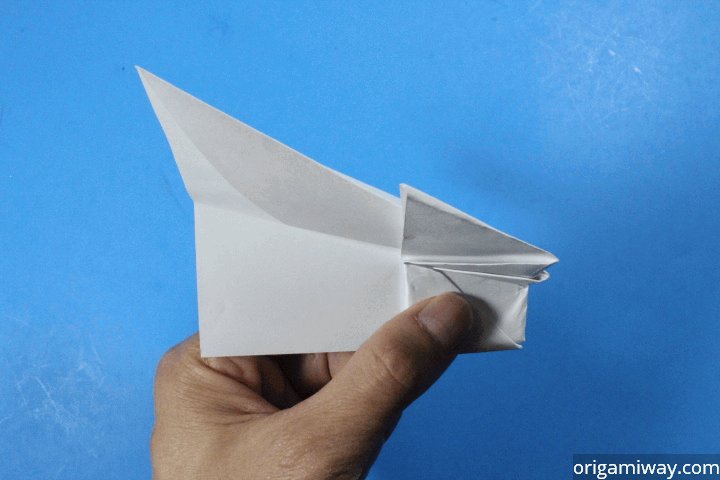
Step 26: Now fold the other wing to line up with the first wing. |
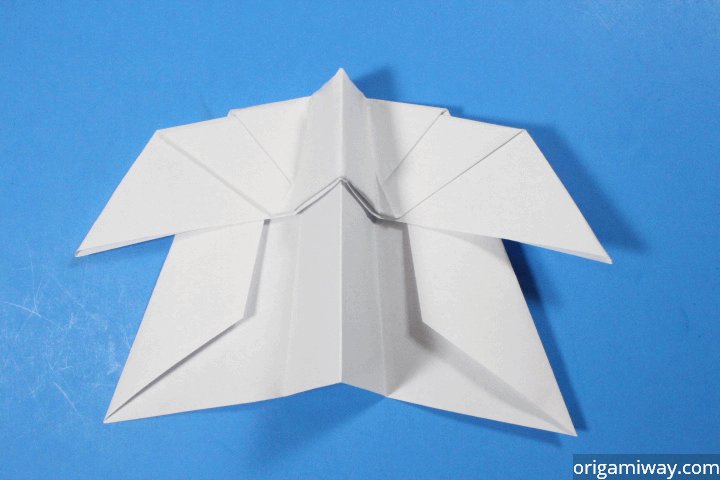 |
Step 27: Open the wings and your plane should look as cool as mine. |
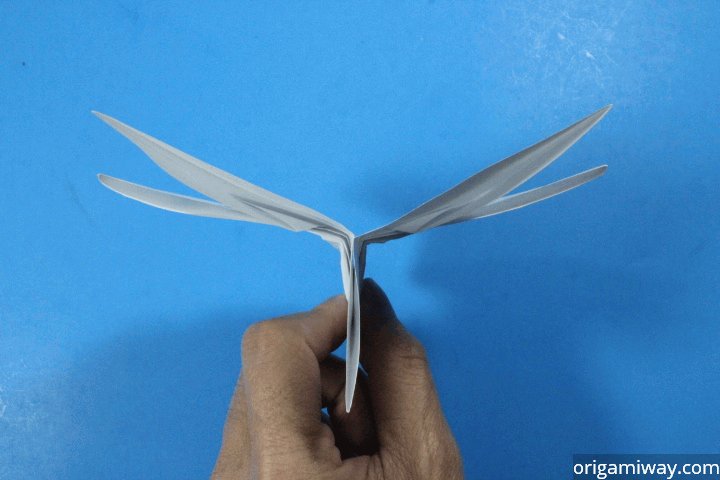 |
Step 28: When opening the wings, make it tilt up a bit to help it fly better. |
 |
Step 29: Hold the front of the plane like this and throw it however you want to throw it. Up at angle, straight, straight up, sideways, etc. The Flying Ninja can take it and will perform different moves depending on how you throw it. If it always turns to one side, simply tilt that side's wing a little higher. |