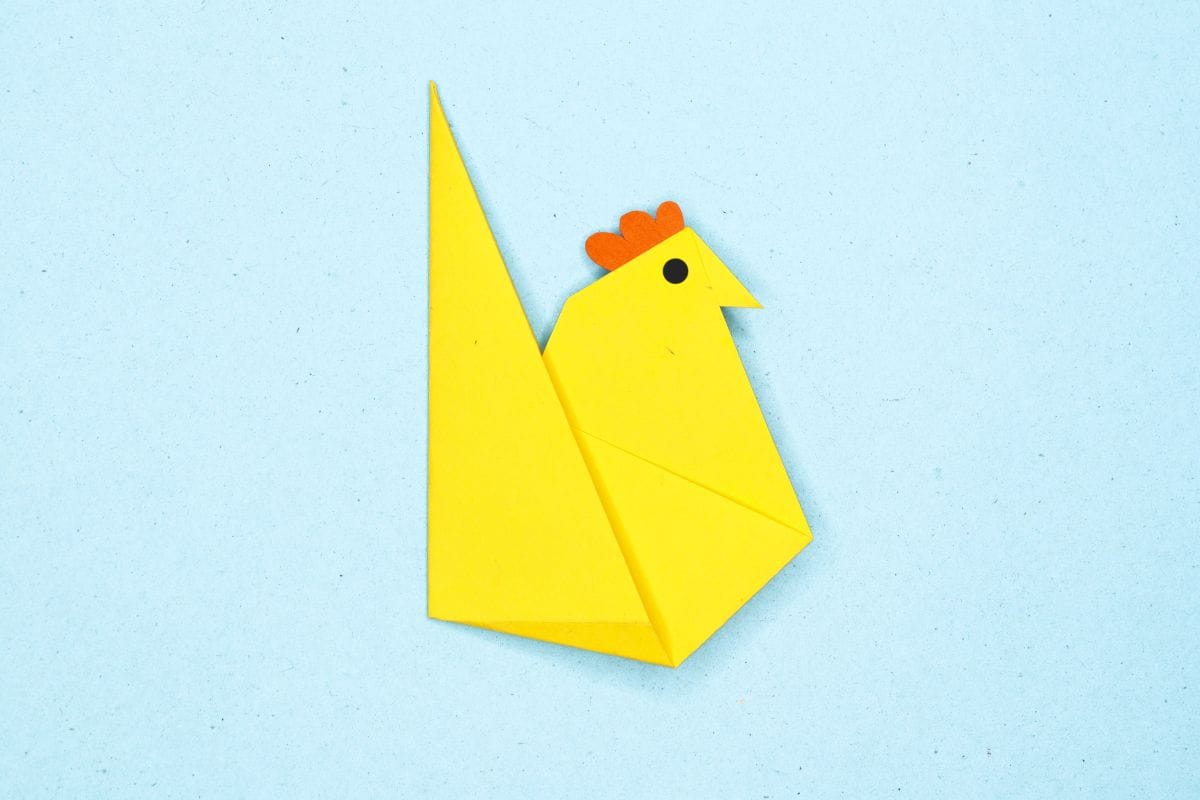
Ready to fold the sweetest little hen on the farm? With just a few simple steps, you can create your very own origami hen that is charming, cheerful, and ready to cluck her way into your craft collection. Perfect for kids’ crafts, school projects, or decorating your farm-themed creations.
How to Fold a Cute Origami Hen
Difficulty: Easy
Learn how to fold an easy Origami hen! Our clear, step-by-step tutorial makes this fun farm animal craft perfect for kids and new folders.
Step 1
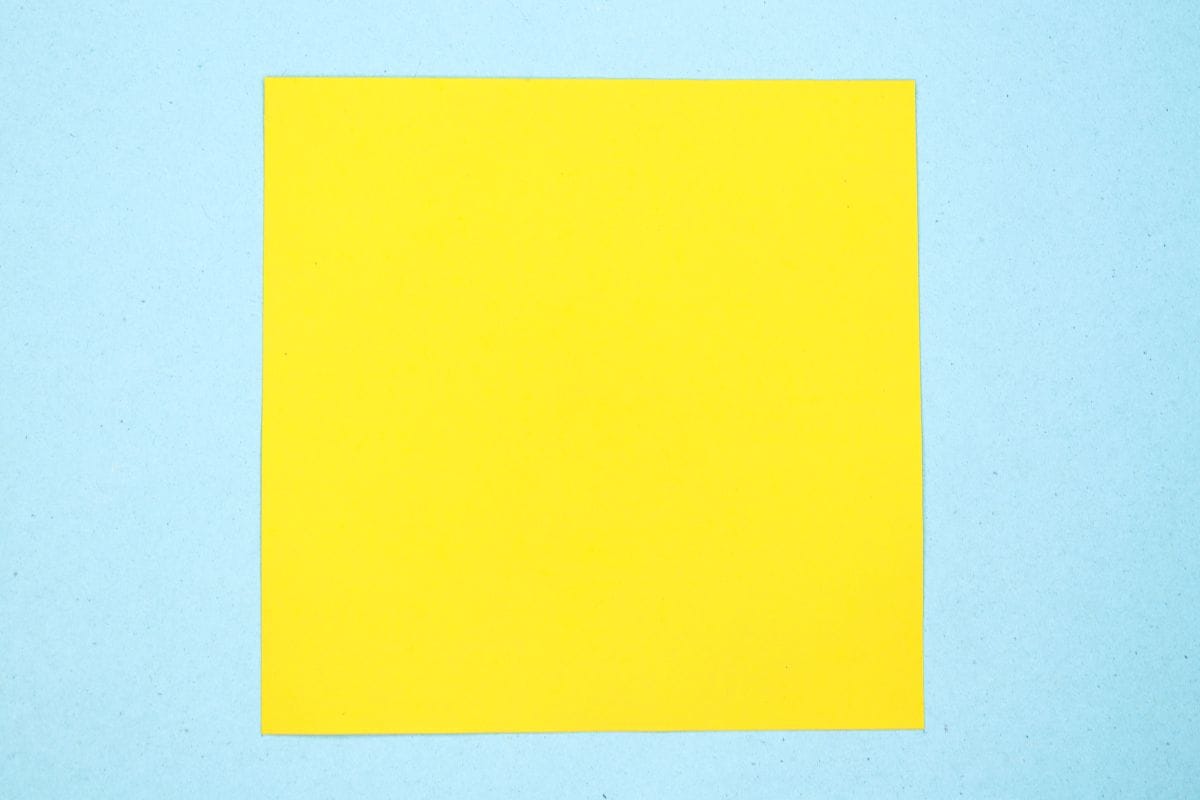
1
Start with a square sheet of origami paper. I am using an 7×7 inches origami sheet.
If you only have regular paper, follow these instructions on how to make a square origami paper.
If you only have regular paper, follow these instructions on how to make a square origami paper.
Step 2
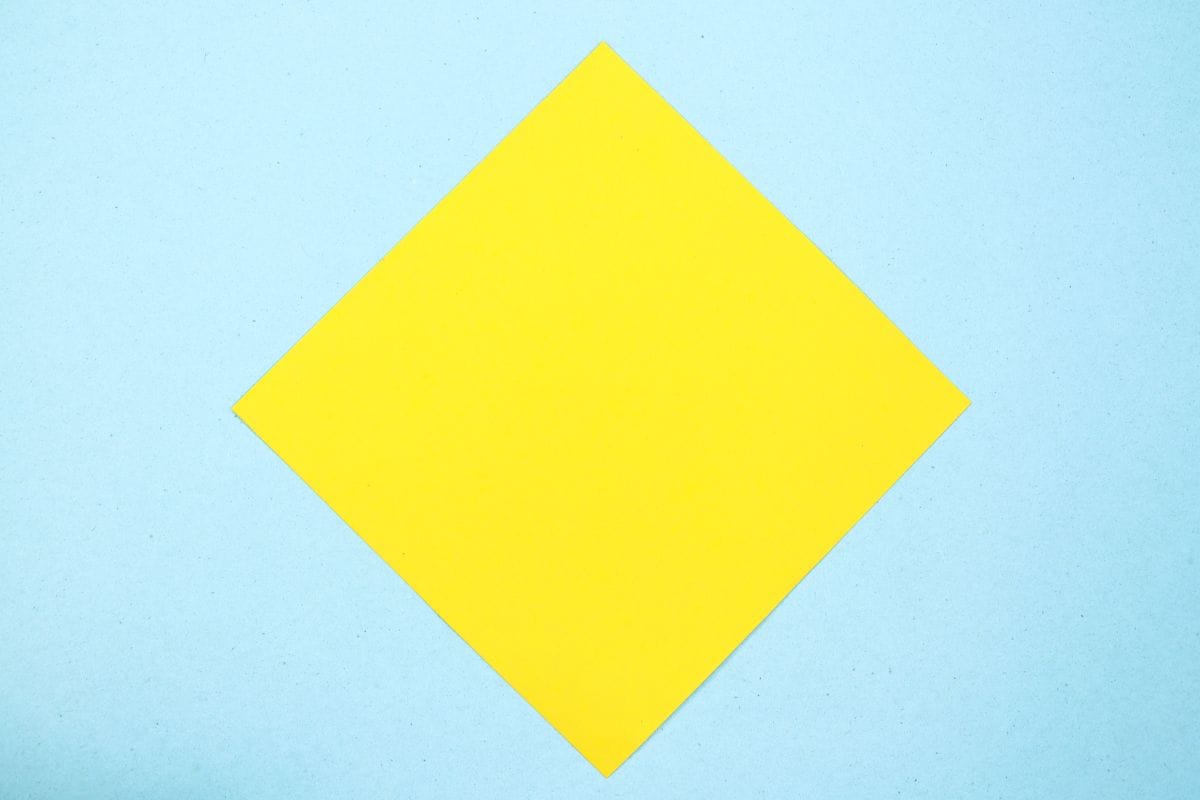
2
Rotate the paper into a diamond shape.
Step 3

3
Fold the left corner to the right corner.
Step 4
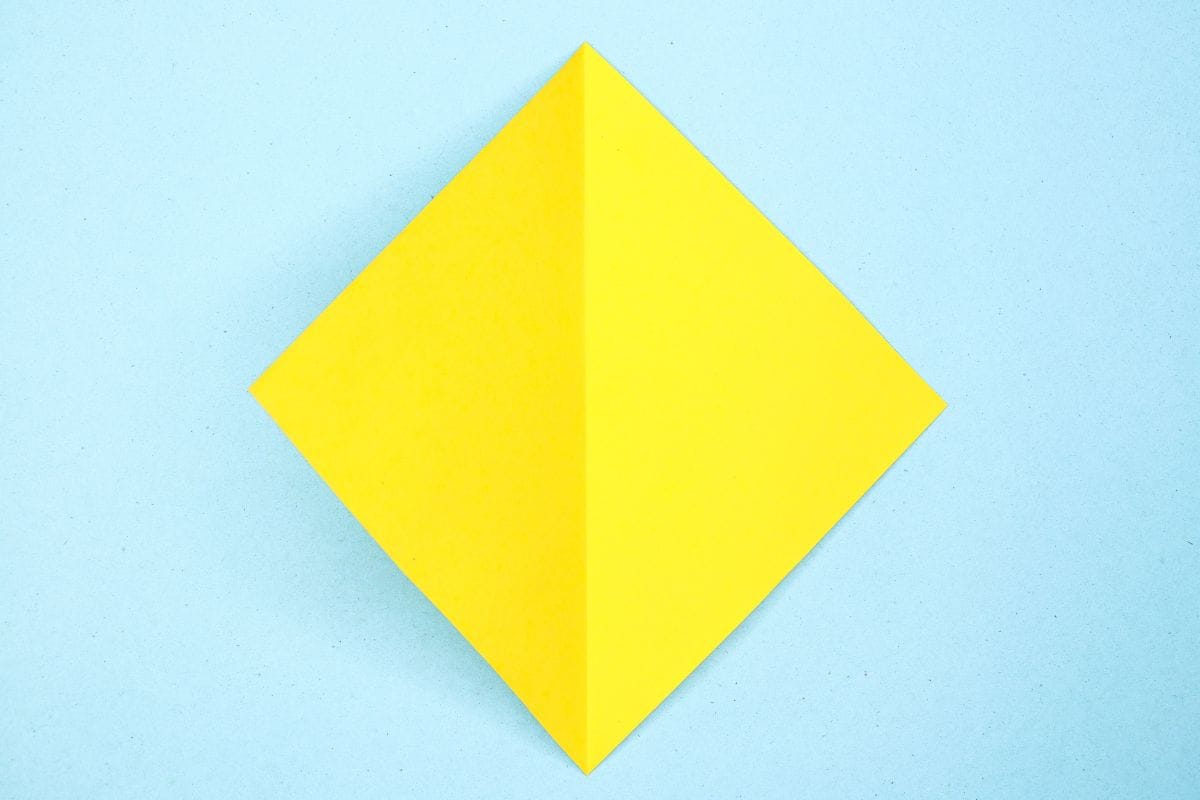
4
Unfold. Wr just needed a crease line.
Step 5

5
Fold the top right edge to the center crease.
Step 6
6
Fold the top left edge to the center crease.
Step 7

7
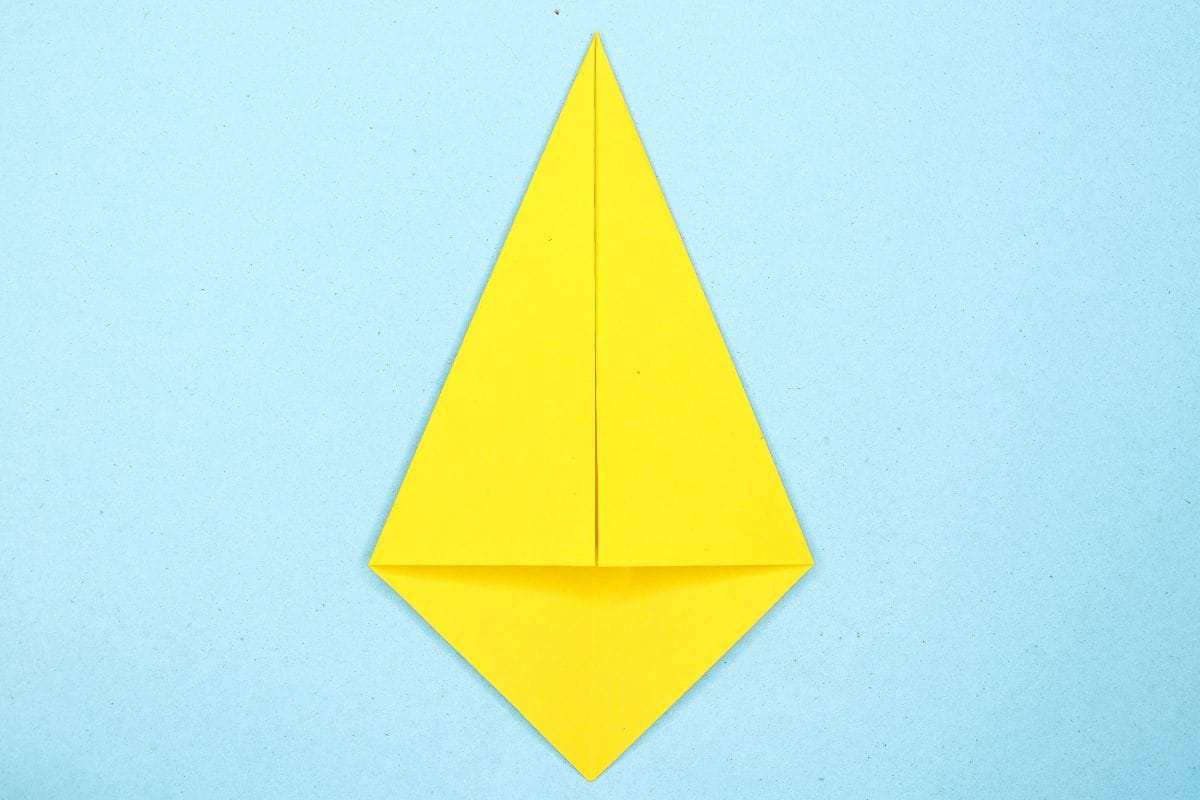
Fold the bottom corner upward to meet the top corner.
Step 8

8
Fold the paper in half, left to right.
Step 9

9
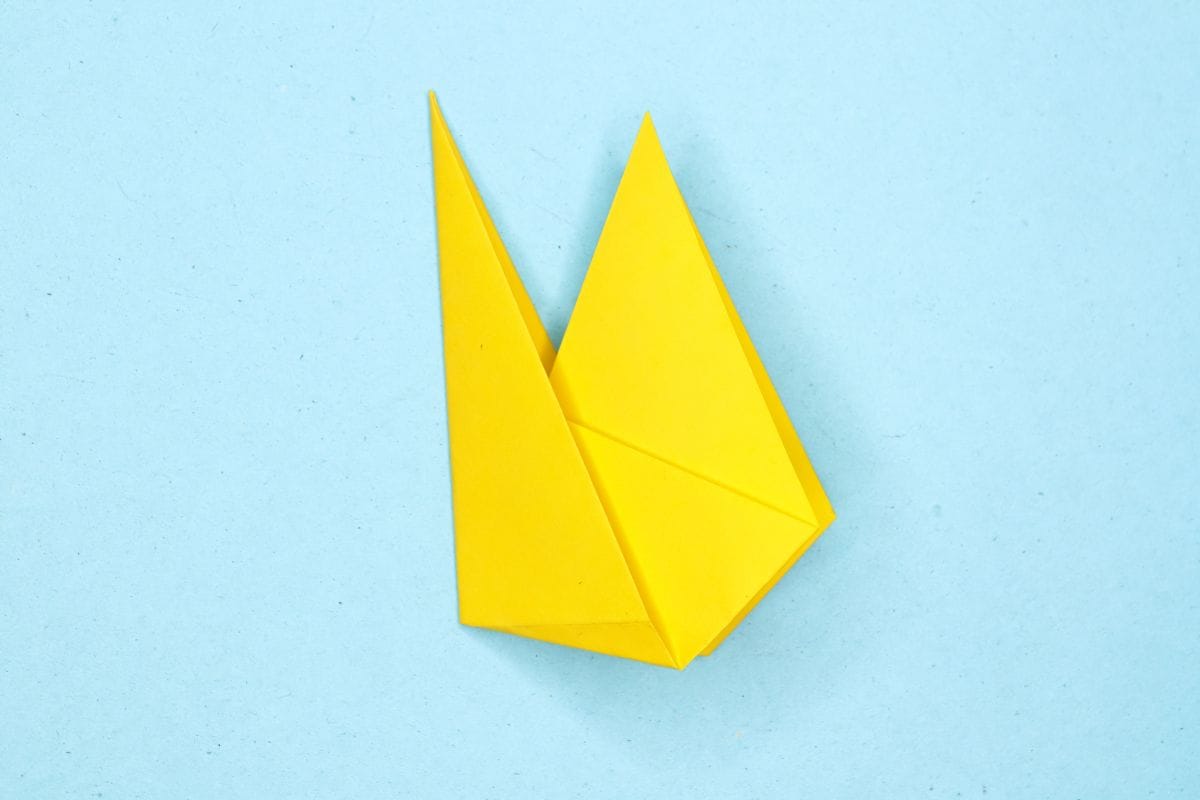
Open the left and right flaps.
Step 10
10
Press down the fold.
Step 11
11
Fold the top corner to the right at an angle.
Step 12
12
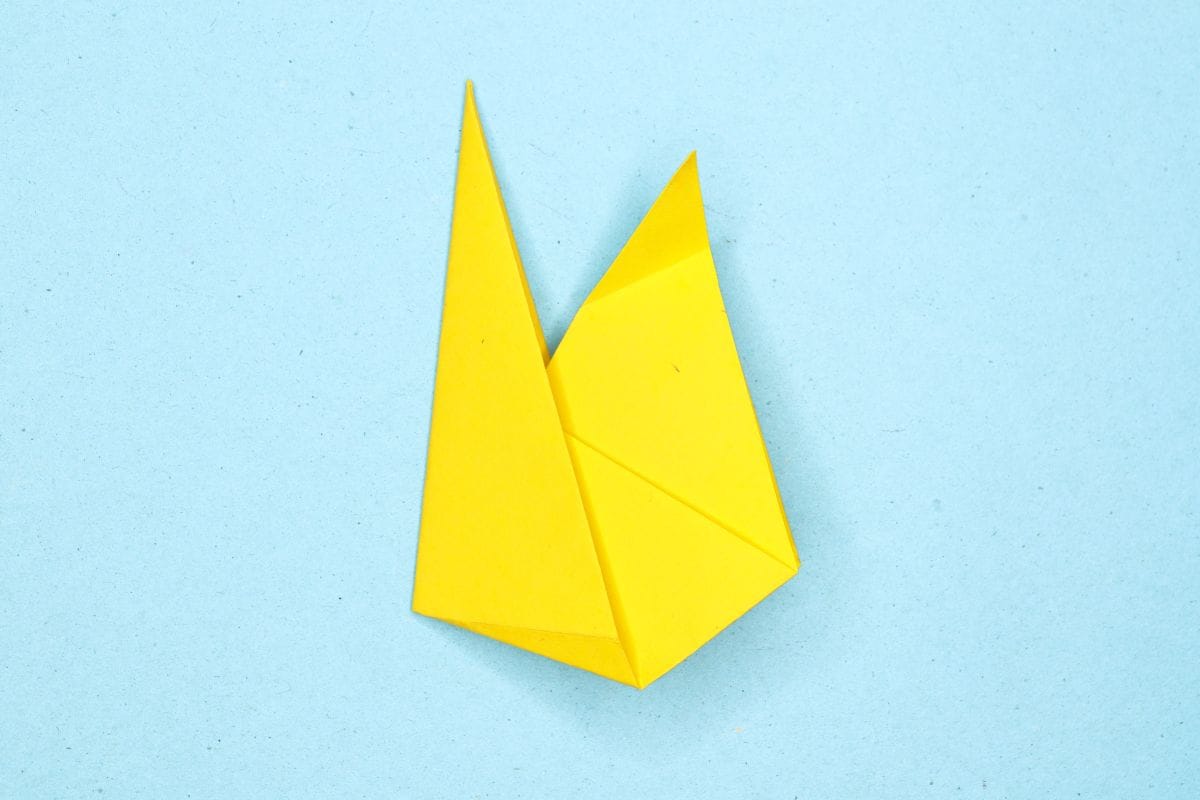
Unfold.
Step 13

13
Open the flaps.
Step 14

14
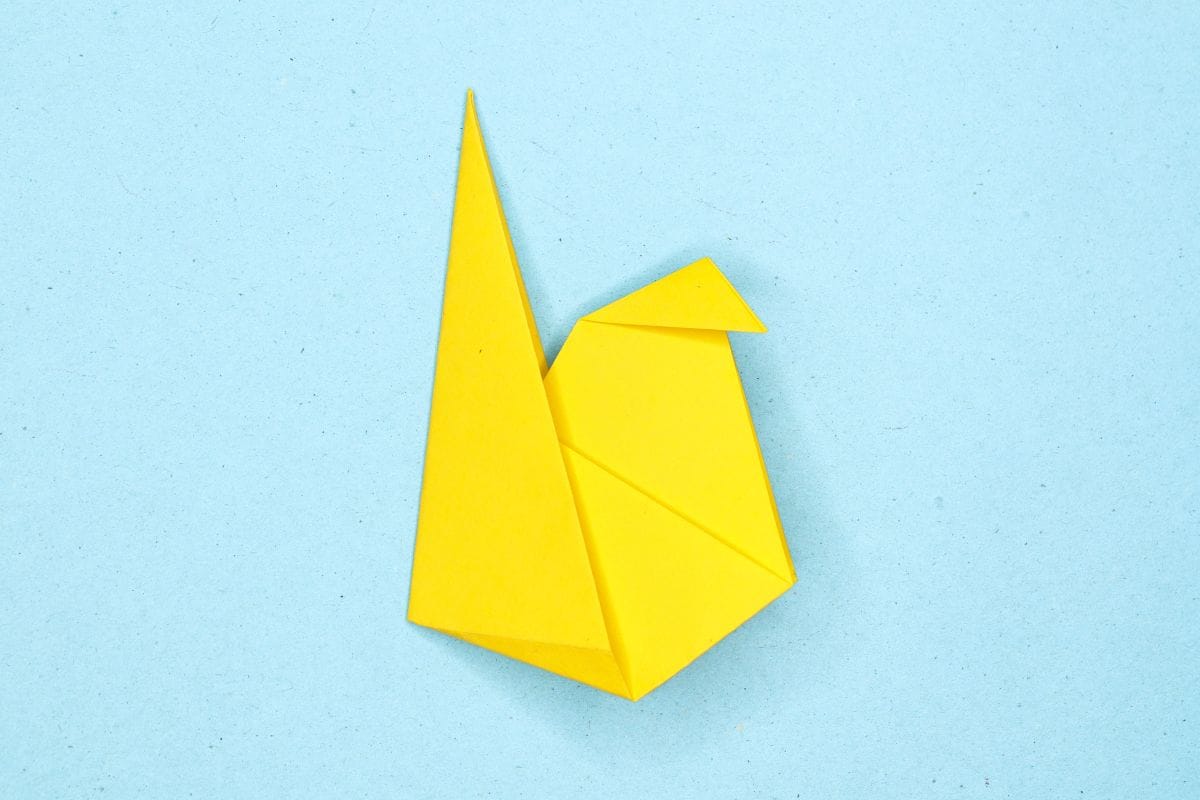
Do an inside reverse fold using the crease you just made.
Step 15
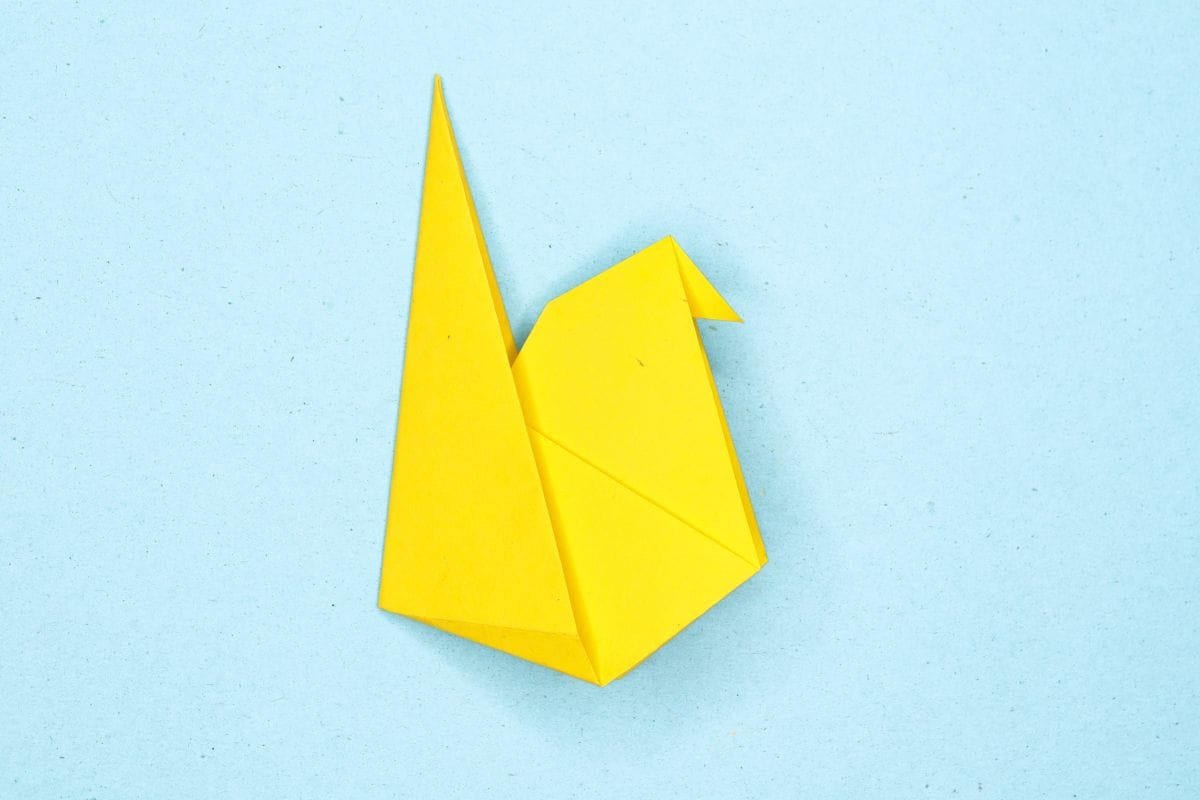
15
Flatten the fold well.
Step 16
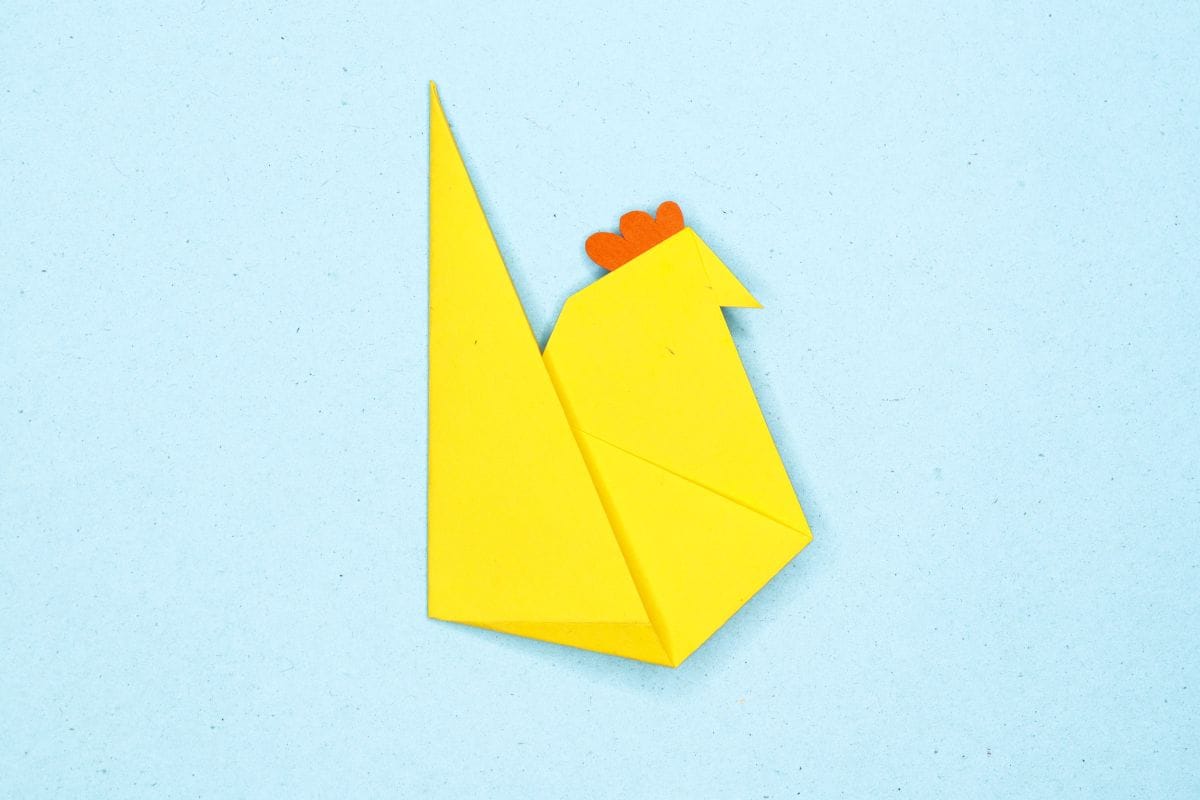
16
Glue the hen’ comb on it’s head.
Step 17
17
Draw the eyes, and voilà! The hen is ready to cluck around.
Share and Comment
We would love to see your creations! Scroll down to the comments section and share a photo of your origami.
Leave a Reply