Very Easy Origami Santa Claus Instructions

Santa face final step
Difficulty: Easy
Follow the simple step-by-step instructions with pictures to learn how to make an easy origami Santa Claus.

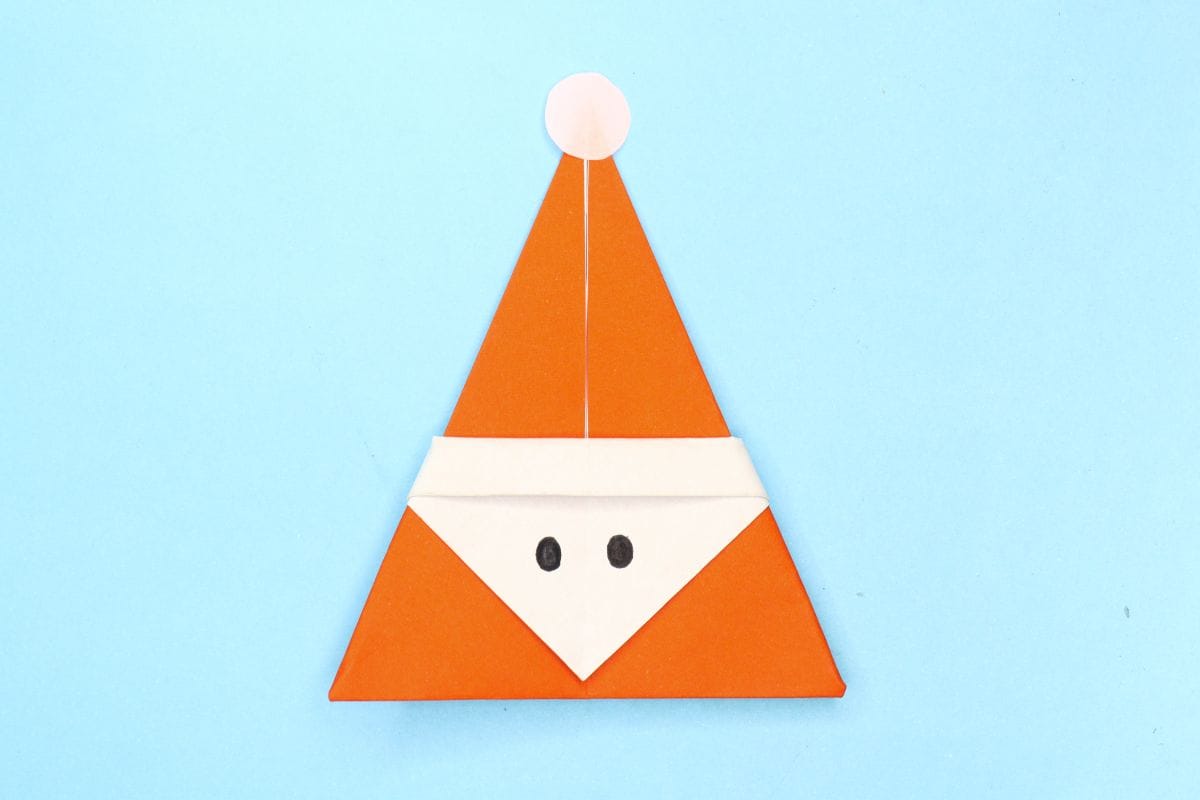
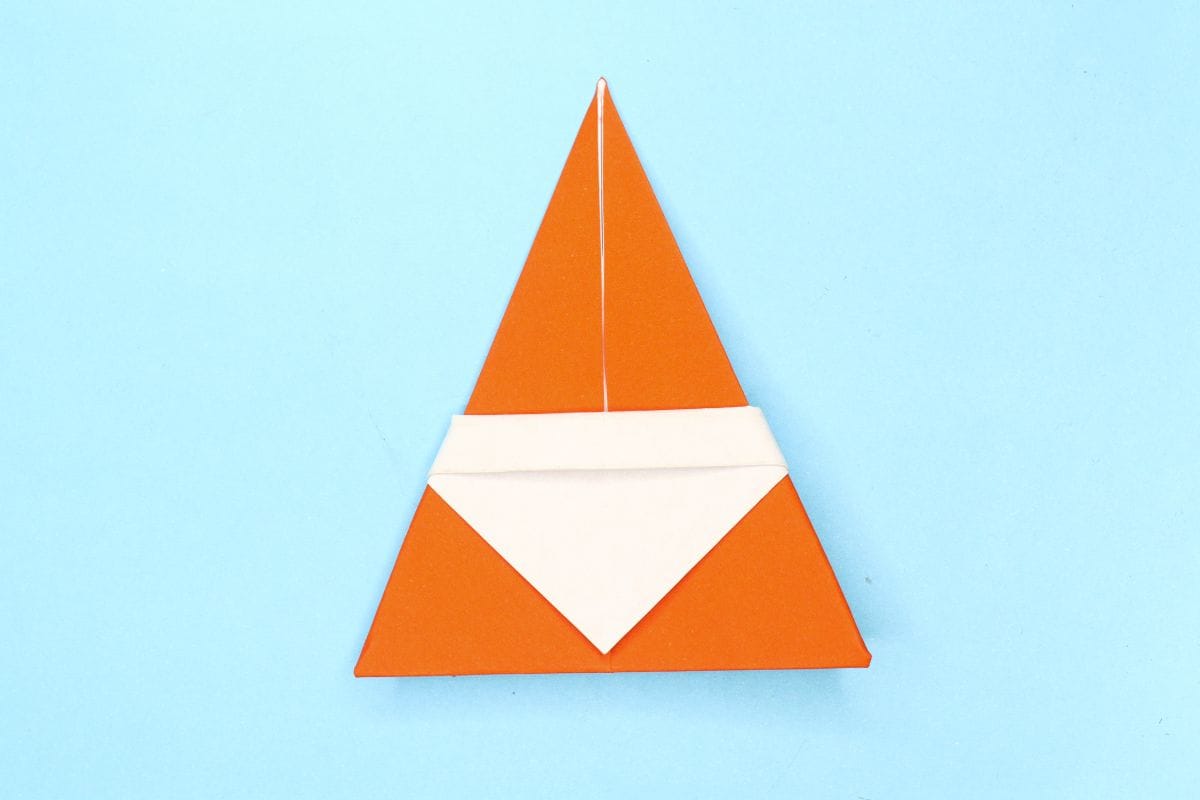
With just a few simple folds, you’ll have a jolly little origami Santa Claus perfect for cards, decorations, or spreading Christmas cheer the handmade way. It’s a fun, quick, and charming craft perfect for kids and beginners.

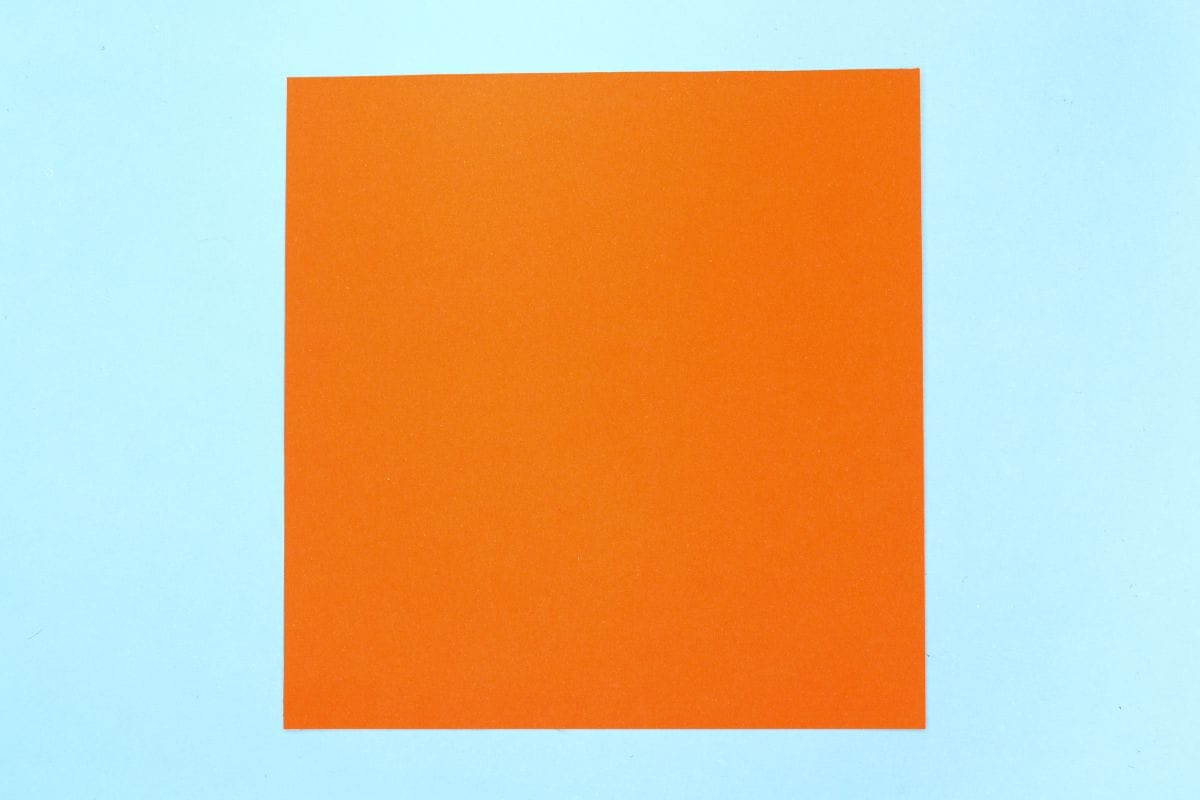
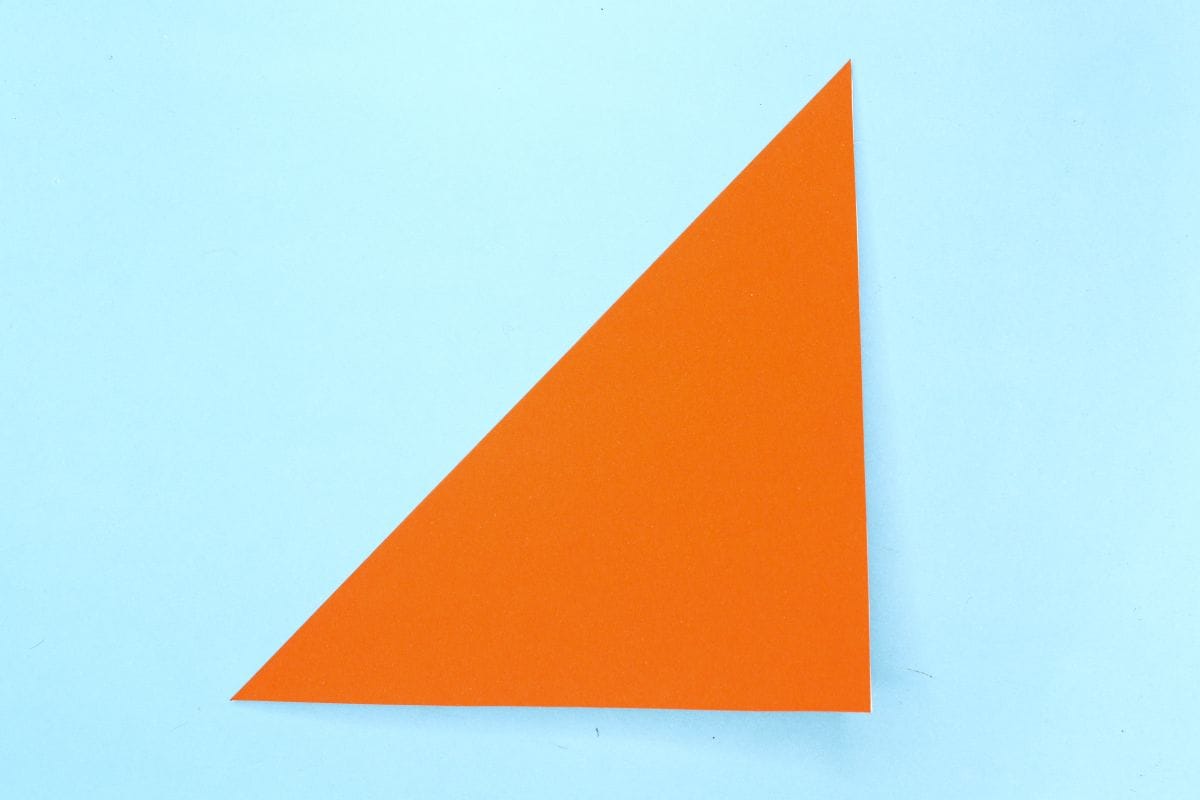
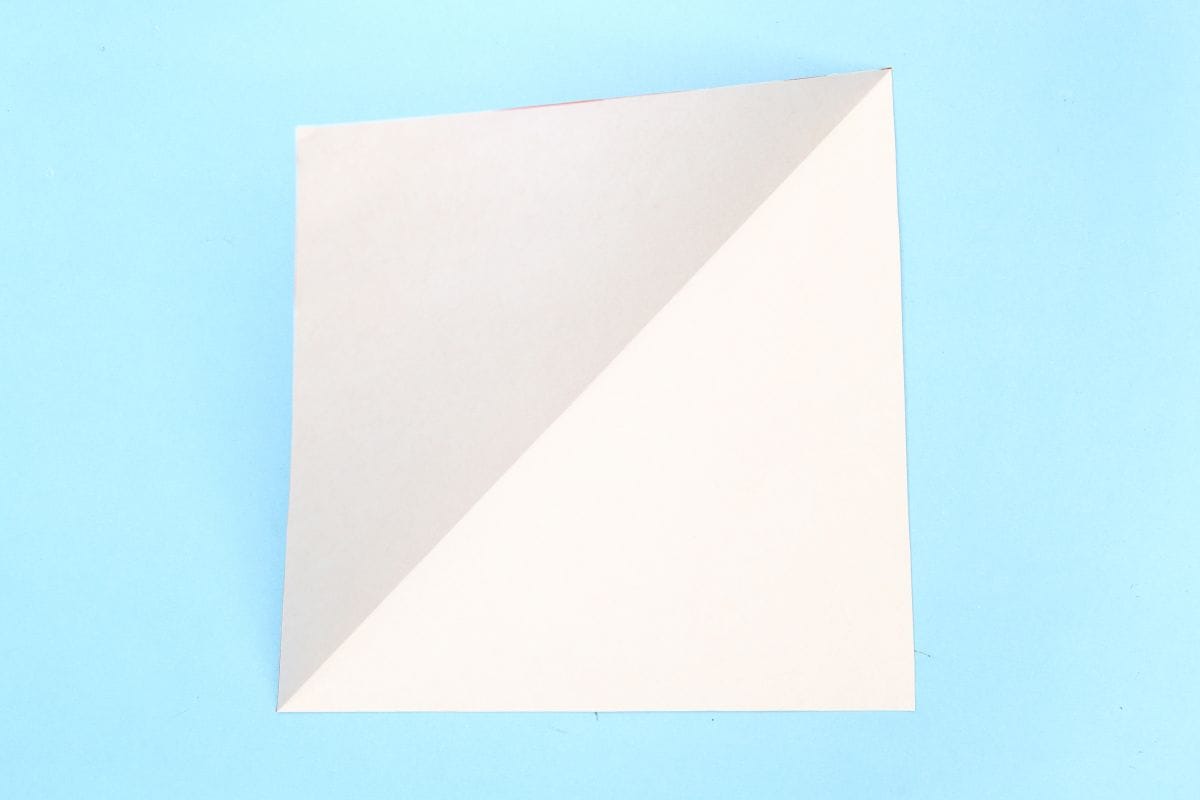
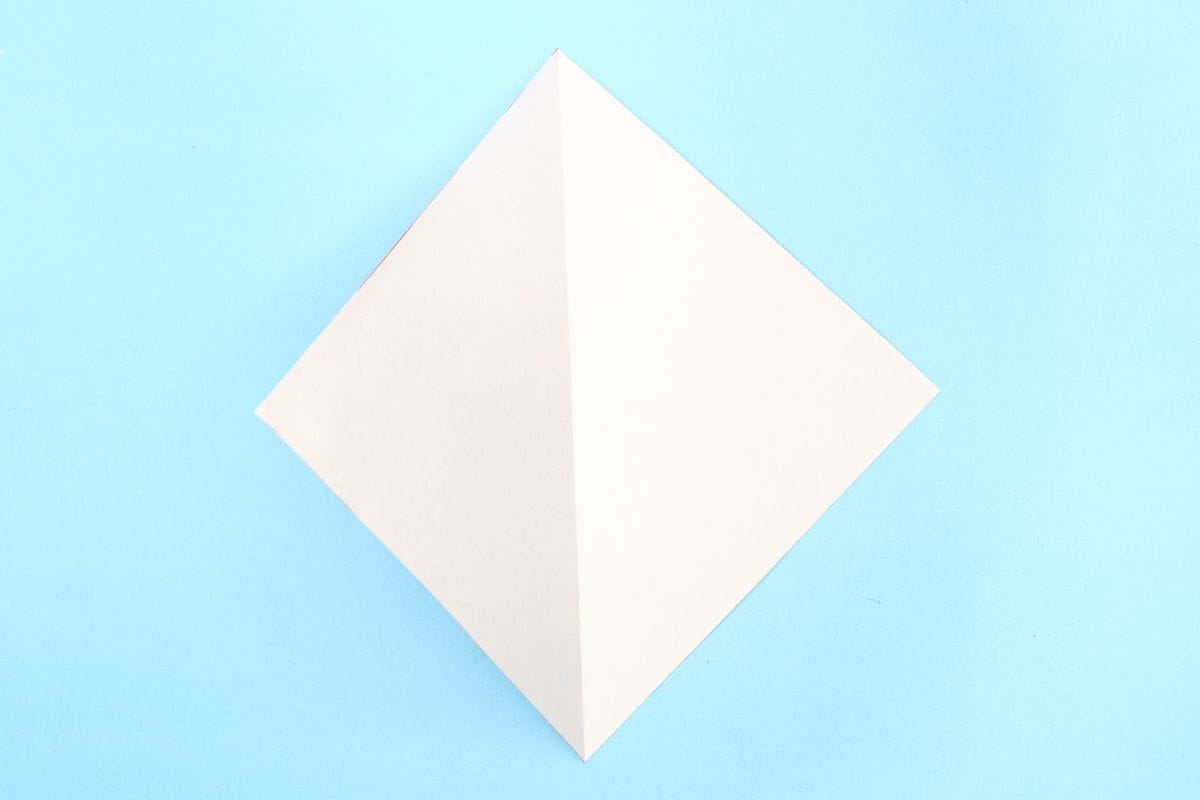
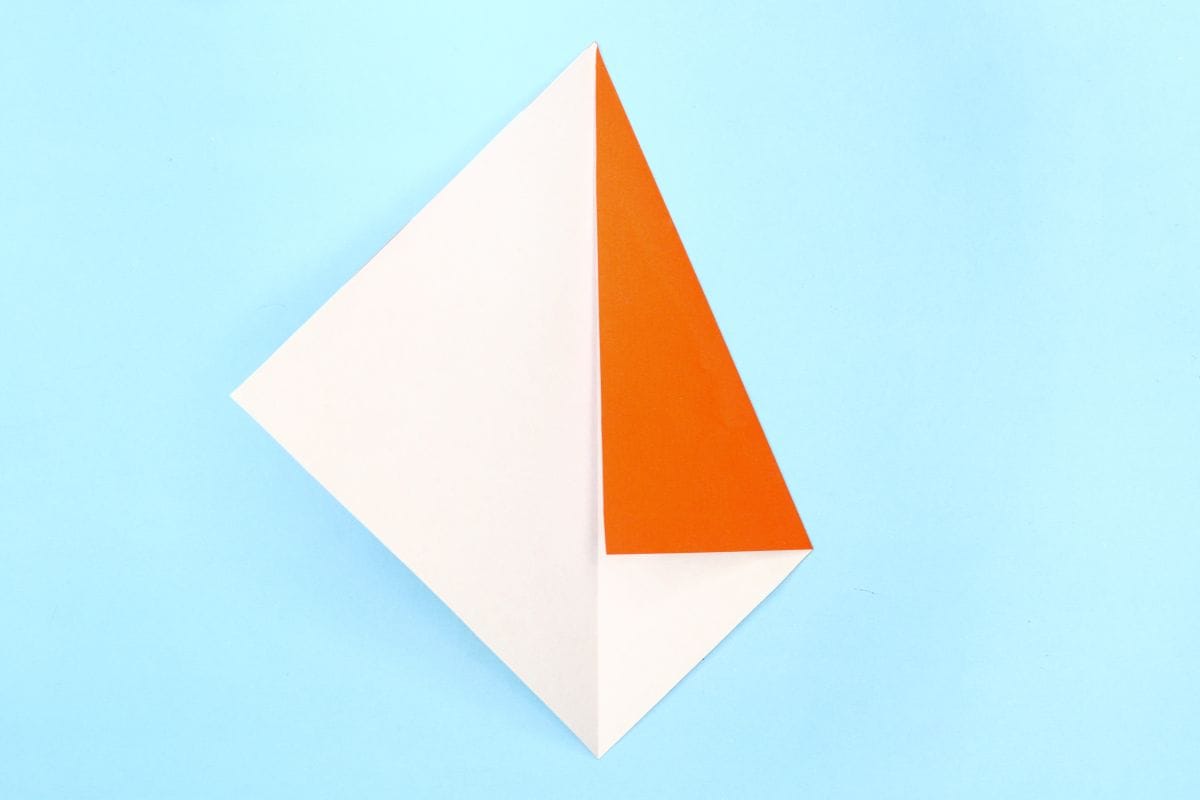
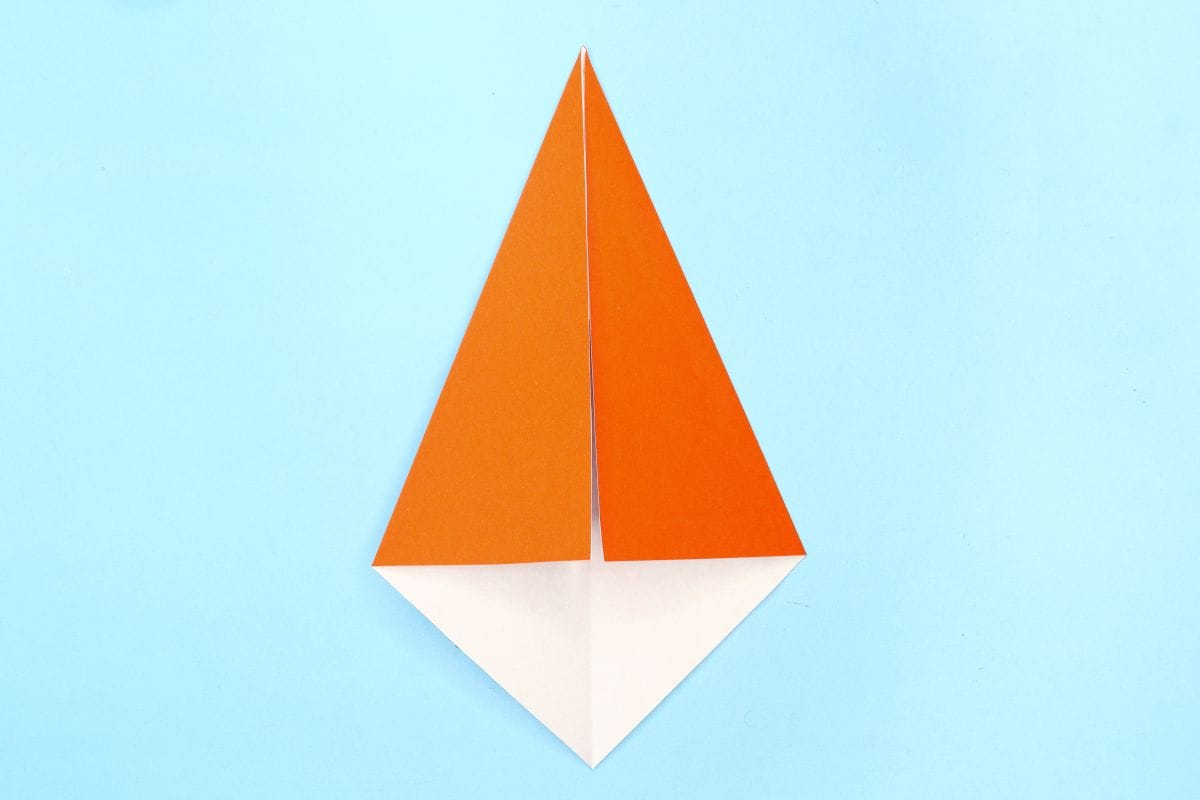
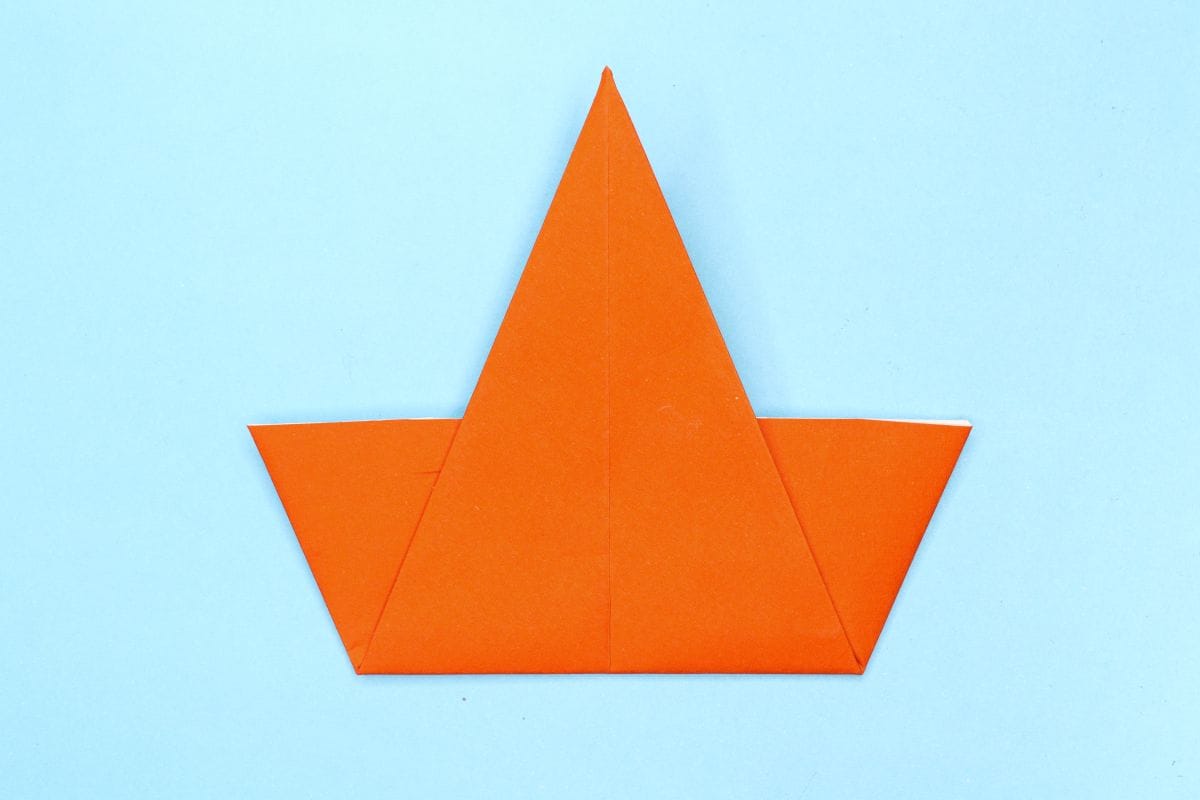
The origami Santa is best folded with a square paper with red on one side. If you don’t have that, you can always color it yourself or print it from the Printable Origami Paper page.

Step 1
Santa face step 01
1
Start with a square sheet of origami paper. I am using an 7×7 inches origami paper. If you are using double-sided origami paper, keep the colored side facing up.

If you only have regular paper, follow these instructions on how to make a square origami paper.

Step 2
Santa face step 02
2
Fold from the top left corner to the bottom right corner.

Step 3
Santa face step 03
3
Unfold.

Step 4
Santa face step 04
4
Rotate the paper to make it resemble a diamond.

Step 5
Santa face step 05
5
Fold the right edge to the center.

Step 6
Santa face step 06
6
Fold the left edge to the center.

Step 7
Santa face step 07
7
Fold the bottom corner to the top.

Step 8
Santa face step 08
8
Fold the corner down.

Step 9
Santa face step 09
9
Fold the edge down.

Step 10
Santa face step 10
10
Turn the paper over.

Step 11
Santa face step 11
11
Fold the right corner diagonally toward the side.

Step 12
Santa face step 12
12
Fold the left corner diagonally toward the side.

Step 13
Santa face step 13
13
Turn the paper over.

Step 14
Santa face final step
14
Design your Santa Claus’s face, then add a white circle at the top to complete the hat, and you’re all done!

Share and Comment
We would love to see your creations! Scroll down to the comments section and share a photo of your origami.

Comments

Leave a Reply

Your email address will not be published. Required fields are marked *

Drop file here