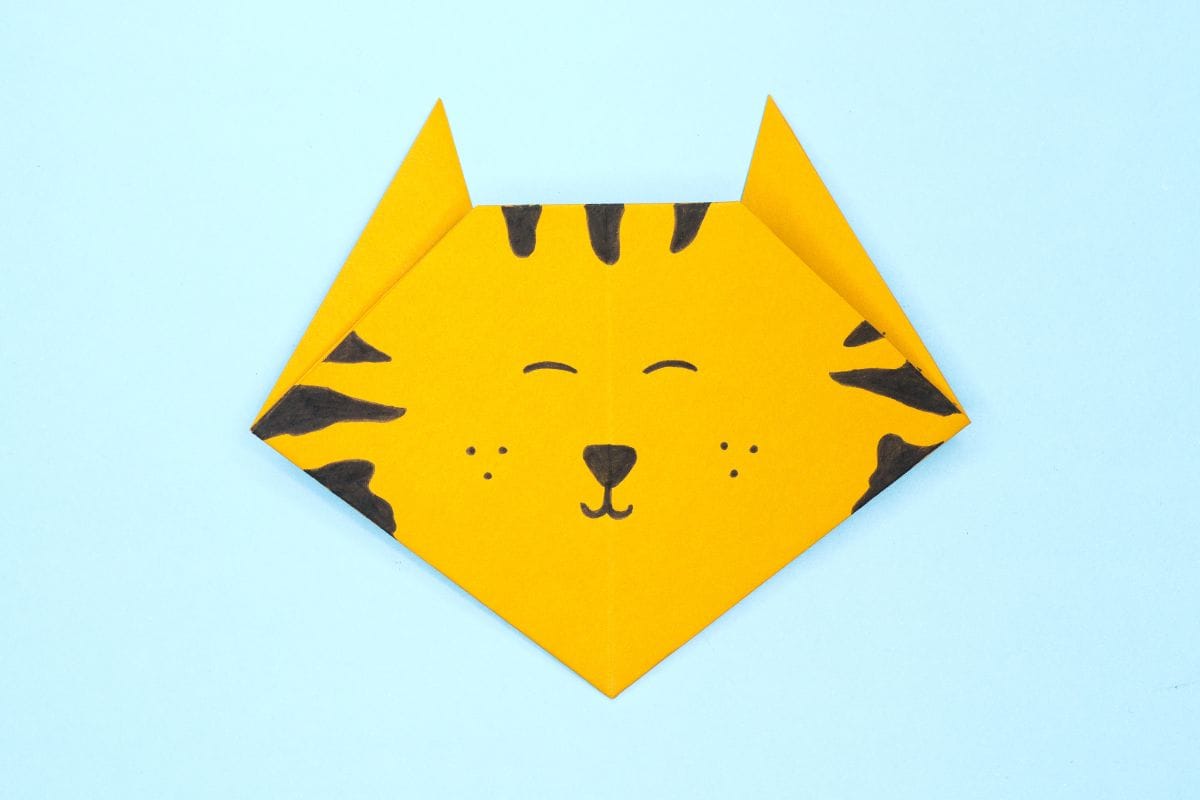
Let me hear a big ‘roar’ from you – great job! Now, follow these simple steps to create an origami tiger head. But don’t just make any tiger, make the cutest tiger you can! One you can play with and decorate your space with!
Very Easy Origami Tiger Head Instructions
Difficulty: Easy
Learn to fold an origami tiger head in minutes with our step-by-step instructions! A simple and fun paper craft that’s great for all ages and skill levels!
Step 1
1
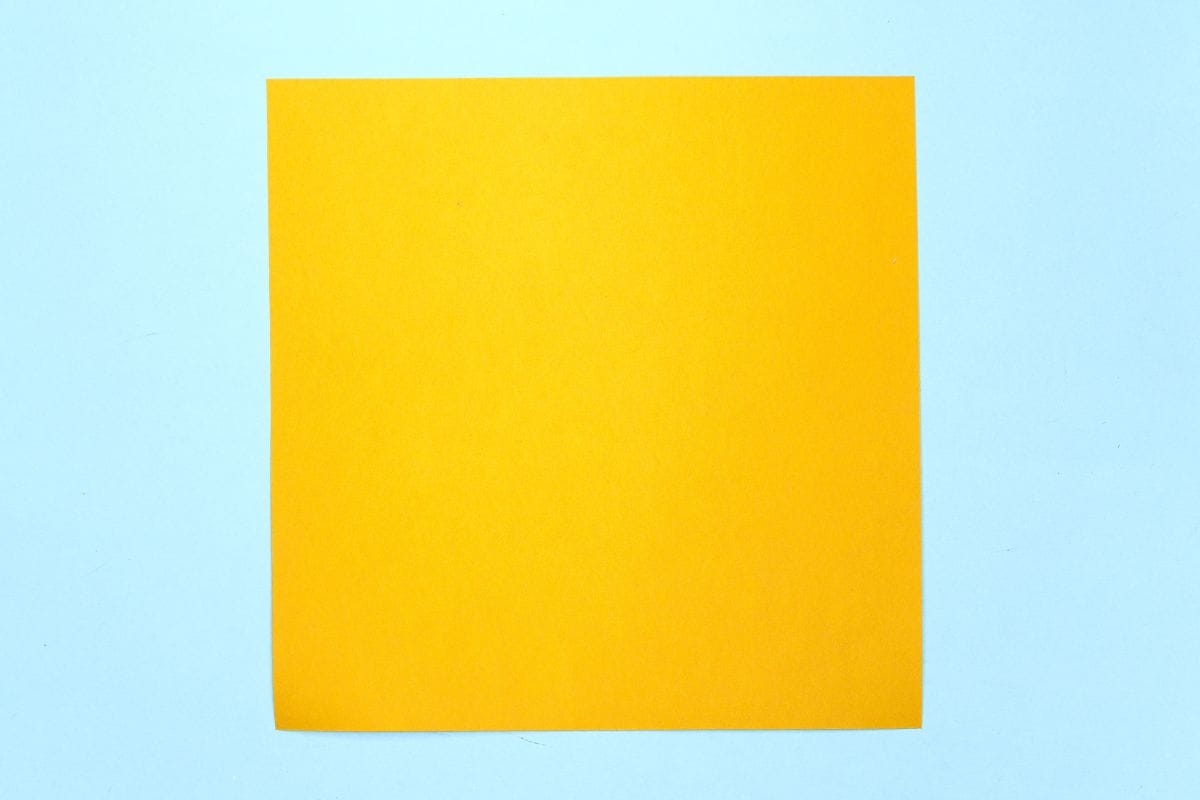
Start with a square sheet of origami paper. I am using an 7×7 inches origami paper.
If you only have regular paper, follow these instructions on how to make a square origami paper.
If you only have regular paper, follow these instructions on how to make a square origami paper.
Step 2
2
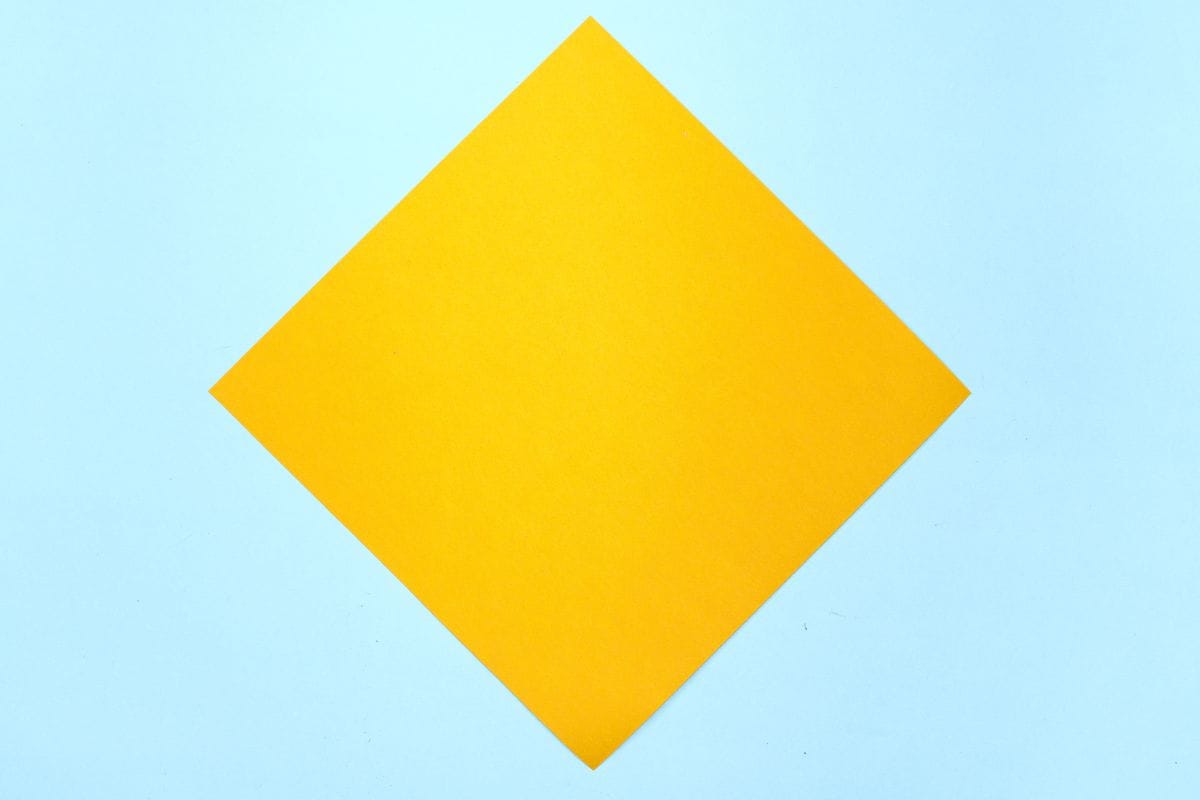
Rotate the paper to make it resemble a diamond.
Step 3
3
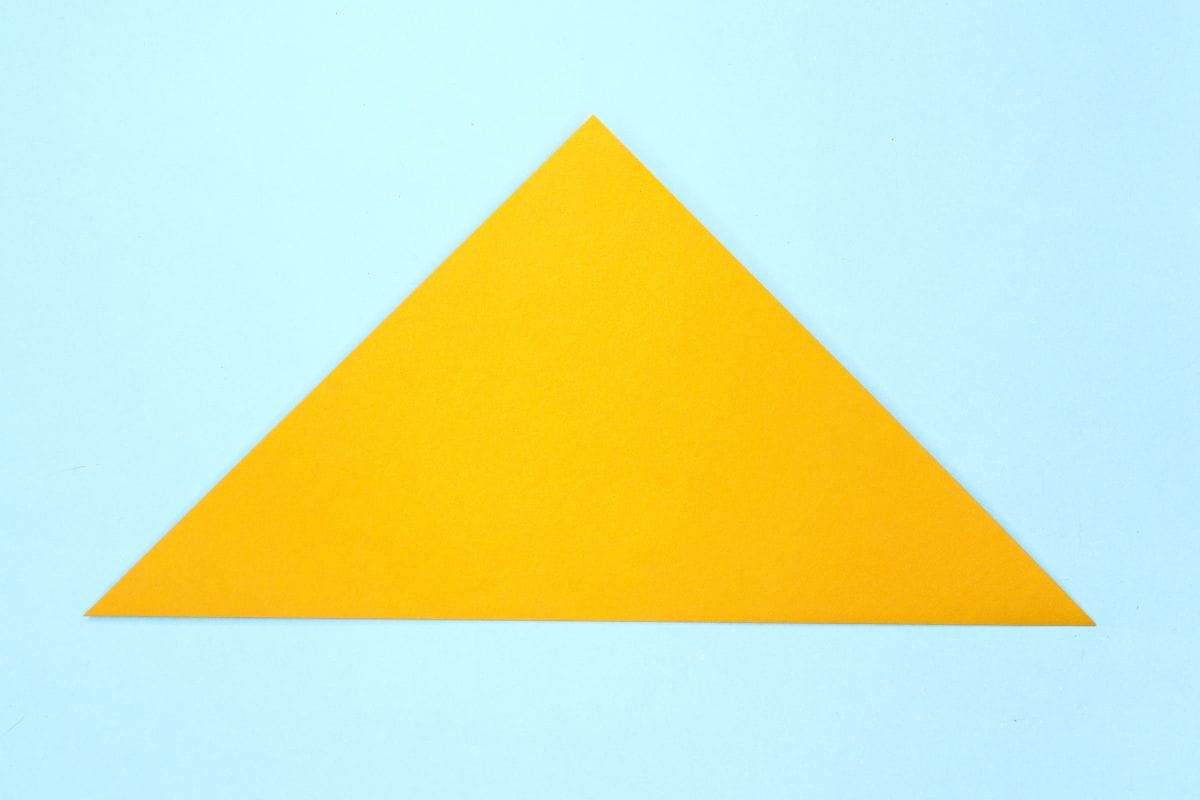
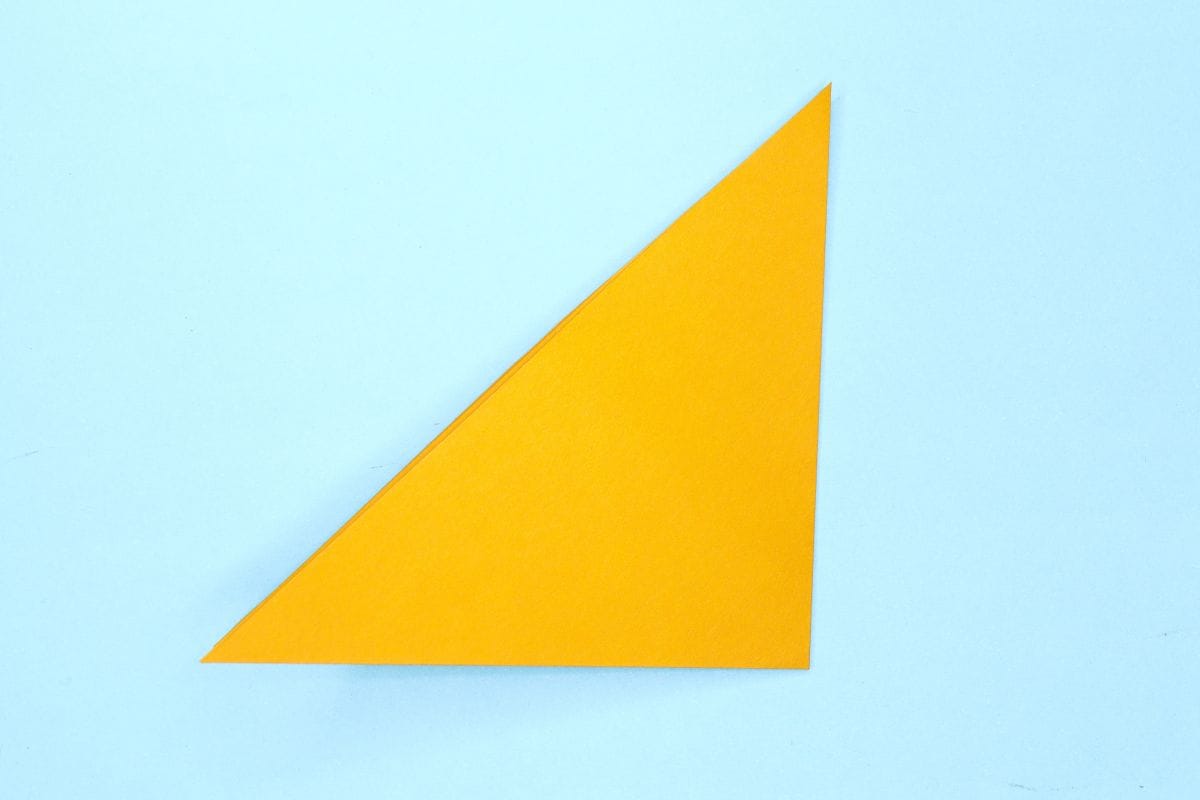
Fold the paper in half by bringing the bottom corner to meet the top corner.
Step 4
4
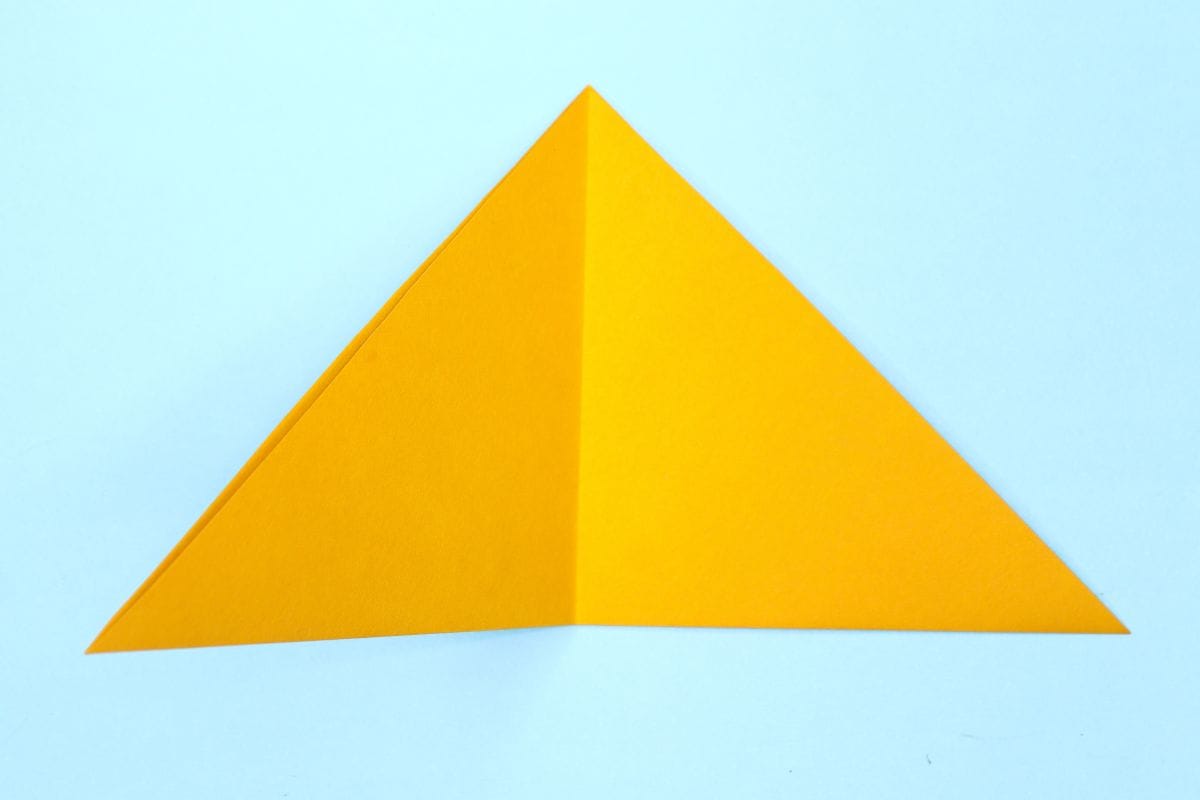
Fold the paper in half again by bringing the right corner to meet the left corner.
Step 5
5
Unfold.
Step 6
6
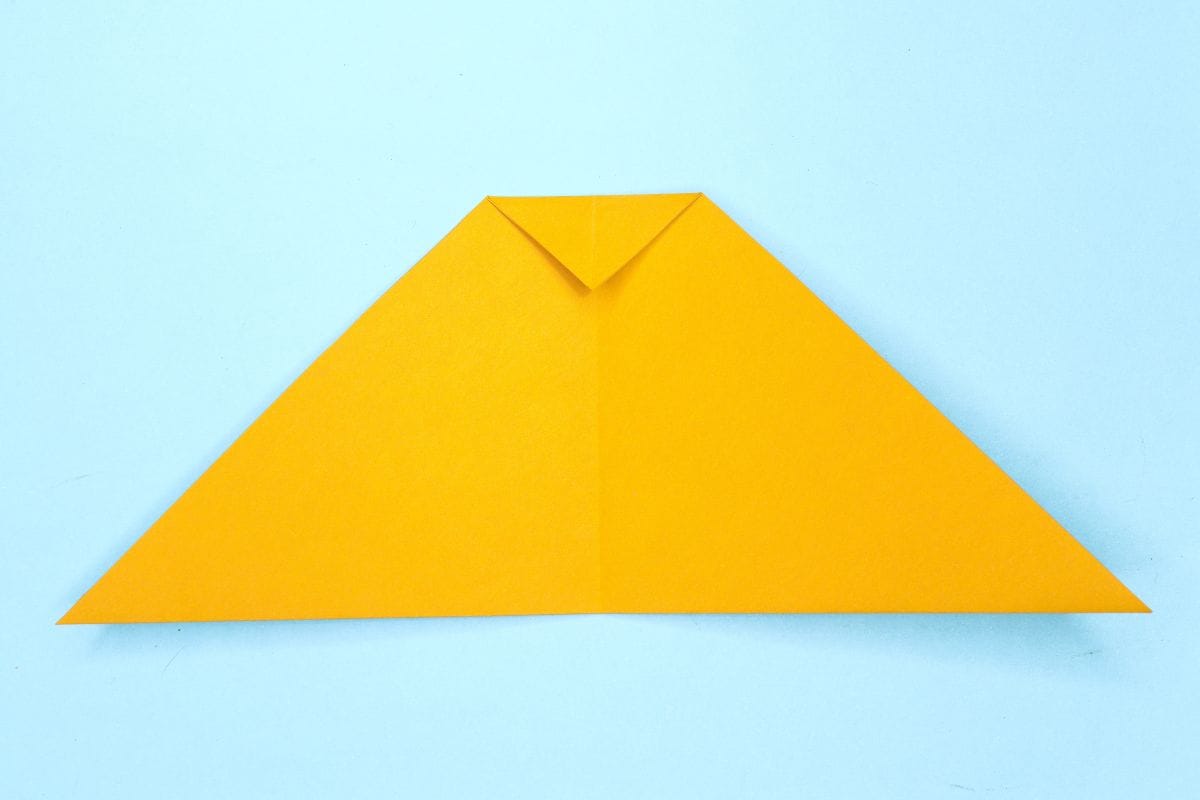
Fold the top pointy corner down slightly.
Step 7

7
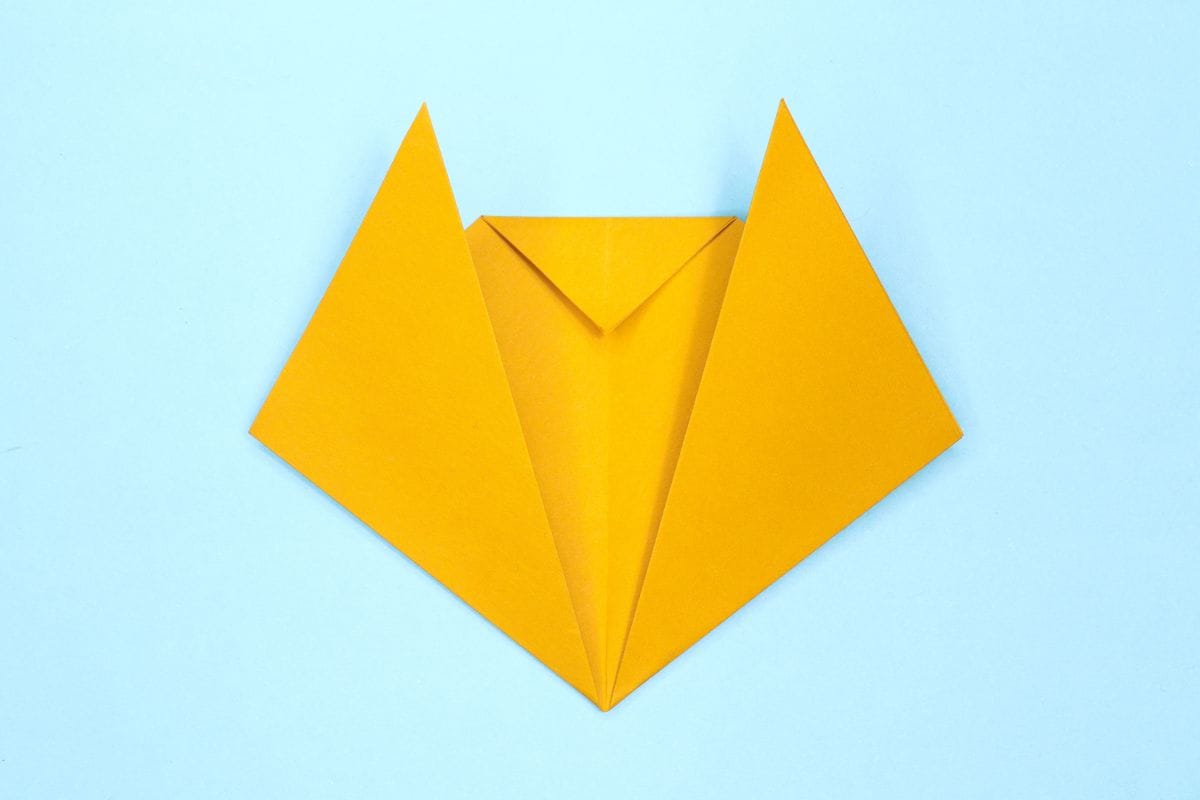
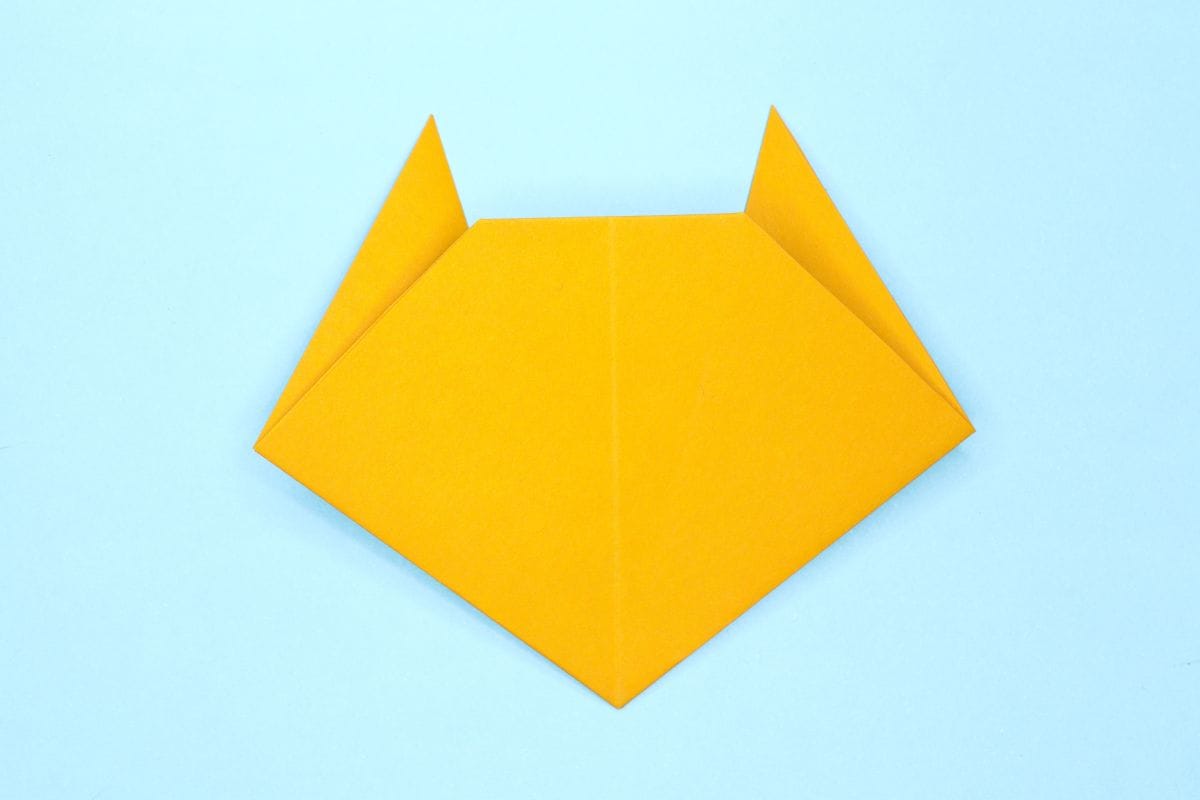
Fold the right corner upward at an angle.
Step 8
8
Fold the left corner upward at an angle.
Step 9
9
Turn the paper over.
Step 10
10
Draw the face and voila! Tiger is ready to roar… or maybe just purr.
Share and Comment
We would love to see your creations! Scroll down to the comments section and share a photo of your origami.
Leave a Reply