How to Make an Origami Angel

Origami angel step final
Difficulty: Intermediate
Fold a graceful Origami angel in minutes with our easy tutorial. Perfect for holiday decor, gifts, or adding a touch of peace and beauty!

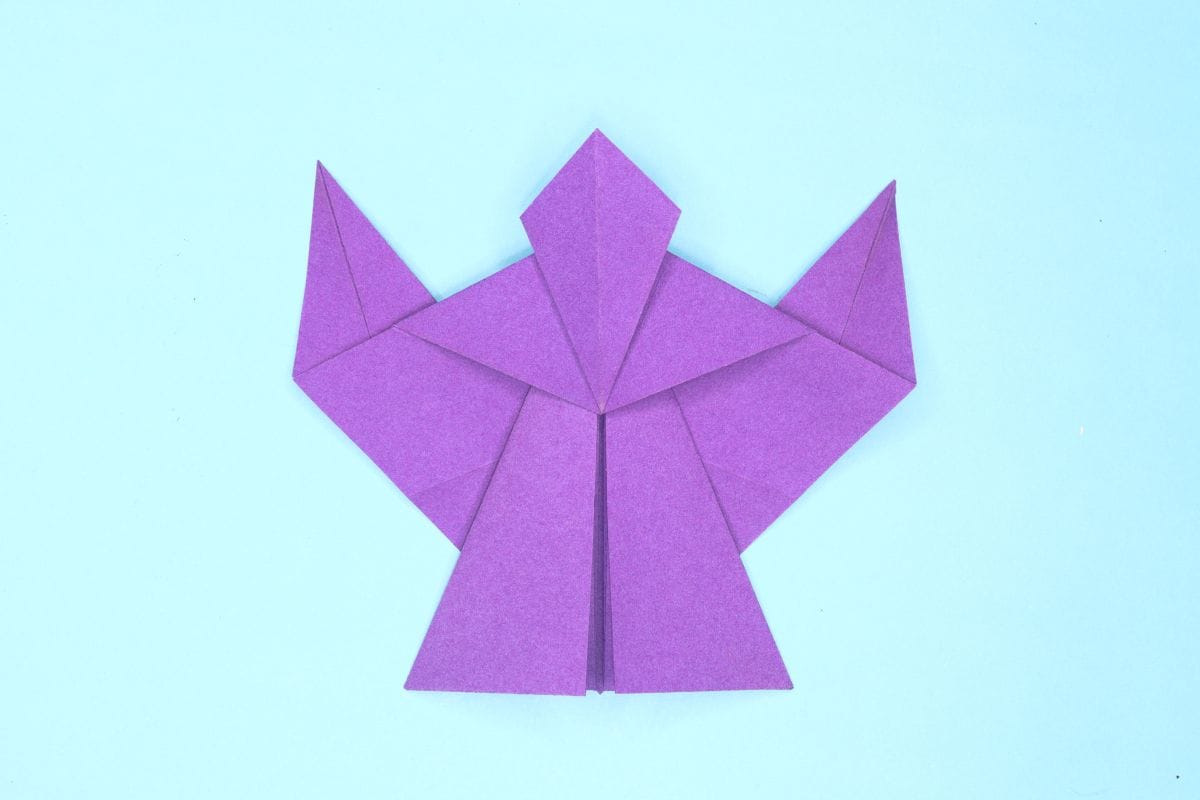
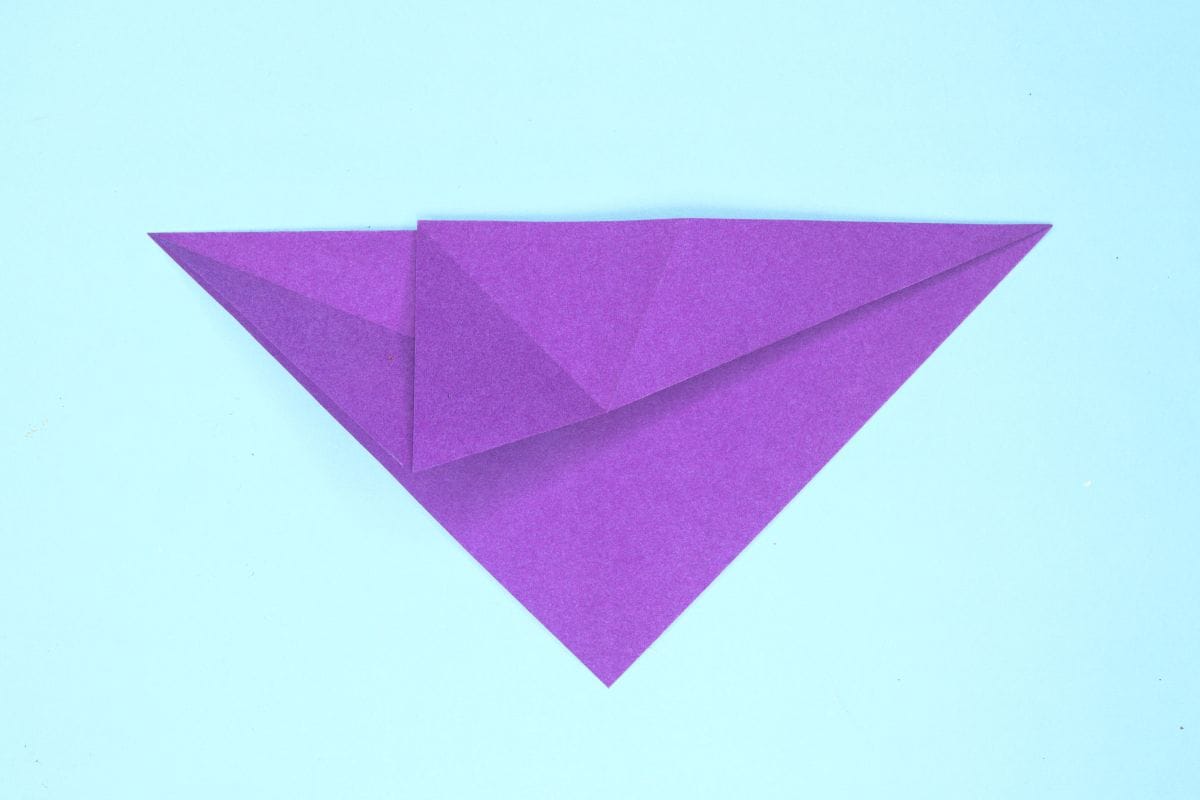
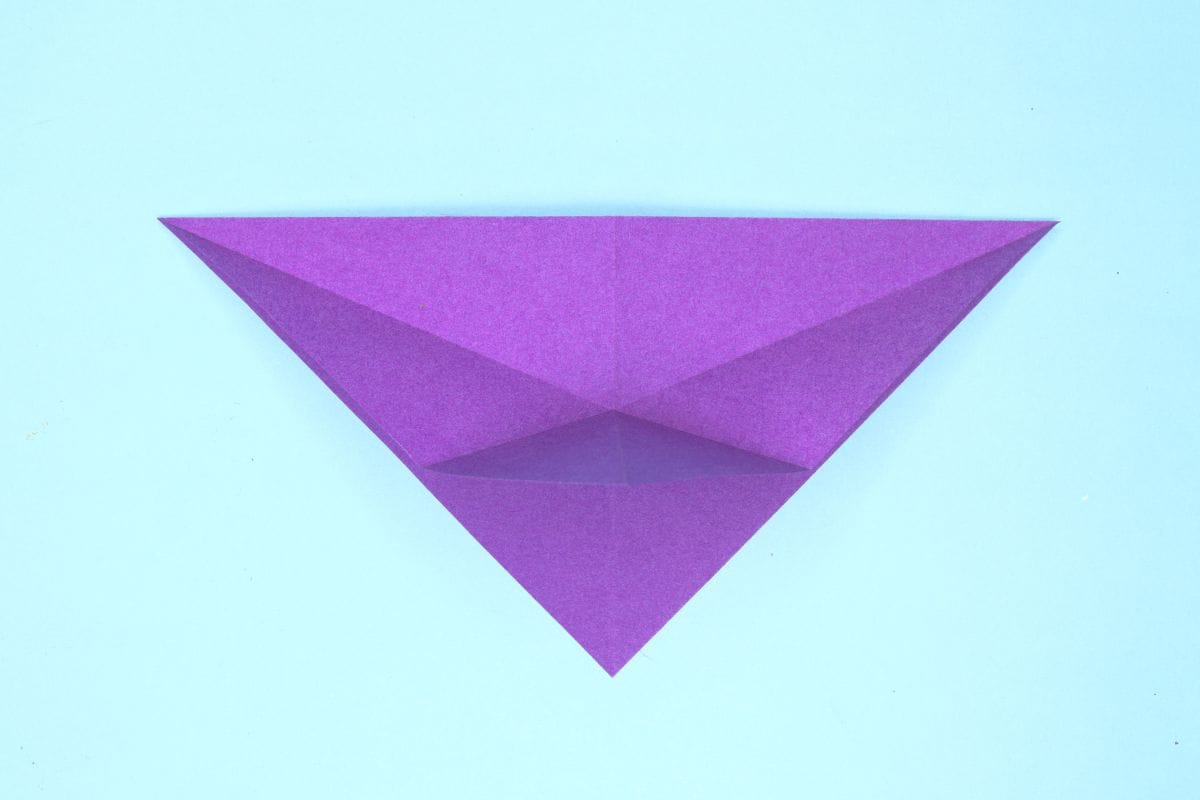
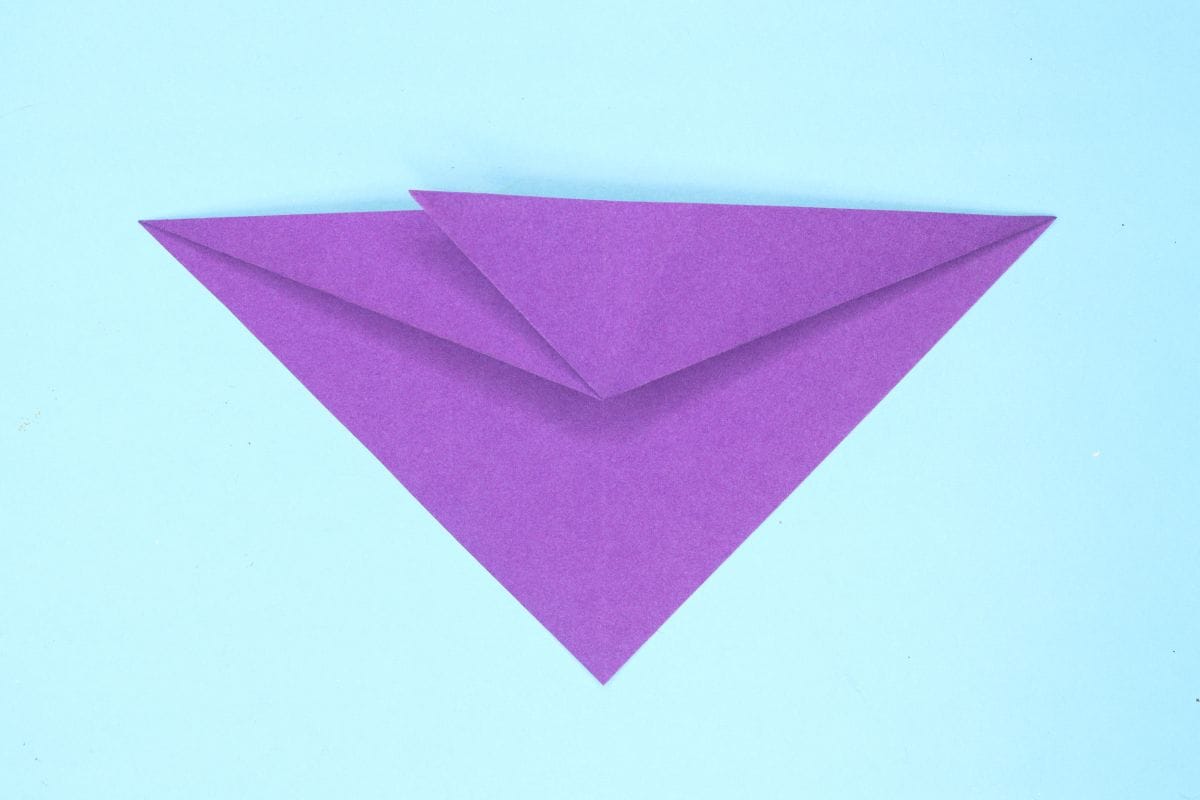
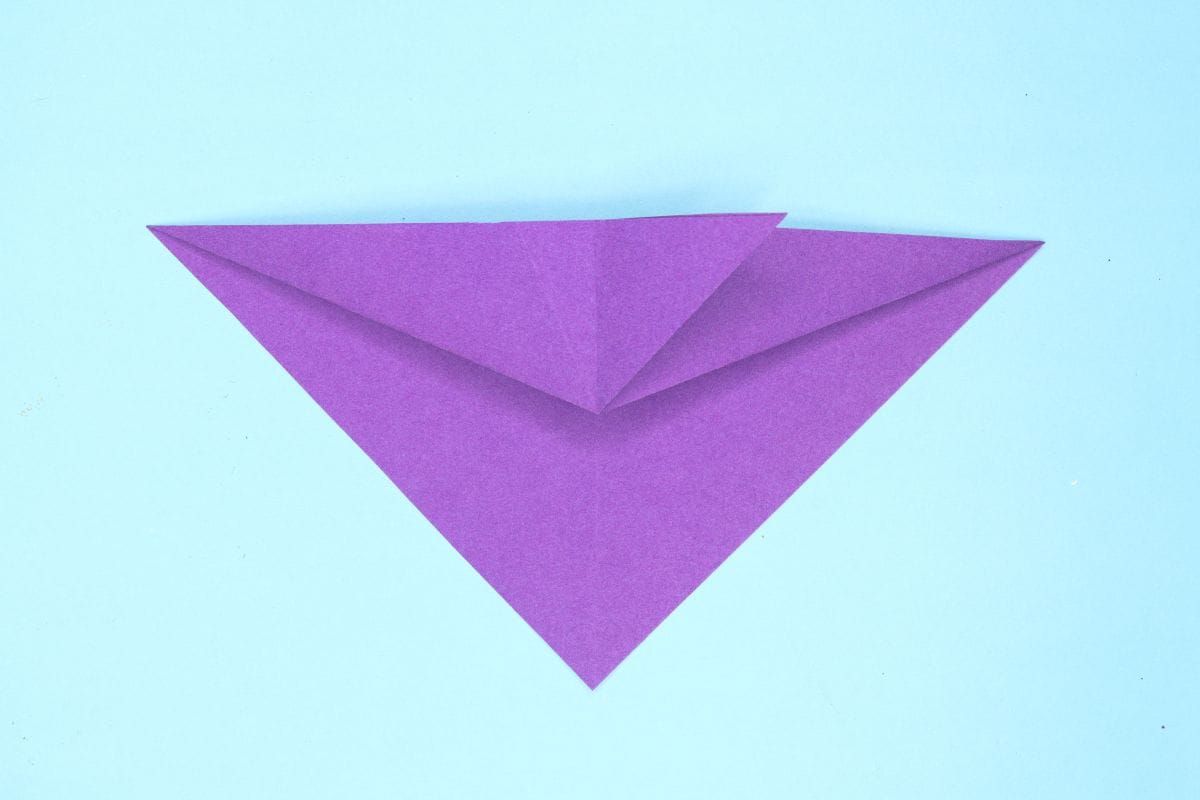
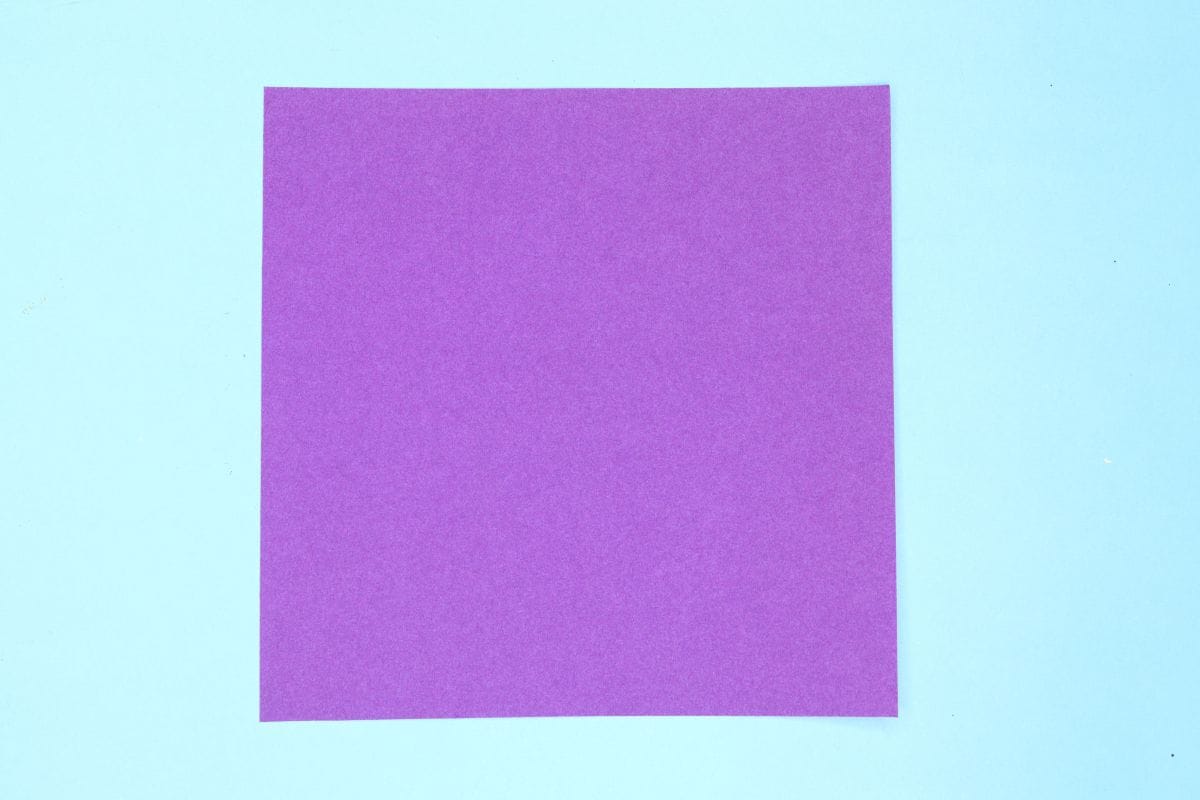
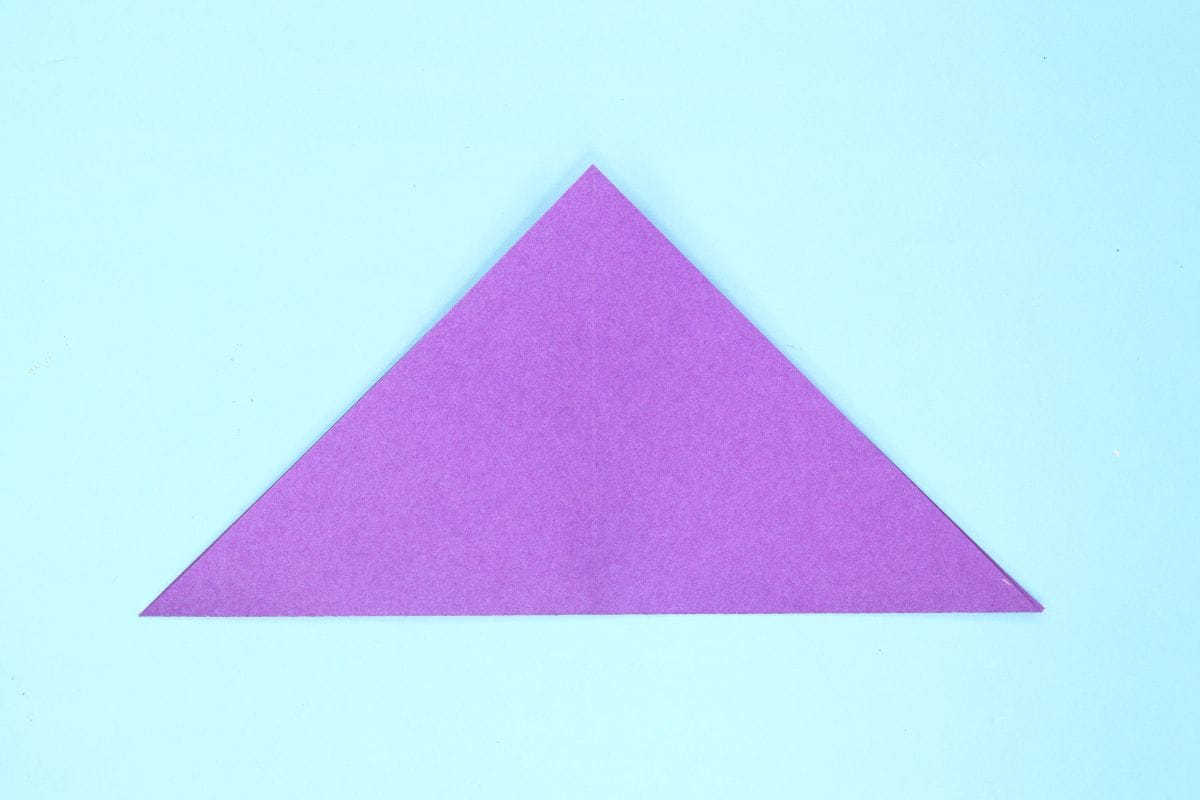
Have you ever seen an angel, maybe not in real life, but in movies or storybooks? They’re always portrayed as graceful, glowing beings dressed in white, with wide, majestic wings. Fascinating, isn’t it?

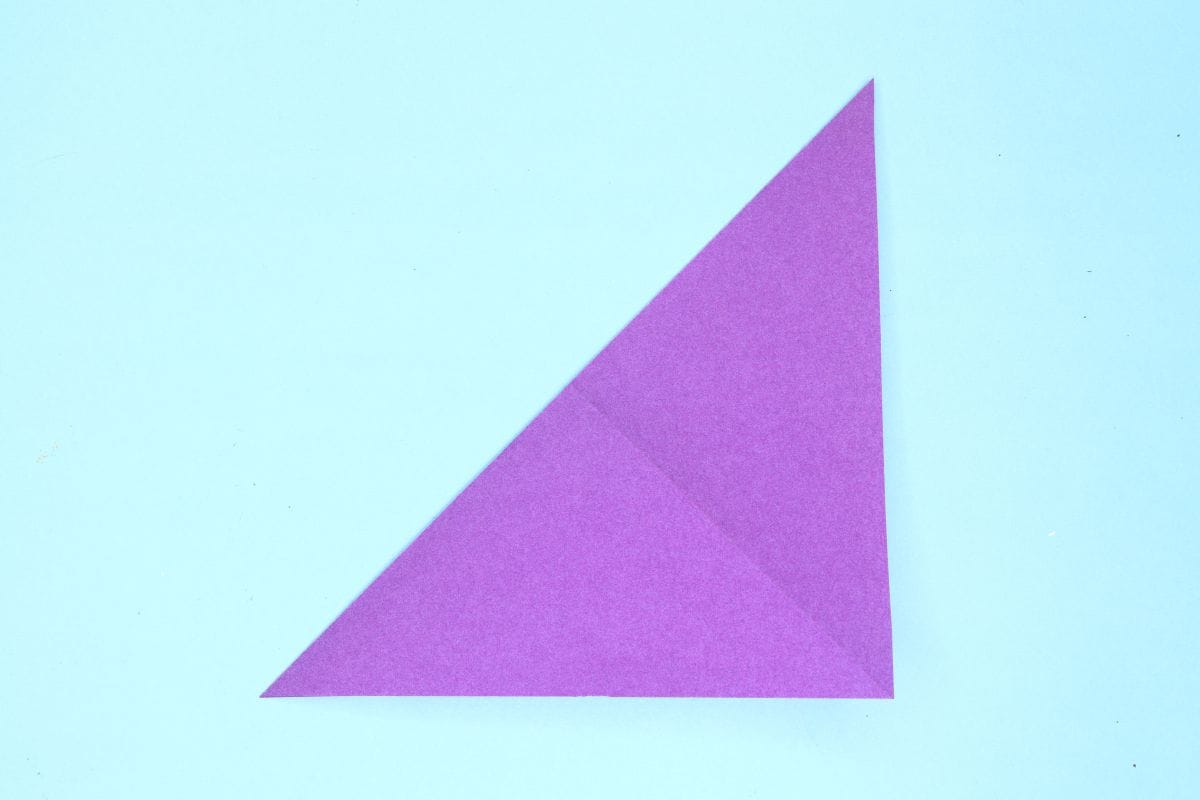
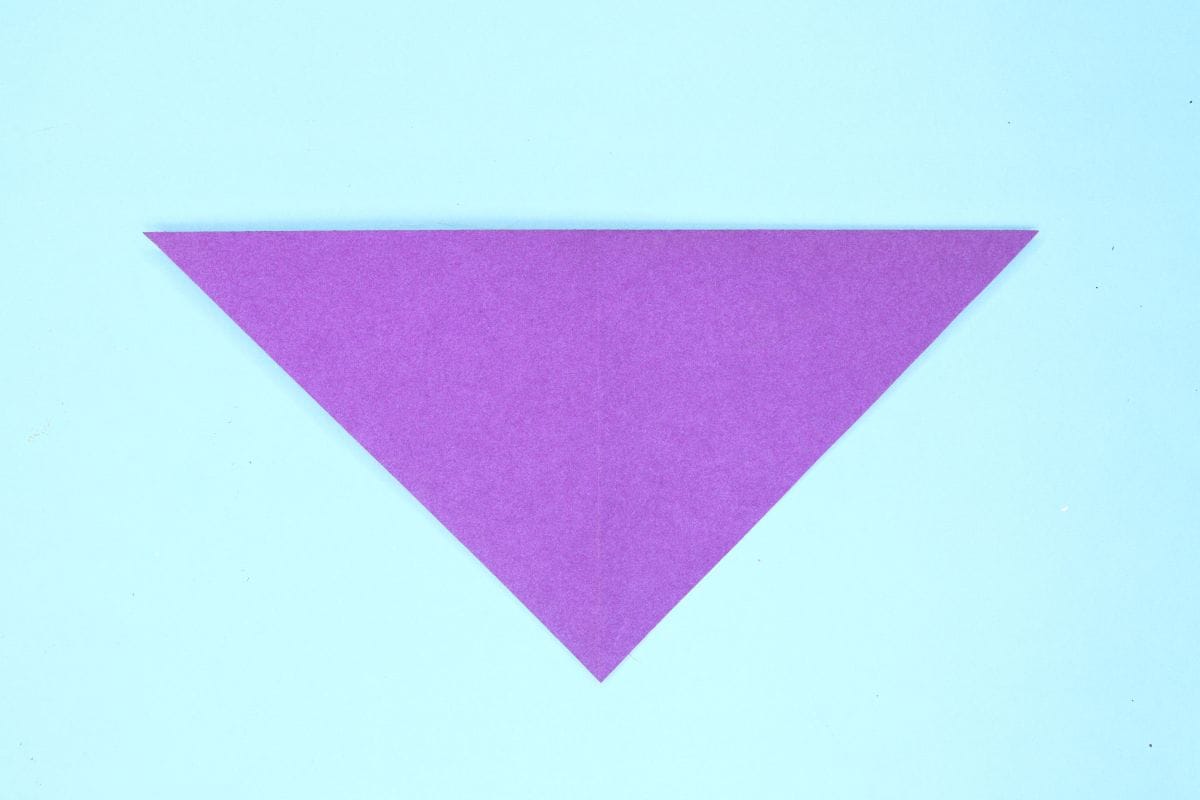
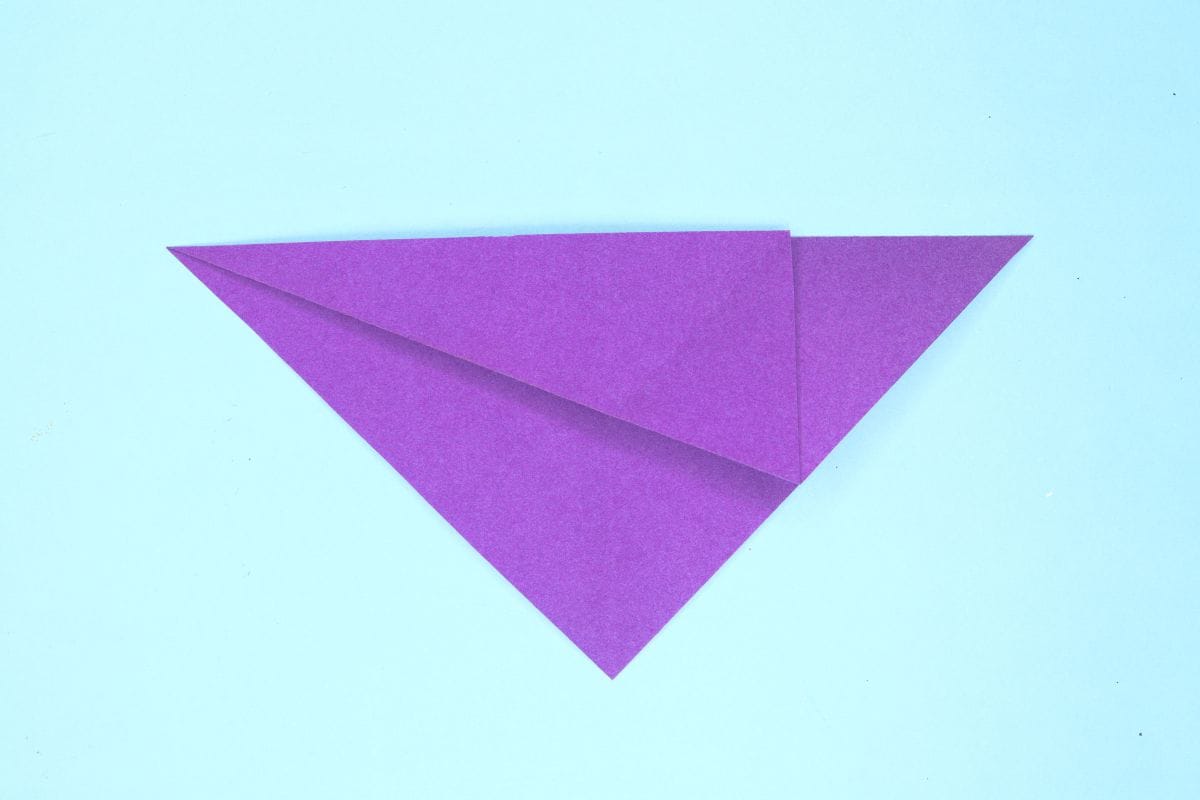
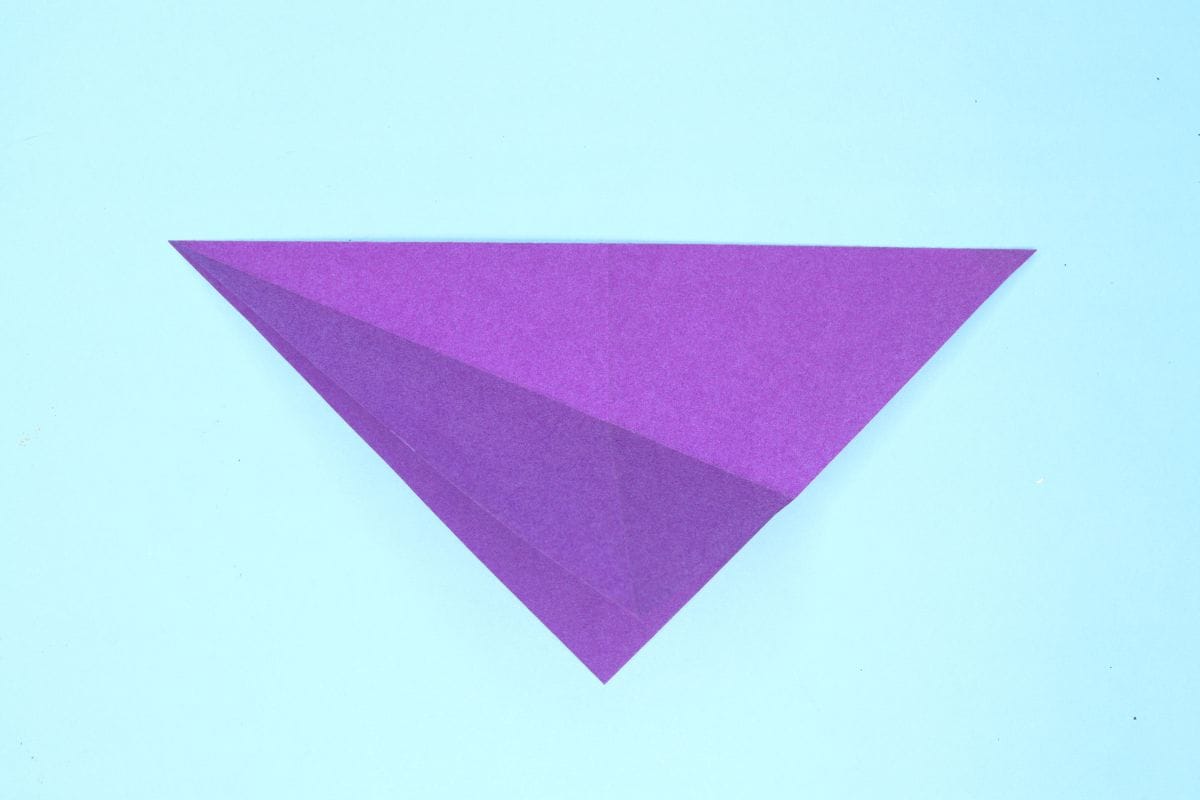
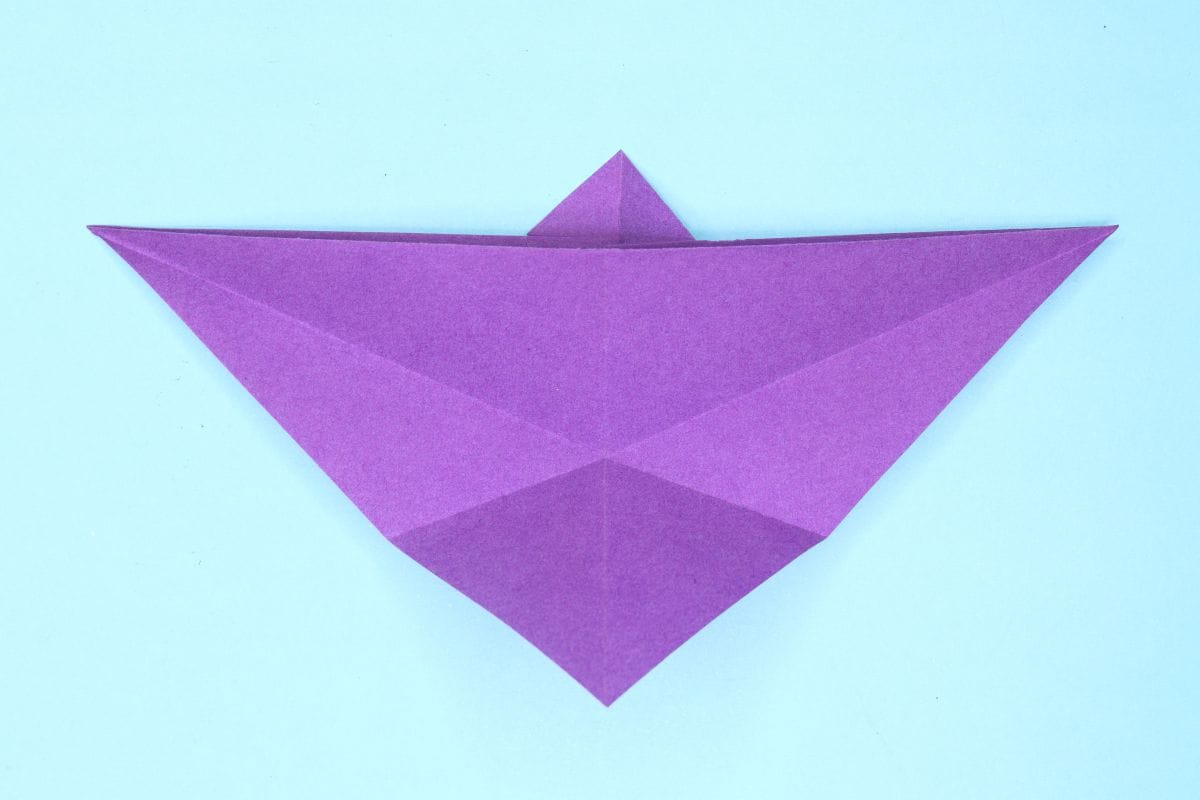
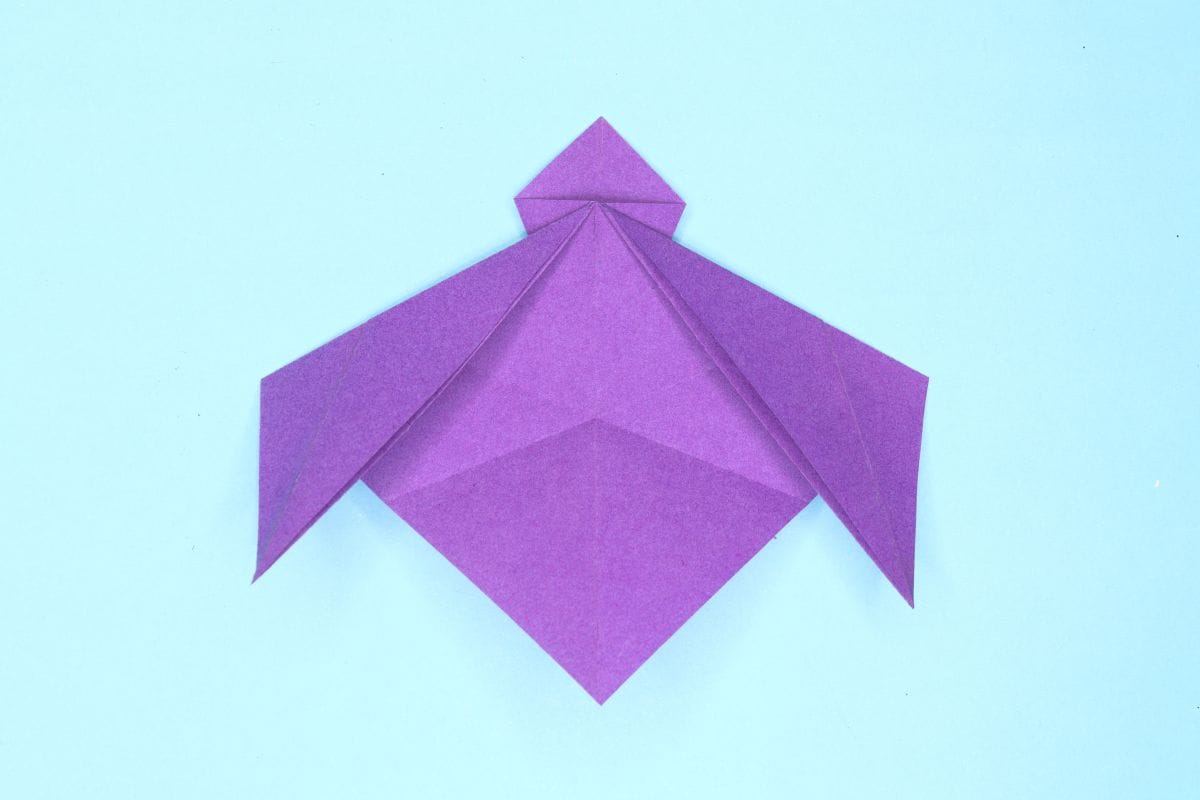
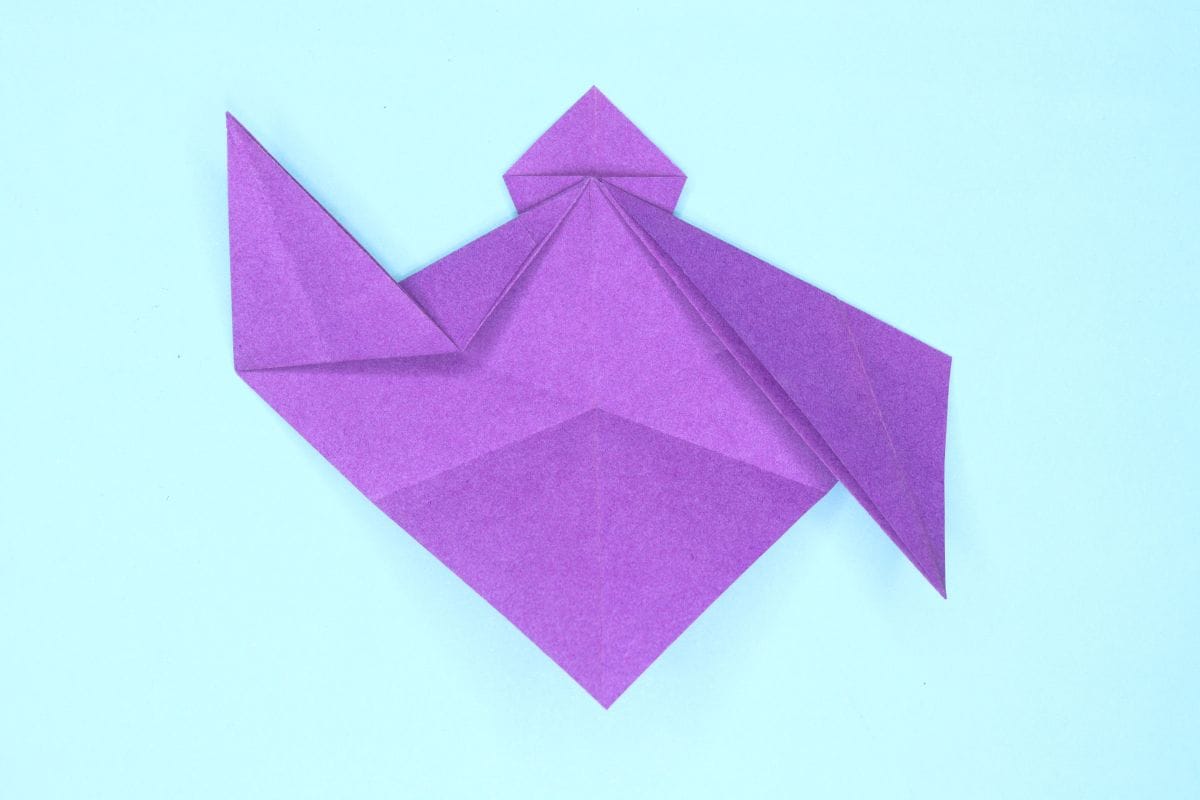
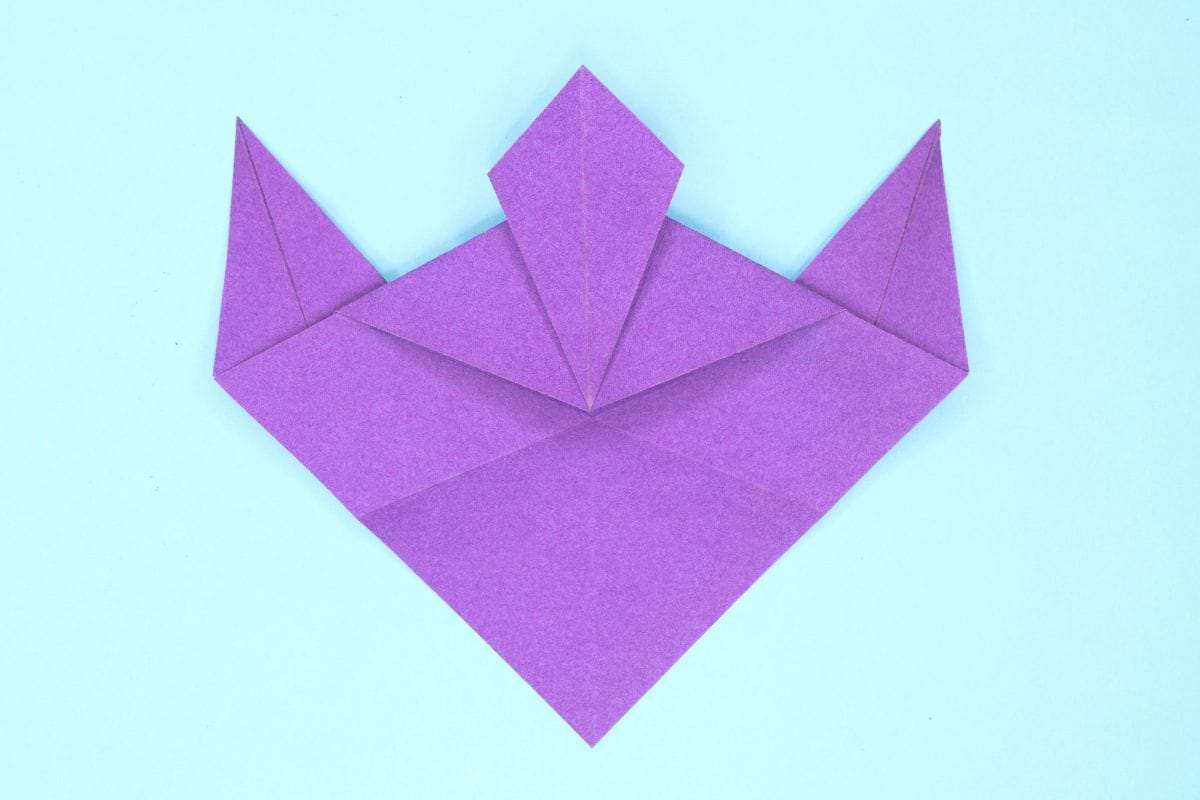
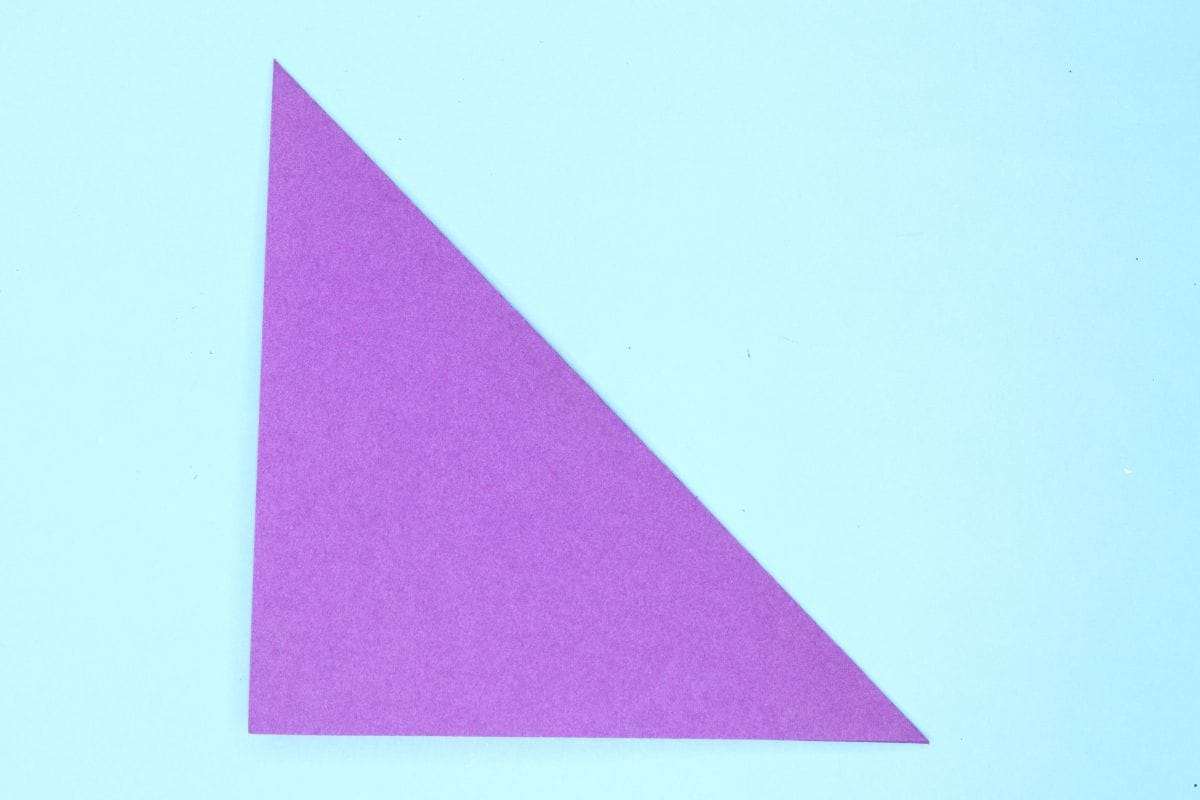
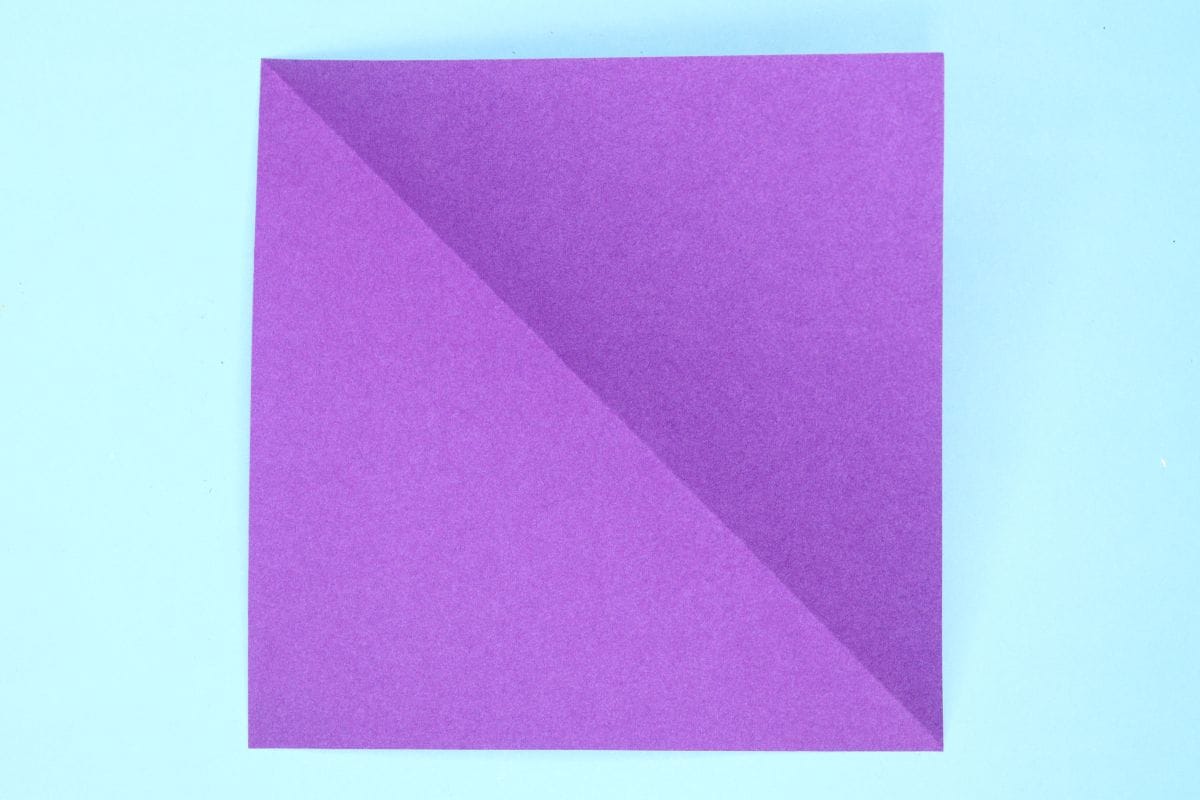
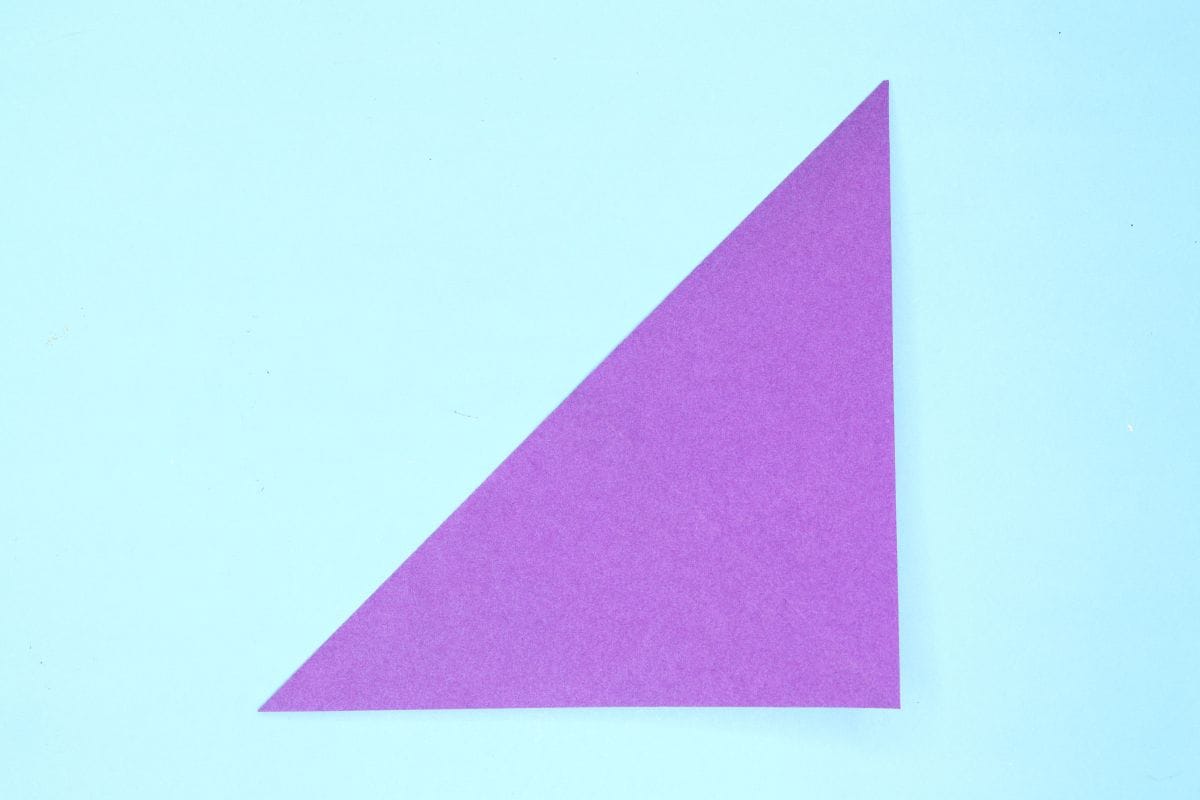
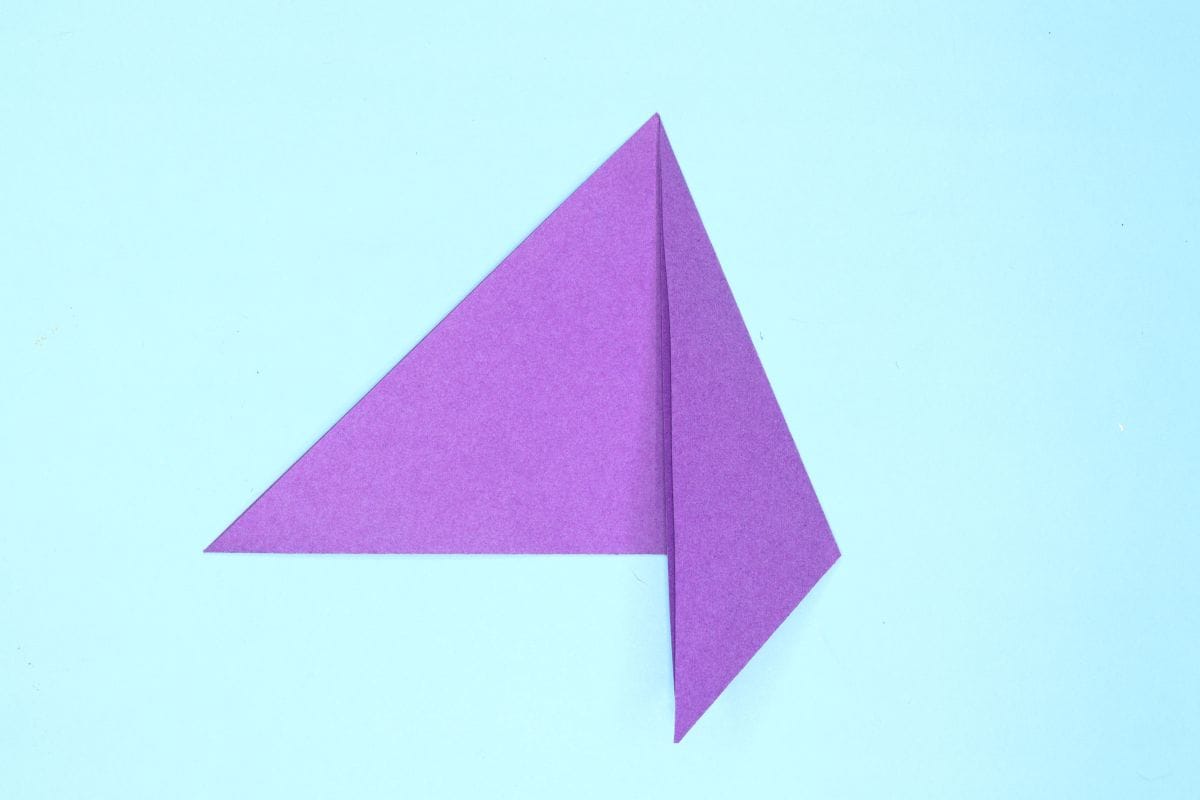
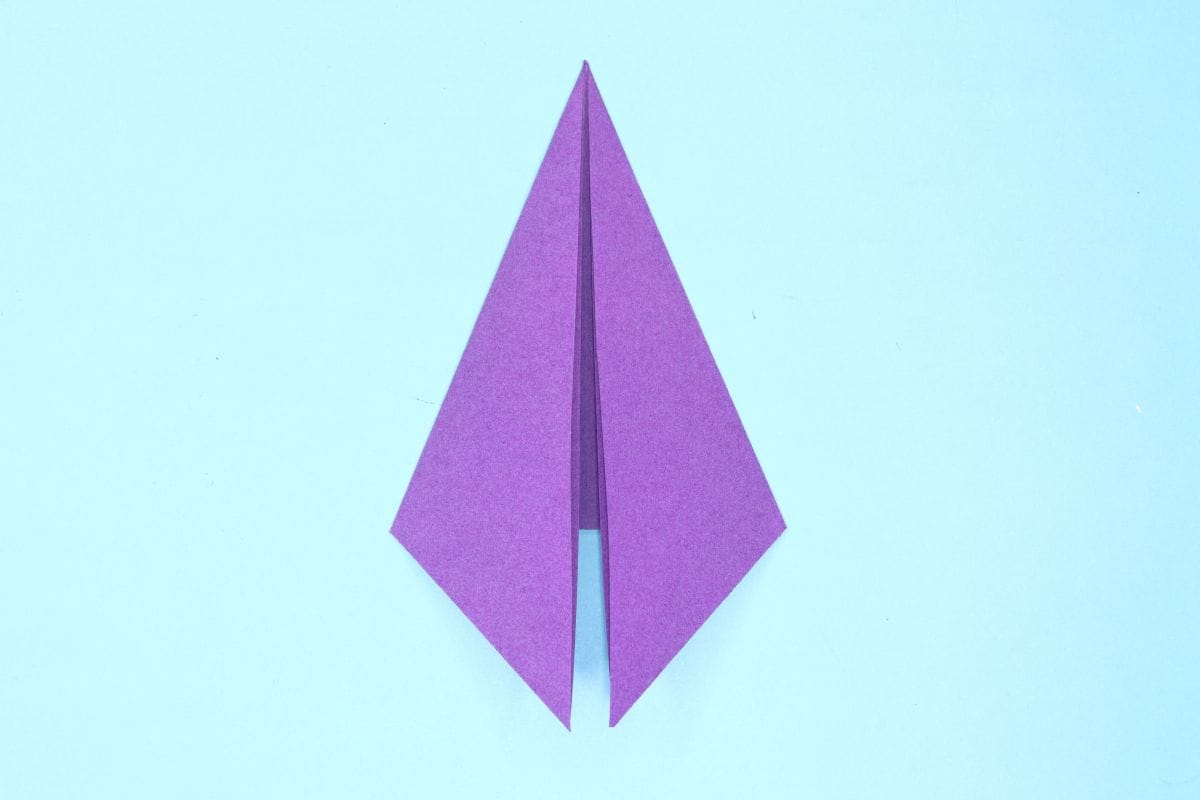
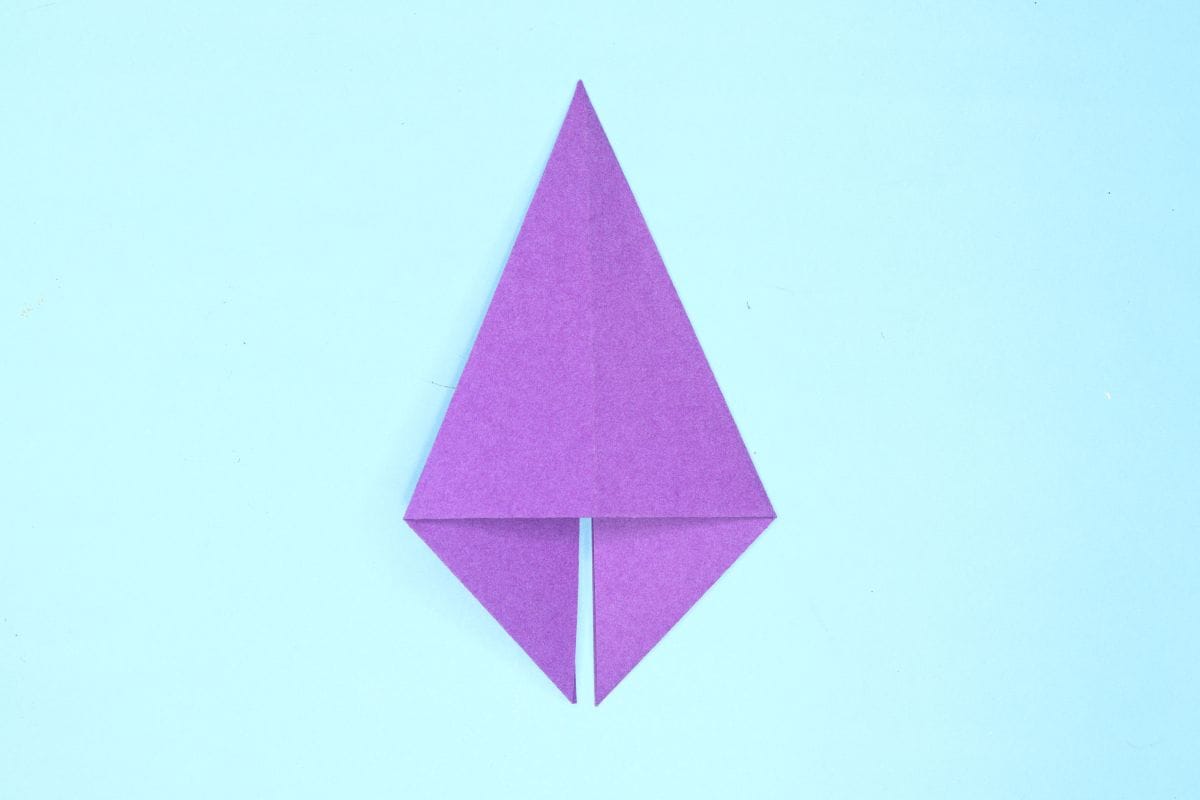
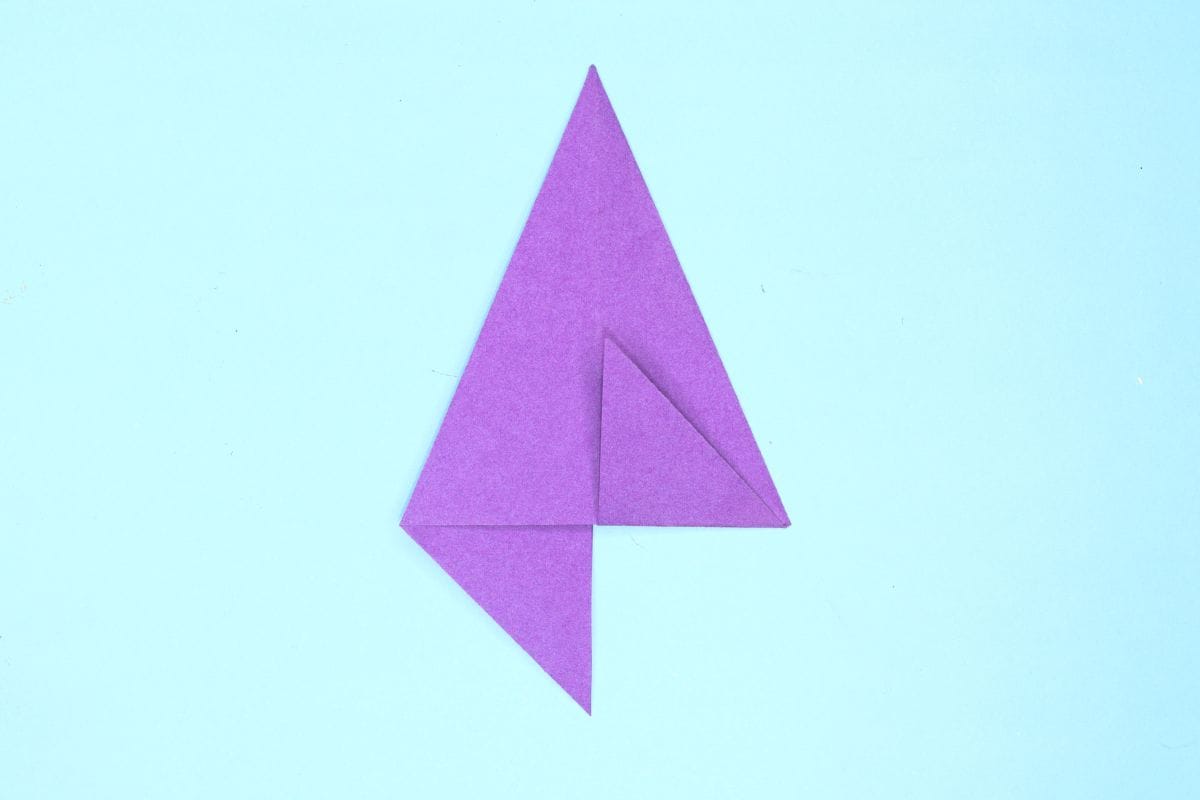
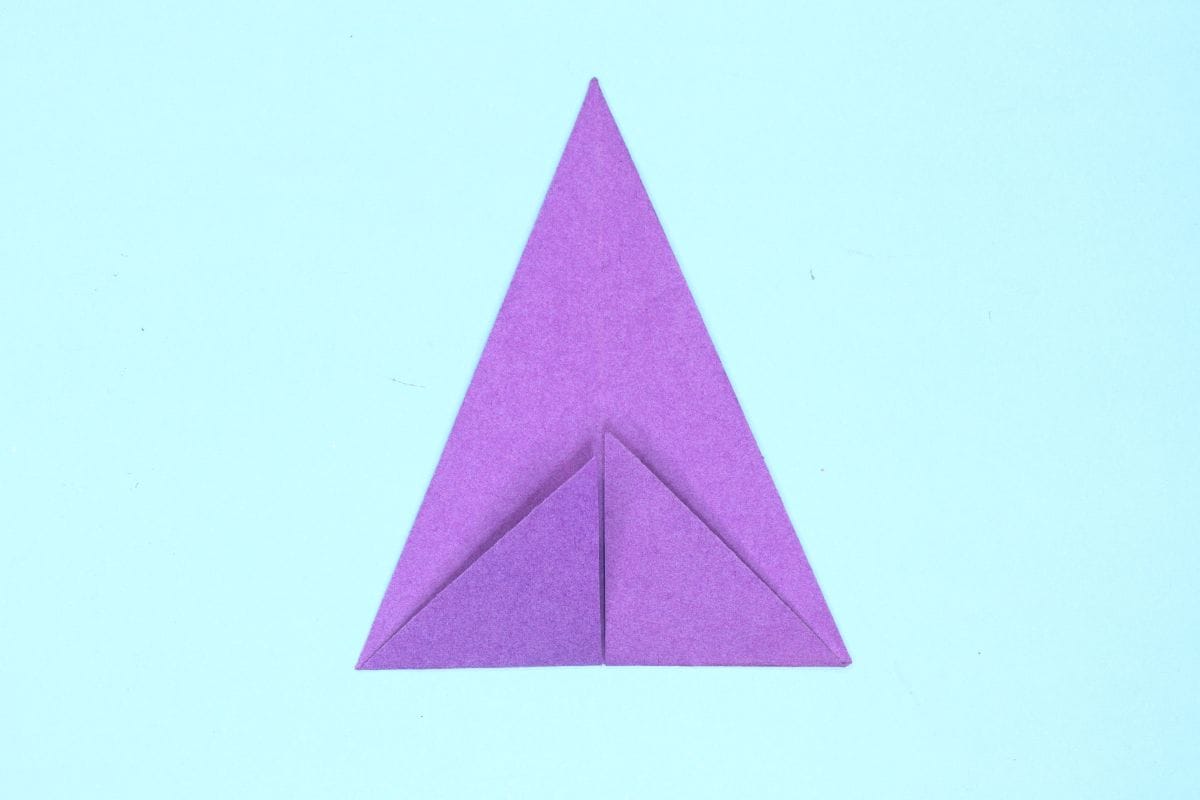
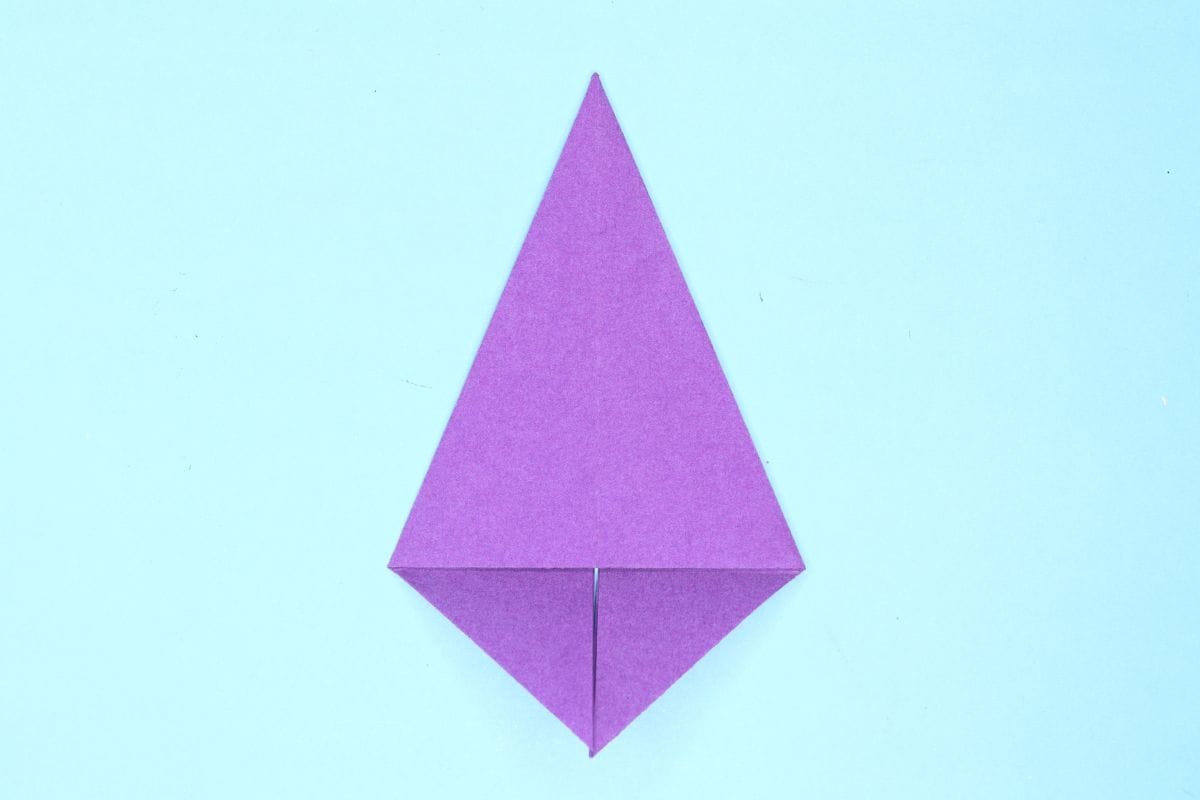
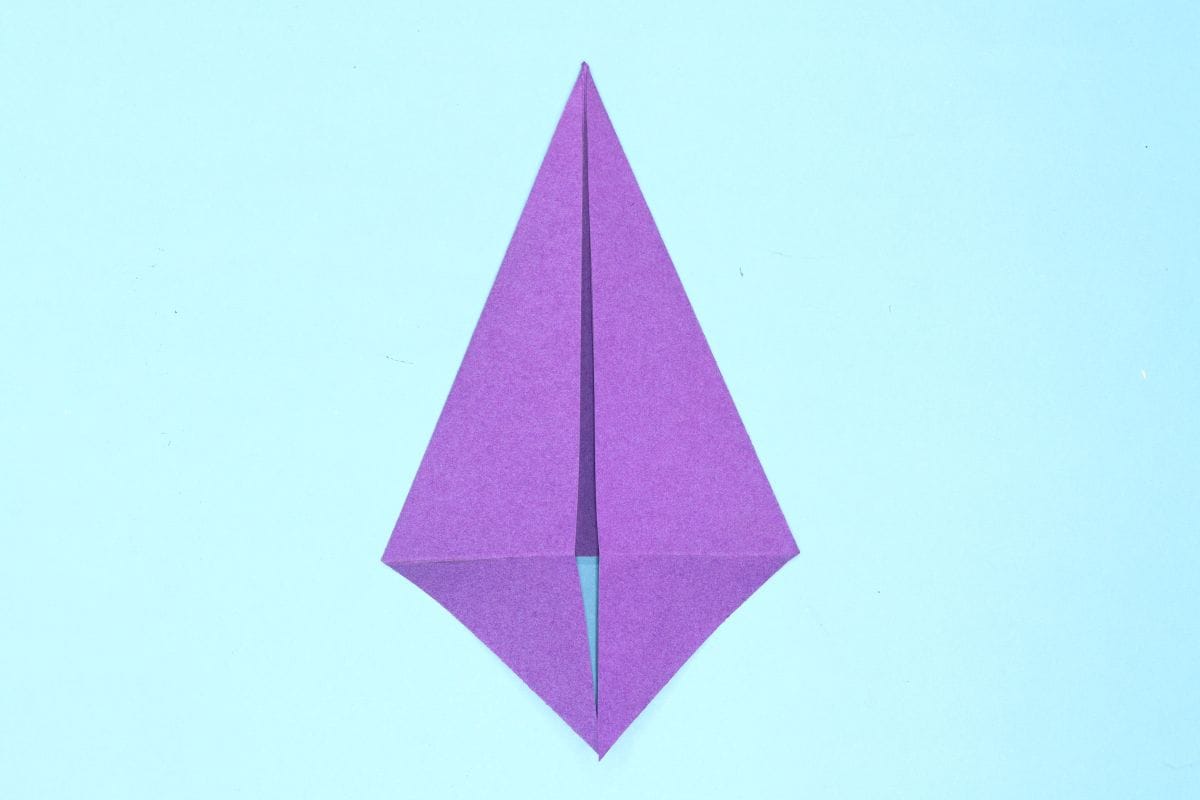
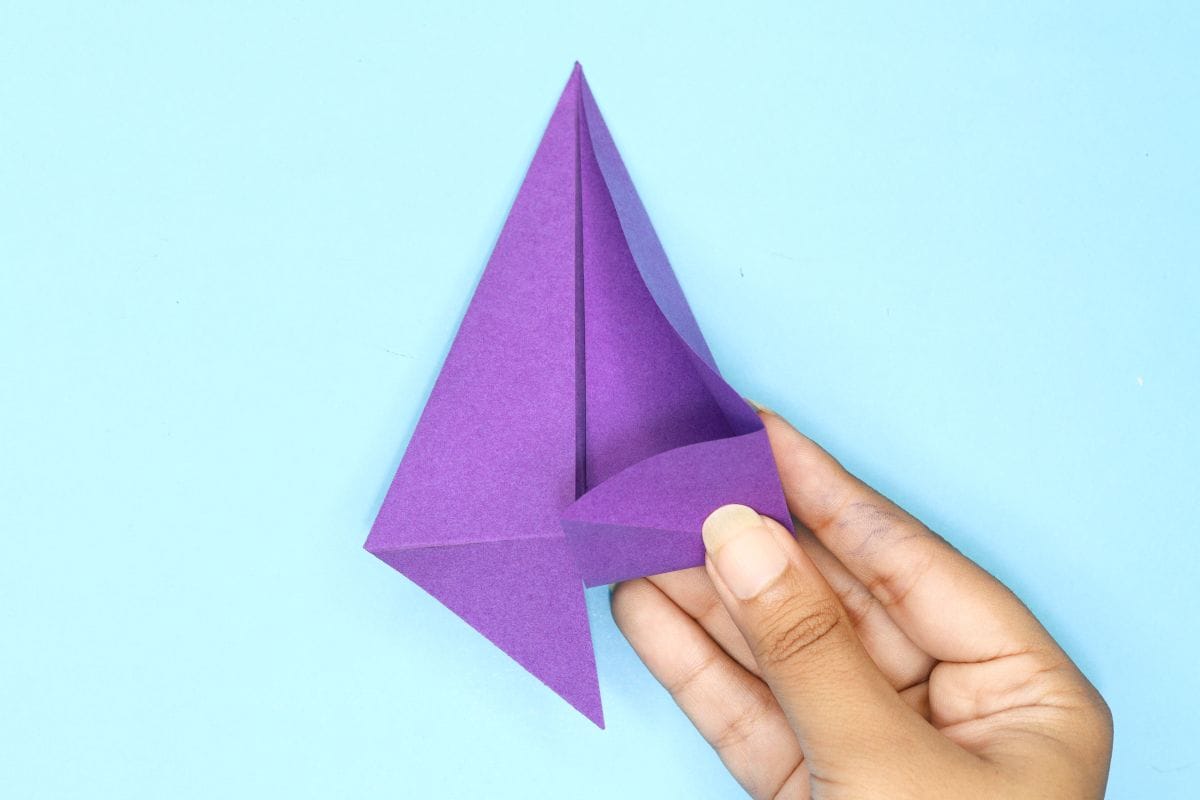
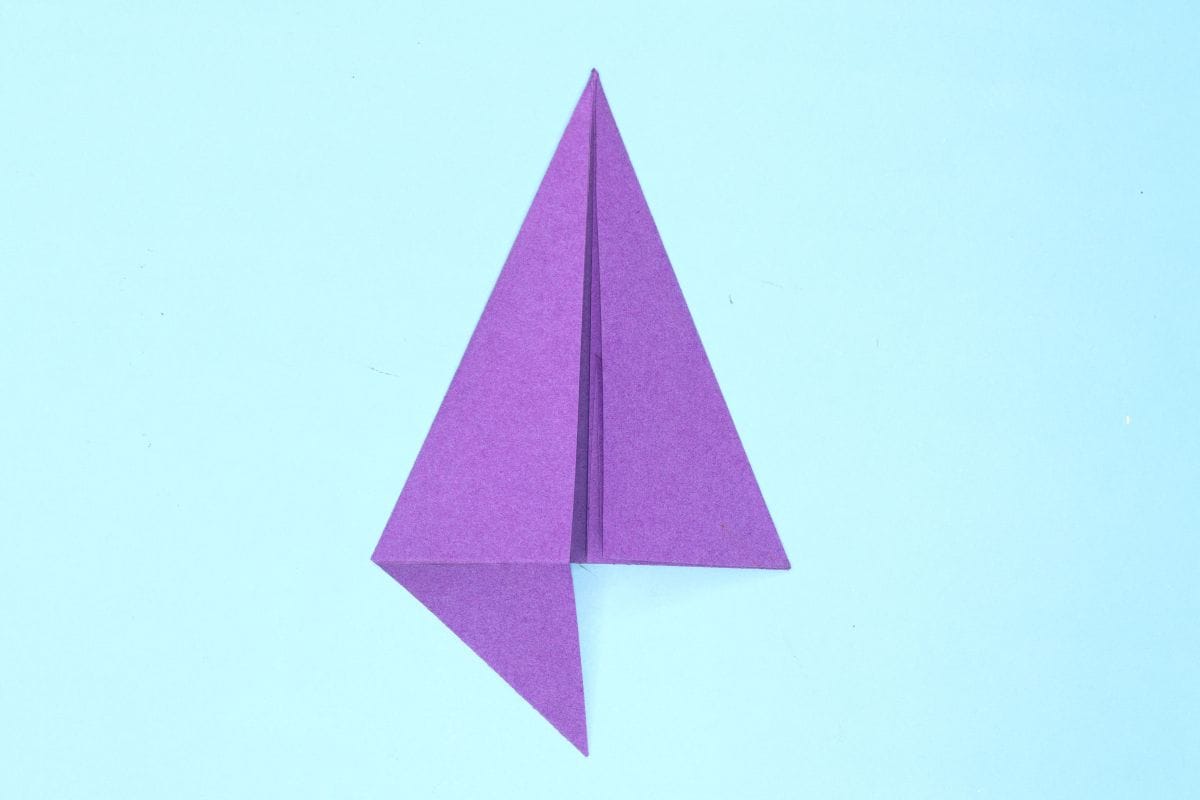
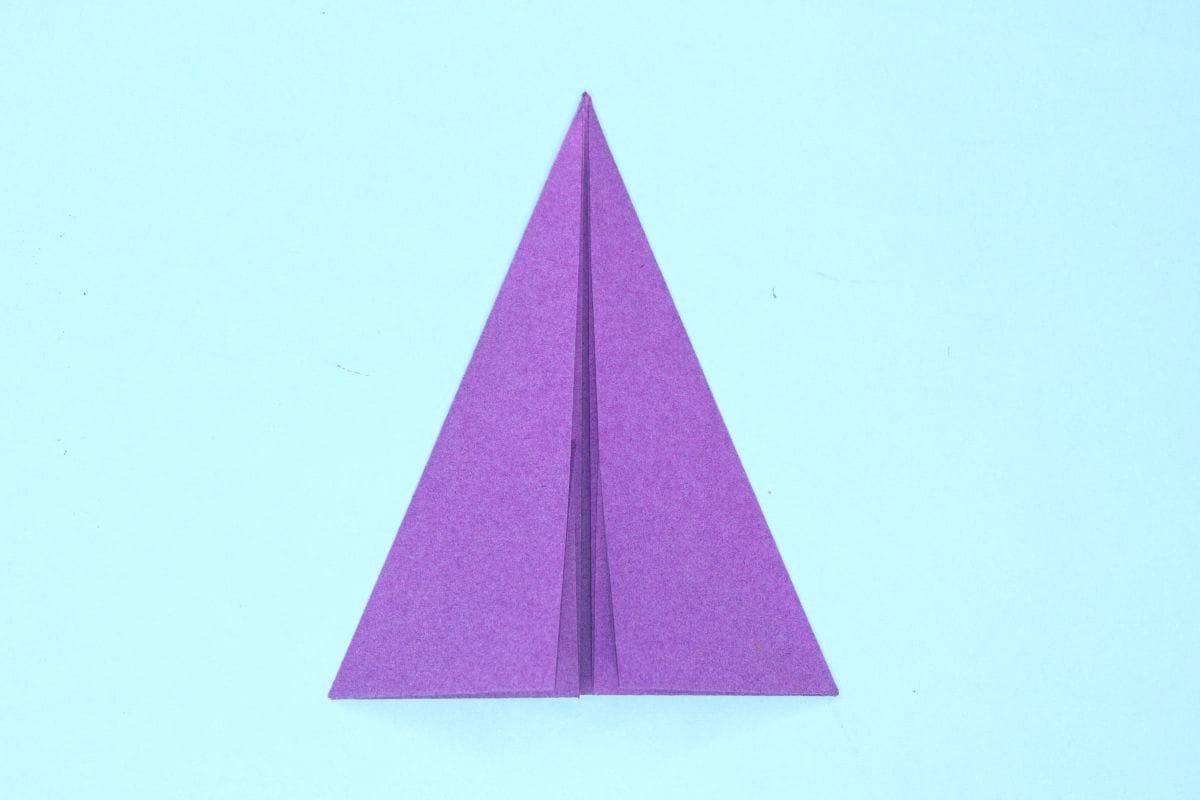
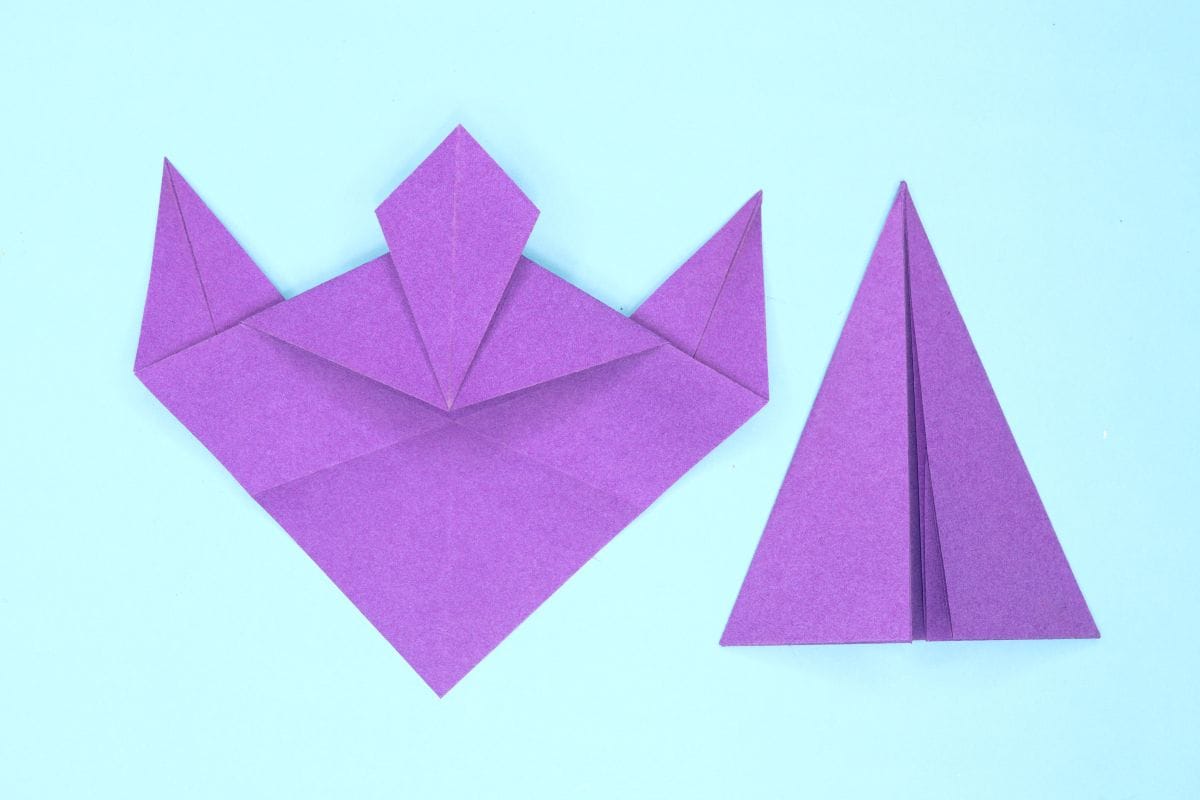
Well, let’s let our imagination take flight and create our very own origami angel! Follow along and bring this heavenly little figure to life, fold by fold.

Step 1
Origami angel step 01
1
We will need two square sheets of paper. Start with a first square sheet of origami paper. I am using an 7×7 inches origami sheet. This will be used to make the angel’s head.

If you only have regular paper, follow these instructions on how to make a square origami paper.

Step 2
Origami angel step 02
2
For the first piece, fold from right top corner to left bottom corner.

Step 3
Origami angel step 03
3
Unfold. We just needed a crease line.

Step 4
Origami angel step 04
4
Fold again from left top corner to bottom right corner.

Step 5
Origami angel step 05
5
Rotate the paper.

Step 6
Origami angel step 06
6
Fold the left edge upward to meet the top crease.

Step 7
Origami angel step 07
7
Unfold.

Step 8
Origami angel step 08
8
Fold the right edge upward to meet the top crease.

Step 9
Origami angel step 09
9
Unfold.

Step 10
Origami angel step 10
10
Pinch the left and right edges together.

Step 11
Origami angel step 11
11
Fold all together from the creases to the center.

Step 12
Origami angel step 12
12
Flatten the fold well.

Step 13
Origami angel step 13
13
Fold the top flap from left to right side.

Step 14
Origami angel step 14
14
Fold the center pointy tip diagonally.

Step 15
Origami angel step 15
15
Unfold the tip.

Step 16
Origami angel step 16
16
Open the center hole.

Step 17
Origami angel step 17
17
Flatten it.

Step 18
Origami angel step 18
18
Turn the model over.

Step 19
Origami angel step 19
19
Fold the right edge upward to meet the top edge.

Step 20
Origami angel step 20
20
Unfold.

Step 21
Origami angel step 21
21
Fold the left edge upward to meet the top edge.

Step 22
Origami angel step 22
22
Unfold.

Step 23
Origami angel step 23
23
Fold down the top right corner at an angle.

Step 24
Origami angel step 24
24
Fold down the top left corner at an angle.

Step 25
Origami angel step 25
25
Fold the left corner upward and to the left at an angle.

Step 26
Origami angel step 26
26
Fold the right corner upward and to the right at an angle.

Step 27
Origami angel step 27
27
Turn the model over. An angel’s head is ready.

Step 28
Origami angel step 28
28
Start with a square sheet of origami paper. I am using an 7×7 inches origami sheet. This will be used for the angel’s body.

Step 29
Origami angel step 29
29
Fold from right top corner to the left bottom corner.

Step 30
Origami angel step 30
30
Unfold.

Step 31
Origami angel step 31
31
Fold from left top corner to the right bottom corner.

Step 32
Origami angel step 32
32
Rotate the paper.

Step 33
Origami angel step 33
33
Fold the right edge to meet the center crease.

Step 34
Origami angel step 34
34
Fold the left edge to meet the center crease.

Step 35
Origami angel step 35
35
Turn the model over.

Step 36
Origami angel step 36
36
Fold the bottom right corner upward.

Step 37
Origami angel step 37
37
Fold the bottom left corner upward.

Step 38
Origami angel step 38
38
Unfold the corners.

Step 39
Origami angel step 39
39
Turn the model over.

Step 40
Origami angel step 40
40
Open the right flap.

Step 41
Origami angel step 41
41
Do an inside reverse fold by tucking in the right corner using previously created crease as a guide.

Step 42
Origami angel step 42
42
After tucking the corner in, it will look like the image.

Step 43
Origami angel step 43
43
Flatten the fold well.

Step 44
Origami angel step 44
44
Repeat the steps 40 to 43 on the left side too. The angel’s body is done.

Step 45
Origami angel step 45
45
Bring the head and body of the angel together.

Step 46
Origami angel step final
46
Slide the body into the head’s pocket — and ta-da! The angel is ready to shine.” 👼✨

Share and Comment
We would love to see your creations! Scroll down to the comments section and share a photo of your origami.

Comments

Leave a Reply

Your email address will not be published. Required fields are marked *

Drop file here