
Turn a simple piece of paper into a graceful bell-shaped blossom. This origami bell flower captures the delicate beauty of real flowers through a series of satisfying folds. Whether you’re creating a paper bouquet, decorating a special project, or simply enjoying the art of paper folding.
How to Make an Origami Bell Flower
Category: Origami Flowers

Difficulty:
Intermediate
Learn how to fold a beautiful origami bell flower with clear step-by-step instructions that guide you through every fold.
Step 1

1
Start with a square piece of paper. I am using an 7×7 inches origami paper.
If you only have regular paper, follow these instructions on how to make a square origami paper.
If you only have regular paper, follow these instructions on how to make a square origami paper.
Step 2

2
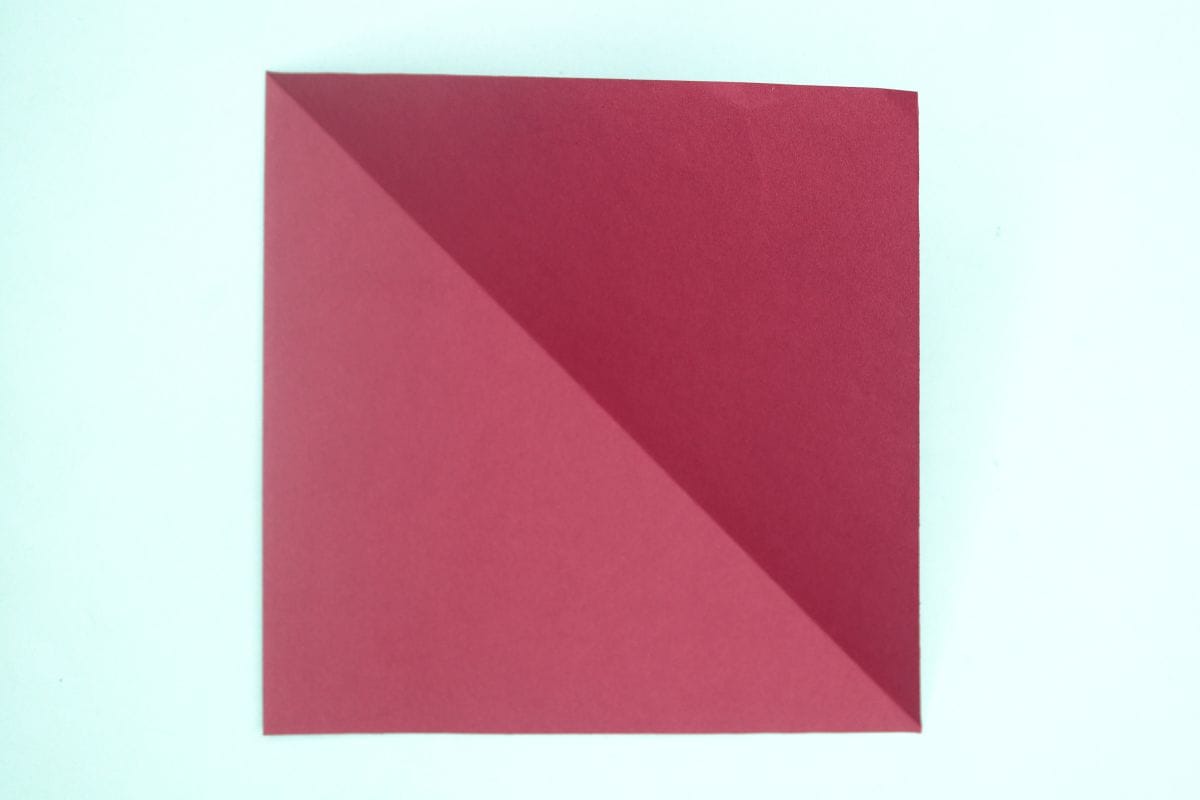
Fold from the top right corner to the bottom left corner.
Step 3
3
Unfold. We just needed a crease line.
Step 4

4
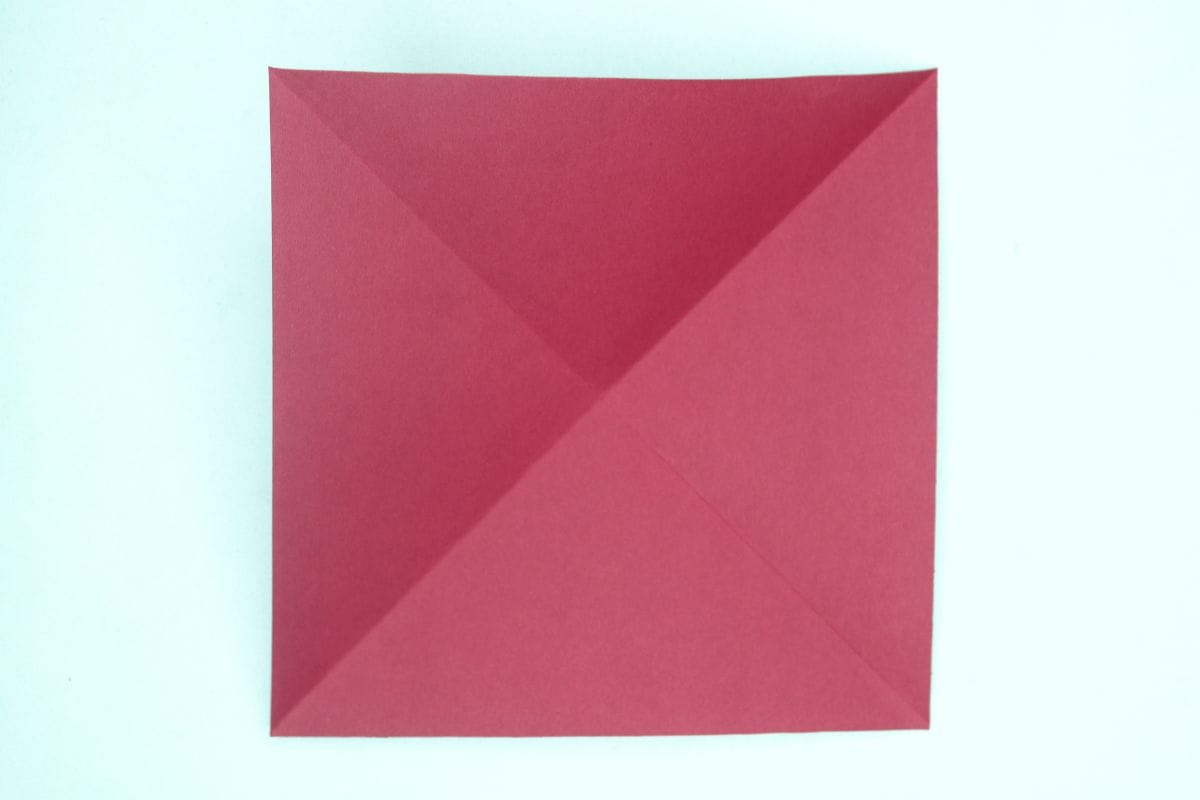
Fold from the top left corner to the bottom right corner.
Step 5
5
Unfold.
Step 6

6
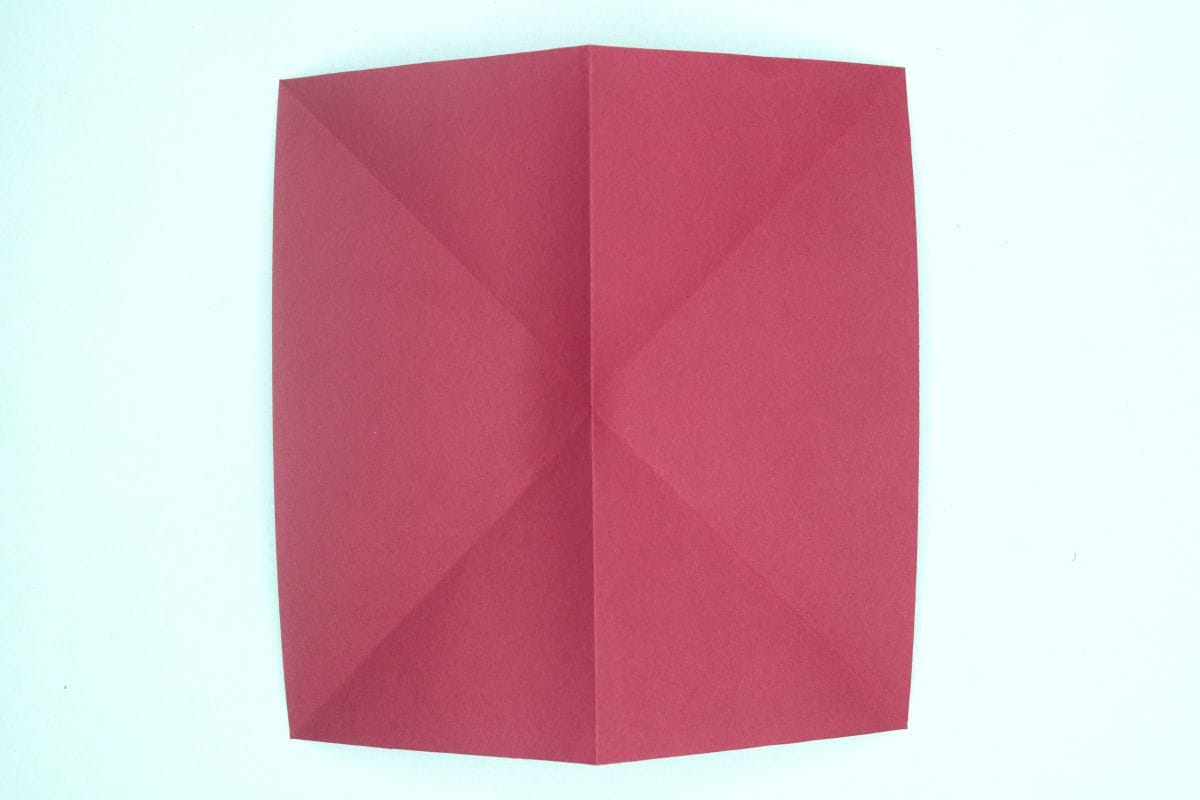
Fold the left half to the right.
Step 7
7
Unfold and turn the model over.
Step 8
8
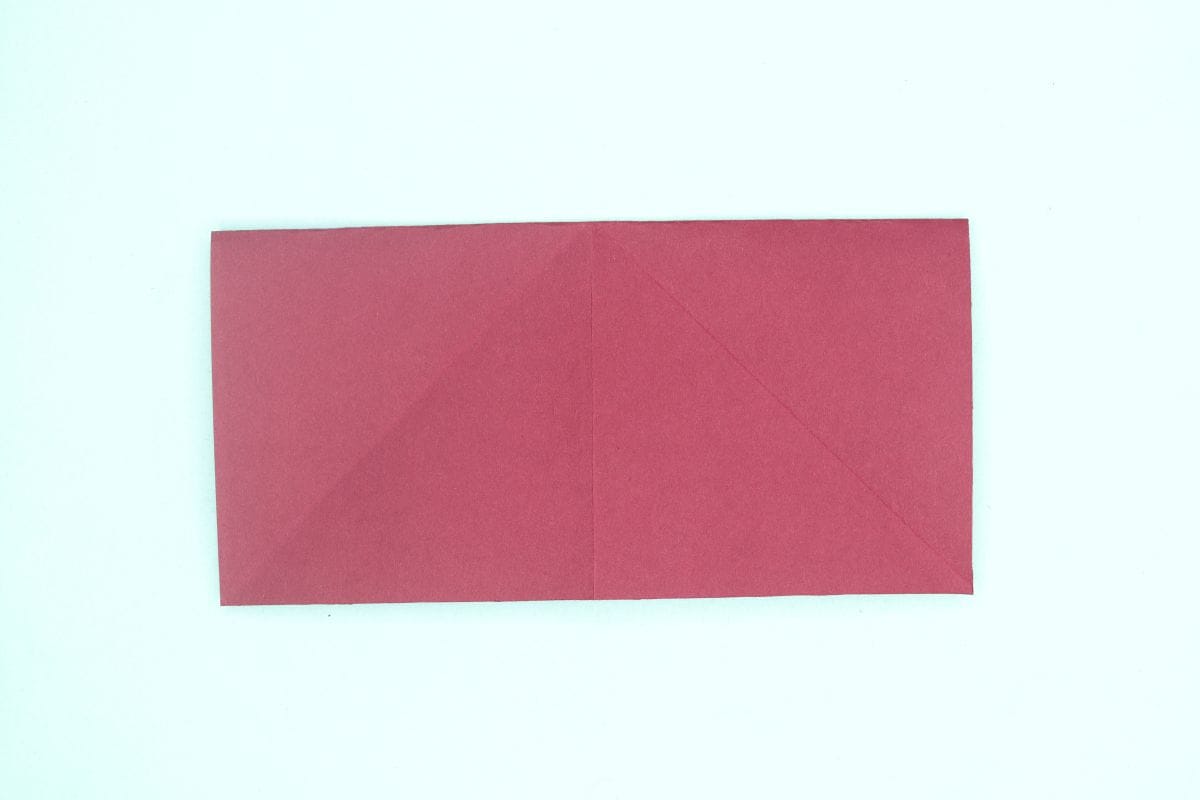
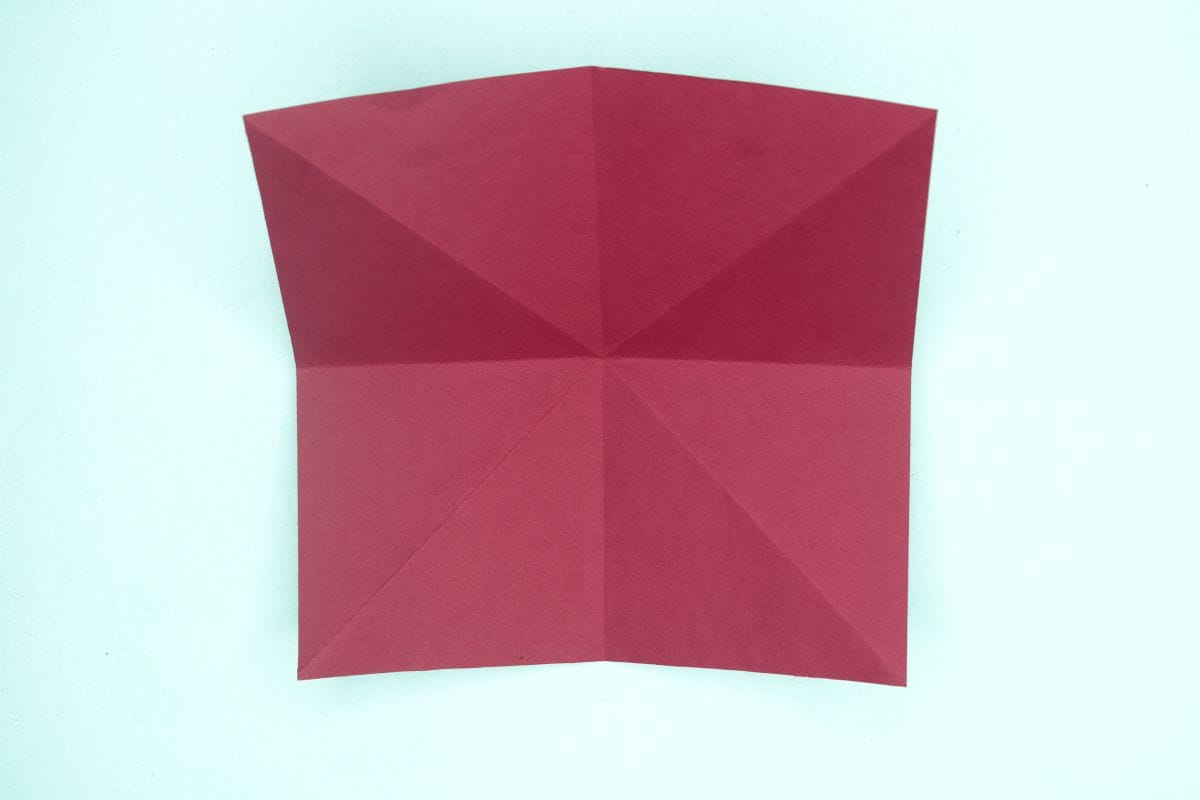
Fold the top half to the bottom half.
Step 9
9
Unfold.
Step 10
10
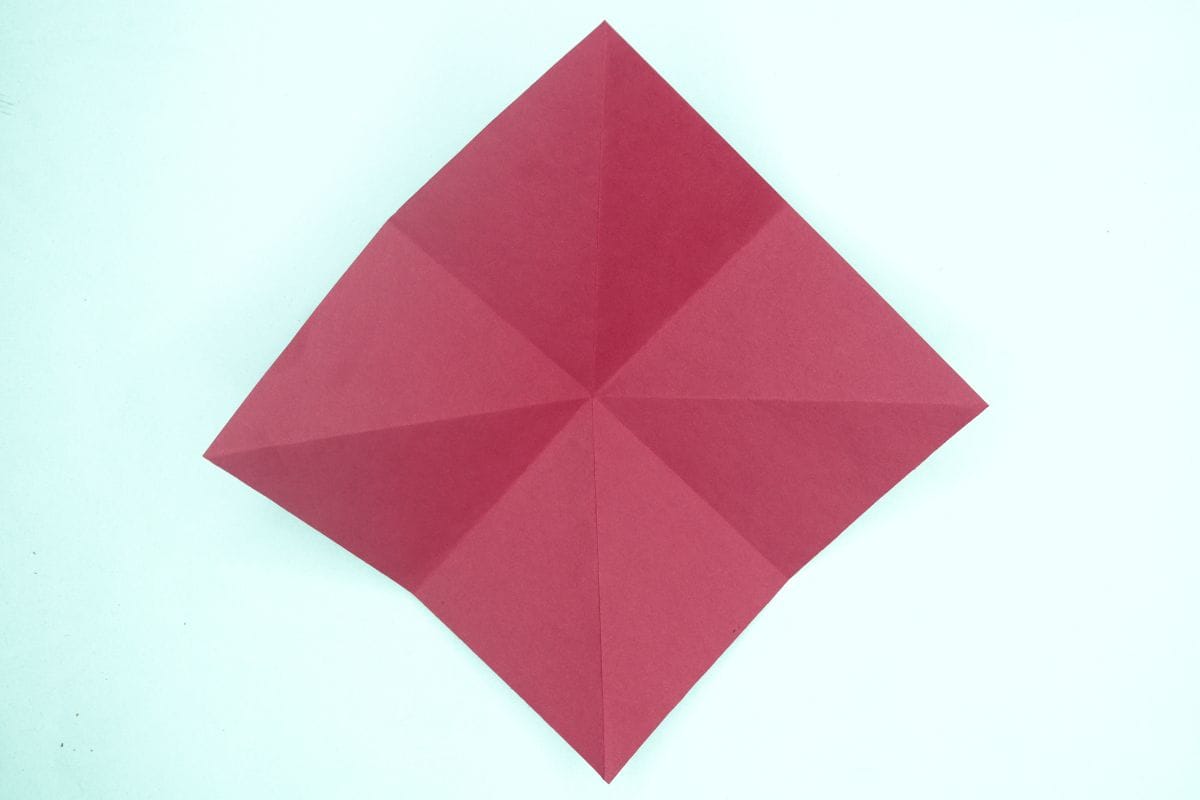
Rotate the model as shown.
Step 11
11
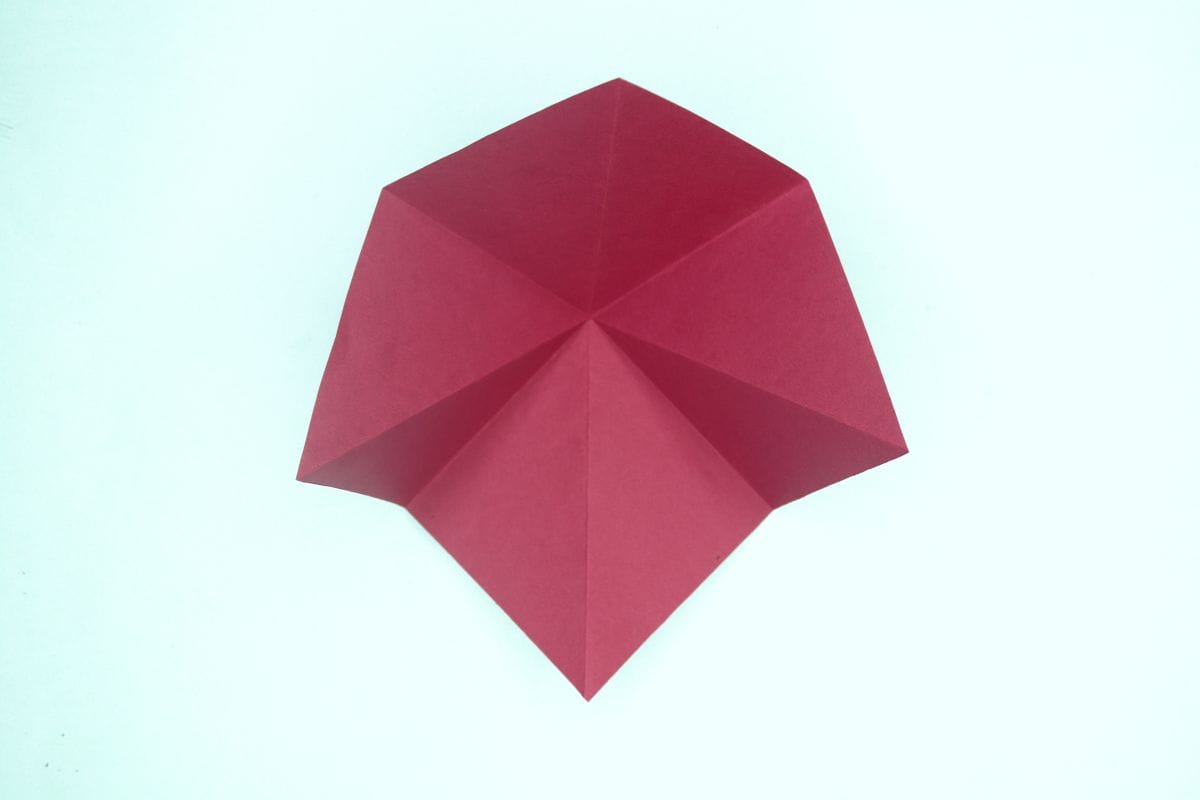
Bring in the left and right corners to meet the center bottom point.
Step 12
12
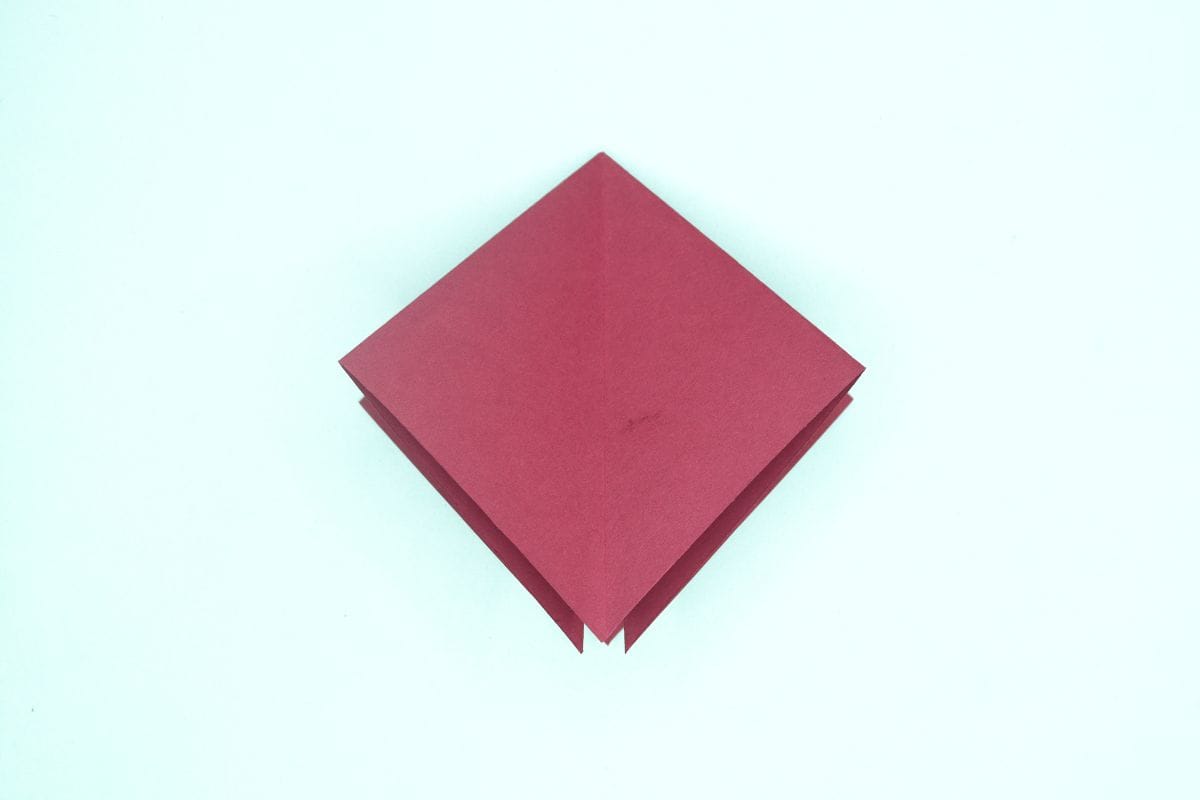
Flatten the fold well.
Step 13
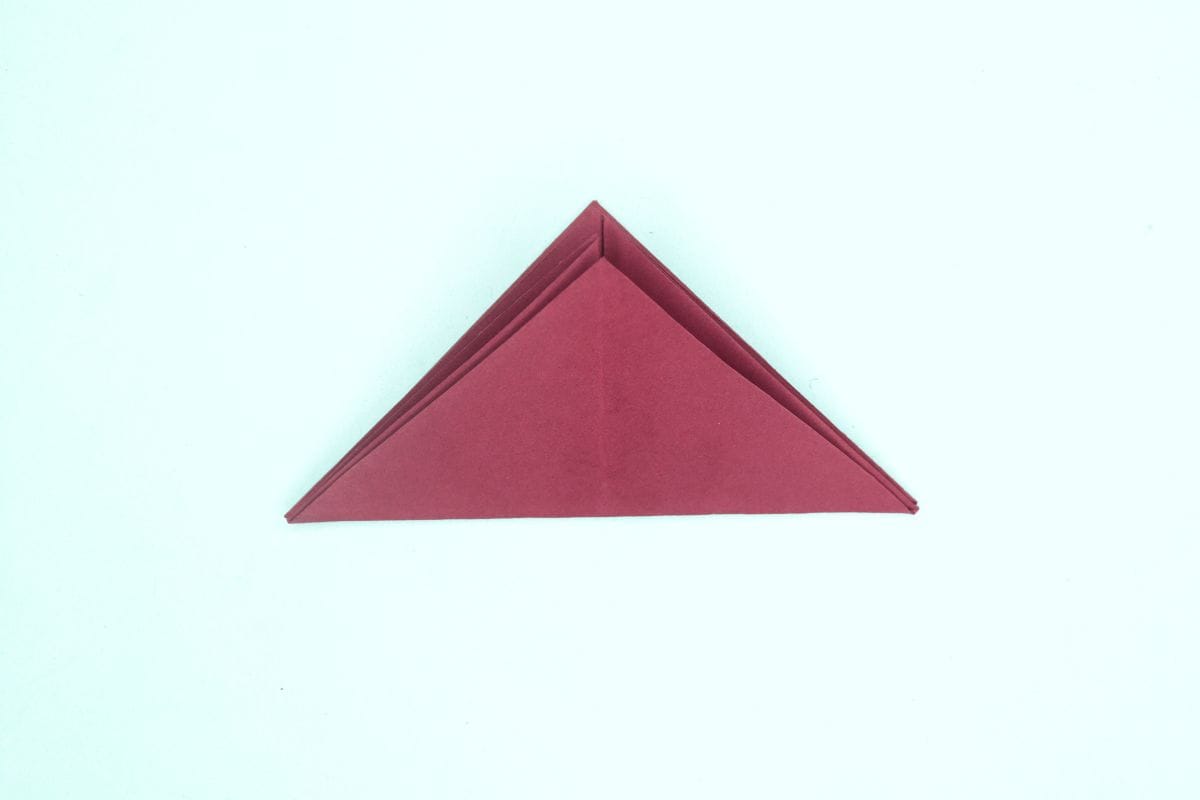
13
Fold the bottom half triangle to the top.
Step 14
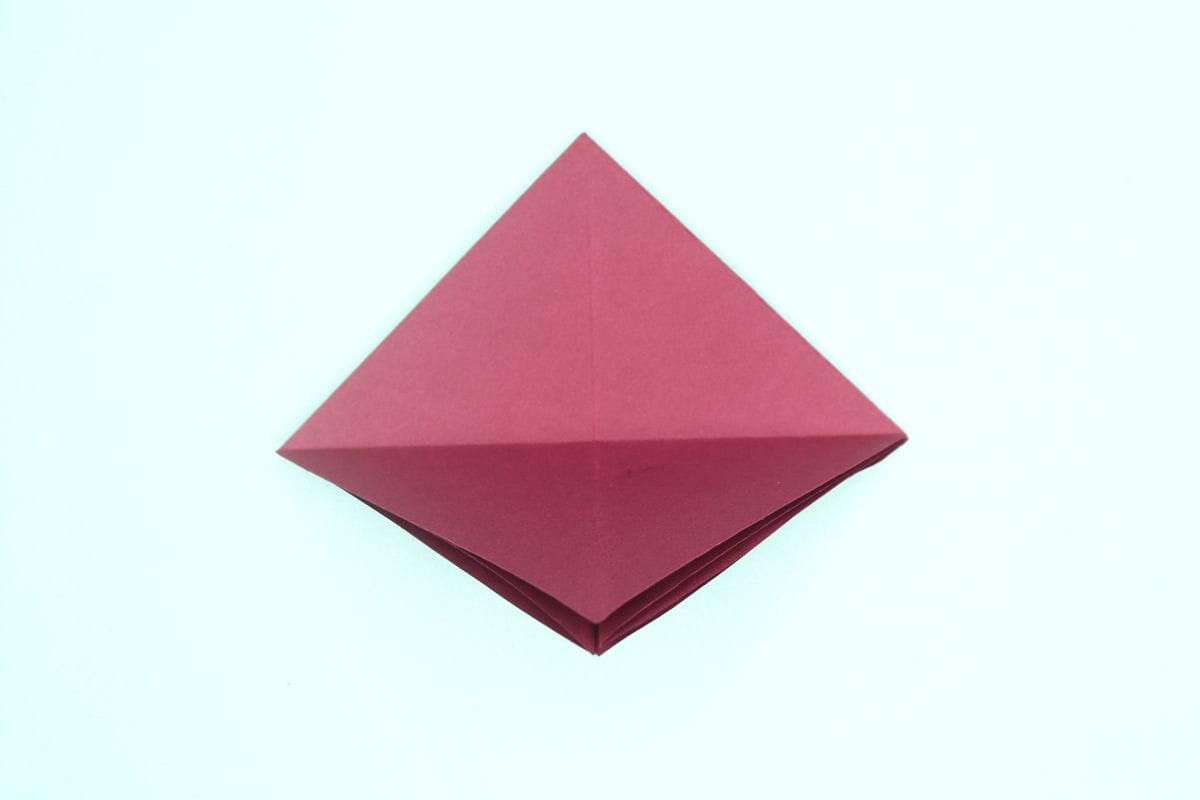
14
Unfold.
Step 15
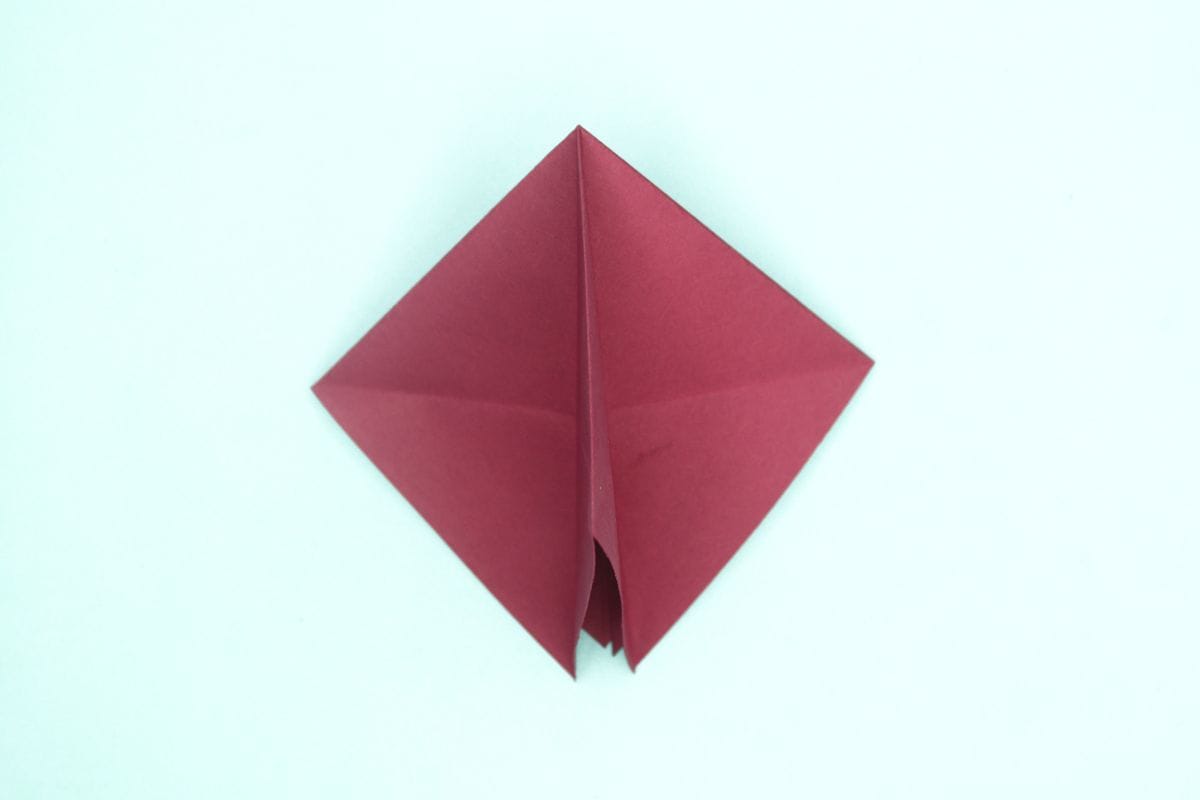
15
Stand the left flap straight as shown.
Step 16

16
Open the pocket of flap.
Step 17

17
Squash the pocket down.
Step 18

18
Fold the left edge to meet the center crease.
Step 19

19
Fold the right edge to meet the center crease.
Step 20

20
Unfold the both sides.
Step 21

21
Start moving the bottom edge upward, using the previously created crease as a guide.
Step 22
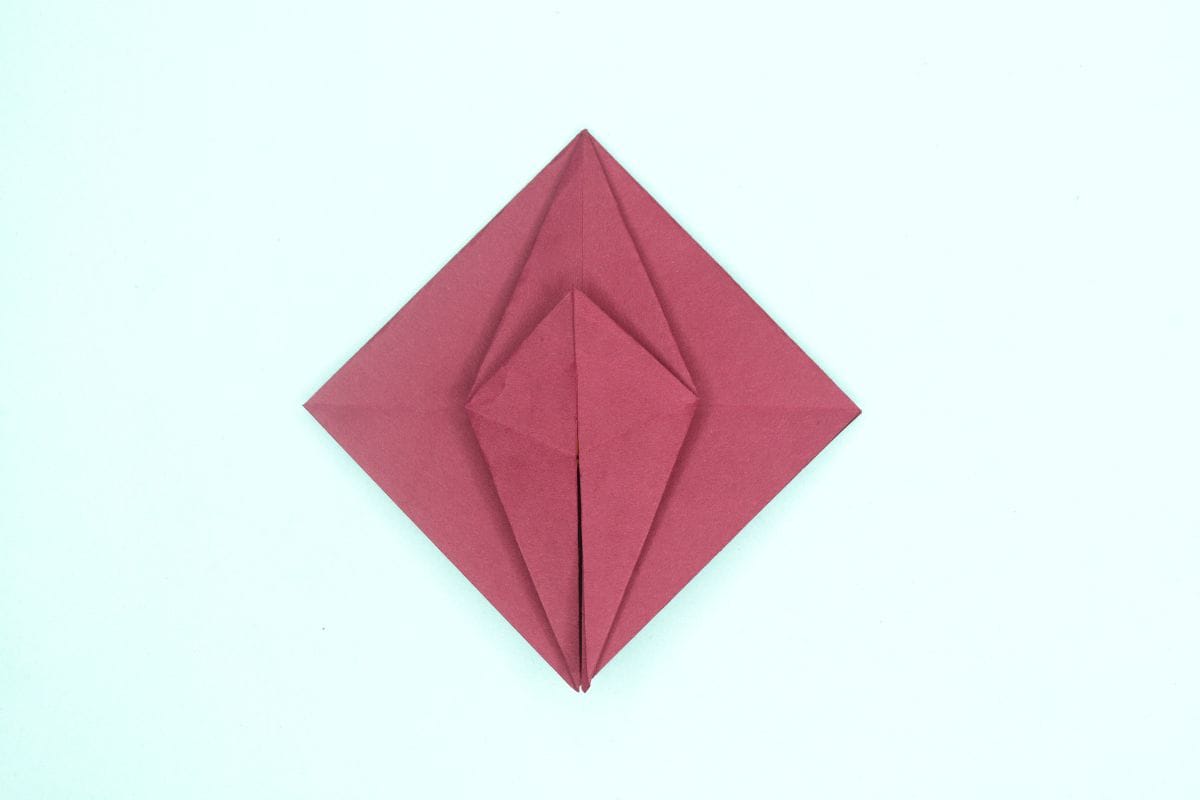
22
Flatten the fold well.
Step 23
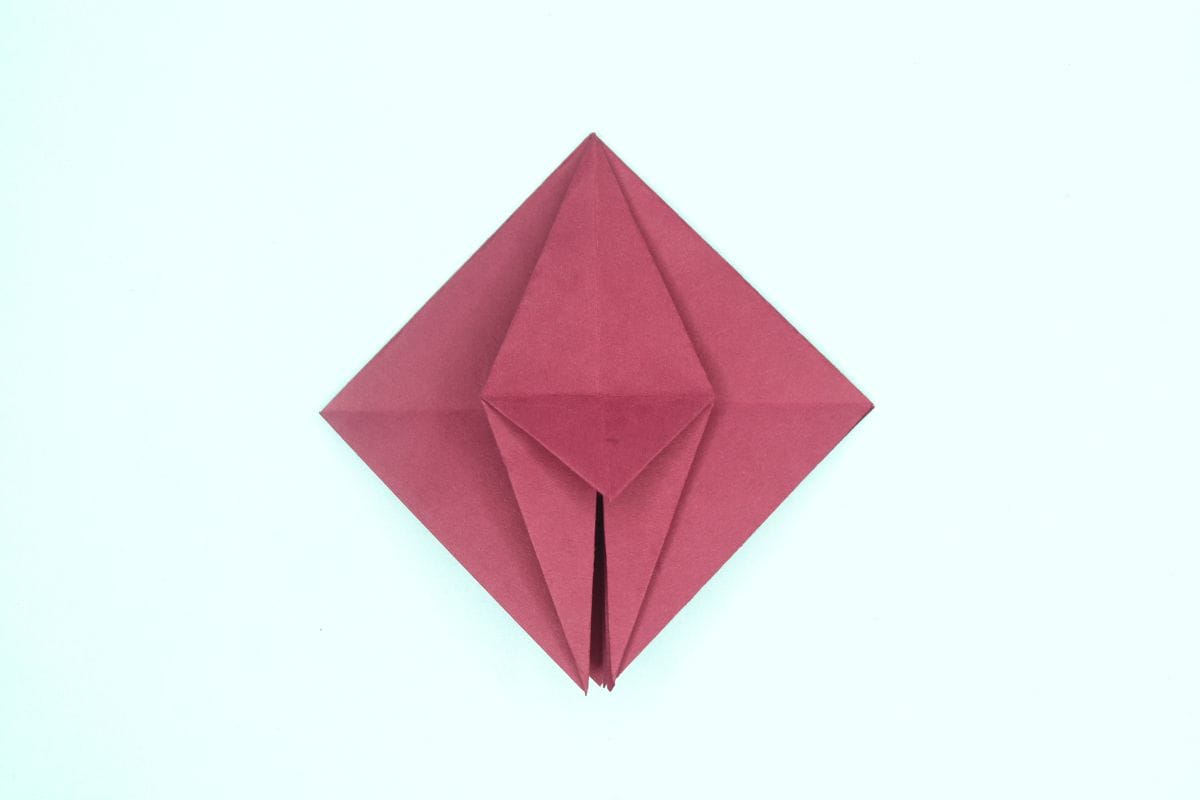
23
Move the top triangle down.
Step 24
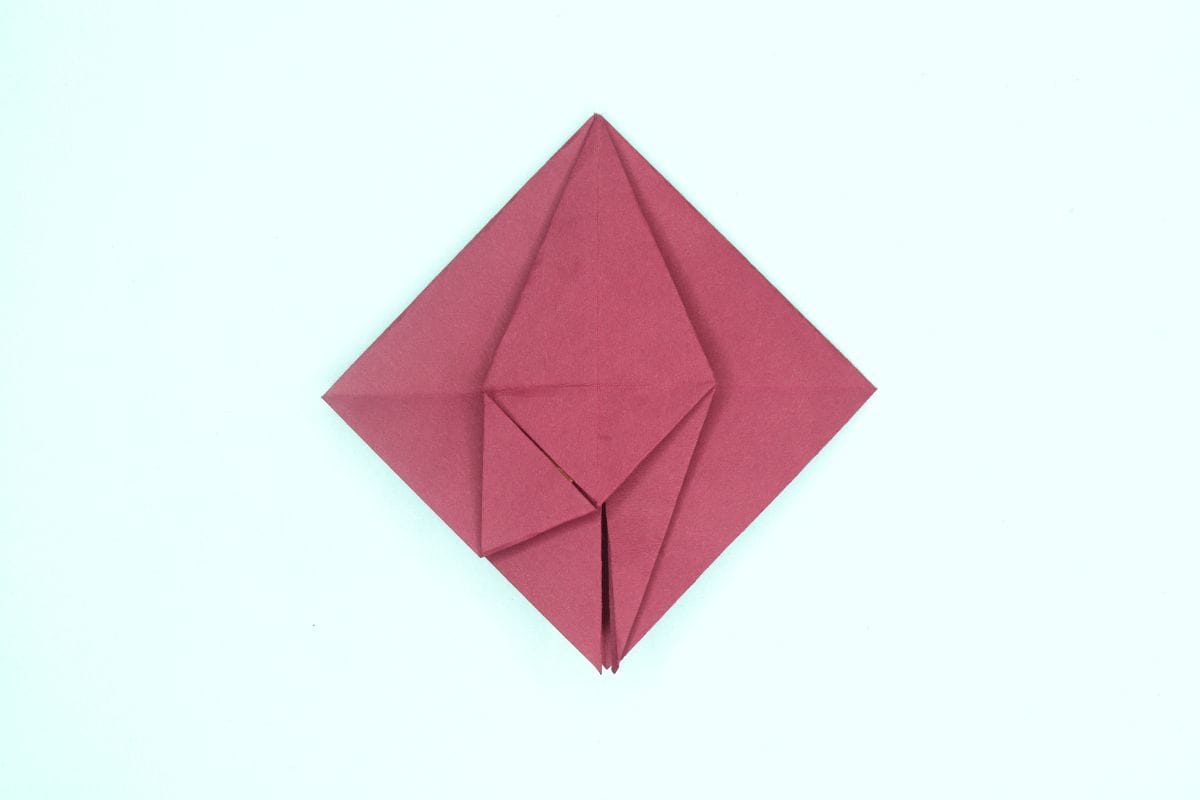
24
Fold the bottom left corner diagonally upward.
Step 25
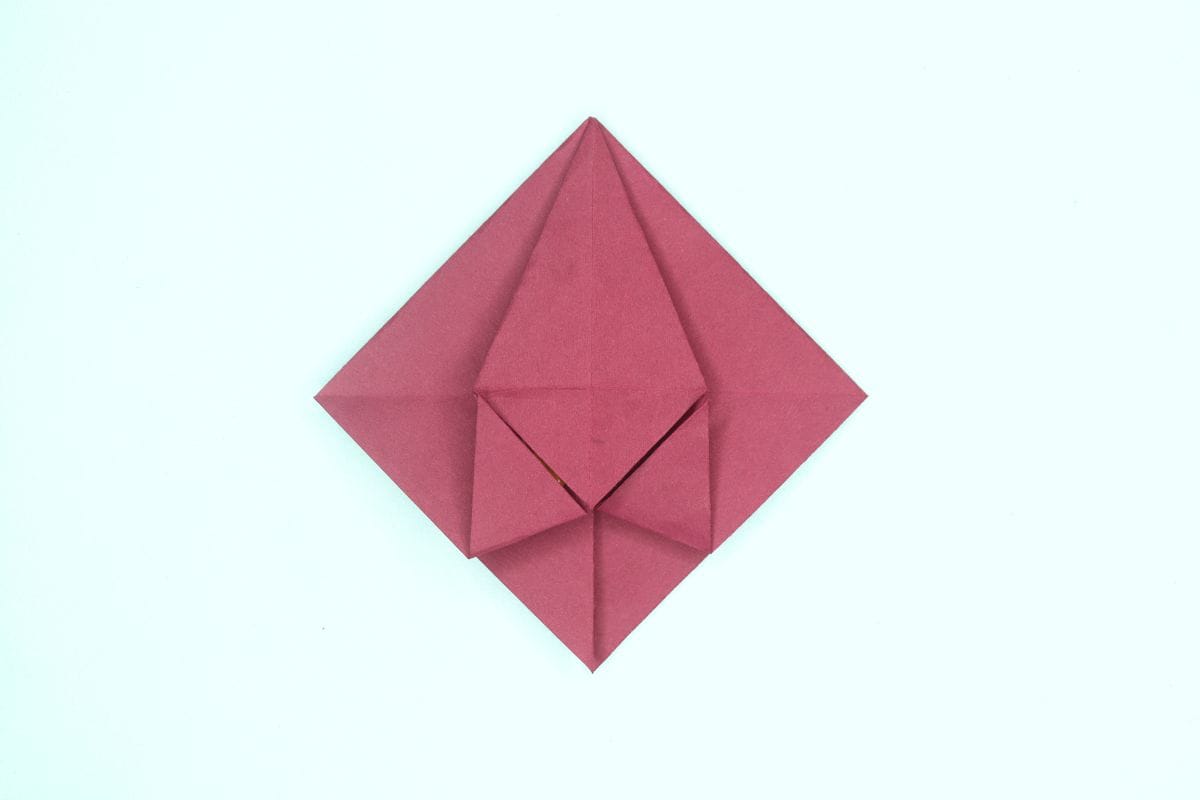
25
Fold the bottom right corner diagonally upward.
Step 26
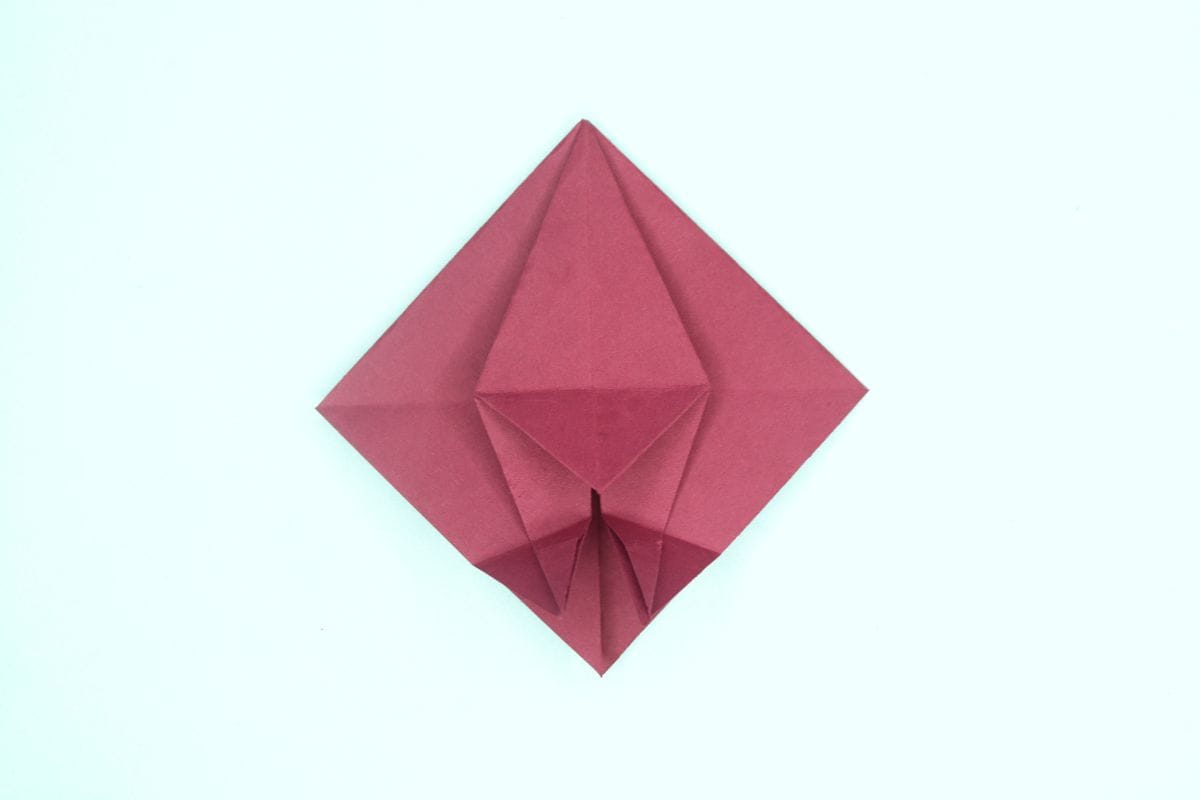
26
Unfold the previous two folds. We just needed the crease lines.
Step 27
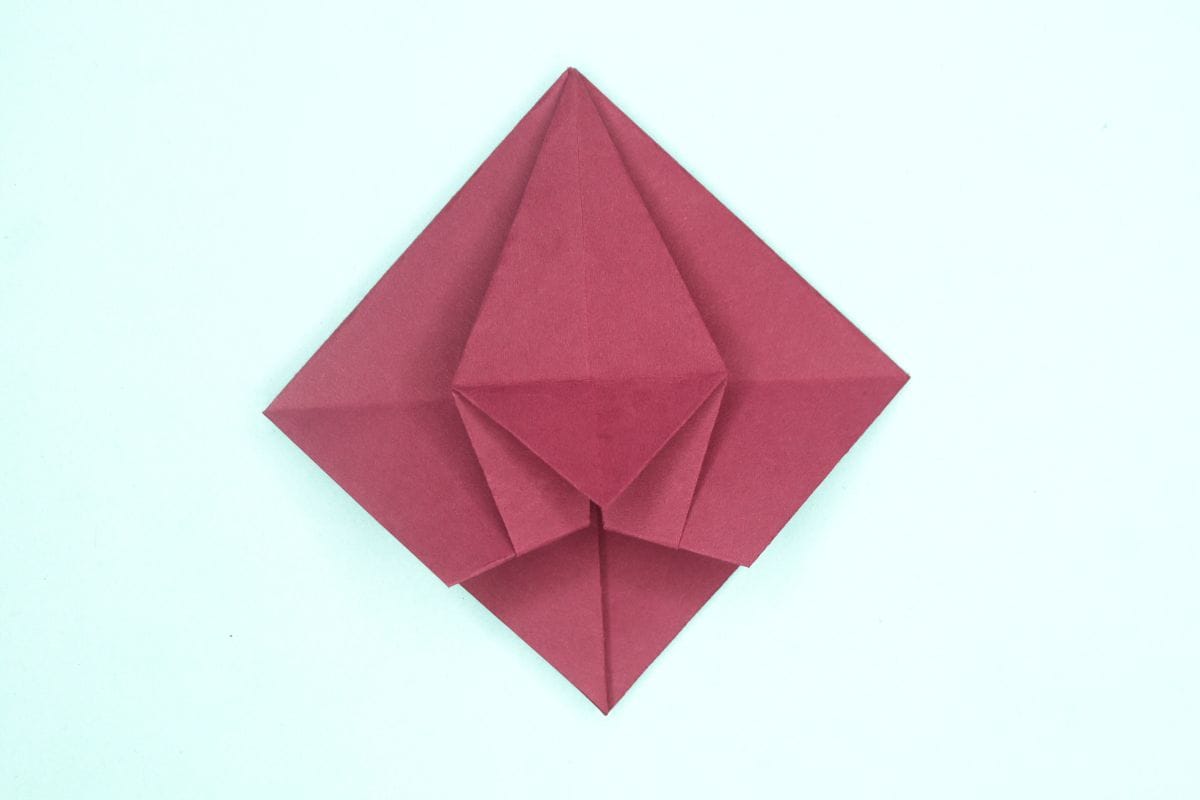
27
Fold the same corners backwards using the previously created crease as a guide.
Step 28
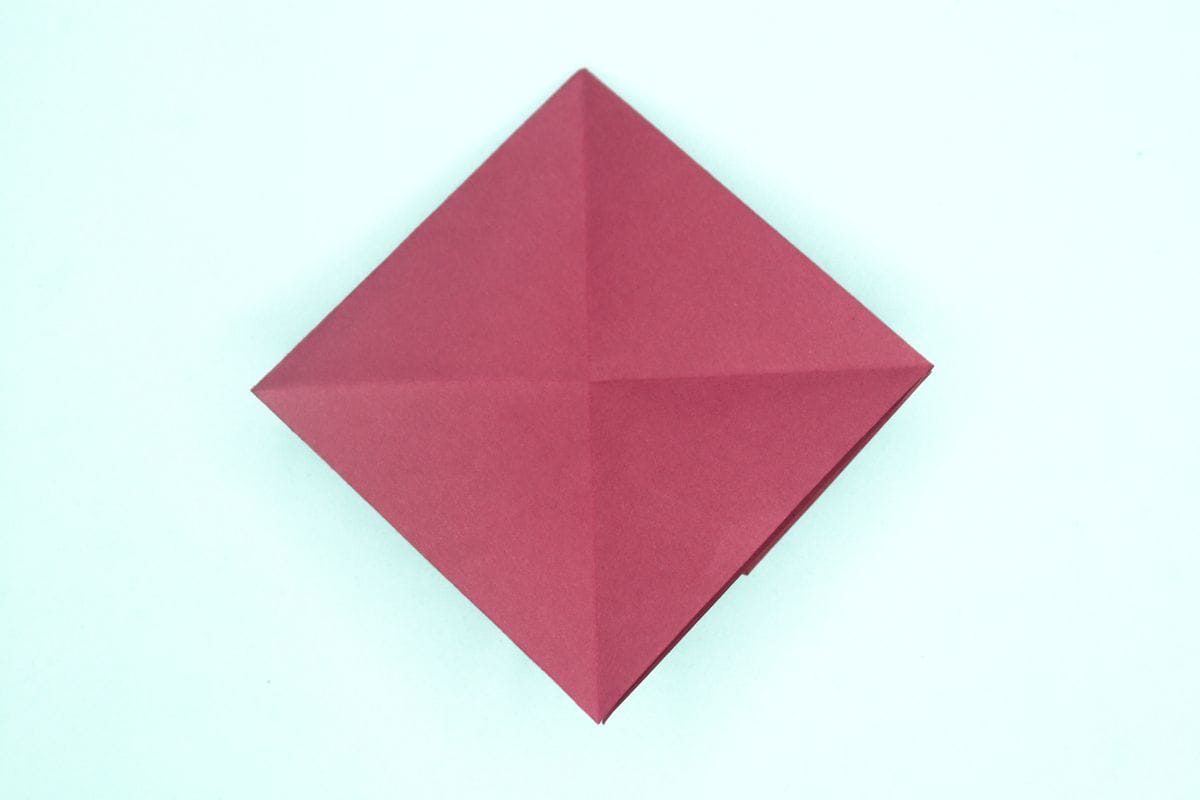
28
Turn the model over.
Step 29

29
Fold the left flap upward and repeat the steps 15-27 on this side too.
Step 30

30
Open the bottom of model as shown
Step 31

31
Now bend in the side corner.
Step 32

32
Bend in the second corner to emphasise the petal.
Step 33

33
Bend in the remaining two corners too.
Step 34

34
Curl down the corners of the petal and your origami bell flower is ready.
Share and Comment
We would love to see your creations! Scroll down to the comments section and share a photo of your origami.
Leave a Reply