How to Make an Origami Bird

Bird Origami Final Step
Difficulty: Intermediate
Follow the simple step-by-step instructions with pictures to learn how to make an origami bird.

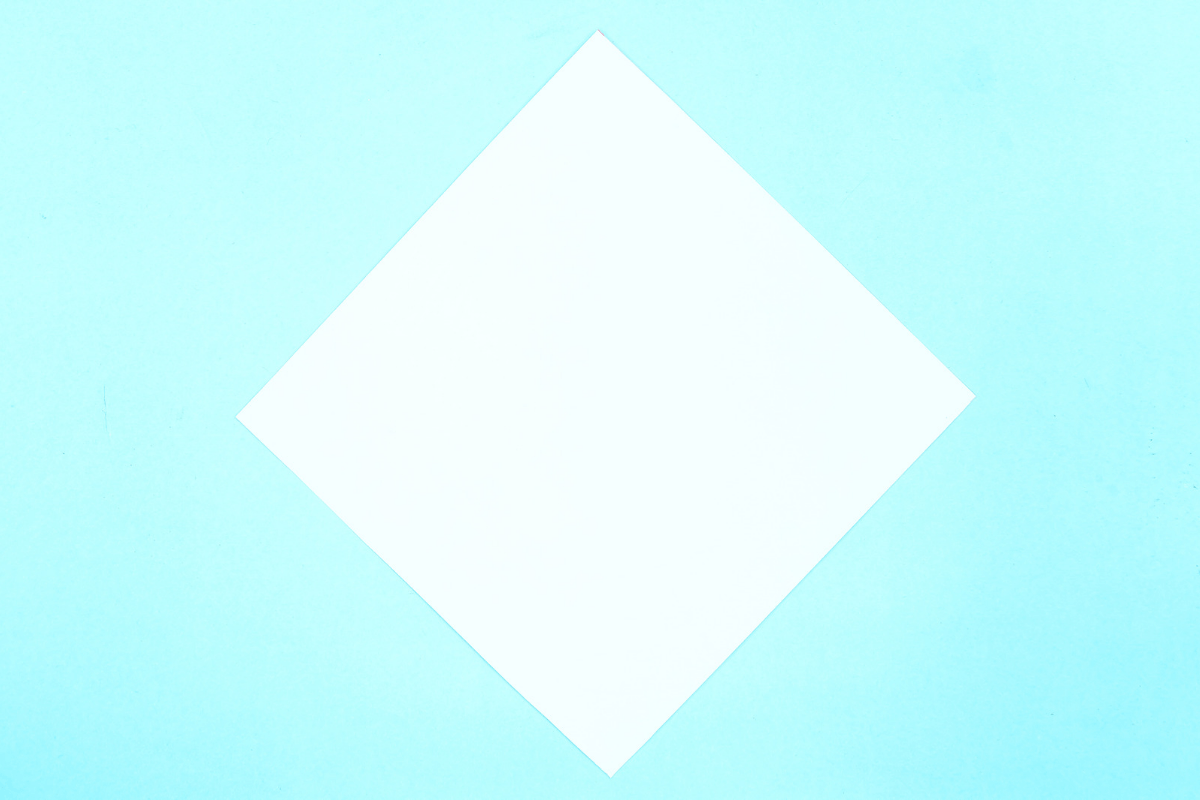
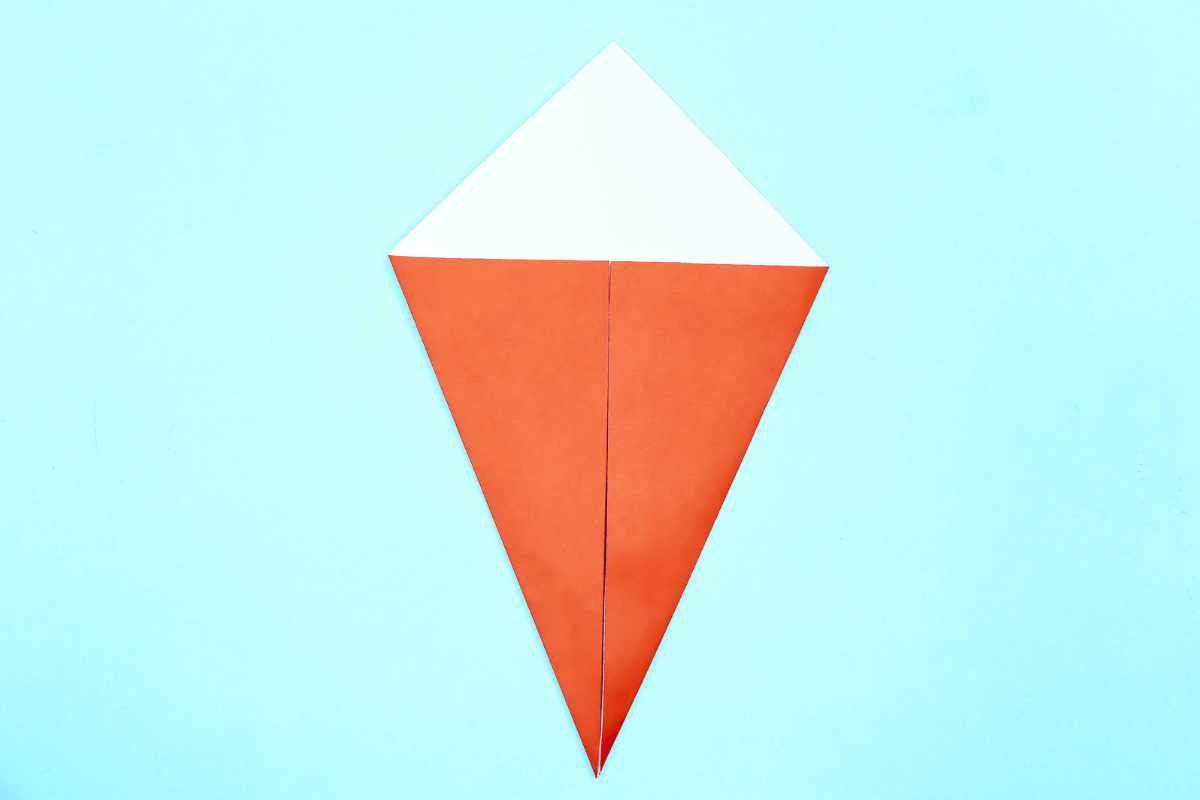
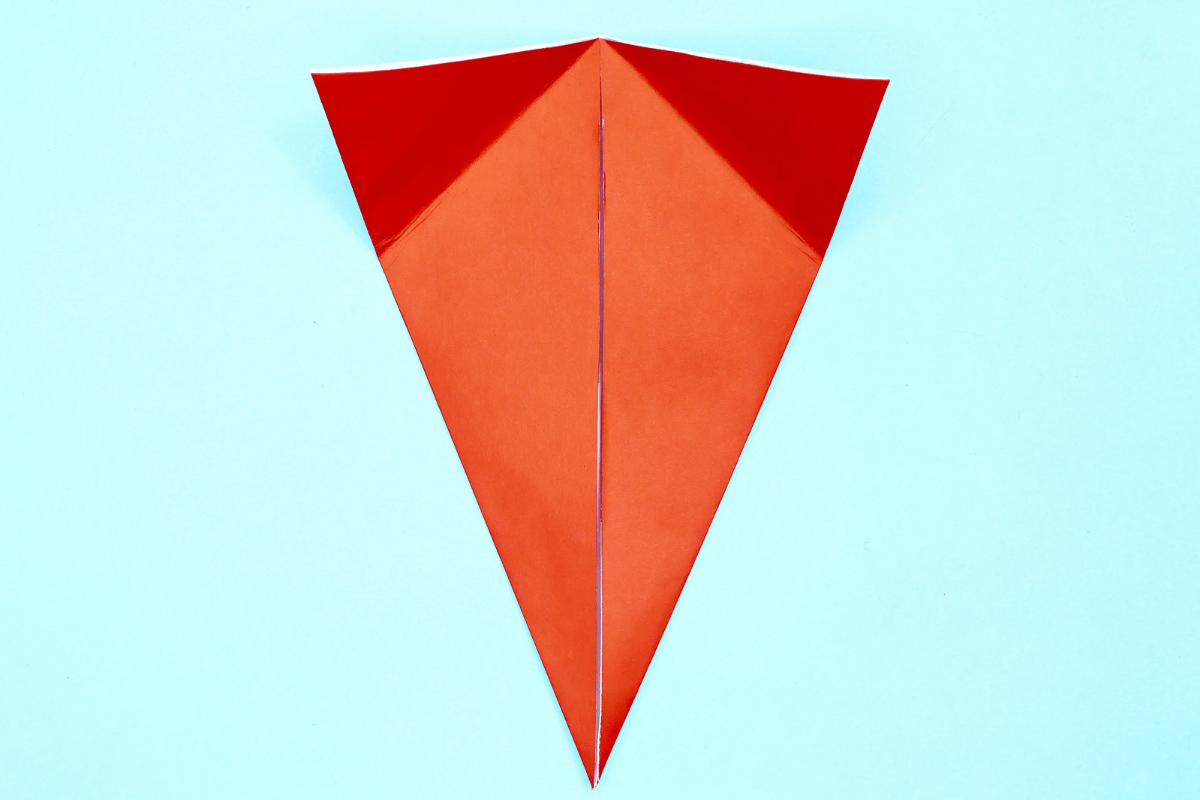
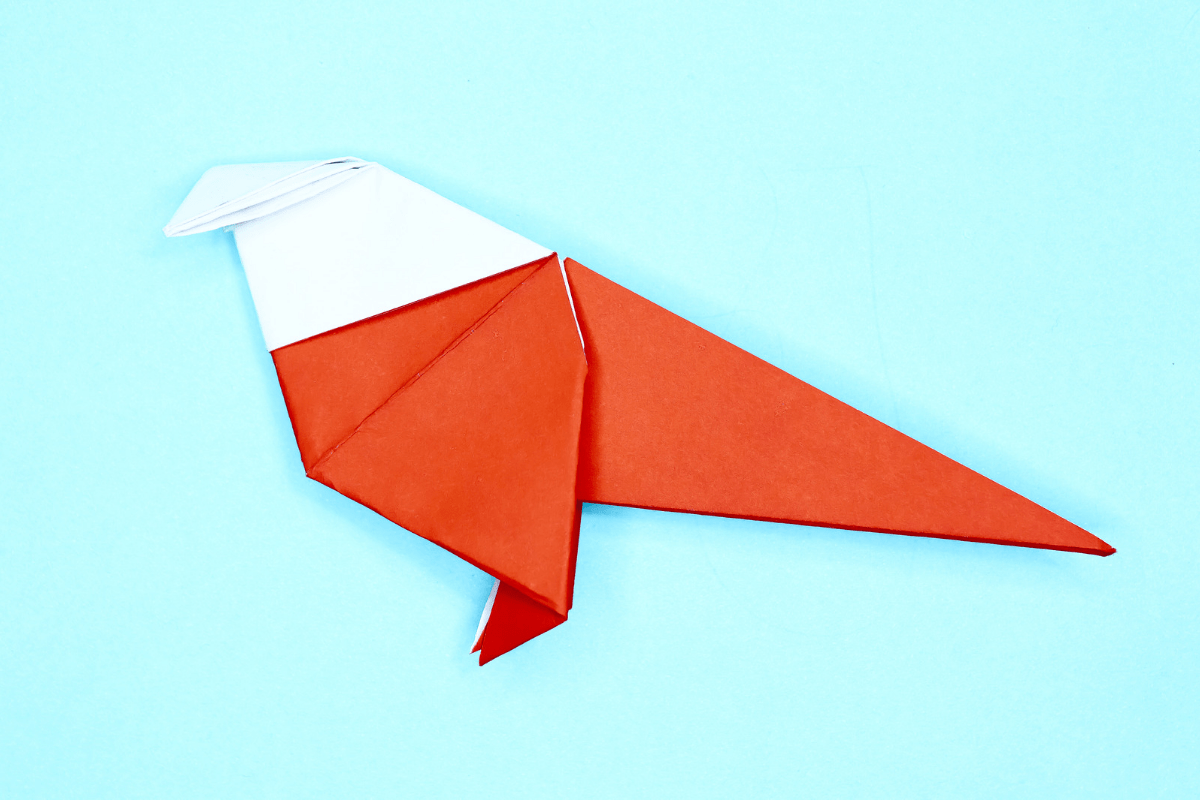
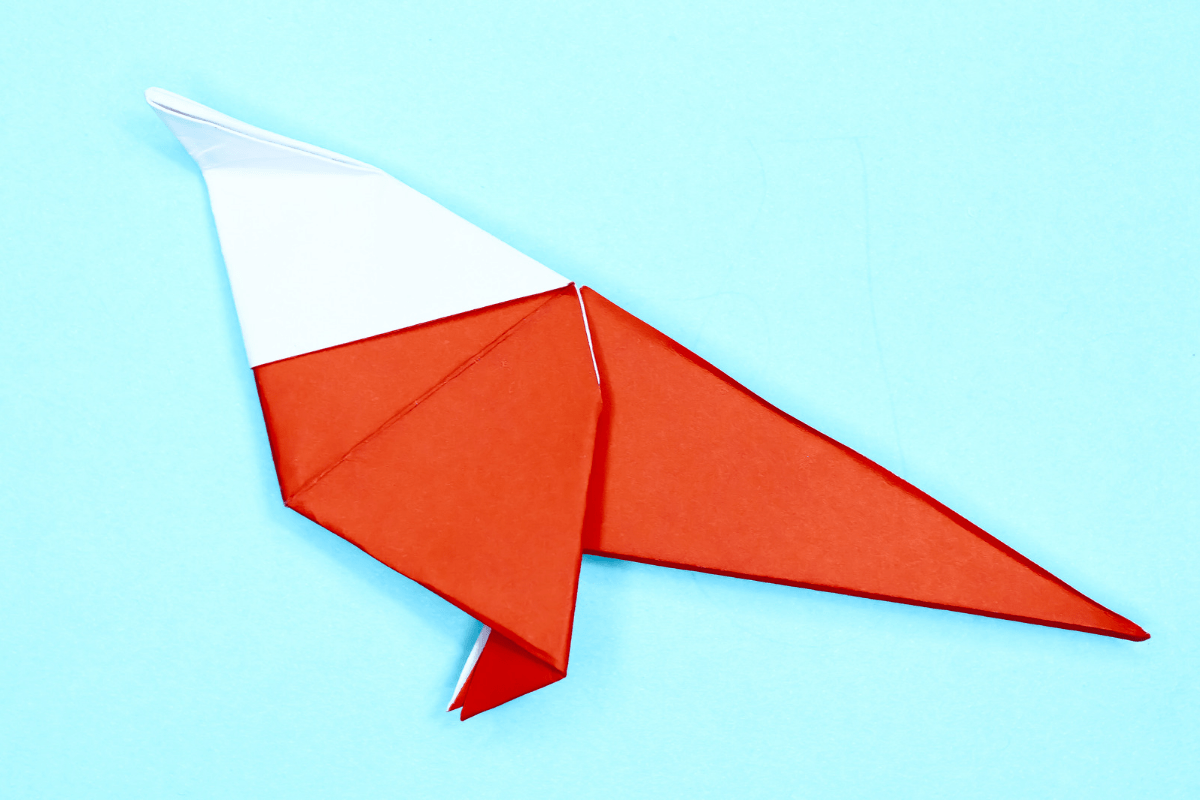
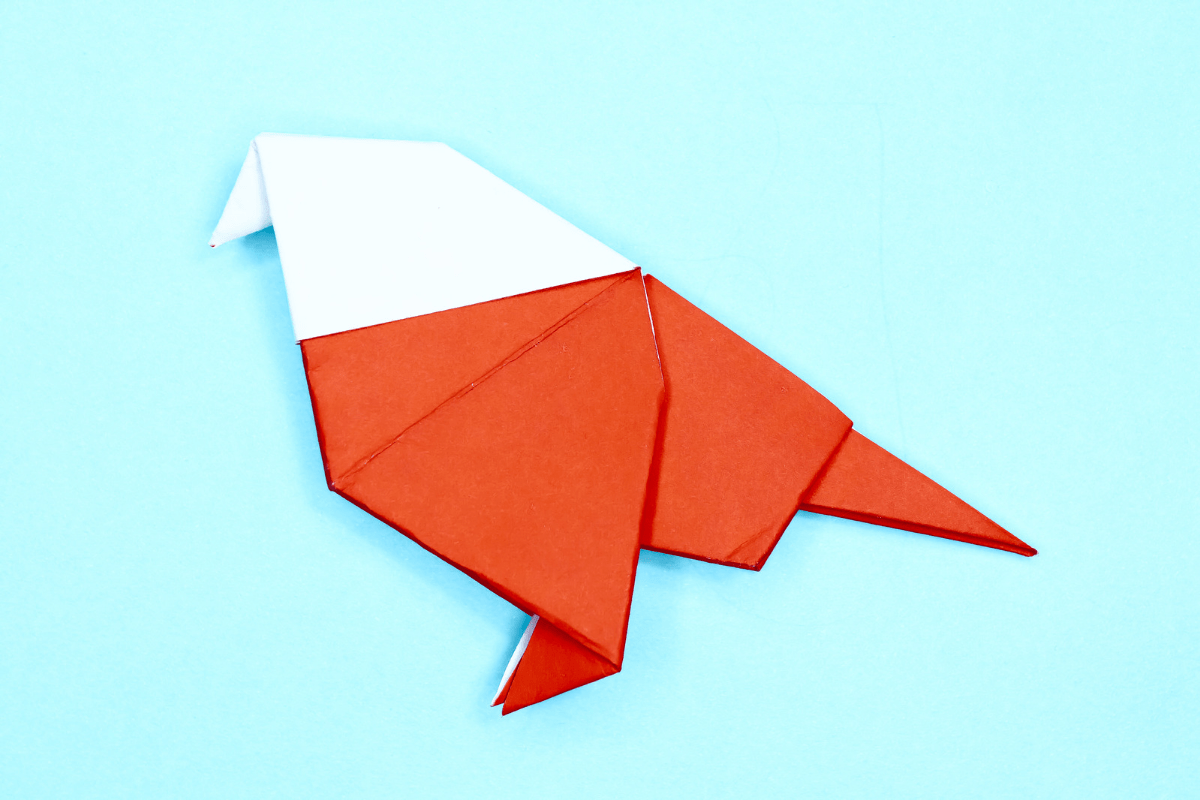
This bird resembles an origami pigeon and looks awesome when folded with a two-color origami paper. With two-sided/color paper, the body can have a different color or pattern than the head, and that increases the realistic effect of this beautiful origami bird. You can also use plain paper if you like, but before you begin, you’ll have to make it a square.

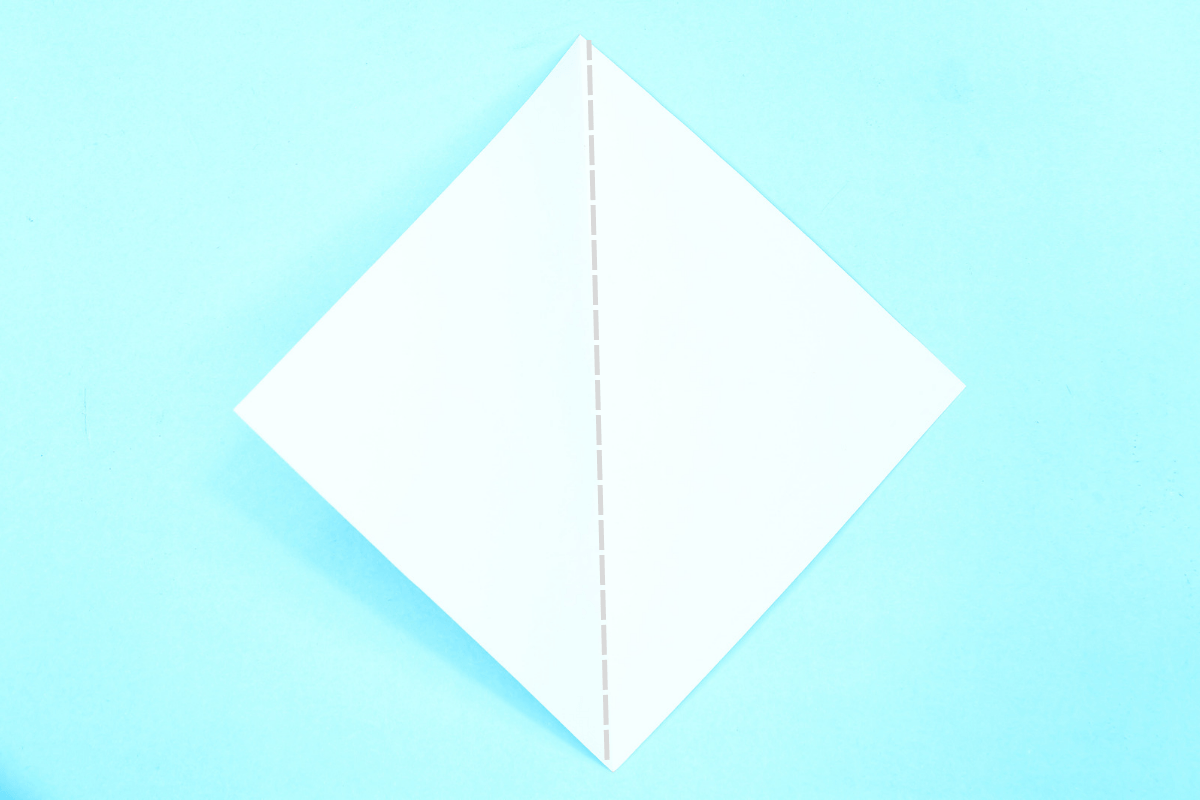
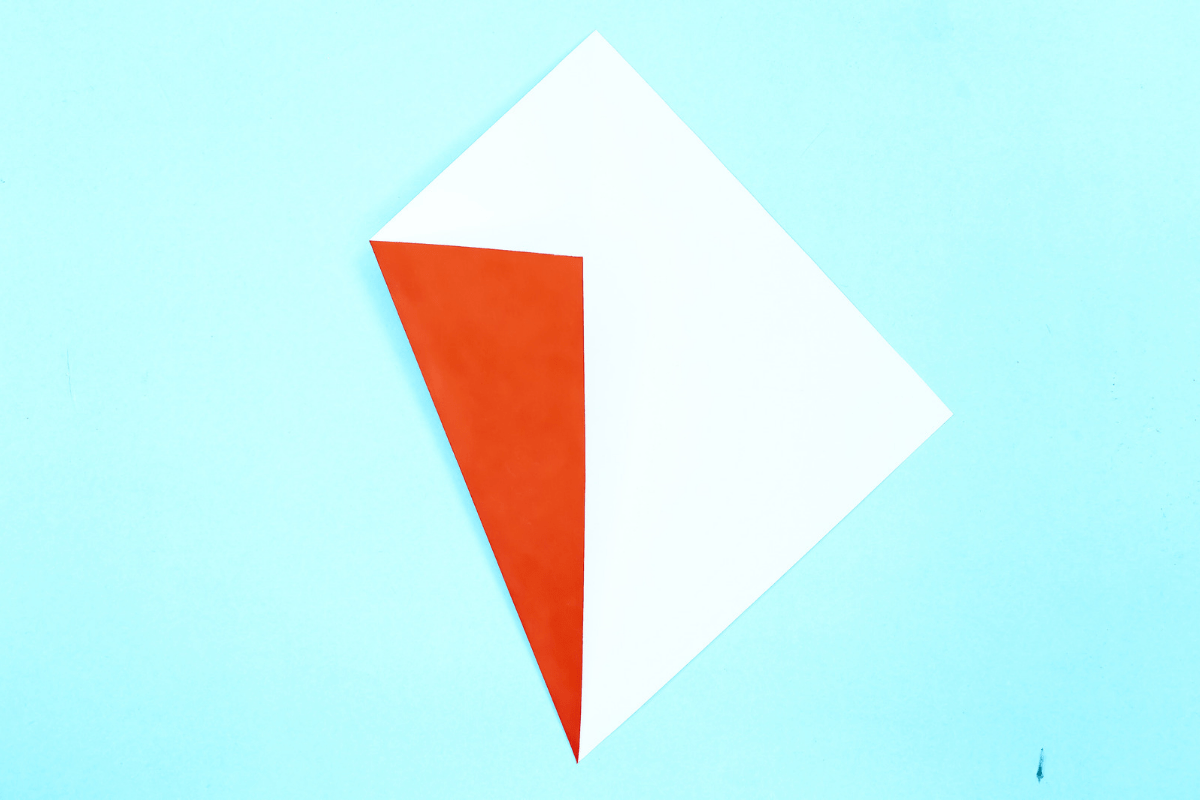
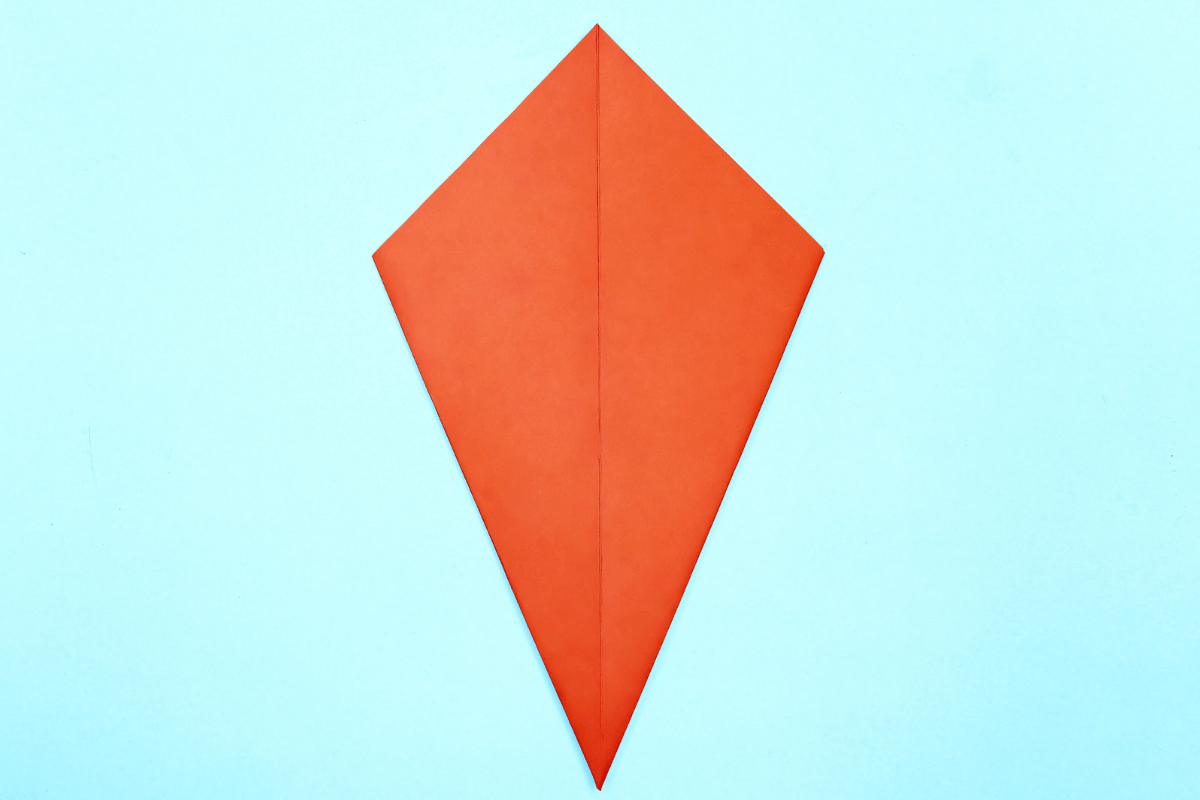
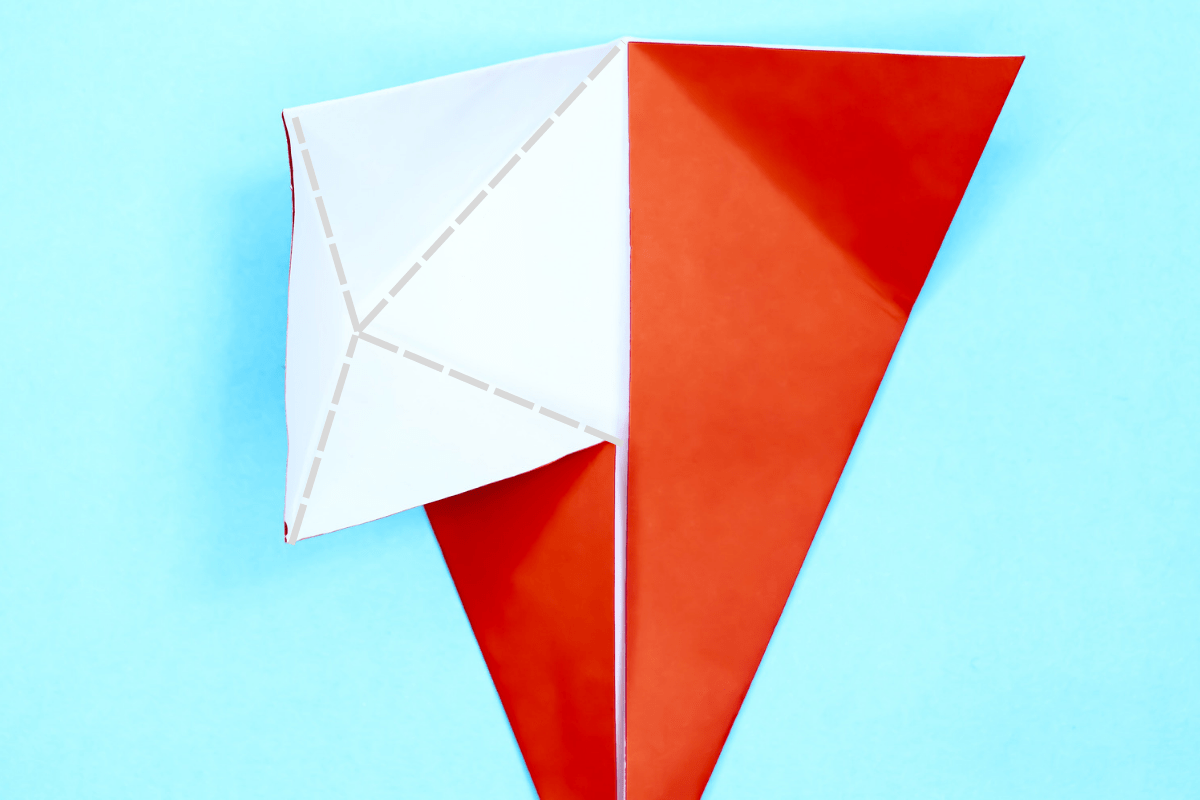
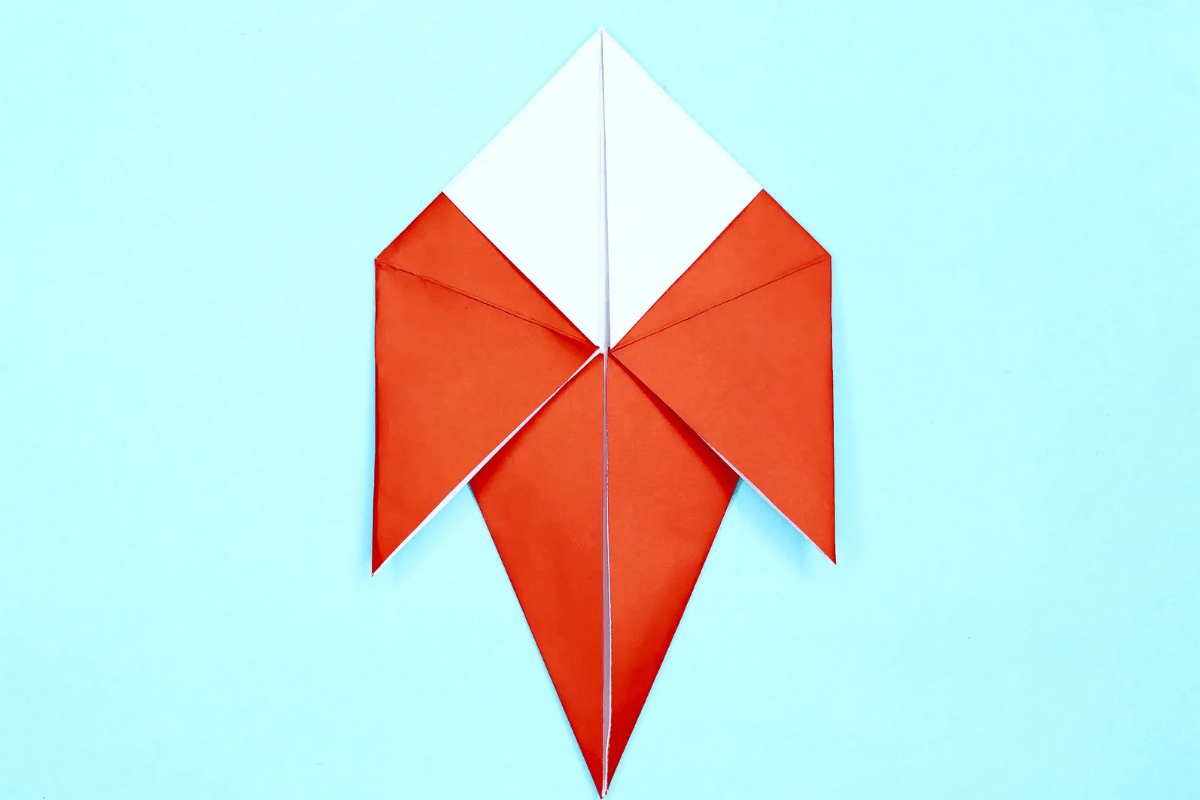
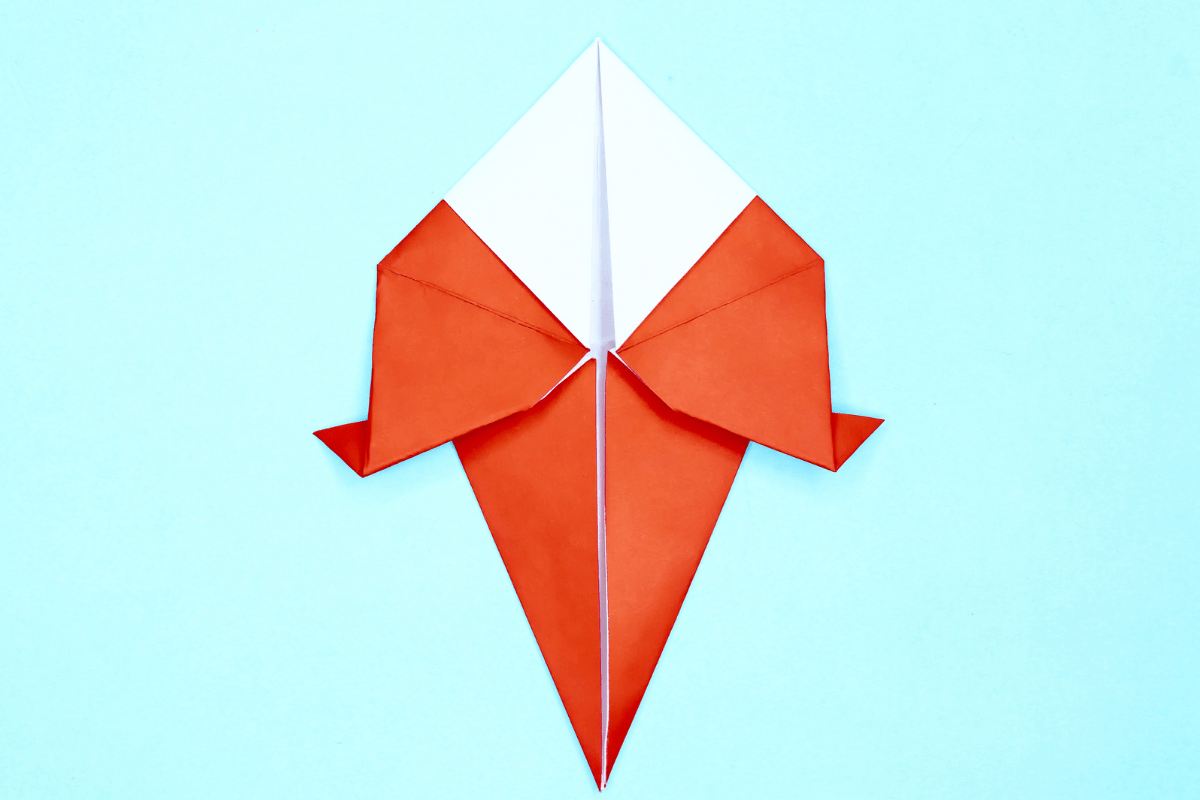
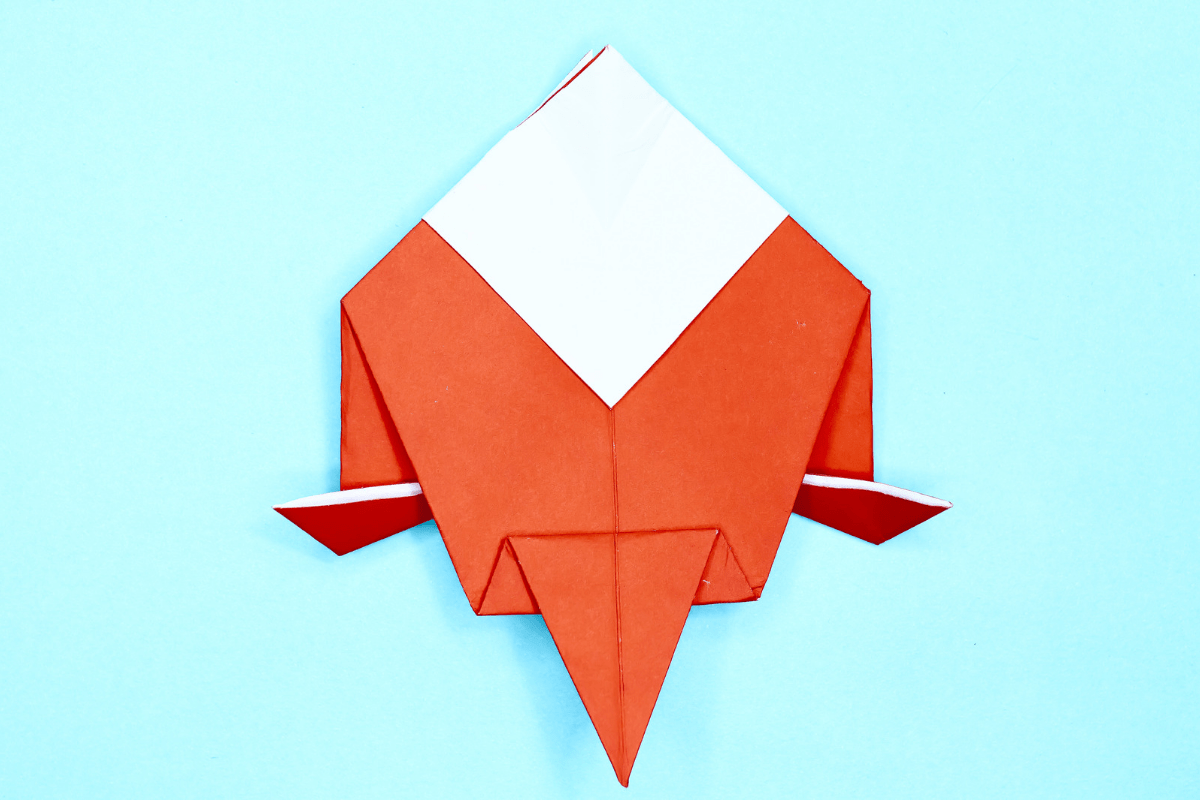
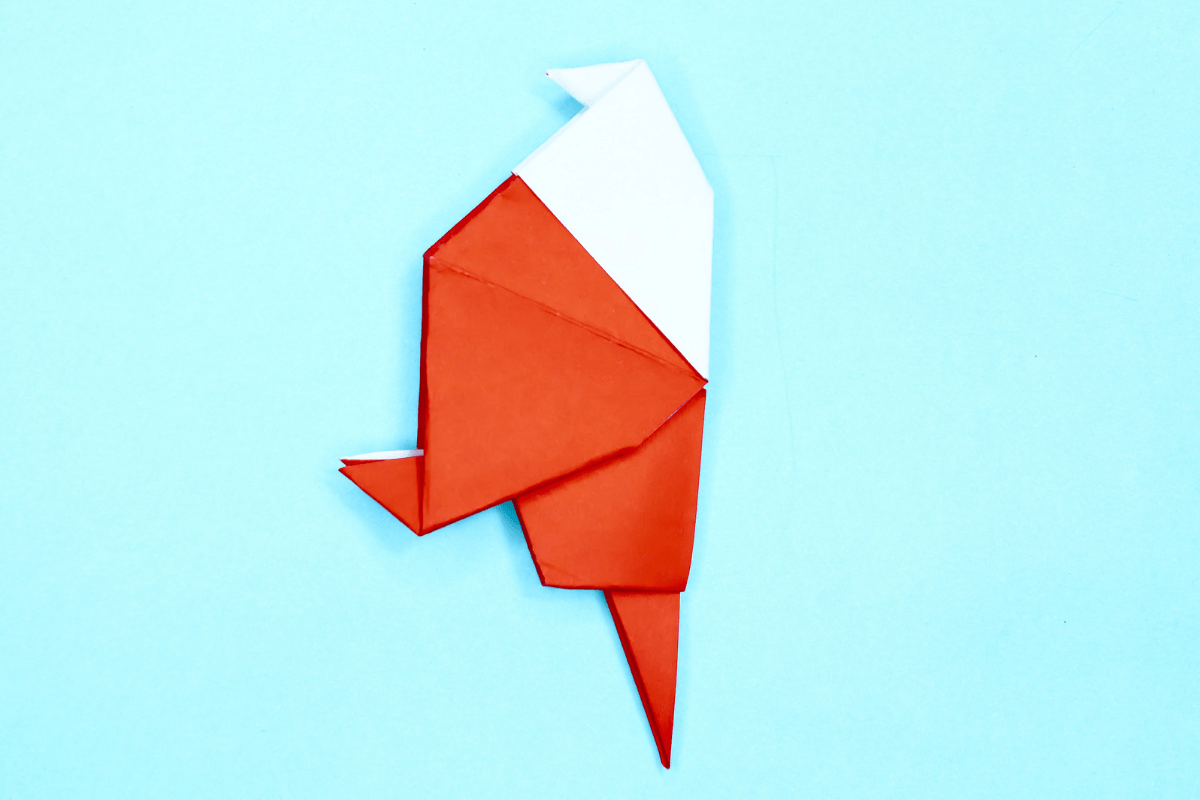
The origami bird is not hard to fold, but a couple of steps may just be a little confusing for the newbies. Fortunately, I made sure to include detailed diagrams and instructions to make every step as easy as possible.

Step 1
Bird Origami Step 01
1
Start with a square sheet of origami paper. I am using an 7×7 inches paper.

If you only have regular paper, follow these instructions on how to make a square origami paper.

Step 2
Bird Origami Step 02
2
Flip the paper so the lighter side faces you and rotate it diagonally.

Step 3
Bird Origami Step 03
3
Fold the paper in half by folding the left side over to the right.

Step 4
Bird Origami Step 04
4
Unfold. You now have a straight crease where the dotted grey line goes.

Step 5
Bird Origami Step 05
5
Fold the lower half of left side to line up with the center.

Step 6
Bird Origami Step 06
6
Fold the lower half of right side to line up with the center.

Step 7
Bird Origami Step 07
7
Flip the model over.

Step 8
Bird Origami Step 08
8
Fold the top part downwards.

Step 9
Bird Origami Step 09
9
Flip the model over.

Step 10
Bird Origami Step 10
10
Grab the top corner of the right side and fold it to the center.

Step 11
Bird Origami Step 11
11
Grab the top corner of the left side and fold it to the center.

Step 12
Bird Origami Step 12
12
Unfold the both corners.

Step 13
Bird Origami Step 13
13
First, peel open the left flap from the center like you see in the first picture.

Step 14
Bird Origami Step 14
14
Then, take the corner of that flap and pinch both sides of it as shown in the picture.

Step 15
Bird Origami Step 15
15
Crease the left edge to enable you to fold the whole piece down like you see in the third picture in this step.

Step 16
Bird Origami Step 16
16
Do the same thing to the right side and your paper should look like this.

Step 17
Bird Origami Step 17
17
Take the bottom corners of each flap and fold it 3/4ths of it backwards.

Step 18
Bird Origami step 18
18
Fold the whole piece in half by folding the right side under the left.

Step 19
Bird Origami Step 19
19
Grab about a third of the head and fold it down sideways. This will prepare you for the next step.

Step 20
Bird Origami Step 20
20
Now unfold.

Step 21
Bird Origami Step 21
21
Open the top corner so you can push the head in to where you creased it in the previous step.
Then do an inside reverse fold so the head will sink in, and crease the left and right sides together to hold it in place.

Step 22
Bird Origami Step 22
22
Rotate the paper counter-clockwise (left) just a little bit and you’ll see the bird taking shape.

Step 23
Bird Origami Step 23
23
Unfold the whole bird by moving the top flap to the right side.

Step 24
Bird Origami Step 24
24
Fold the tail upwards as shown.

Step 25
Bird Origami Step 25
25
Fold the edge of the tail downwards as shown.

Step 26
Bird Origami Step 26
26
Go ahead and fold the bird in half and back together.

Step 27
Bird Origami Step 27
27
Rotate the bird clockwise just a little bit.

Step 28
Bird Origami Final Step
28
Draw eyes and color beak of the bird to make it look more fun!

Comments

Leave a Reply

Your email address will not be published. Required fields are marked *