Tired of losing your place? Fold a clever origami corner bookmark that hugs your page in style! Quick to make, fun to customize, and perfect for book lovers.
How to Make an Origami Corner Bookmark

Difficulty: Easy
Craft your own Origami corner bookmark! Learn how to fold a cute origami corner bookmark in minutes. Simple, creative, and perfect for all ages.
Step 1

1
Start with a square sheet of origami paper. I am using an 7×7 inches origami paper.
If you only have regular paper, follow these instructions on how to make a square origami paper.
If you only have regular paper, follow these instructions on how to make a square origami paper.
Step 2

2
Rotate the paper to make it resemble a diamond.
Step 3

3
Fold from the bottom corner to the top corner.
Step 4

4
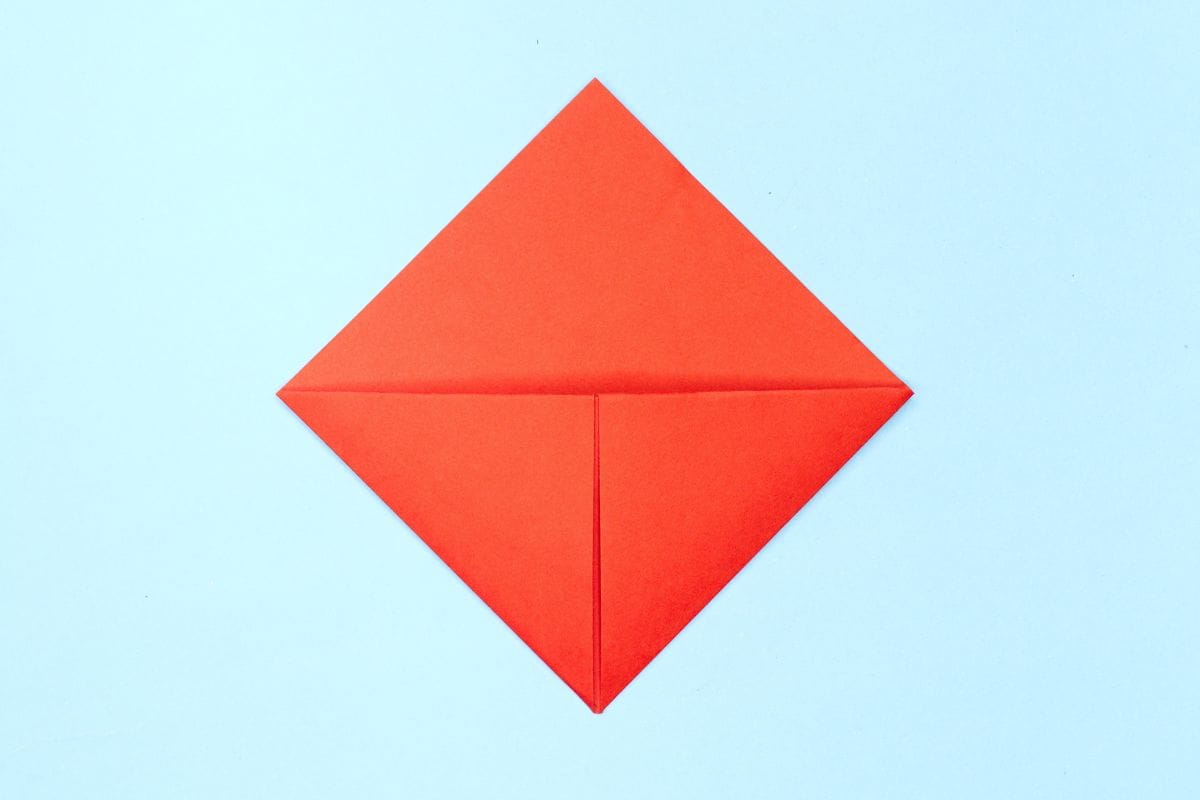
Fold the right corner to the center.
Step 5

5
Fold the left corner to the center.
Step 6

6
Unfold.
Step 7

7
Fold one flap corner down.
Step 8

8
Bring back the left and right corners to the center.
Step 9

9
Tuck the right corner under the top fold.
Step 10

10
Flatten the fold.
Step 11

11
Now, the left corner is sticking out.
Step 12
12
Tuck the left corner under the top fold.
Step 13
13
Now grab a book and slip your new bookmark onto a corner. Congratulations, you did it!
Share and Comment
We would love to see your creations! Scroll down to the comments section and share a photo of your origami.
Leave a Reply