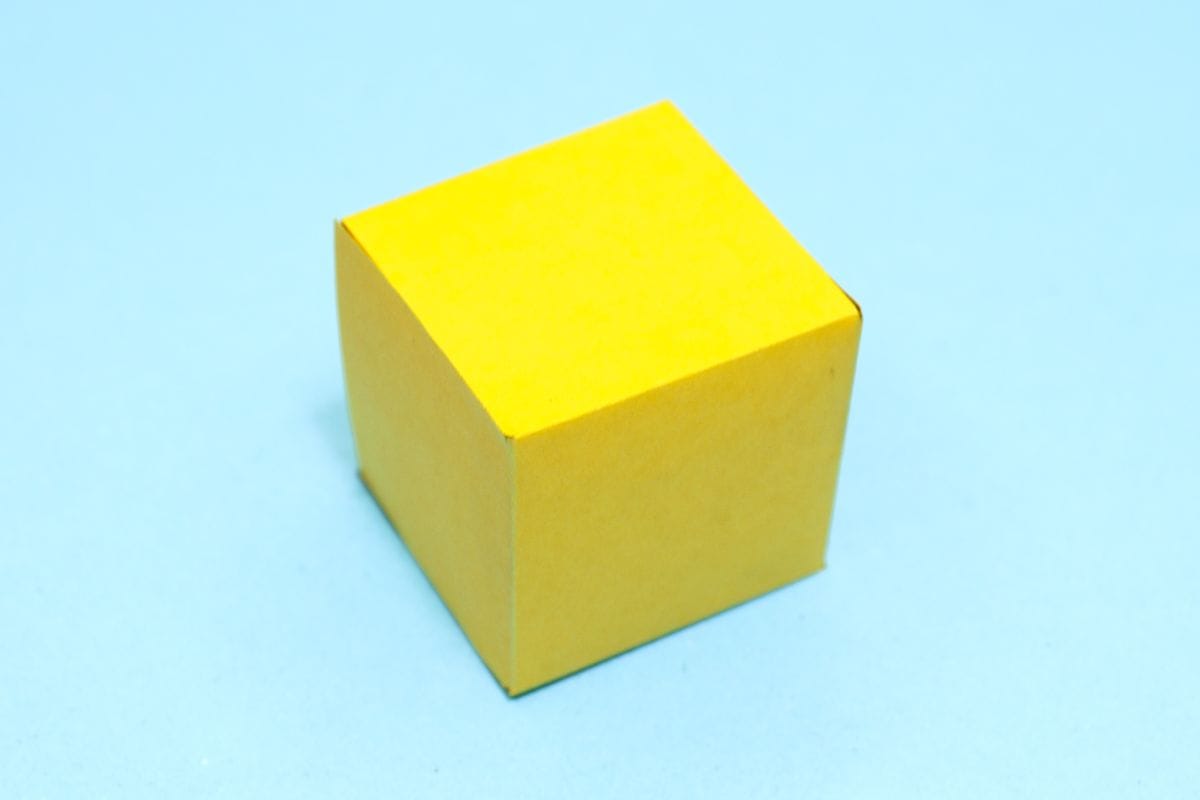
This is the easiest origami cube you can make! It only takes a few minutes and requires nothing more than a sheet of paper and a pair of scissors. In no time, you’ll have a fun little 3D cube to play with or display!
How to Make an Origami Cube
Difficulty: Easy
Fold a fun and sturdy Origami cube! Easy step-by-step instructions make this 3D paper shape perfect for decoration or play!
Step 1

1
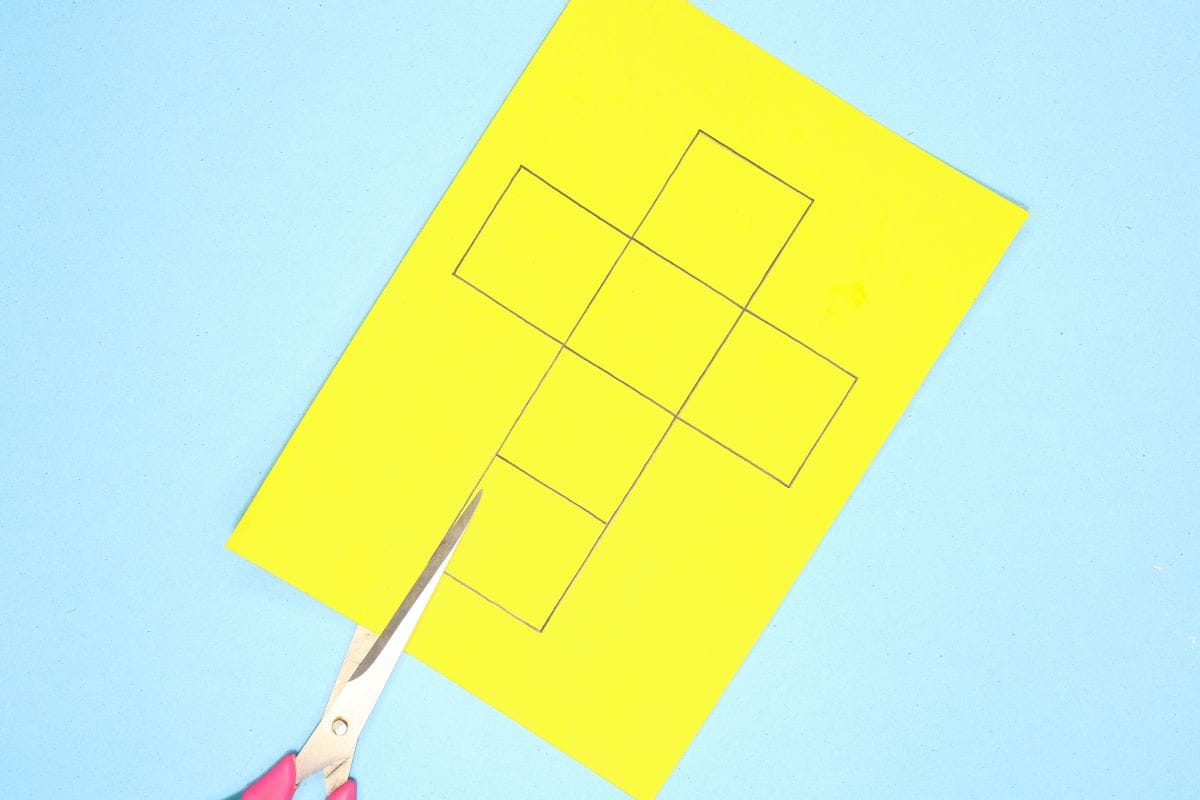
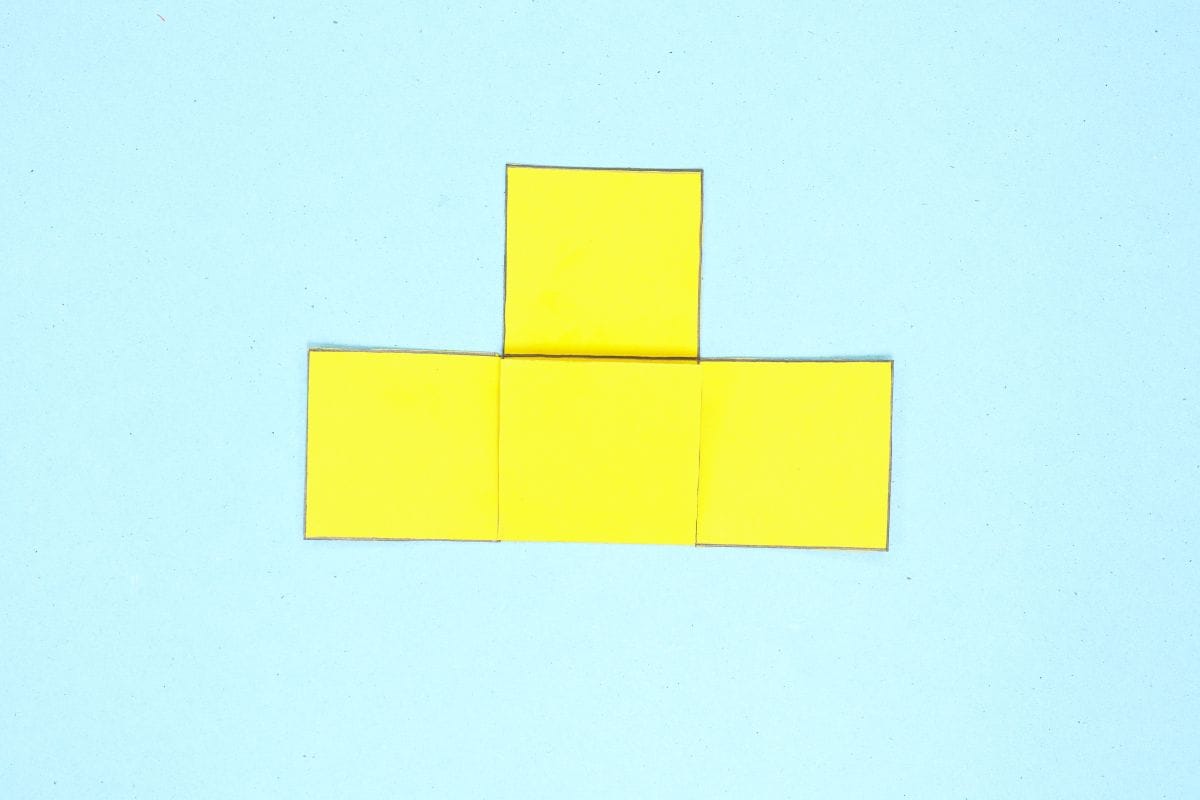
Star with a rectangular piece of paper (8.5×11 inches). Measure a four vertical box with 2×2 inches then measure and draw two boxes on the side of the second box from the vertical box you created.
Step 2
2
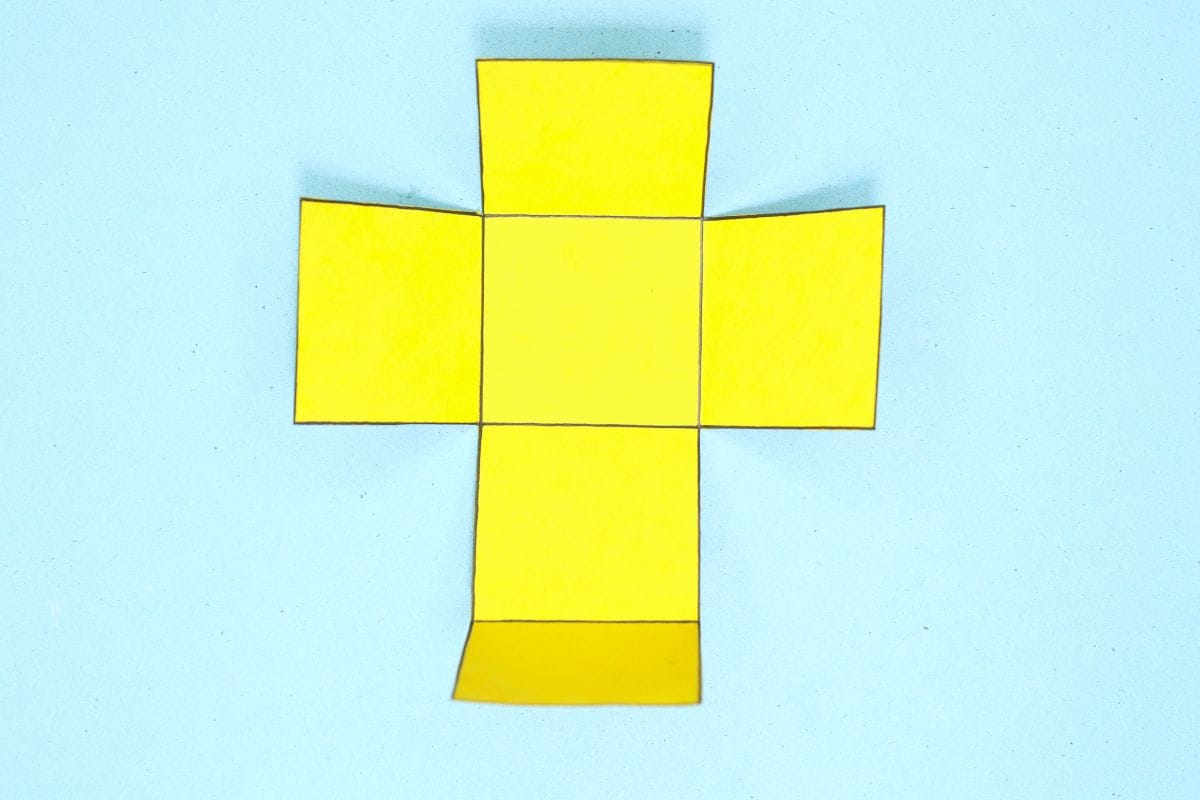
Cut the cross boxes as shown in the picture.
Step 3
3
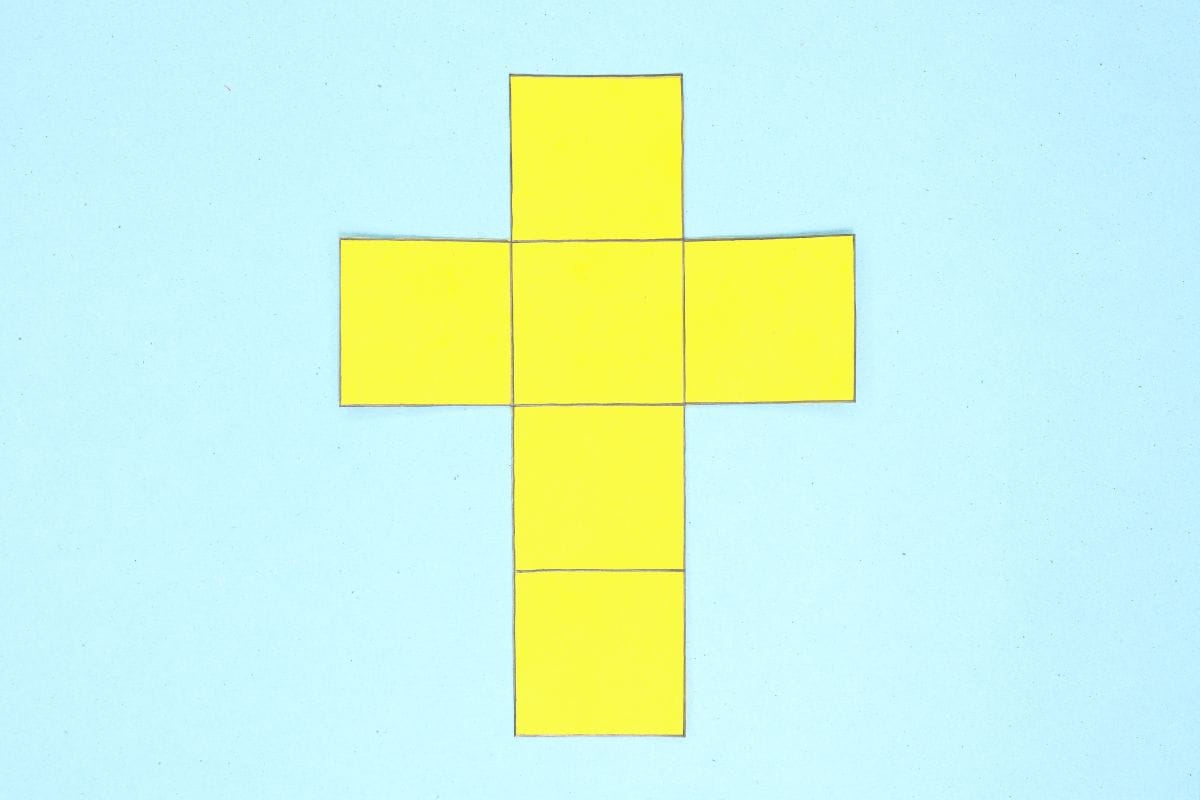
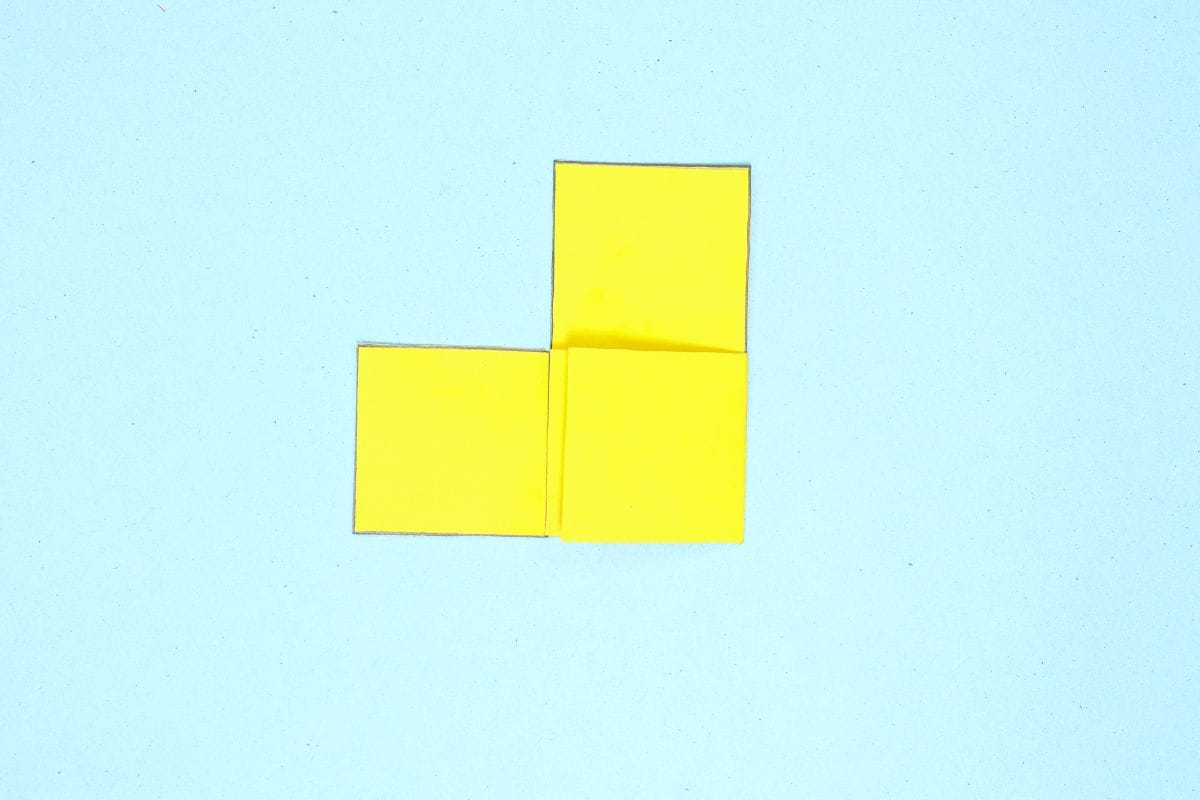
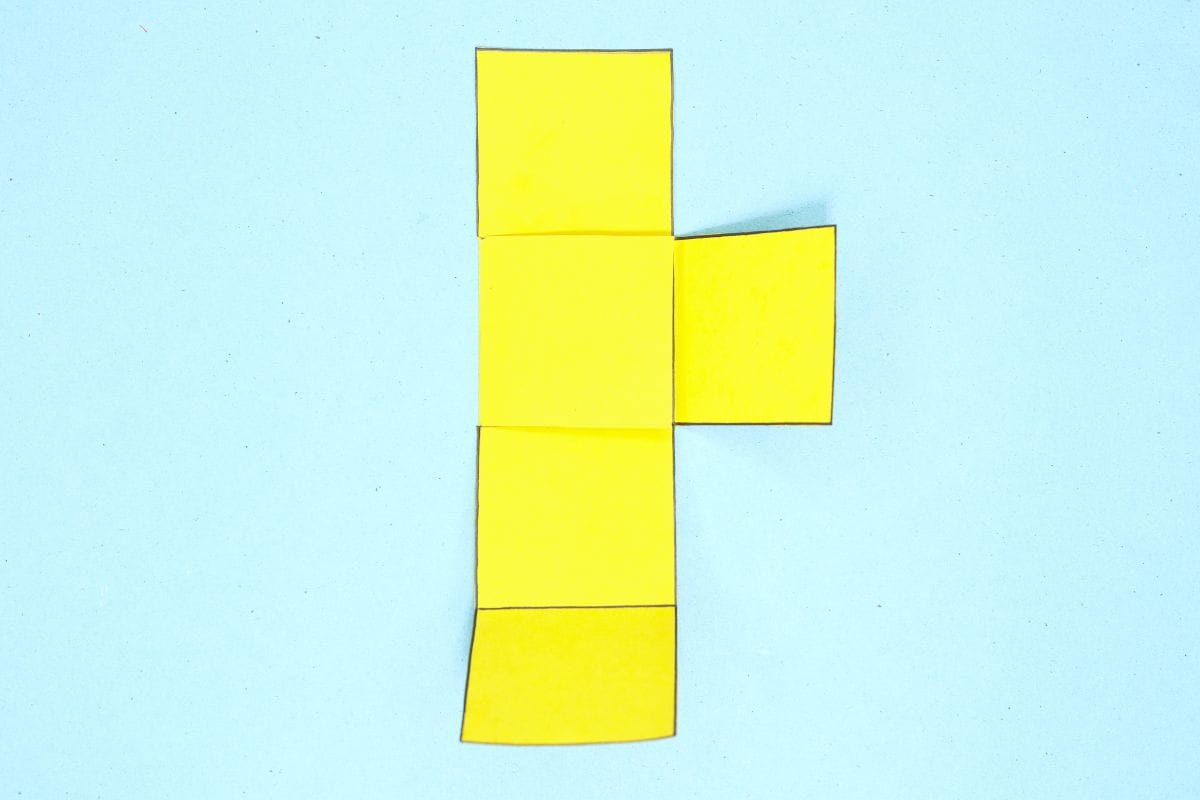
After cutting, it should look like the image.
Step 4
4
Fold the first box at the bottom to the second box.
Step 5
5
Fold the second boxe at the bottom to the center.
Step 6
6
Fold the right box to the center.
Step 7

7
Unfold.
Step 8
8
Fold the left box to the center.
Step 9

9
Unfold.
Step 10

10
Fold the top box to the center.
Step 11
11
Unfold.
Step 12

12
Bring the side boxes together.
Step 13
13
Cut a double sided tape into small pieces. With this you will glue the sides of the cube.
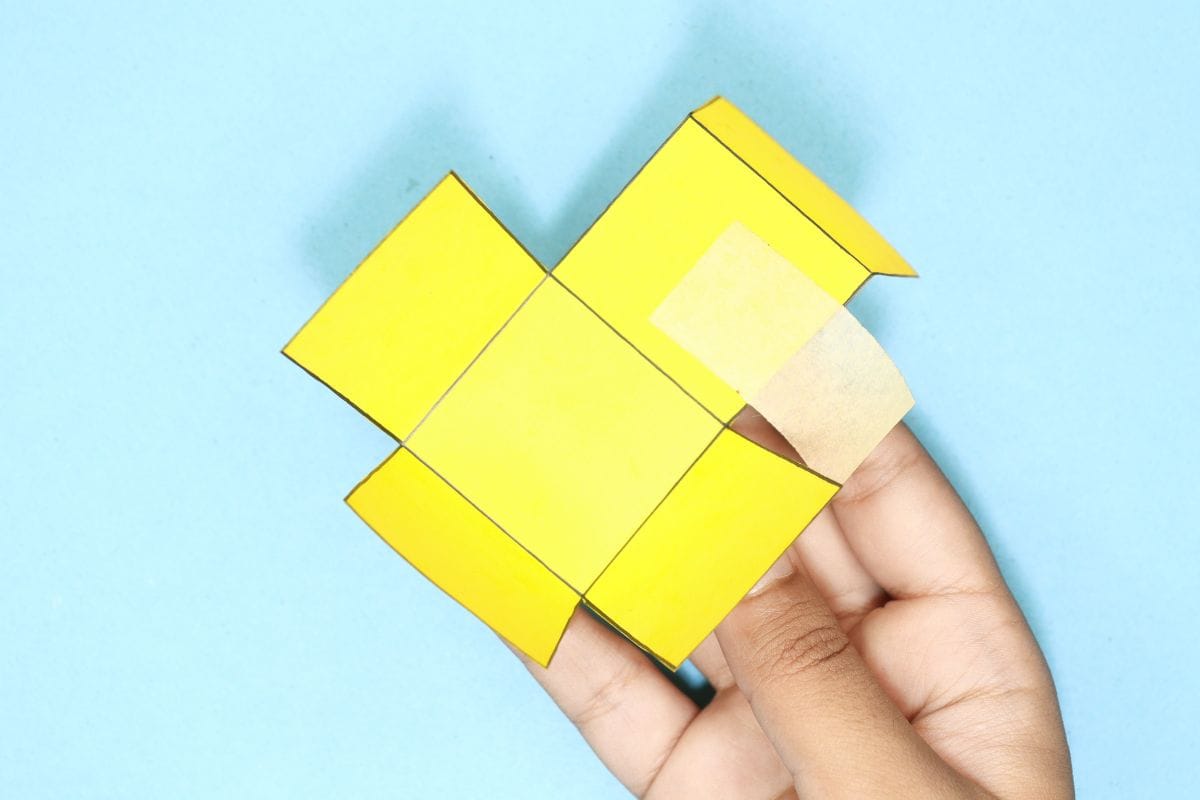
Step 14

14
Glue the sides together as shown.
Step 15

15
Stick the double-adhesive tape on all sides, on the inside, so as to provide stability. You can refold the sides if needed.
Step 16

16
Stick the tape to the front side edge to close the lid of the box.
Step 17
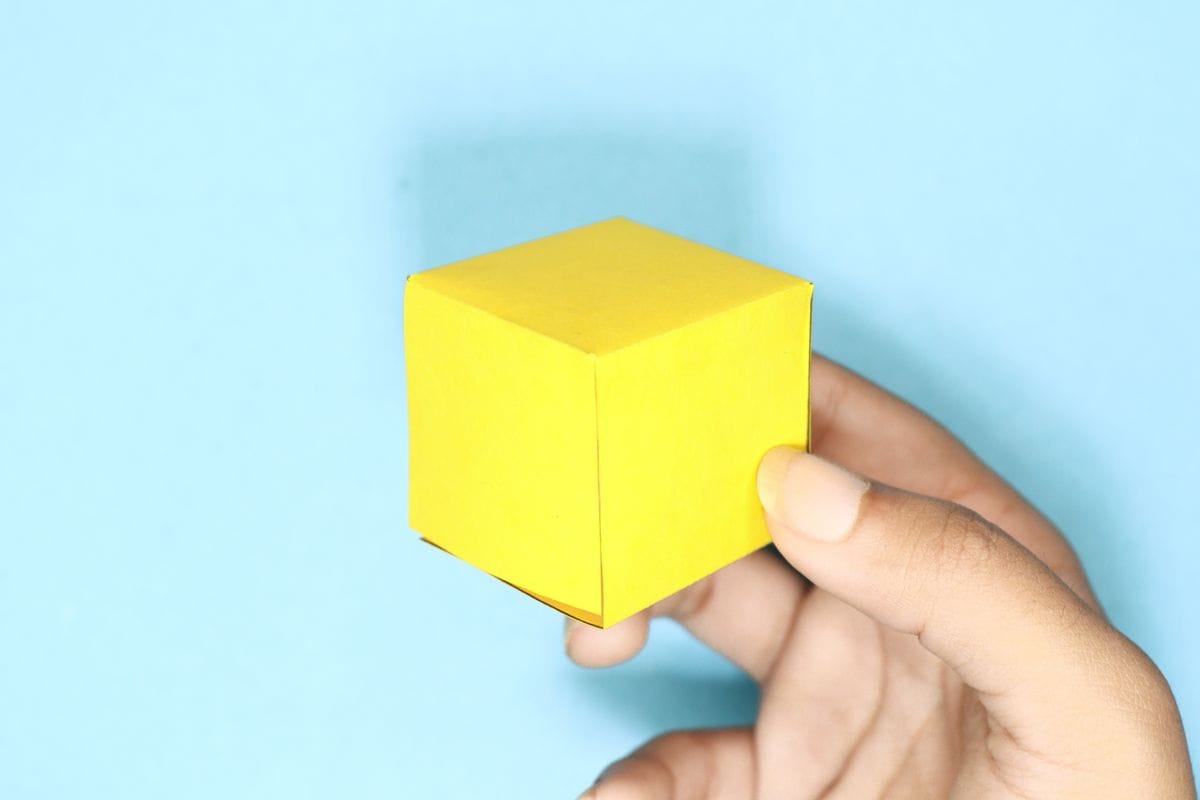
17
Close the lid.
Step 18
18
Make sure it’s tight and there you have it! The easiest Origami Cube you can make!
Share and Comment
We would love to see your creations! Scroll down to the comments section and share a photo of your origami.
Leave a Reply