How to Make an Origami Dove

Category:
Origami dove final
Difficulty: Intermediate
Learn how to fold an Origami dove, symbol of peace and love, with our beginner-friendly tutorial. Easy, calming, and perfect for meaningful decorations!

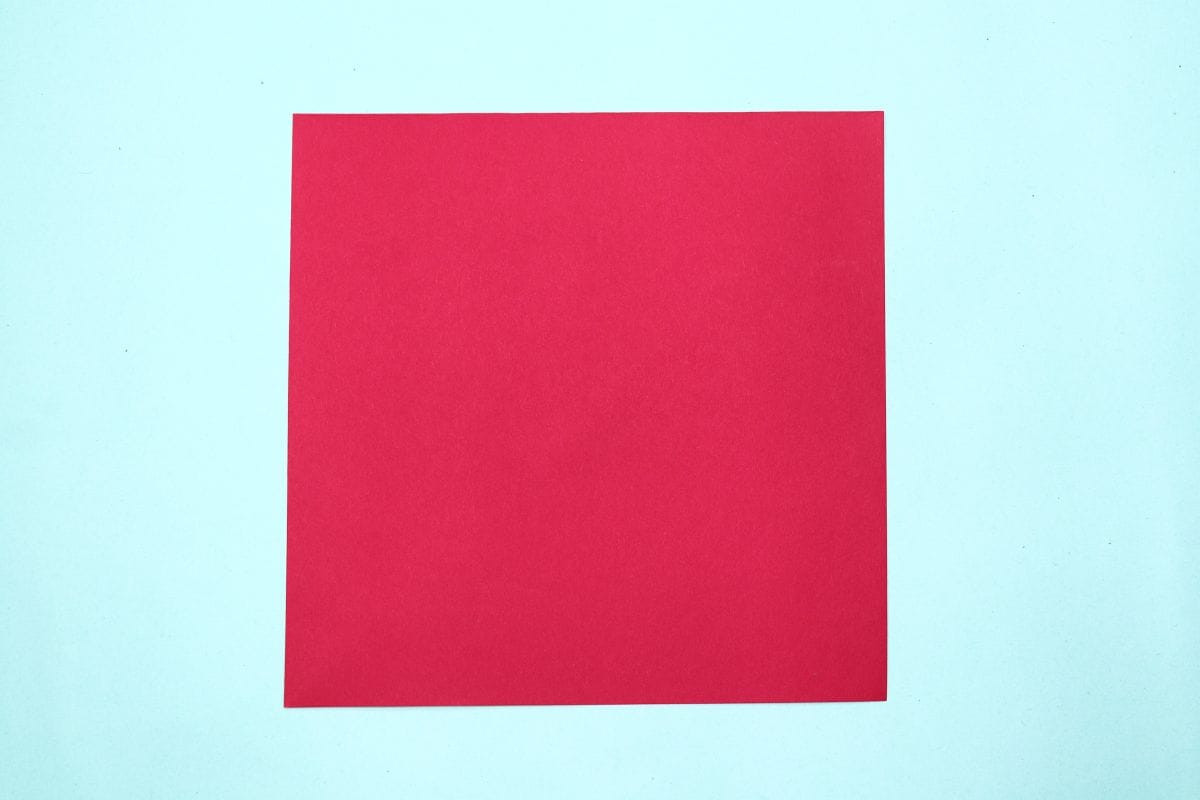
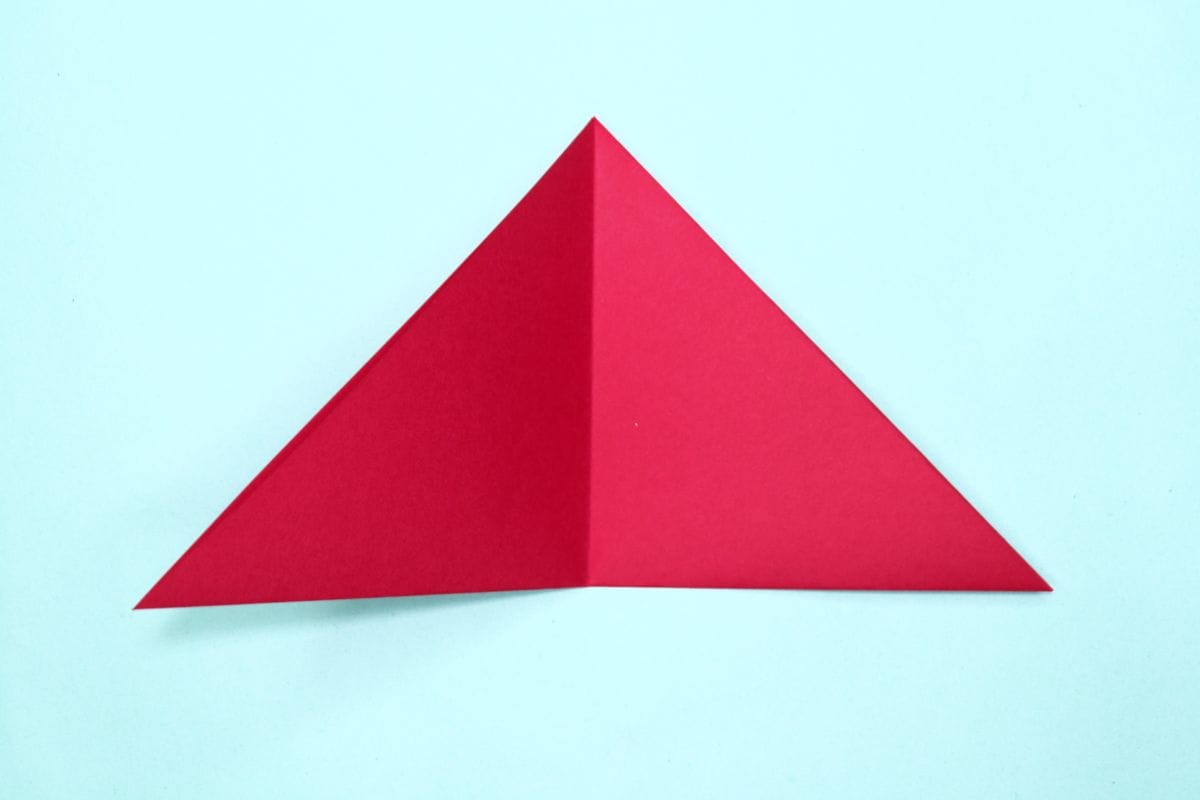
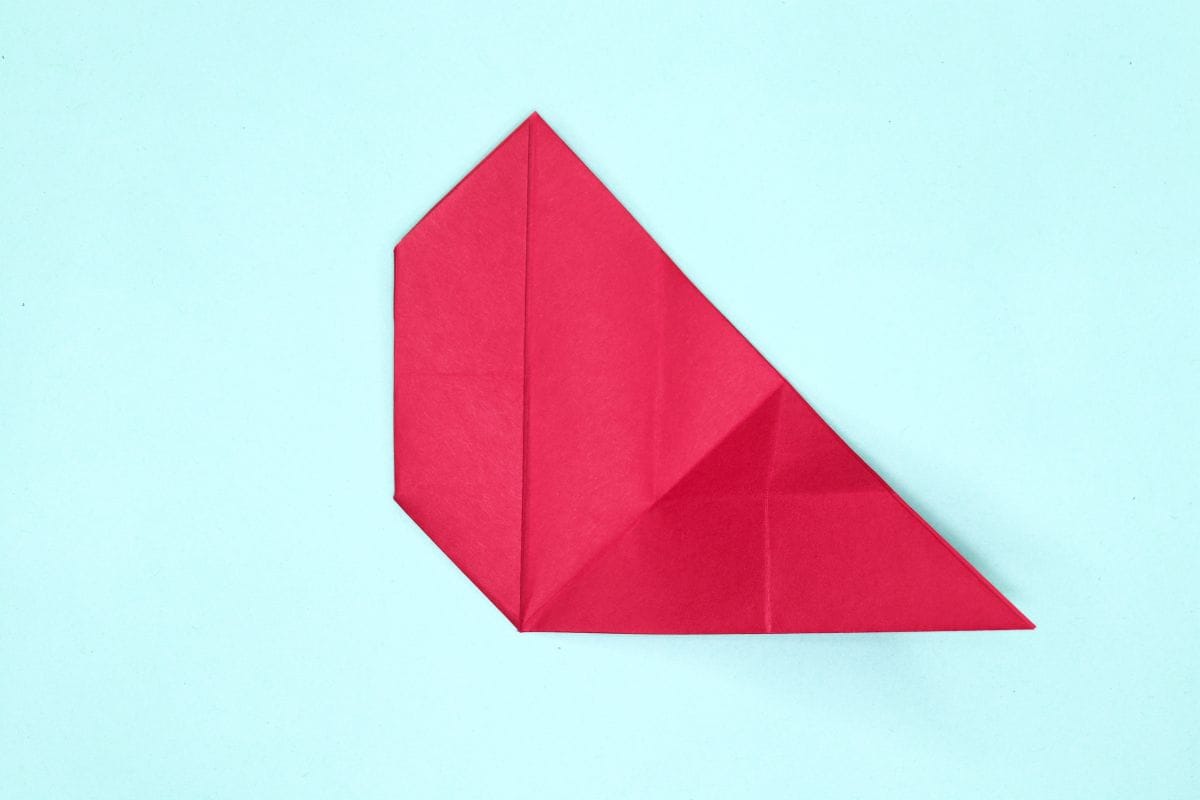
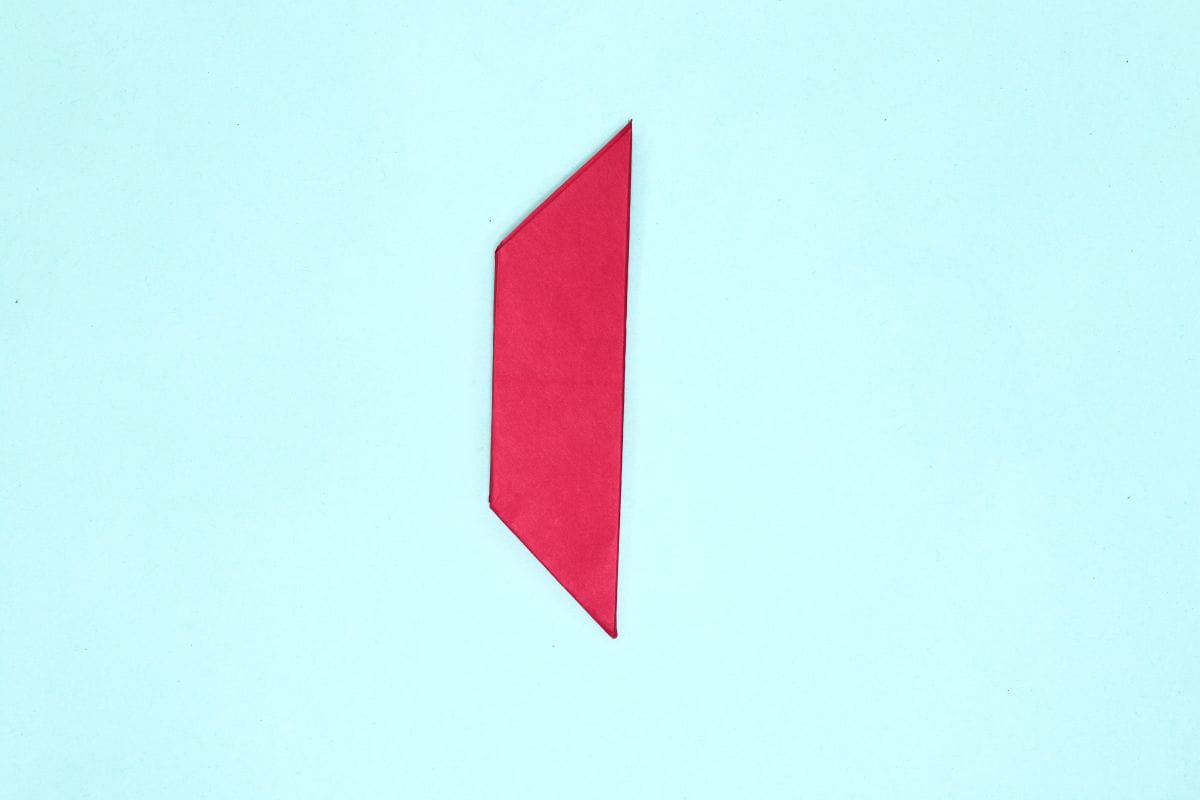
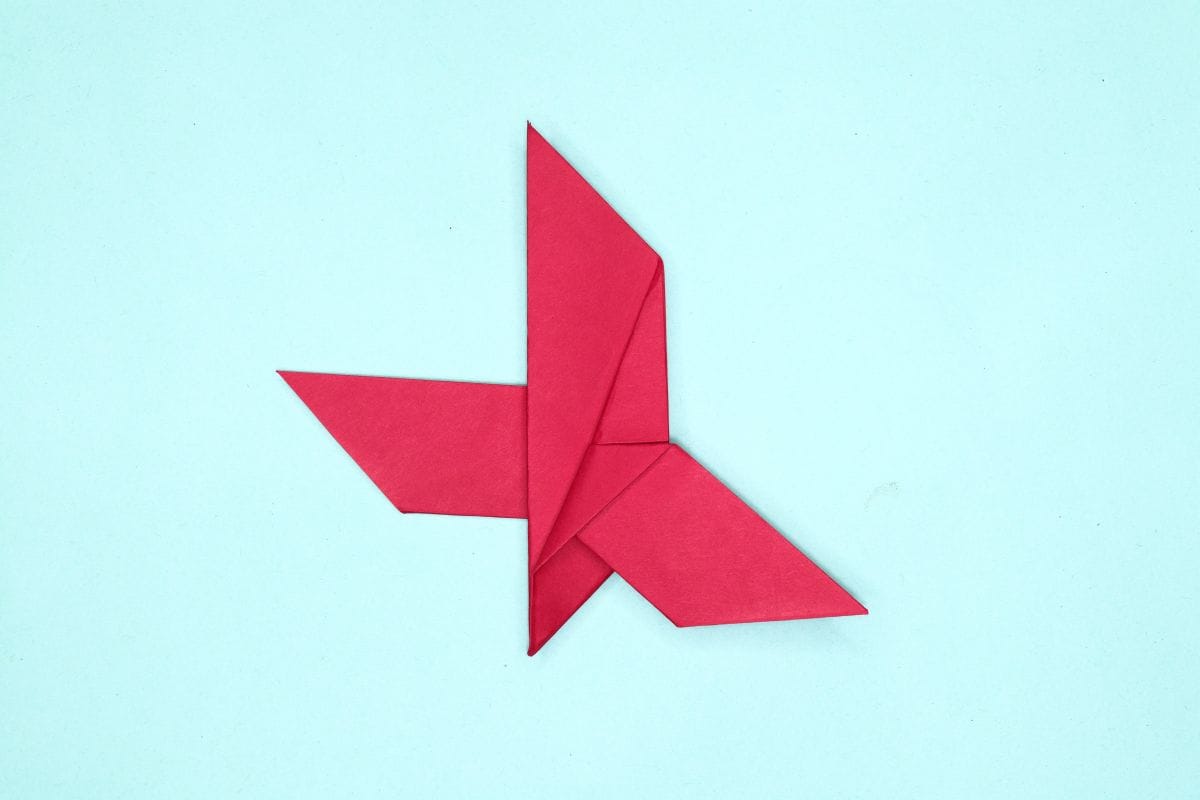
This origami dove is a graceful take on the classic peace dove, often depicted carrying an olive branch. Symbolizing hope and harmony, the dove holds a special place in Jewish and Christian traditions, making this origami design a meaningful choice for holidays, weddings, or any occasion that celebrates peace and faith.

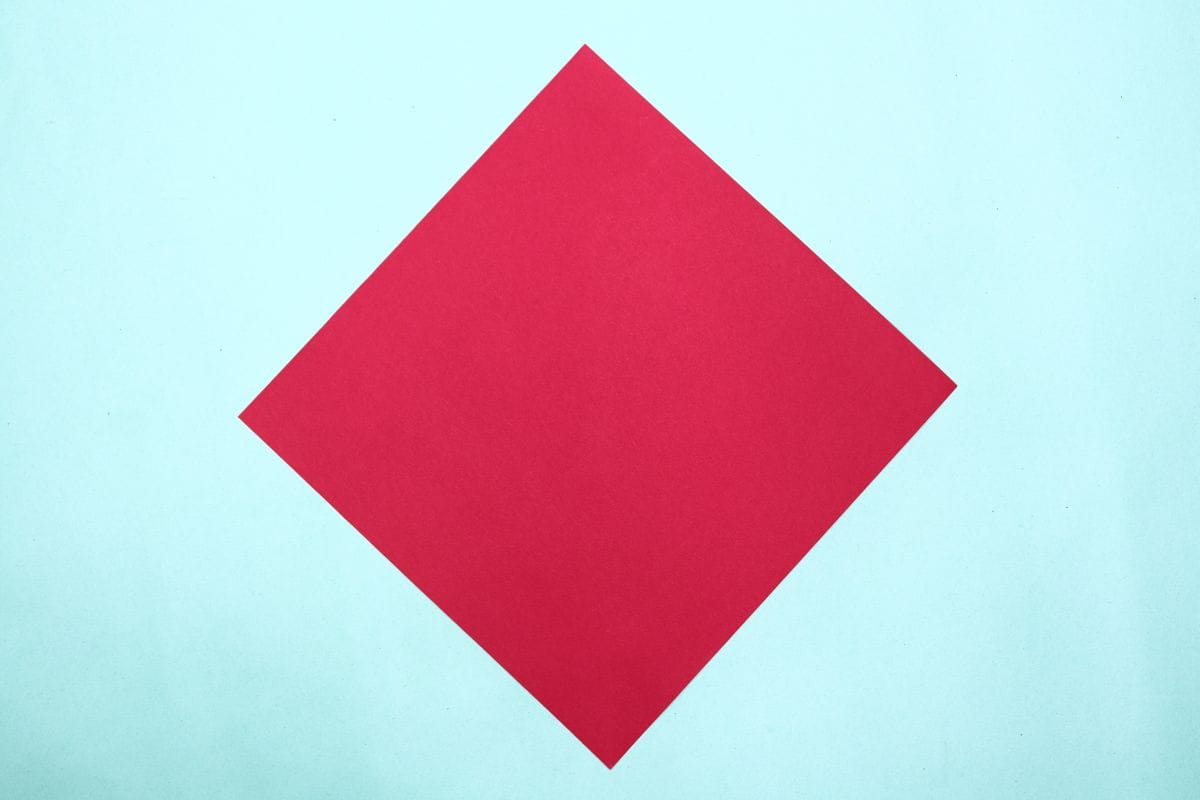
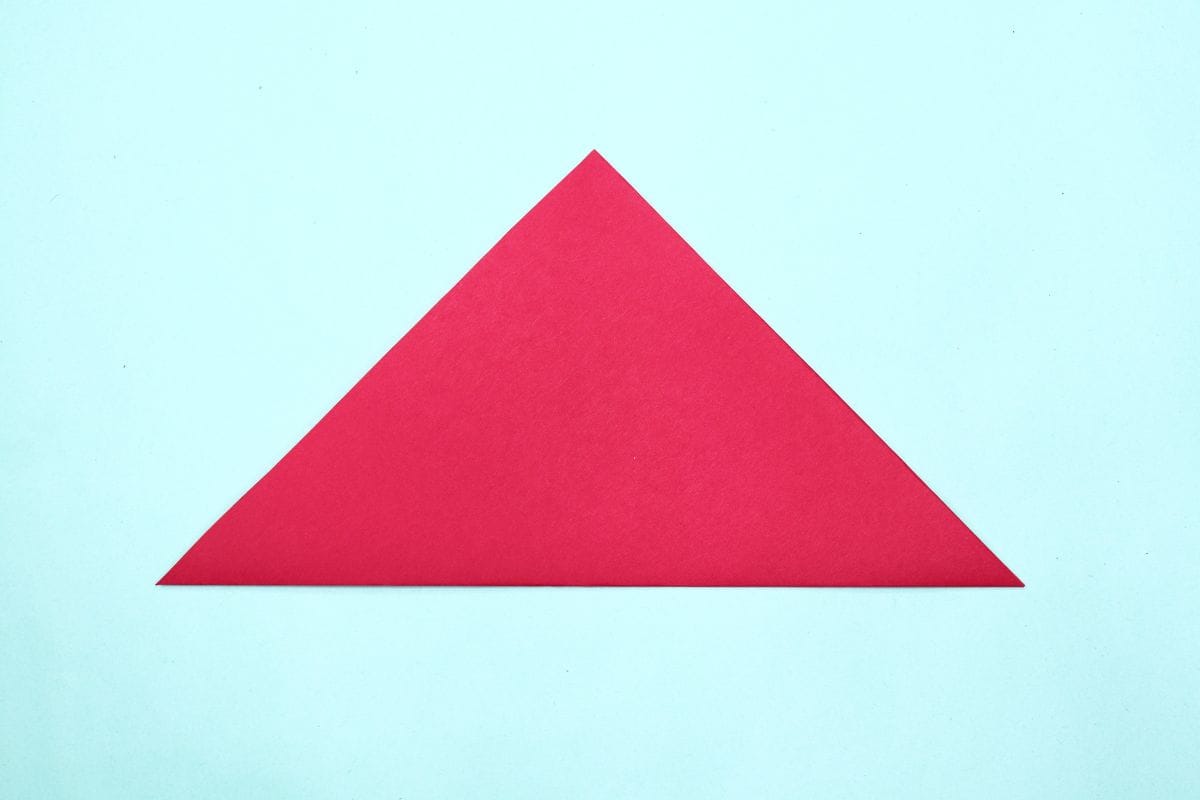
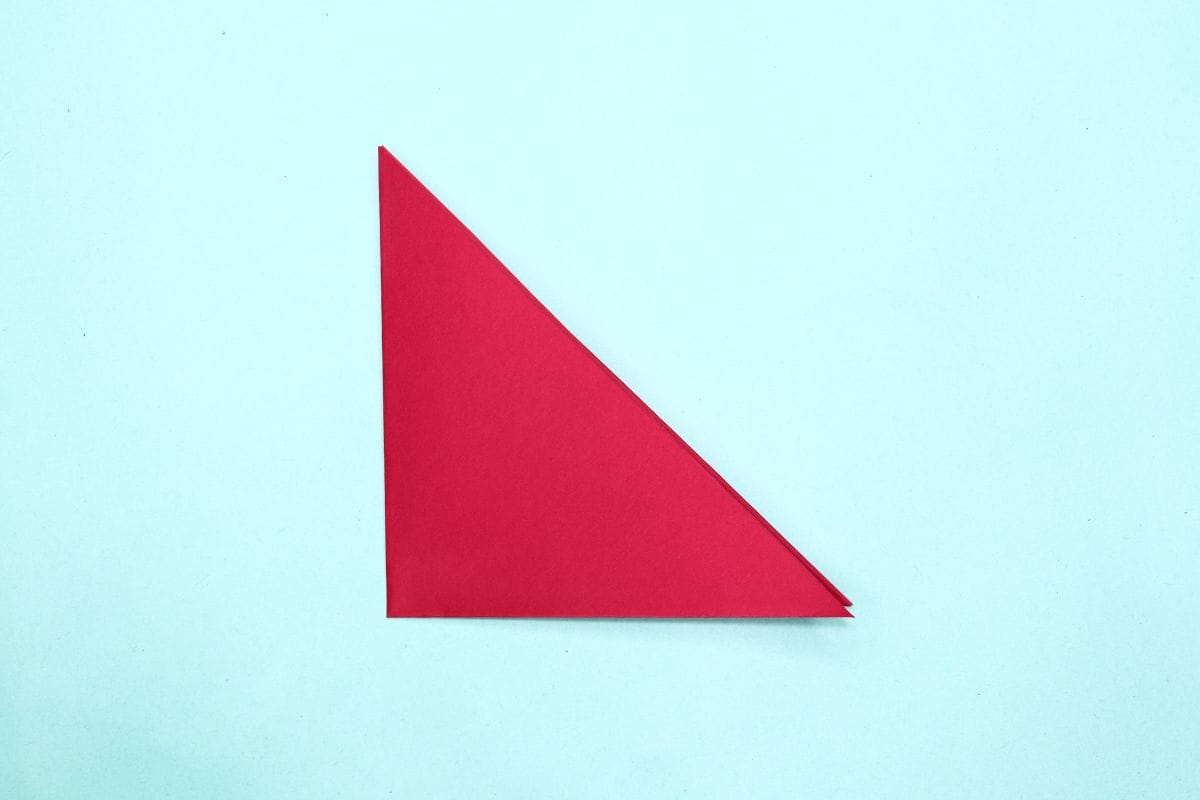
Some of the folds can be a bit tricky, but don’t worry, just follow the steps carefully and you’ll be able to create your own elegant origami dove in no time.

Step 1
Origami dove step 01
1
Start with a square piece of origami paper. I am using an 7×7 inches origami paper.

If you only have regular paper, follow these instructions on how to make a square origami paper.

Step 2
Origami dove step 02
2
Rotate the paper into a diamond.

Step 3
Origami dove step 03
3
Fold the bottom corner to meet the top corner.

Step 4
Origami dove step 04
4
Fold in half again by folding the left corner to the right corner.

Step 5
Origami dove step 05
5
Unfold.

Step 6
Origami dove step 06
6
Fold the right corner to the top corner.

Step 7
Origami dove step 07
7
Fold the left corner to the top corner.

Step 8
Origami dove step 08
8
Take the left flap and fold it in half by folding its top corner to the bottom corner.

Step 9
Origami dove step 09
9
Take the right flap and fold it in half by folding its top corner to the bottom corner.

Step 10
Origami dove step 10
10
Unfold.

Step 11
Origami dove step 11
11
Fold the left corner to meet at the center.

Step 12
Origami dove step 12
12
Fold the right corners to meet at the center.

Step 13
Origami dove step 13
13
Unfold.

Step 14
Origami dove step 14
14
Open the left flap.

Step 15
Origami dove step 15
15
Do an inverted fold by denting the corner in, using the creases you made.

Step 16
Origami dove step 16
16
Fold the left corner to the top corner.

Step 17
Origami dove step 17
17
Flatten the fold well.

Step 18
Origami dove step 18
18
Unfold the right flap.

Step 19
Origami dove step 19
19
Do an inverted fold on right side too.

Step 20
Origami dove step 20
20
Fold in half.

Step 21
Origami dove step 21
21
Fold the top flap diagonally down to the left.

Step 22
Origami dove step 22
22
Turn the model over.

Step 23
Origami dove step 23
23
Fold the top flap diagonally down to the right.

Step 24
Origami dove step 24
24
Fold the wing diagonally down to the right. The crease must run from the upper right corner to the corner where the wing and body meets.

Step 25
Origami dove step 25
25
After step 24, you’ll see a diagonal crease (as shown). Fold it back. I just wanted to show you diagonal crease.

Step 26
Origami dove step 26
26
Turn the model over.

Step 27
Origami dove step 27
27
Now we’ll repeat the fold on this side. Again, fold the crease diagonally just as you see in the picture.

Step 28
Origami dove step 28
28
Fold the top piece (which is the tail) to the right, along the lines you created with the wing.

Step 29
Origami dove step 29
29
Unfold the tail.

Step 30
Origami dove step 30
30
Take the right side of the figure and open it up to the left.

Step 31
Origami dove step 31
31
Using the creases as guide, do an inside reverse fold on the tail.

Step 32
Origami dove step 32
32
Once the tail is tucked inside, fold the dove back together.

Step 33
Origami dove step 33
33
Take the top wing and fold it diagonally left.

Step 34
Origami dove step 34
34
Turn the model over.

Step 35
Origami dove step 35
35
Fold the left wing diagonally to the right.

Step 36
Origami dove step 36
36
Rotate the model so the head is on the top.

Step 37
Origami dove step 37
37
Now on to the head. Take a small portion of the corner at the bottom of the figure and fold it just as you see in the picture.

Step 38
Origami dove step 38
38
Unfold again.

Step 39
Origami dove step 39
39
Open the figure. Now invert the corner so it’s tucked inside the other way. Crease the left and right sides so the head remains that way.

Step 40
Origami dove final
40
That’s it. You’re done!

Share and Comment
We would love to see your creations! Scroll down to the comments section and share a photo of your origami.

Comments

Leave a Reply

Your email address will not be published. Required fields are marked *

Drop file here