Origami Inside Reverse Fold Instructions

Origami Inside Reverse FoldHow to make an origami inside reverse fold.
Difficulty: Easy

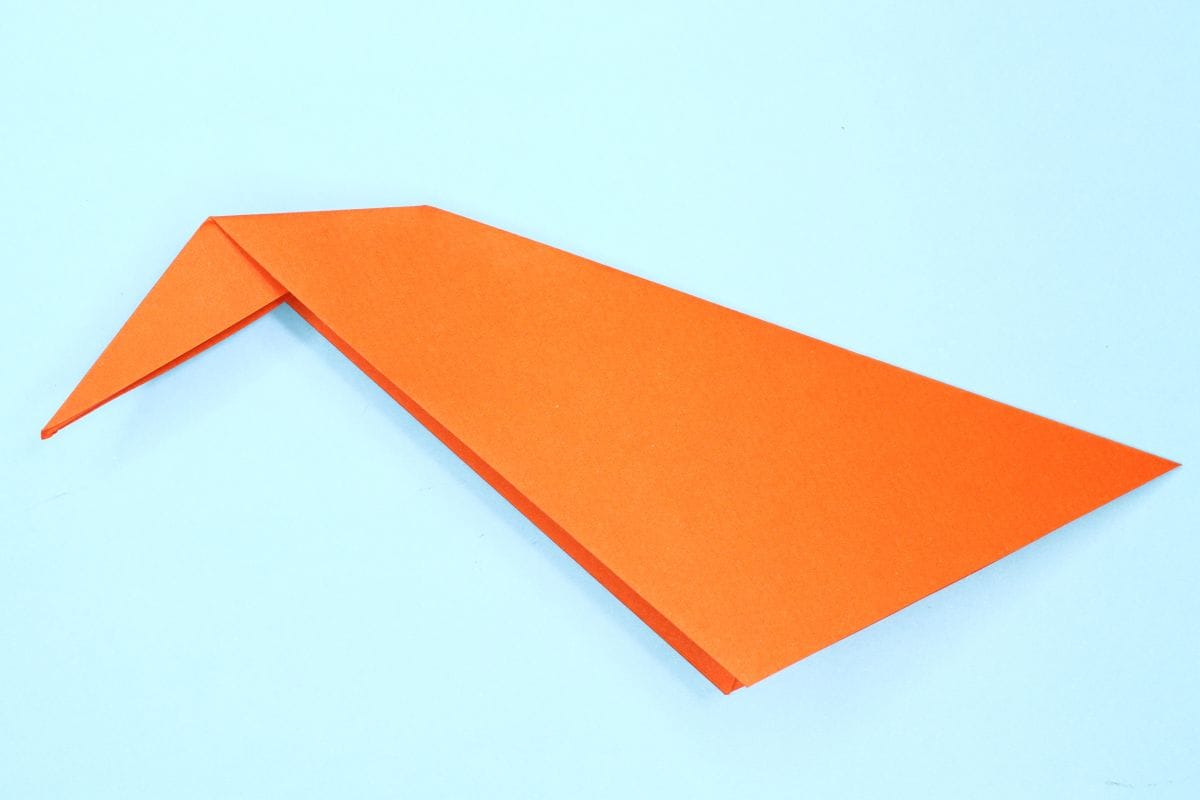
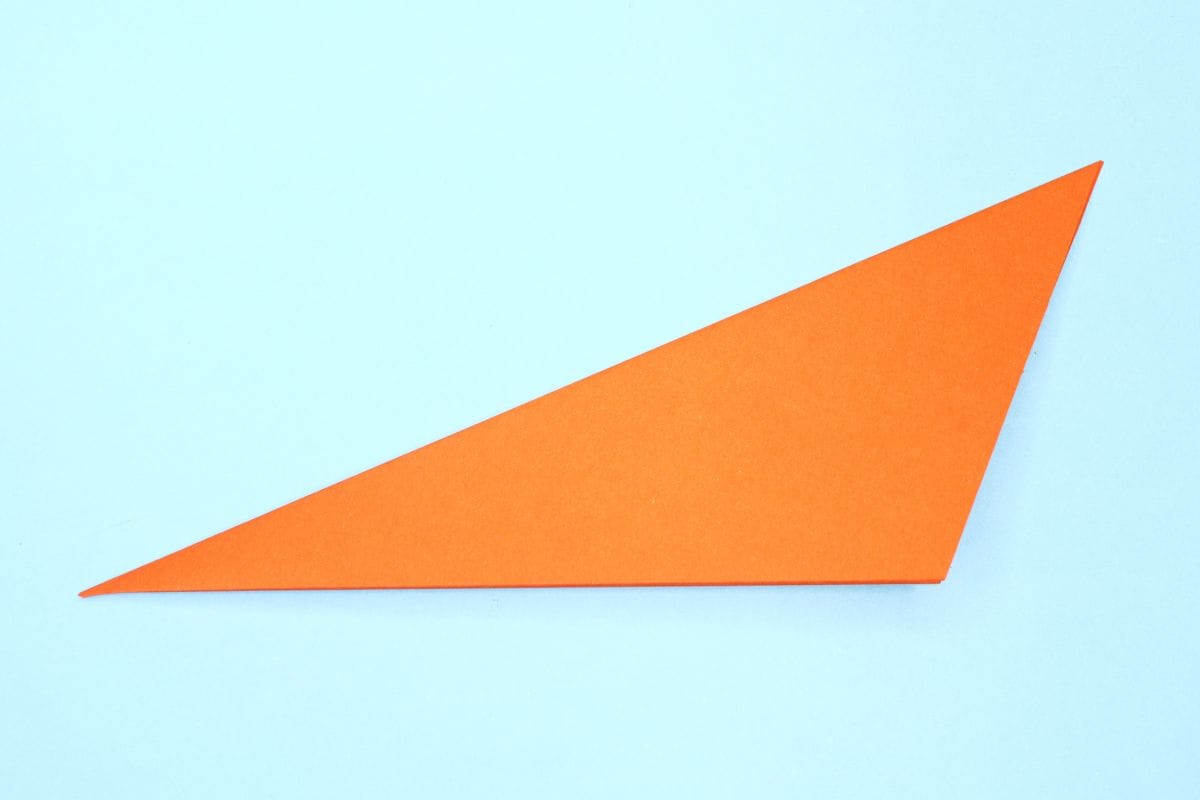
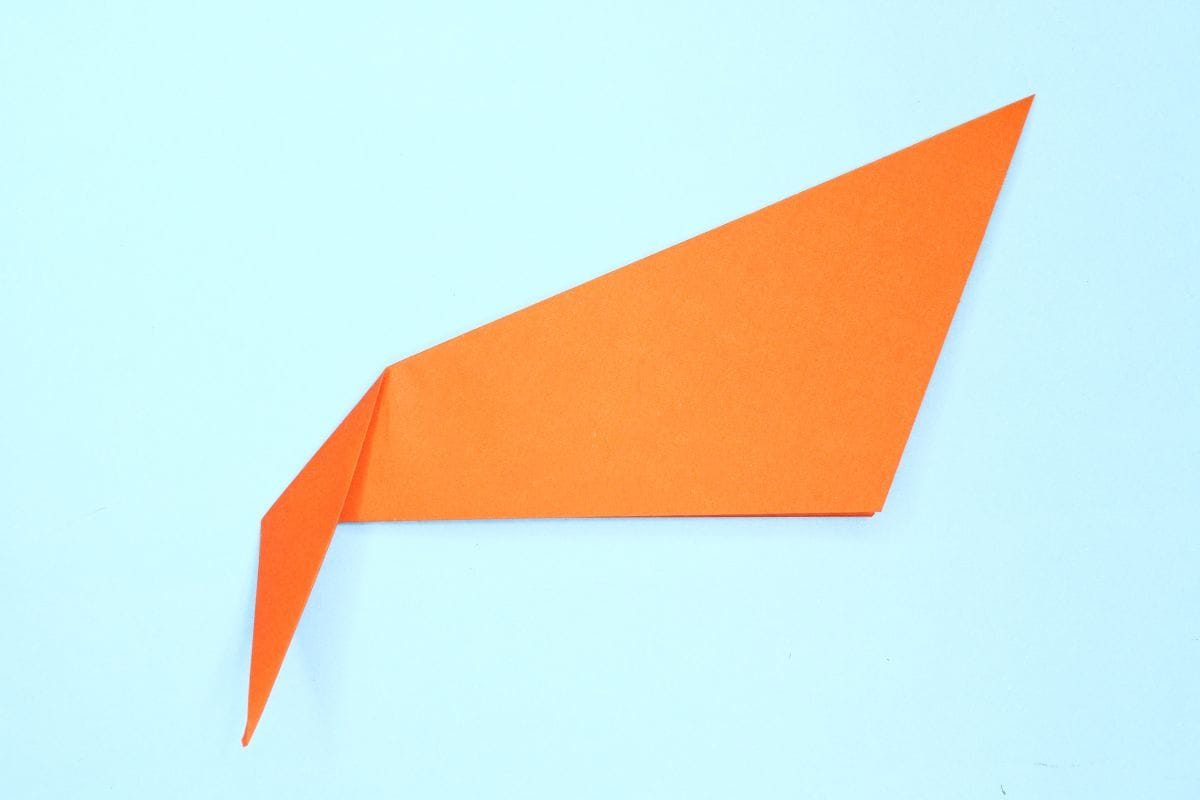
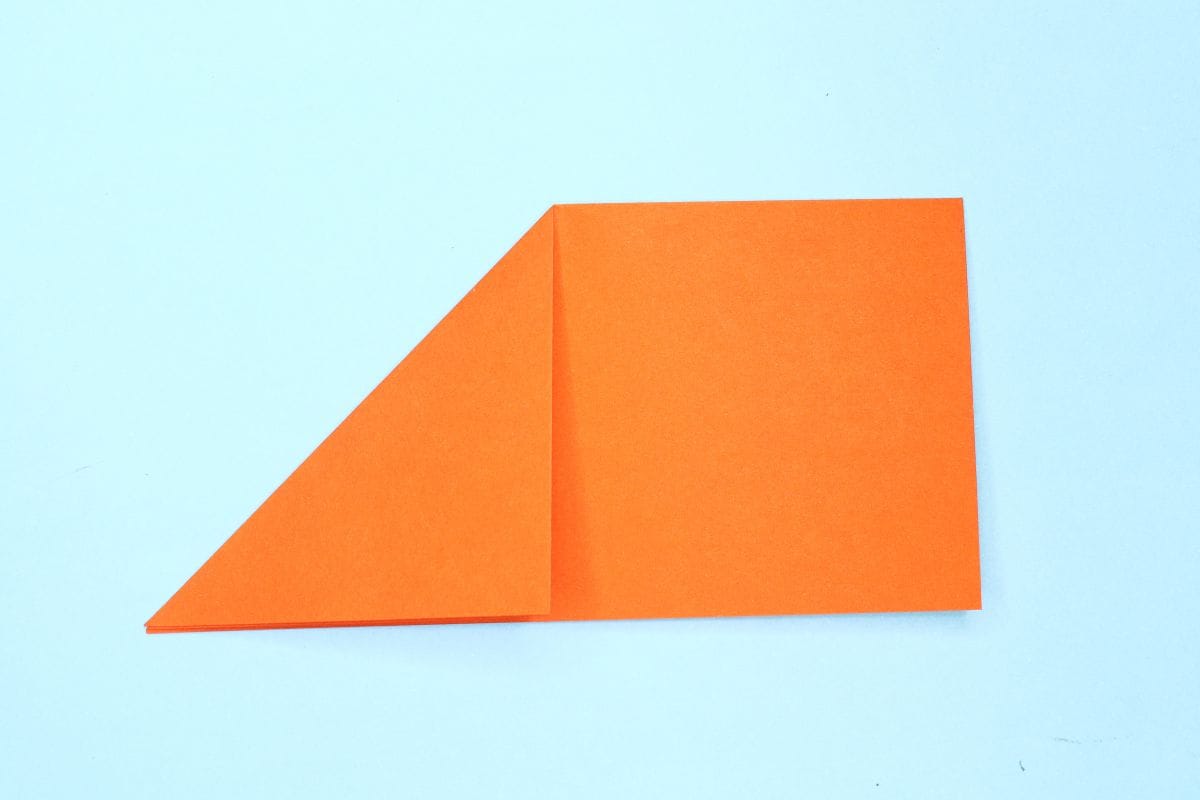
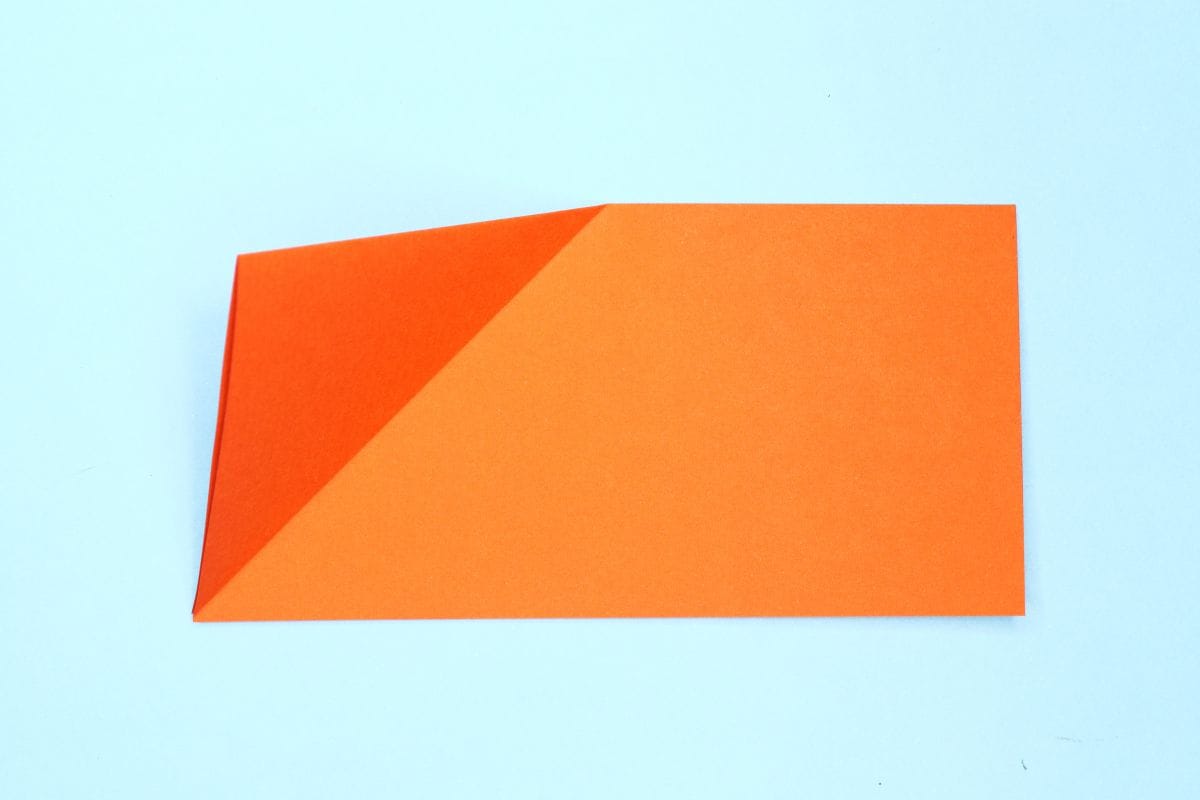
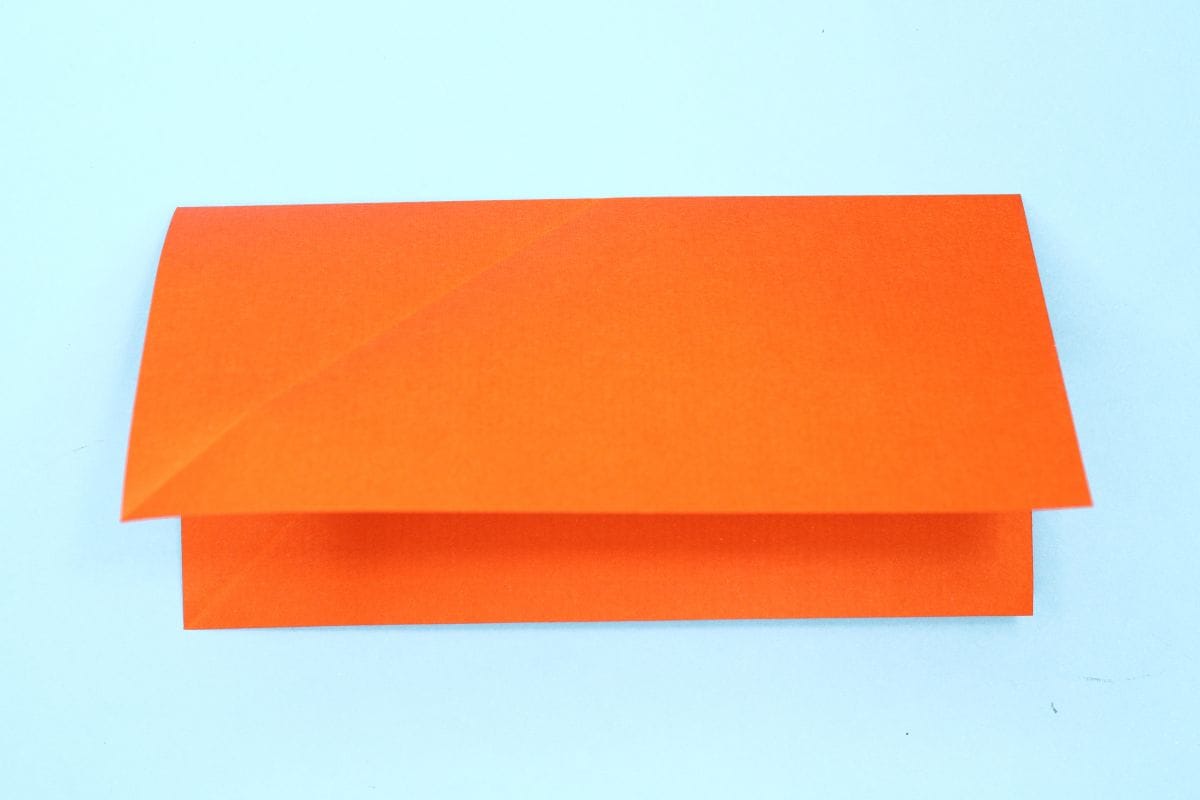
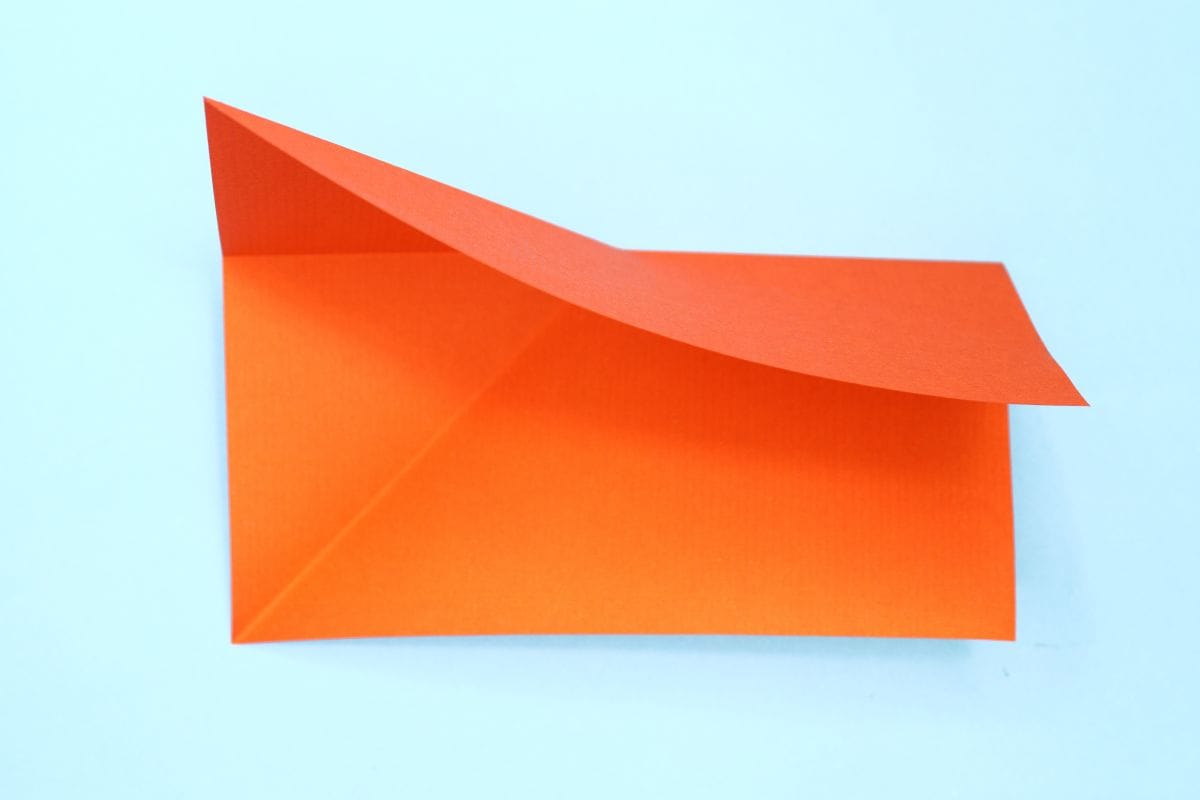
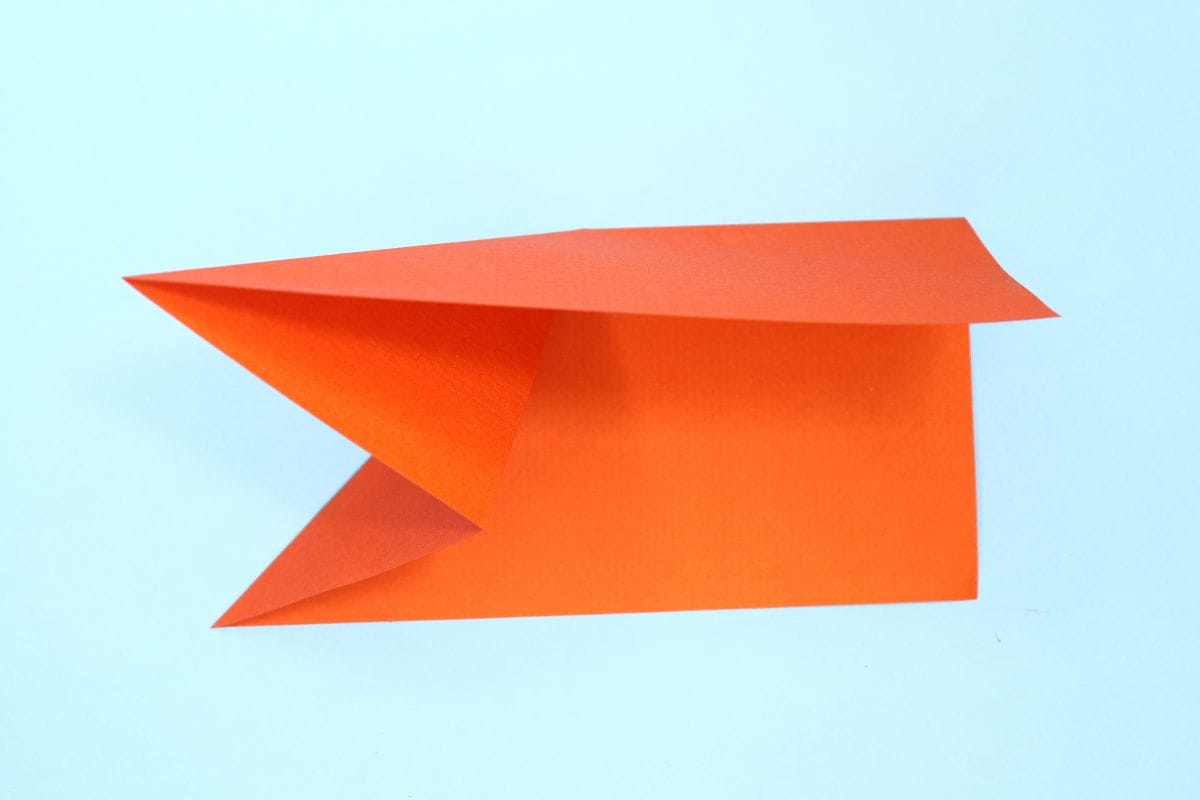
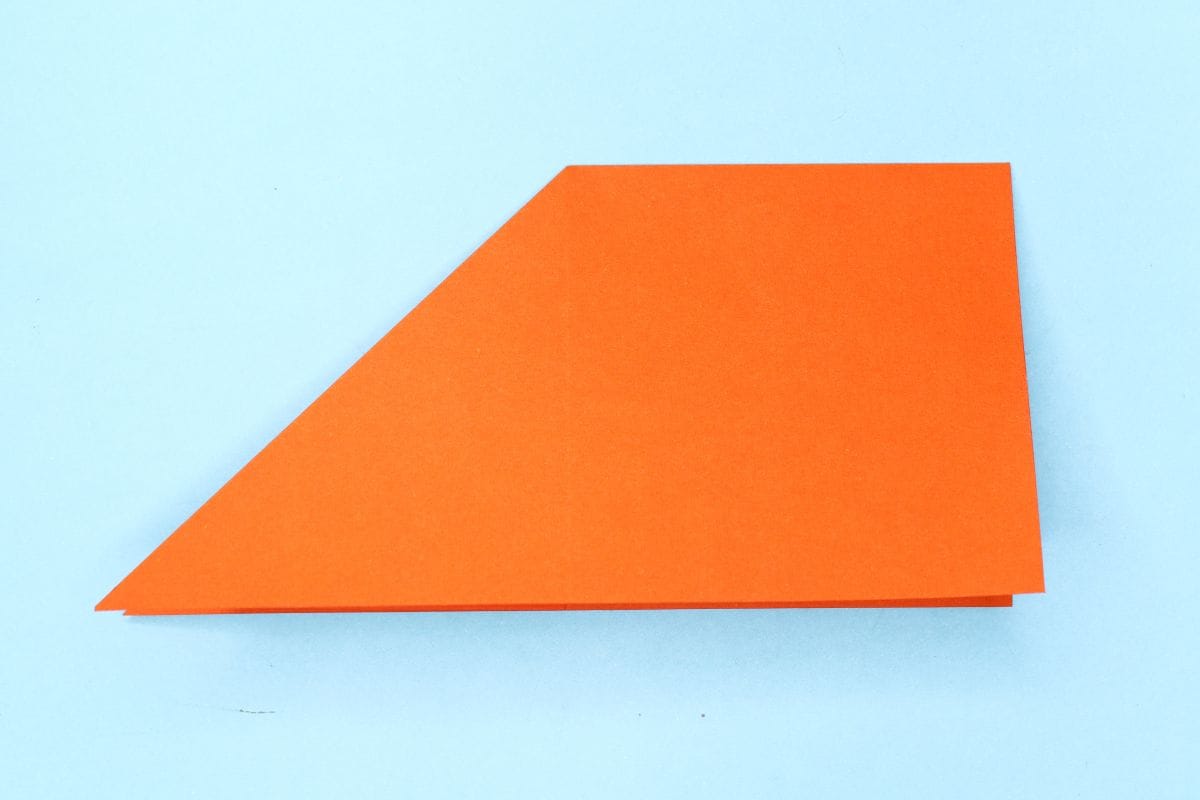
The inside reverse fold is useful for models that require shortening a lengthy part such as when making a bird's beak or the feet. It's not your straight fold, but is very easy to do once you get the hang of it. In this tutorial, we'll go through two different kinds of inside reverse folds, so you can see what it looks like it those separate situations.

Step 1Step 1-2Step 1-3 Step 1: With the first inside reverse fold, let's start with a prefolded triangle. Fold the point down and unfold.
Step 2Step 2-2Step 2-3 Step 2: Open the tip and push it down while sinking in the center, then flatten. This concludes our first example. In step 3, we will look at another example.
Step 3Step 3-2Step 3-3 Step 3: This second example looks at a square piece of paper that was folded in half to form this rectangle. Fold the top corner down to the bottom edge with a diagonal crease, then unfold.
Step 4Step 4-2Step 4-3 Step 4: Open up the paper and push in the diagonal crease to hide it in between both sides of the paper, then flatten. That concludes the second example of the inside reverse fold.