Love ladybugs? Let’s make one! This origami ladybug is super easy to fold and turns out so cute you’ll want to make a whole family of them. Perfect for kids’ crafts, decorating, or just having fun. Grab your paper and let’s get those spots popping!
Cute and Easy Origami Ladybug
Difficulty: Easy
Fold a cute Origami ladybug in minutes! Easy to fold and perfect for nature crafts, cards, or classroom fun!
Step 1

1
Start with a square piece of origami paper. I am using an 7×7 inches origami paper.
If you only have regular paper, follow these instructions on how to make a square origami paper.
If you only have regular paper, follow these instructions on how to make a square origami paper.
Step 2

2
Rotate the paper into a diamond position.
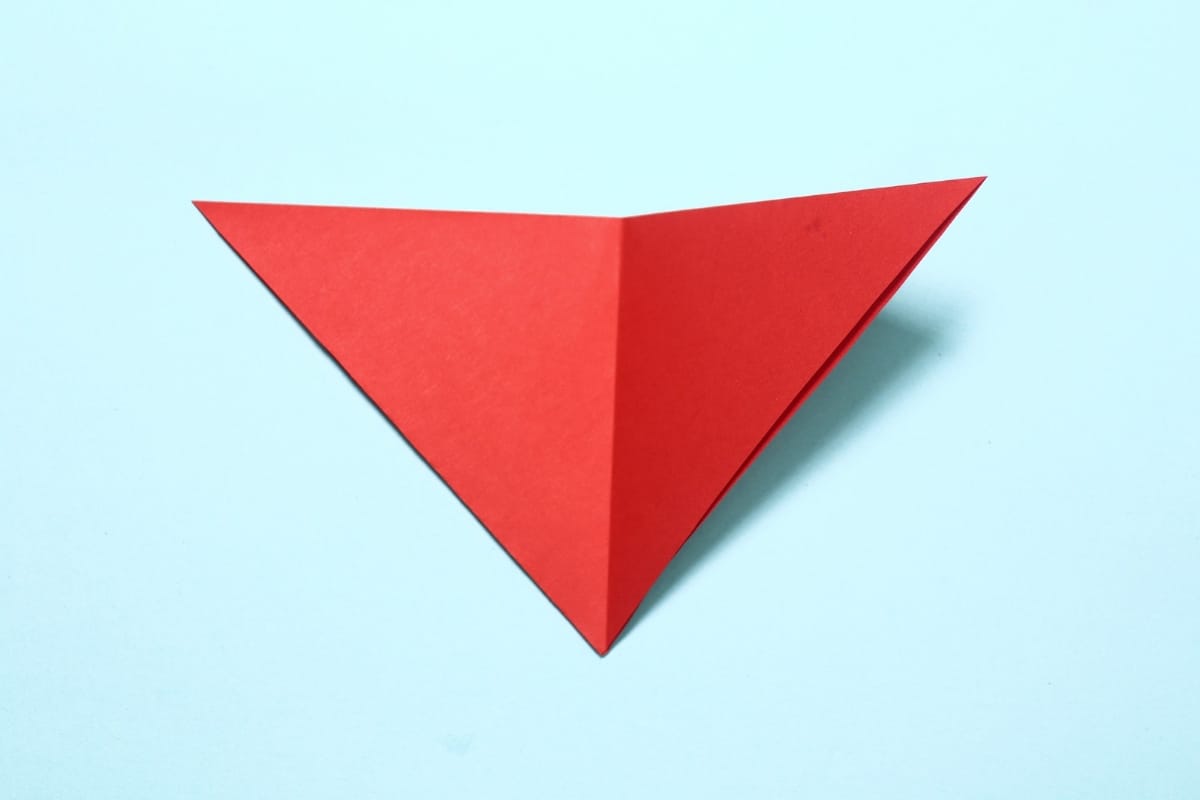
Step 3

3
Fold in half, top to bottom.
Step 4

4
Fold in half, right to left.
Step 5
5
Unfold. We just needed a crease line.
Step 6

6
Bring the right corner diagonally downward.
Step 7

7
Bring the left corner diagonally downward.
Step 8

8
Turn the model over.
Step 9

9
Fold down the corner a little.
Step 10
10
Fold a part of the same corner upward.
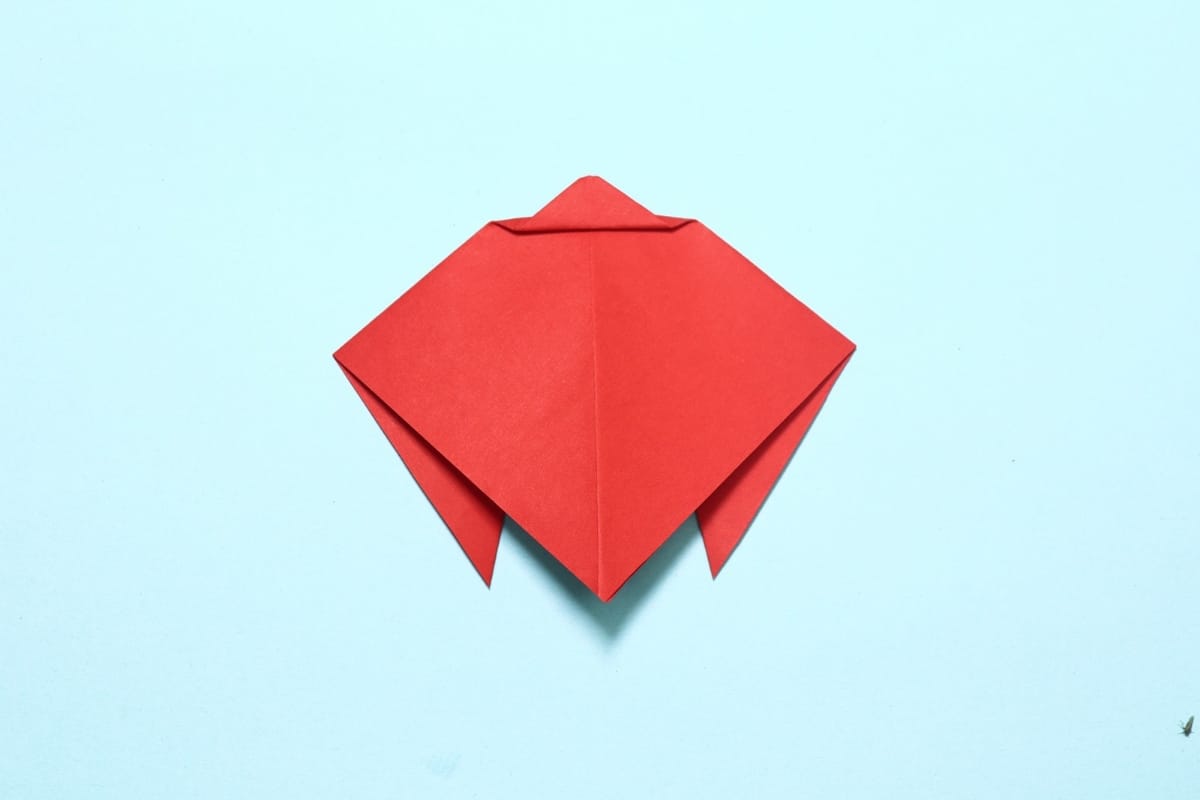
Step 11

11
Fold in the left and right corners.
Step 12

12
Turn the model over.
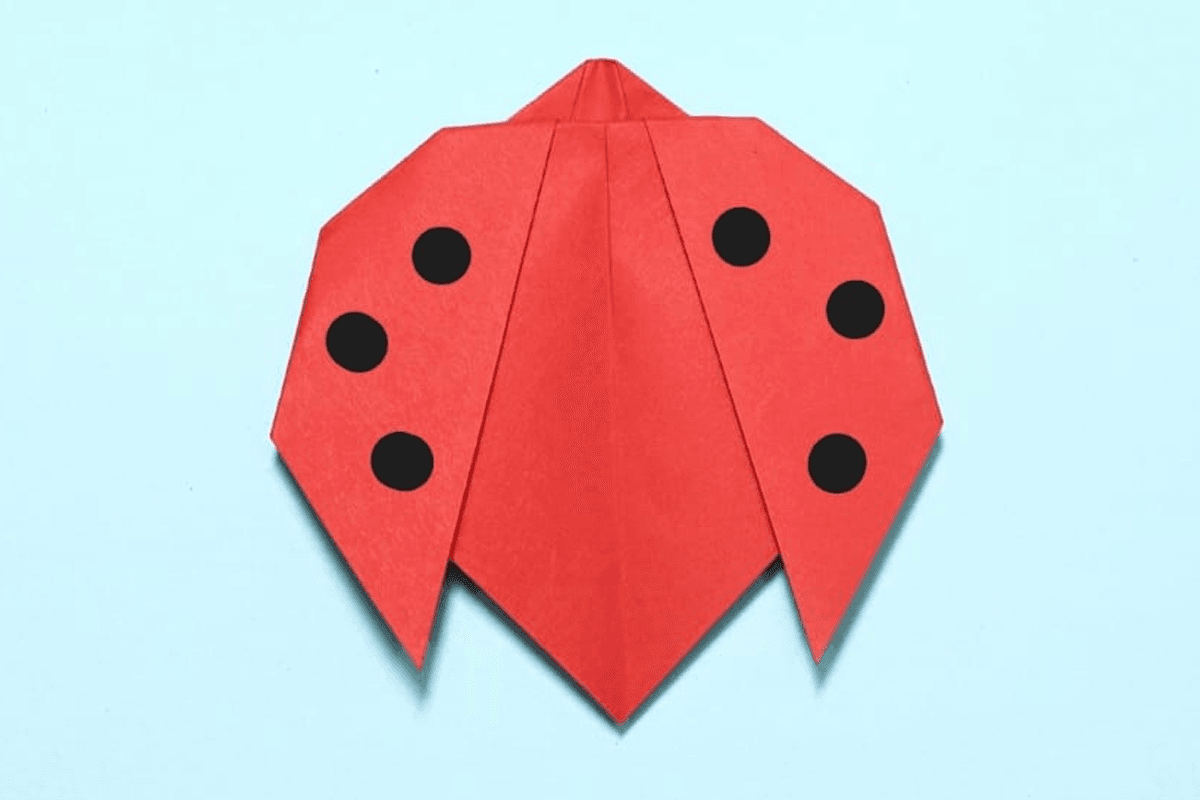
Step 13
13
Finish by drawing dots on the ladybug’s wings and there you have it, your ladybird is ready to fly! Well… almost.
Share and Comment
We would love to see your creations! Scroll down to the comments section and share a photo of your origami.
Leave a Reply