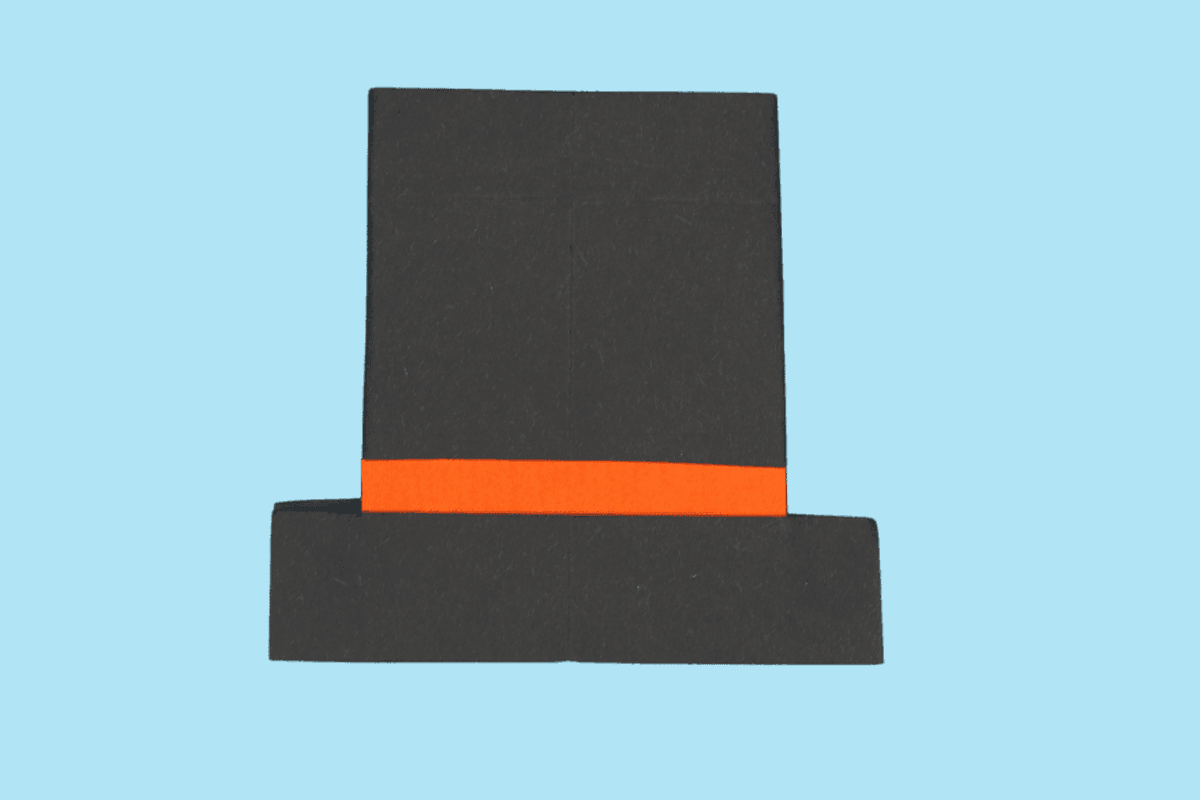
Ready to add a little magic to your crafting table? With this origami top hat, you’ll feel like you’re about to pull a rabbit out of thin air! It looks fancy, folds cleverly, and brings instant magician vibes to any project.
How to Fold an Origami Magic Top Hat
Difficulty: Easy
Fold a magical origami top hat following our comprehensive tutorial. Clear instructions guide you through each fold to create this fun design.
Step 1
1
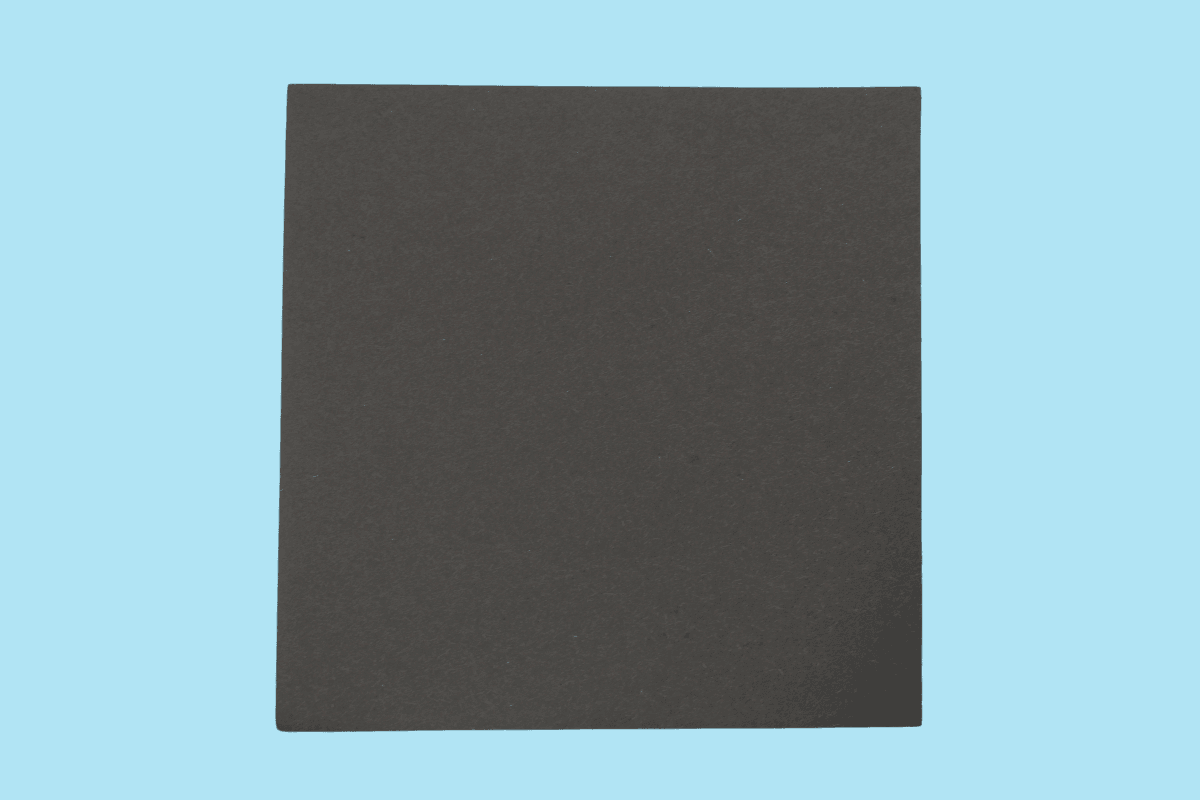
Start with a square piece of origami paper. I am using an 7×7 inches origami paper.
If you only have regular paper, follow these instructions on how to make a square origami paper.
If you only have regular paper, follow these instructions on how to make a square origami paper.
Step 2

2
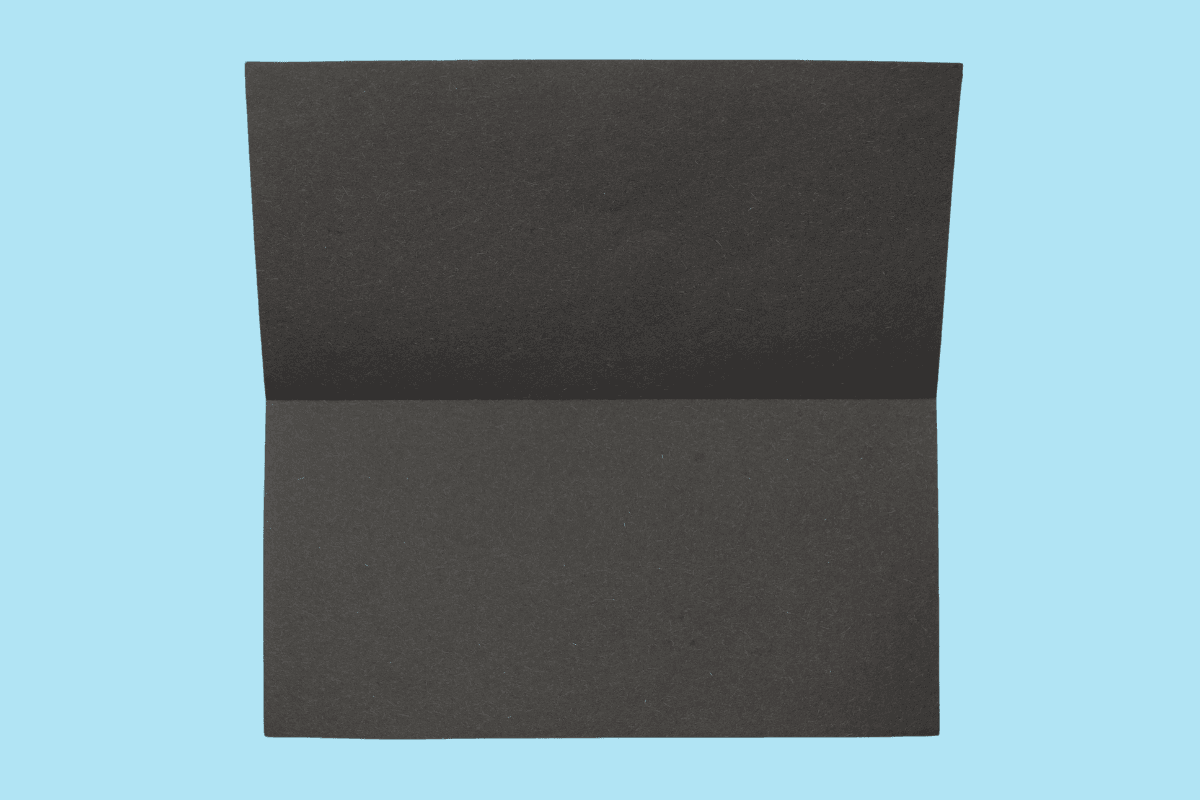
Fold the bottom edge up to meet the top edge.
Step 3
3
Unfold. We just needed a crease line.
Step 4
4
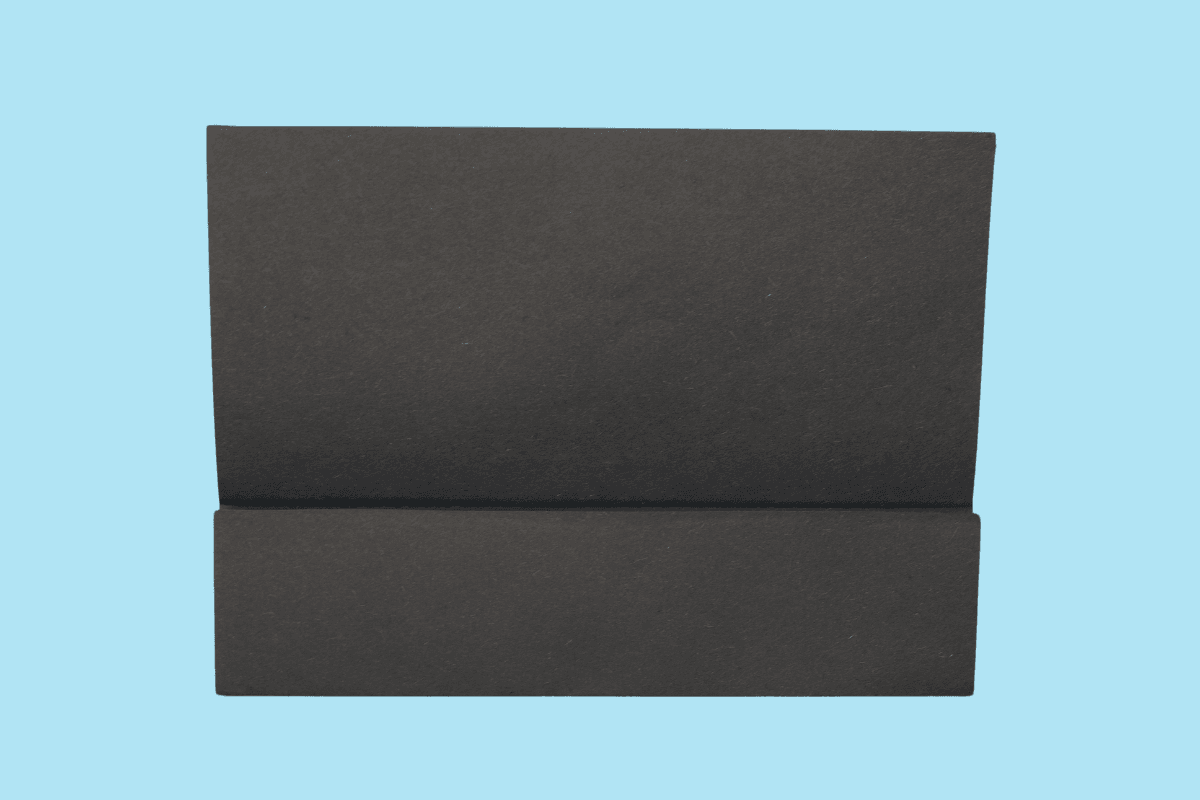
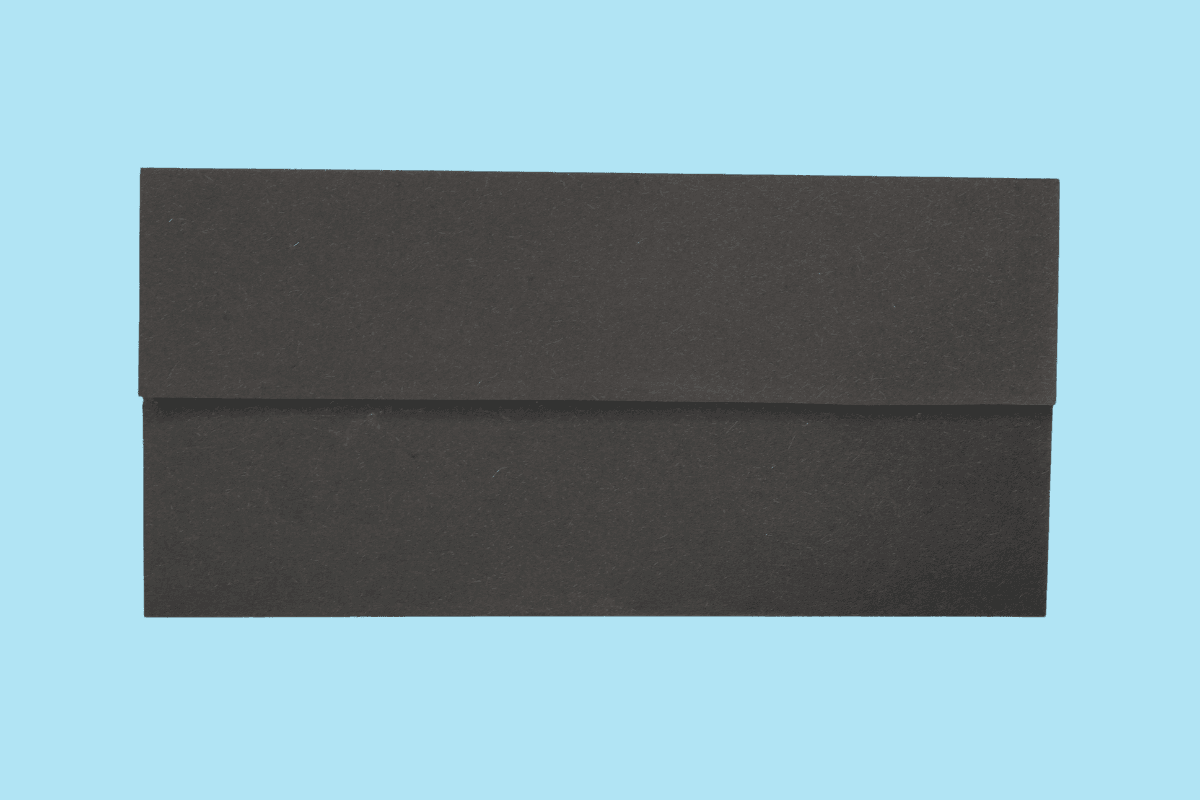
Fold the bottom edge to the center crease.
Step 5
5
Fold the top edge to the center crease.
Step 6
6
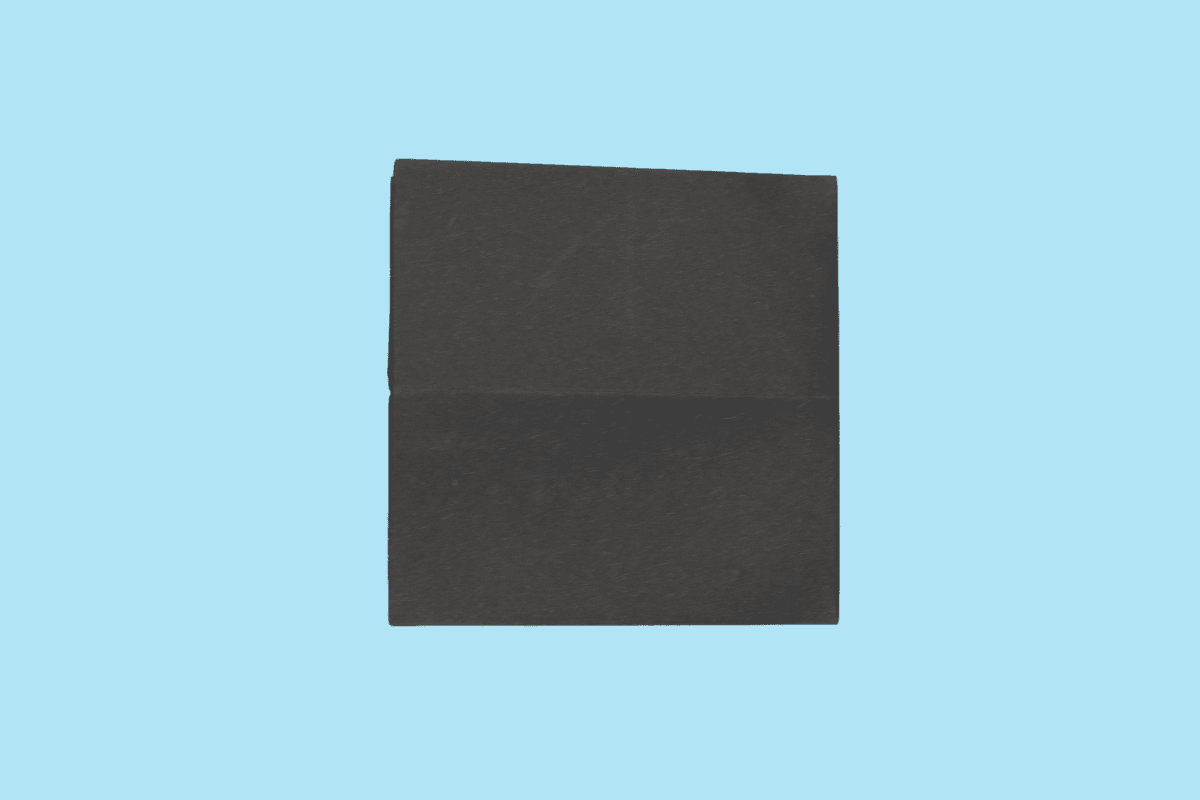
Fold the paper in half by bringing the right edge to meet the left edge.
Step 7

7
Unfold.
Step 8
8
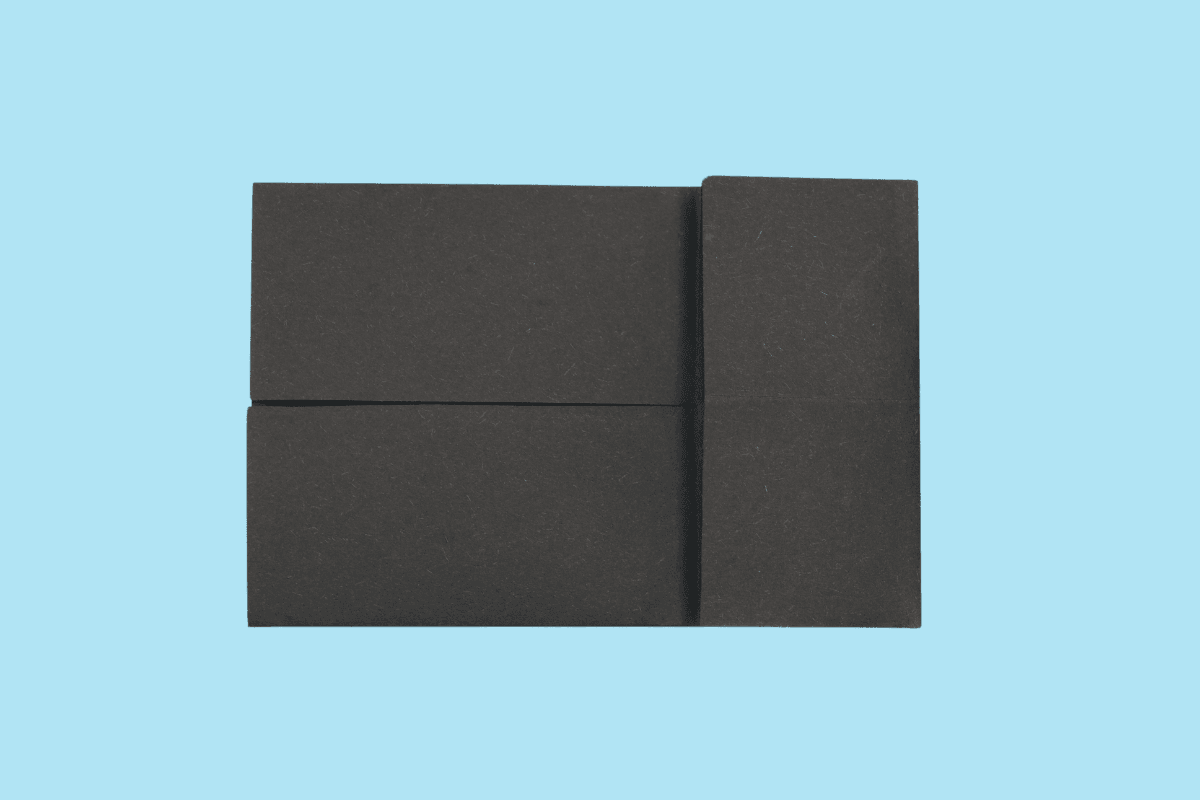
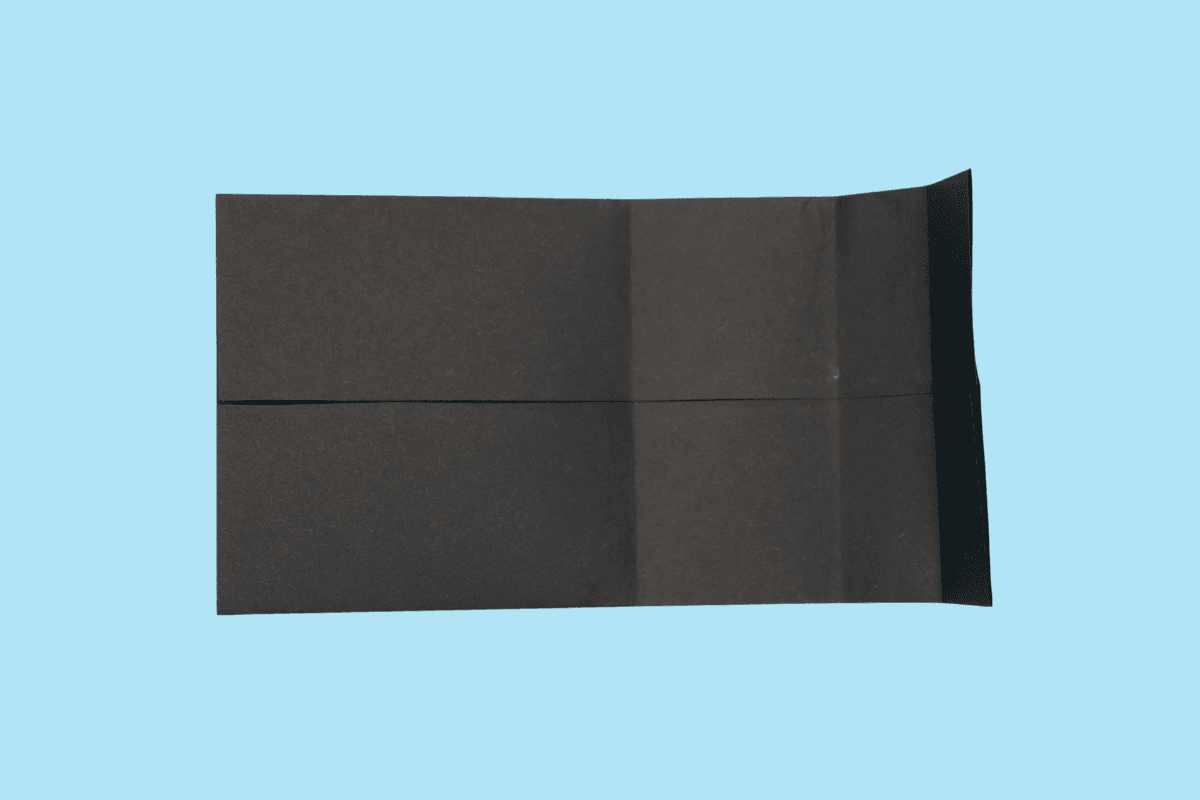
Bring the right edge over to align with the center crease.
Step 9
9
Unfold.
Step 10
10
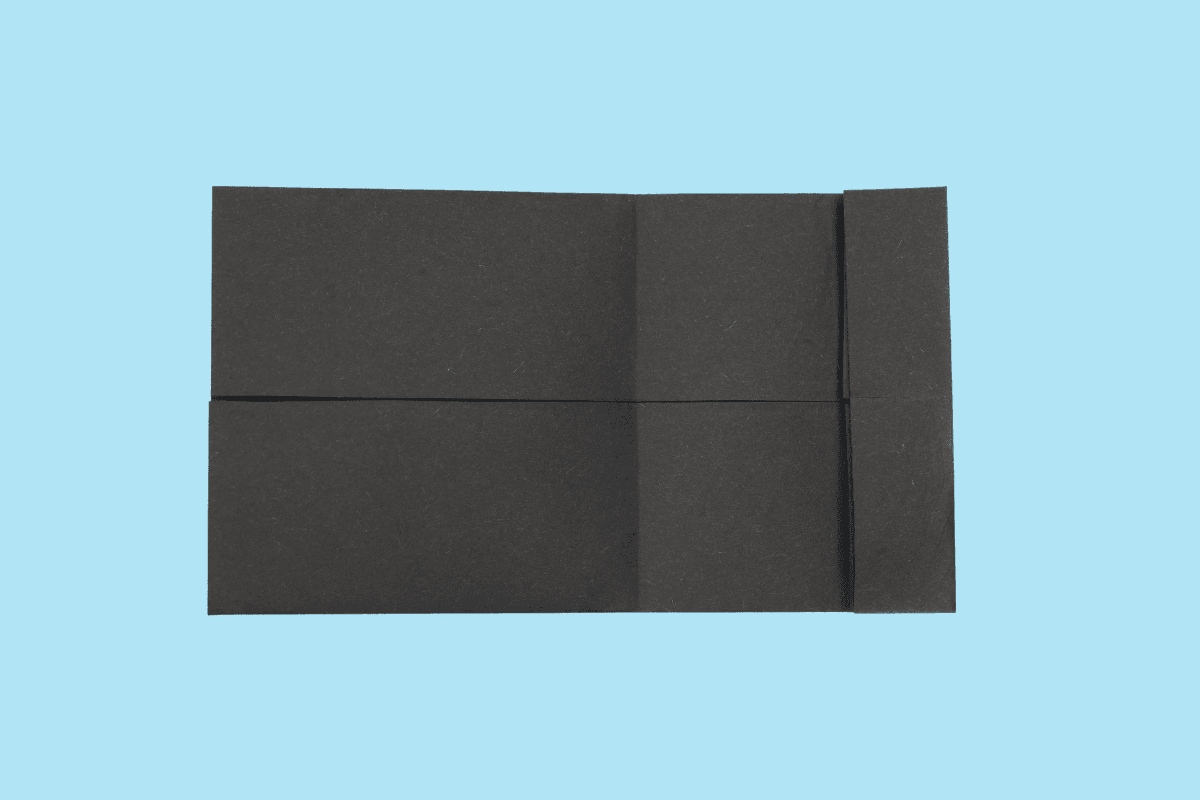
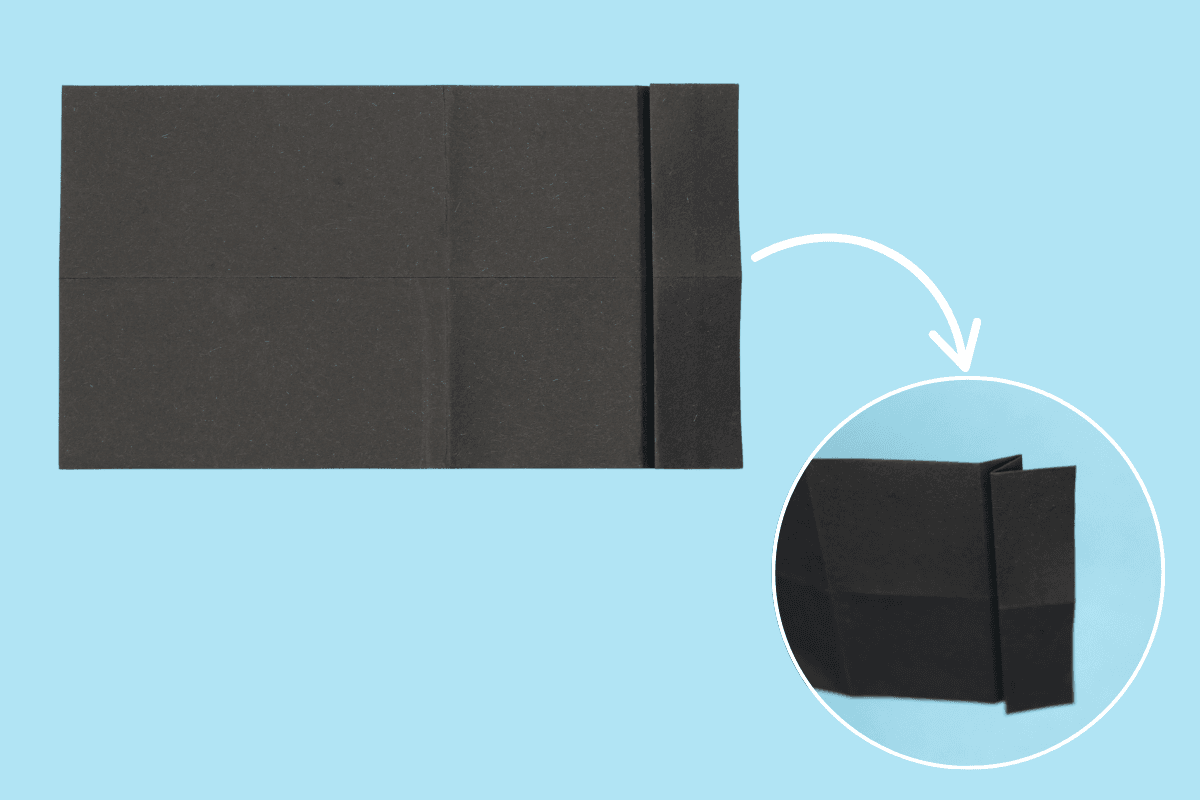
Bring the right edge over to align with the first crease on the left.
Step 11
11
Unfold.
Step 12

12
Turn the model over.
Step 13
13
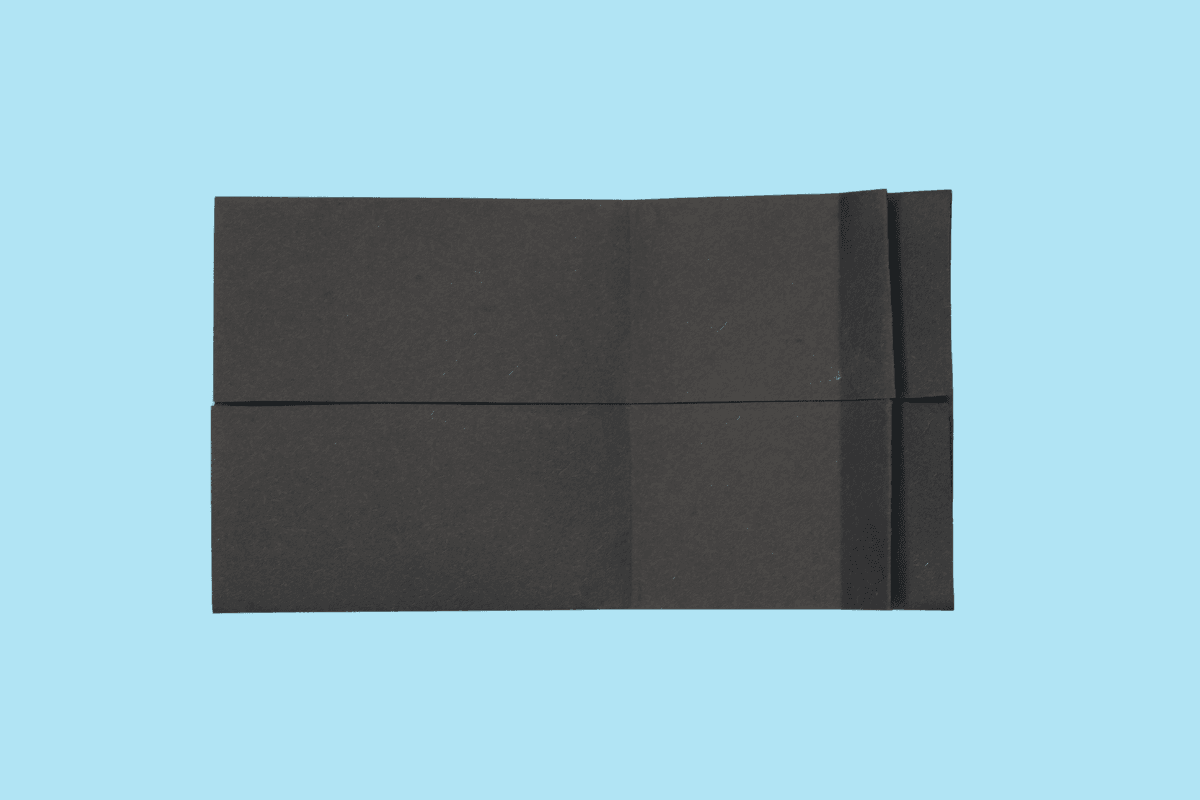
Pinch the paper and fold the first crease to align with the left crease.
Step 14
14
Turn the model over.
Step 15
15
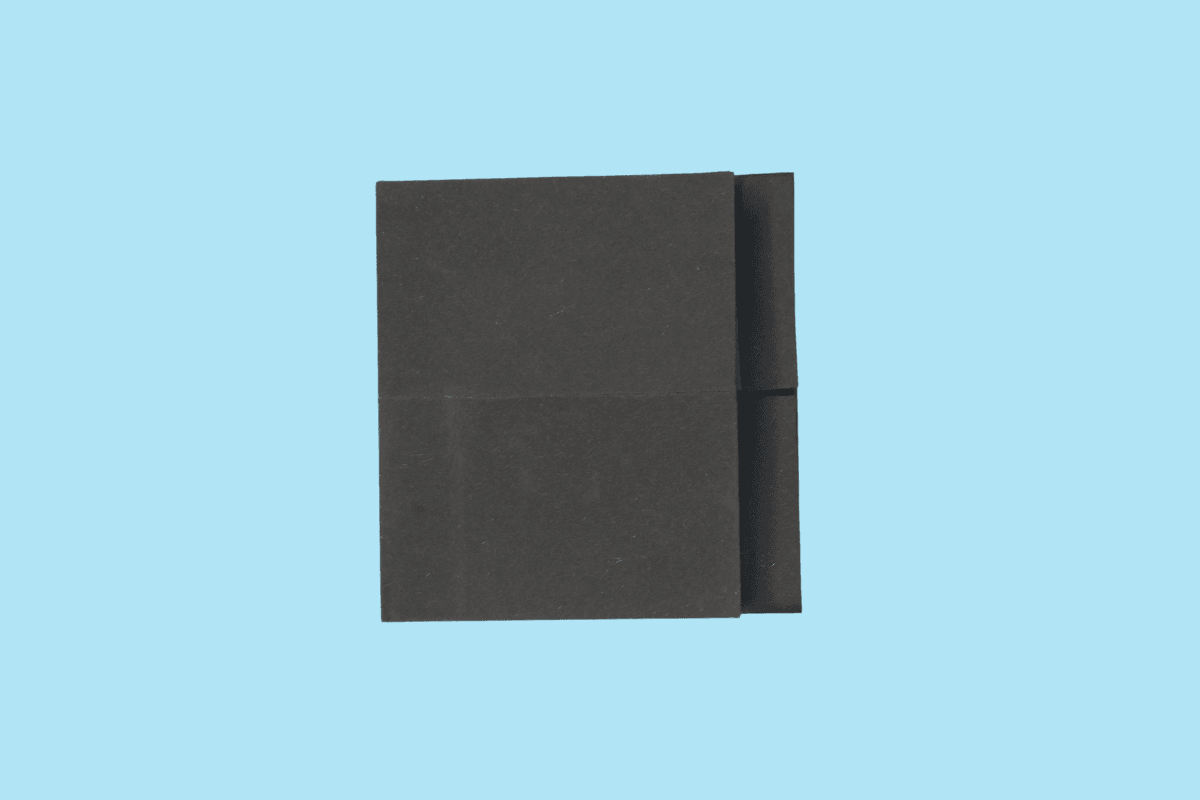
Bring the left edge over to align with the first crease on the right.
Step 16
16
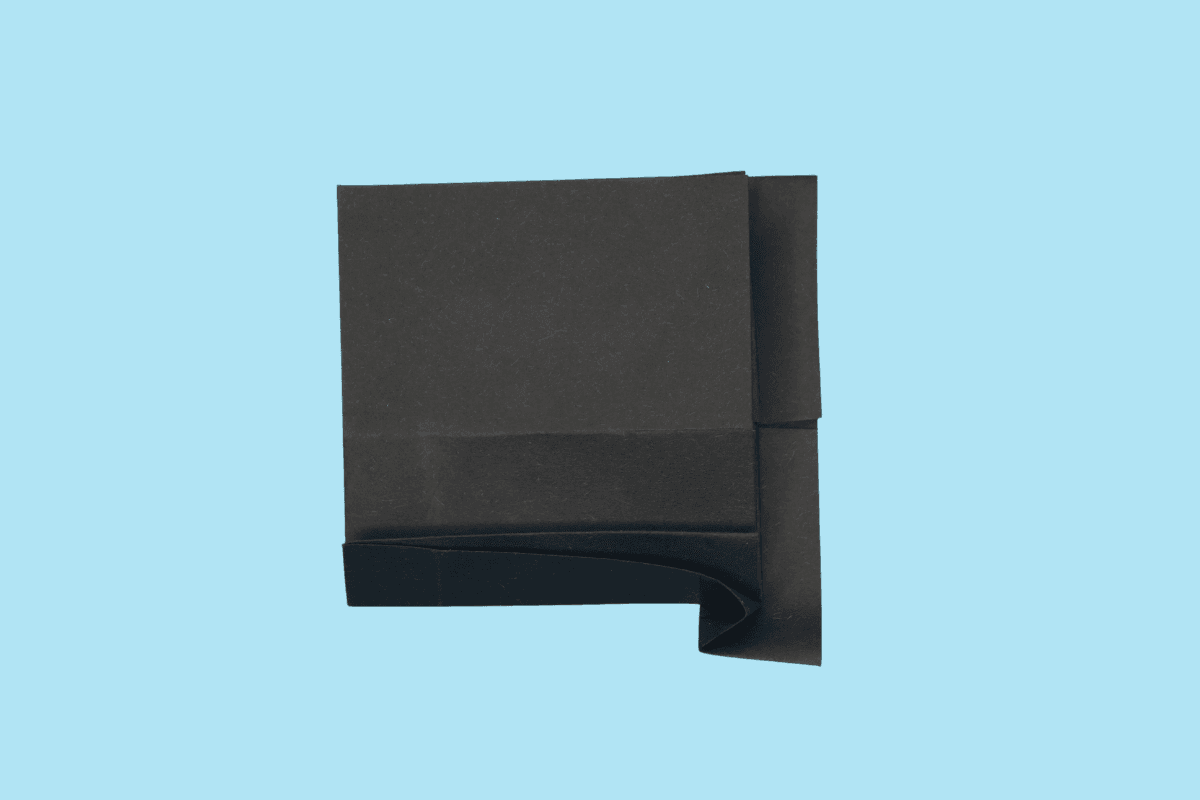
Lift and fold the bottom edge upward slightly.
Step 17
17
Flatten the fold and squash the small triangle on the bottom right.
Step 18
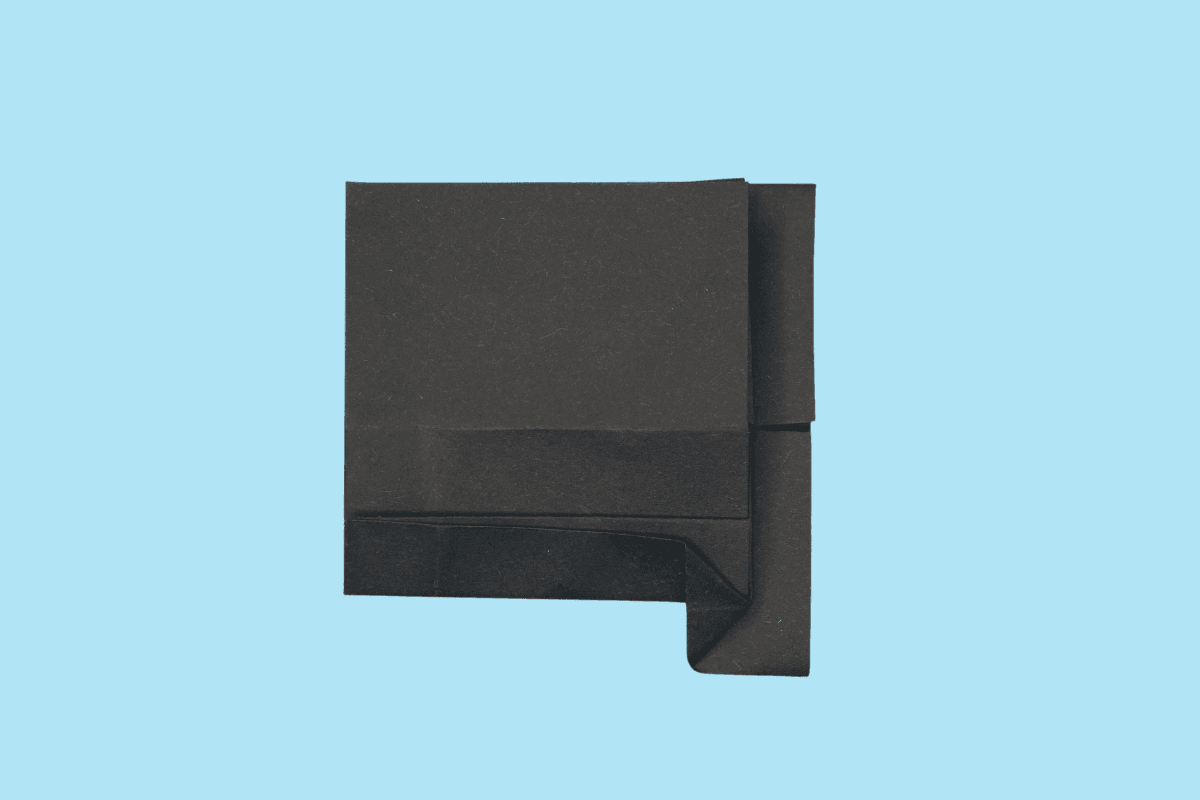
18
Repeat the last two steps on the other end too.
Step 19
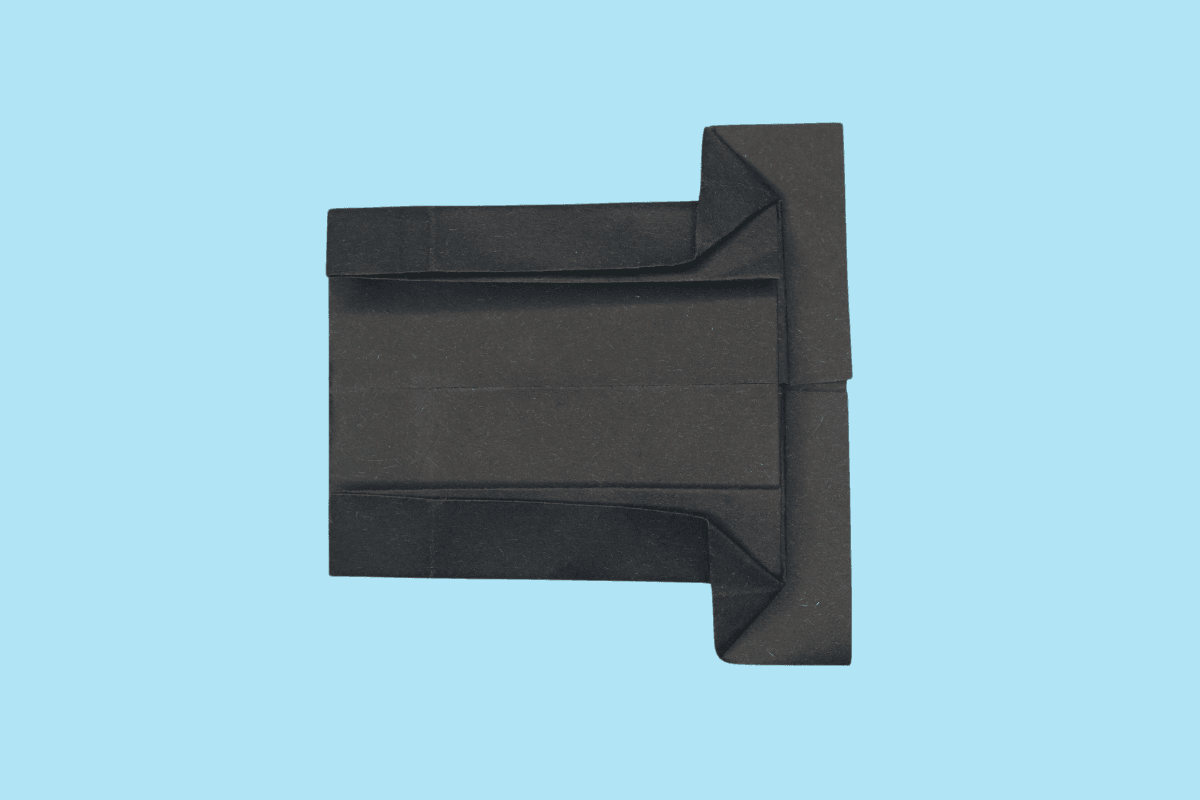
19
Flip the model over and rotate.
Step 20
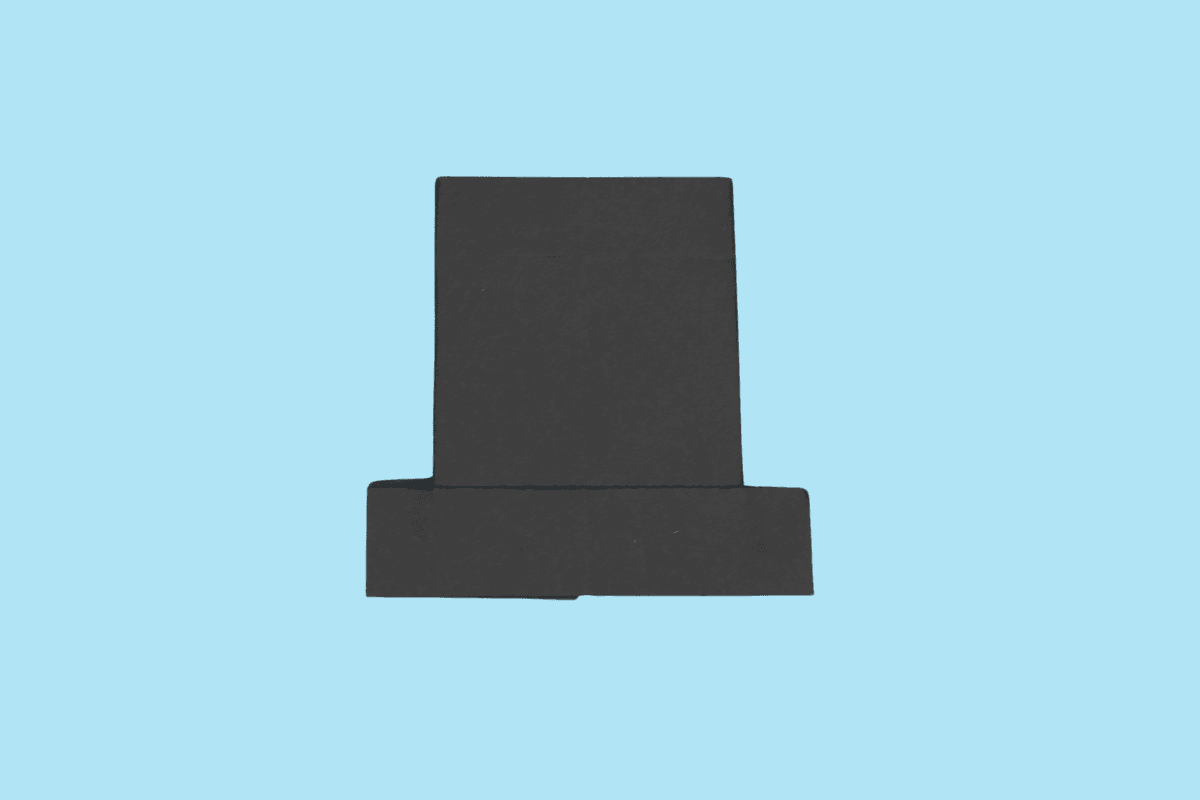
20
Glue the red strip so it looks like a magic hat, and there you have it!
Share and Comment
We would love to see your creations! Scroll down to the comments section and share a photo of your origami.
Leave a Reply