Origami Owl Instructions and Diagrams

Origami OwlFollow the steps below to make this Origami Owl.
Difficulty: Medium

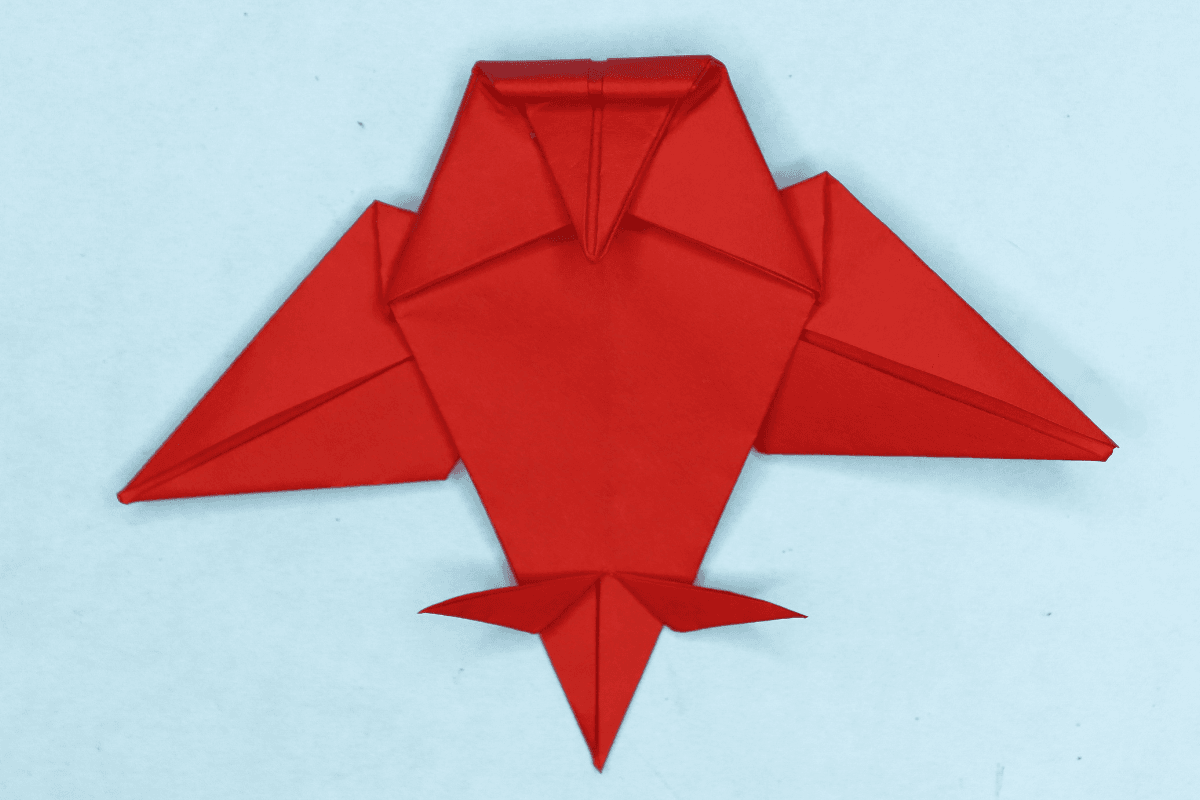
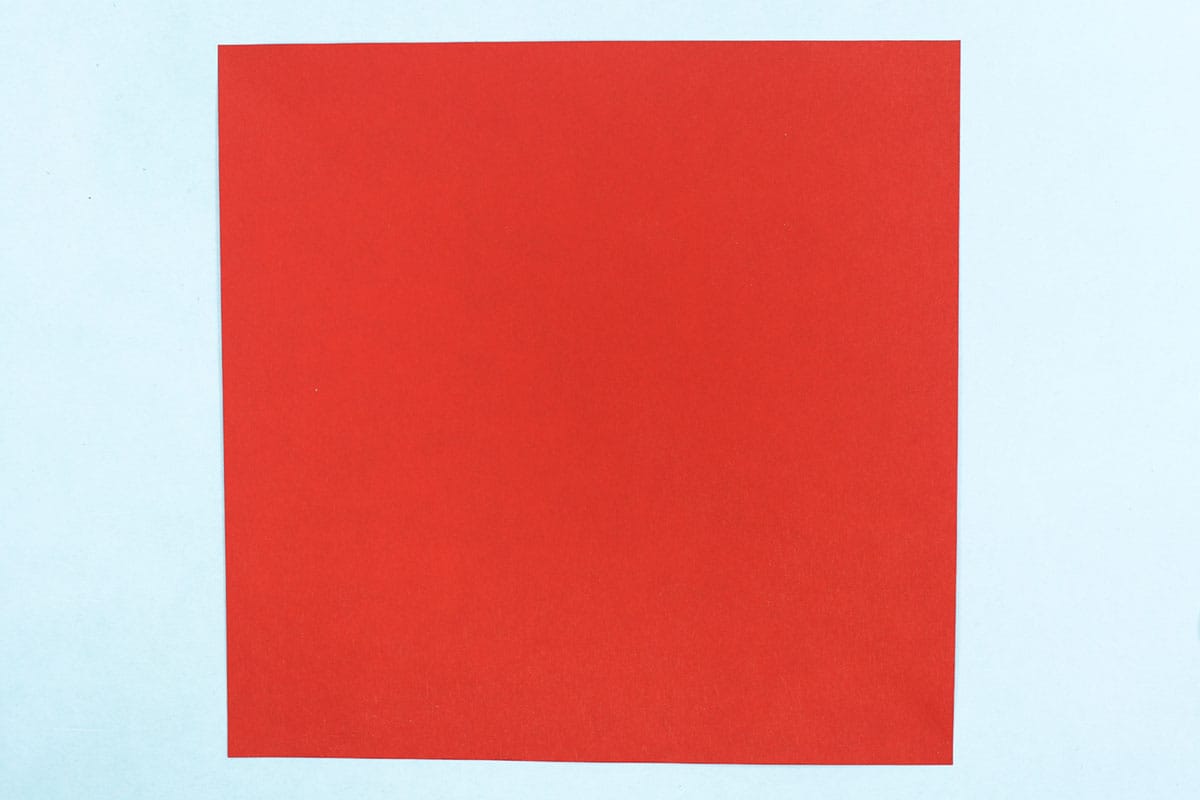
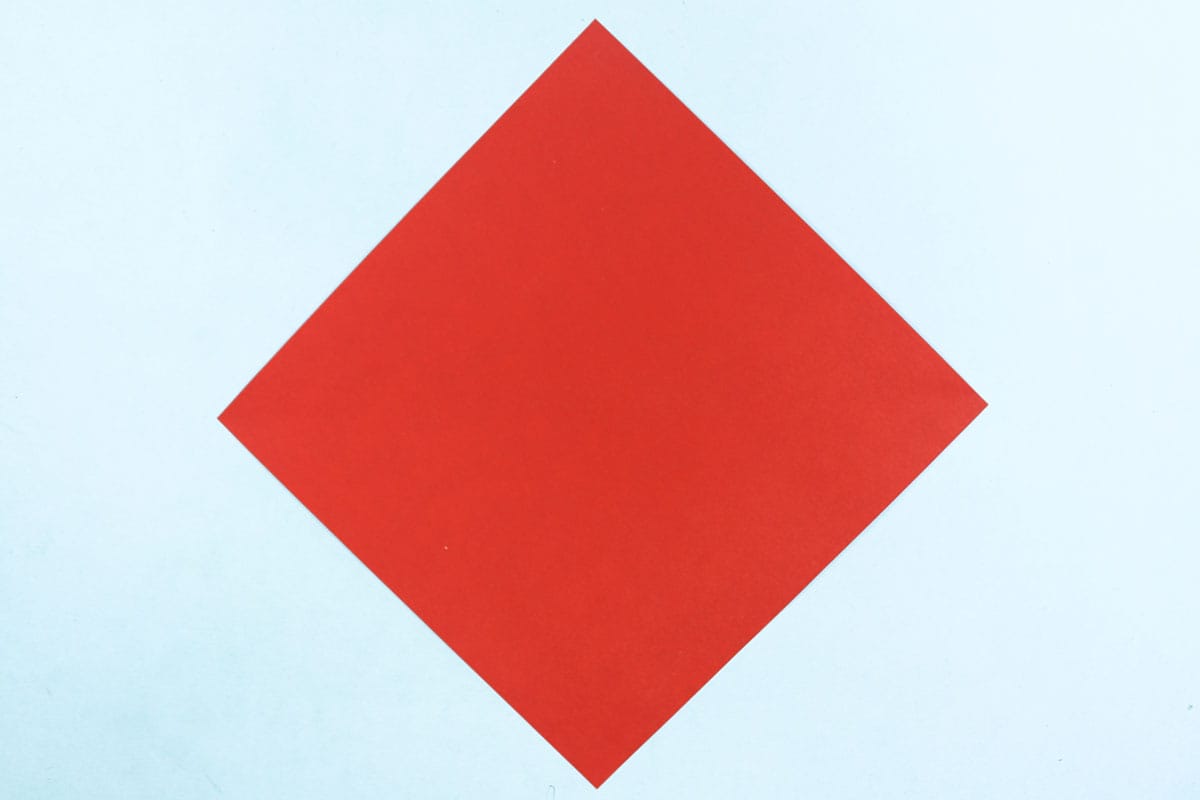
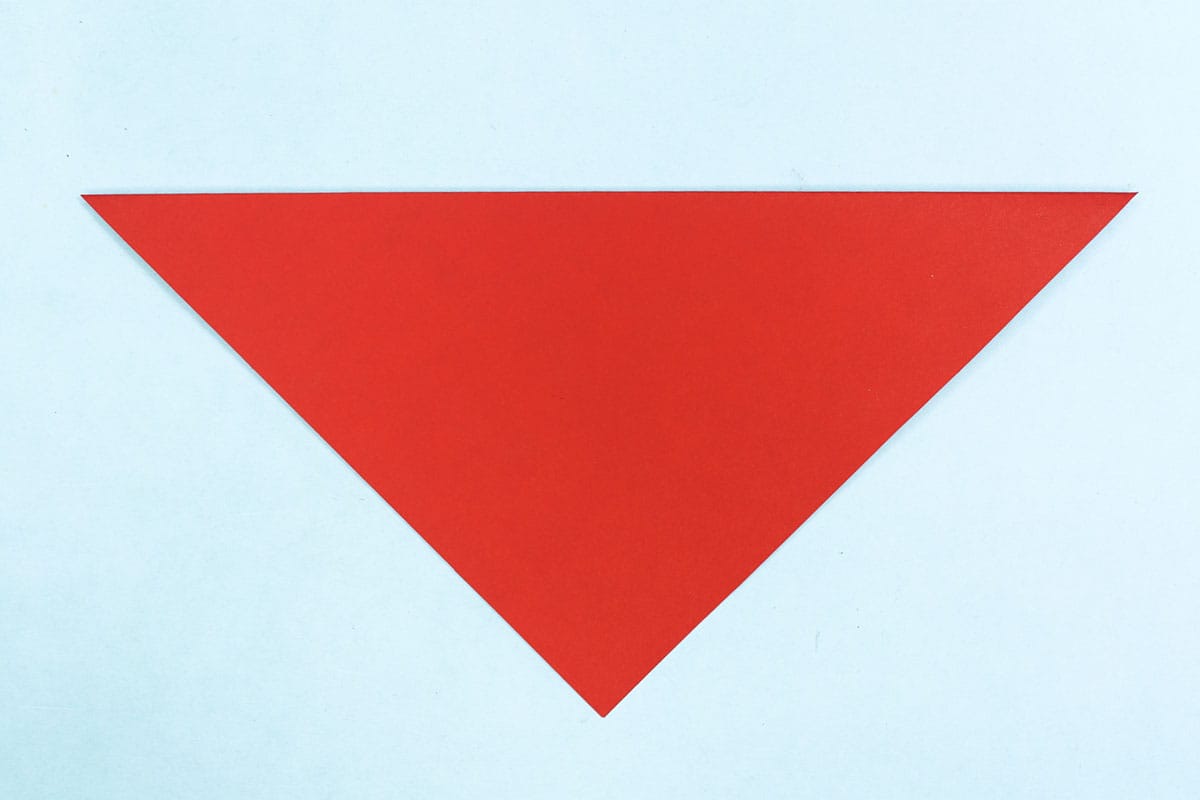
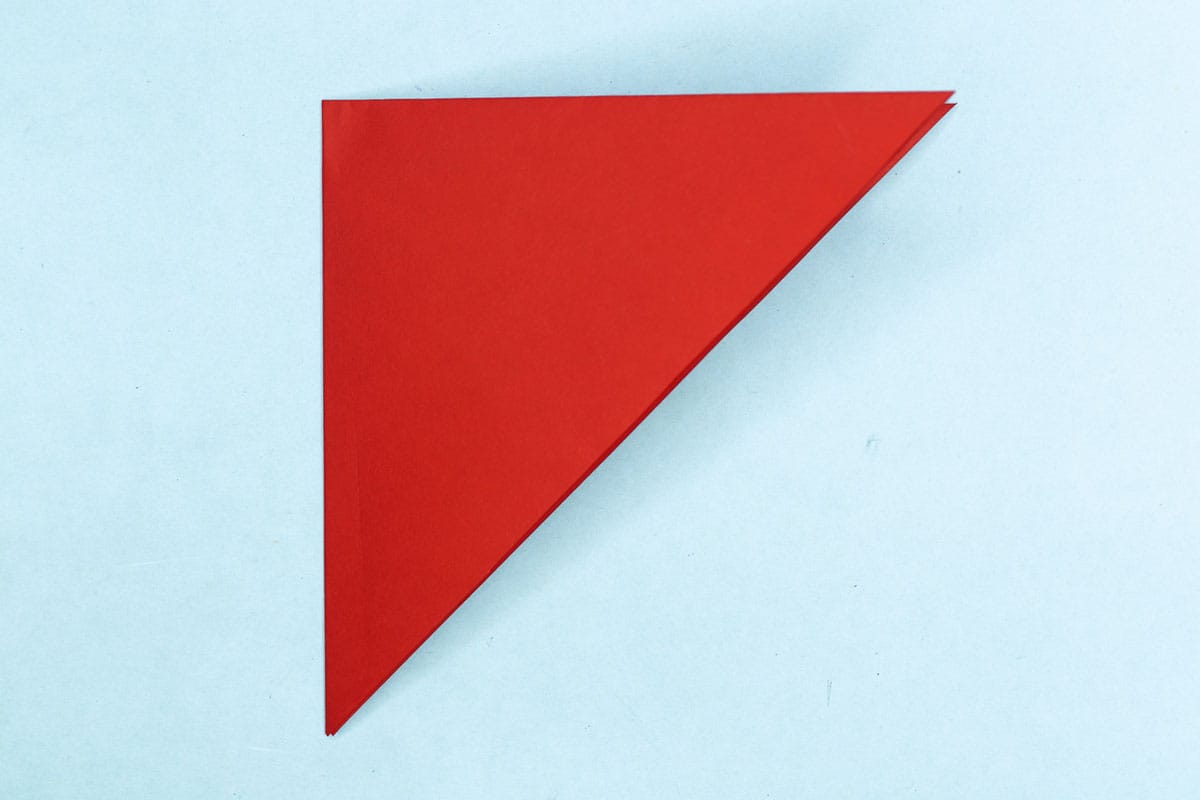
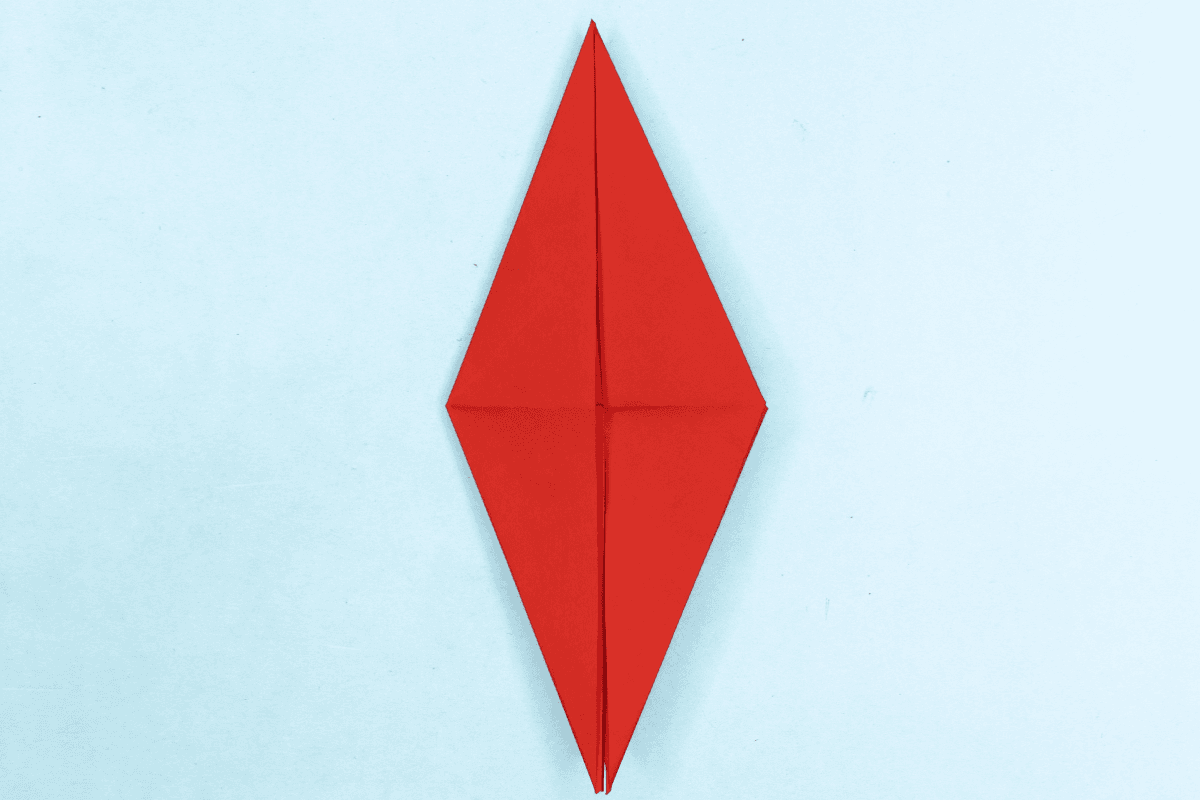
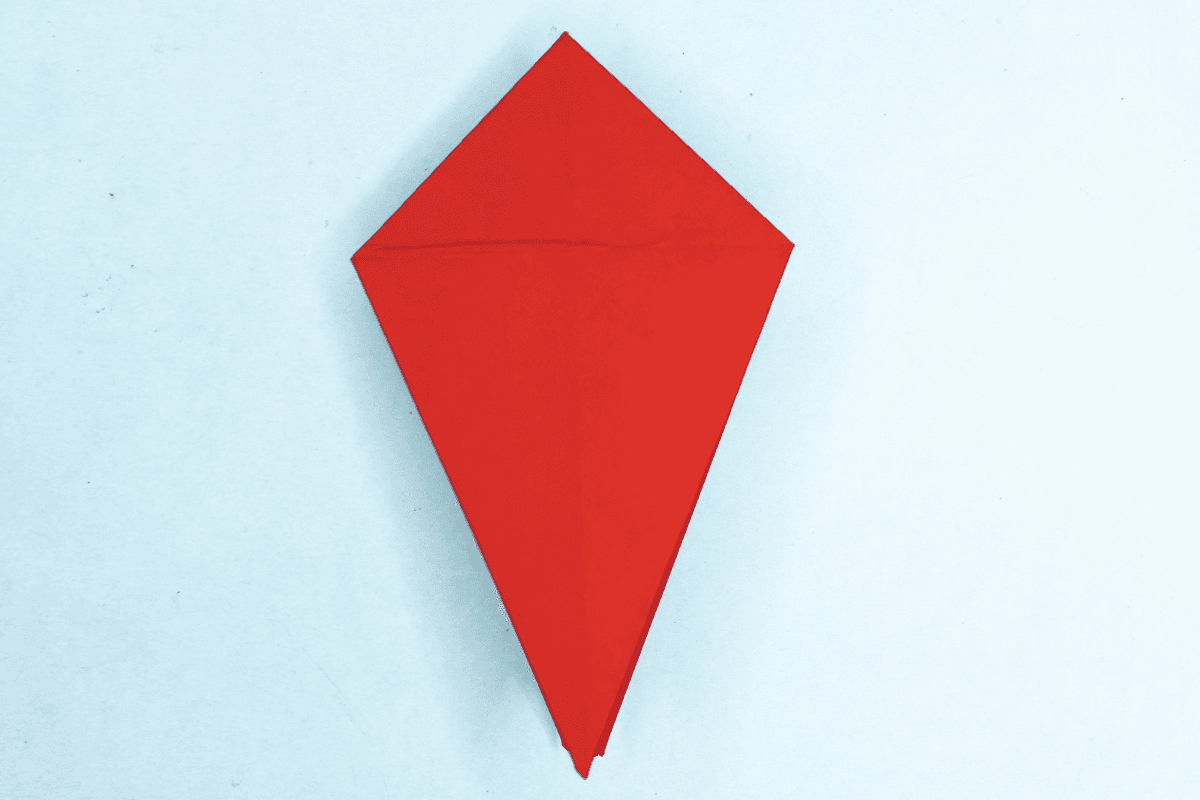
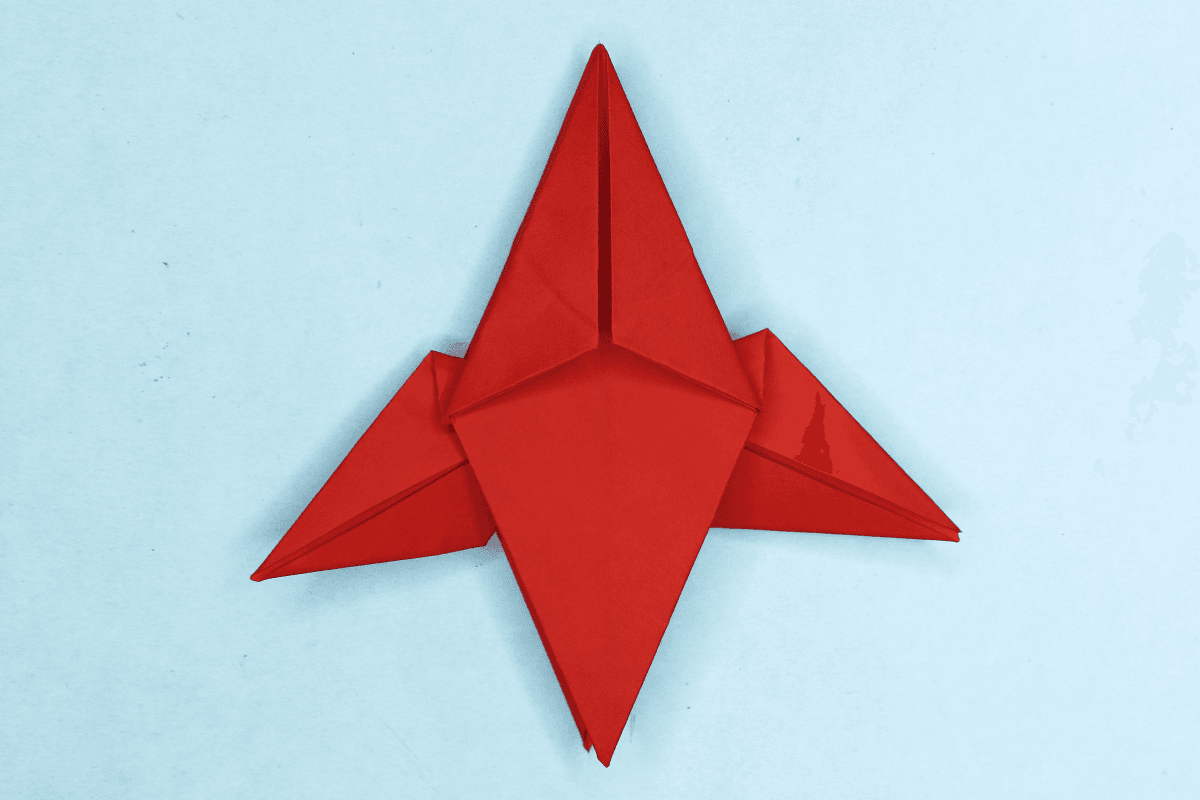
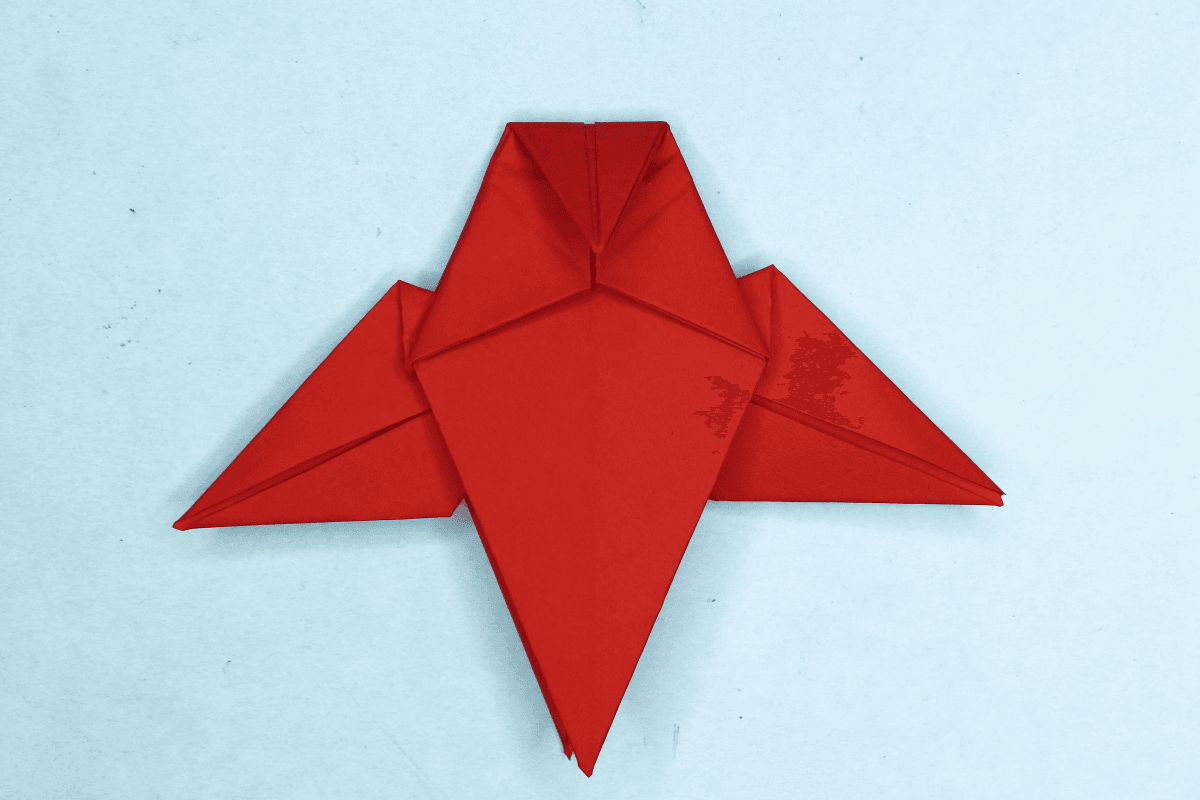
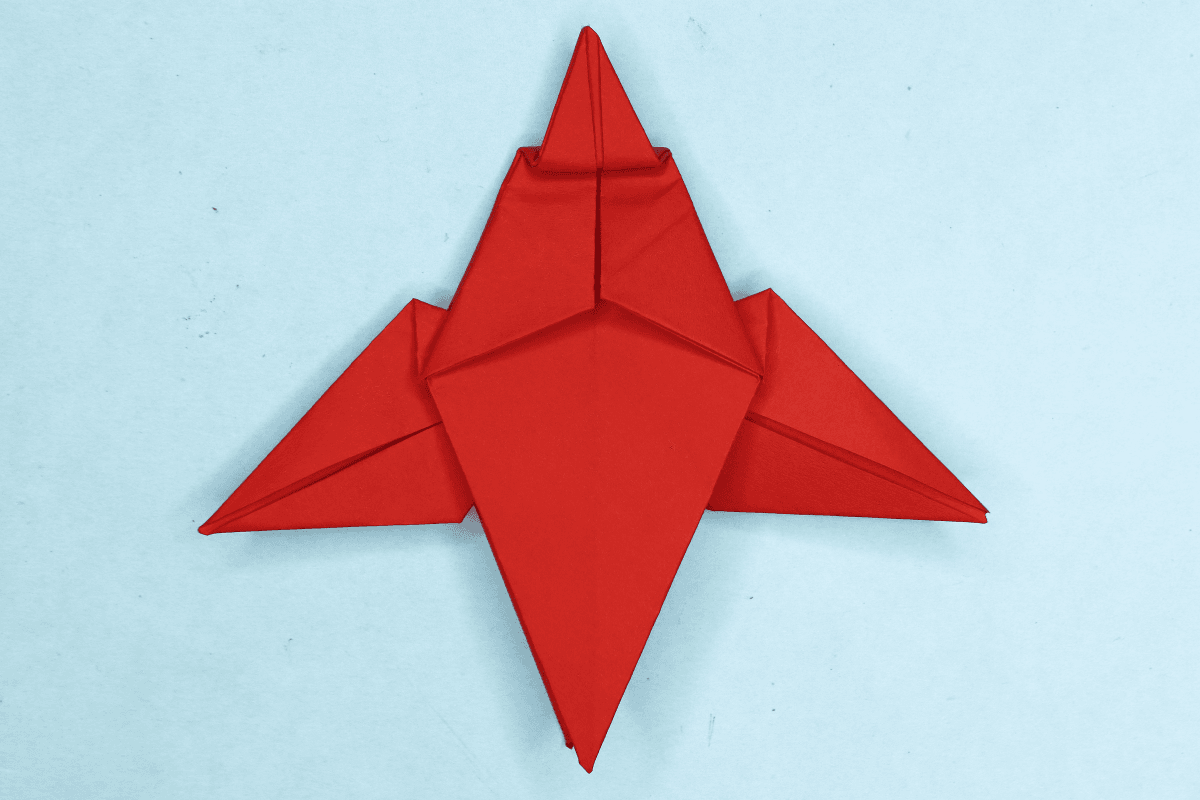
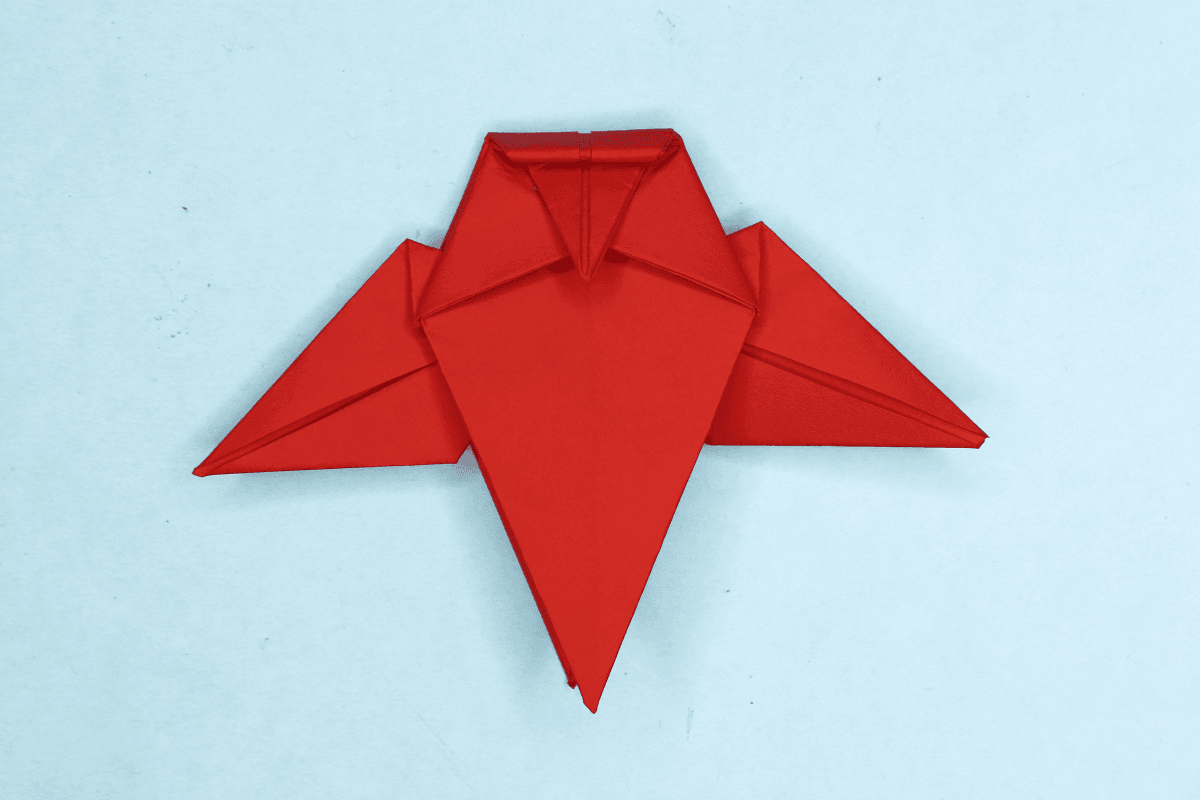
The origami owl is a gorgeous piece of paper sculpture. If I did a better job at it, you'll be able to tell. However, you can just see how awesome it can really be if all the cuts and creases were done perfectly.
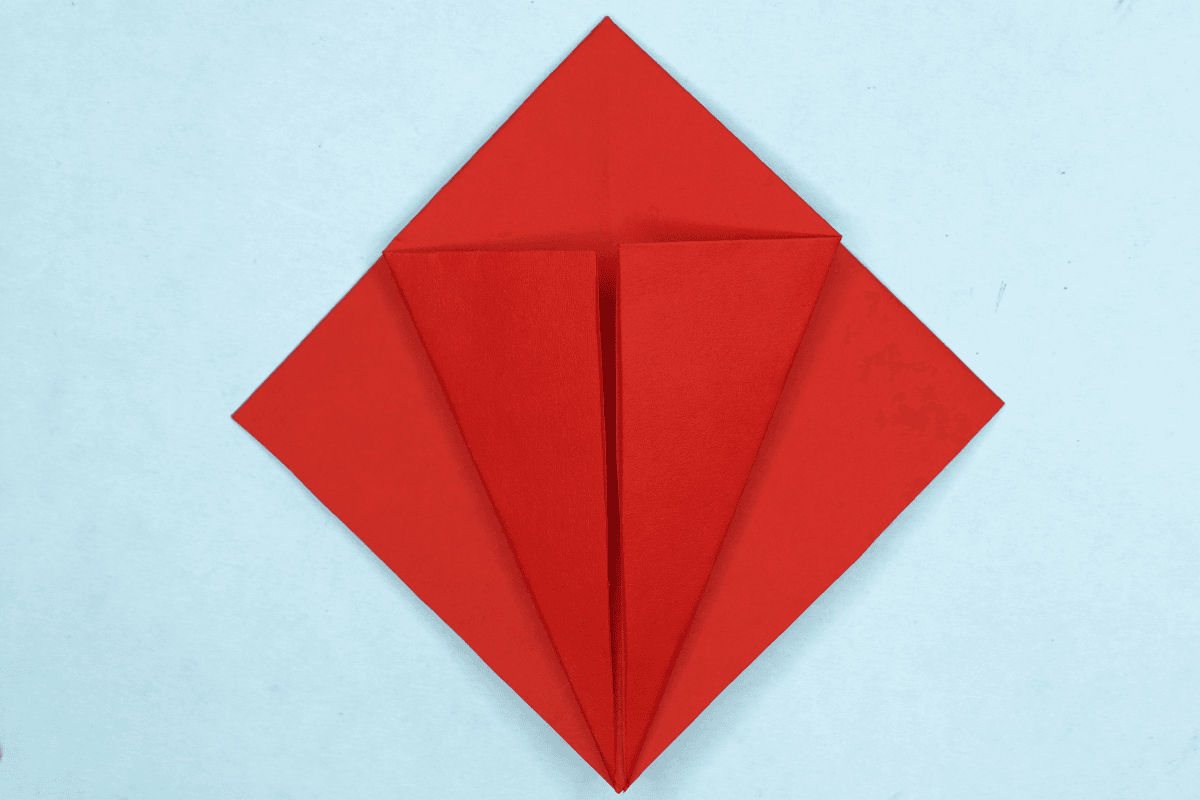
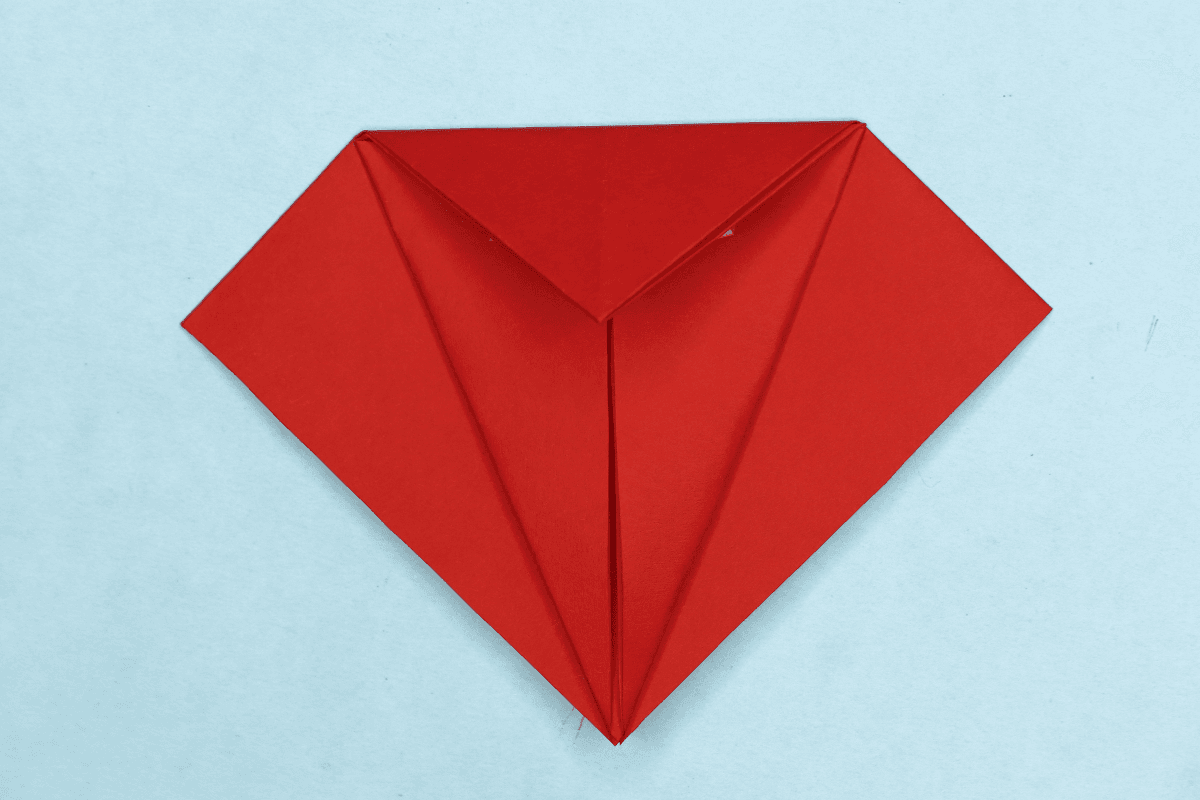
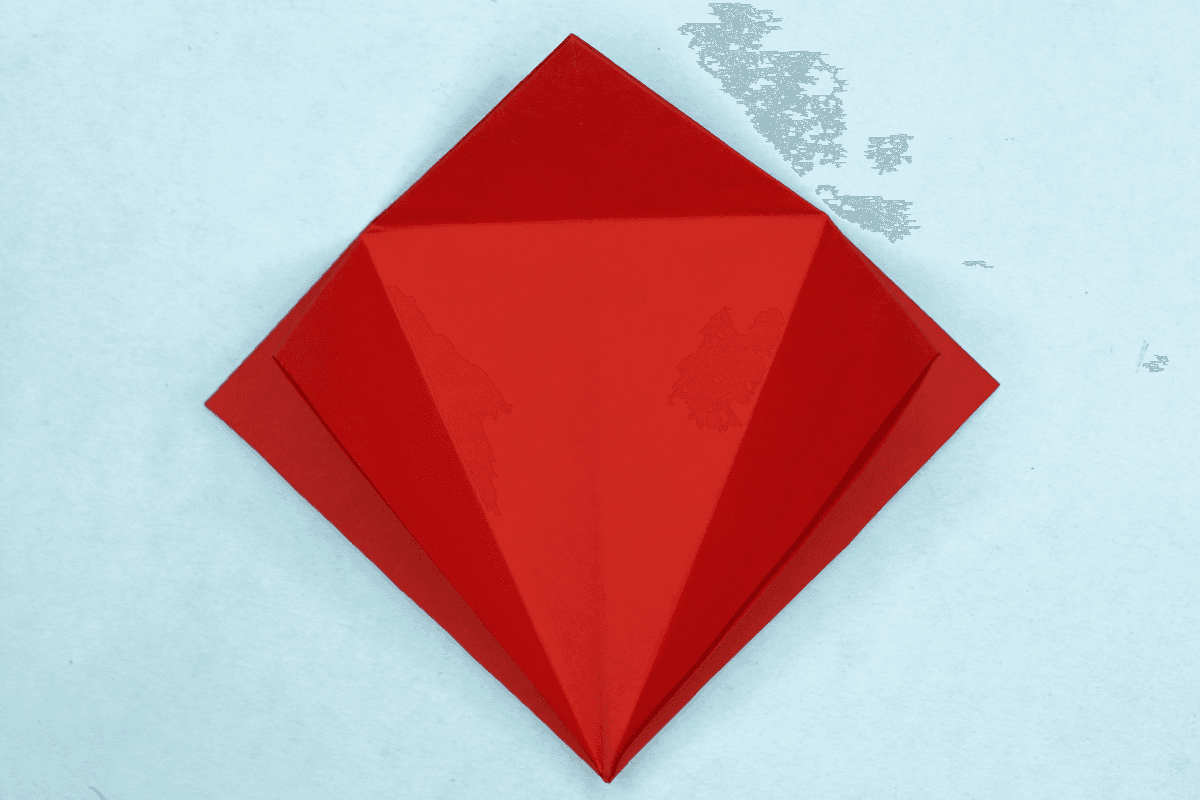
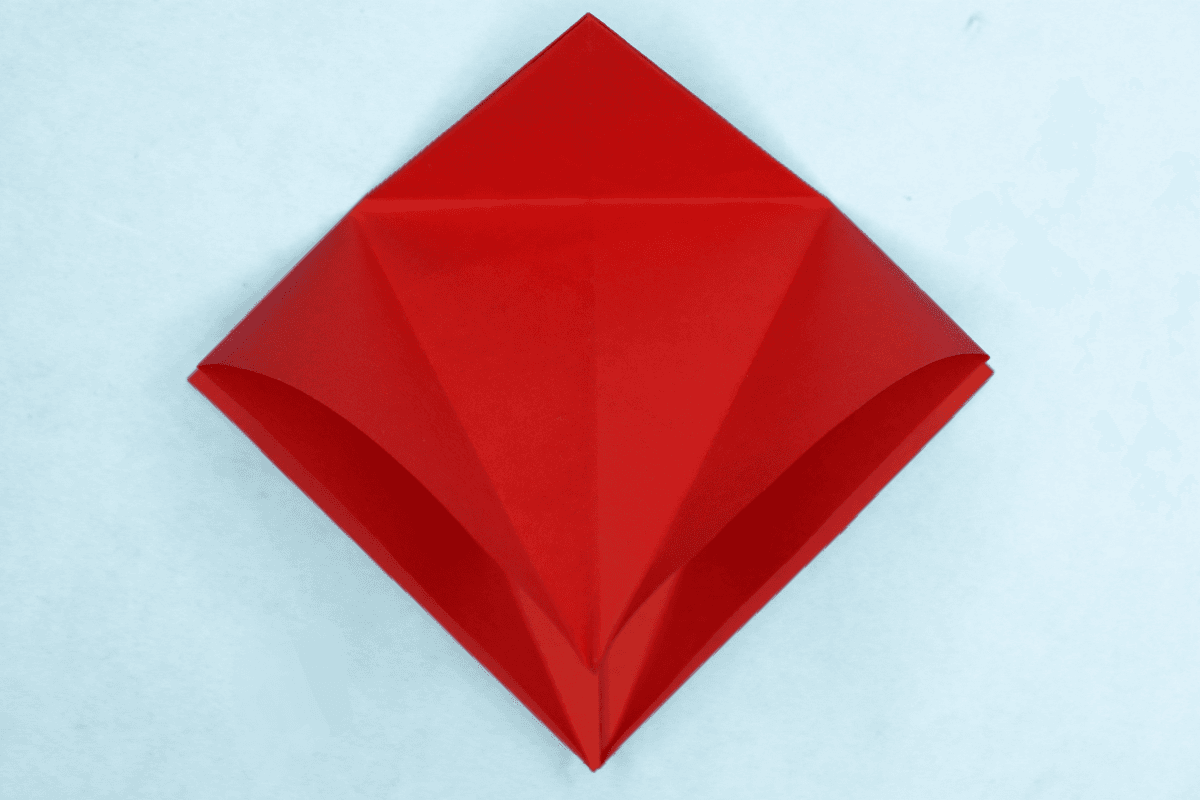
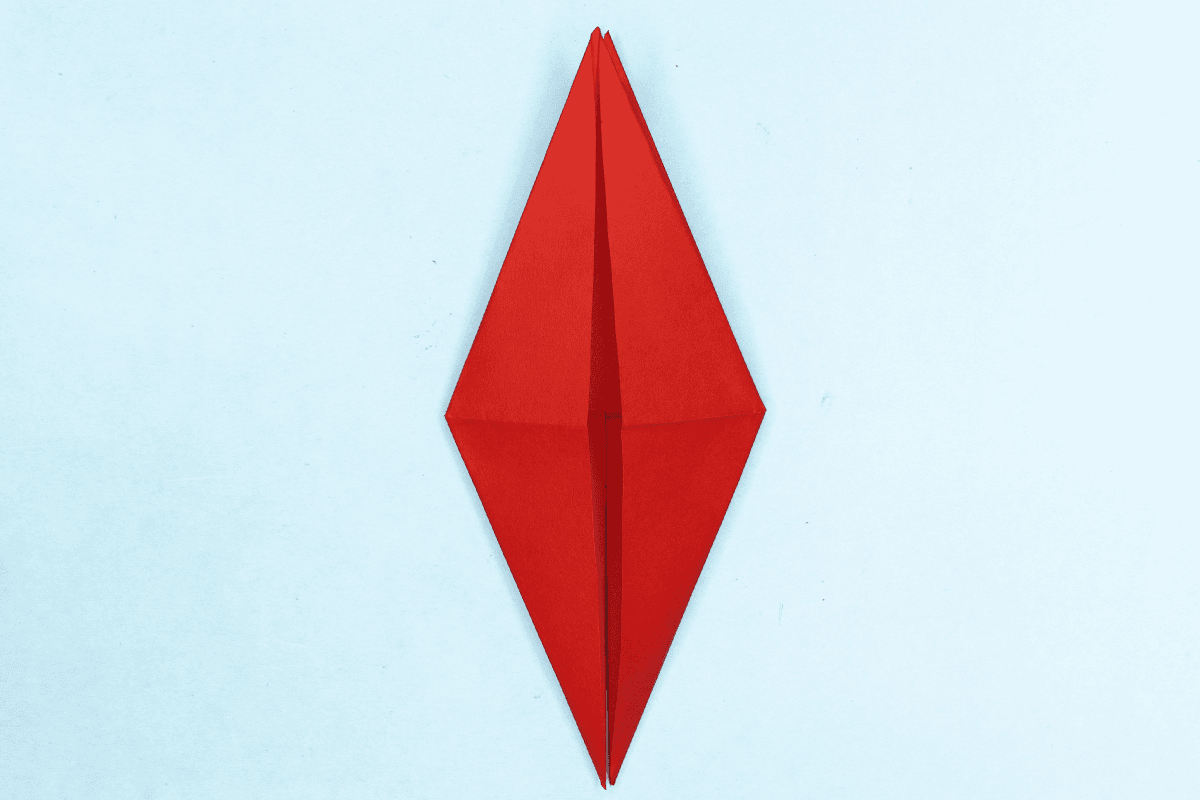
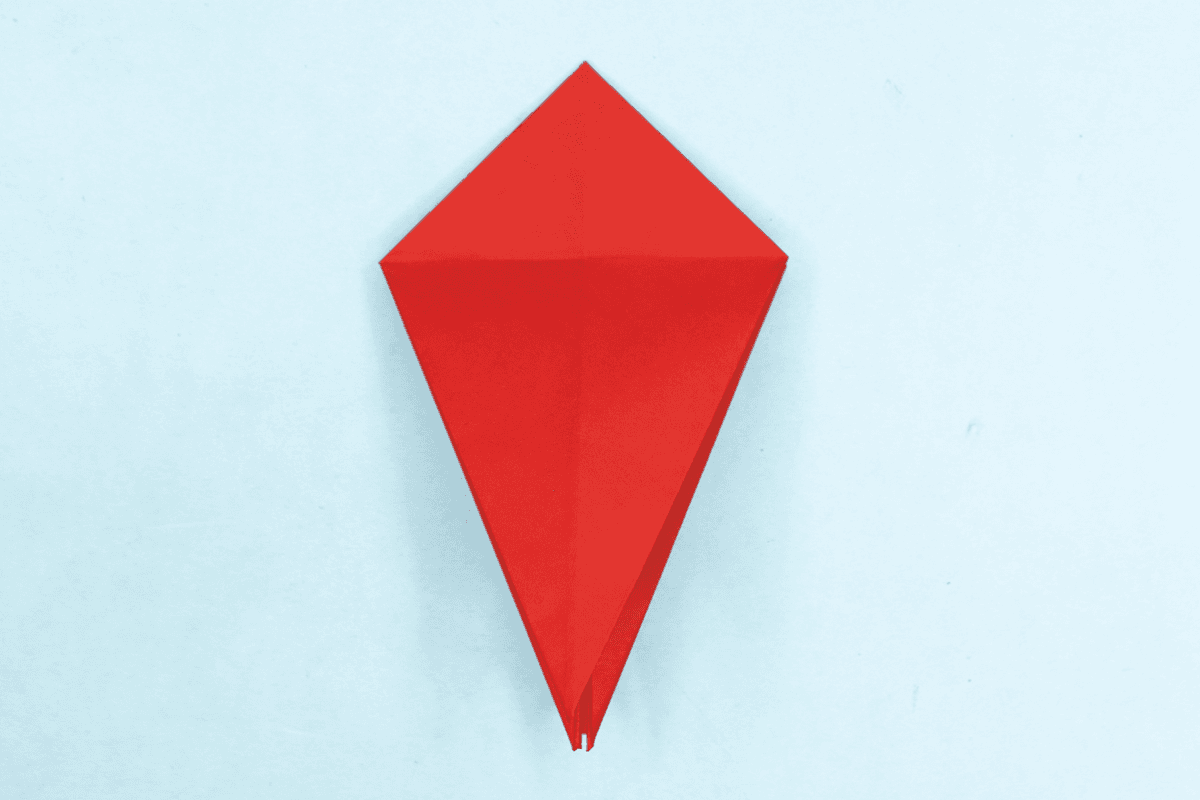
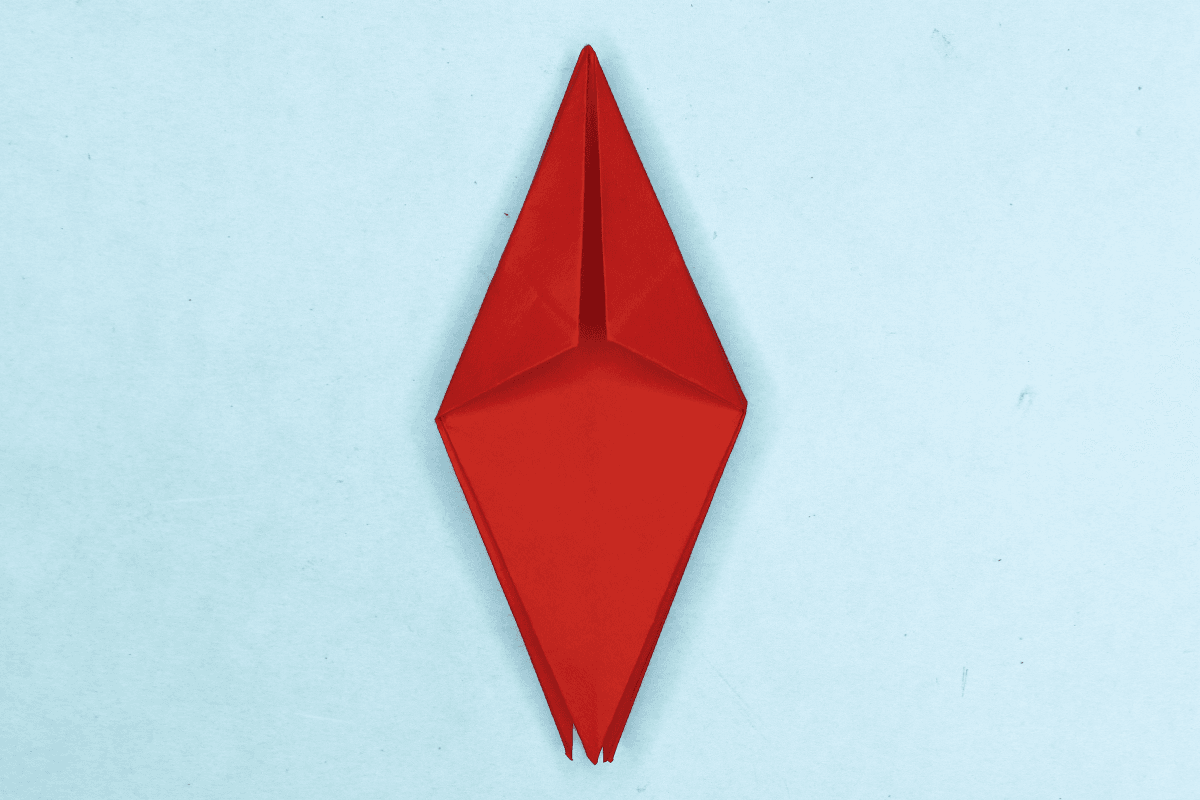
 Yes, there are a couple of cuts you'll have to make, but they're very minor and really helps define the figure of an owl.

This origami owl is not hard to make at all. 
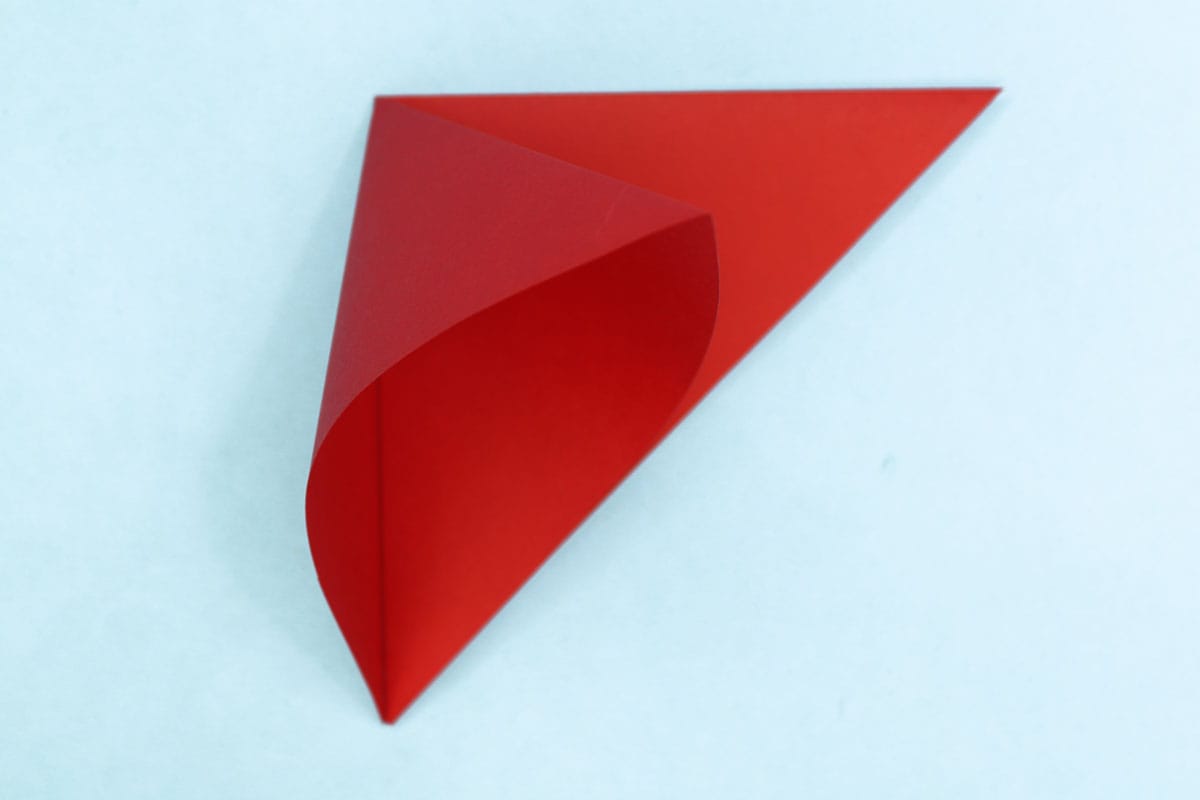
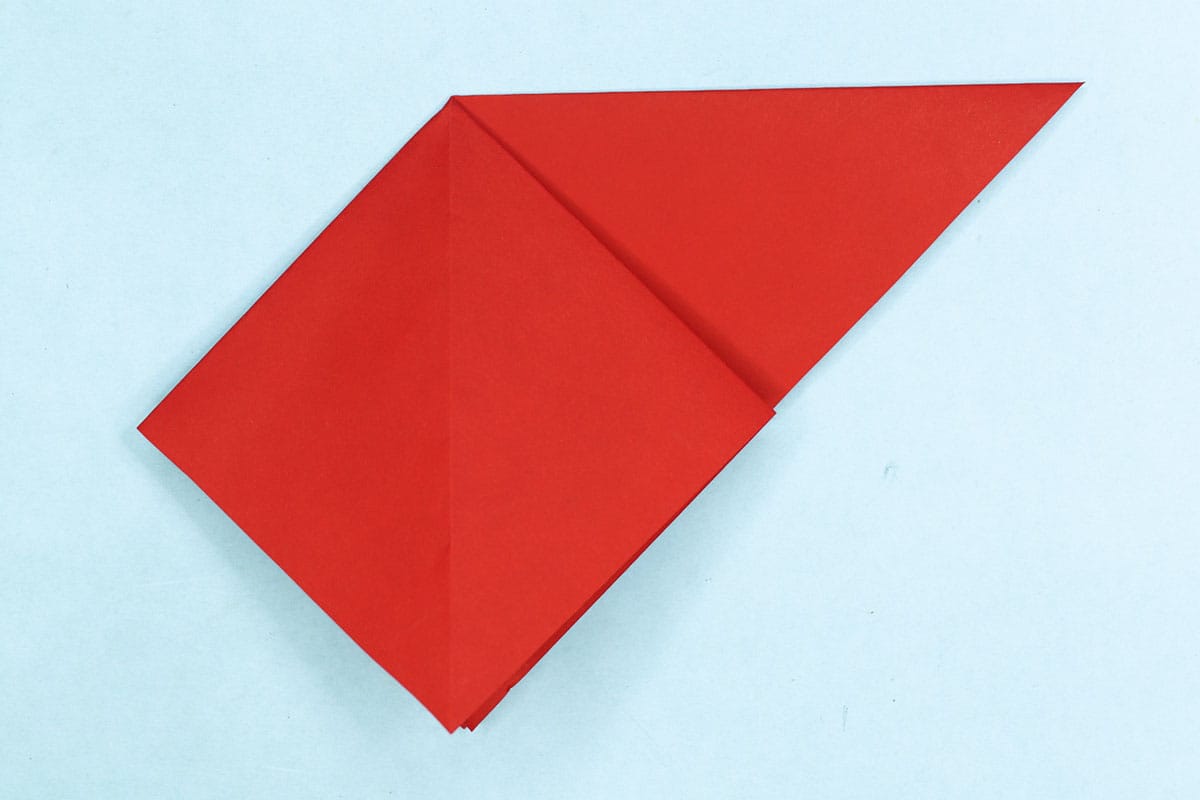
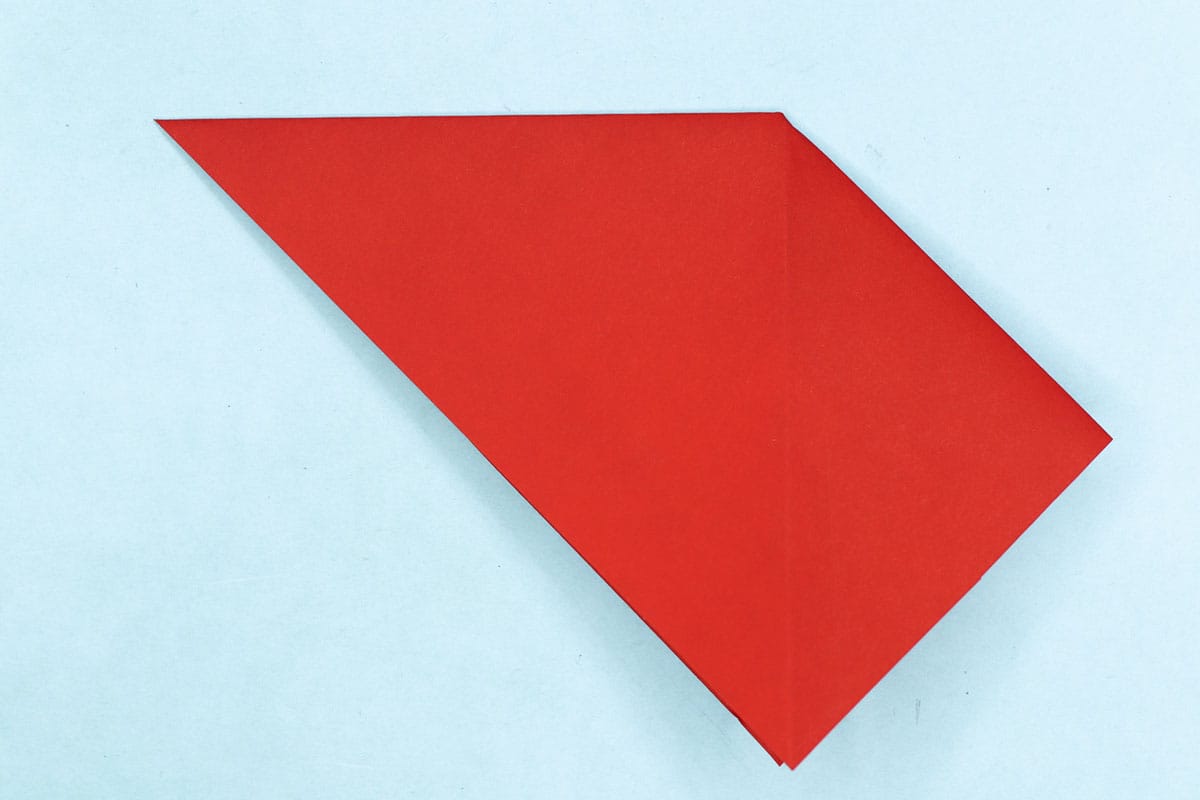
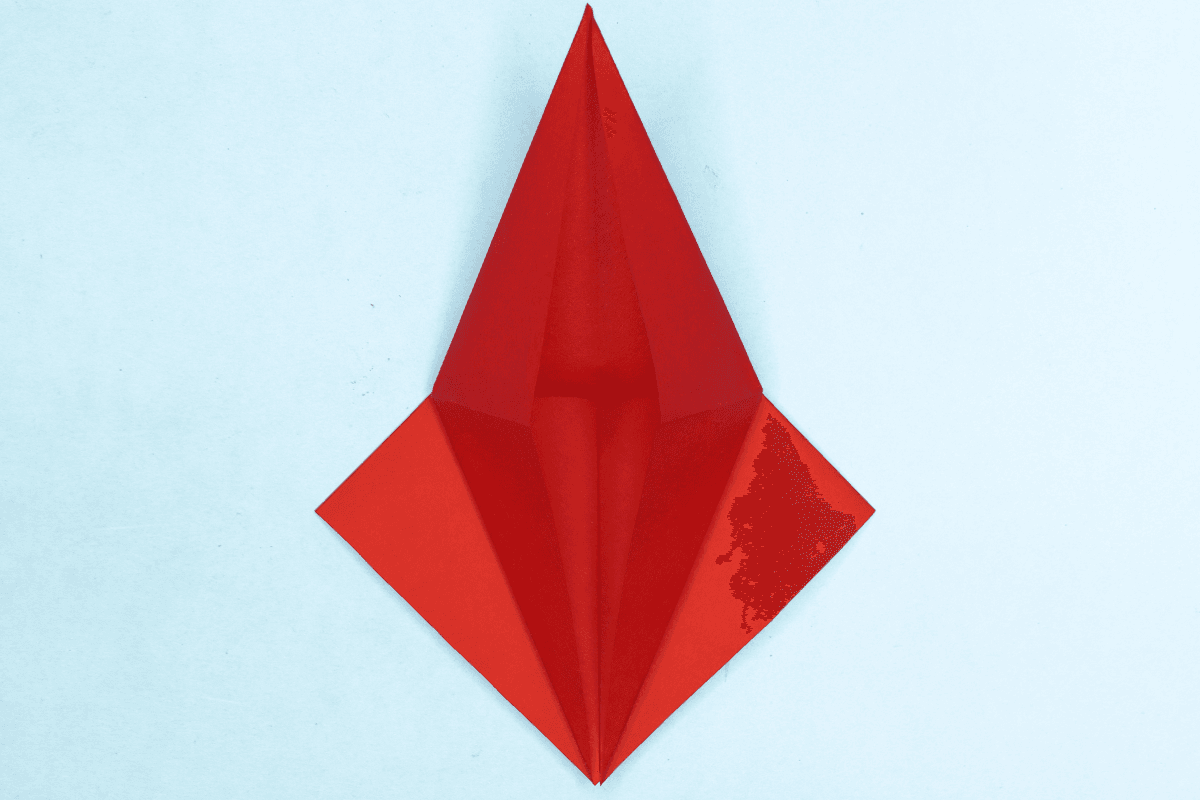
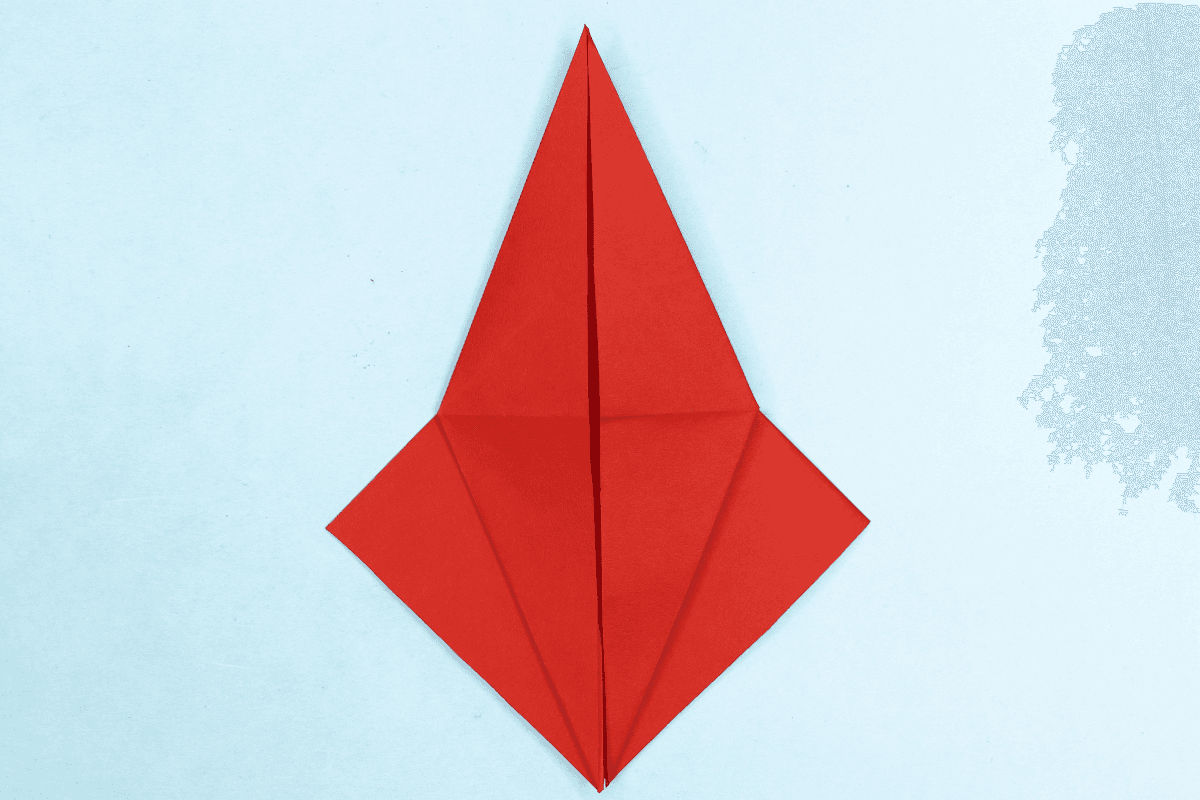
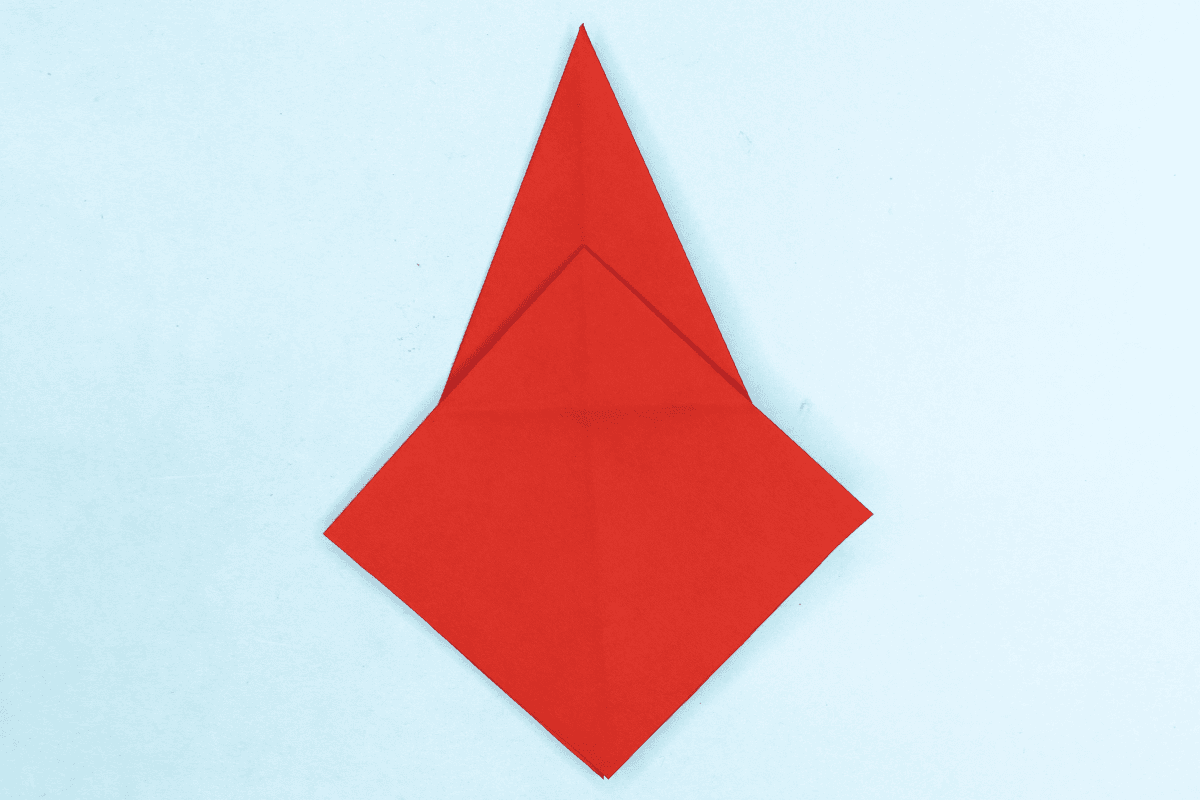
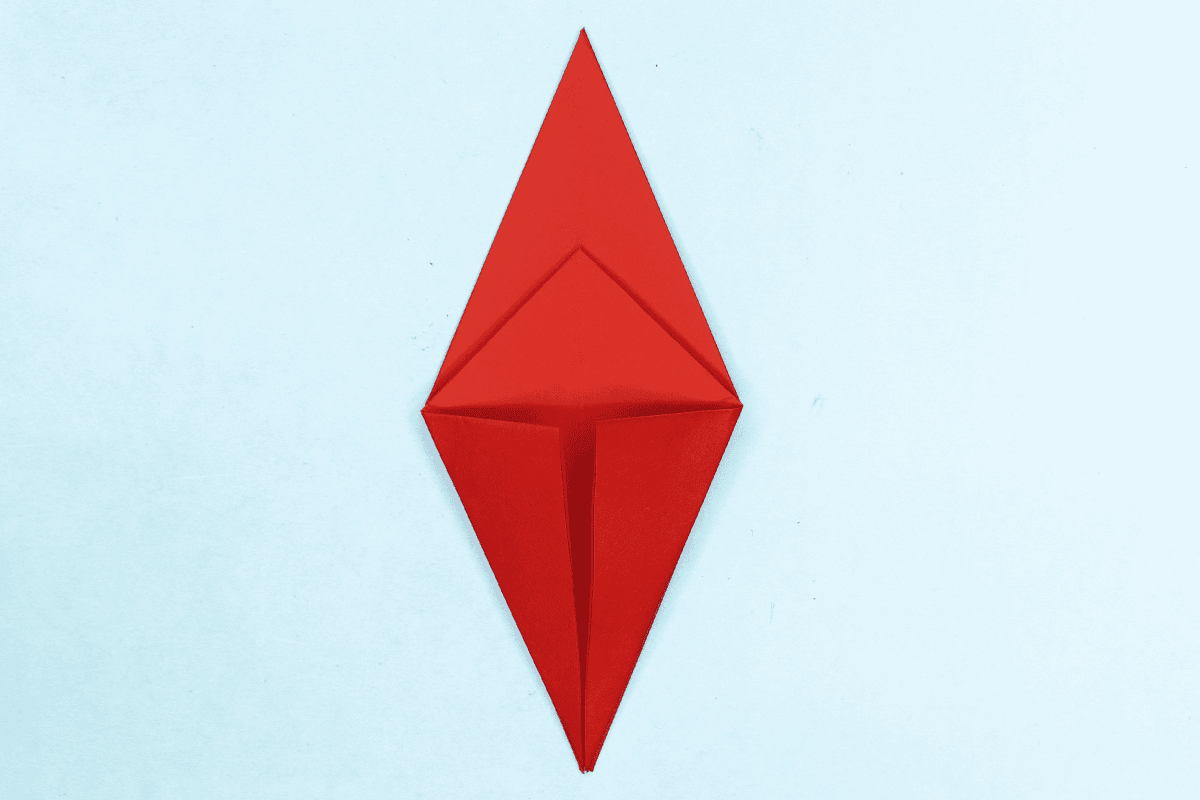
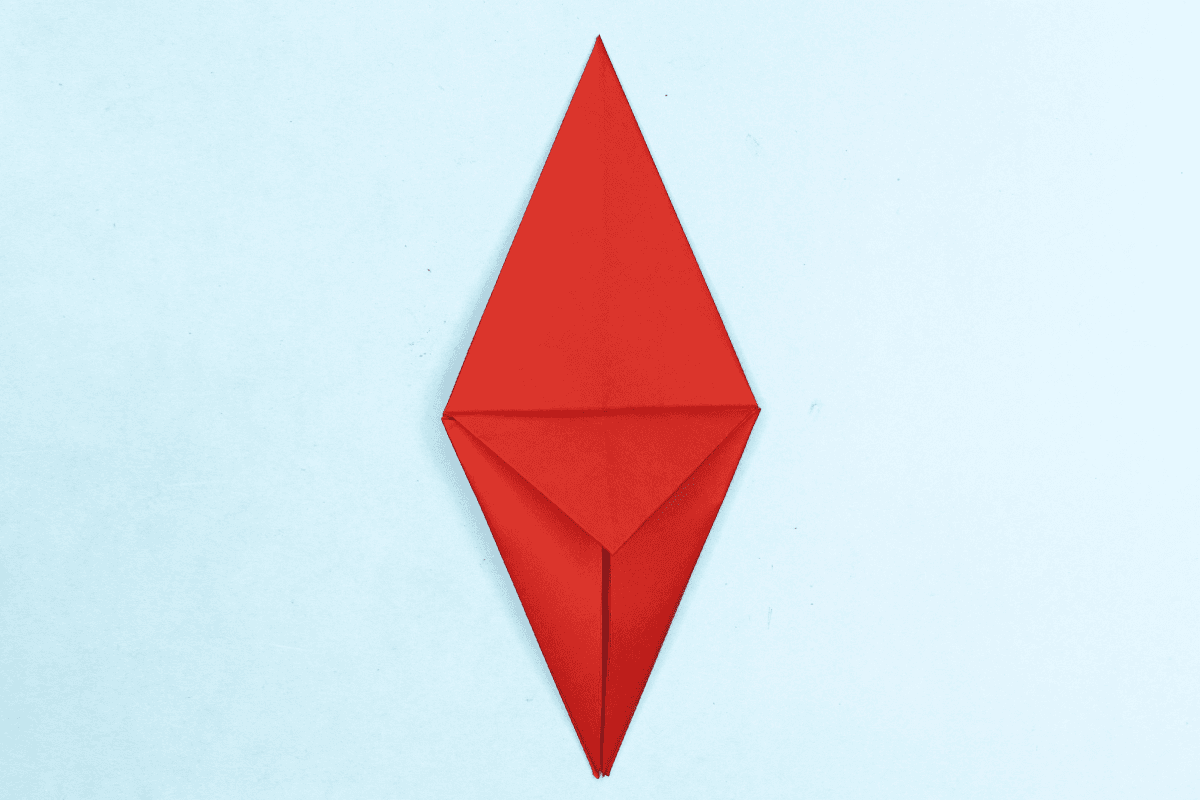
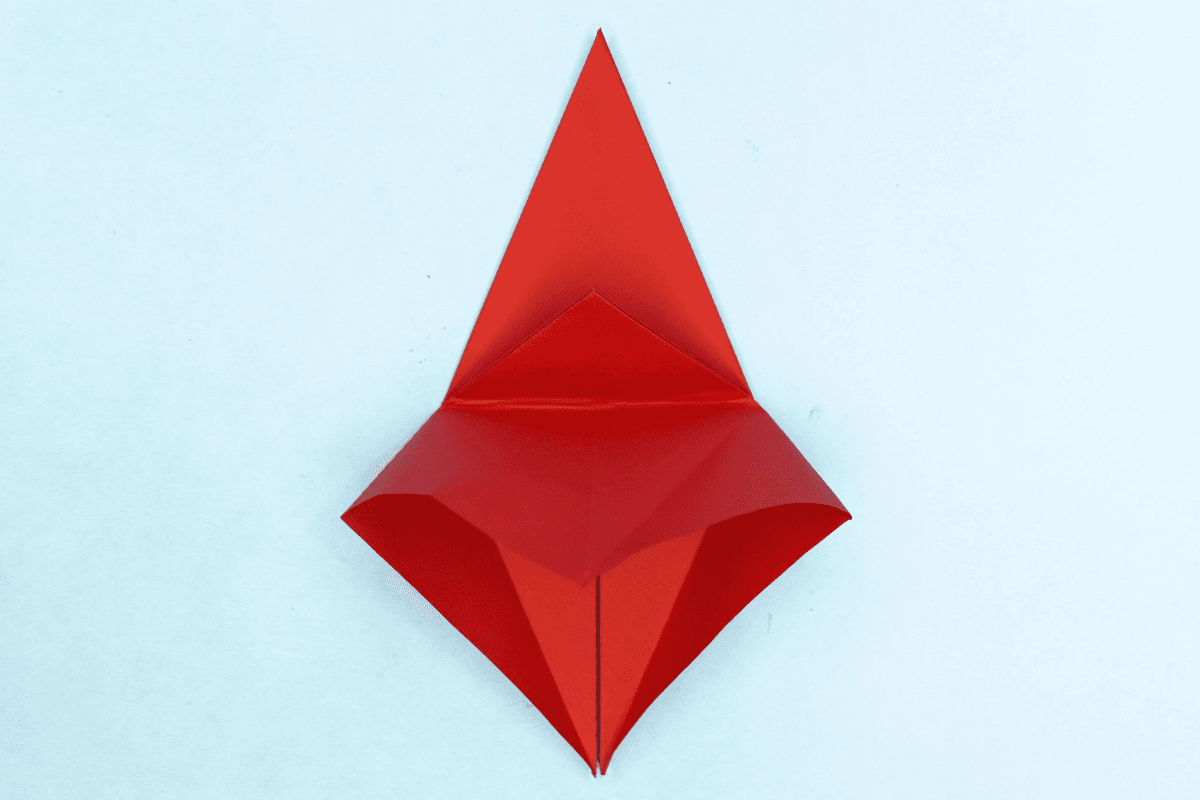
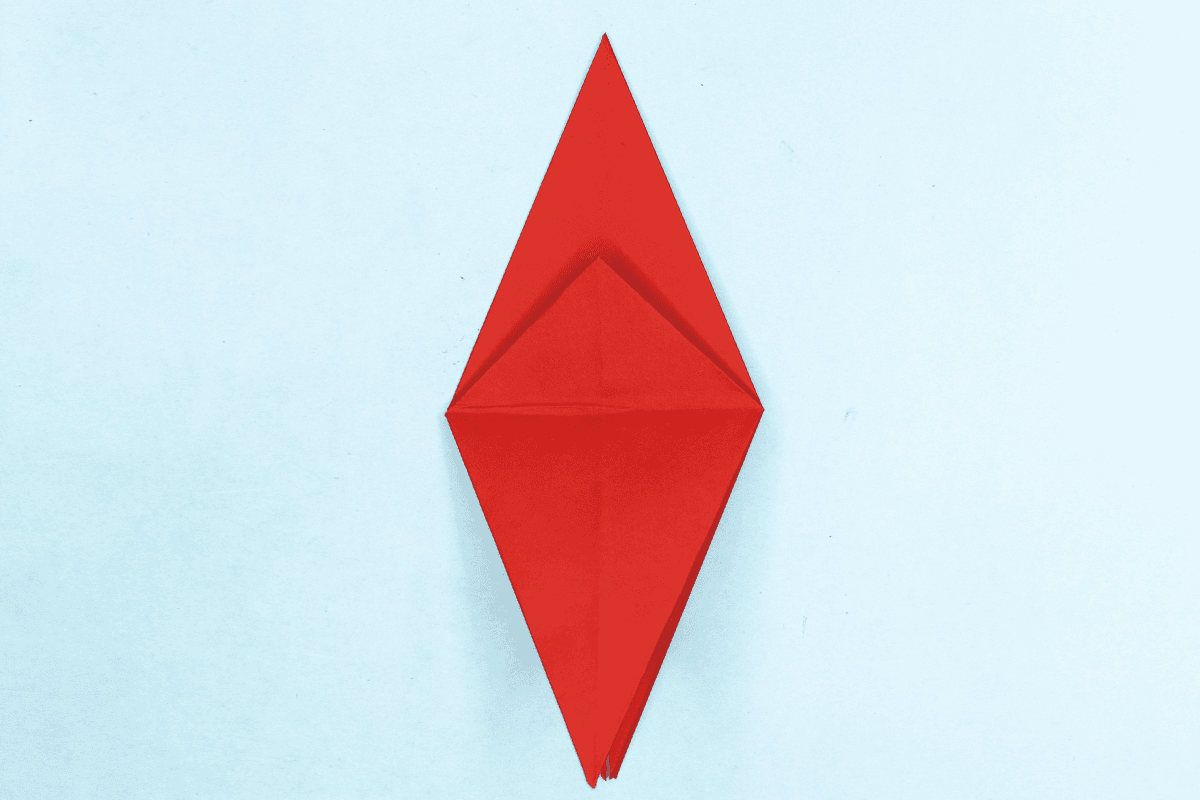
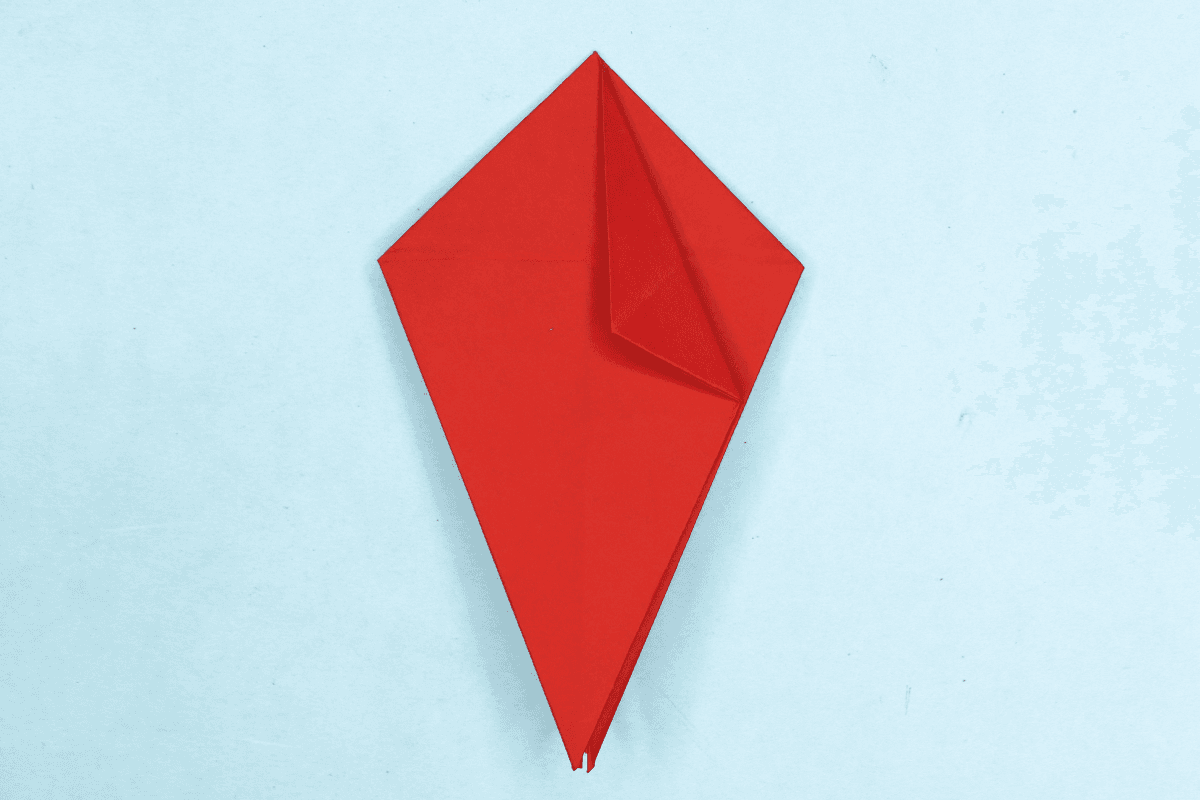
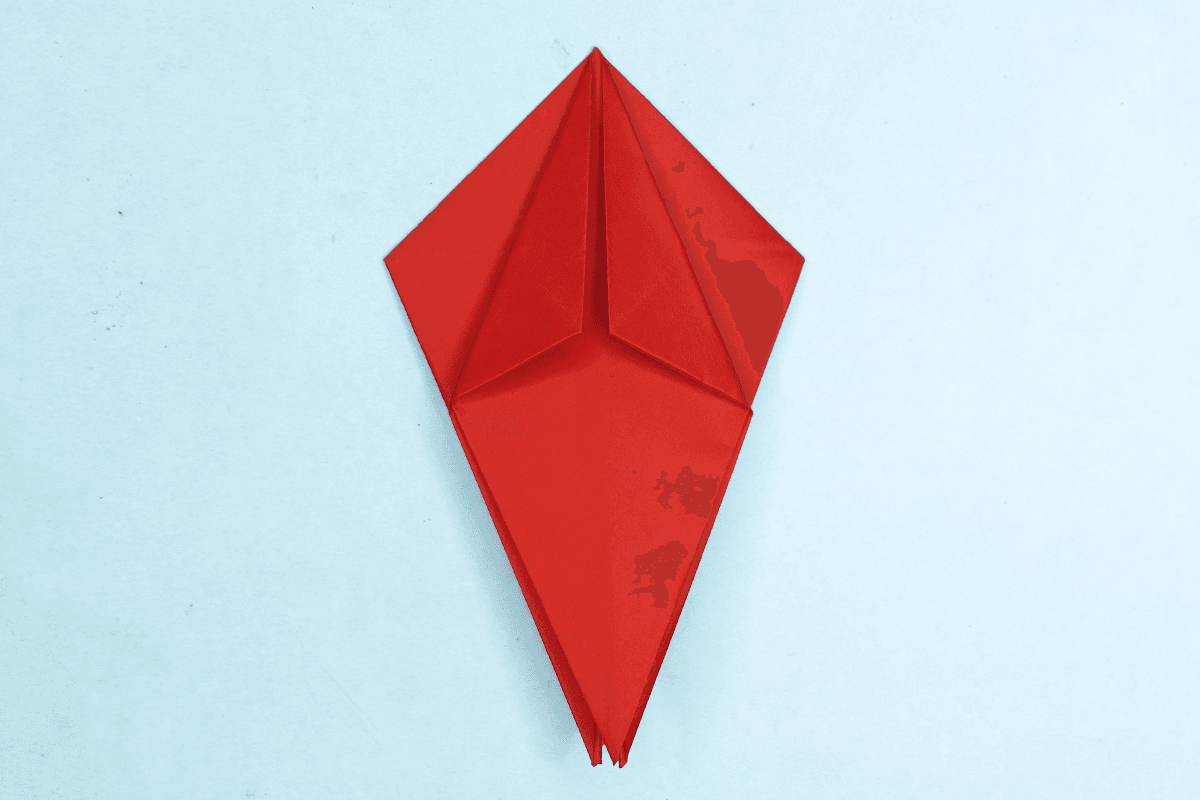
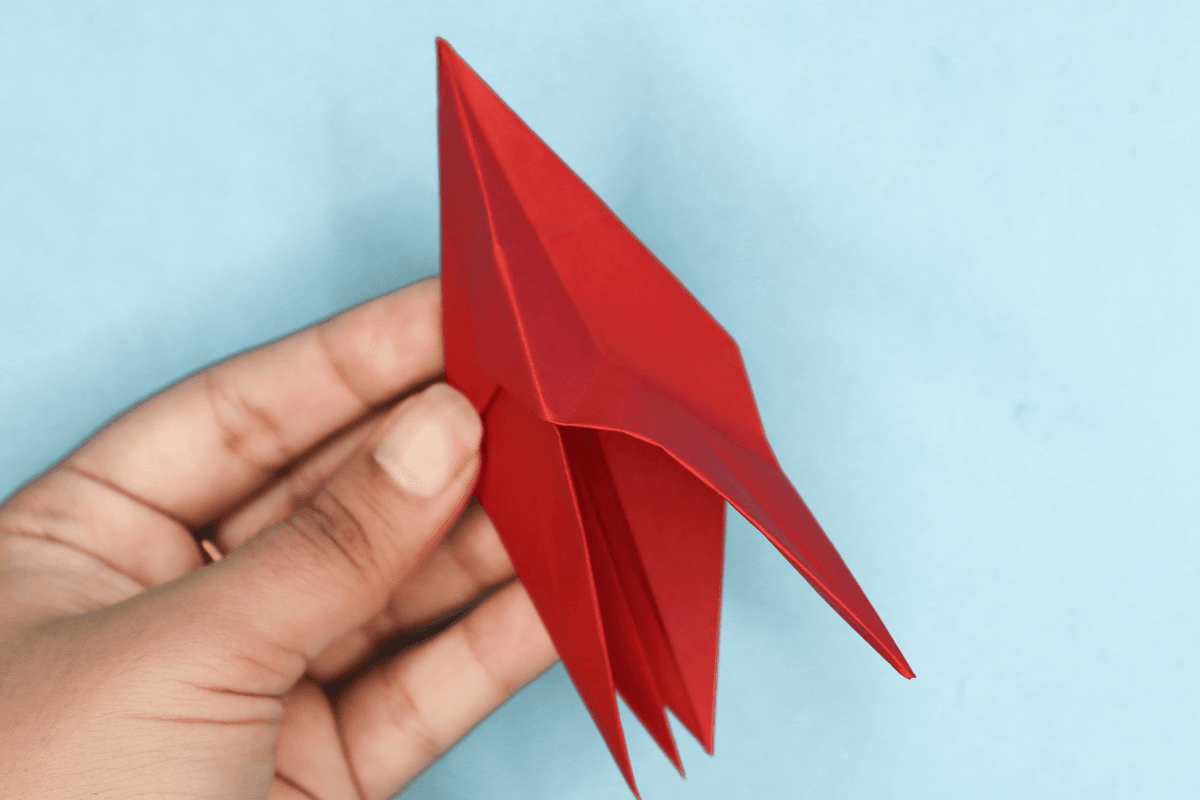
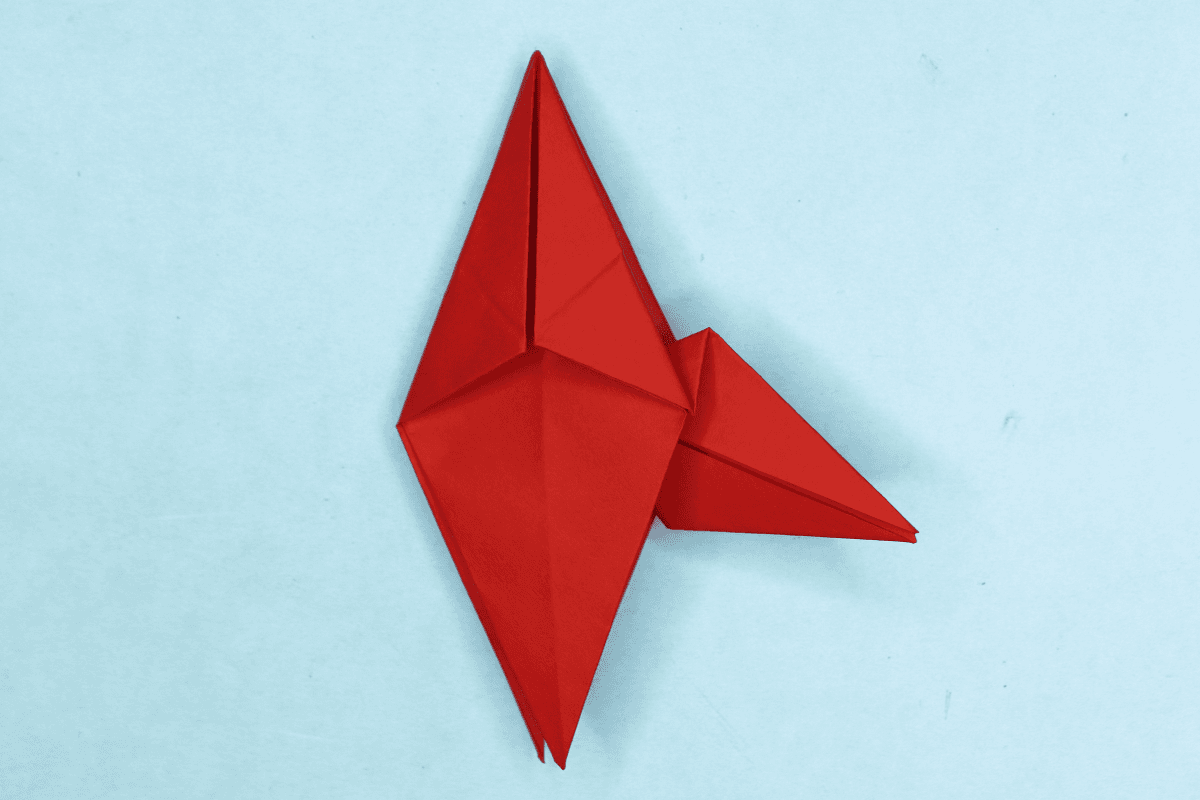
Folding the wings were a little awkward, but really cool when you see them take shape. The owl is really fun to fold and cool to look at. Try it yourself.

Step 1 Step 1: Start with a square piece of origami paper. If you only have regular 8.5x11 paper, follow these instructions to make a square sheet.
Step 2 Step 2: Fold the paper in half by folding the top corner to the bottom corner.
Step 3 Step 3: Now fold the triangle in half by taking the left corner and folding it to the right.
Step 4Step 4-2Step 4-3 Step 4: Open the top flap and spread then crease the left and right sides so you can flatten the flap down to meet at the bottom corner.
Step 5 Step 5: Turn the paper over so we can do the same thing to the other side.
Step 6Step 6-2Step 6-3 Step 6: To mimic what we did earlier, lift the left flap up and open it from the left and right sides. Crease the sides down so its corner can meet the bottom corner of the figure.
Step 7 Step 7: Take the top layers of both sides and fold it to meet the center line like you see in the picture.
Step 8 Step 8: Now fold the top triangle down.

Go to Next page to continue making the origami owl.