How to Make an Origami Party Hat

Category:
Party cap step 10
Difficulty: Easy
Fold a festive paper party hat in minutes! A creative and fun craft perfect for parties, classrooms, or playtime!

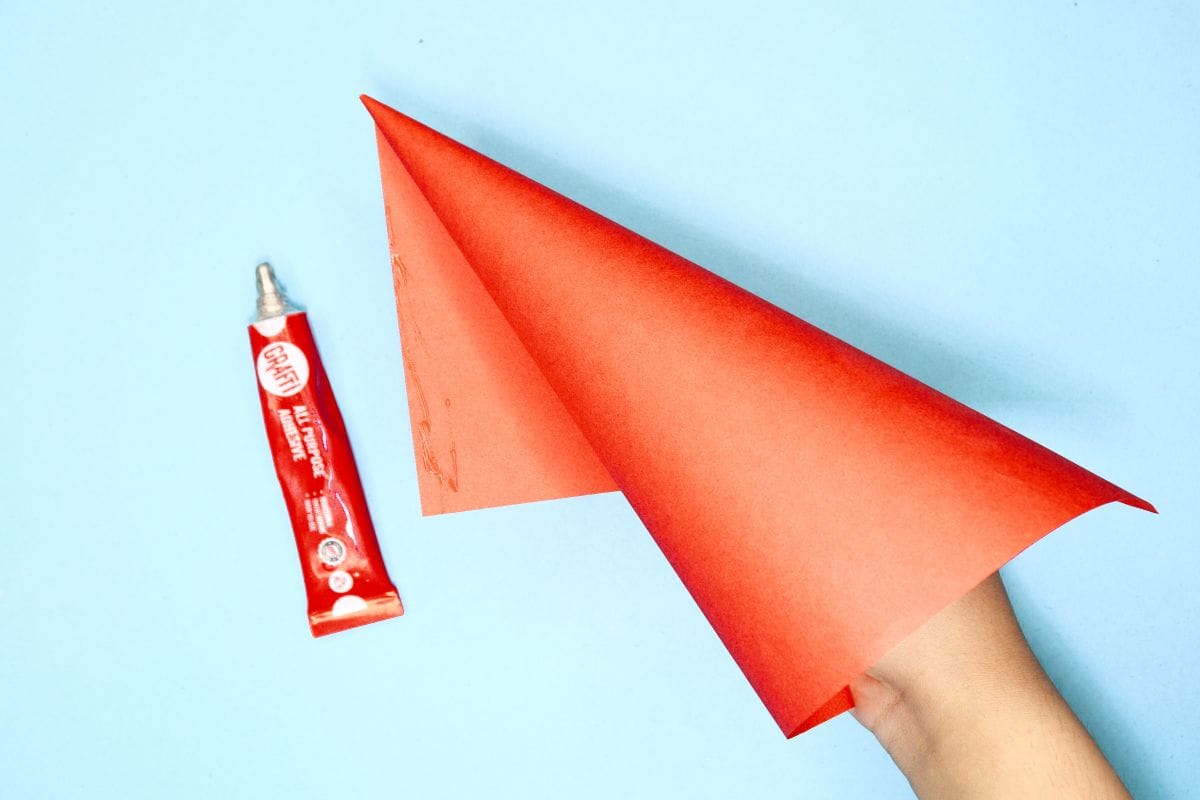
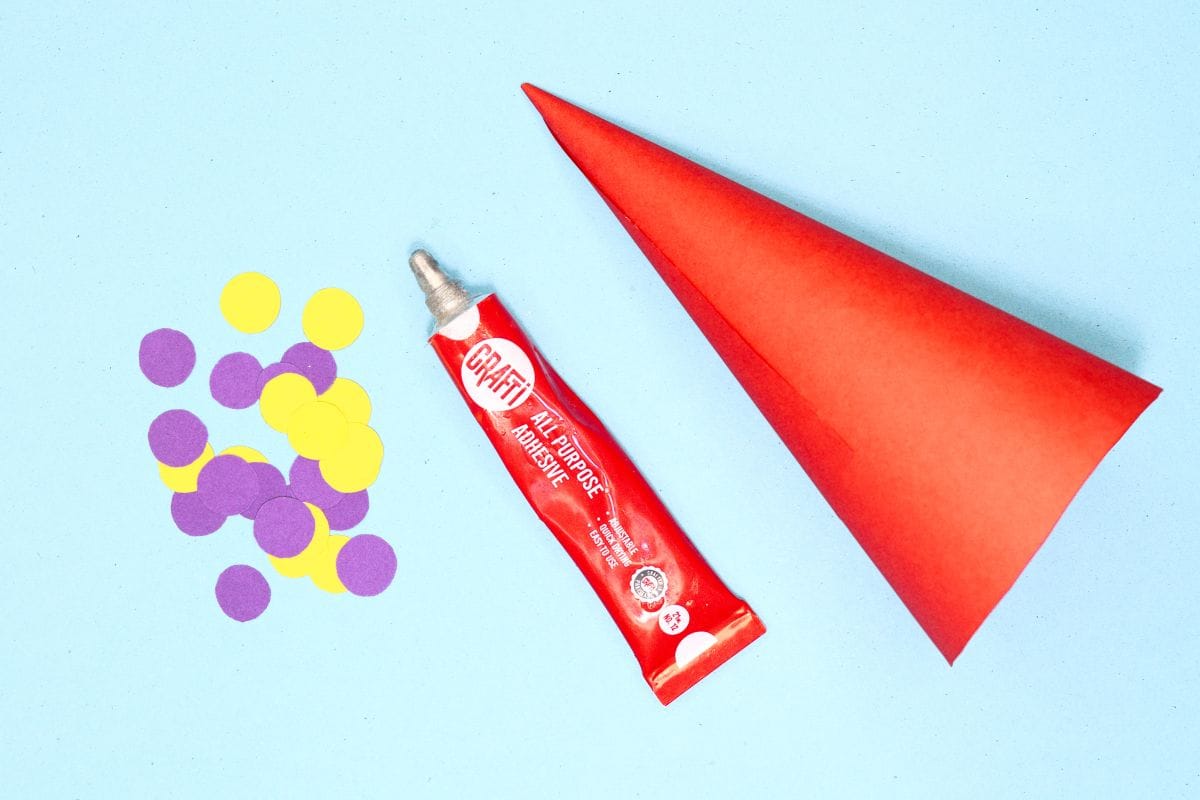
An origami party hat is perfect for any birthday. It’s wonderfully easy to make. All you need is a sheet of white paper, some polka dots or small pieces of colored paper, scissors, and glue. That’s it! In just a few minutes, you’ll have a festive hat folded in classic origami style.

Make a whole set in different colors with playful dot patterns and shapes. Just take your time, follow our step-by-step instructions, and your paper hats will be ready to party.

Step 1
Party cap step 01
1
Start with an square sheet of origami paper. I am using an 7×7 inches origami paper.

If you only have regular paper, follow these instructions on how to make a square origami paper.

Step 2
Party cap step 02
2
Roll one corner of the paper diagonally toward the opposite edge to start forming a cone shape.

Step 3
Party cap step 03
3
Keep rolling it to form a cone.

Step 4
Party cap step 04
4
Glue the edge.

Step 5
Party cap step 05
5
Seal the edge with the cone to secure it.

Step 6
Party cap step 06
6
Grab it from the opposite side.

Step 7
Party cap step 07
7
Cut the excess paper.

Step 8
Party cap step 08
8
By now it should look like a simple cone.

Step 9
Party cap step 09
9
Cut out small decorative shapes, like circles, diamonds, stars, or even fun little faces, from colorful paper. Use glue to stick these shapes onto your party hat to add a splash of color and personality!”

Step 10
Party cap step 10
10
Glue the decorative shapes on your paper hat and you’re all done!

Share and Comment
We would love to see your creations! Scroll down to the comments section and share a photo of your origami.

Comments

Leave a Reply

Your email address will not be published. Required fields are marked *

Drop file here