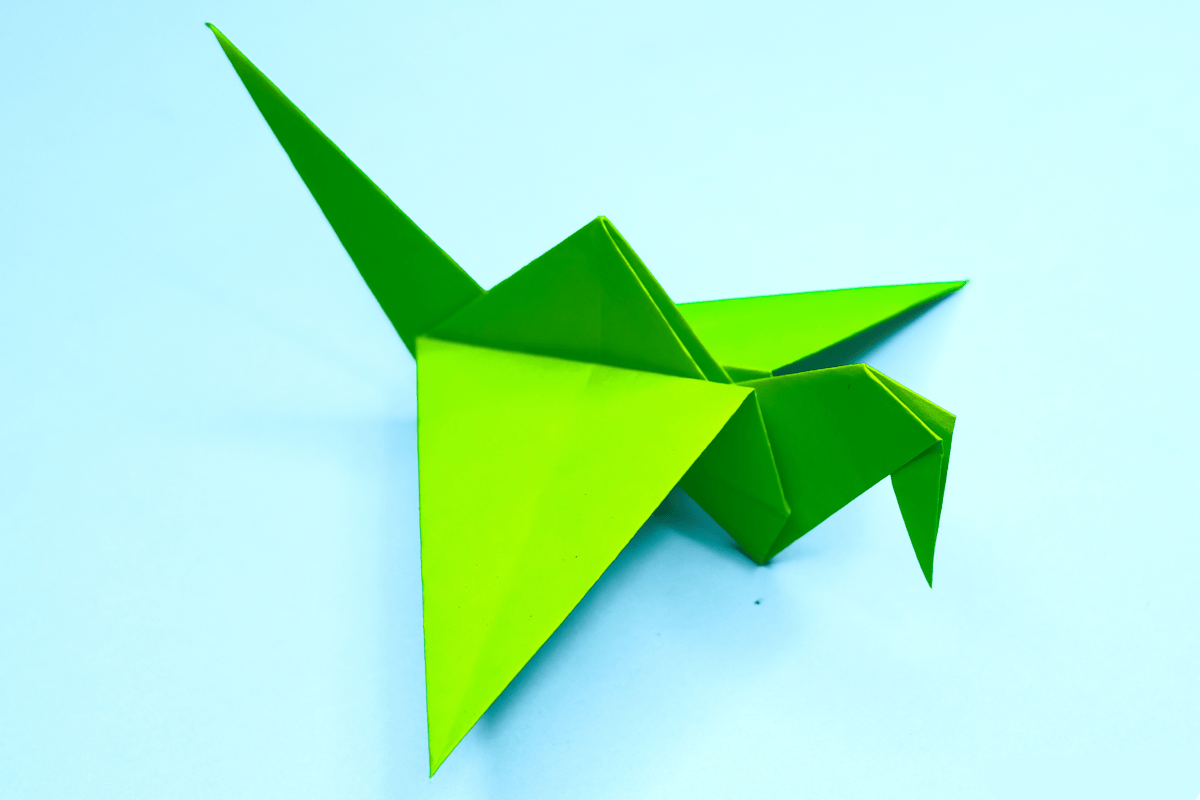
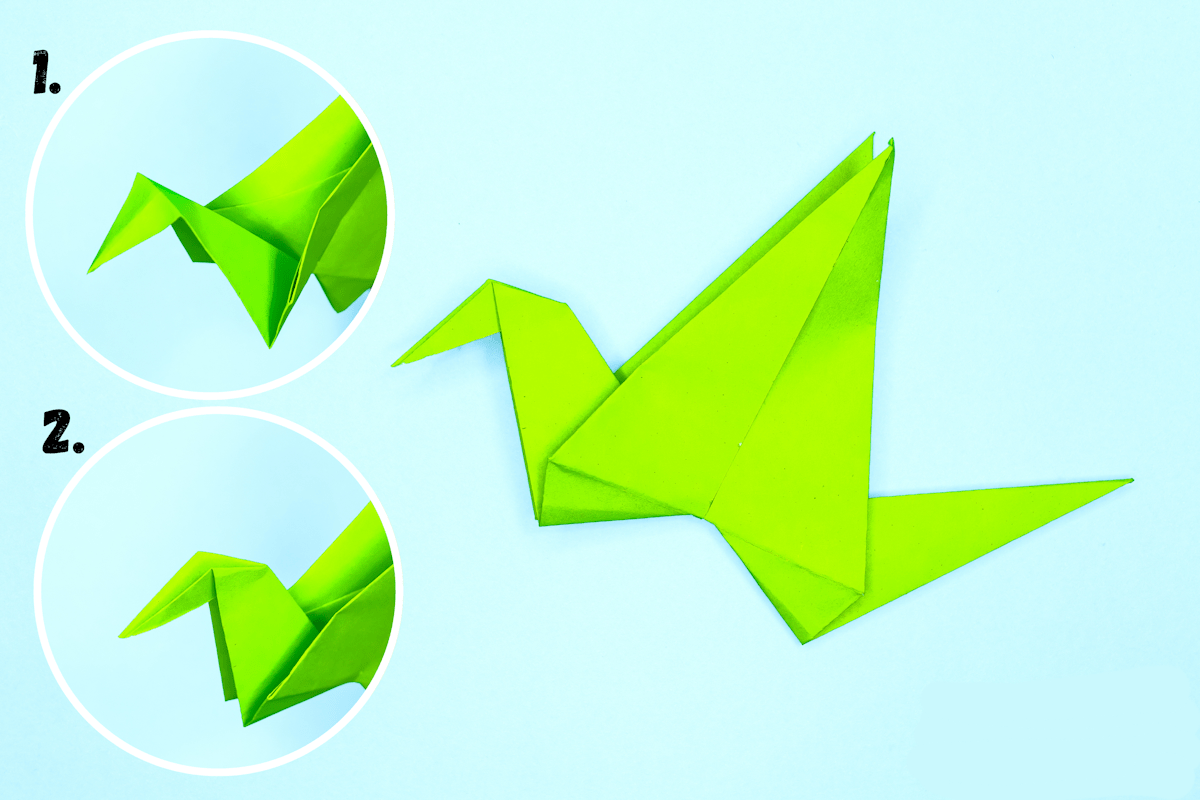
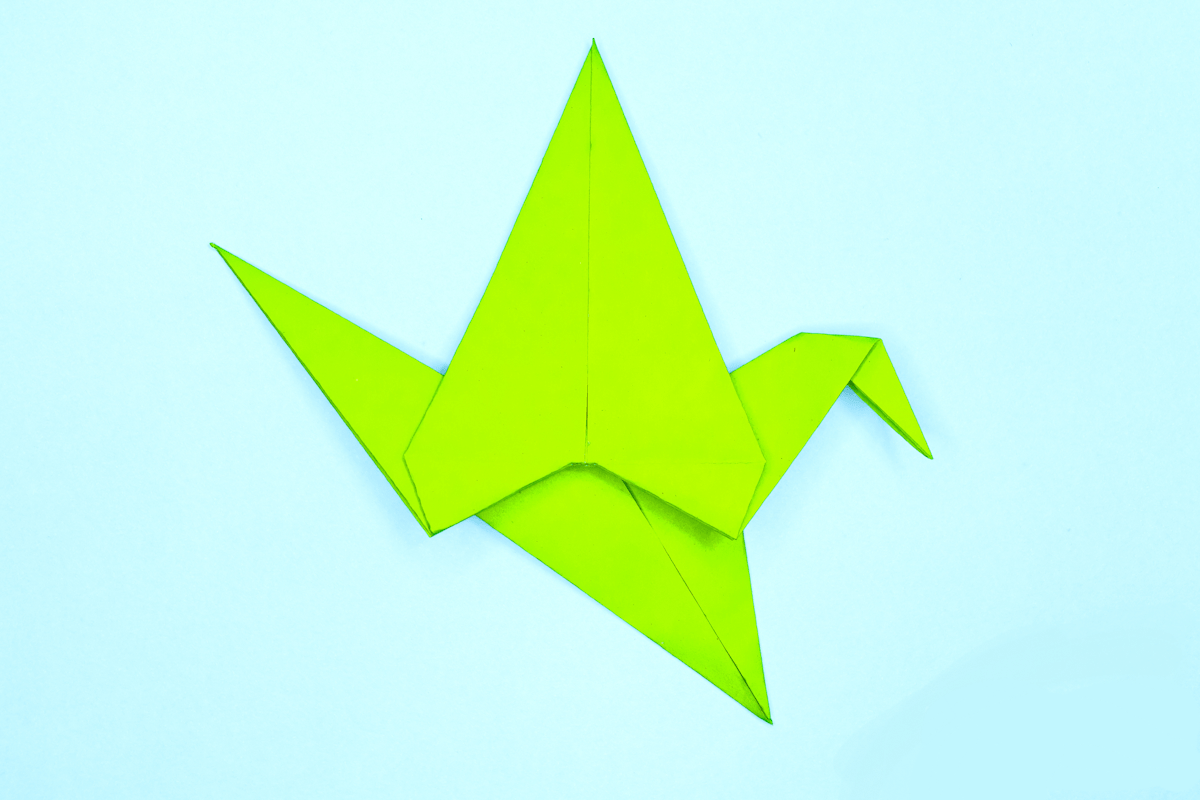
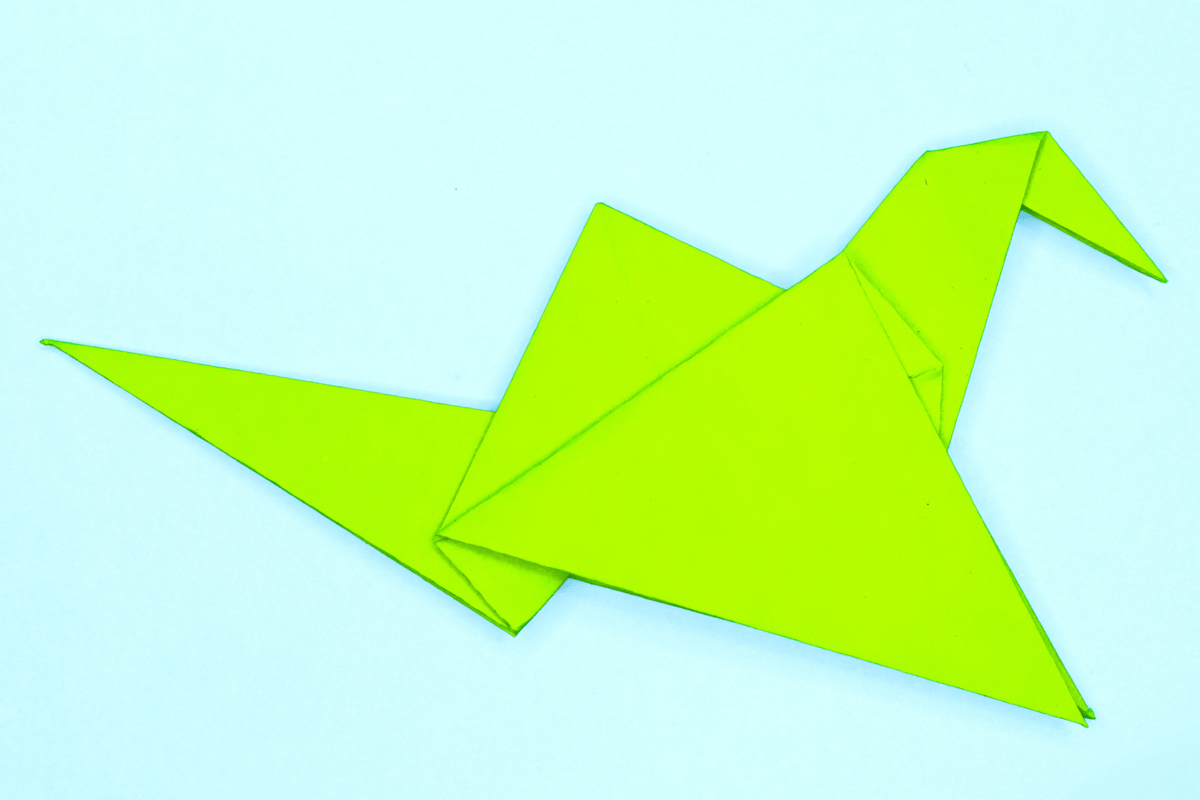
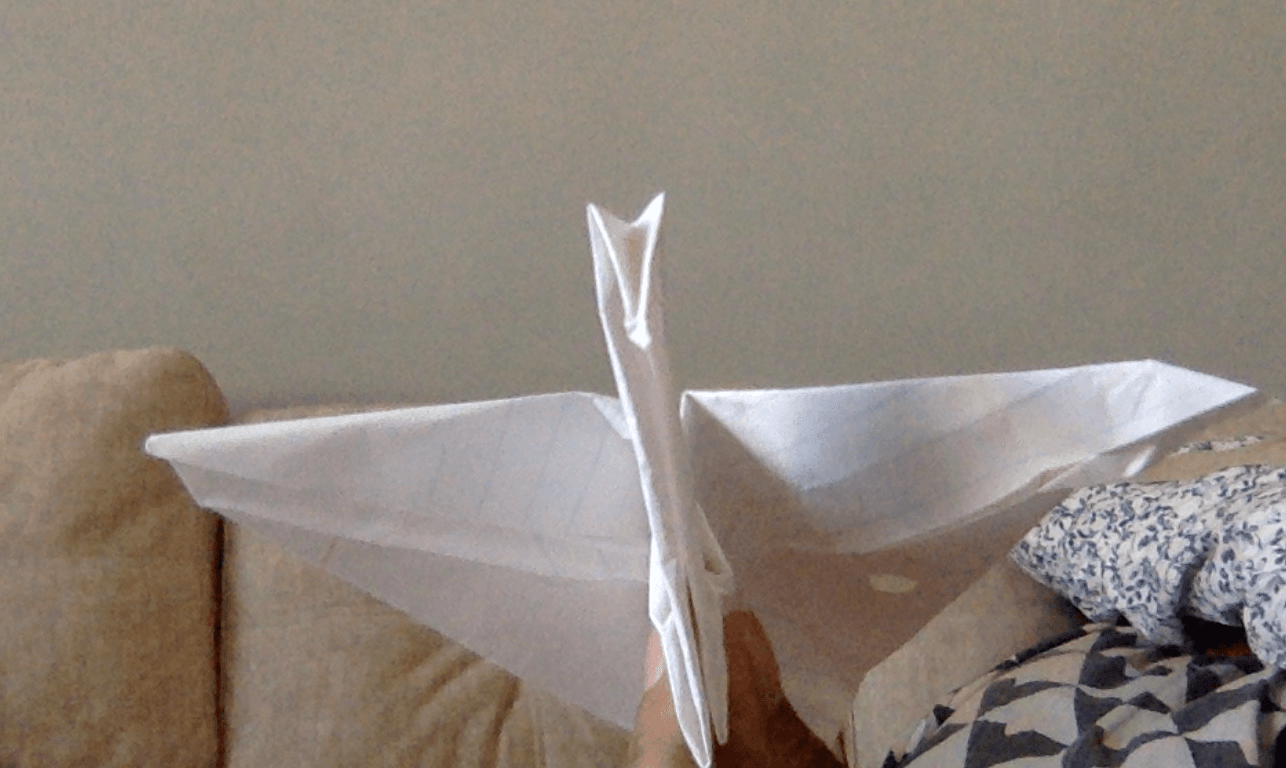
The origami flapping bird resembles the popular crane that is the poster child of origami. However, this paper bird is different because it can actually flap on command, like a toy. If you hold it where you’re supposed to and pull the tail correctly, you’ll see this paper bird come alive. It’s really cool to see it actually flap. I’m amazed each and every time.
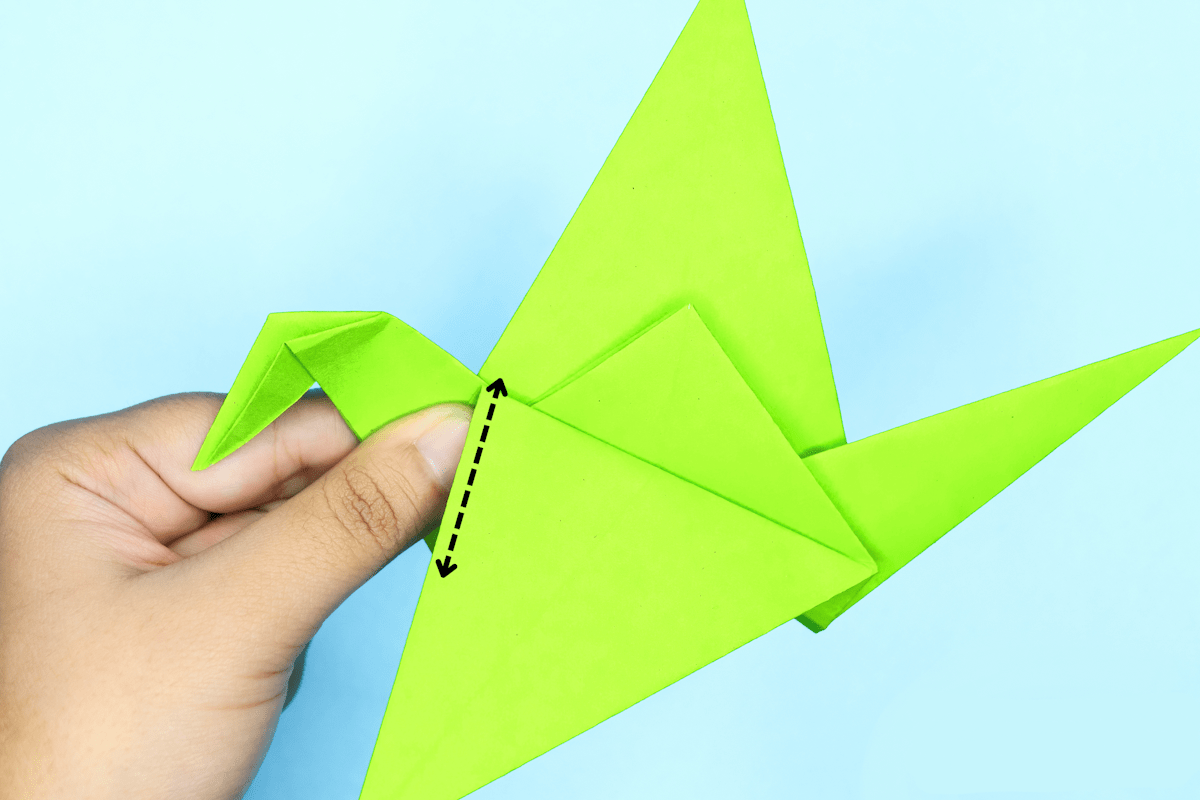
You may think the origami flapping bird is hard to make, but it’s actually easier than the crane. The most difficult part may be positioning the wings, and holding it right and pulling the tail correctly to make it flap. Don’t worry, I’ll teach you how to do it.


Leave a Reply