   |
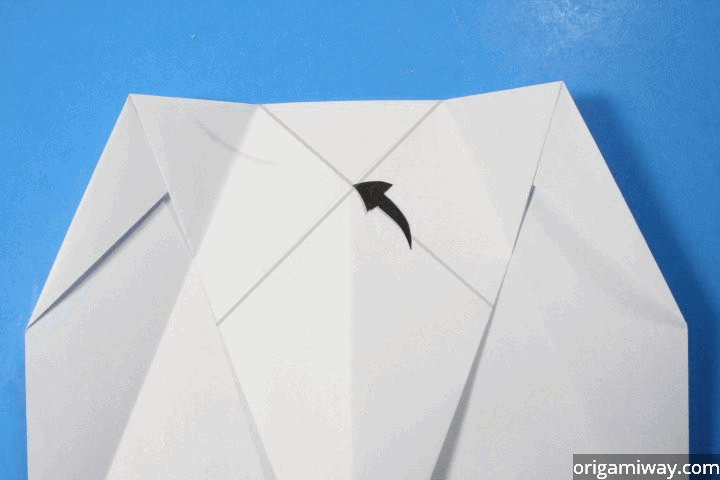
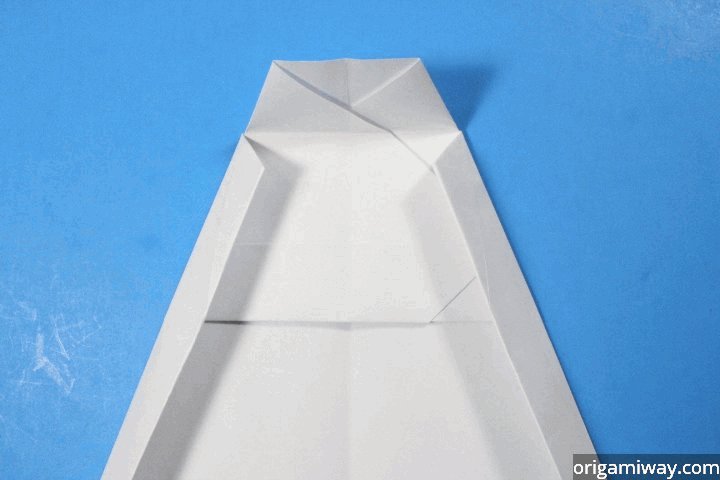
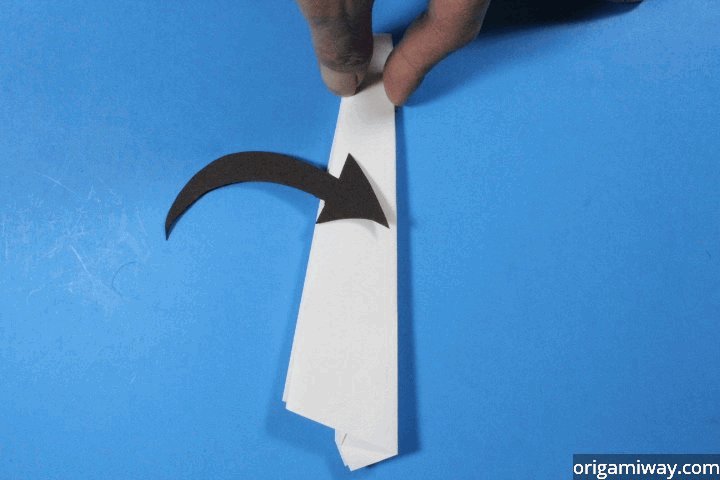
Step 12: Let's create "new creases" that we can use. Fold the top two corners to the center of the X crease indicated by the black arrow. |
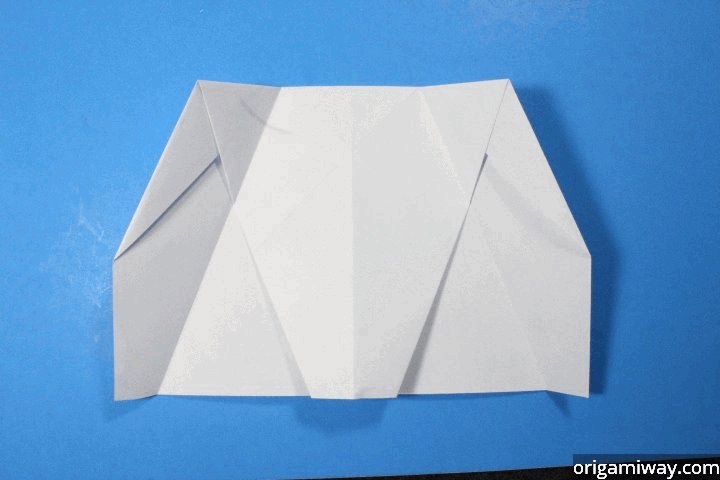 |
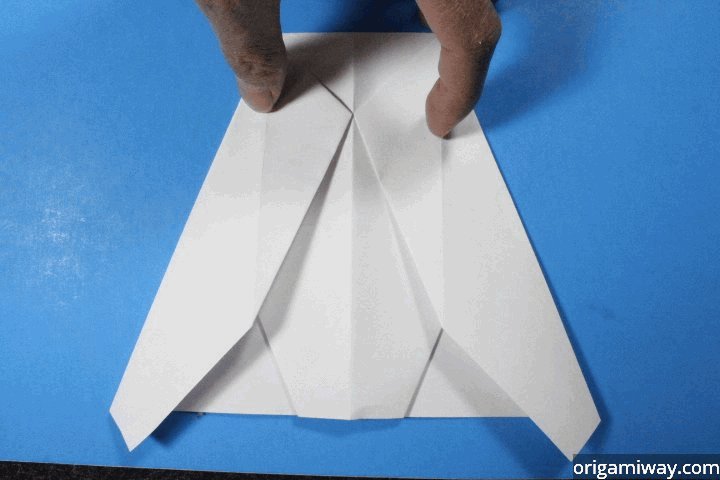
Step 13: Unfold. |
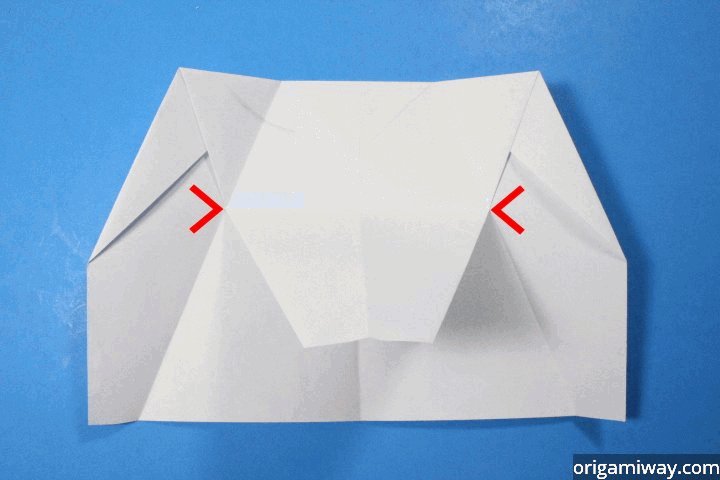 |
Step 14: Fold the top flap up at the red arrows where its edges meet the "new creases". |
  |
Step 15: Fold the left and right diagonal edges to the "new creases". |
   |
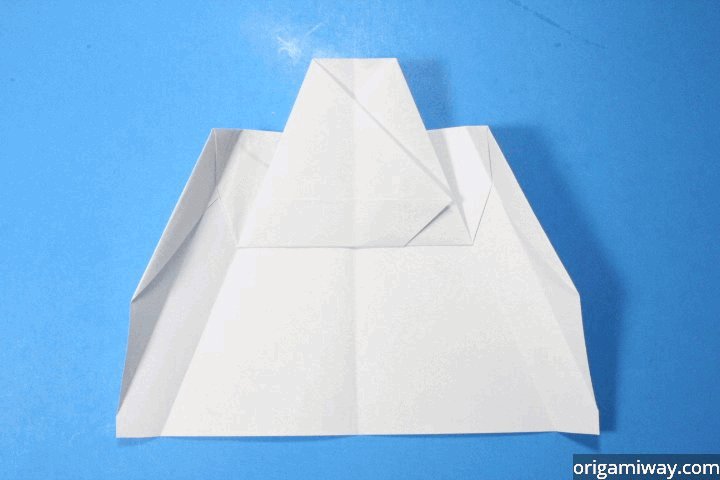
Step 16: Fold in diagonally one more time at the "new creases". |
 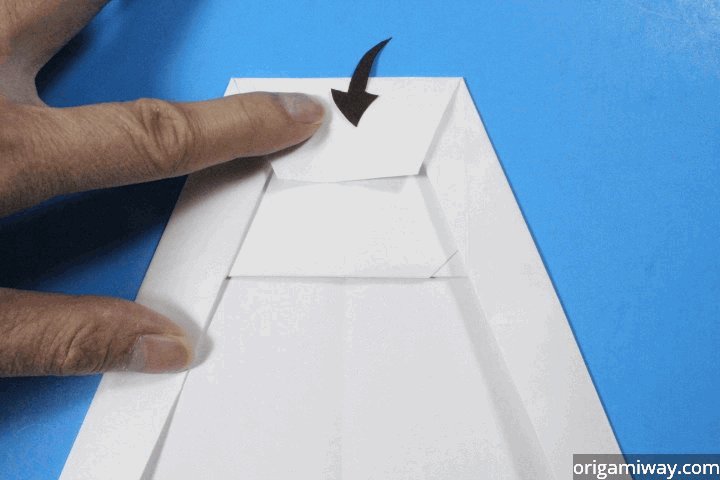 |
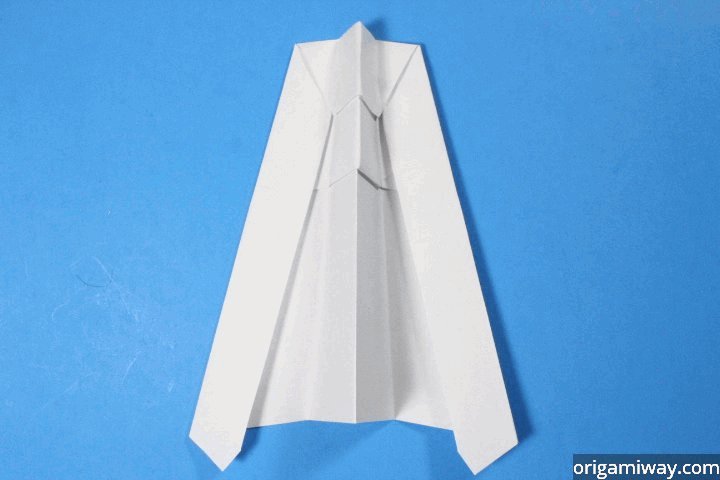
Step 17: Fold the top part down as shown. |
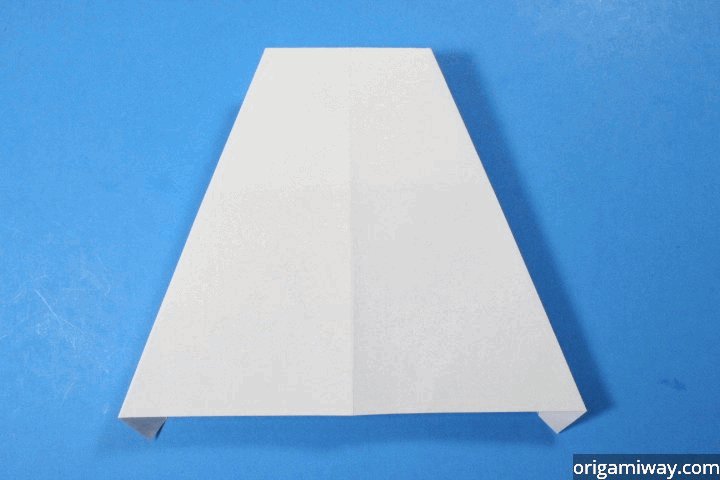 |
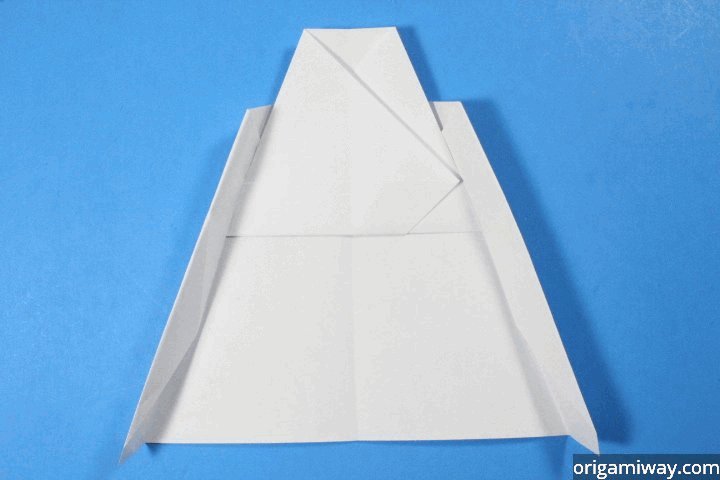
Step 18: Turn the paper over. |
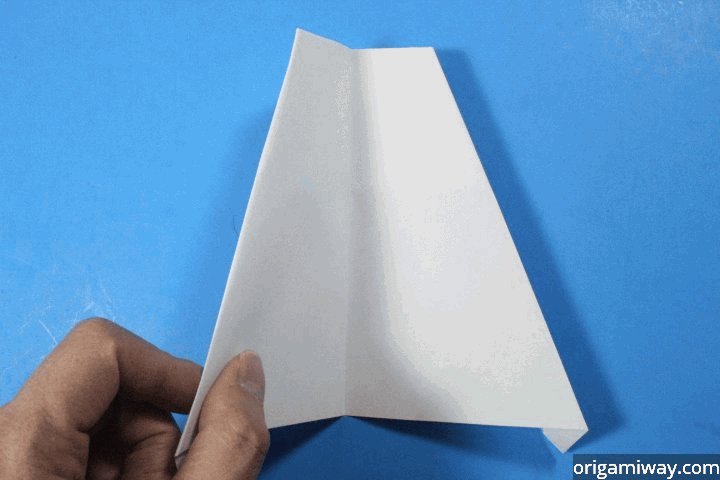  |
Step 19: Fold the left half to the right. |
  |
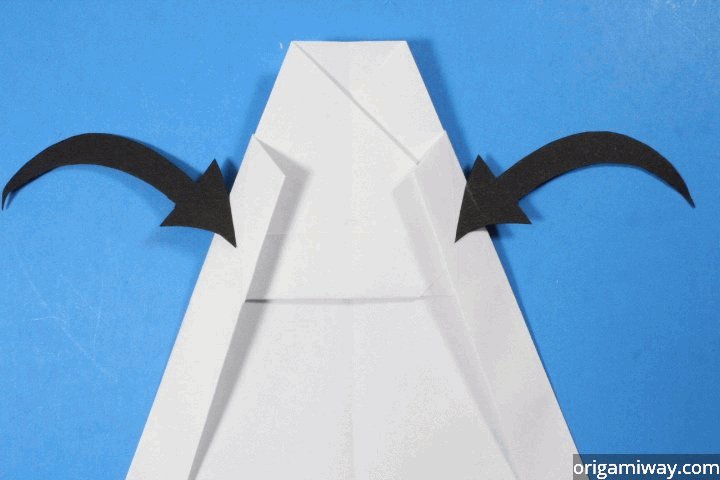
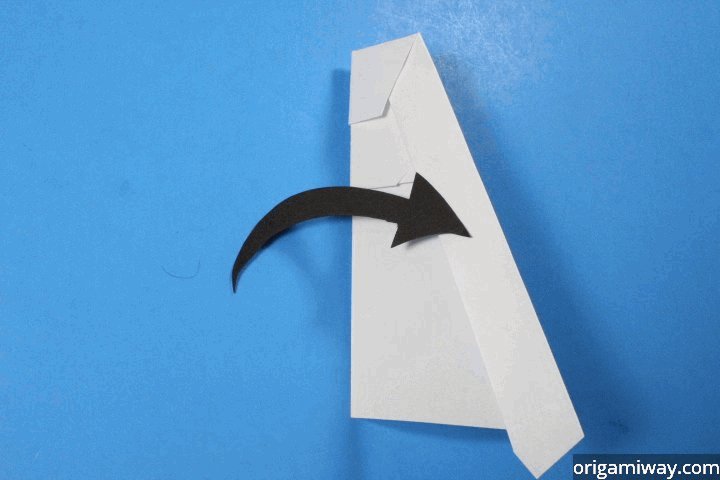
Step 20: Make the wings by folding the right edge to the left edge indicated by the black arrow. |
 |
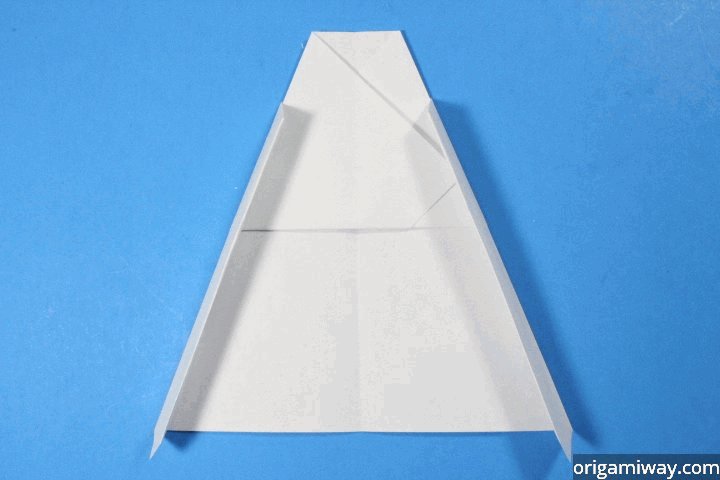
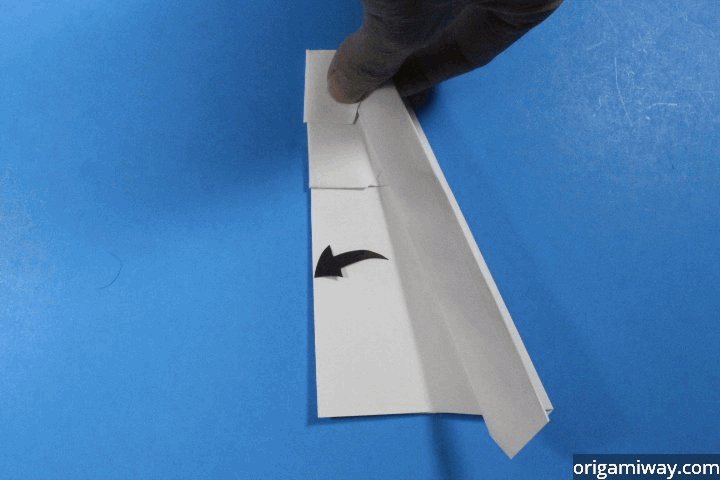
Step 21: Turn the paper over. |
  |
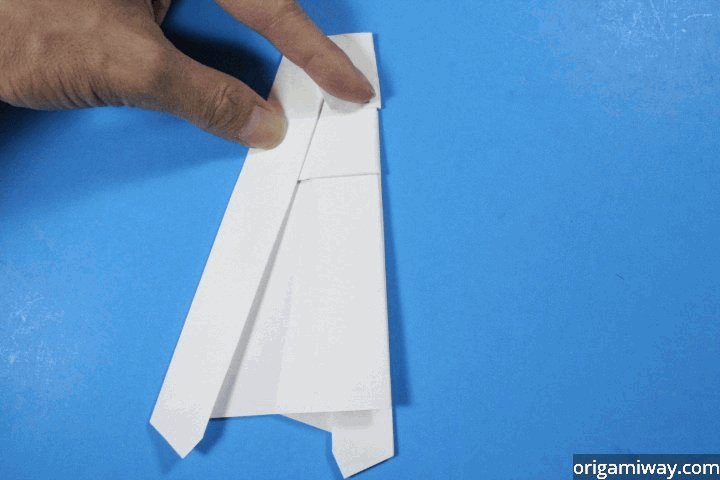
Step 22: Now fold the second wing to line up with the first wing. |
 |
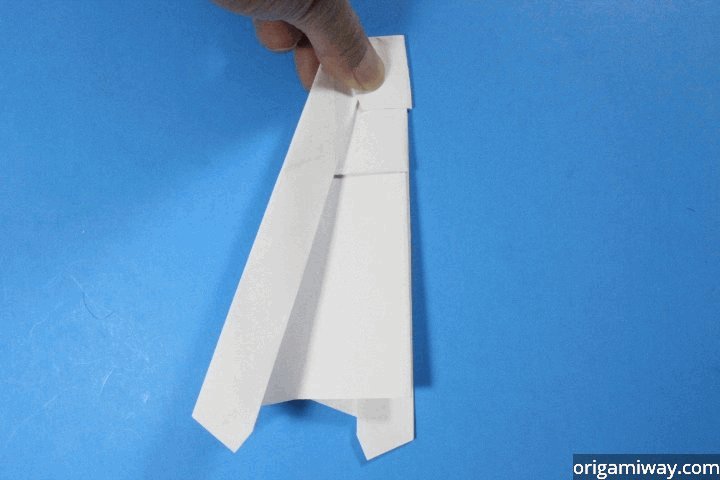
Step 23: Open the wings. All done! Now let's learn how to fly the Hammer right. |
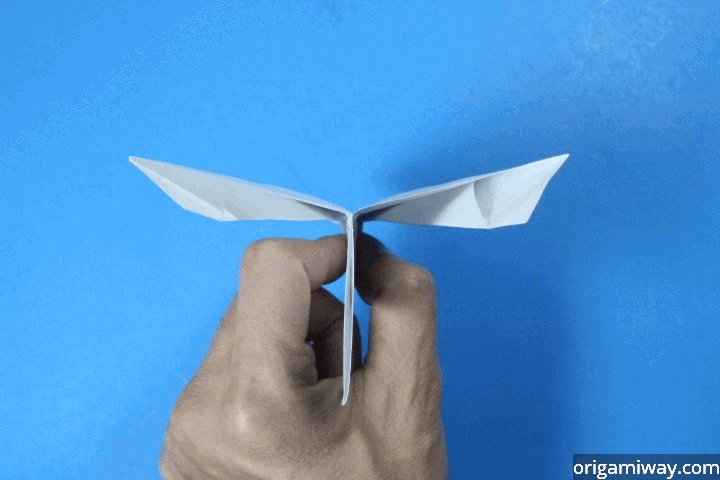 |
Step 24: When unfolding the wings, make sure they are tilted up a bit like this so the plane can fly well. |
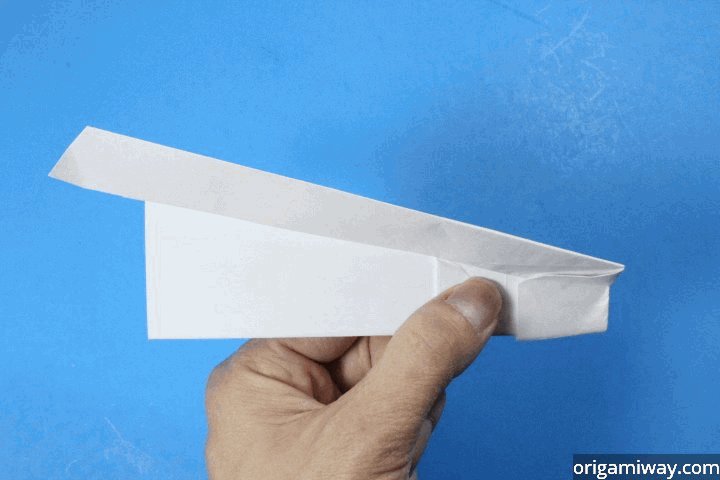 |
Step 24: Hold this part of the plane and aim it slightly up so it can fly far. Now throw it hard! |
