
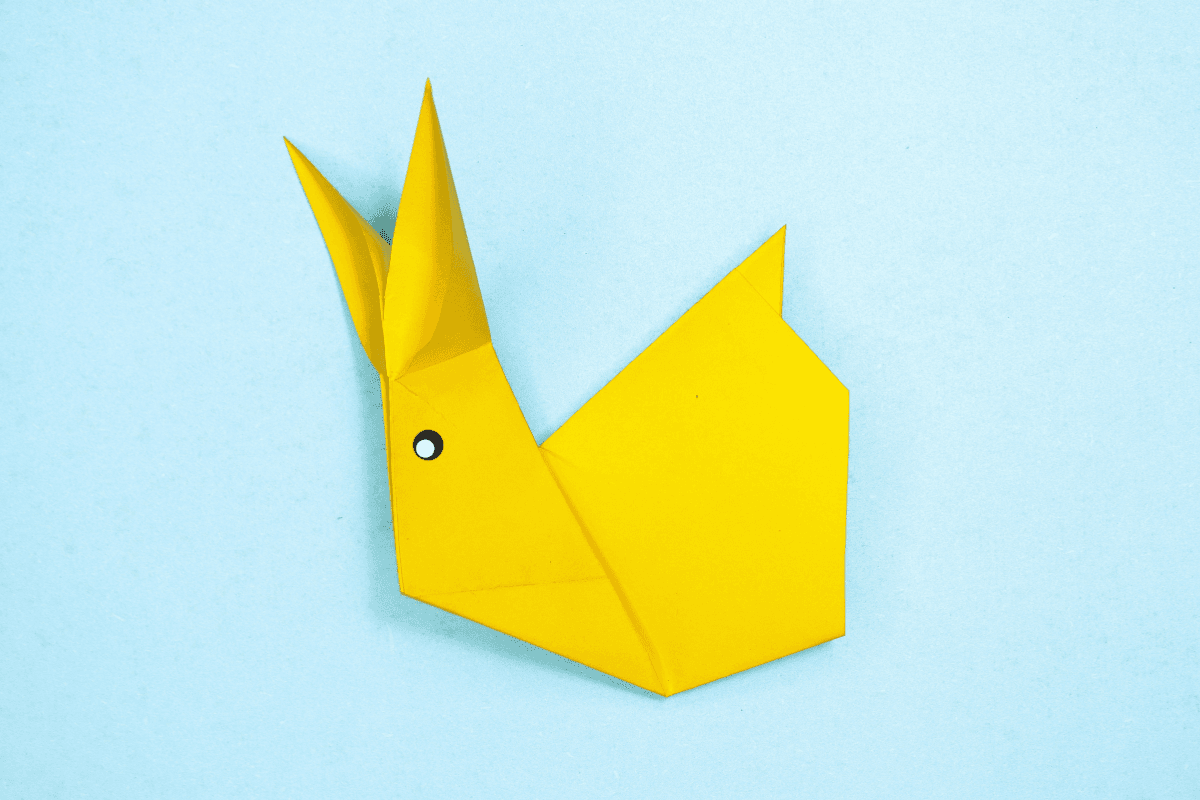
Turn a simple sheet of paper into a graceful little rabbit. As the model comes together, you’ll see the ears and body take shape, creating a paper rabbit that looks ready to hop through a meadow. It’s a delightful project for anyone who loves animals and handmade crafts.
Cool Origami Rabbit Instructions
Difficulty:
Intermediate
Learn how to fold a cool, stylish origami rabbit by following our easy, step-by-step instructions with helpful images.
Step 1

1
Start with a square sheet of origami paper. I am using an 7×7 inches origami paper.
If you only have regular paper, follow these instructions on how to make a square origami paper.
If you only have regular paper, follow these instructions on how to make a square origami paper.
Step 2

2
Rotate the paper diagonally.
Step 3

3
Fold the bottom edge to the top edge.
Step 4

4
Unfold, we just need a crease line.
Step 5
5
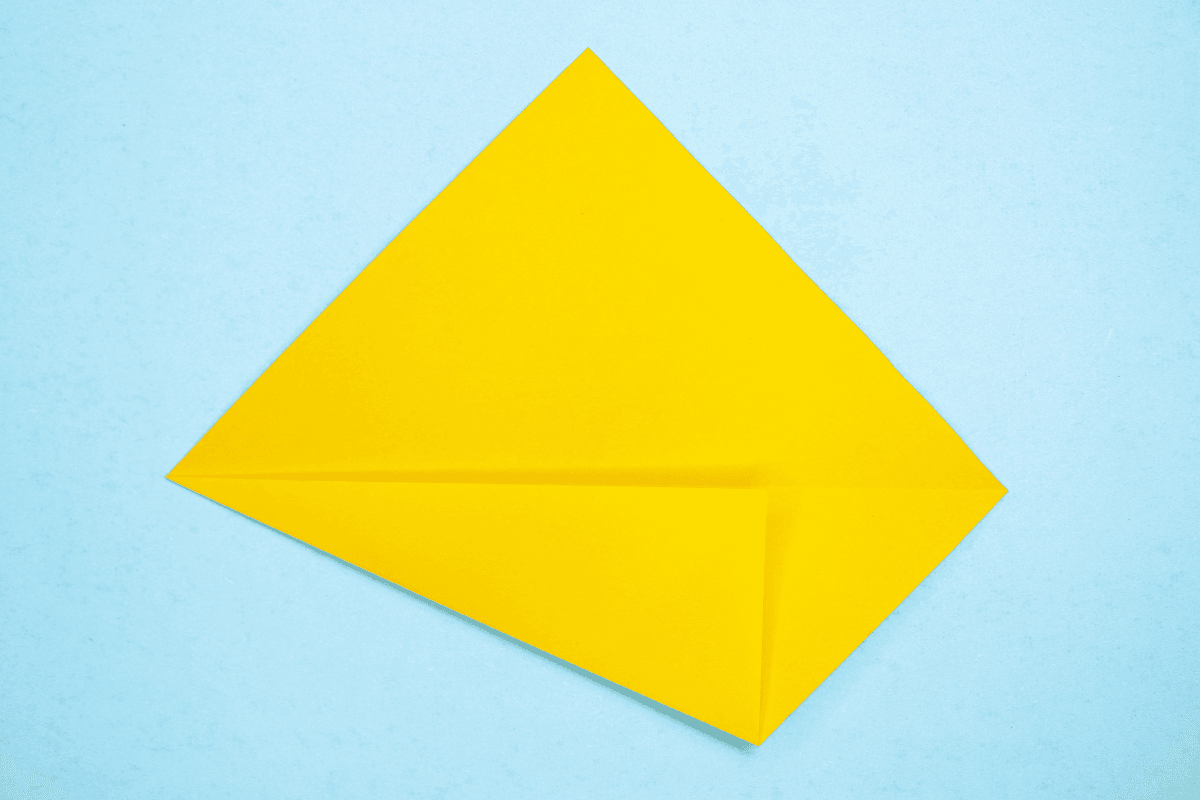
Fold the bottom corner in towards the crease line.
Step 6

6
Fold the top corner in towards the crease line.
Step 7

7
Fold the right corner as shown.
Step 8
8
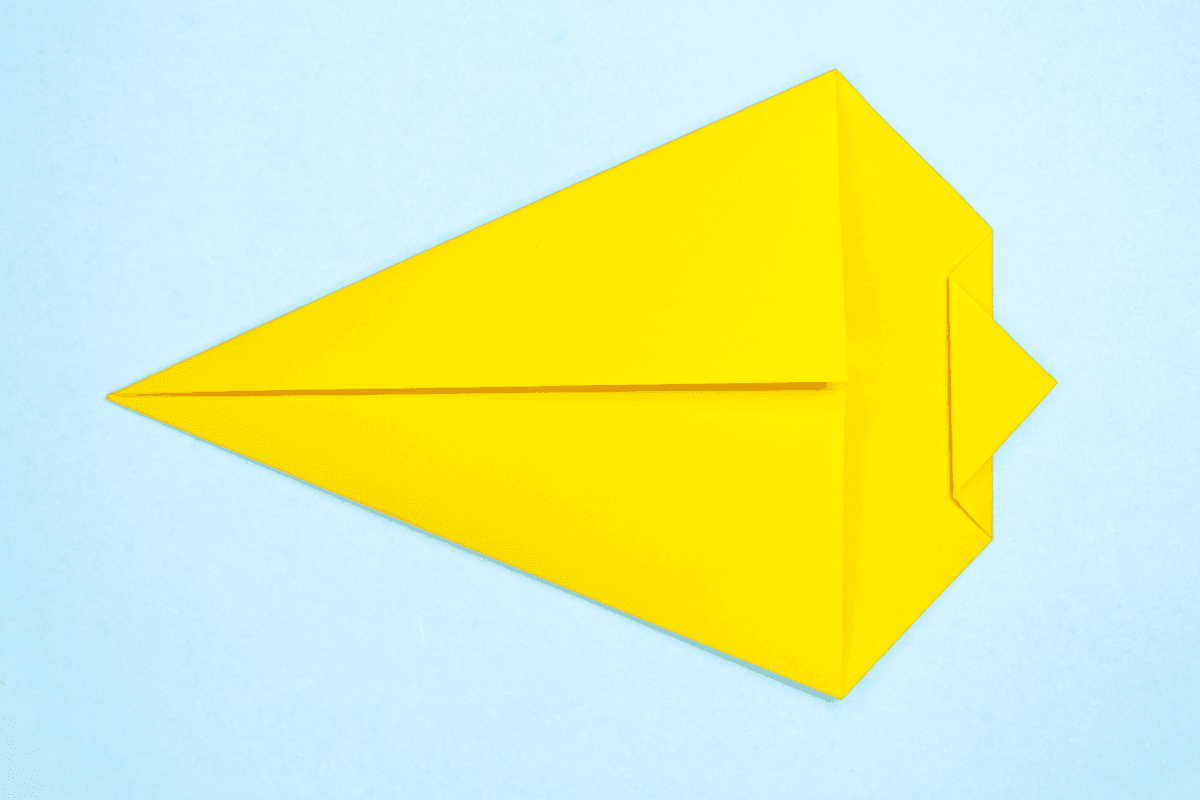
Fold the corner back, leaving the little edge behind.
Step 9

9
Turn the model over.
Step 10

10
Fold the left edge to the right edge.
Step 11

11
Unfold.
Step 12

12
Pinch the top and bottom flaps together.
Step 13

13
Cut down the paper using dotted line as a guide.
Step 14

14
After cutting the corner it should look like the image.
Step 15

15
Bring the flaps together.
Step 16

16
Flatten the fold.
Step 17
17
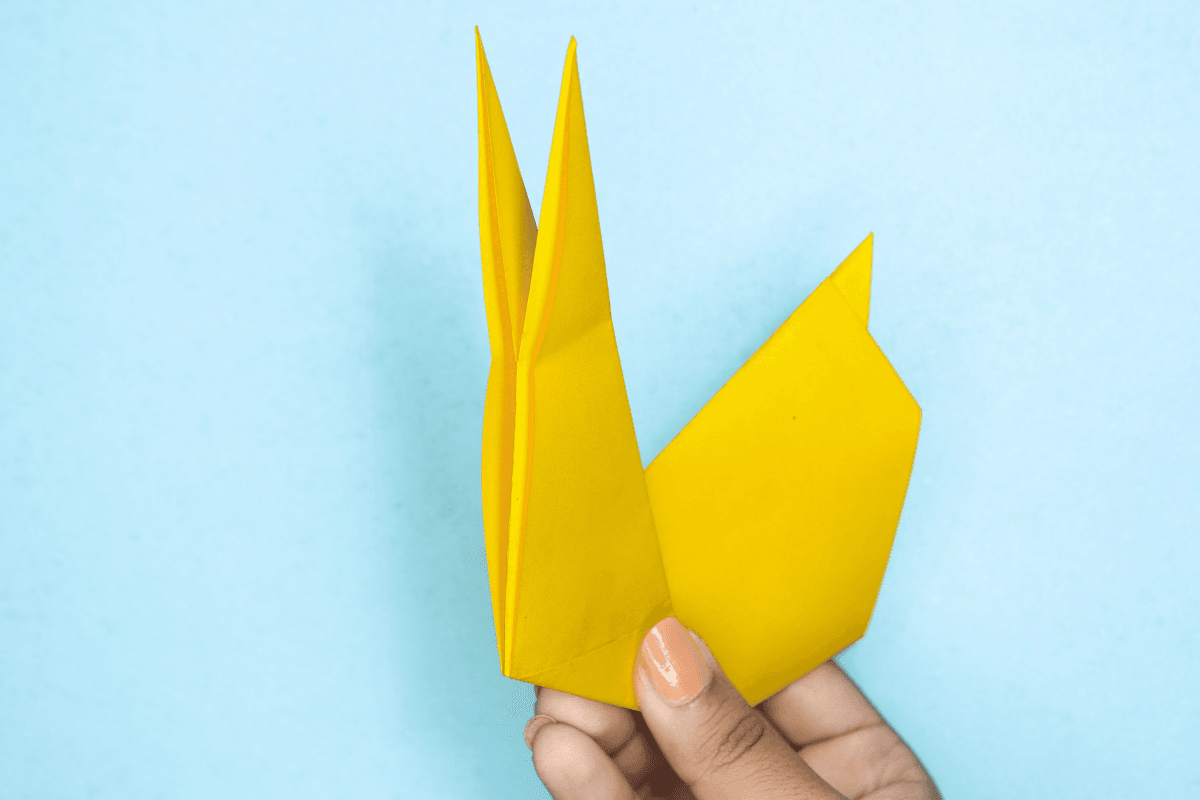
Seperate the flaps and you’ll see ears.
Step 18

18
Open the ears.
Step 19
19
Draw the eyes and your rabbit is ready.
Share and Comment
We would love to see your creations! Scroll down to the comments section and share a photo of your origami.
Leave a Reply