
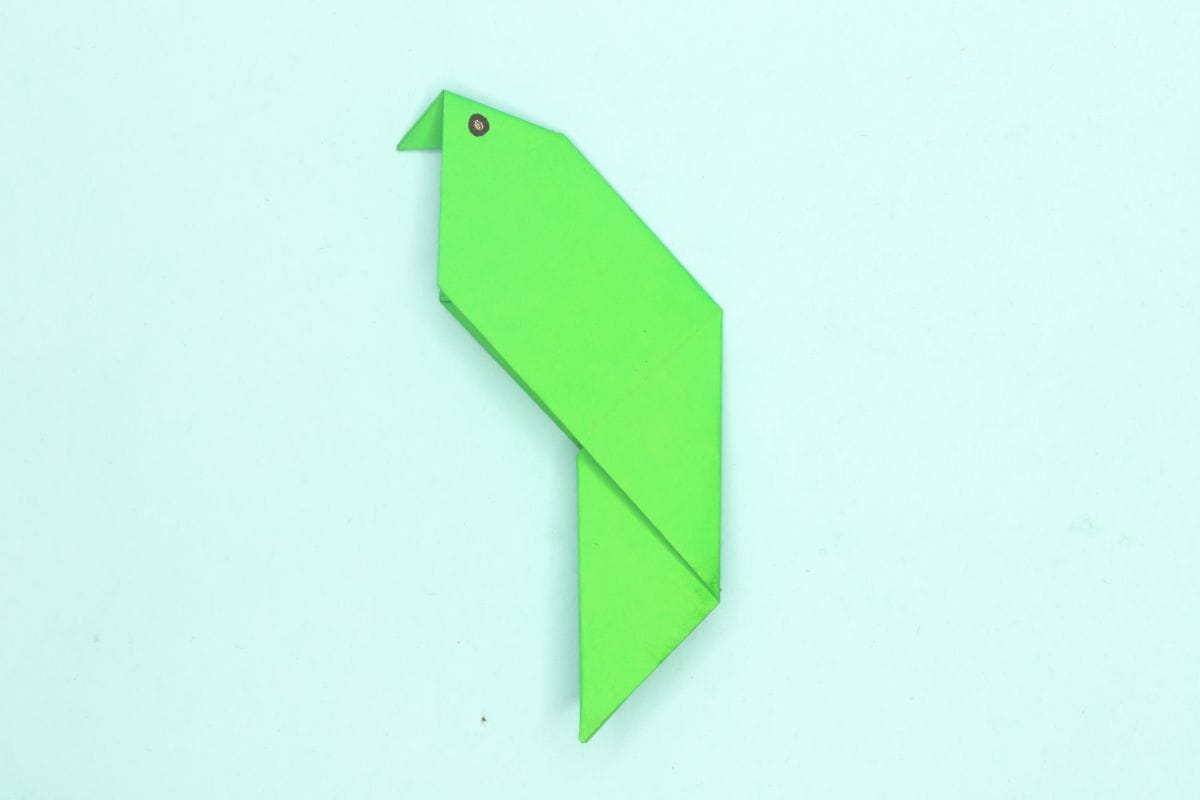
With a few simple folds, your paper transforms into a cheerful little bird with plenty of personality. Choose your brightest paper, add a playful face at the end, and you’ll have a feathered friend that’s ready to squawk its way into your origami collection!
Try making parrots in different bright colors and create a whole flock of paper birds!
How to Make a Very Easy Origami Parrot
Difficulty:
Easy
Follow the simple step-by-step instructions with pictures to learn how to make an easy origami parrot.
Step 1
1
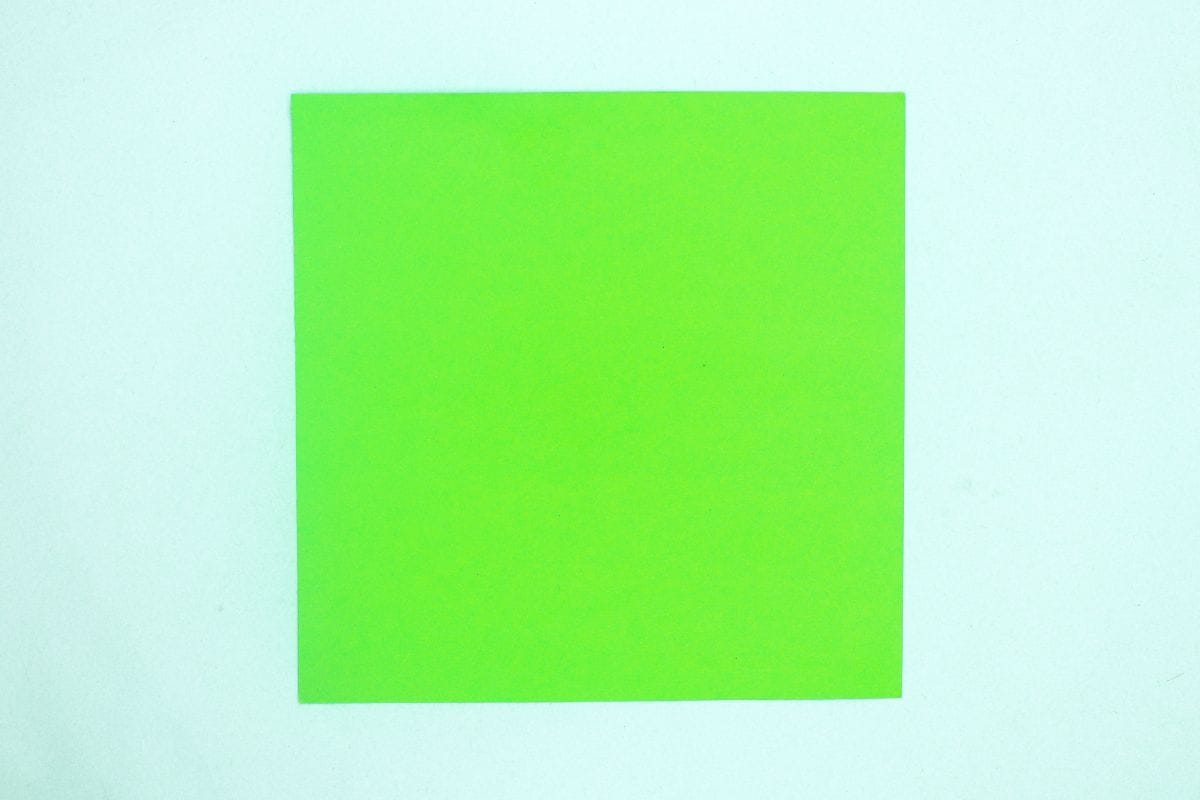
start with a square sheet of an origami paper. I am using an 7×7 inches origami paper.
If you only have regular paper, follow these instructions on how to make a square origami paper.
If you only have regular paper, follow these instructions on how to make a square origami paper.
Step 2
2
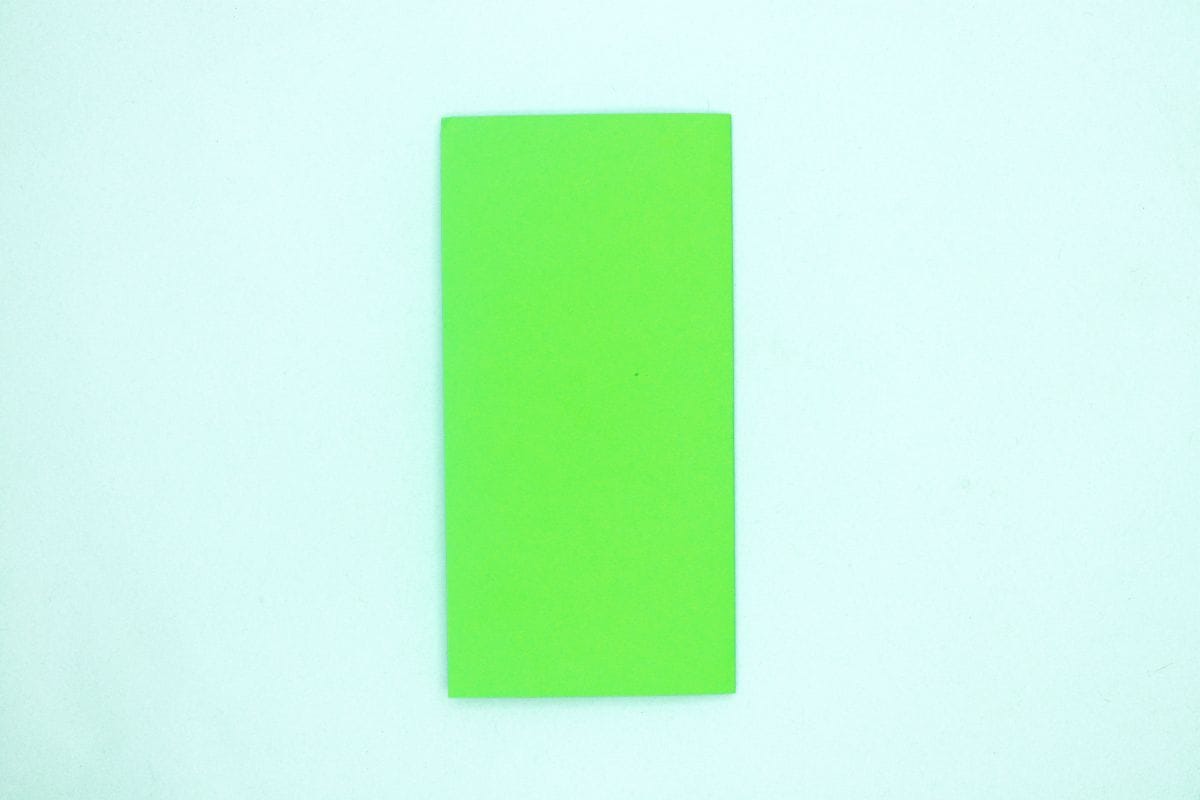
Fold in half, left to right.
Step 3
3
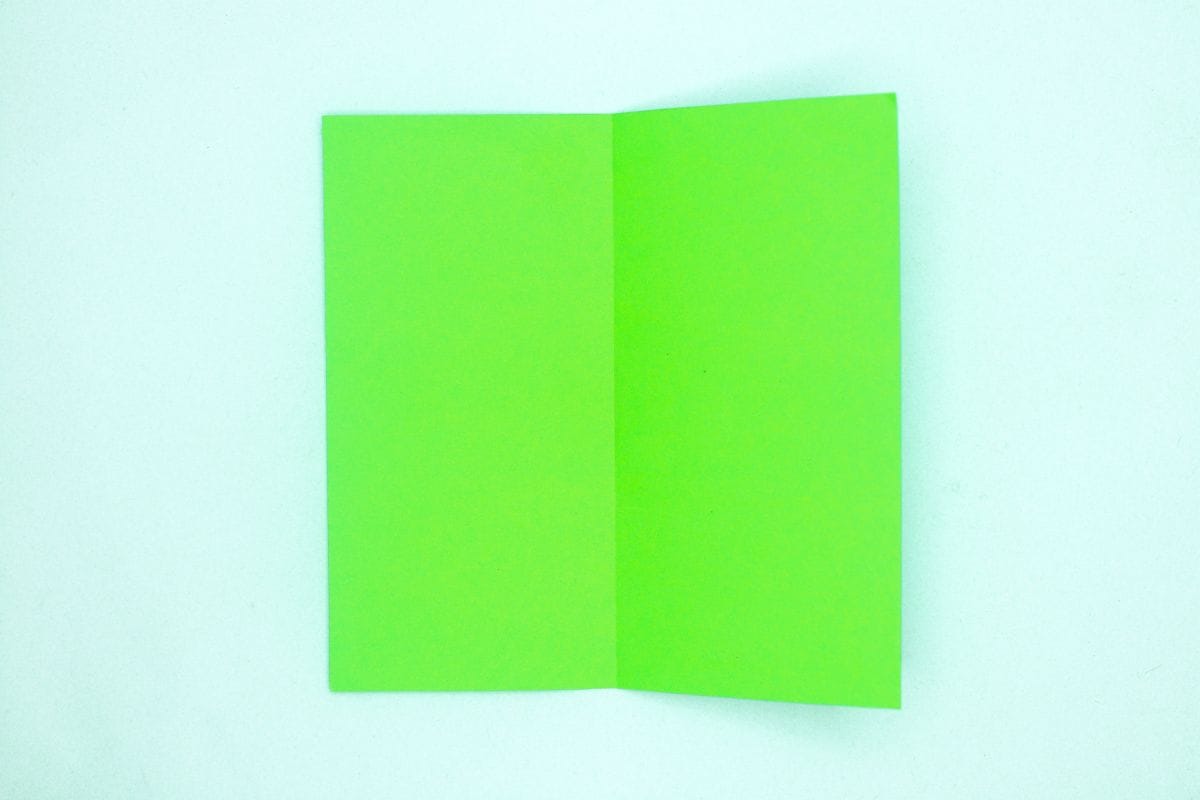
Unfold. We just needed a crease line.
Step 4
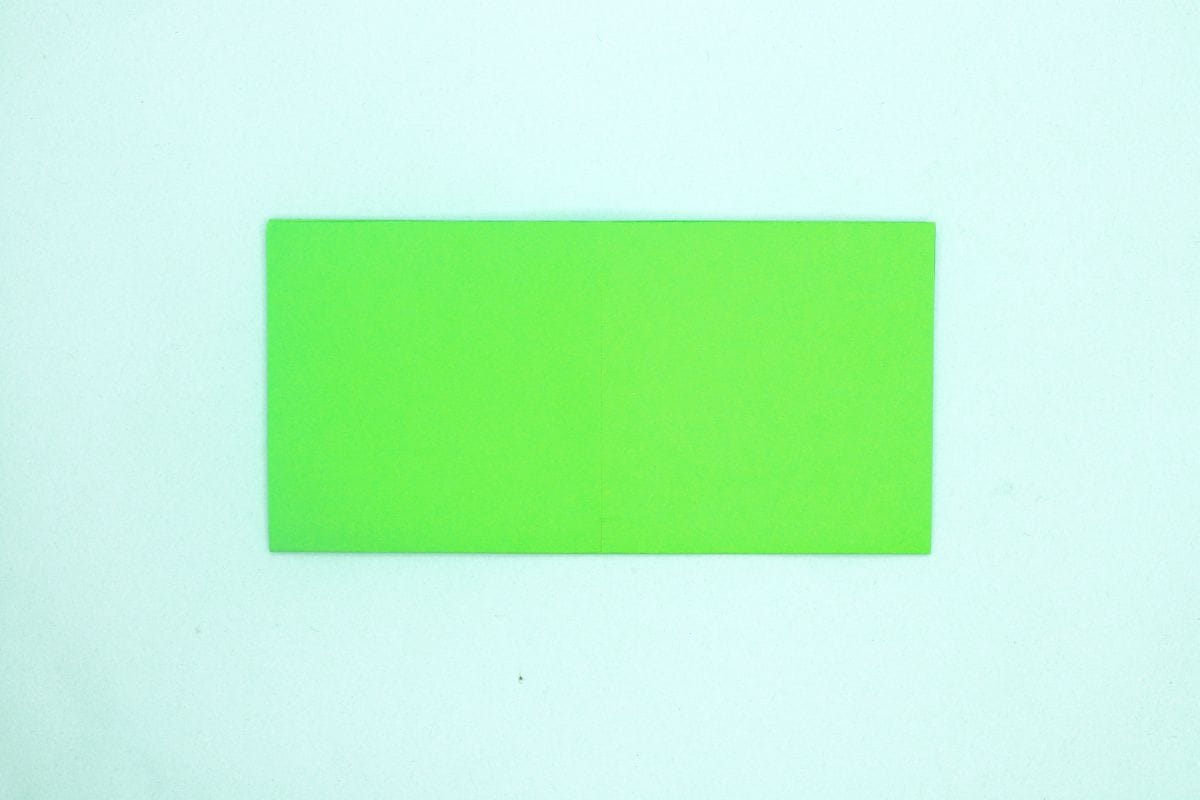
4
Fold in half, top to bottom.
Step 5
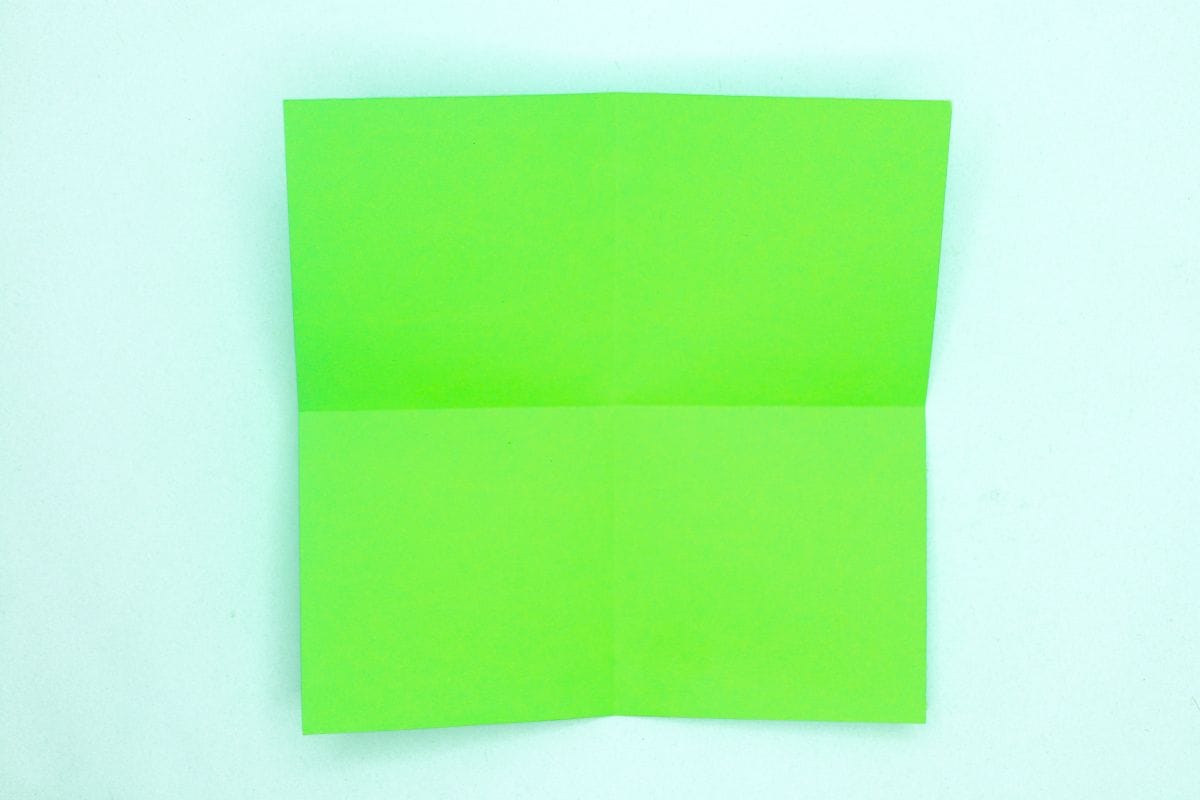
5
Unfold. We just needed a crease line.
Step 6
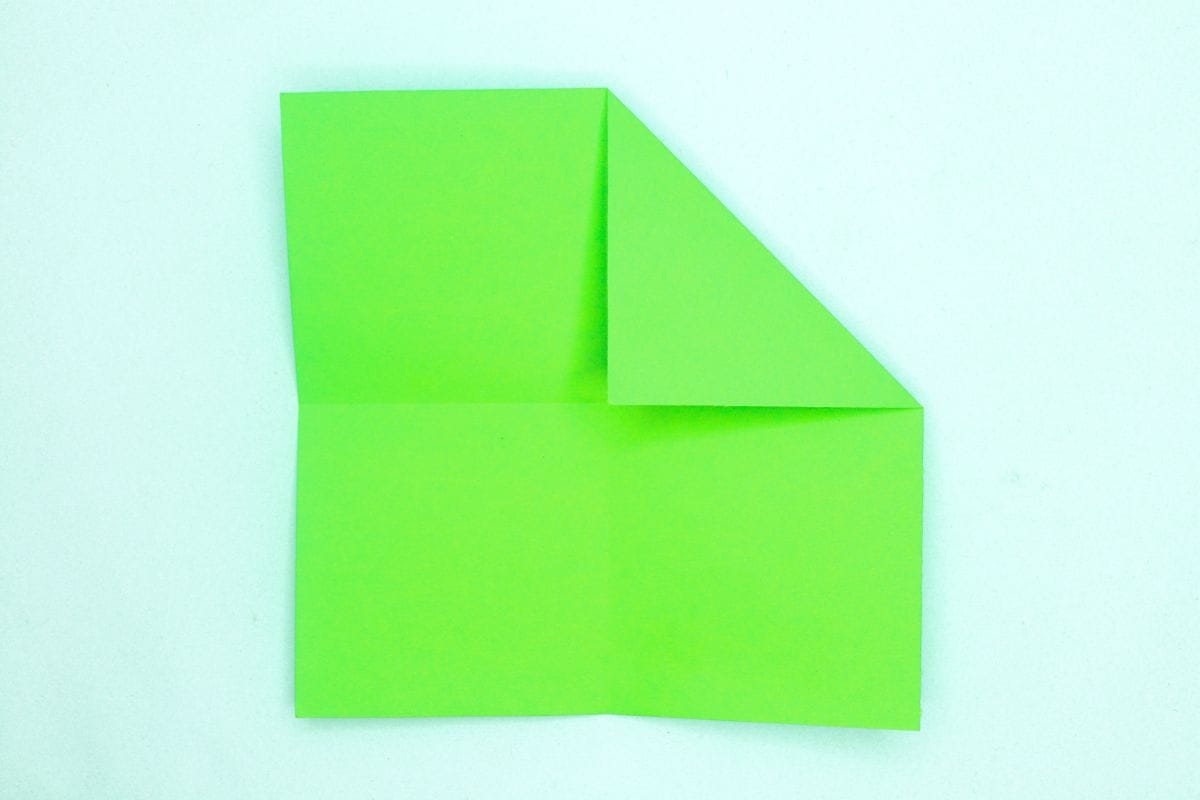
6
Fold the right corner in to meet the center.
Step 7
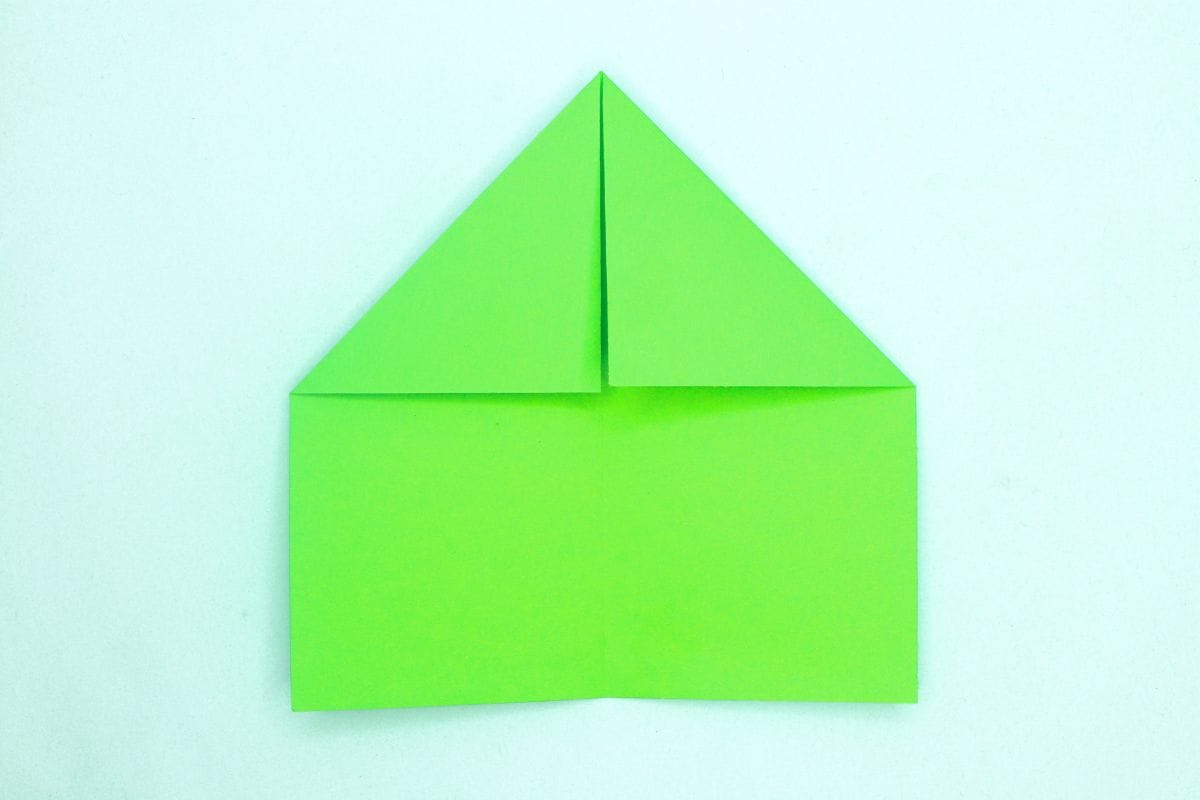
7
Fold the left corner in to meet the center.
Step 8
8
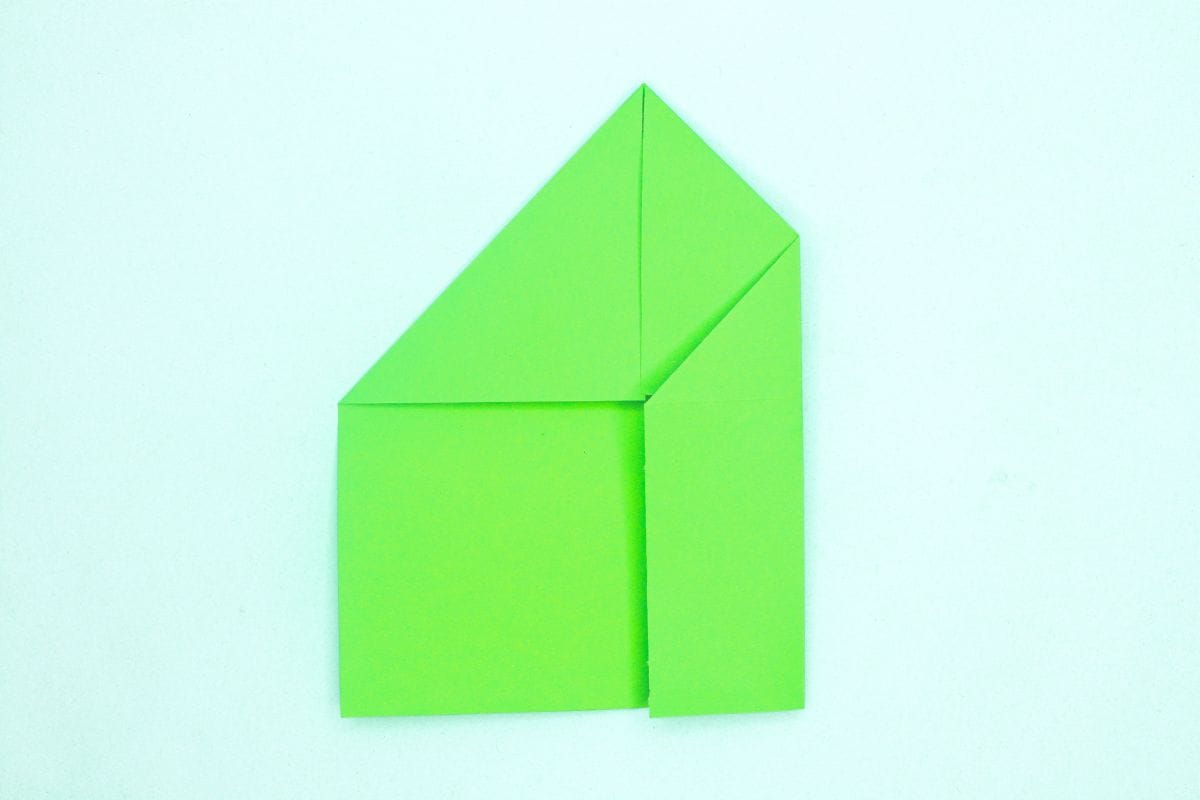
Fold the right edge inward to meet the central vertical crease.
Step 9
9
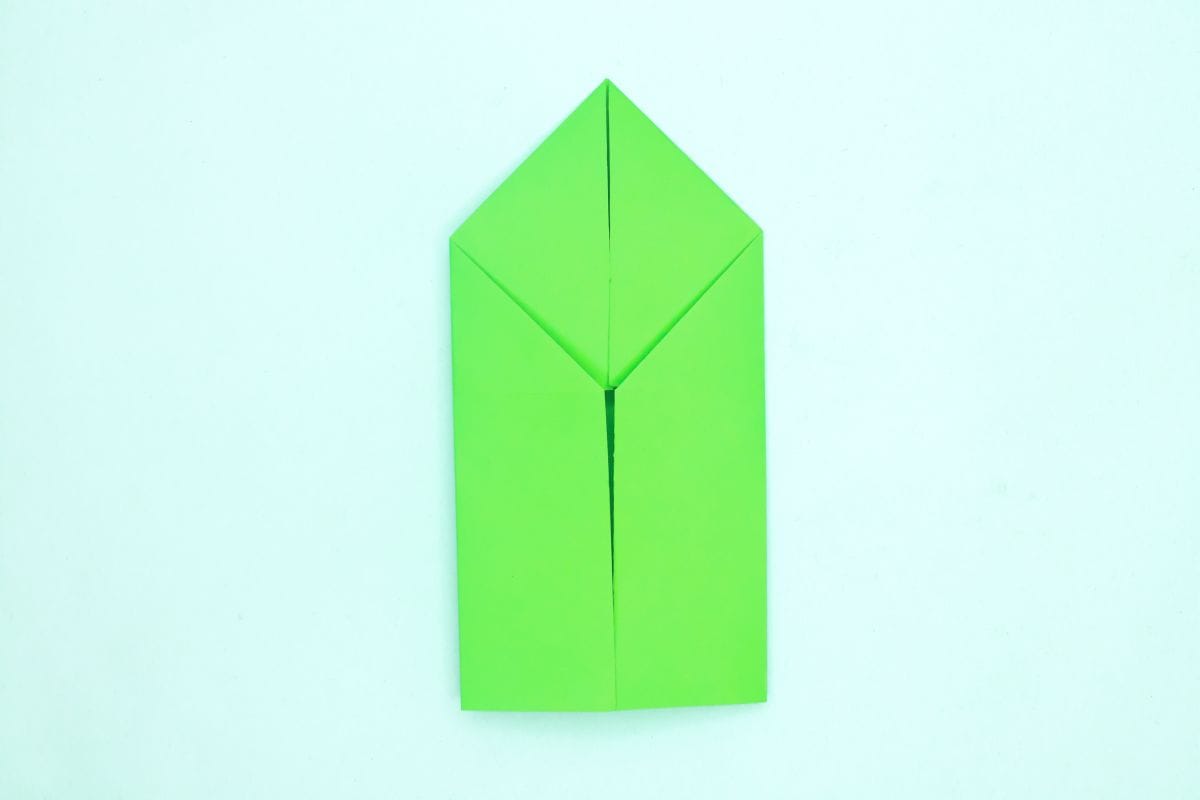
Fold the left edge inward to meet the central vertical crease.
Step 10
10
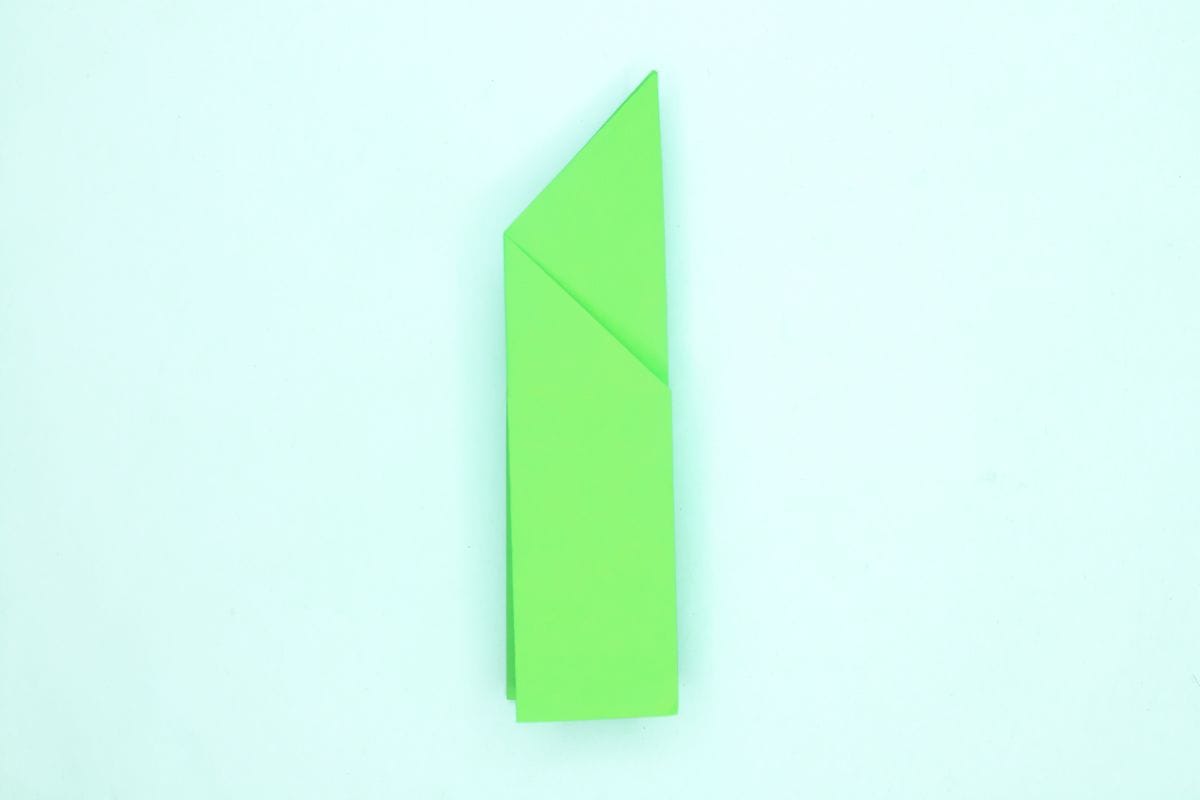
Fold in half, left to right.
Step 11
11
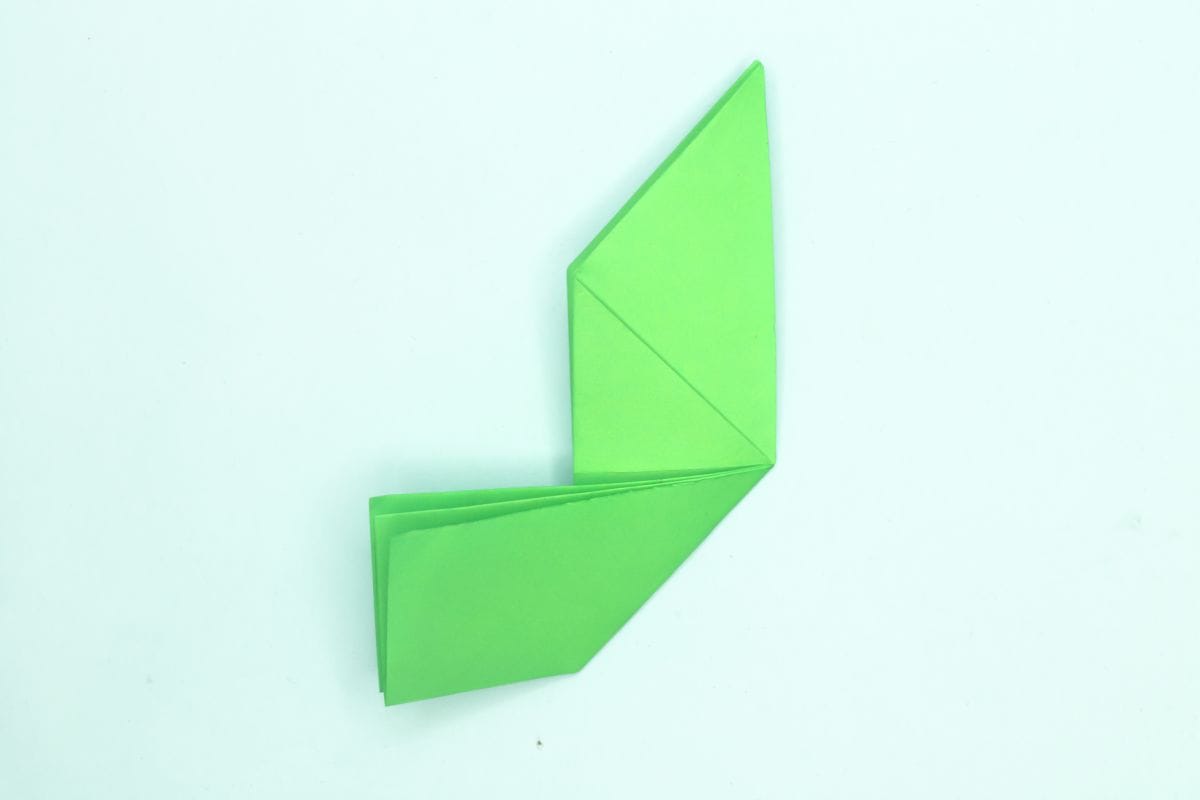
fold the bottom edge diagonally upward to the left.
Step 12
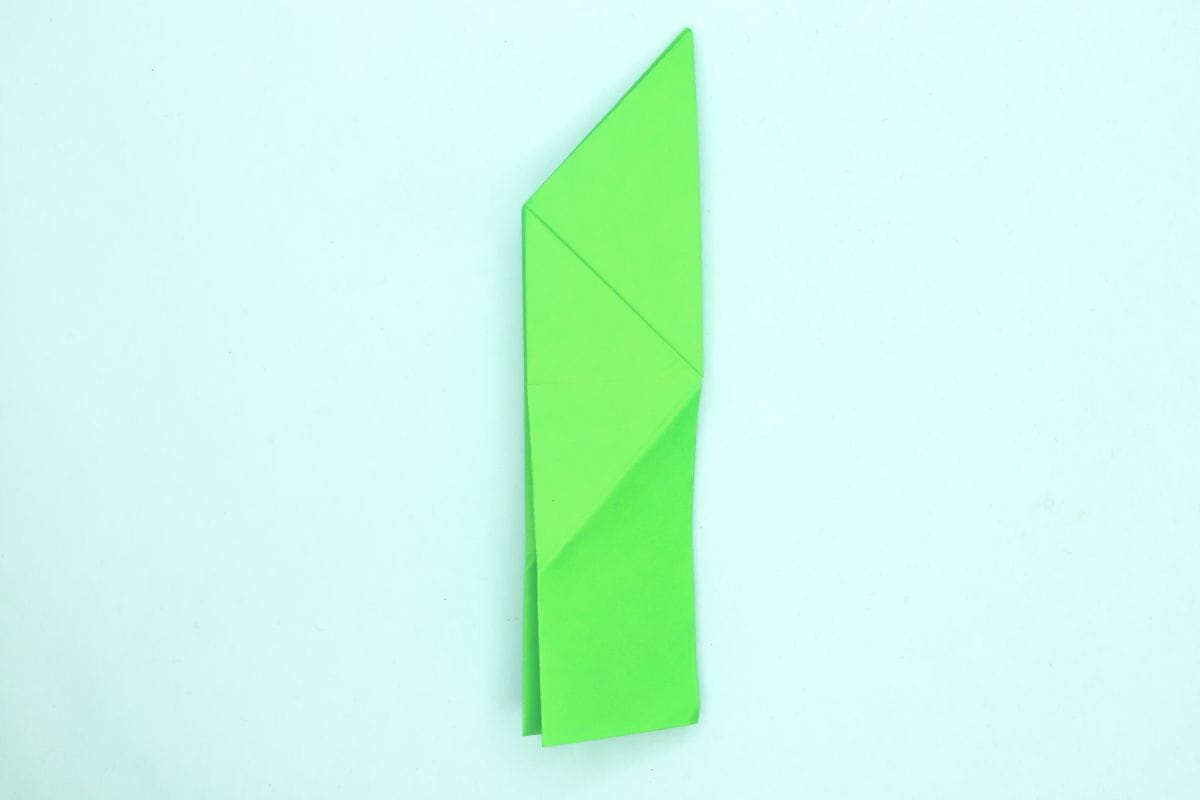
12
Unfold. We just needed a crease line.
Step 13
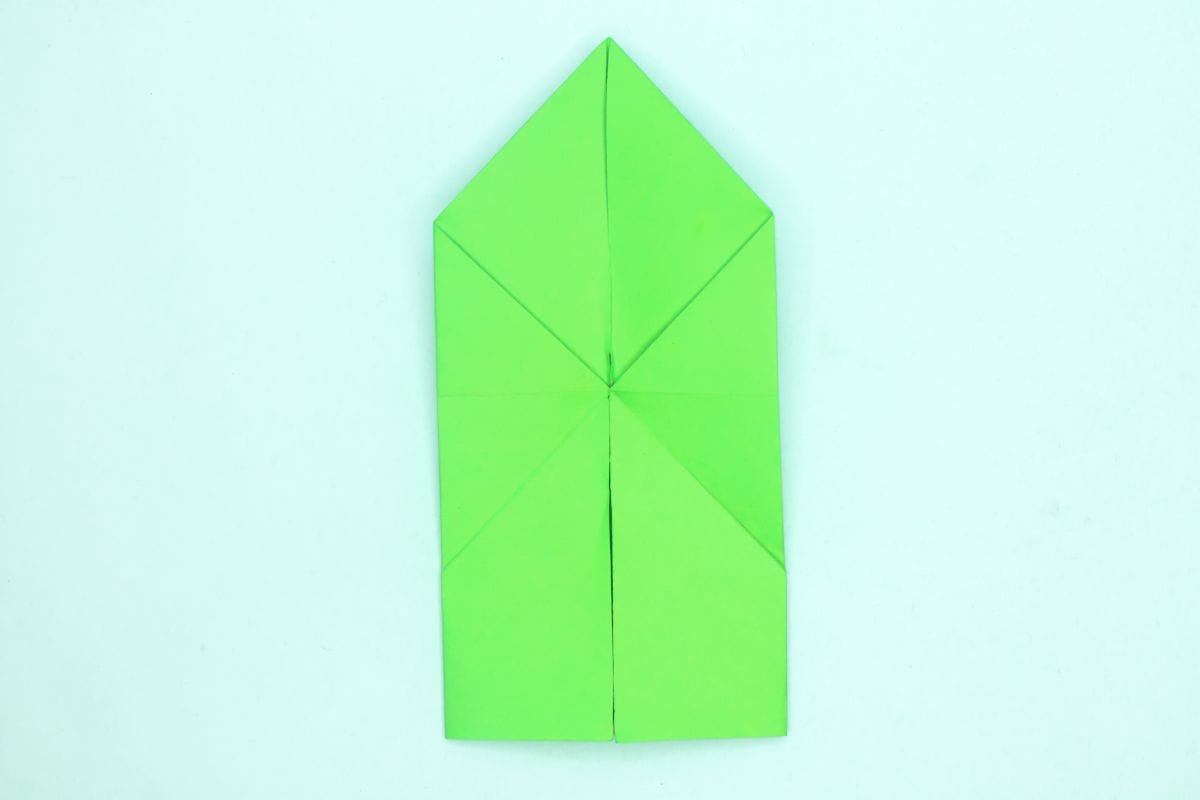
13
Unfold the top flap to the right.
Step 14
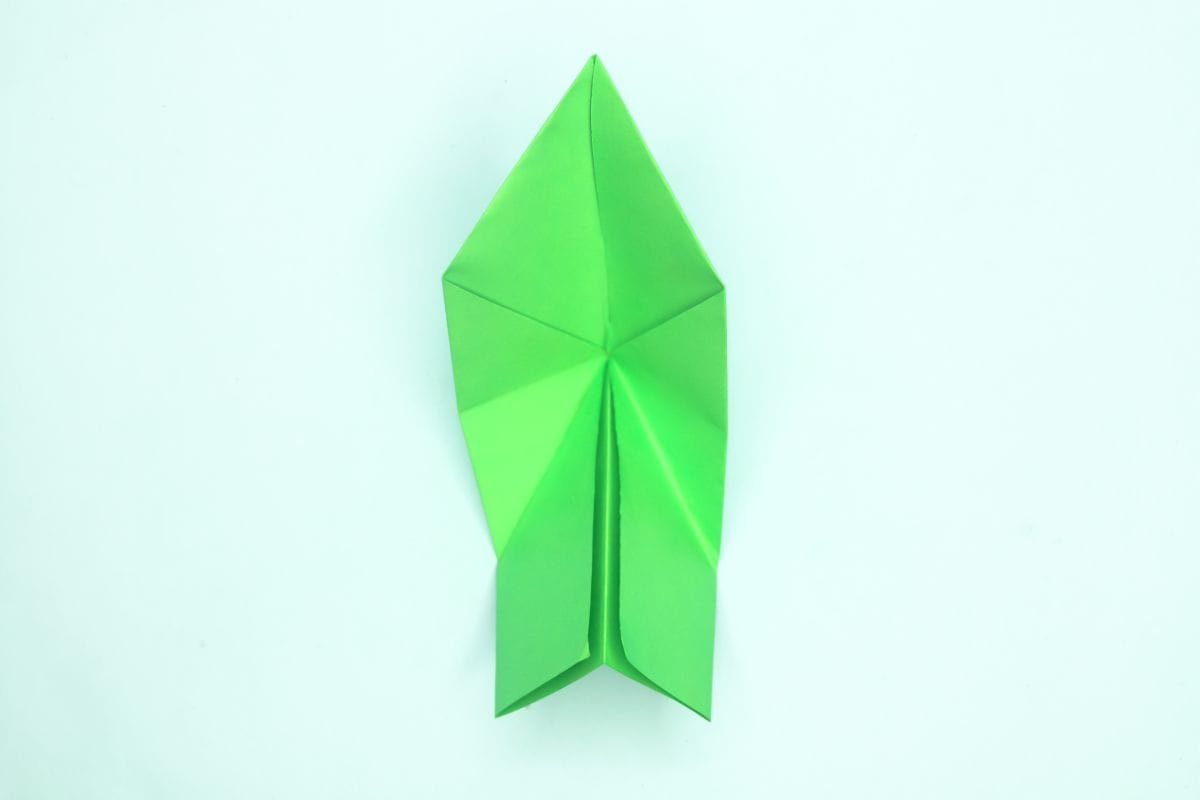
14
Do an inside reverse fold, using the previously created crease as a guide.
Step 15
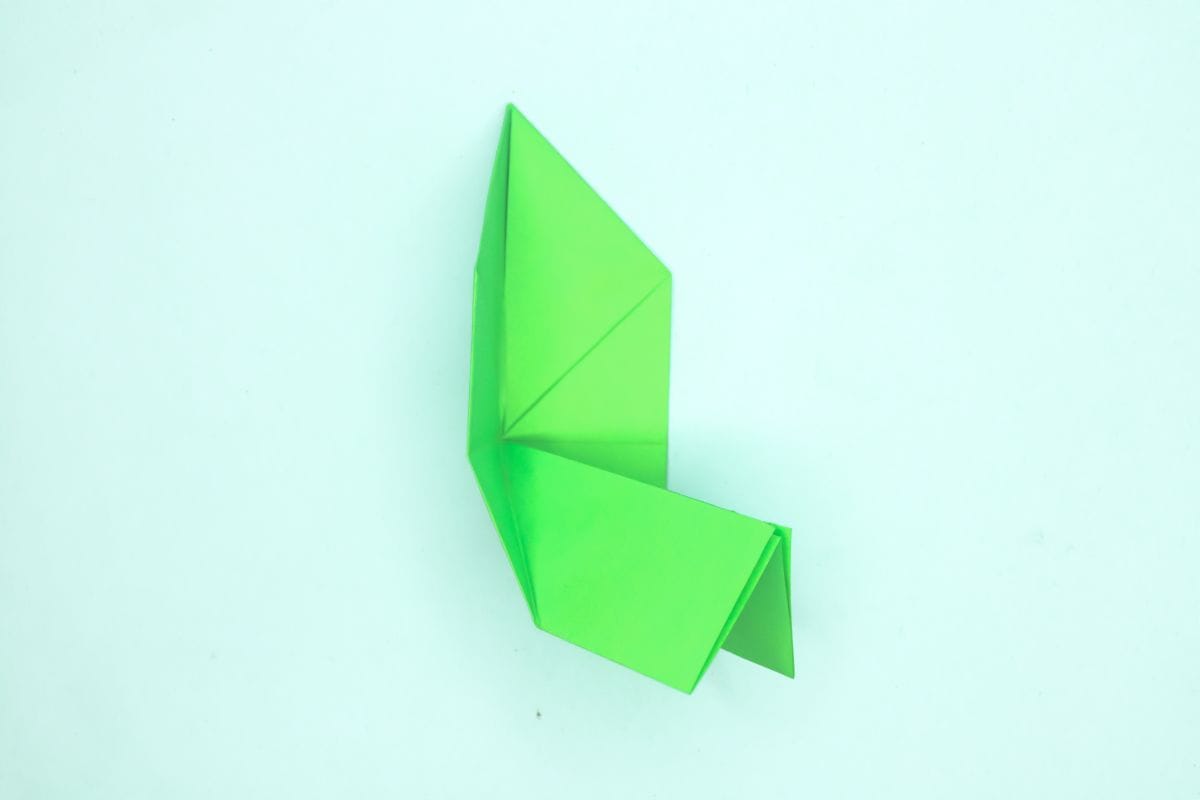
15
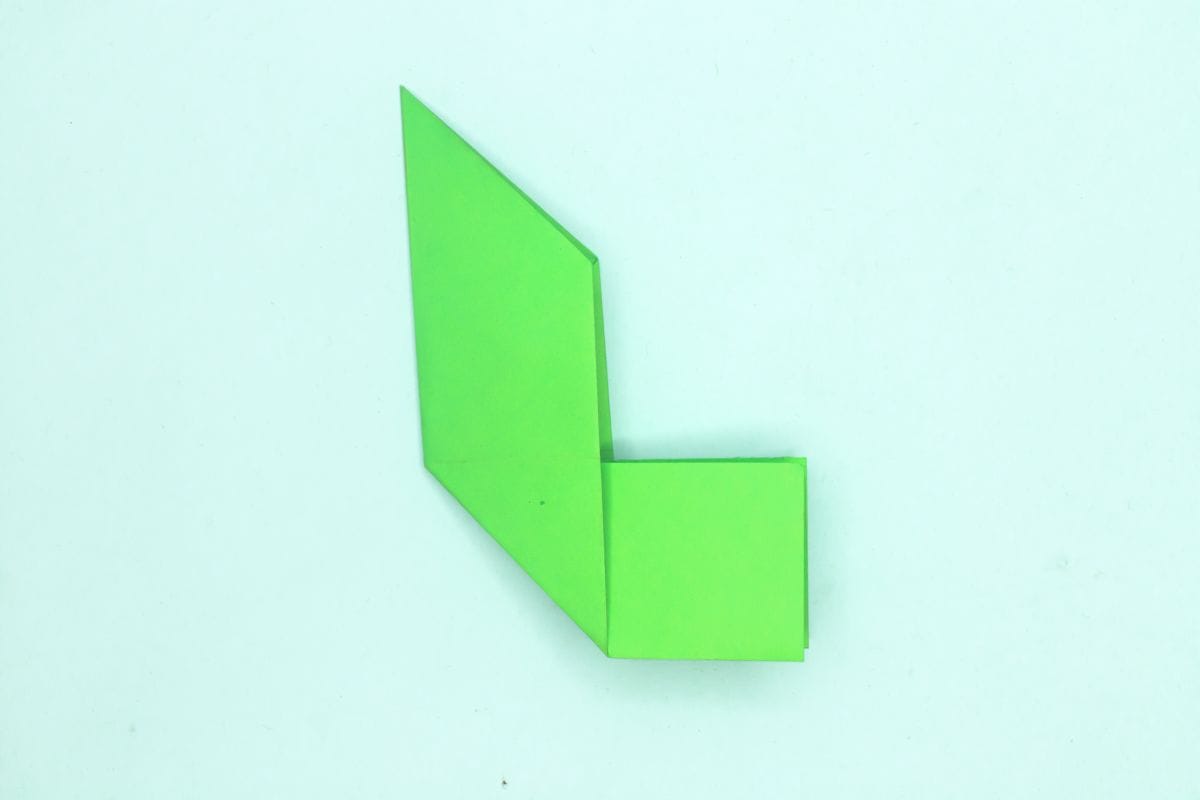
Bring to folds together as shown.
Step 16
16
Flatten the fold well.
Step 17
17
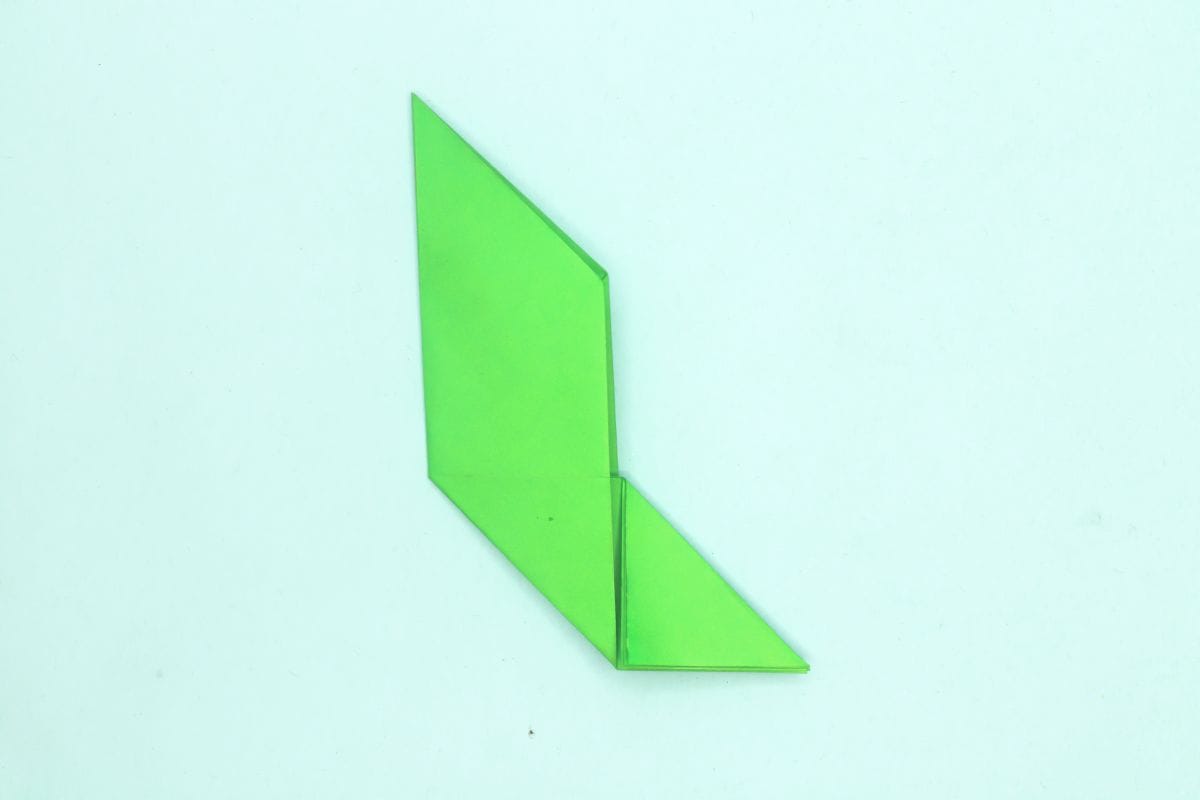
Fold the right corner diagonally into a small triangle.
Step 18
18
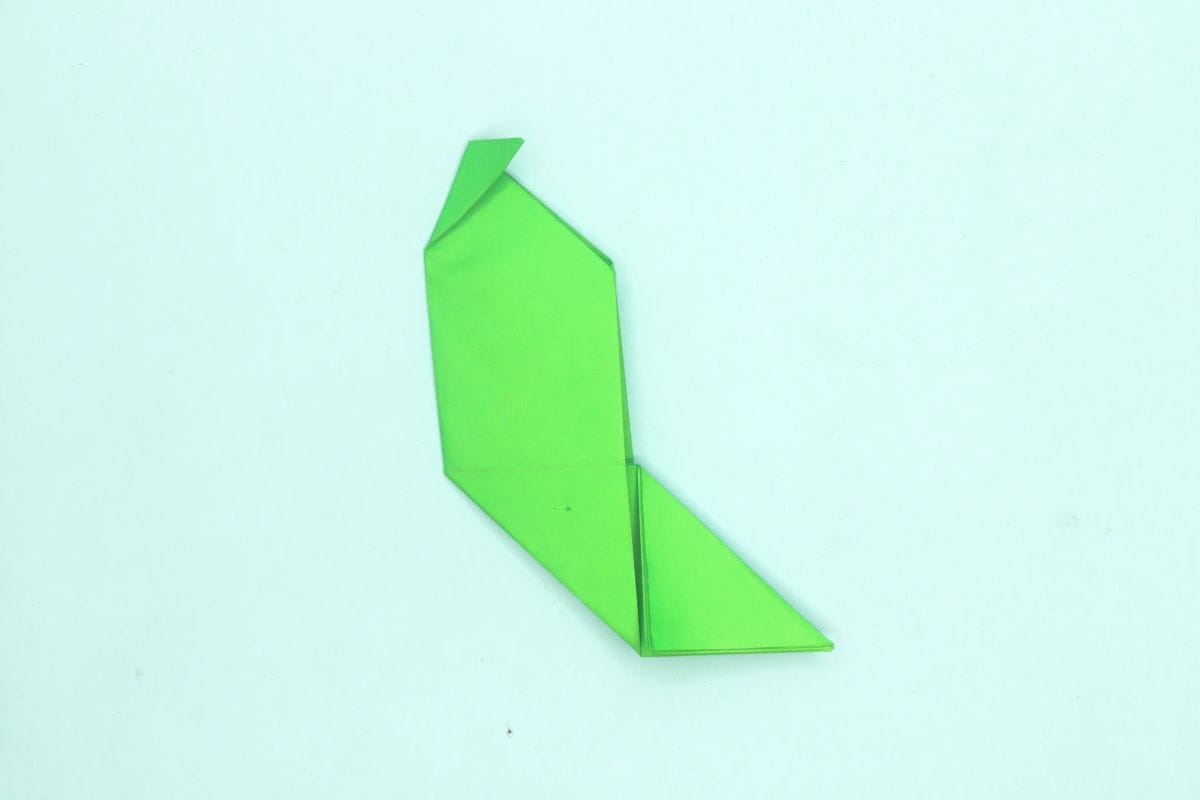
Fold the tip diagonally to the right.
Step 19
19
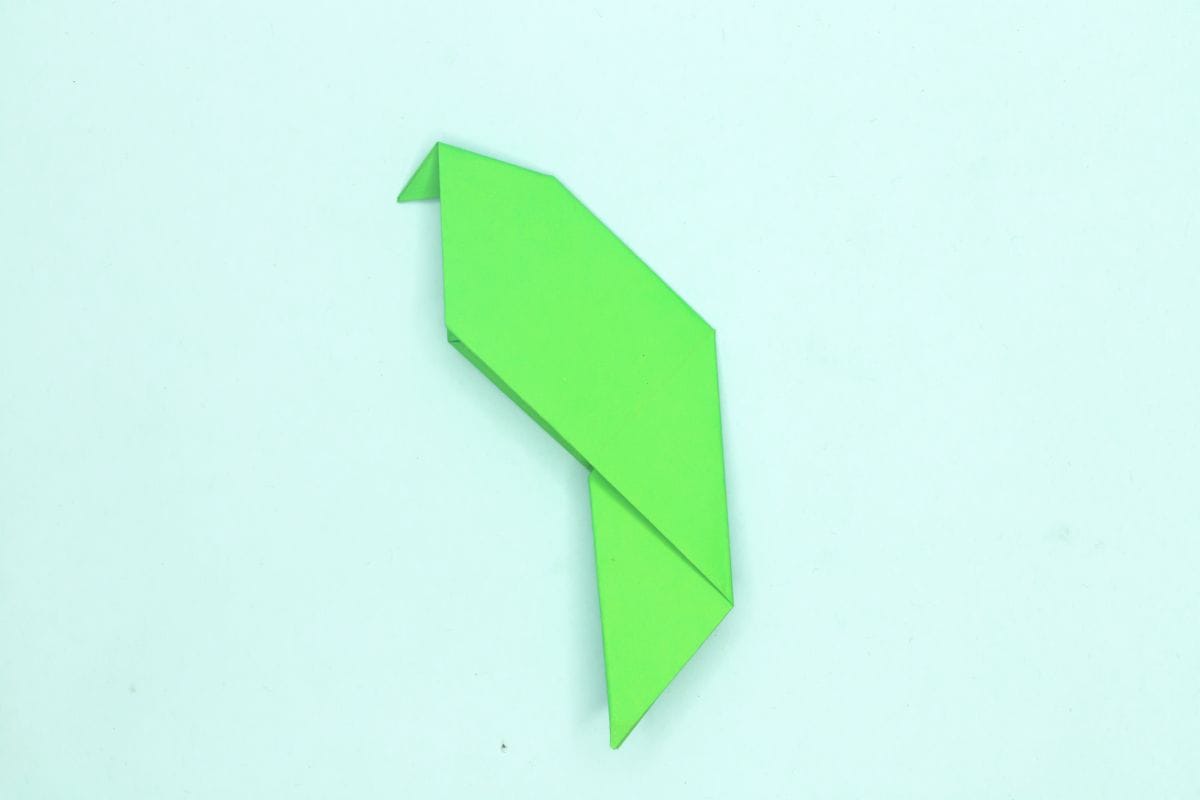
Turn the model over.
Step 20
20
Add a cute face to bring your parrot to life. Now it’s ready to perch, pose, and maybe demand a cracker!
Share and Comment
We would love to see your creations! Scroll down to the comments section and share a photo of your origami.
Leave a Reply