
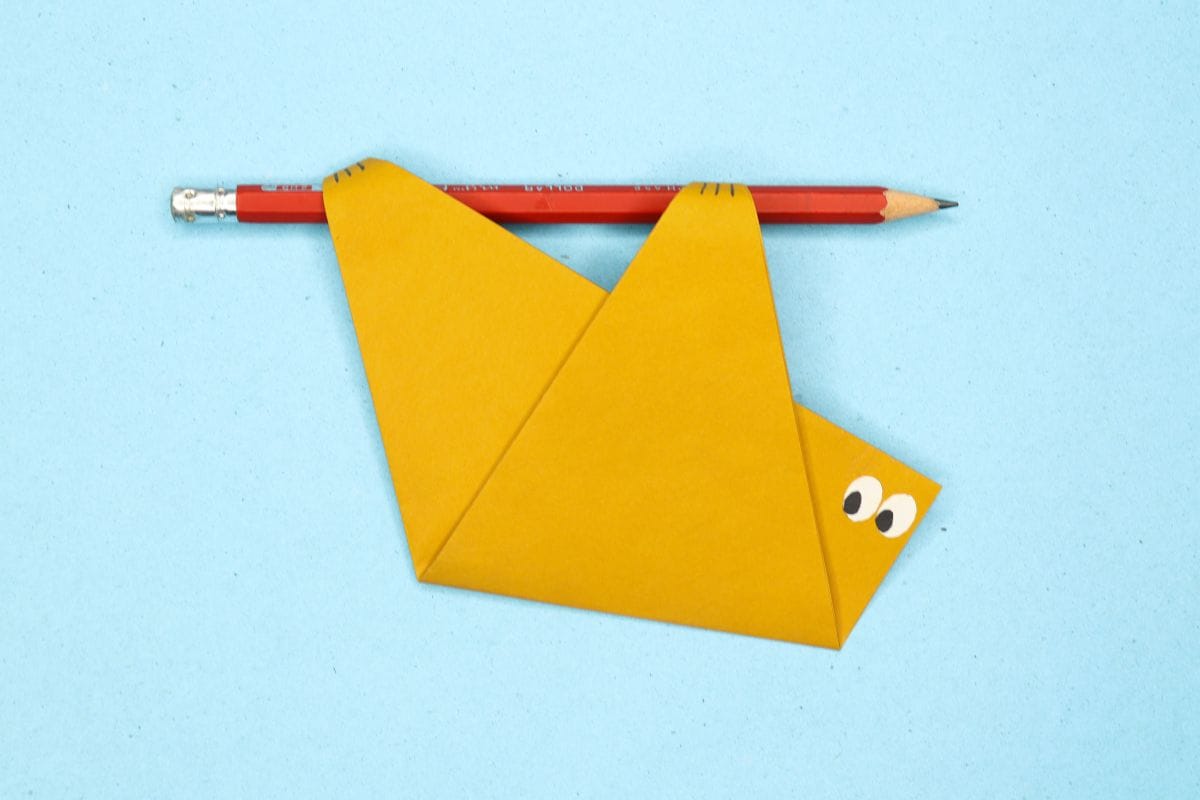
Hang in there, you’re about to fold the most adorable sloth ever! This kid-friendly origami project is as easygoing as the sloth itself, making it perfect for young crafters ready to create their favorite slow-moving friend. Kids will giggle as they fold their paper into a smiling sloth that looks ready for a nap (or maybe just a really long hug!). Once finished, these paper sloths are perfect for decorating rooms or starting a whole treeful of sleepy buddies.
Very Easy Origami Sloth Instructions
Difficulty:
Easy
Make an easy origami sloth perfect for kids! Our clear step-by-step instructions guide young crafters through this adorable paper project.
Step 1
1
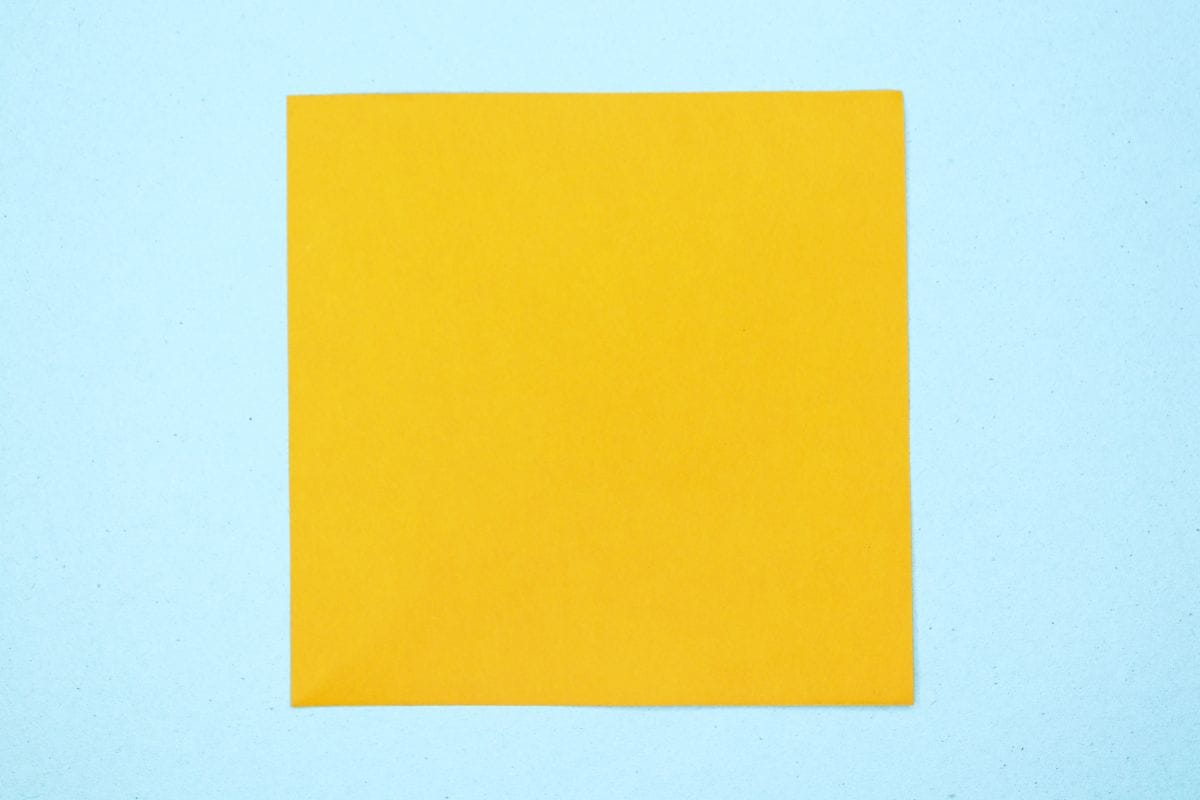
Start with a square sheet of origami paper. I am using an 7×7 inches origami sheet.
If you only have regular paper, follow these instructions on how to make a square origami paper.
If you only have regular paper, follow these instructions on how to make a square origami paper.
Step 2

2
Fold the paper in half diagonally.
Step 3

3
Fold the corner past the bottom edge at an angle.
Step 4
4
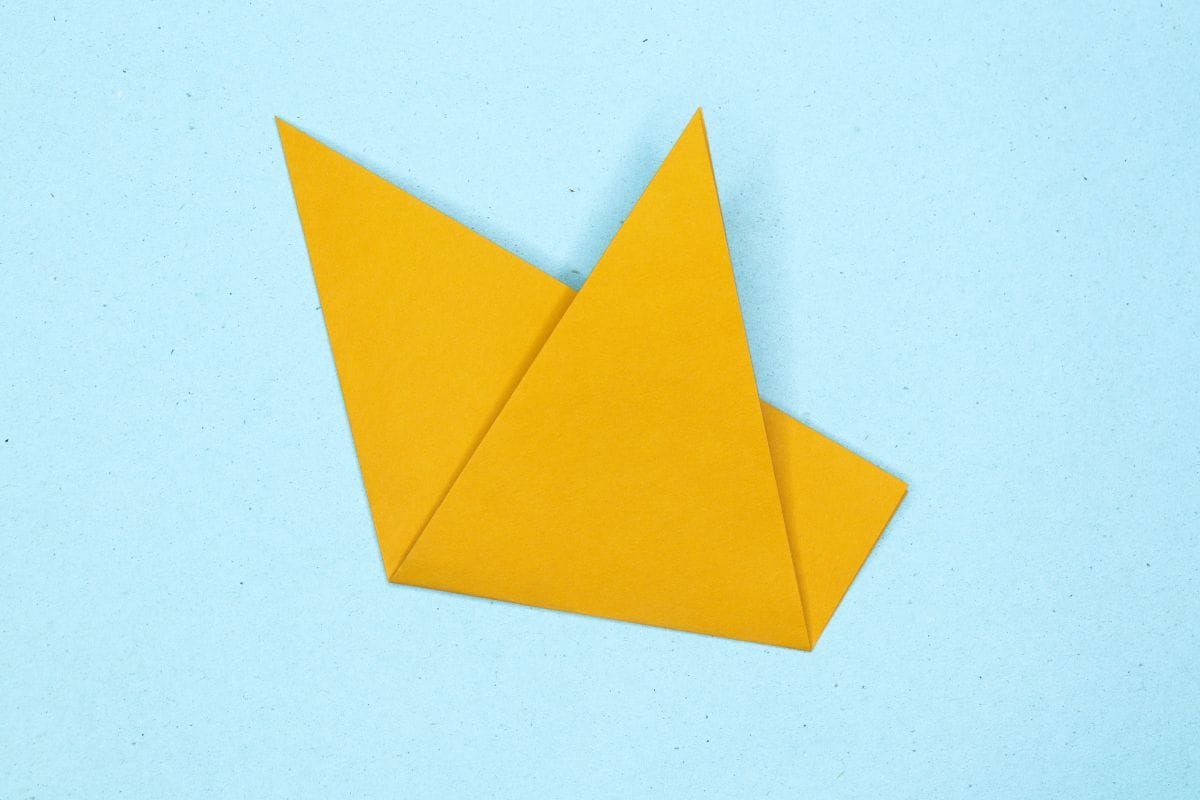
Rotate the model as shown.
Step 5
5
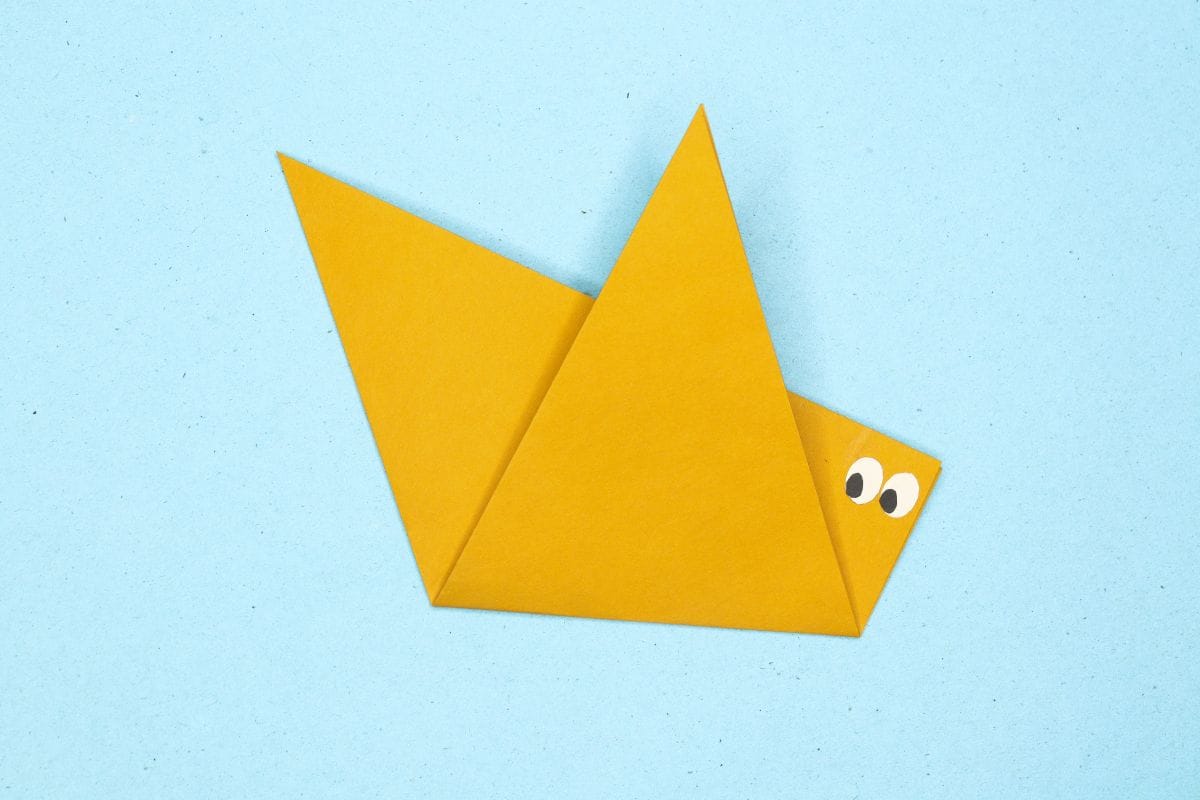
Draw the eyes.
Step 6
6
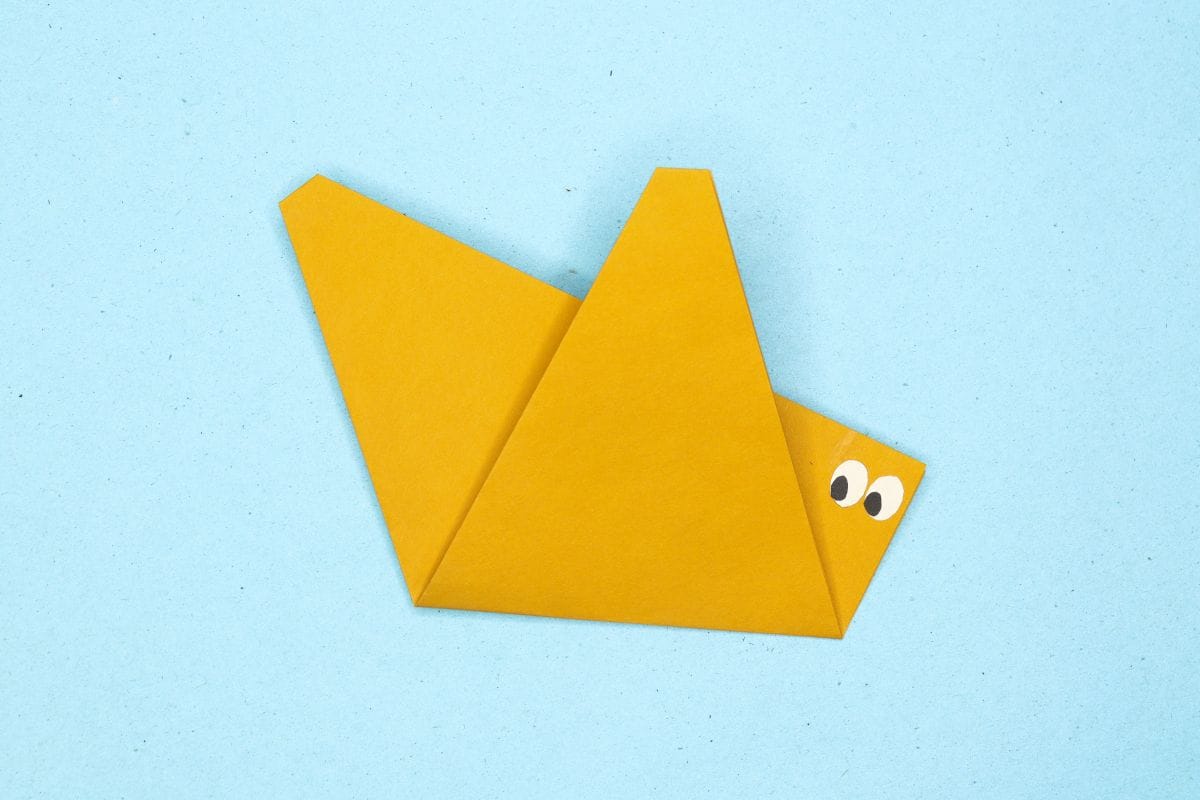
Fold the top corners inward.
Step 7
7
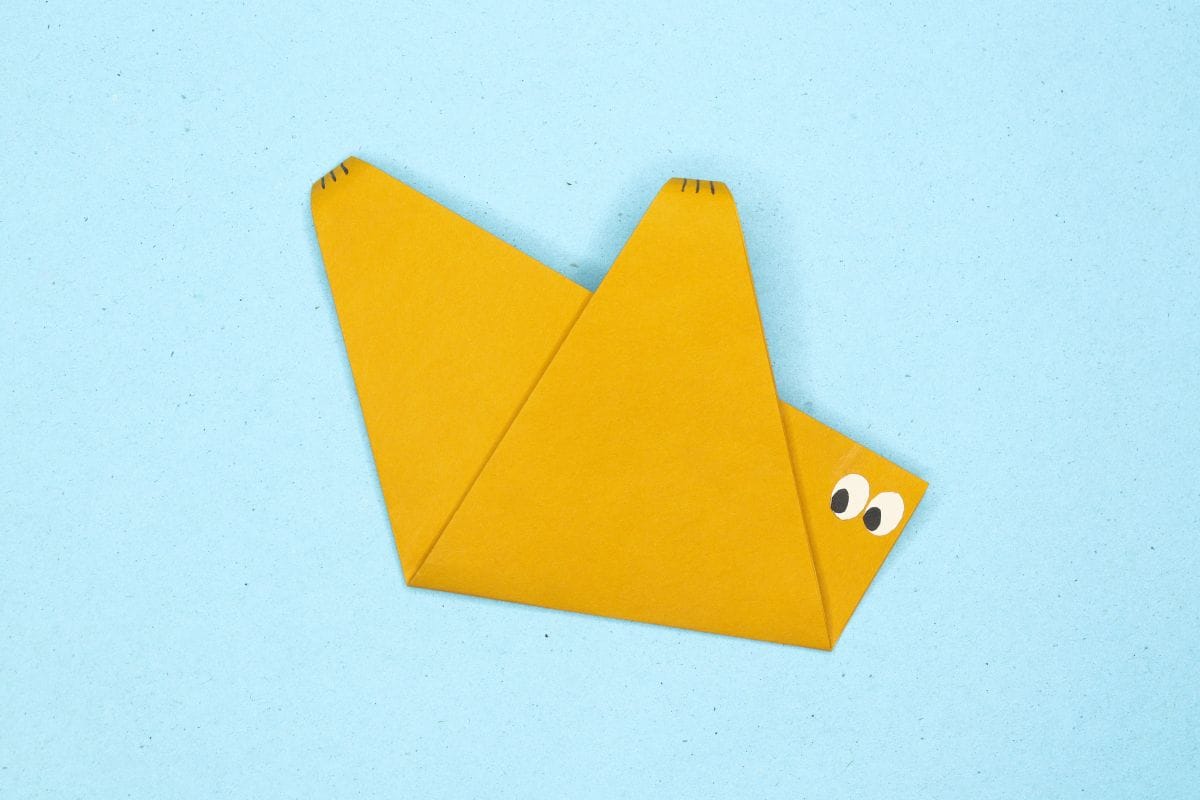
Curl the too edges and draw the claws.
Step 8
8
Voila! The sloth is ready to hang around.
Share and Comment
We would love to see your creations! Scroll down to the comments section and share a photo of your origami.
Comments
One response to “Very Easy Origami Sloth Instructions”
-

I made one of these it is cool!

Leave a Reply