This is a classic 5-pointed origami star that you’ve probably been drawing your entire life. Besides one slightly tricky fold, it’s overall pretty easy to make. You will need two pieces of paper and some tape to make this.
How to Make an Easy Origami Star

Difficulty: Easy
Follow these step-by-step instructions to learn how to fold an origami star. Easy even for kids to make.
Step 1

1
Start with a square piece of origami paper. I am using an 7×7 inches origami paper.
If you only have regular paper, follow these instructions on how to make a square origami paper.
If you only have regular paper, follow these instructions on how to make a square origami paper.
Step 2

2
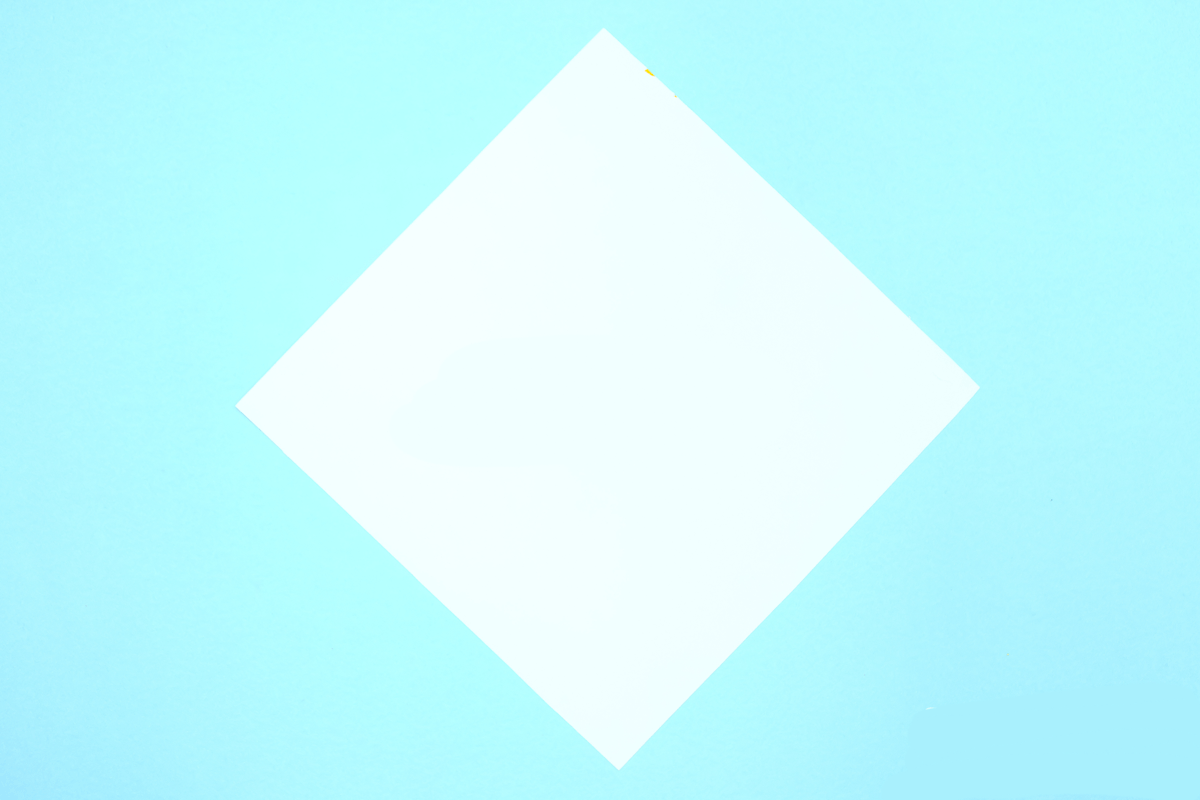
Rotate the paper like a diamond. If you are using two color sided origami paper then face the color side up.
Step 3
3
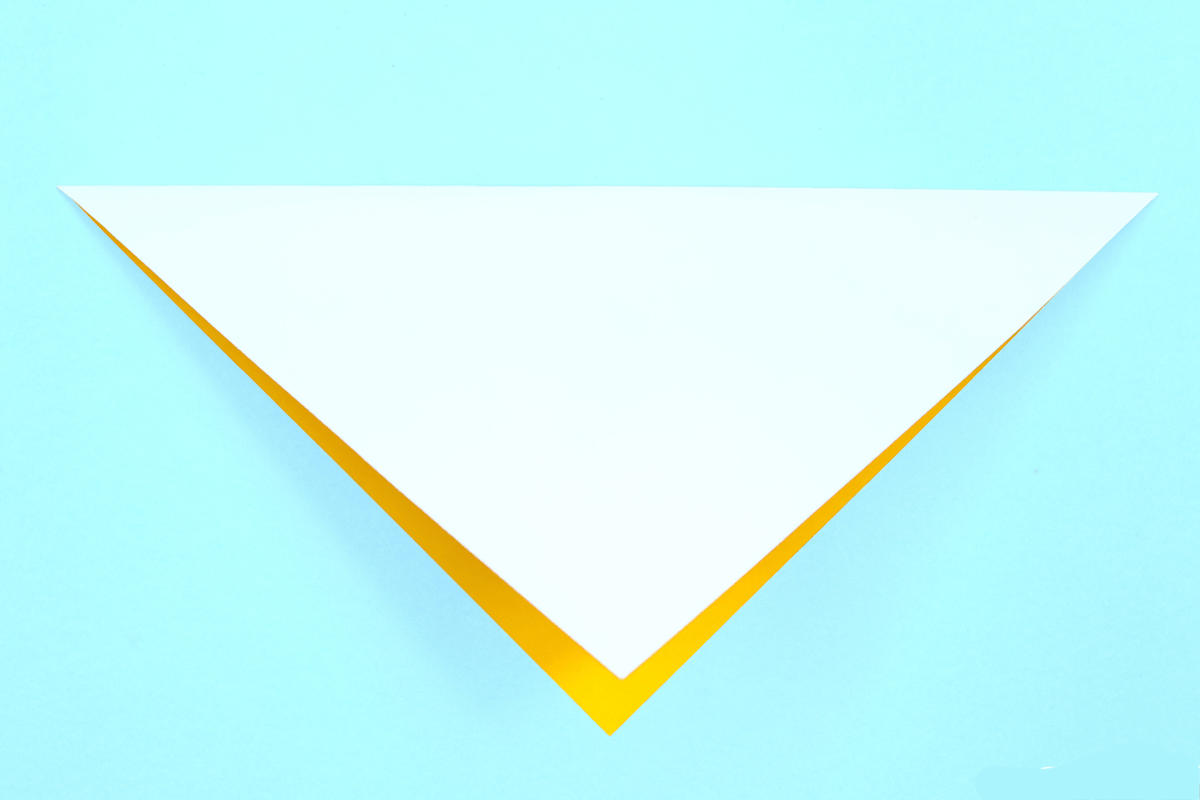
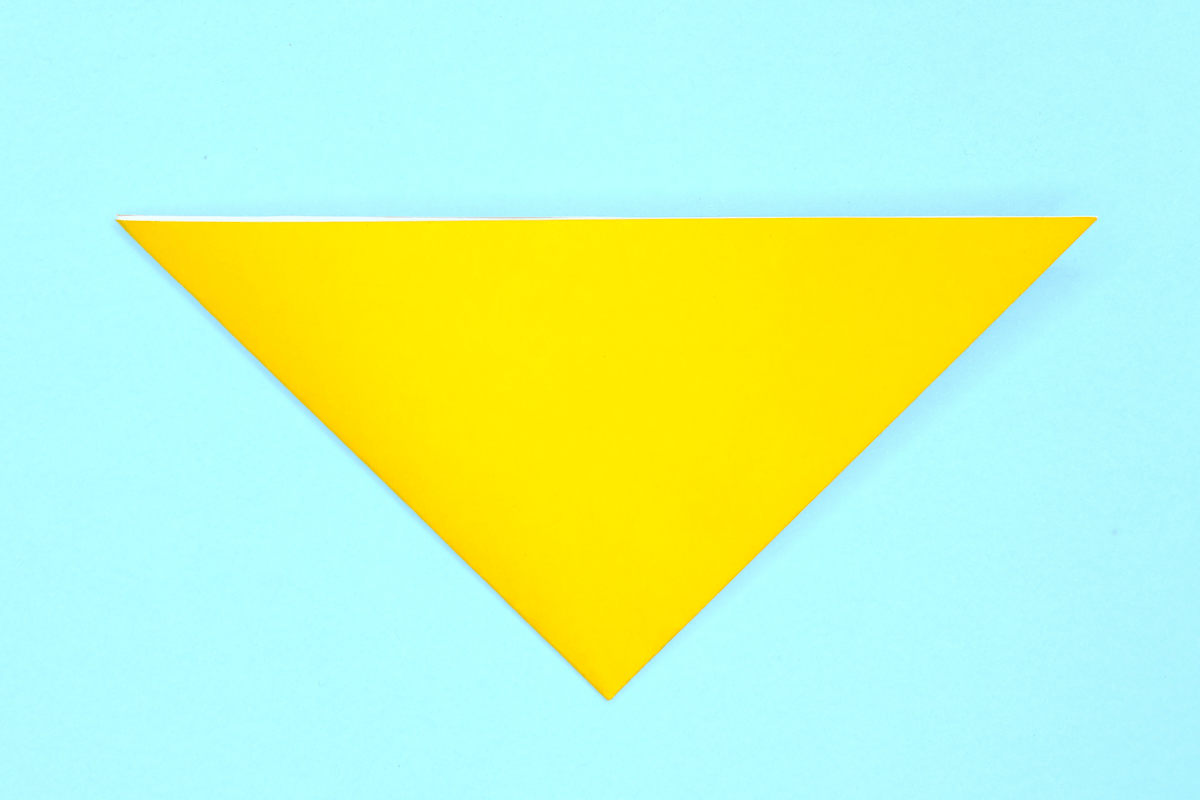
Fold the paper in half by folding top to bottom.
Step 4

4
Bring the left edge of the triangle to the top edge.
Step 5

5
Turn the paper over.
Step 6

6
Fold the triangle in half by bringing the left corner over to the right corner.
Step 7

7
Open the flap.
Step 8

8
Squash the flap down and keep the right corner pointy as you make the crease, and keep the edges aligned at the top.
Step 9

9
Get a new sheet of paper.
Step 10
10
Rotate it like this, color side down.
Step 11
11
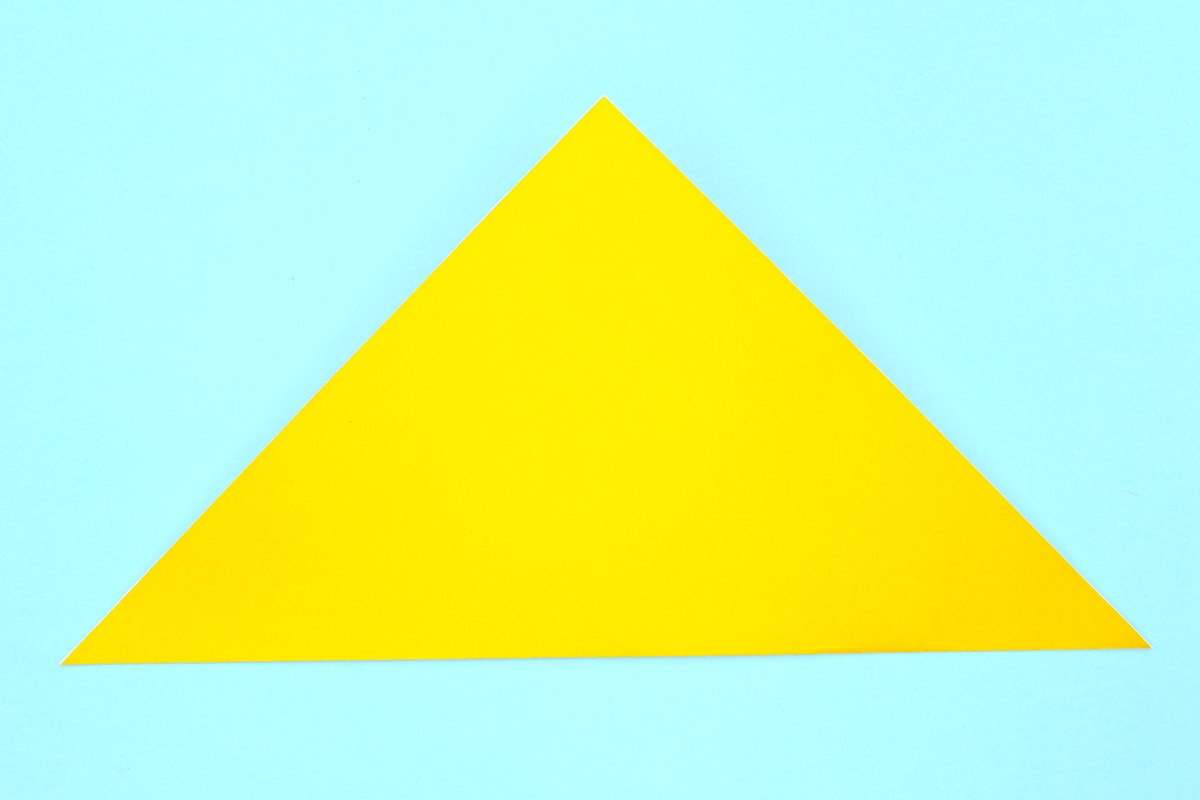
Fold the bottom corner to the top corner, creasing well.
Step 12
12
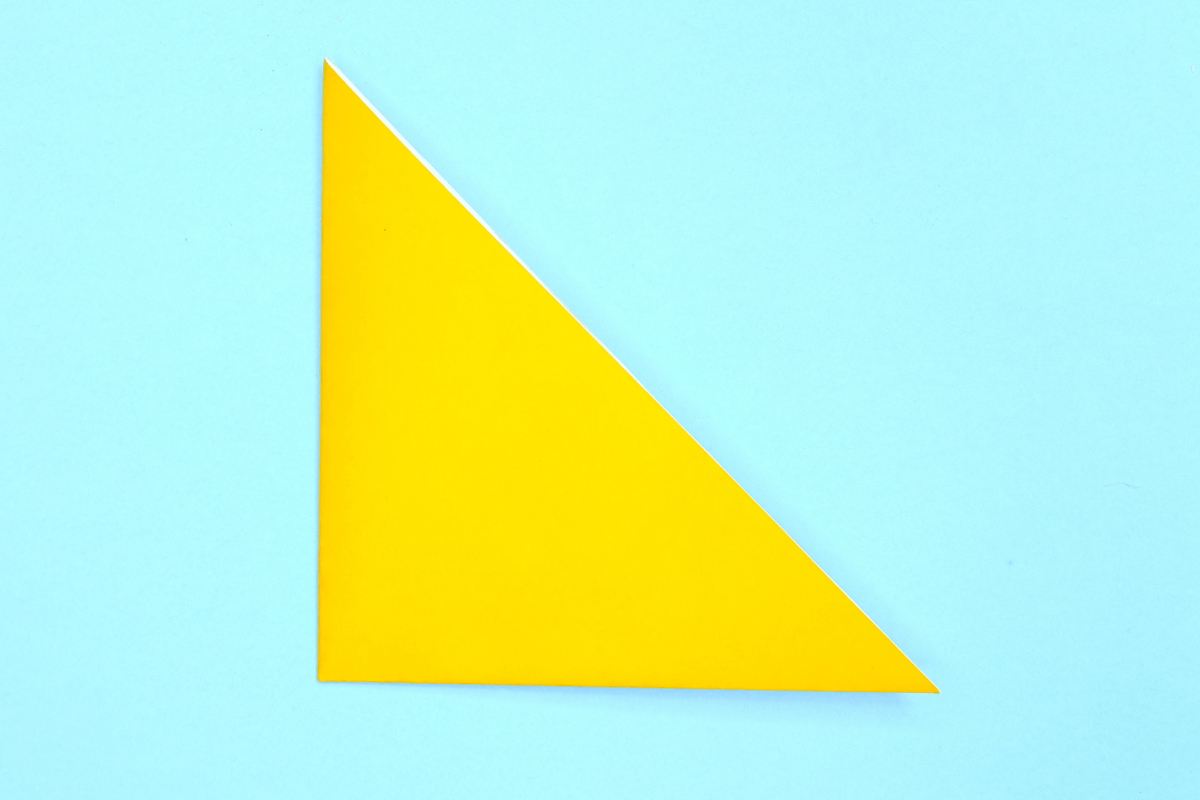
Fold the triangle in half by fold the left corner over to the right.
Step 13
13
Rotate the triangle so that it looks like an arrow pointing down.
Step 14

14
Bring in the piece you completed earlier and rotate like in the picture, like an arrow pointing up.
Step 15

15
Slip the triangle on the left in between the flaps of the arrow.
Step 16
16
Tape the two pieces together and there you have it. ★
Share and Comment
We would love to see your creations! Scroll down to the comments section and share a photo of your origami.
Leave a Reply