
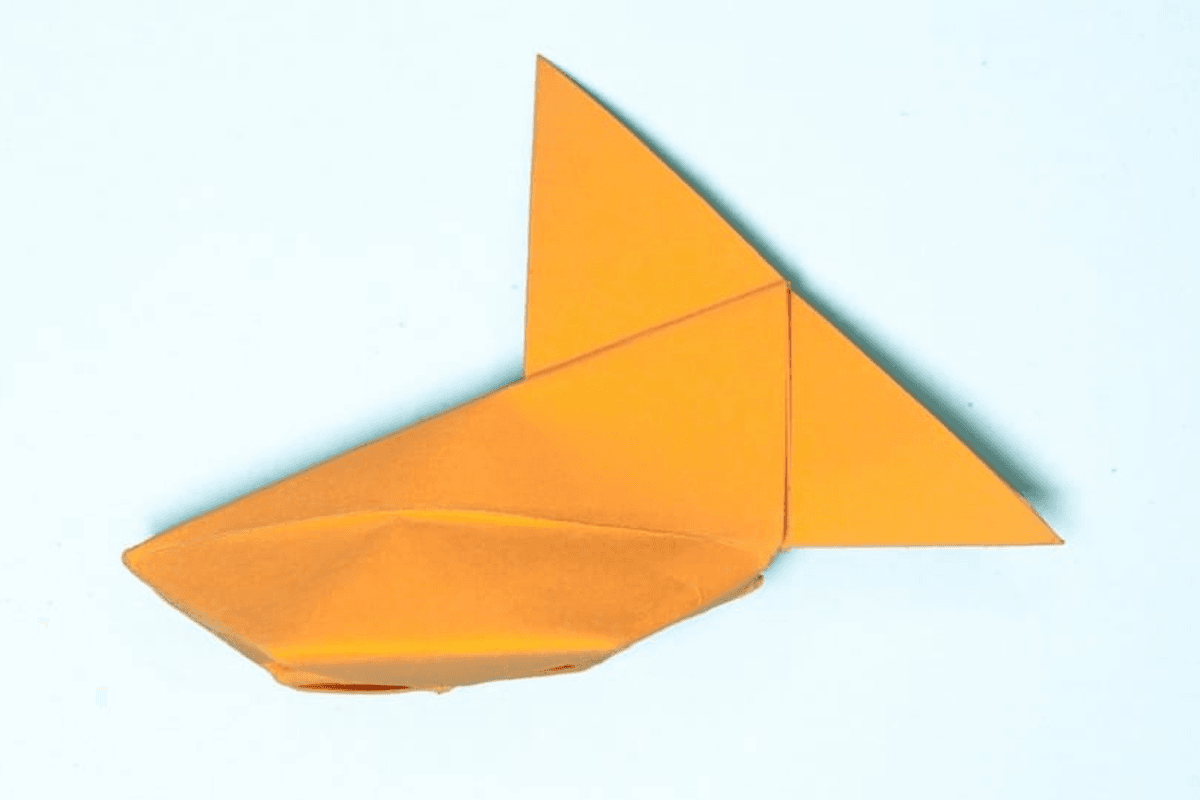
Imagine a tiny paper fish that starts flat… then suddenly becomes a chubby, puffy little cutie with one breath. That’s the charm of an origami inflatable fish! Follow these simple steps to create your own cheerful underwater friend.
How to Make an Inflatable Origami Fish
Category: Origami Animals
Difficulty:
Intermediate
Fold and puff up your own Origami inflatable fish! A fun, interactive paper craft that’s perfect for kids and ocean lovers!
Step 1
1
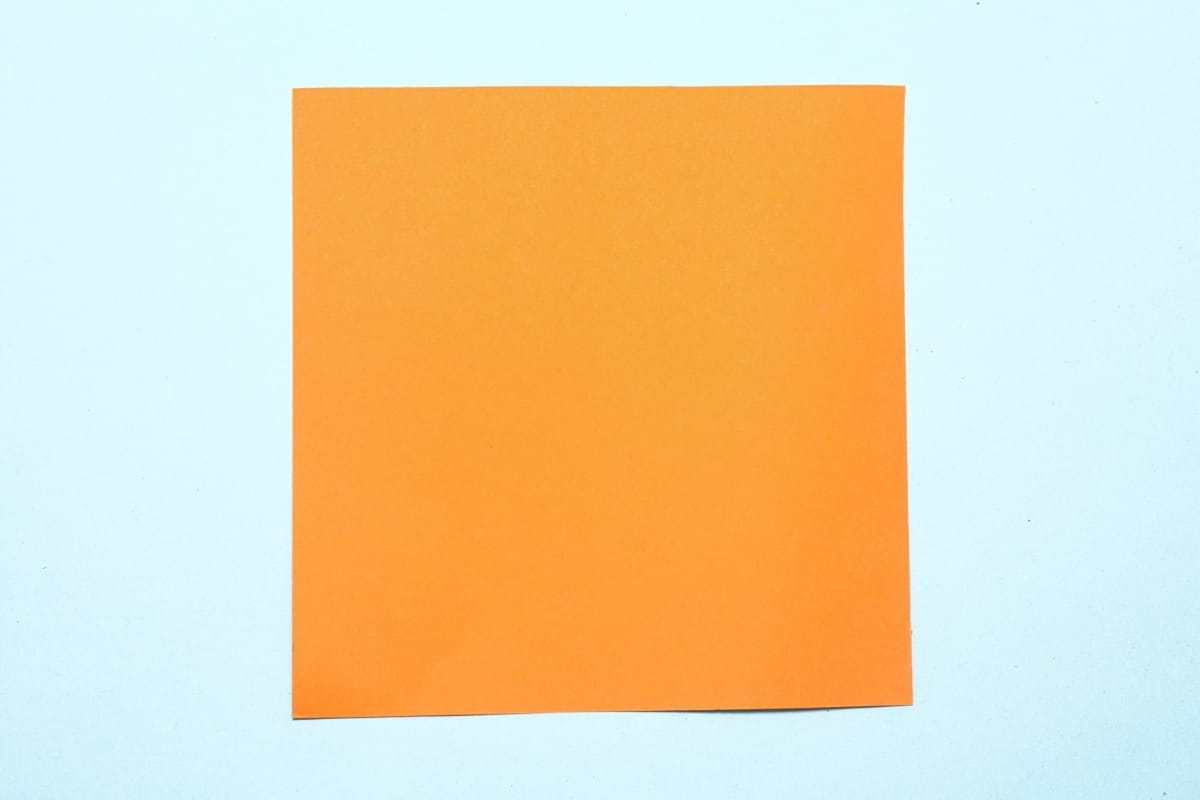
Start with a square piece of origami paper. I am using an 7×7 inches origami paper.
If you only have regular paper, follow these instructions on how to make a square origami paper.
If you only have regular paper, follow these instructions on how to make a square origami paper.
Step 2
2
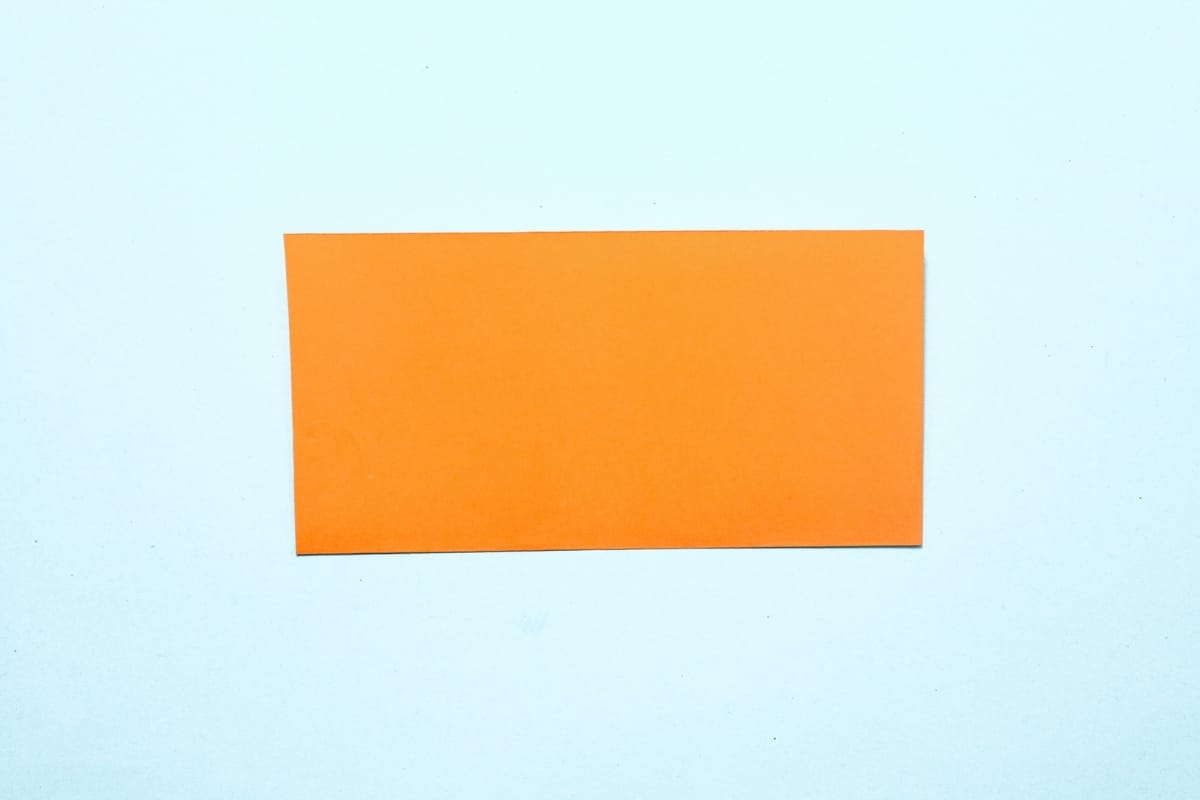
Fold in half, bottom to top.
Step 3
3
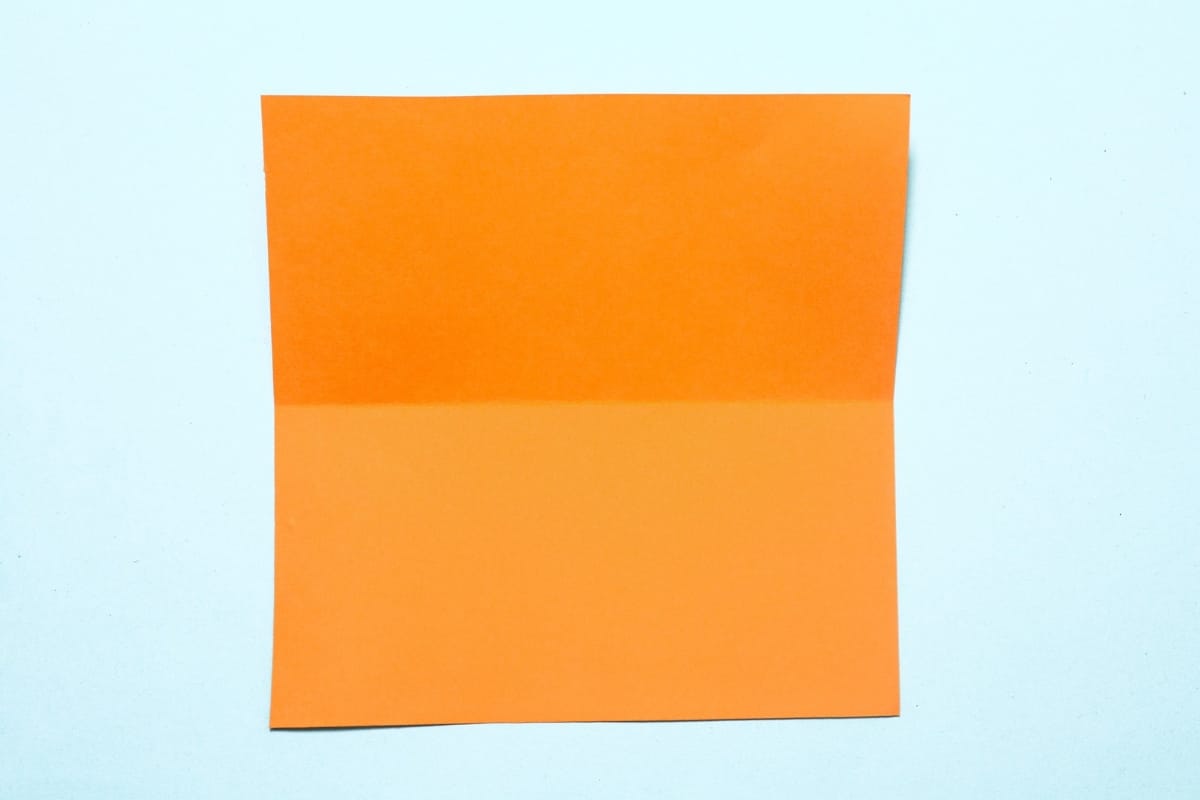
Unfold. We just needed a crease line.
Step 4
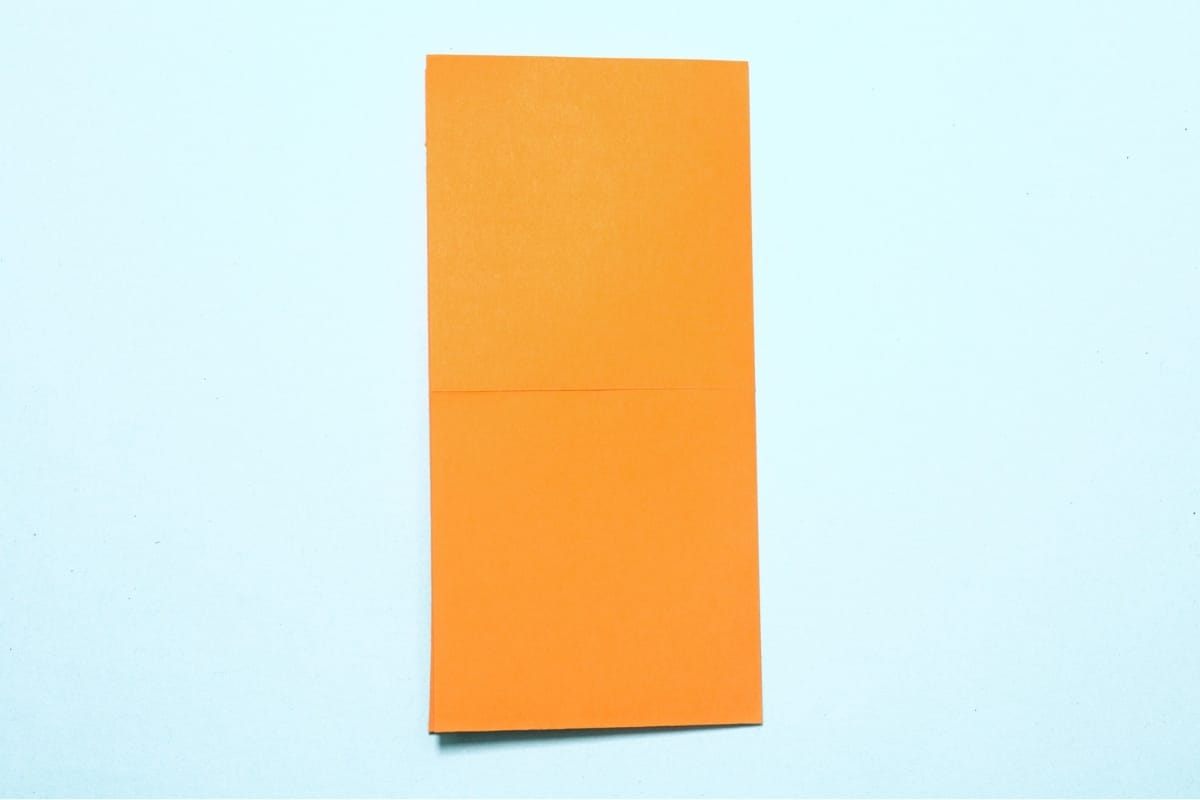
4
Fold in half, left to right.
Step 5
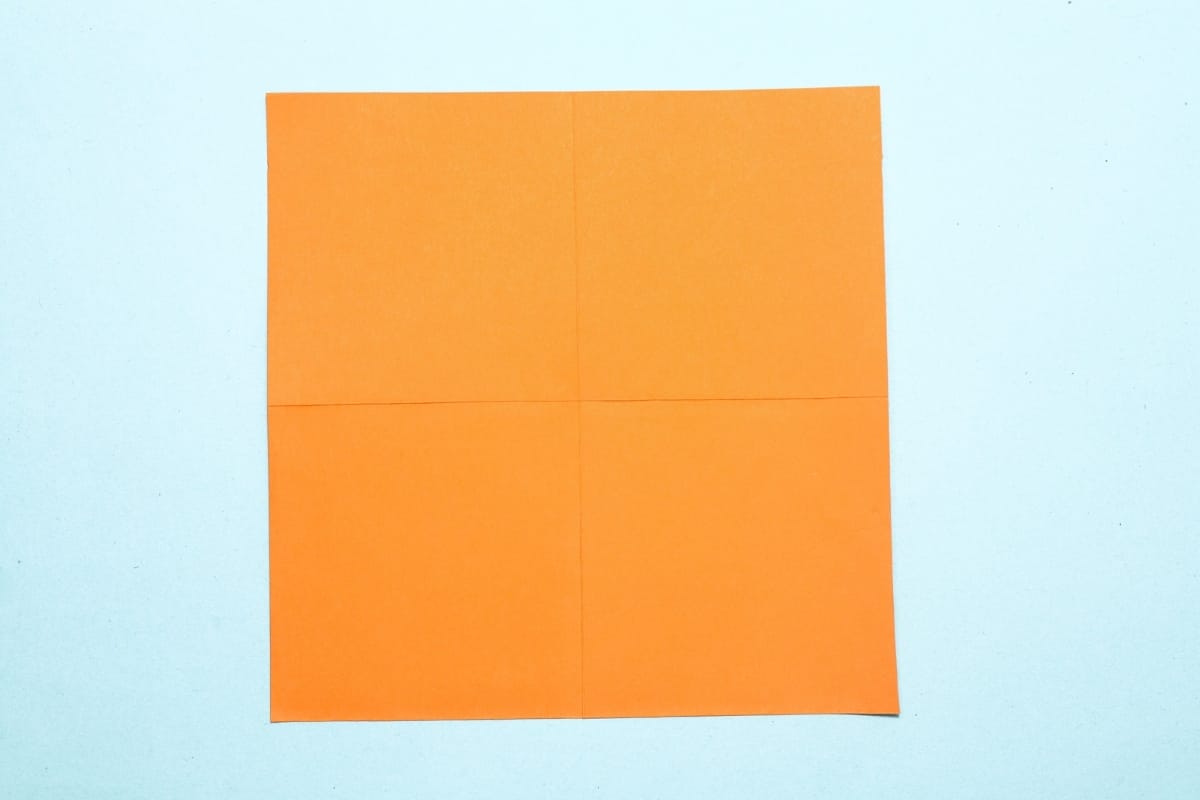
5
Unfold. We just needed a crease line.
Step 6
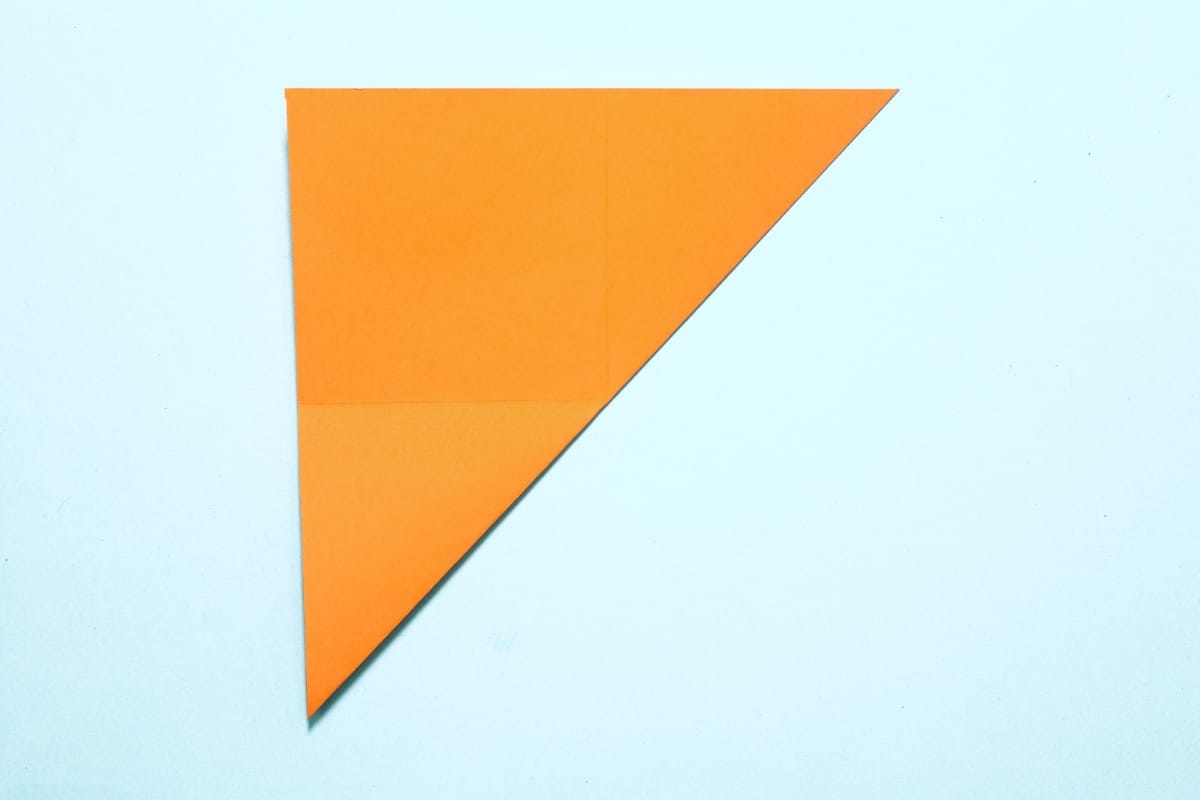
6
Fold the bottom right corner diagonally upward until it touches the top left corner.
Step 7
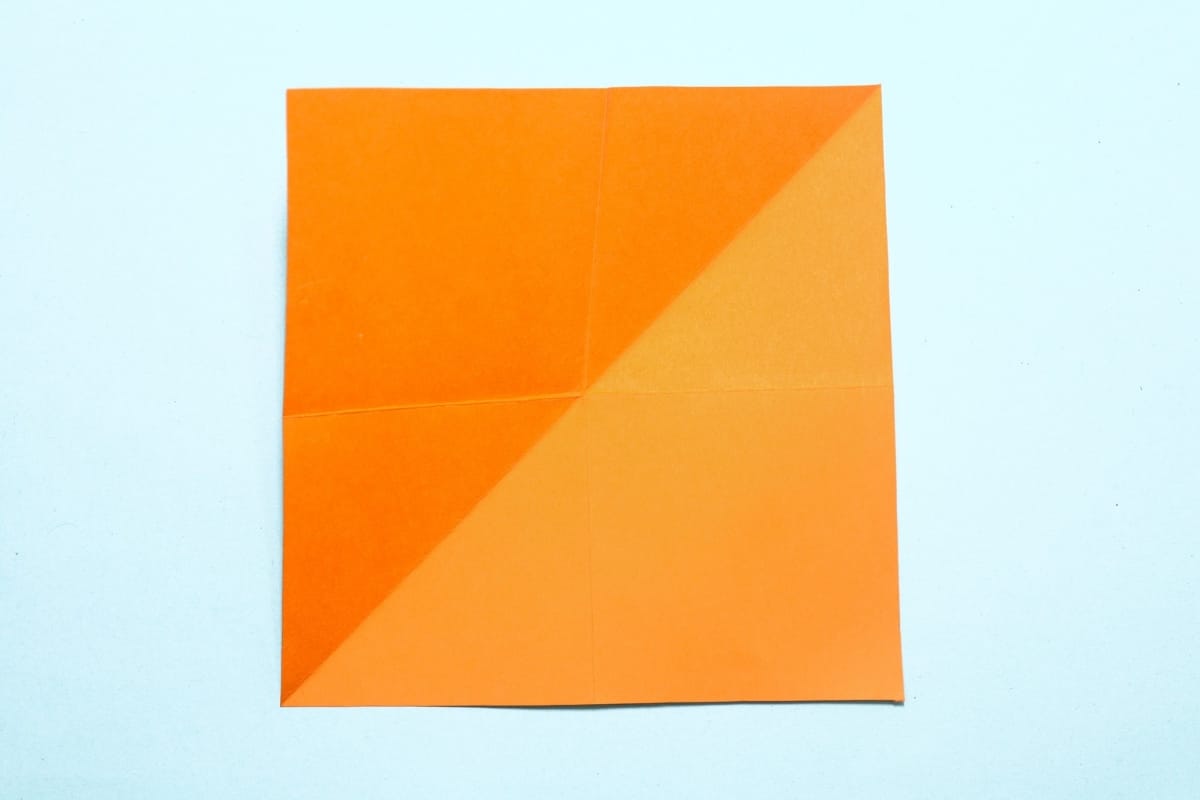
7
Unfold. We just needed a crease line.
Step 8
8
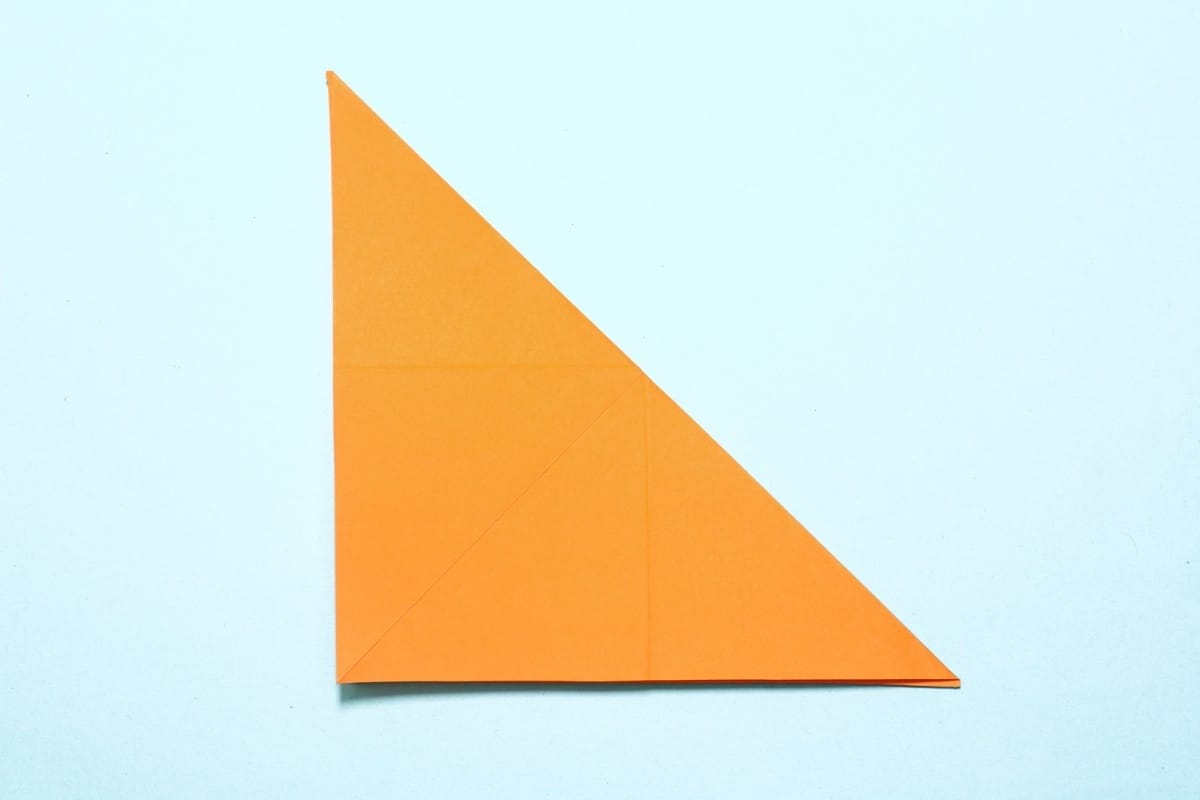
Fold the top right corner diagonally downward until it touches the bottom left corner.
Step 9
9
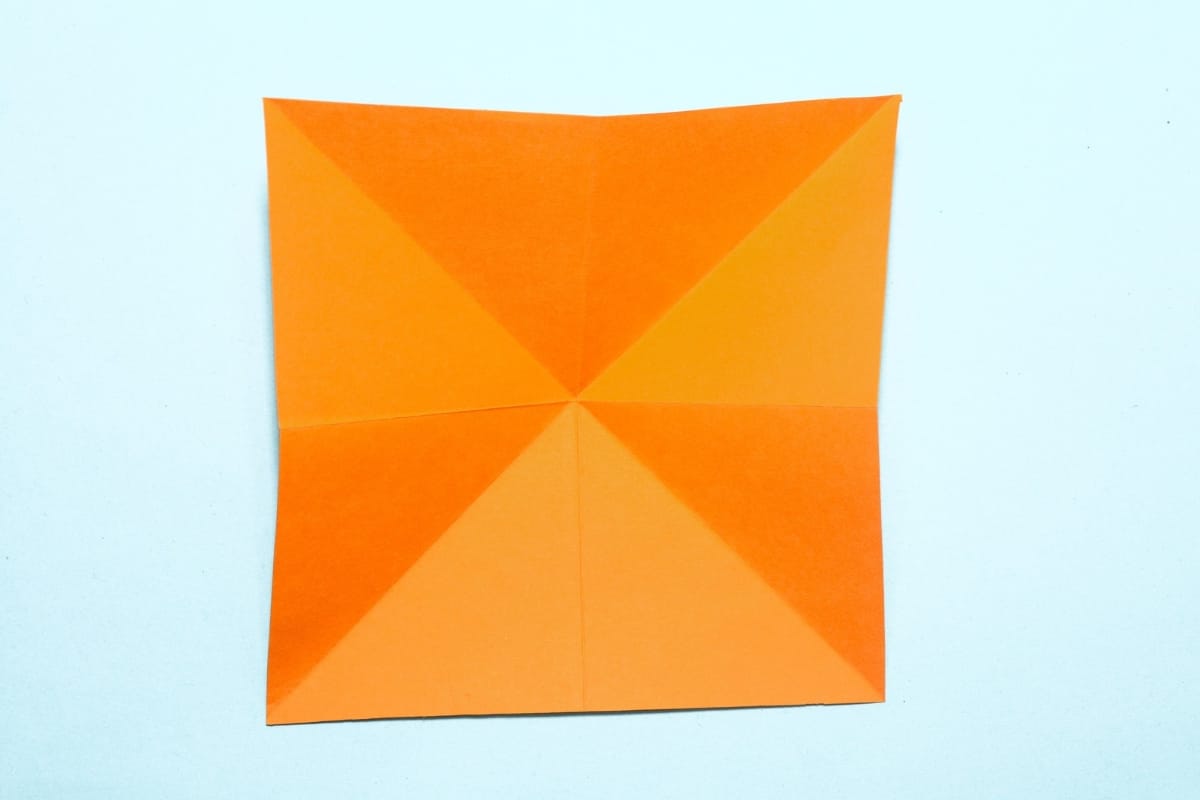
Unfold. We just needed a crease line.
Step 10
10
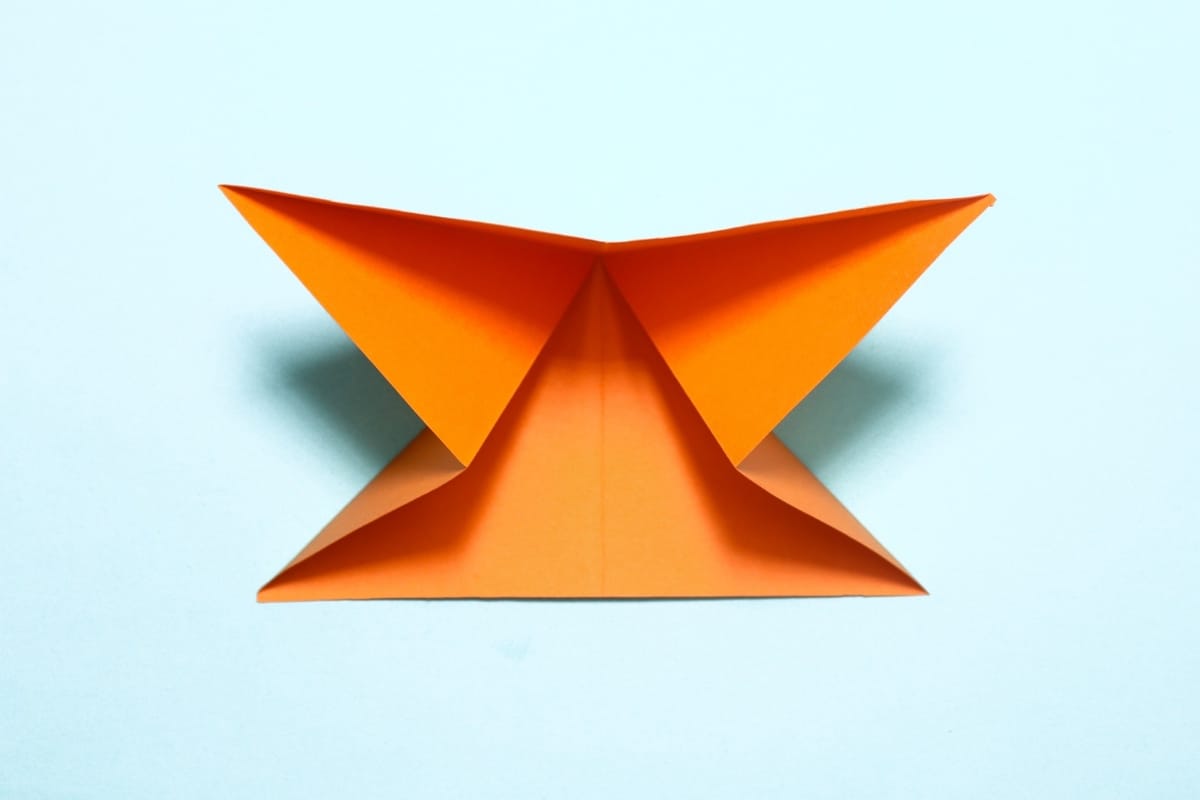
Bring both side edges together at the bottom center crease.
Step 11
11
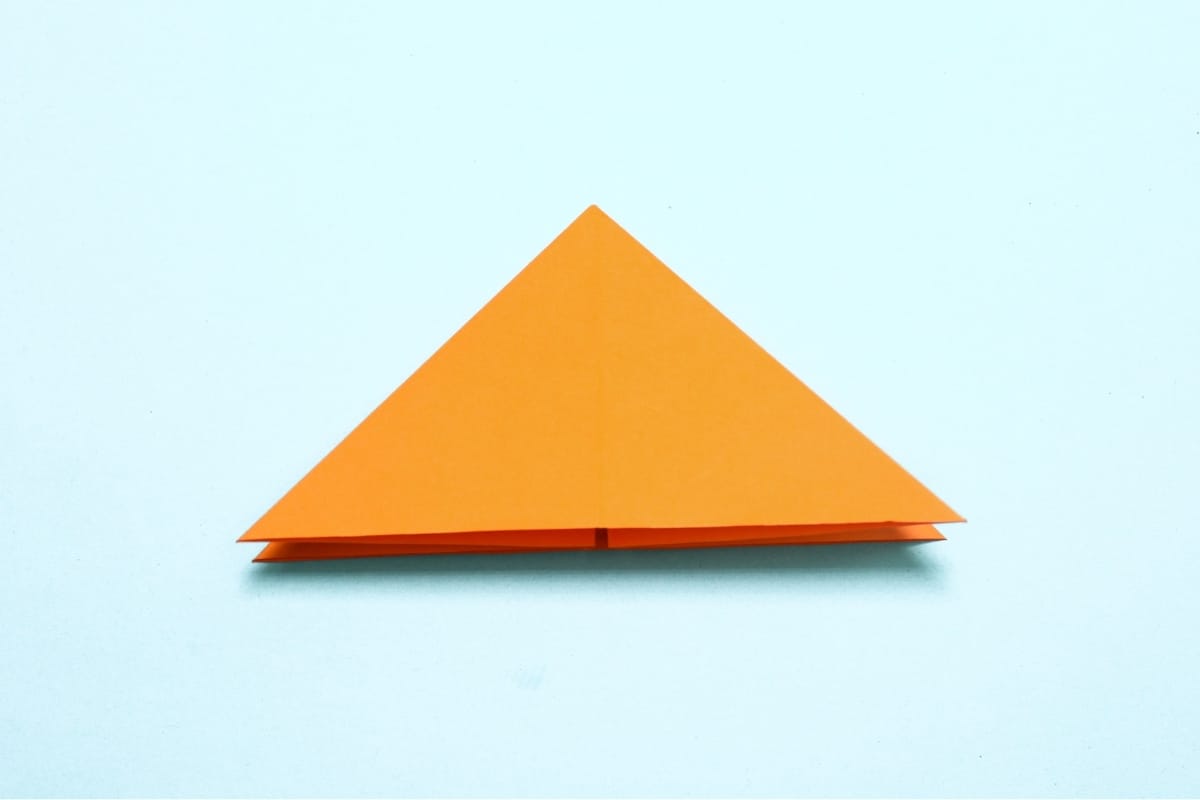
Flatten the fold.
Step 12
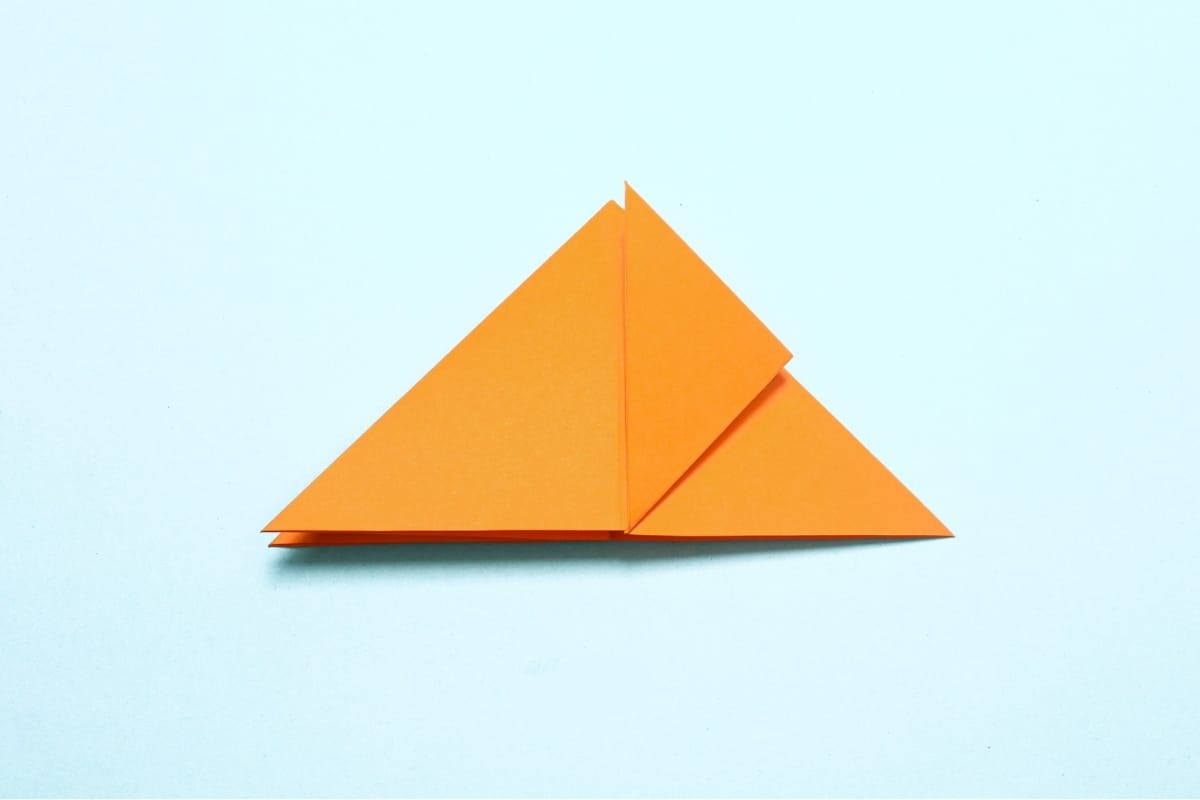
12
Fold the bottom right corner to the tpp corner.
Step 13
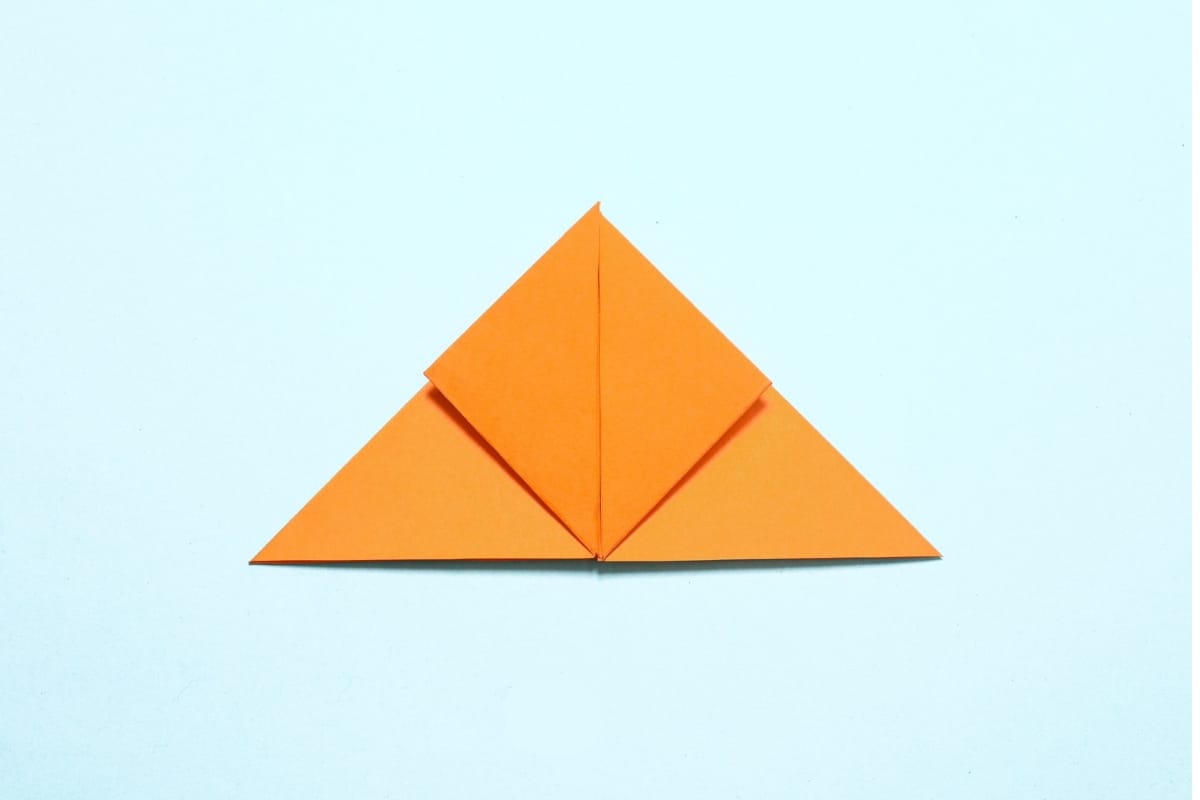
13
Fold the bottom left corner to the tpp corner.
Step 14
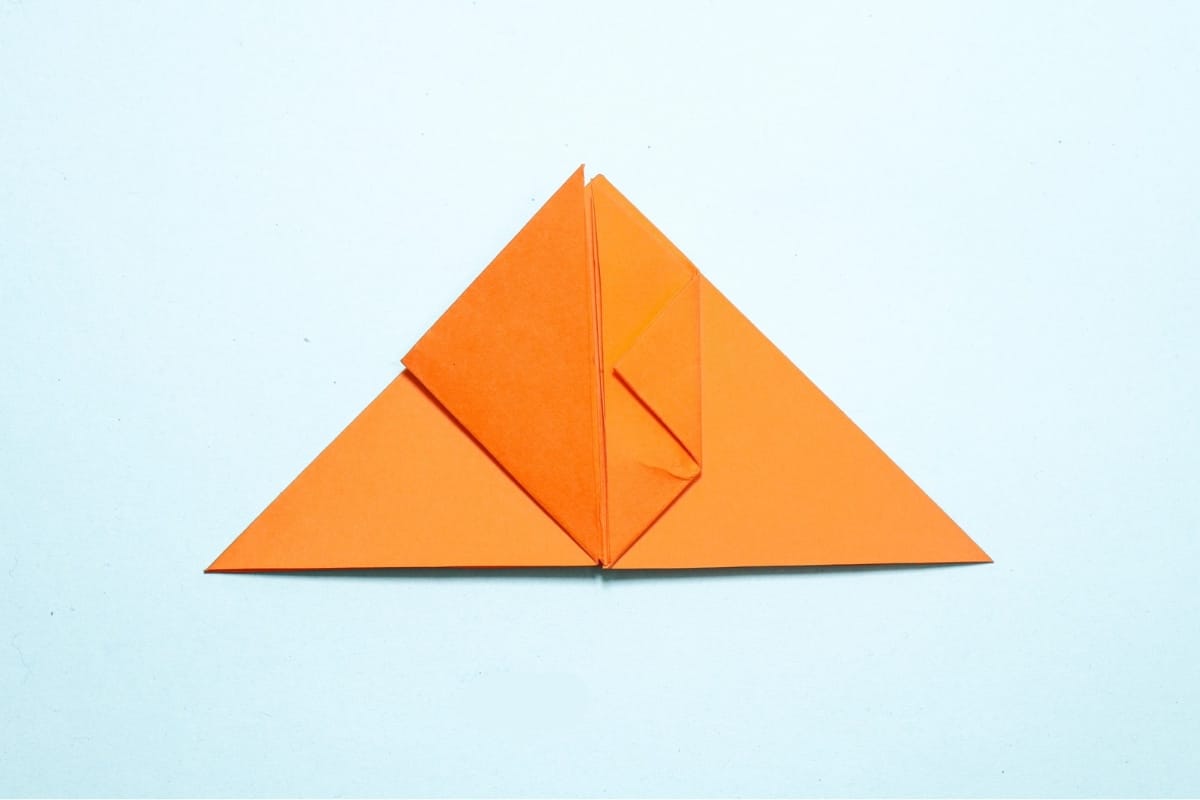
14
Fold the right corner of the top flap to meet the center crease.
Step 15
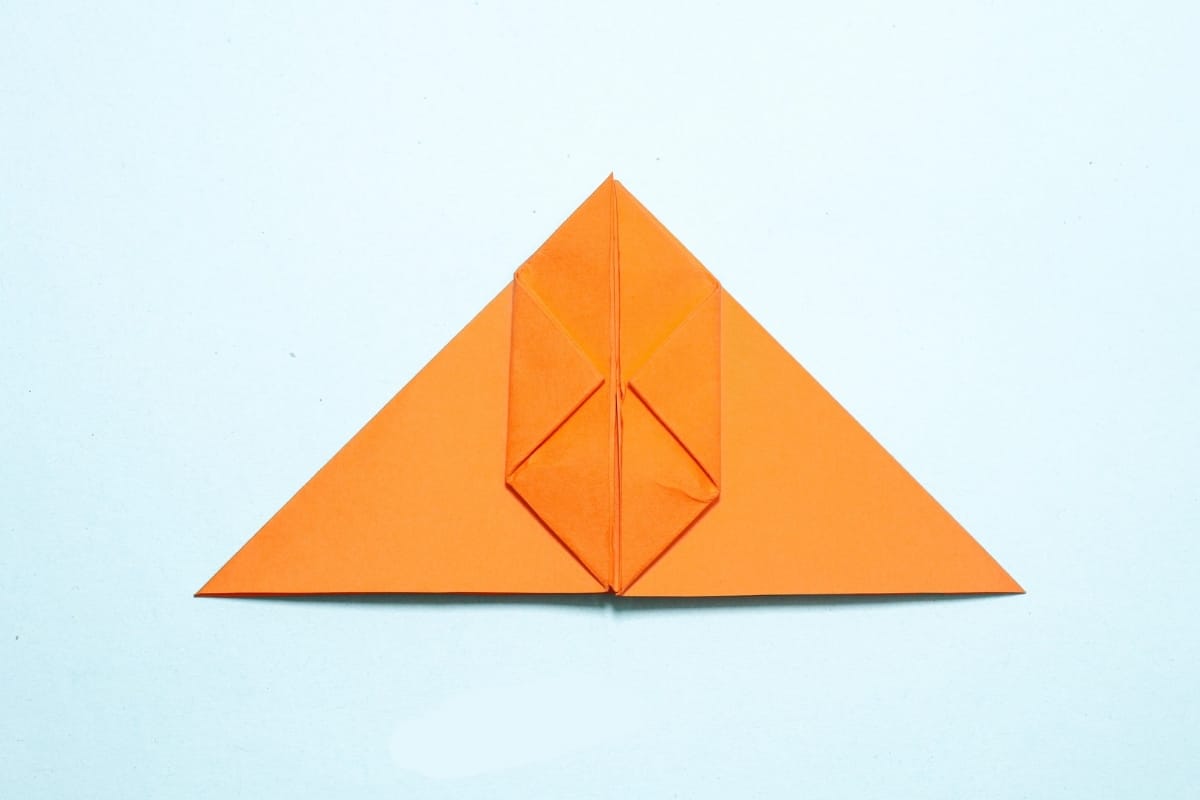
15
Fold the left corner of the top flap to meet the center crease.
Step 16
16
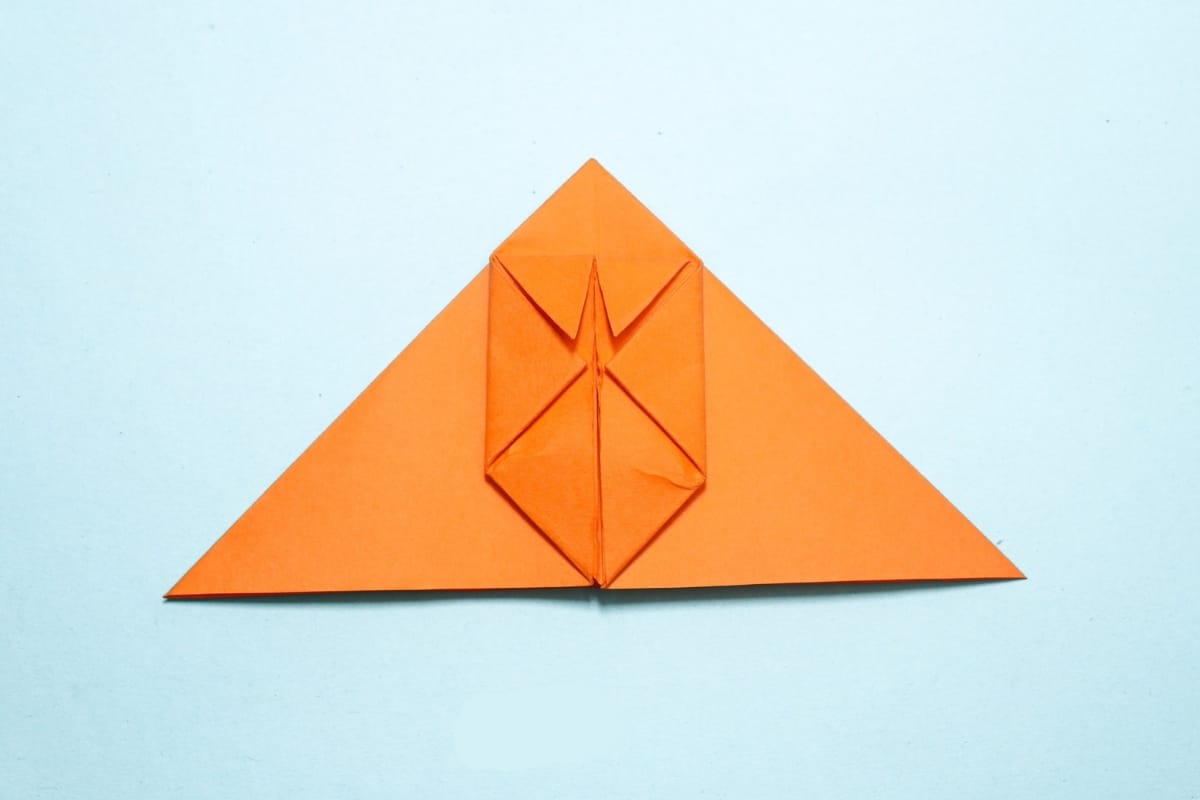
Bring both top corners down to meet at the center point.
Step 17
17
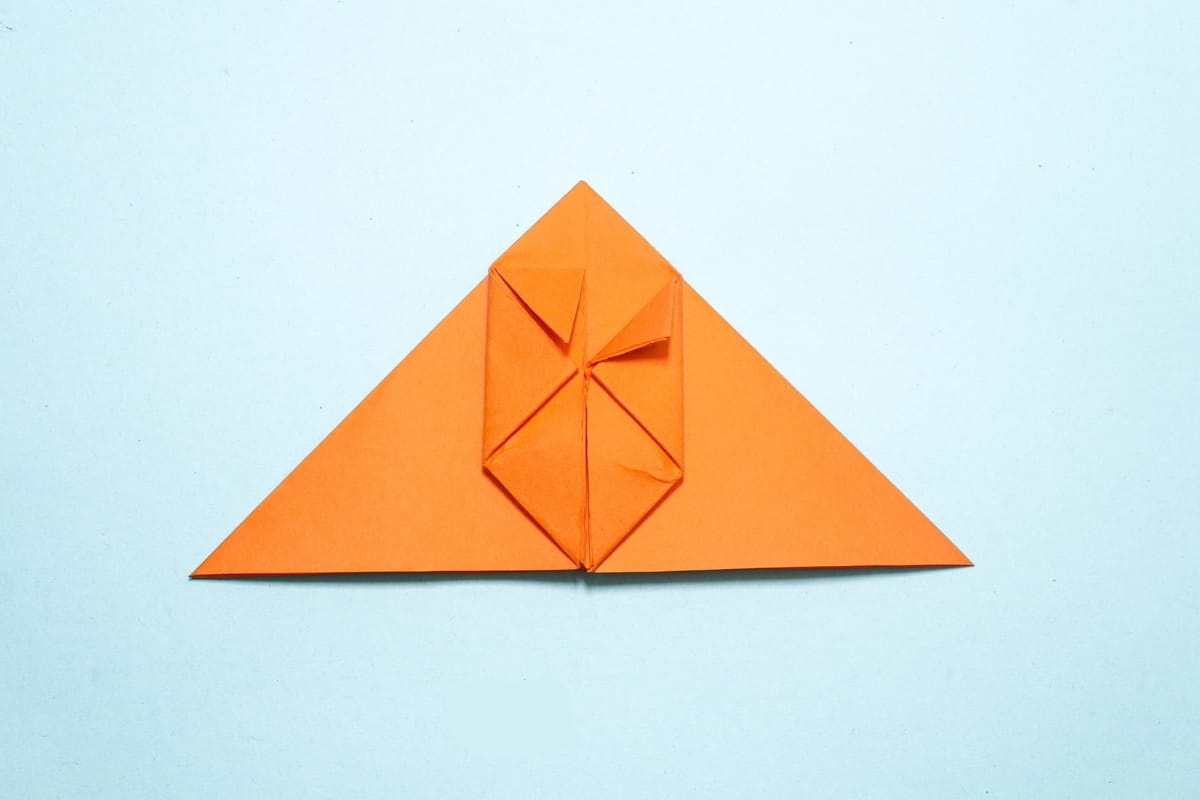
Gently open the top right flap.
Step 18
18
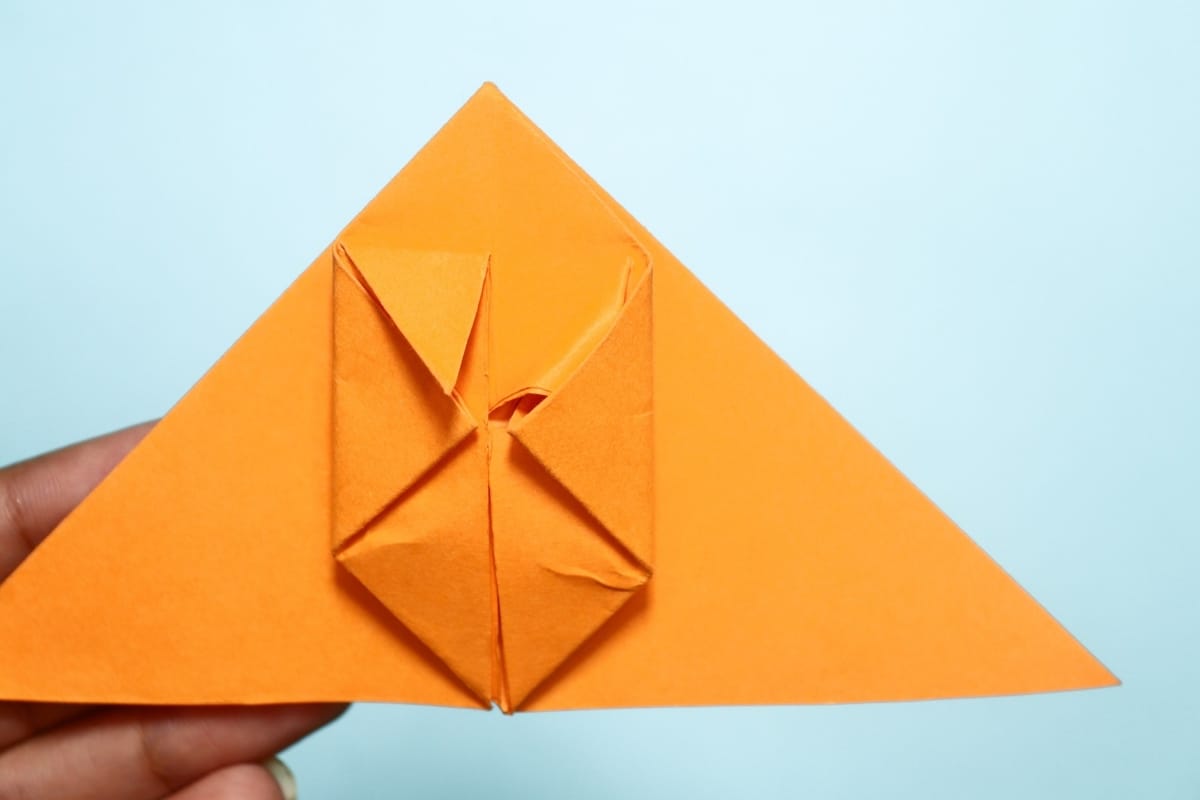
Tuck the upper flap neatly inside to secure it.
Step 19
19
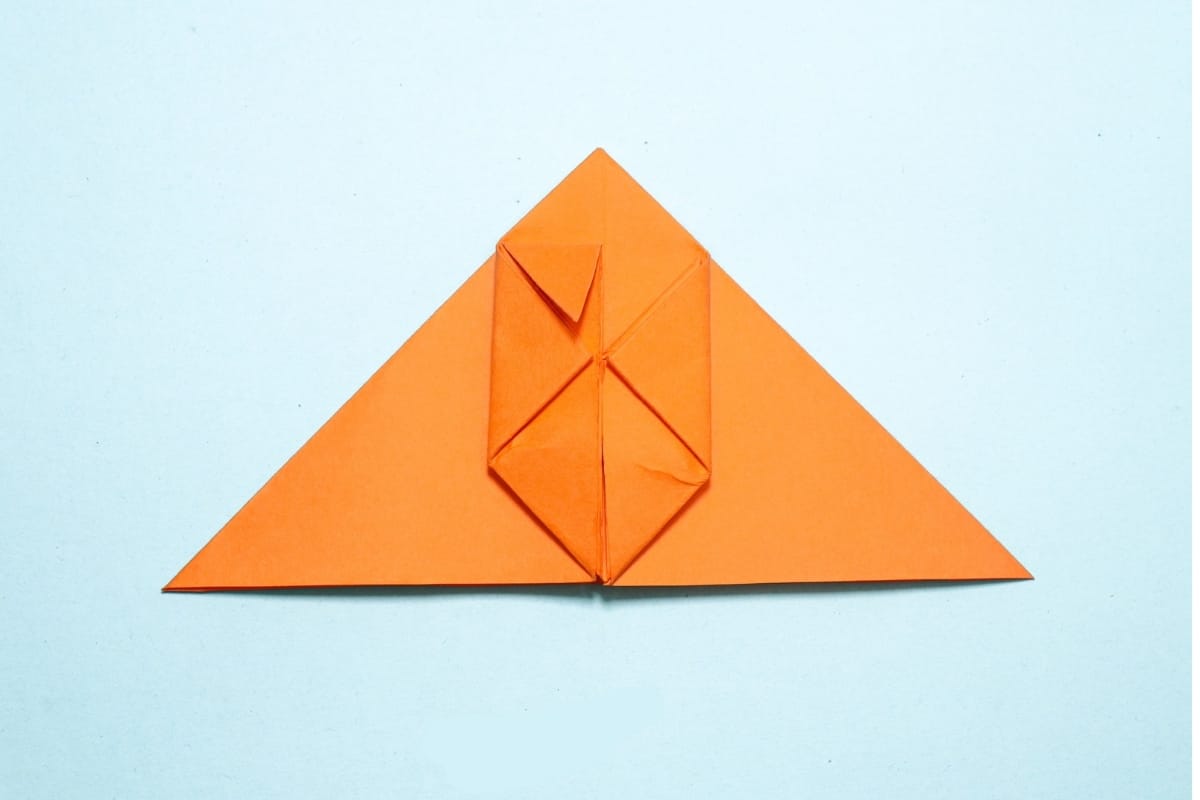
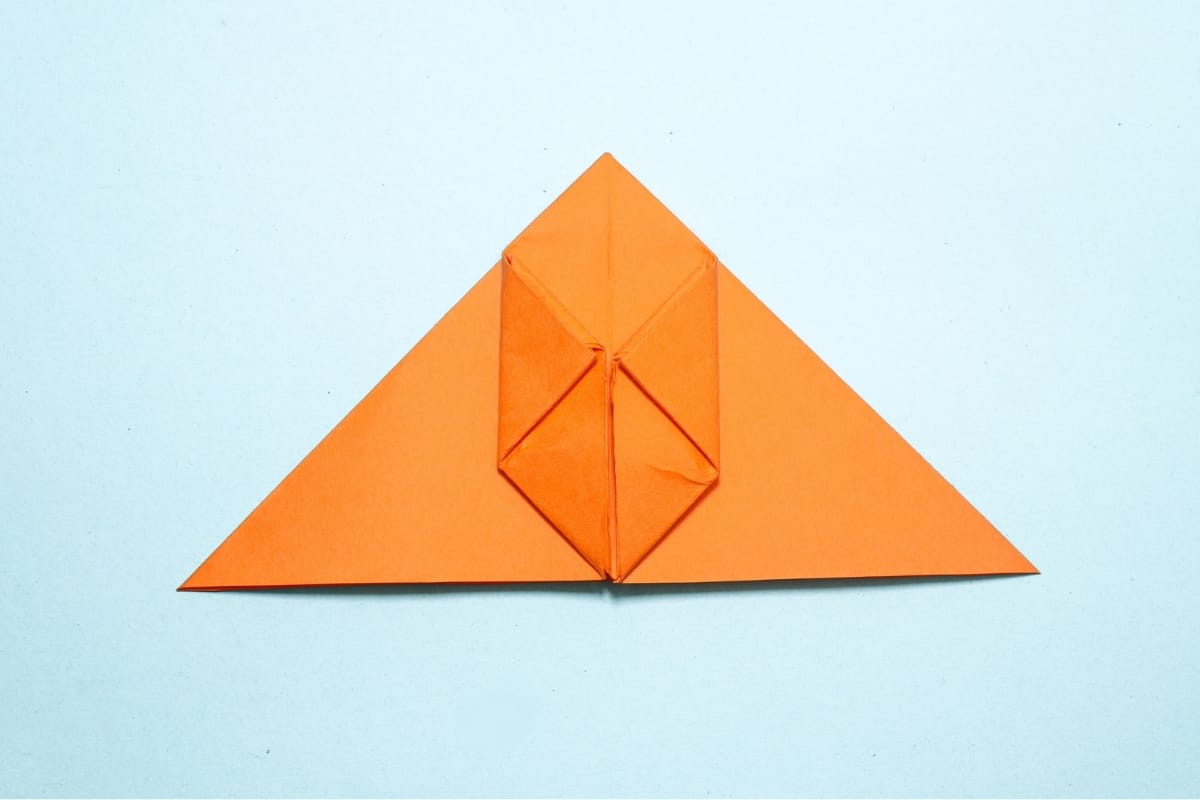
After you insert the flap, the model should match the image shown above.
Step 20
20
Repeat the steps 17-19 on left side too.
Step 21
21
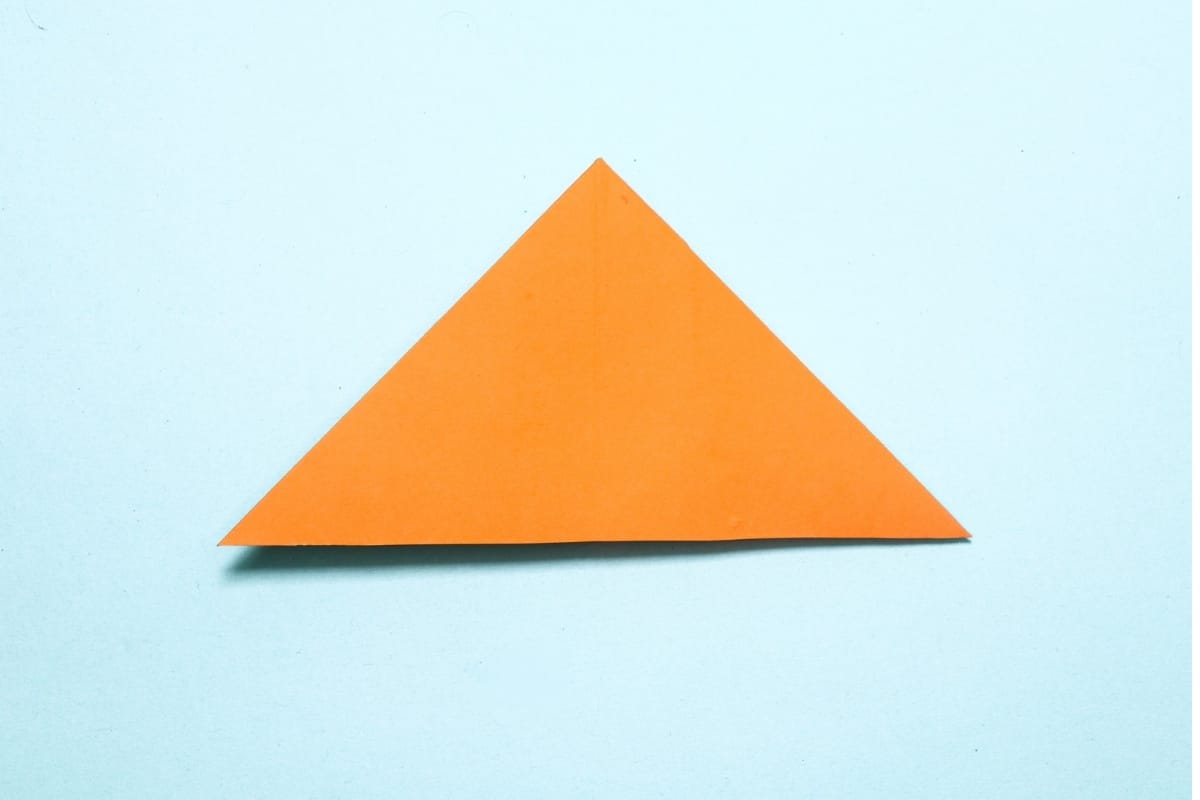
Turn the model over.
Step 22
22
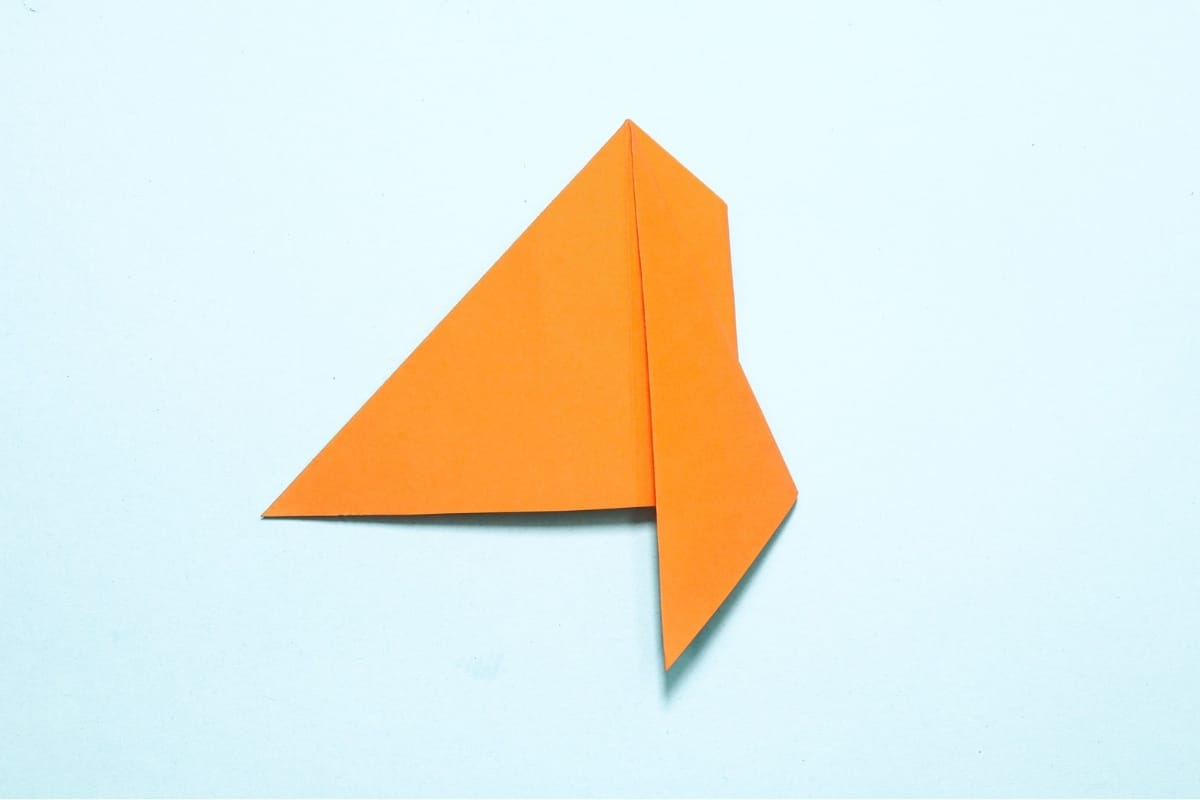
Fold down the right edge diagonally to meet the center vertical crease.
Step 23
23
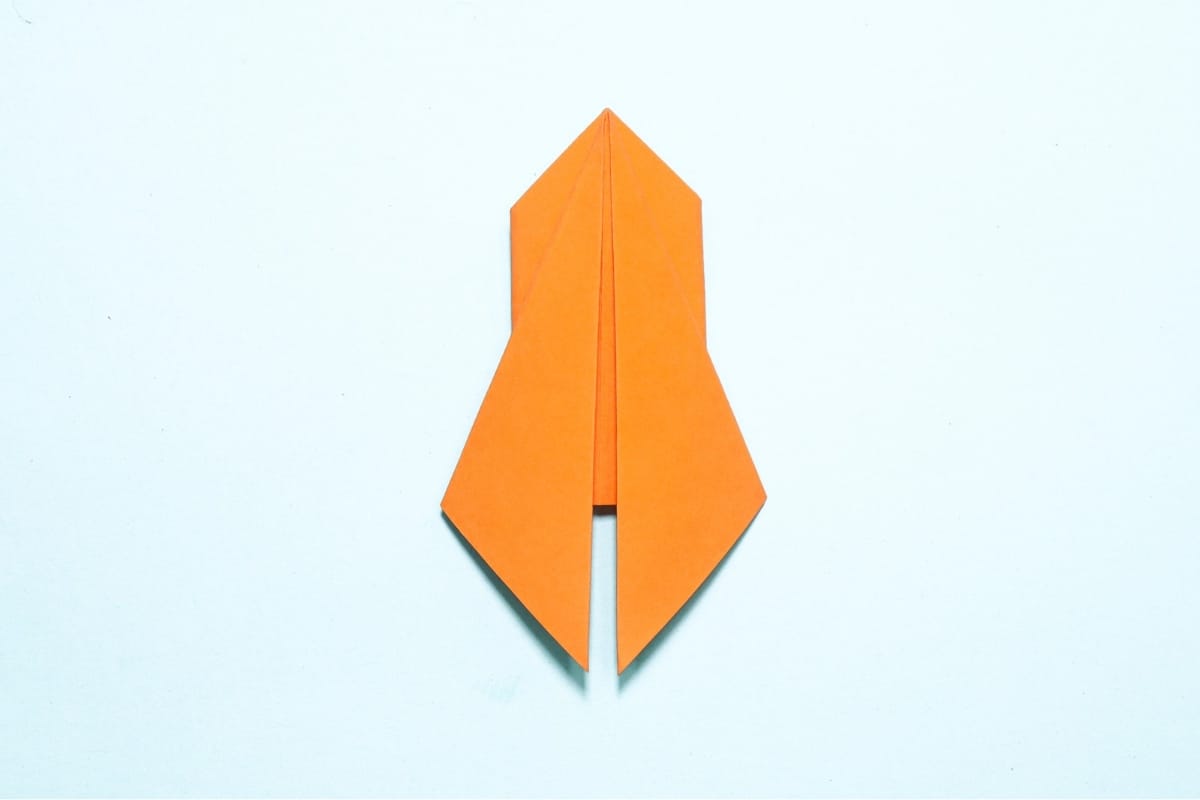
Fold down the left edge diagonally to meet the center vertical crease.
Step 24
24
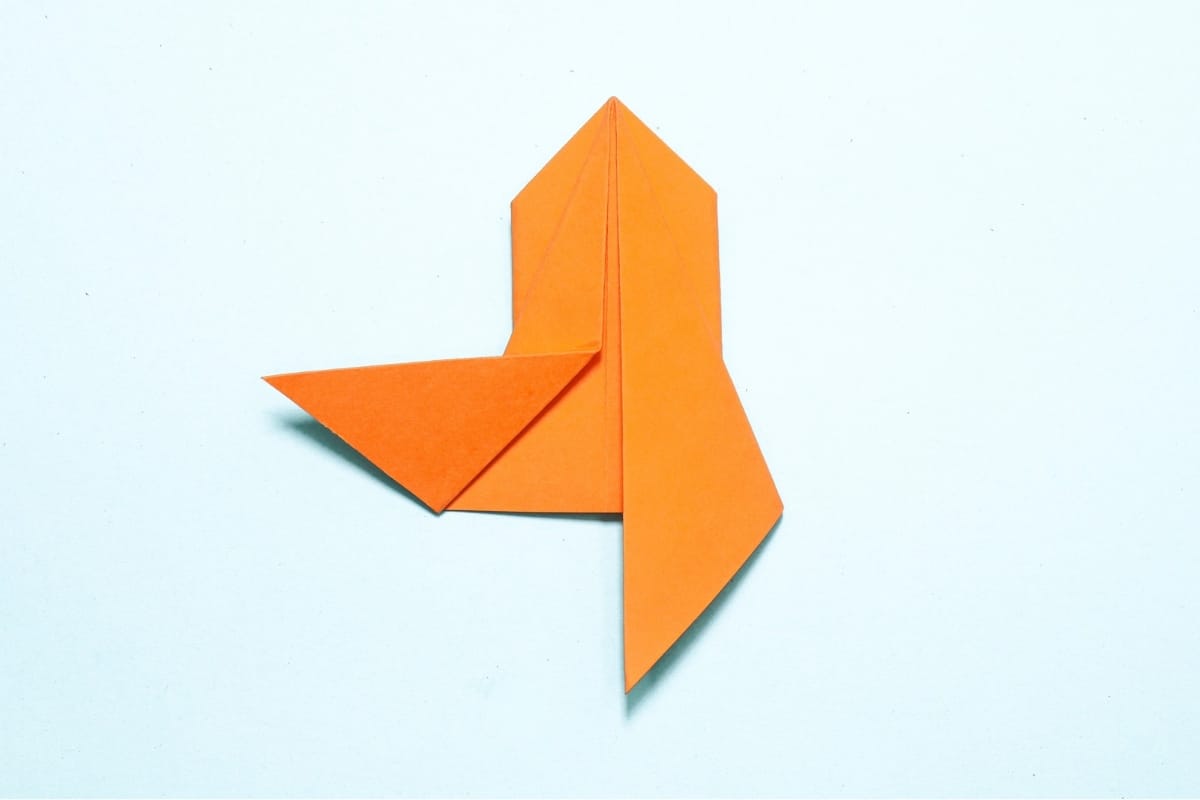
Fold the bottom left section diagonally outward until the upper edge of the new flap lies flat and horizontal.
Step 25

25
Turn the model over.
Step 26
26
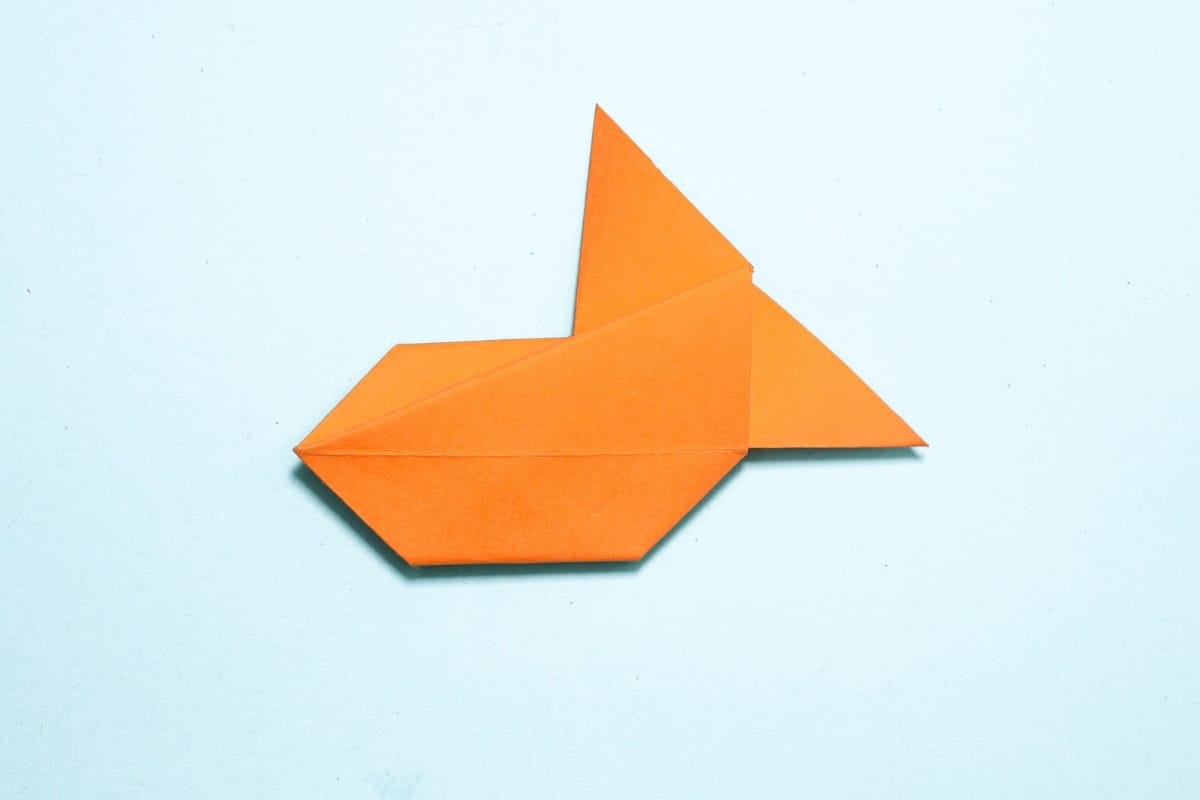
Rotate the model by 90°.
Step 27
27
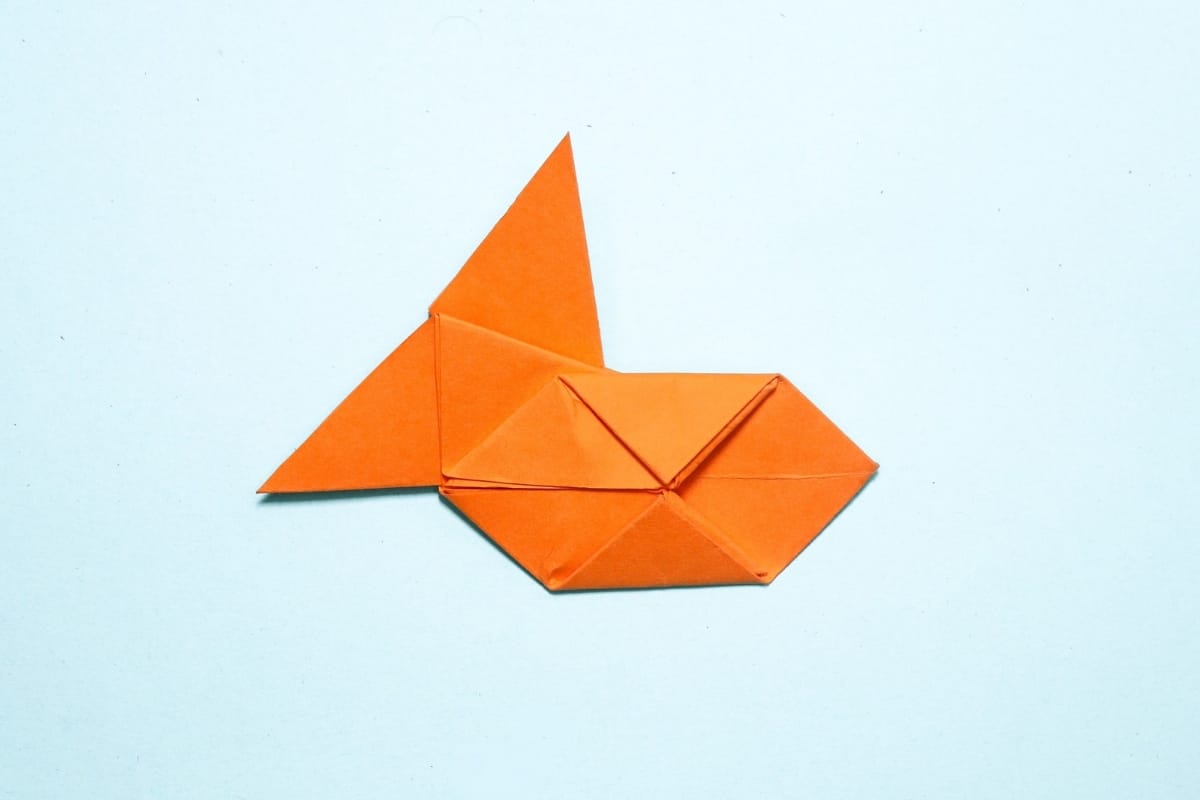
Flip over the model.
Step 28
28
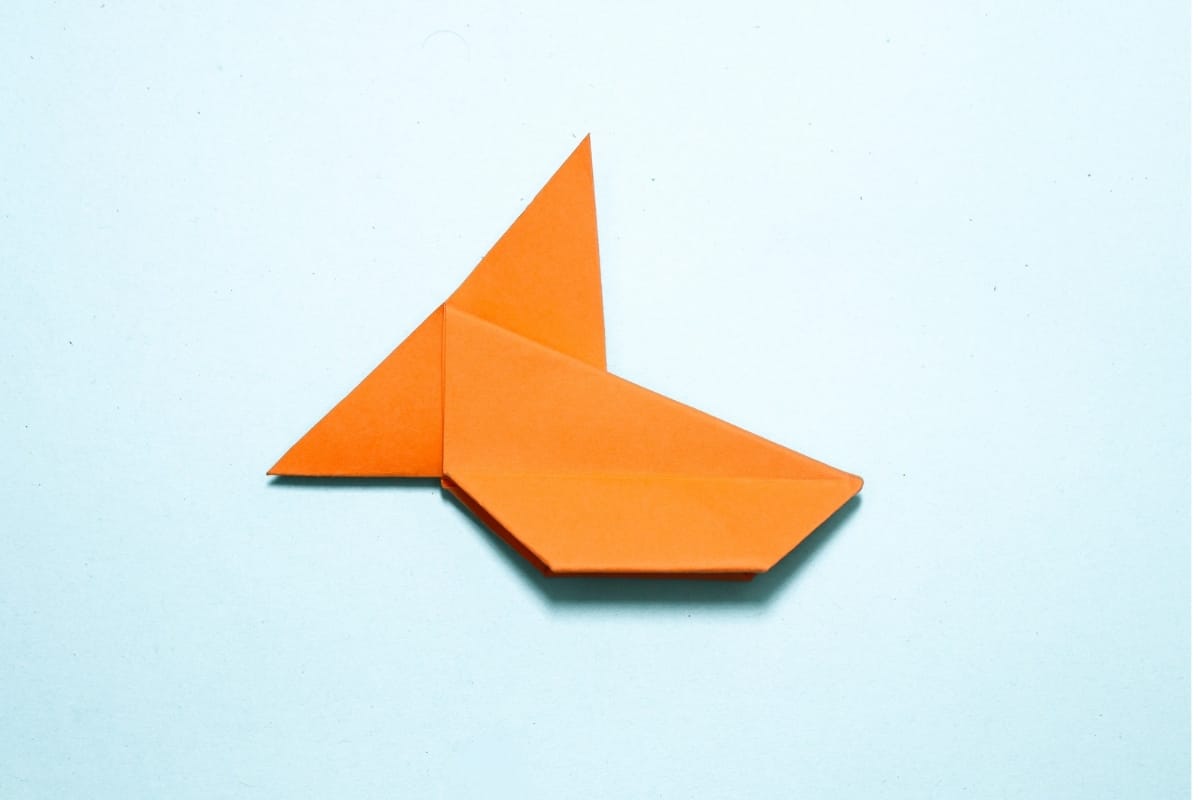
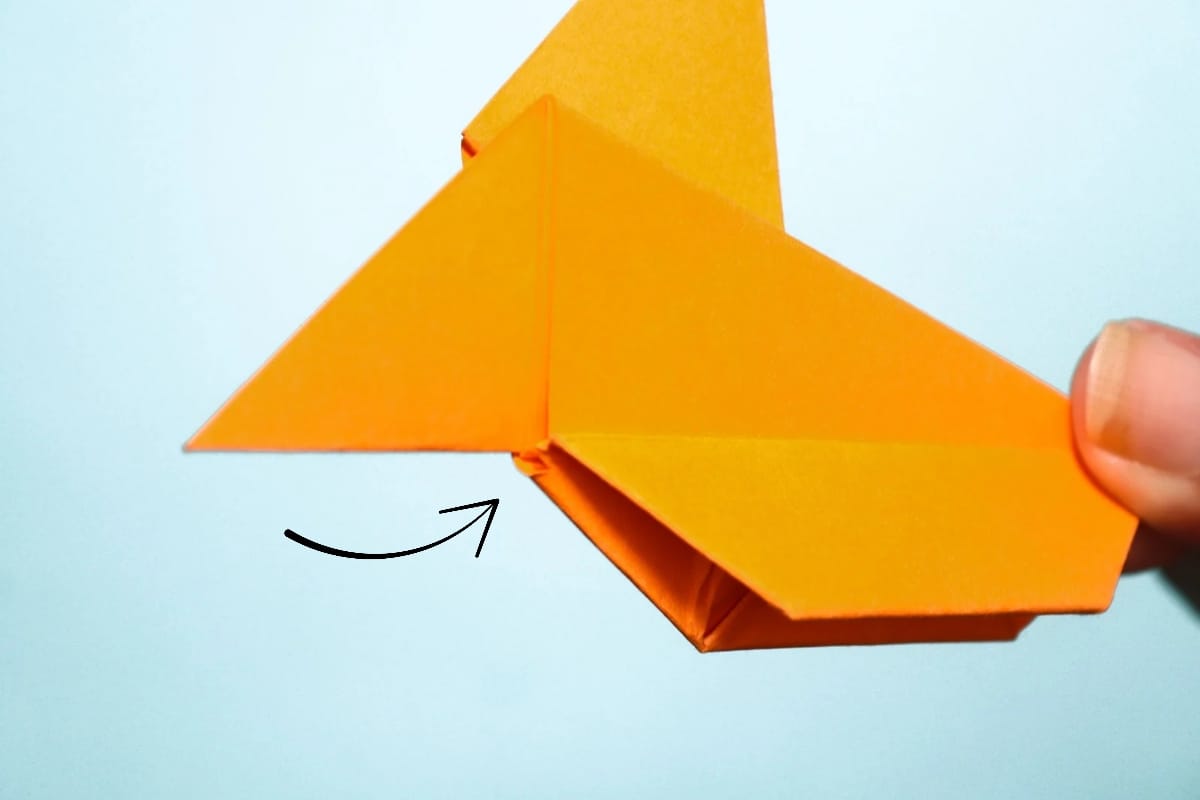
Fold down the top flap.
Step 29
29
Blow air into the hole.
Step 30
30
Your inflatable origami fish is finished. Hold on tight before it swims away!
Share and Comment
We would love to see your creations! Scroll down to the comments section and share a photo of your origami.
Leave a Reply