
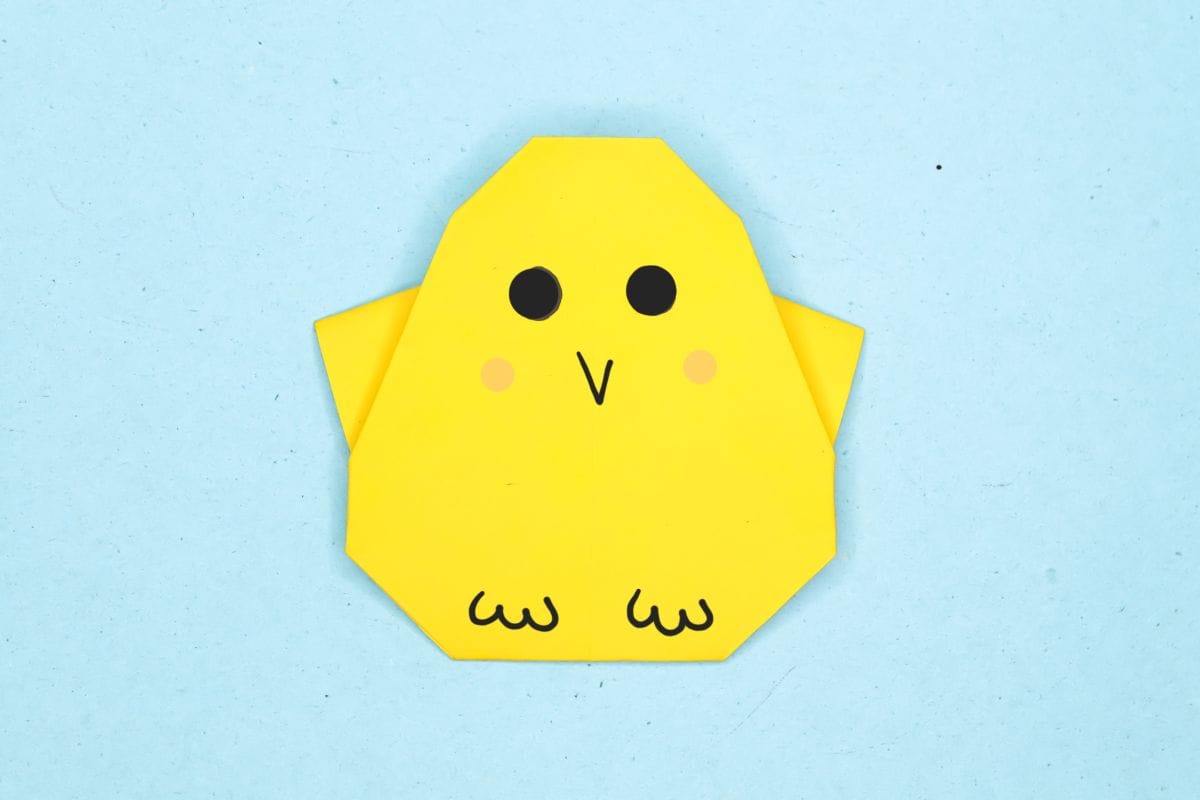
Ready to fold the cutest little fluffball ever? With just a few simple steps, you can create your very own origami chick, round, cheerful, and absolutely adorable. Perfect for spring, Easter, or anytime you need a burst of cuteness! Grab your paper and let’s bring this tiny chick to life!
Easy and Cute Origami Chick Instructions
Difficulty:
Easy
Make a cute Origami chick in minutes! Our clear, easy-to-follow steps are perfect for young crafters and first-time folders.
Step 1

1
Start with a square sheet of origami paper. I am using an 7×7 inches origami sheet.
If you only have regular paper, follow these instructions on how to make a square origami paper.
If you only have regular paper, follow these instructions on how to make a square origami paper.
Step 2

2
Rotate the paper into a diamond.
Step 3

3
Fold the right corner to meet the left corner.
Step 4

4
Unfold. We just needed a crease line.
Step 5

5
Fold the bottom corner to the top corner.
Step 6

6
Fold the right edge to the bottom edge.
Step 7

7
Unfold.
Step 8

8
Fold the right corner toward the left edge, aligning the corner with the crease line.
Step 9

9
Fold the left corner toward the right edge.
Step 10

10
Fold down the top corner.
Step 11
11
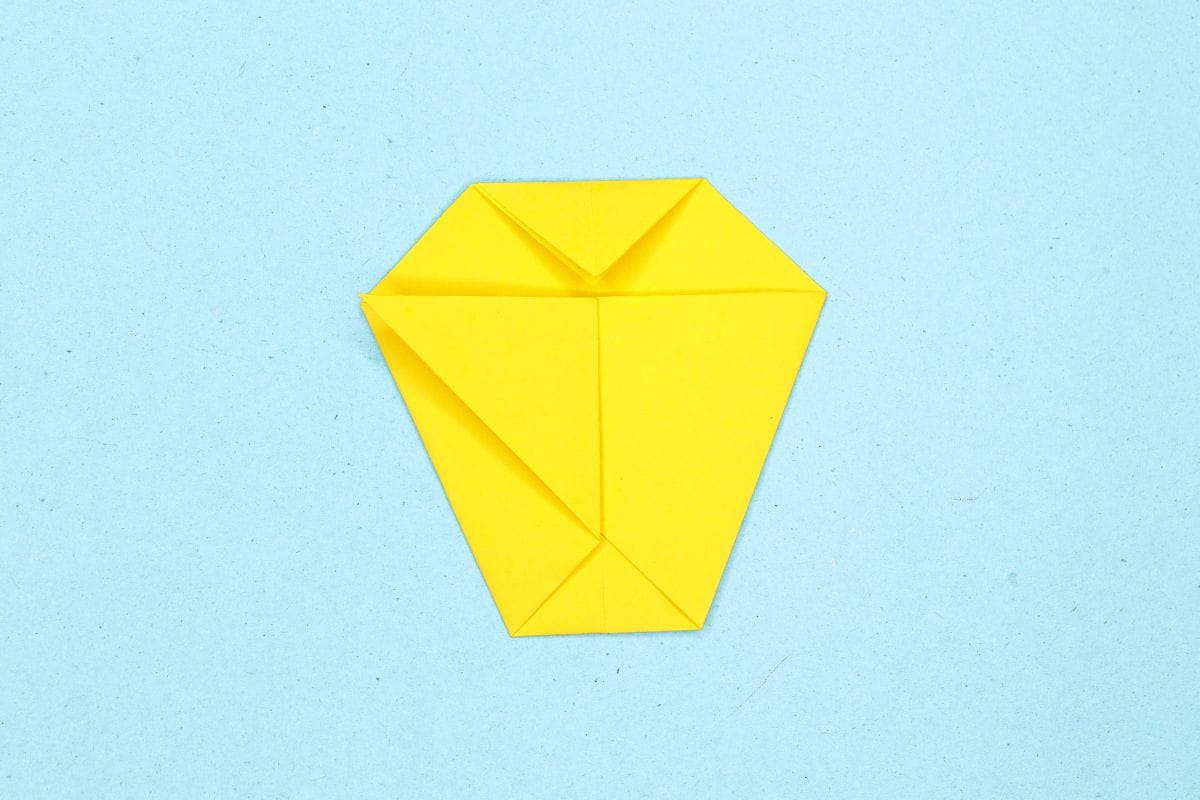
Fold the right corner to meet the left edge.
Step 12

12
Unfold the left side.
Step 13
13
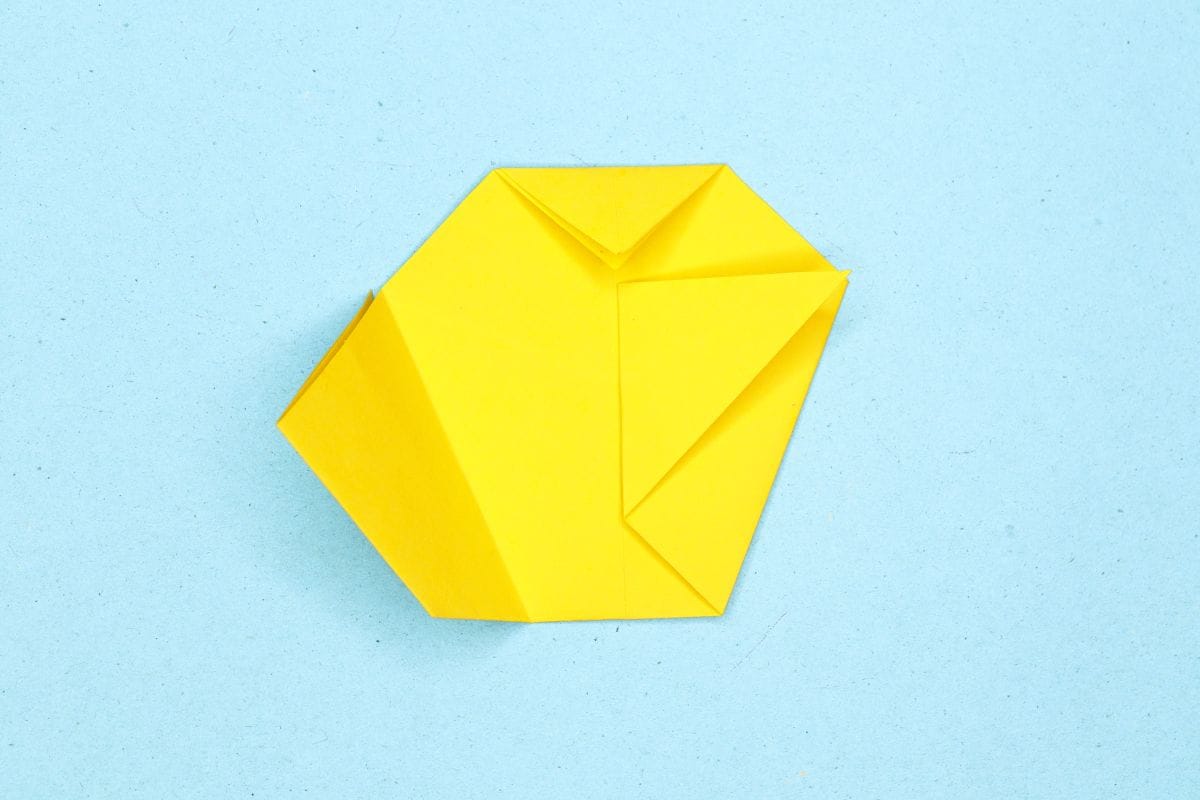
Fold the left corner to meet the right edge.
Step 14

14
Fold back the left side.
Step 15
15
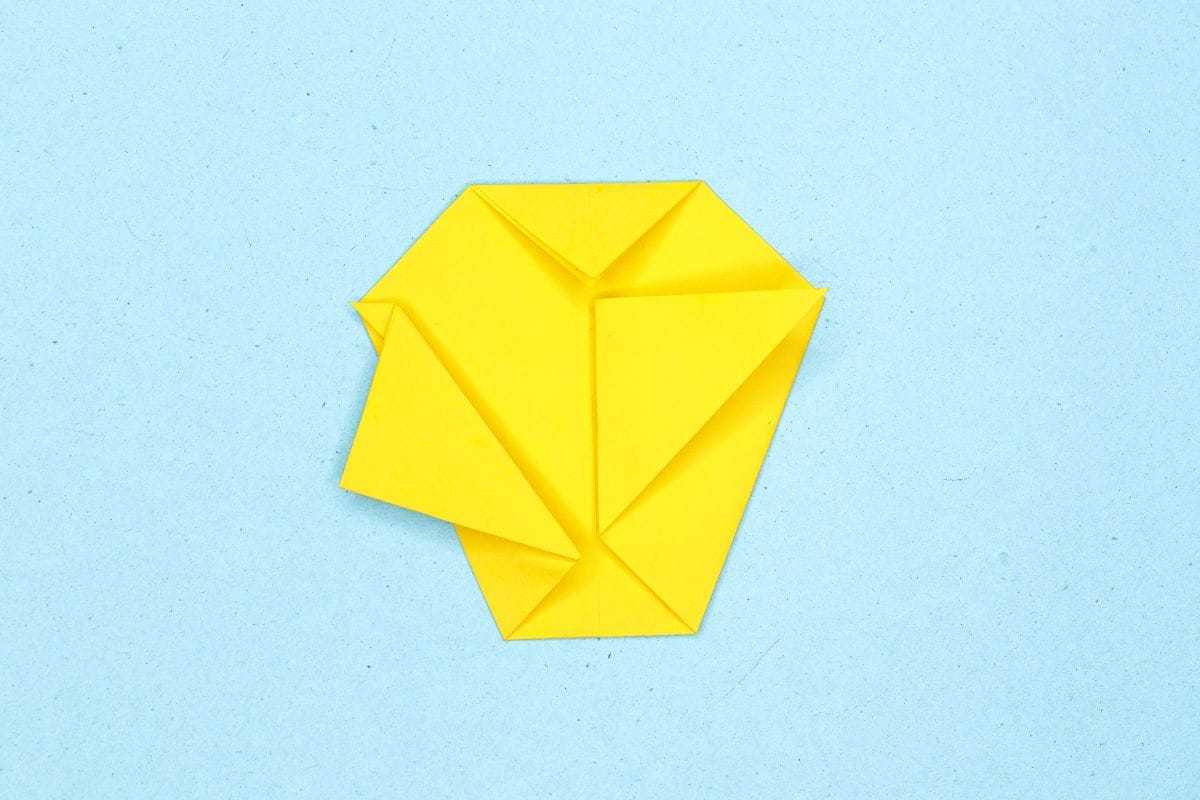
Fold down the top left edge from the right side at an angle.
Step 16

16
Fold down the top right edge from the left side at an angle.
Step 17

17
Fold the top left and right corners inward.
Step 18

18
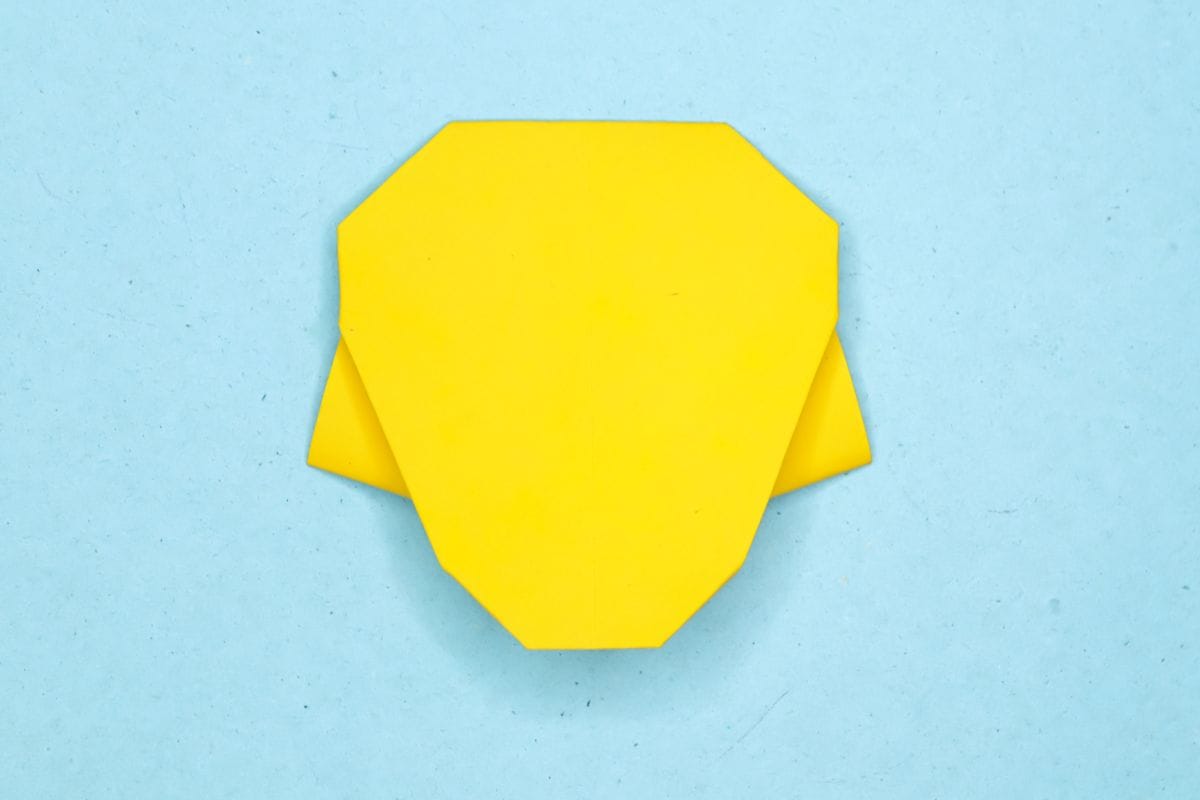
Fold the bottom corners inward.
Step 19
19
Turn the model over.
Step 20
20
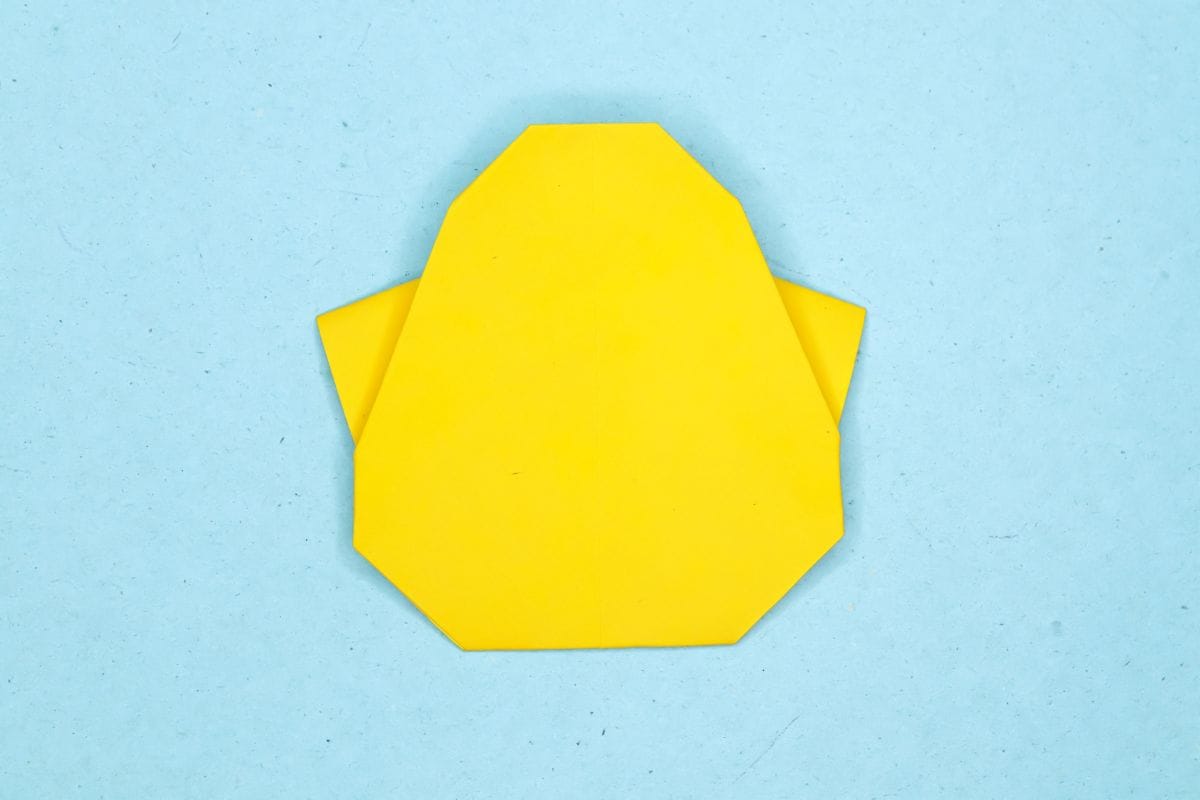
Rotate the model as shown.
Step 21
21
Draw the face and voila! How can something be this adorable.
Share and Comment
We would love to see your creations! Scroll down to the comments section and share a photo of your origami.
Leave a Reply