
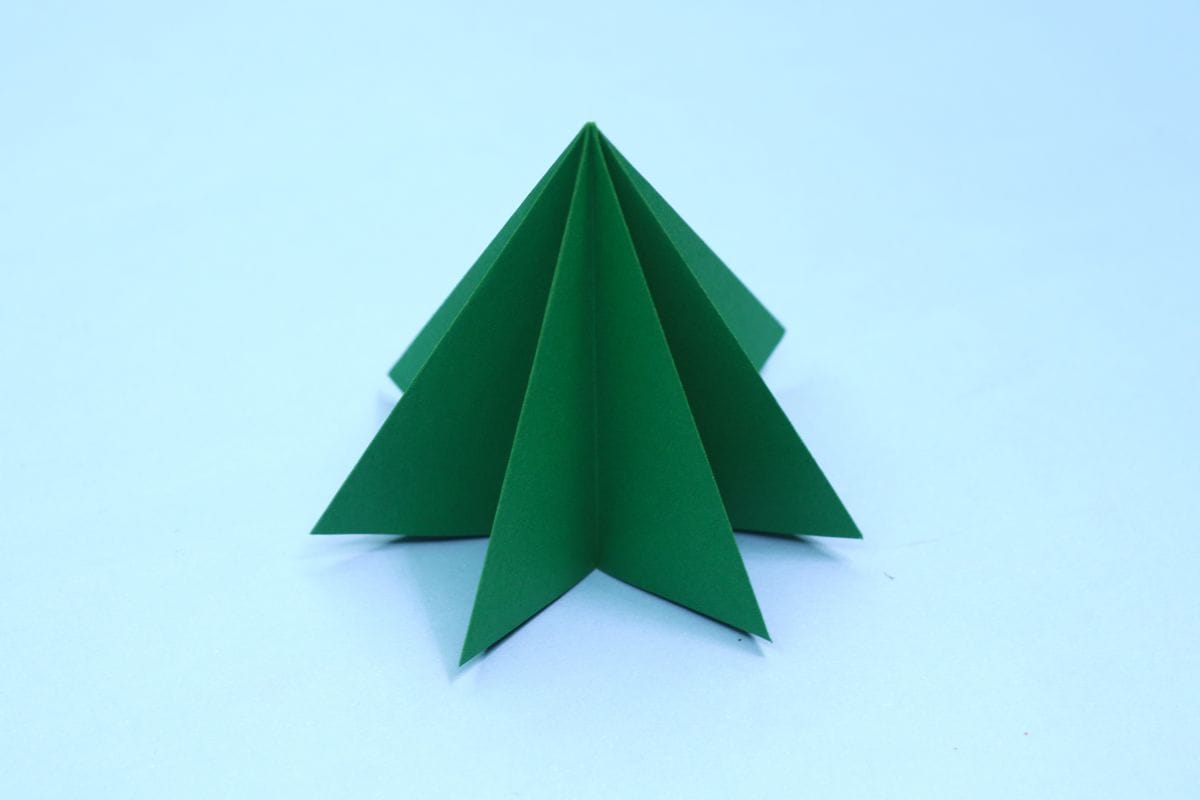
Learn how to make an origami Christmas tree with these easy, step-by-step instructions. The only slightly challenging part is the squash fold, but don’t worry! Once you master the first one, the rest will feel like a breeze. In fact, most of this festive little tree is created using that very fold. Before you know it, you’ll have a charming paper Christmas tree ready to display or decorate!
How to Make an Origami Christmas Tree
Difficulty: Intermediate
Bring the holiday spirit to life with a handmade Origami Christmas tree. Fun, simple, and great for all ages!
Step 1
1
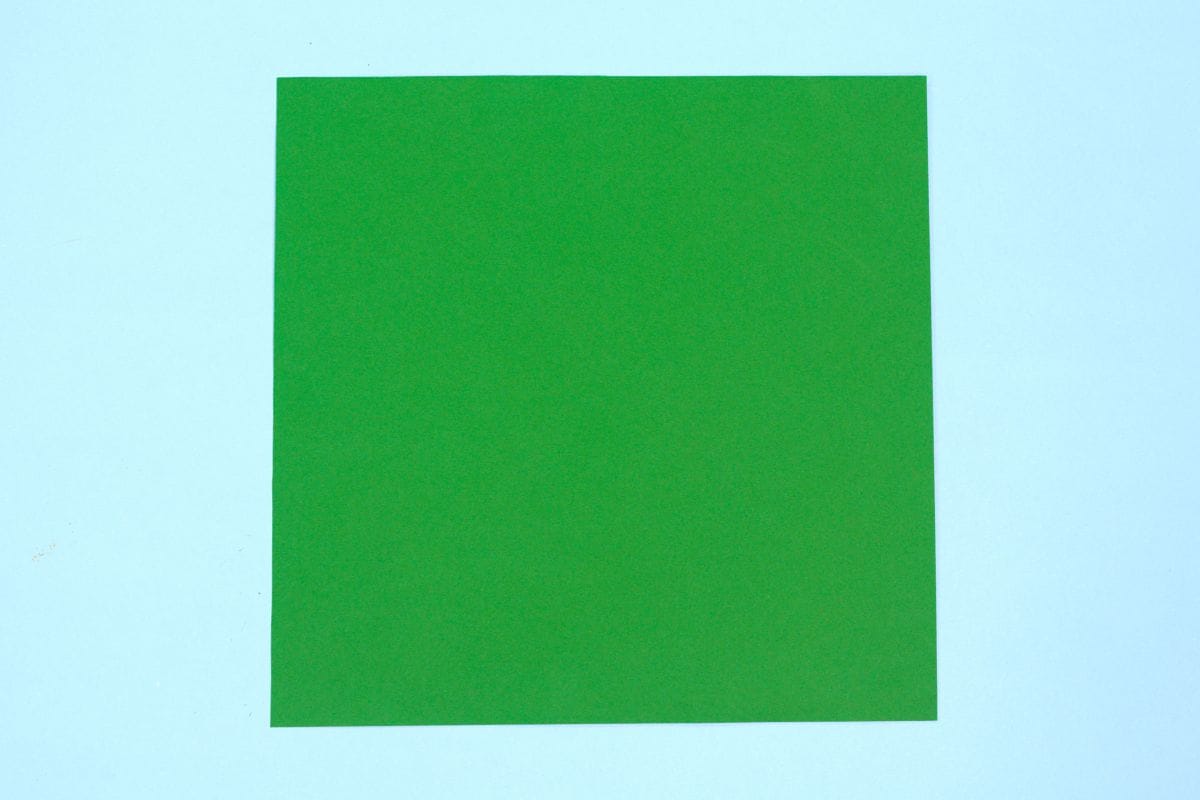
Start with a square sheet of origami paper. I am using an 7×7 inches origami sheet.
If you only have regular paper, follow these instructions on how to make a square origami paper.
If you only have regular paper, follow these instructions on how to make a square origami paper.
Step 2
2
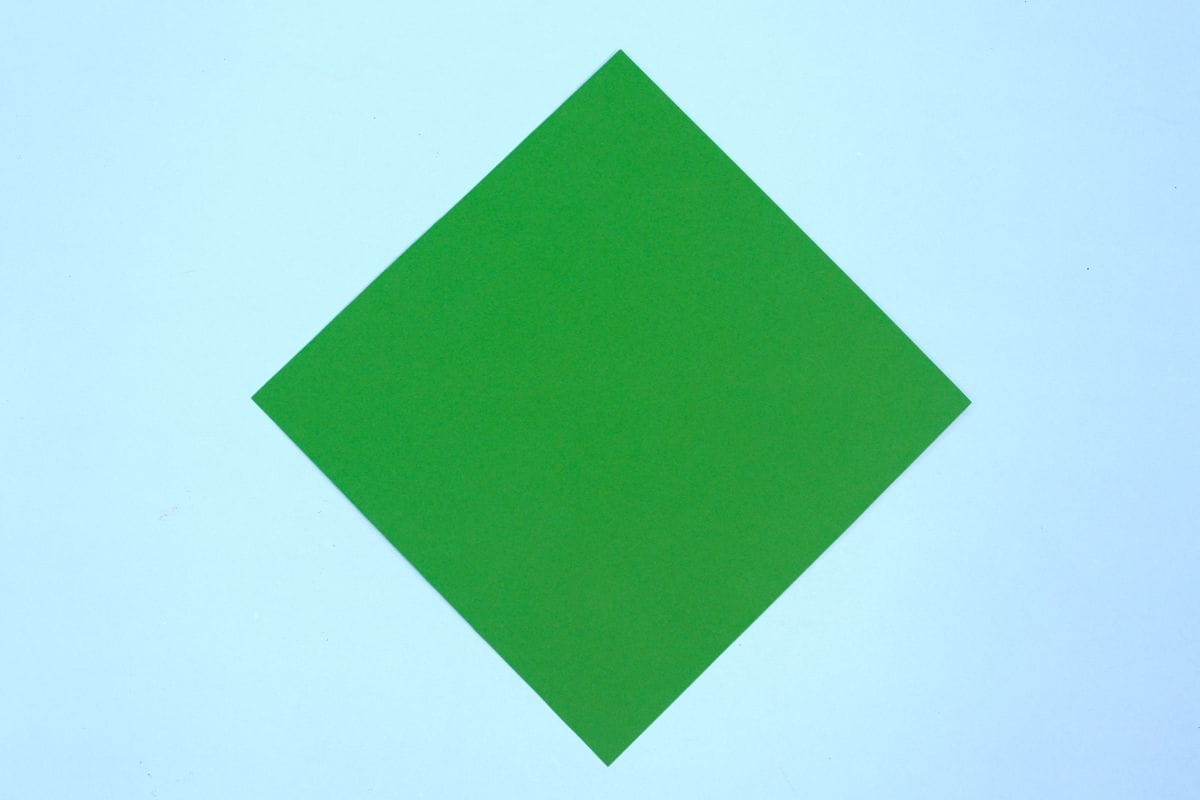
Rotate the paper into a diamond.
Step 3
3
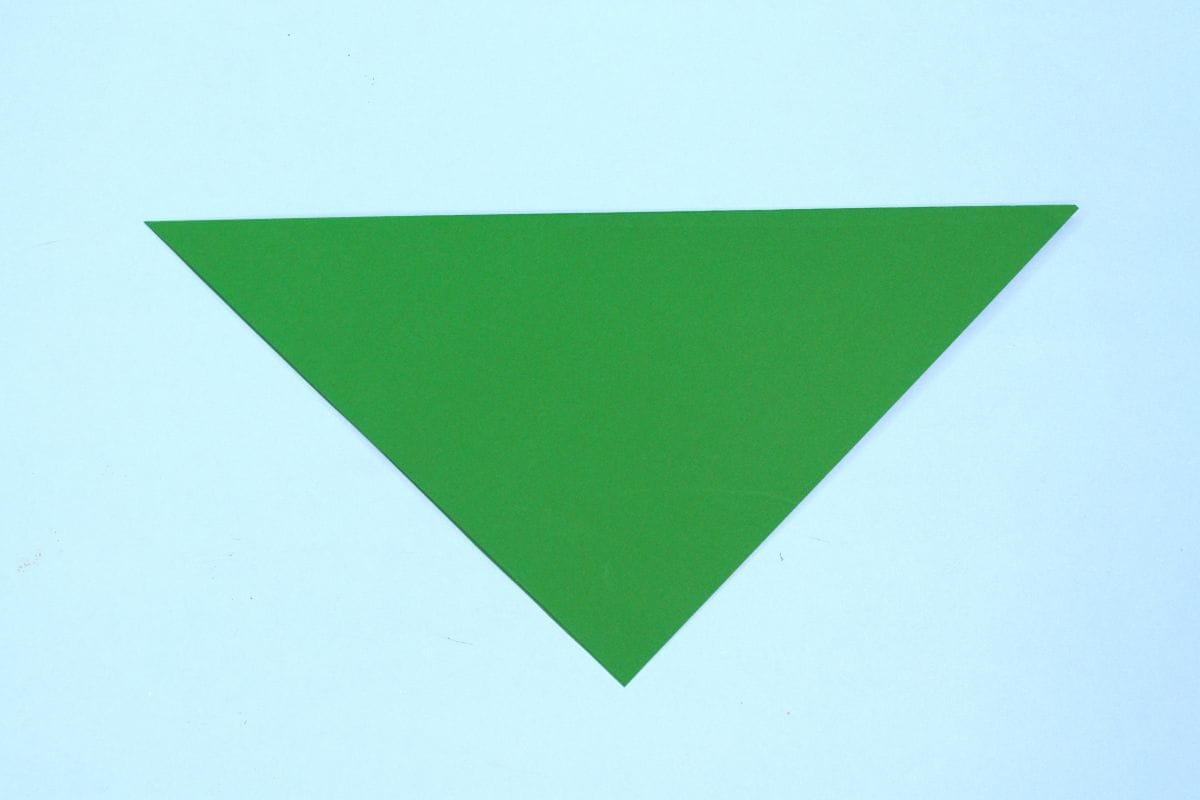
Fold the paper in half so that the top corner meets the bottom corner.
Step 4
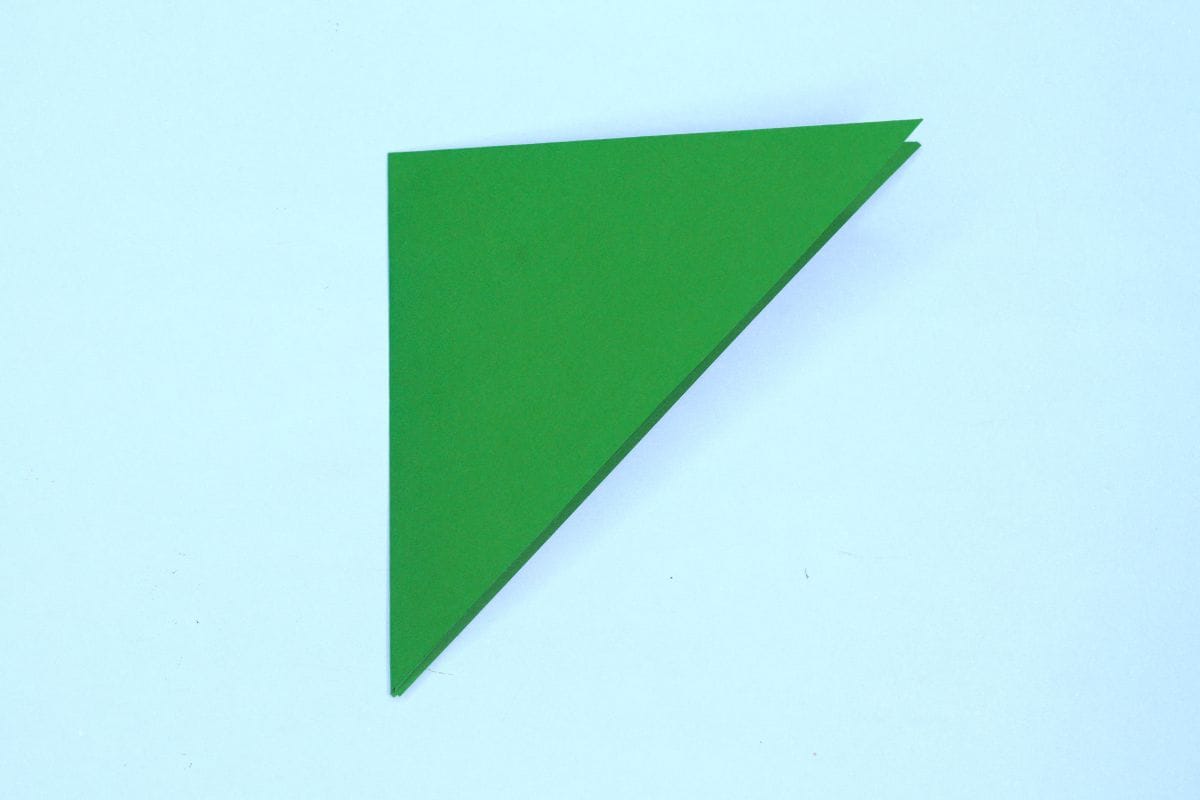
4
Fold in half again so the left corner meets the right corner.
Step 5
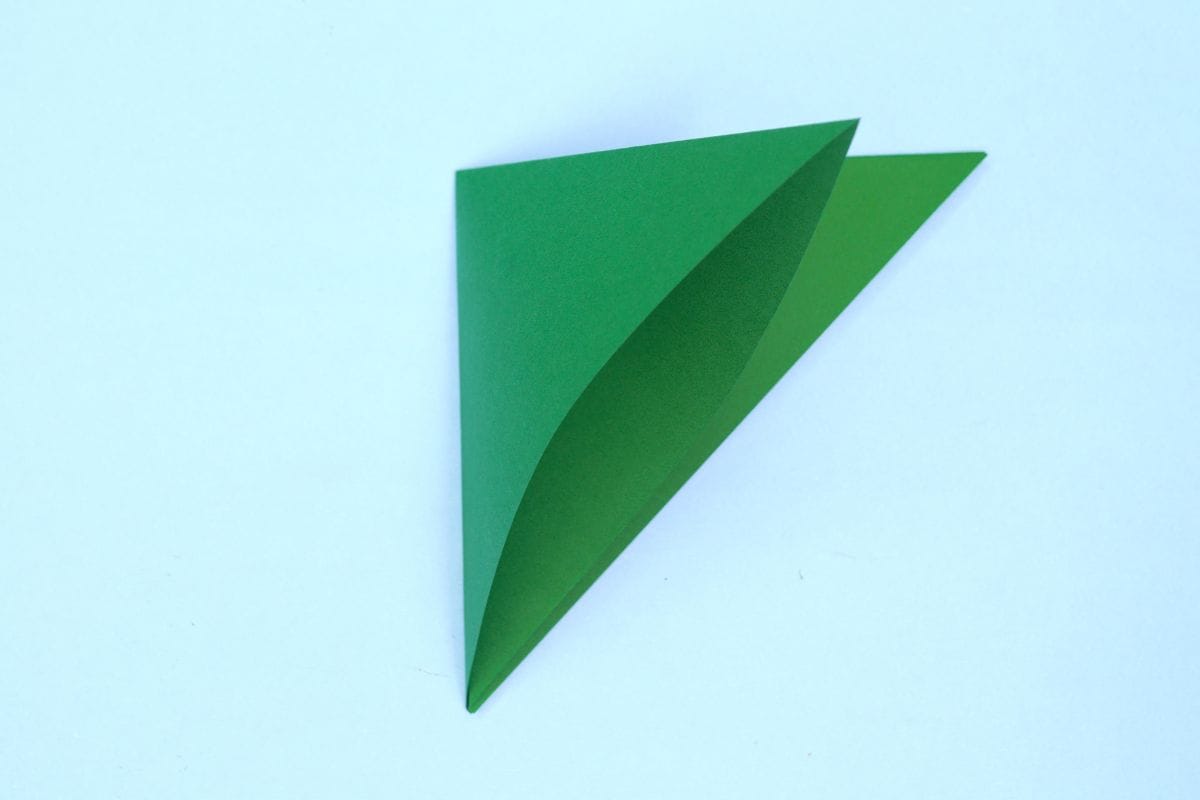
5
We will now perform a squash fold. Do this by opening the top flap.
Step 6
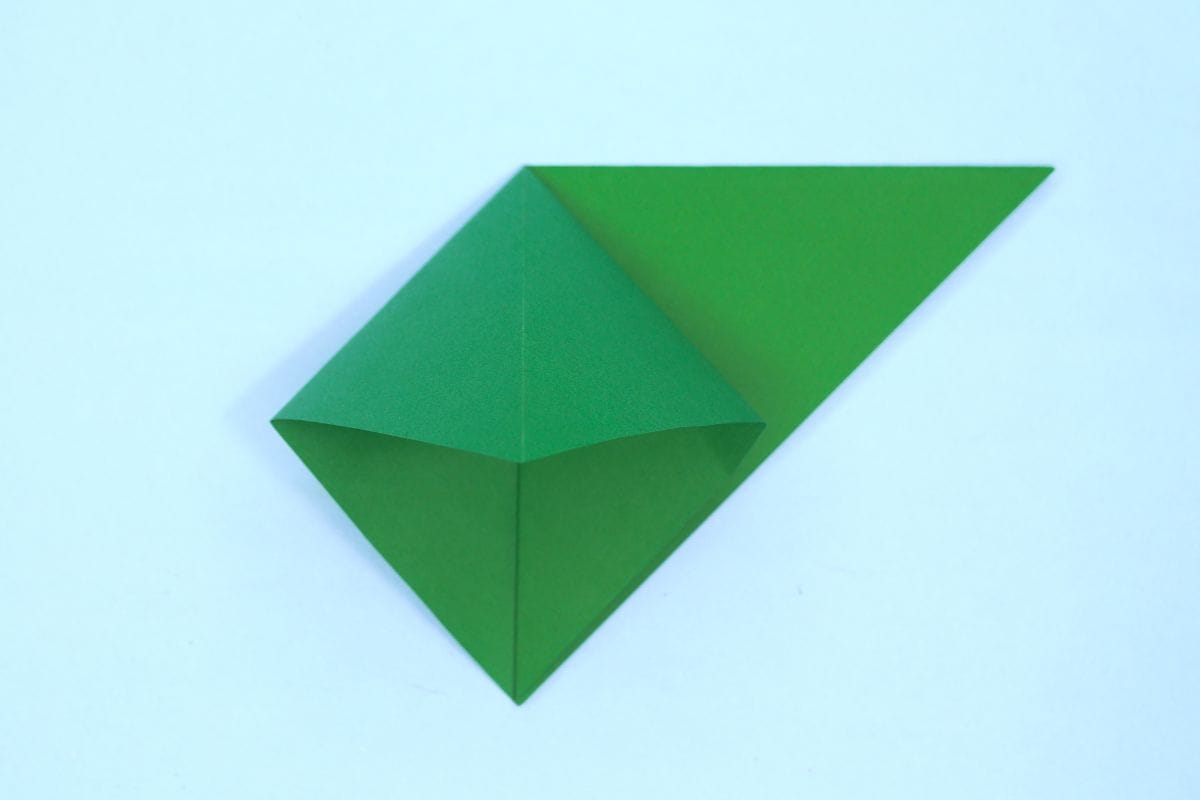
6
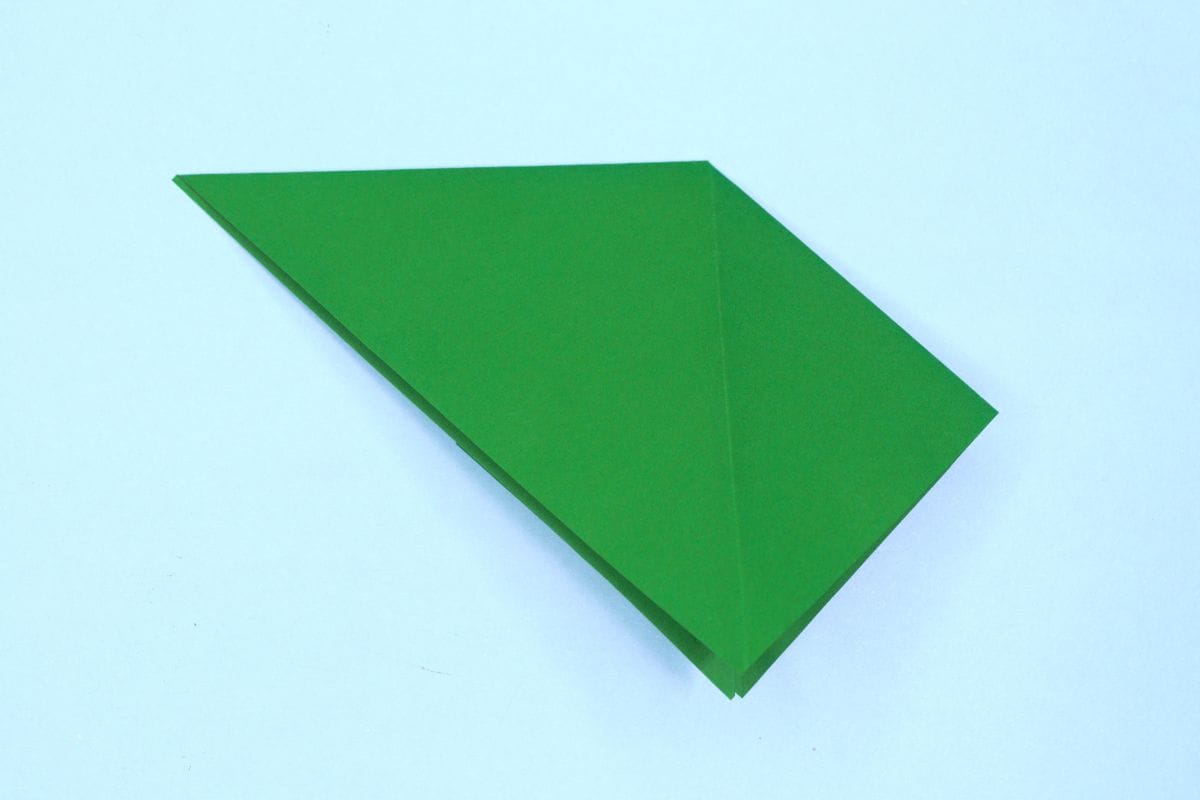
Bring the right corner to the bottom corner.
Step 7
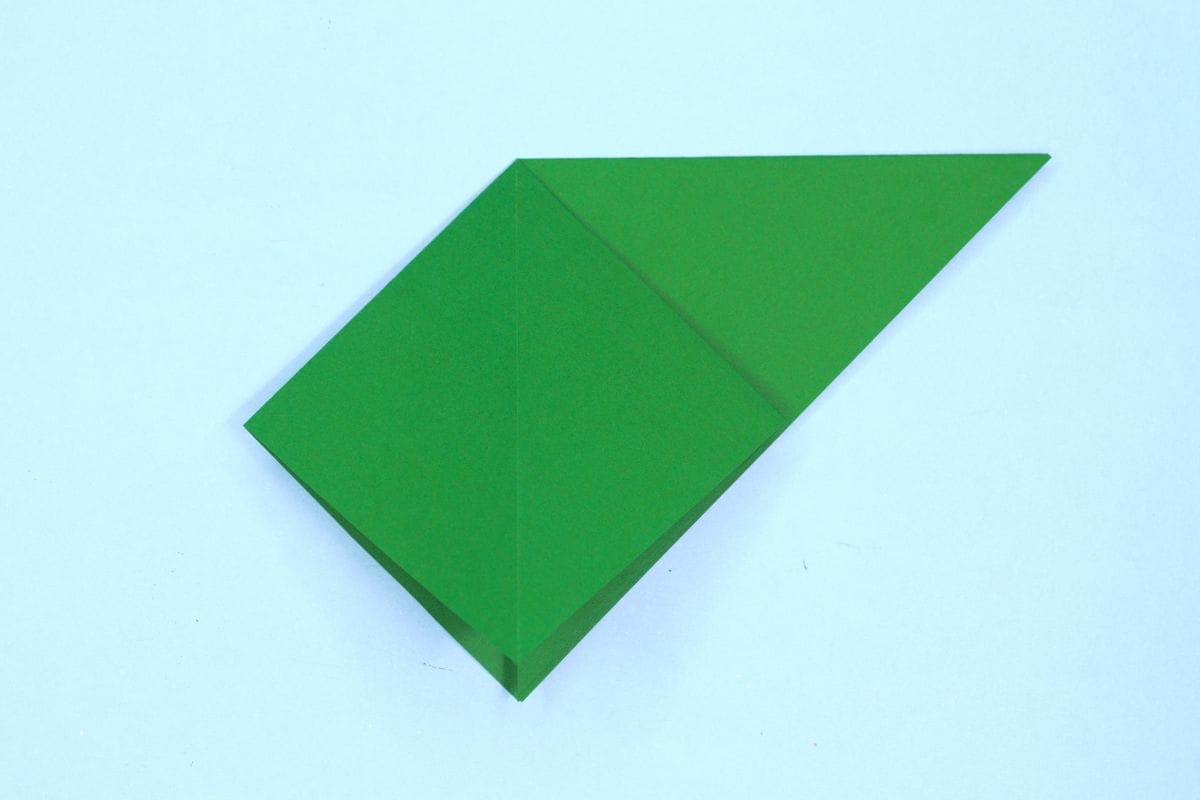
7
Creasing the sides as you go.
Step 8
8
Turn the model over.
Step 9
9
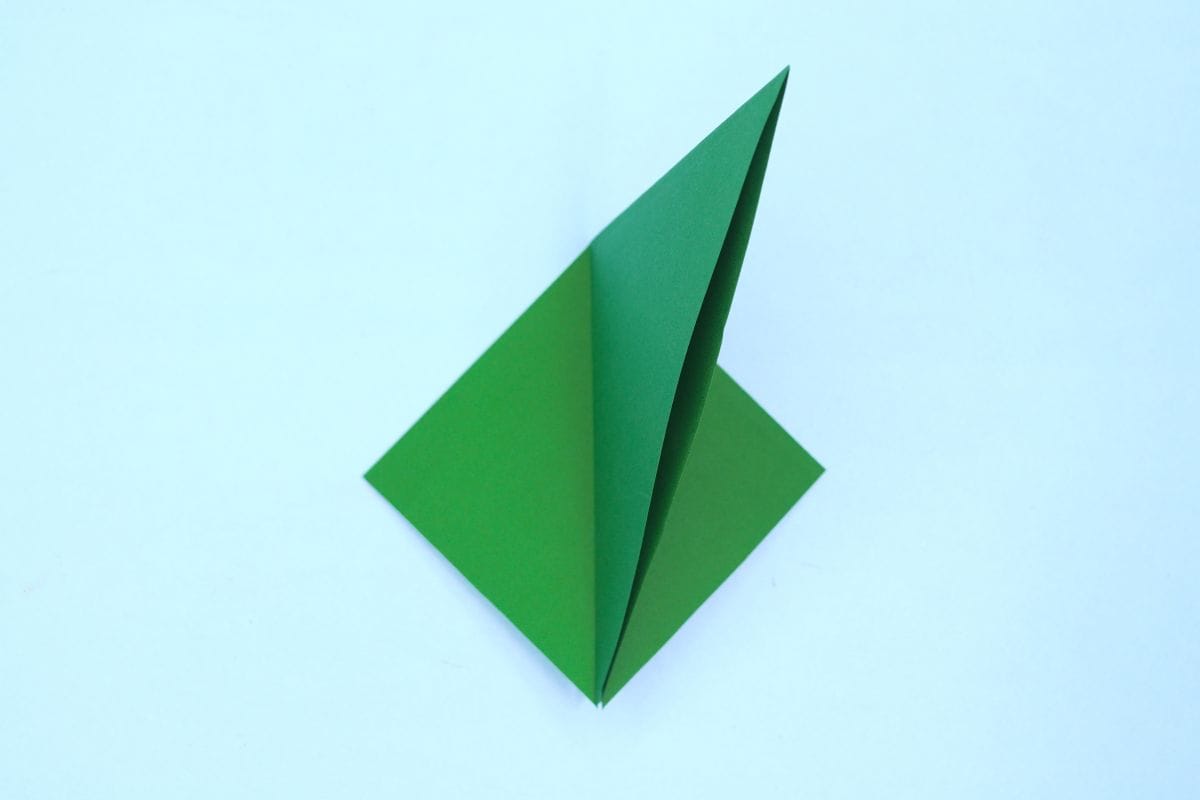
Now perform another squash fold on the left flap. Do this by lifting the left flap up vertically.
Step 10
10
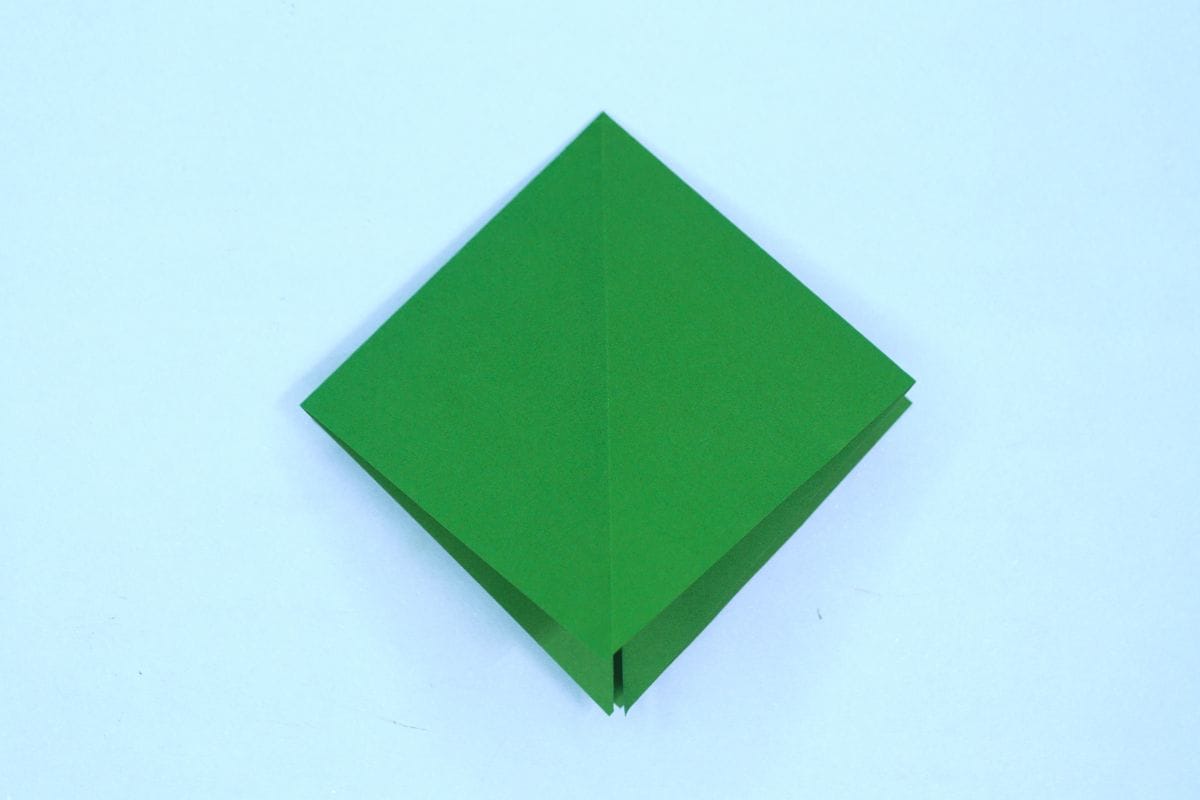
Open the flap until its corner meets the bottom corner.
Step 11
11
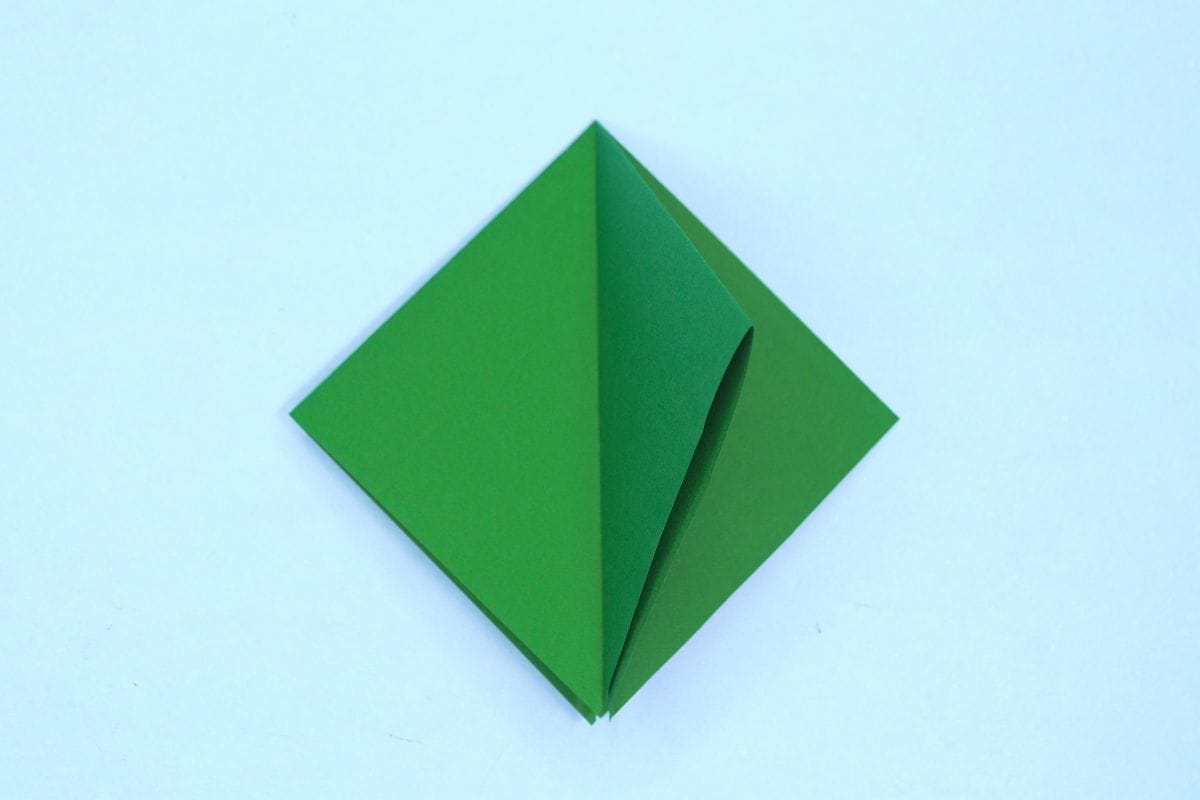
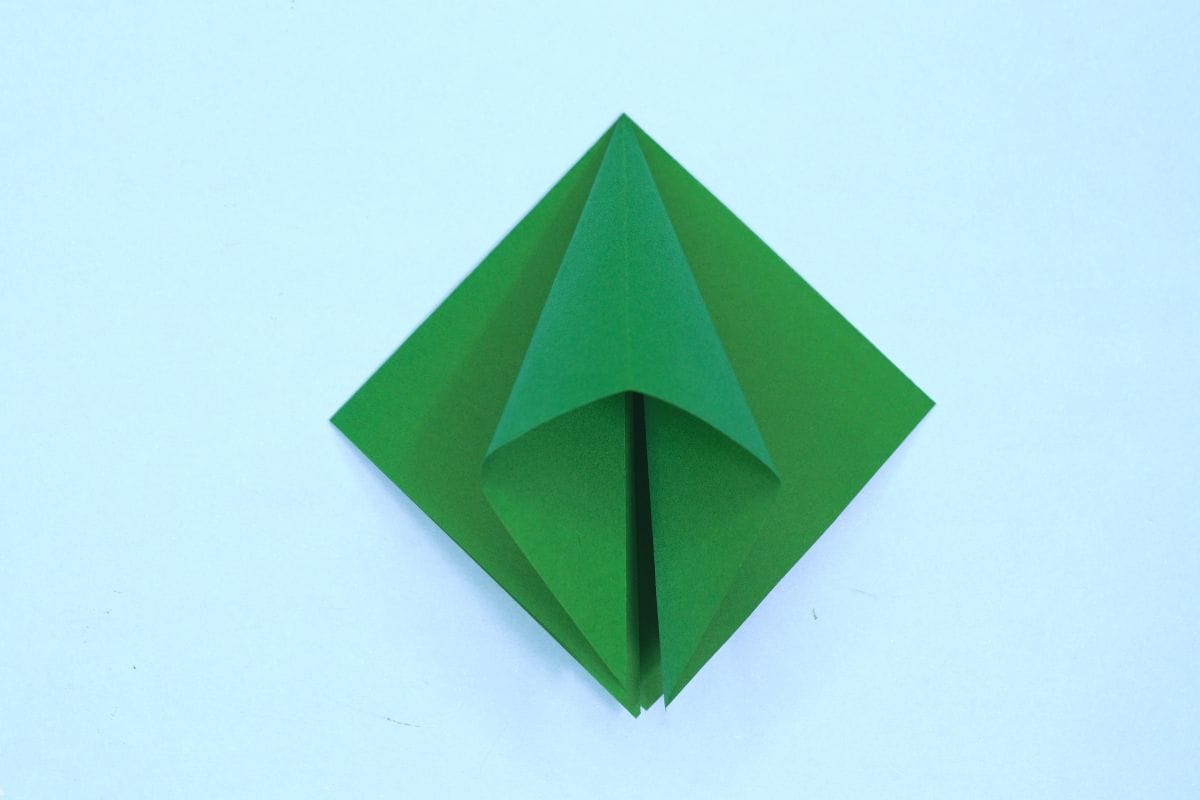
Ready for another squash fold? Lift the right flap up vertically.
Step 12
12
Open the flap.
Step 13
13
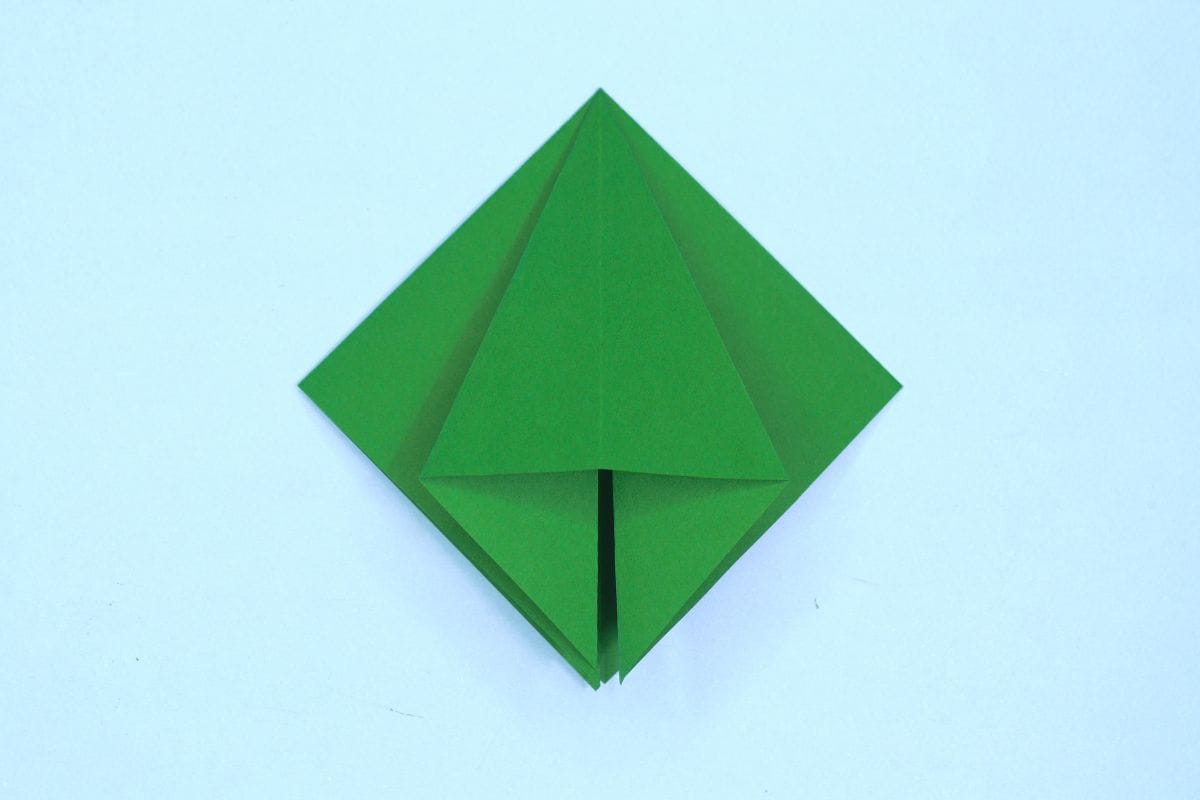
Squash it down.
Step 14
14
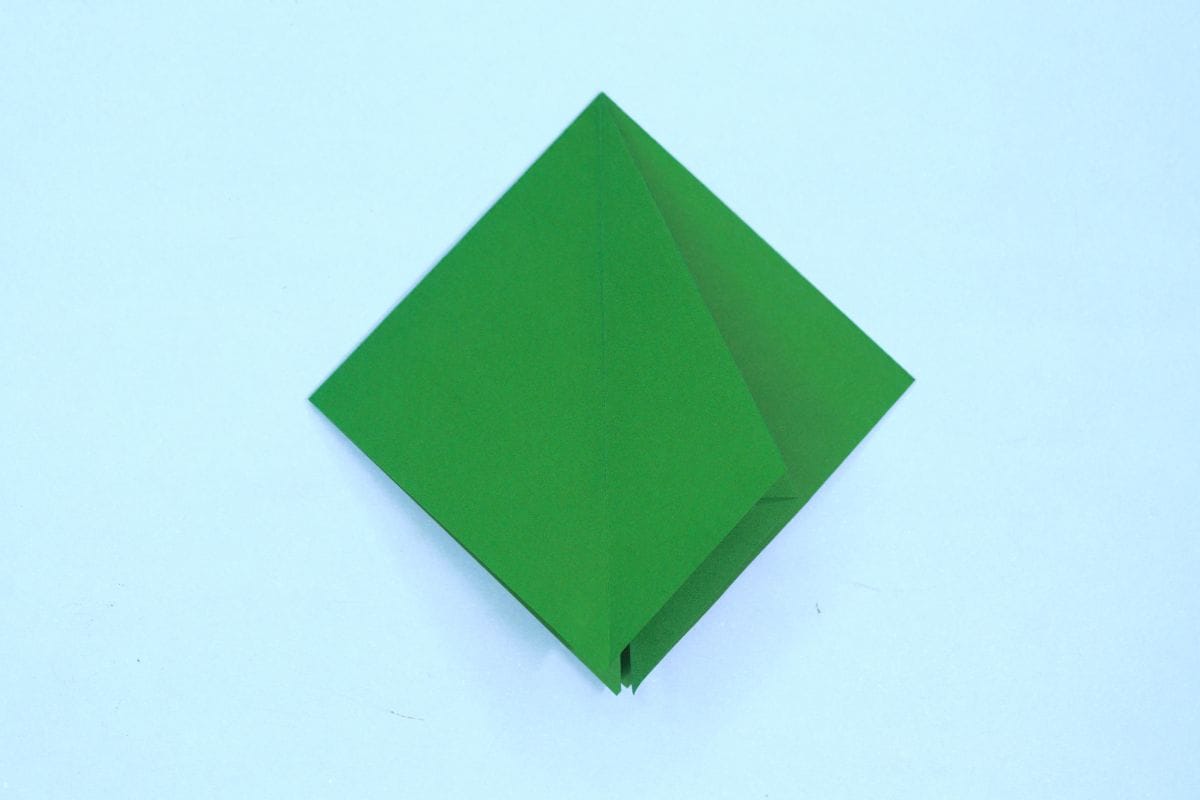
Fold the squashed left flap over to the right.
Step 15
15
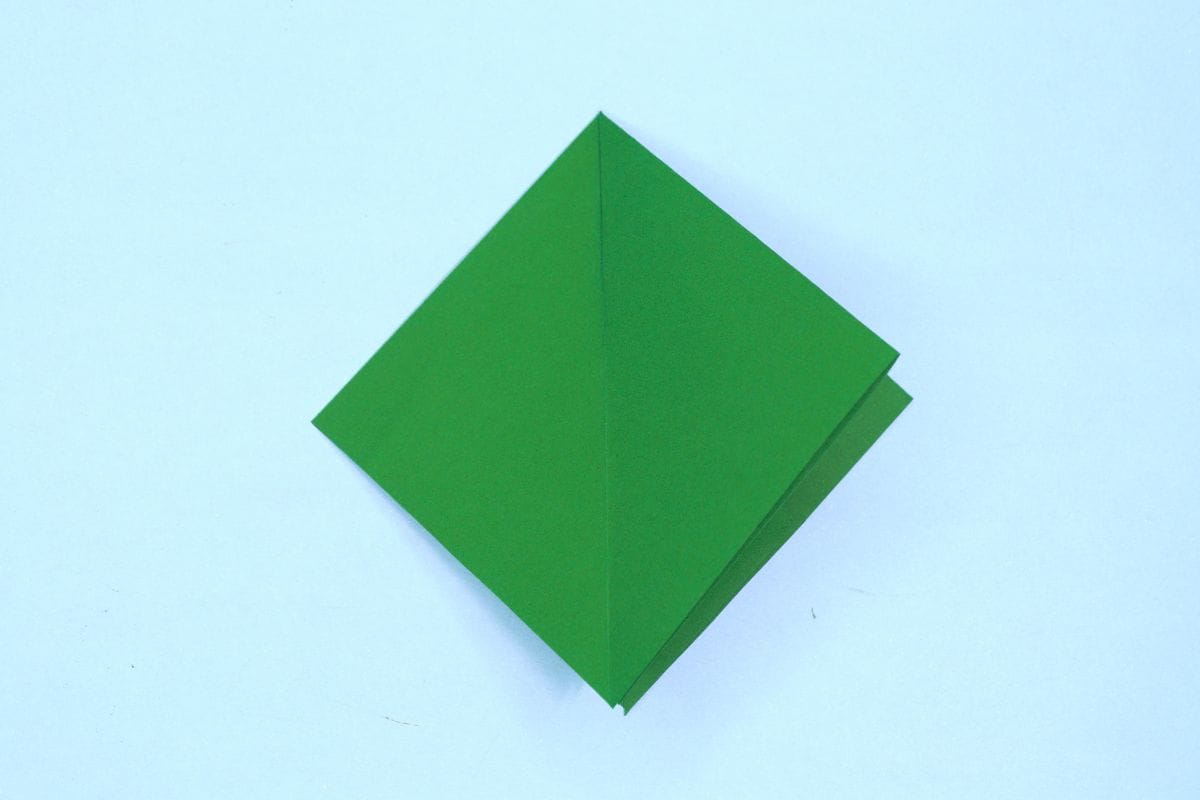
Fold the left flap to the right.
Step 16
16
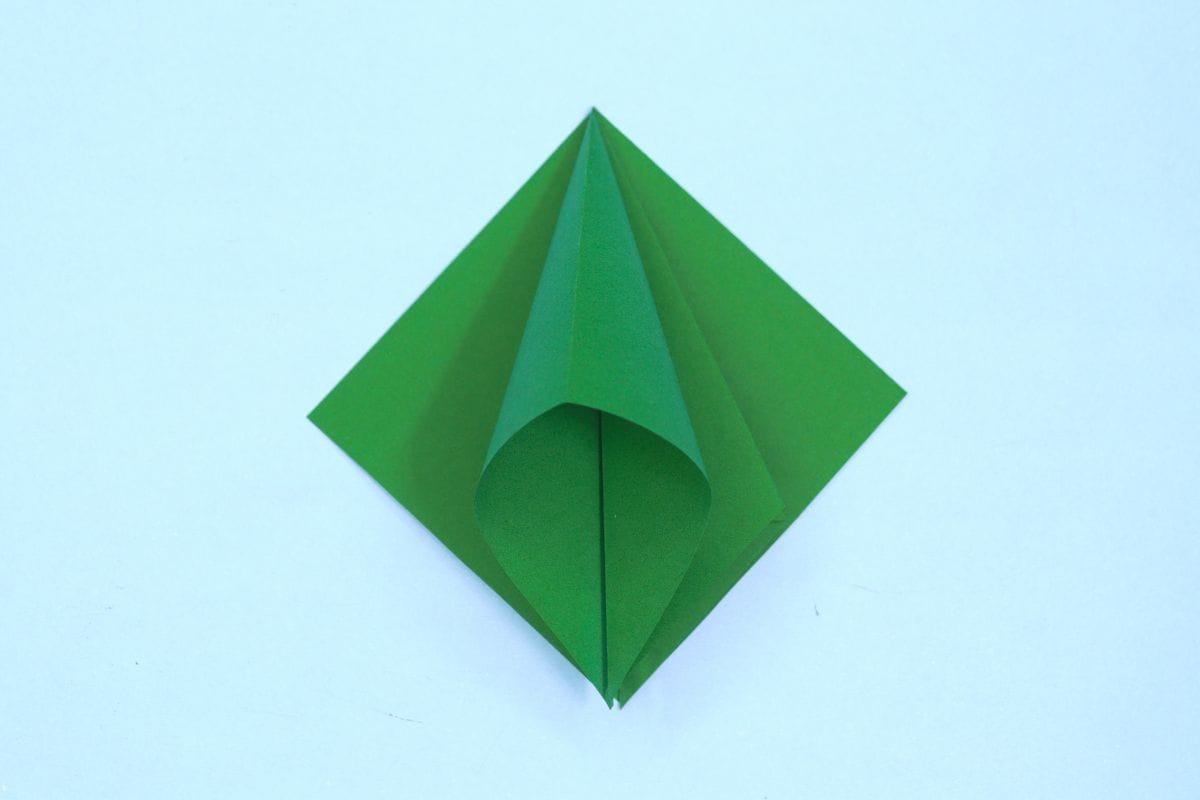
Lift that flap up vertically and open it up.
Step 17
17
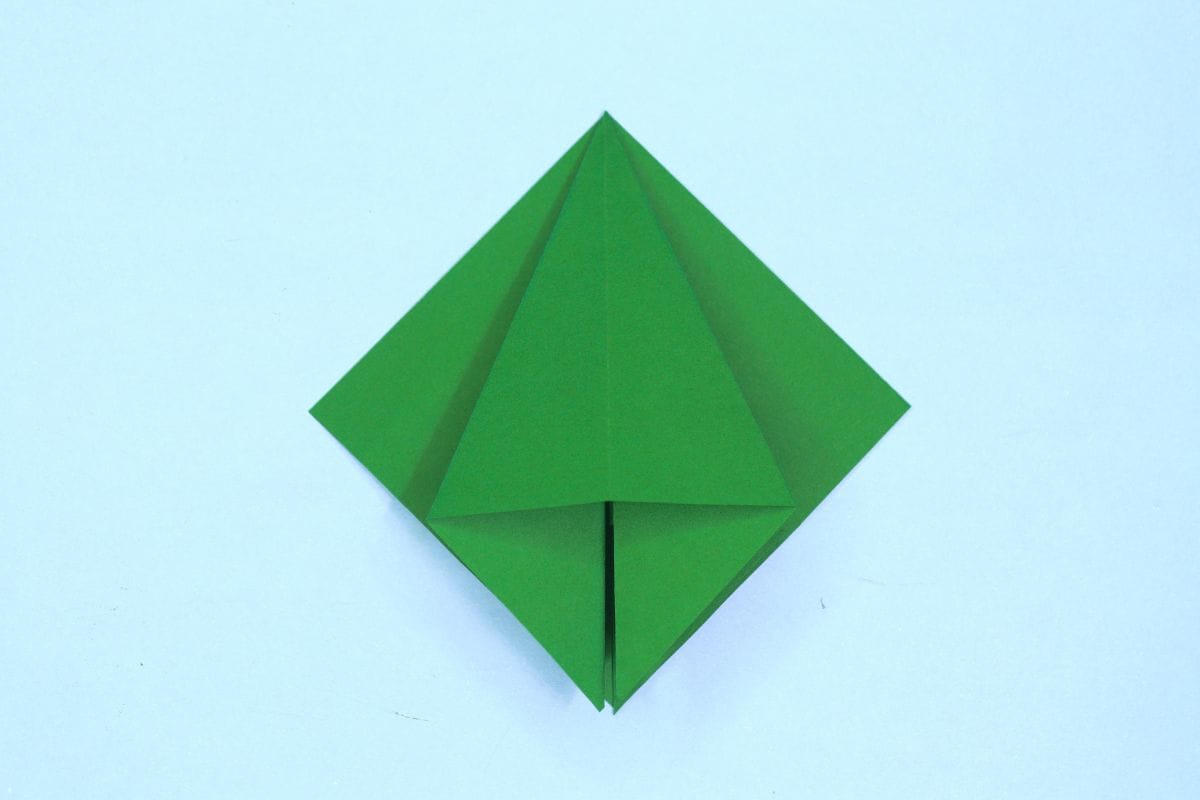
Squash it down.
Step 18
18
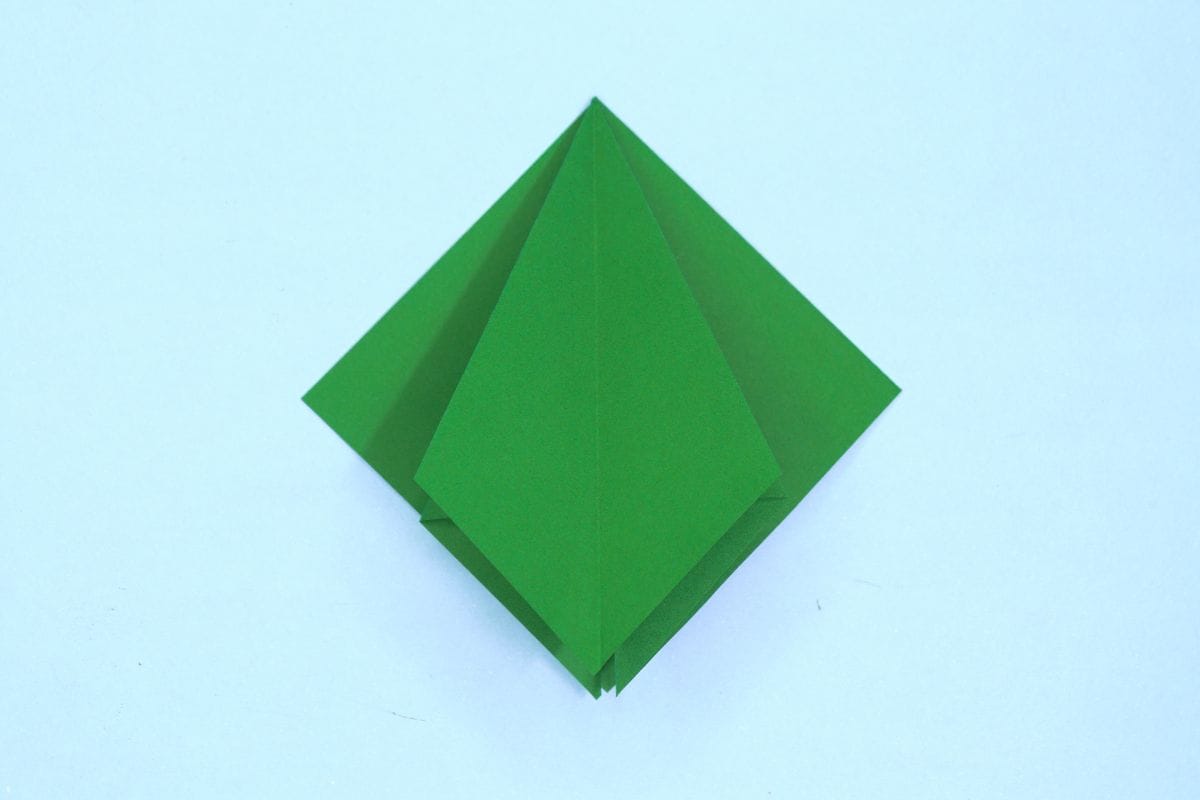
Fold the squashed right flap over to the left. Your figure should now look like this.
Step 19
19
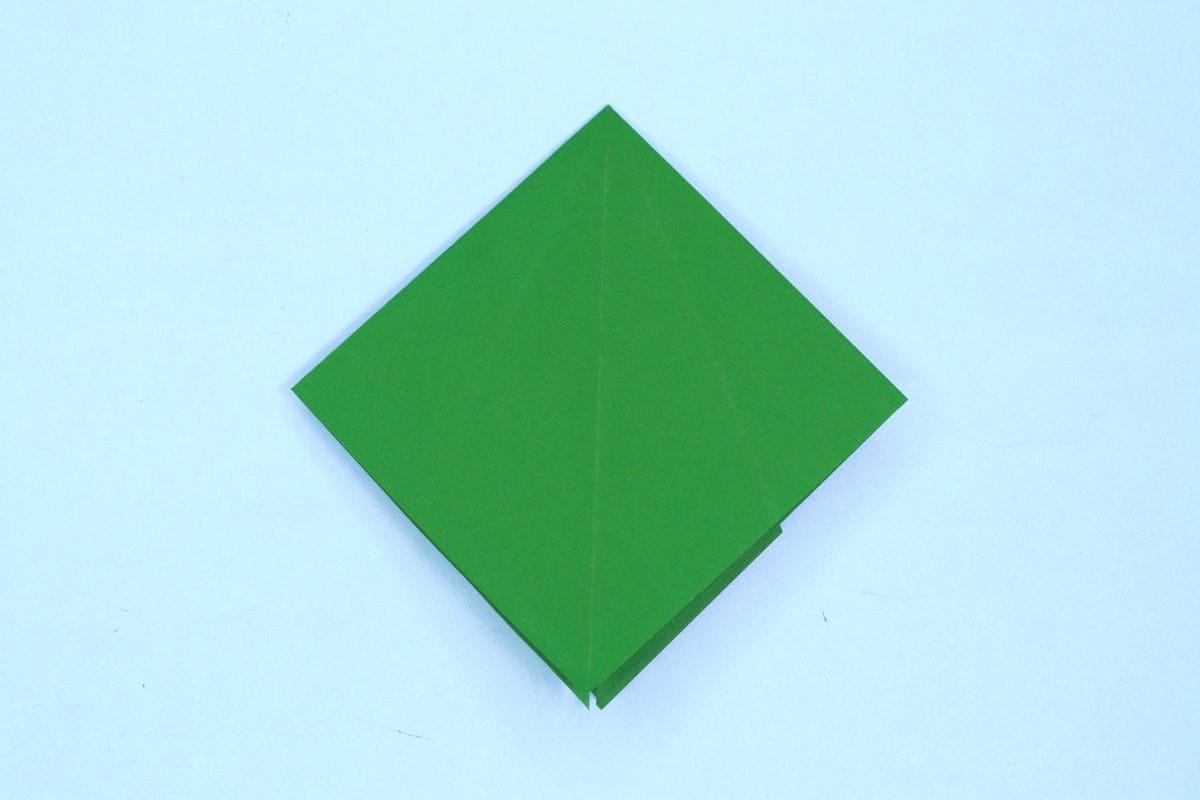
Turn over.
Step 20
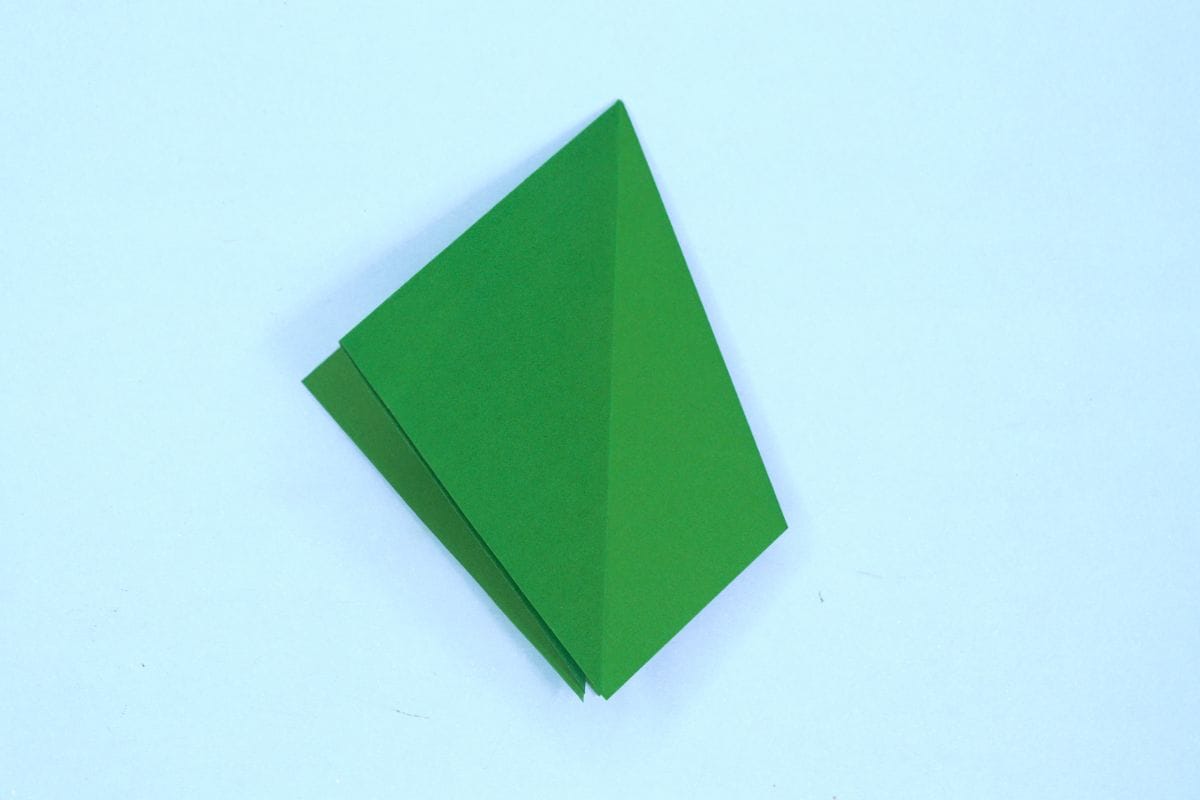
20
Now squash the right flap. To do that, fold the flap to the left.
Step 21
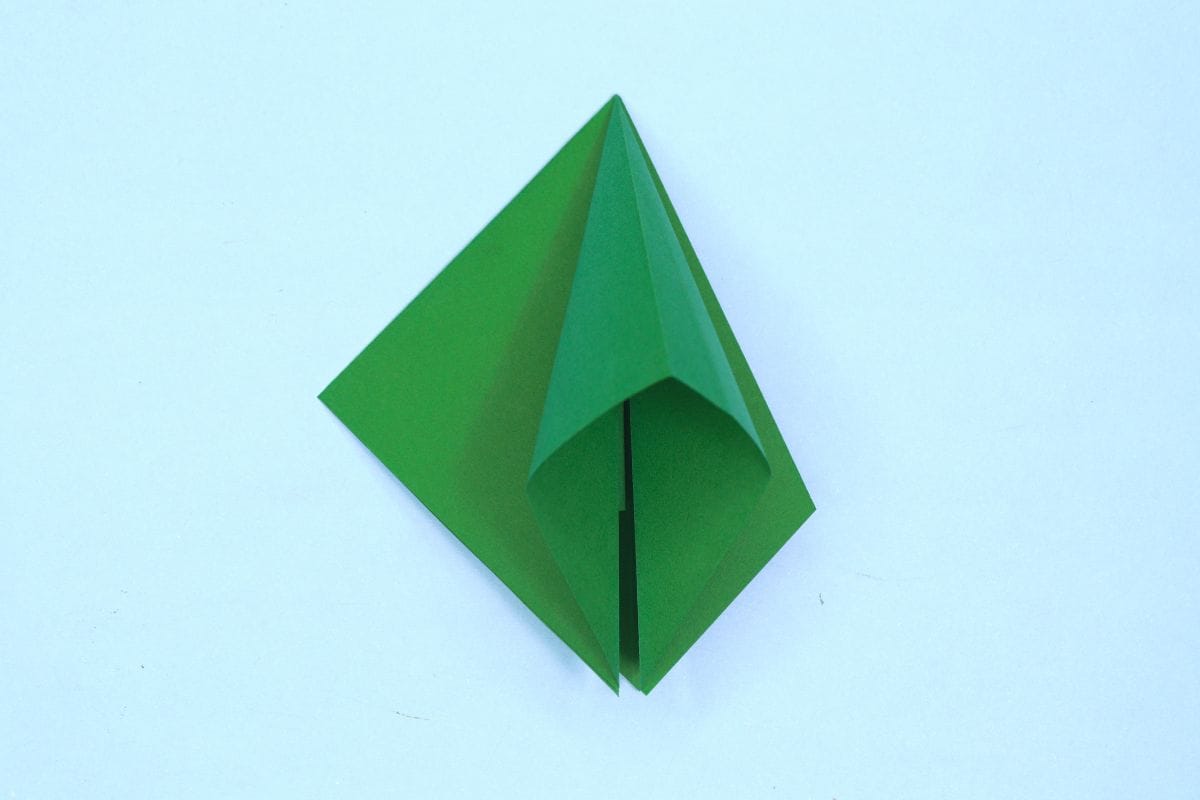
21
Lift the flap up vertically, and open it.
Step 22
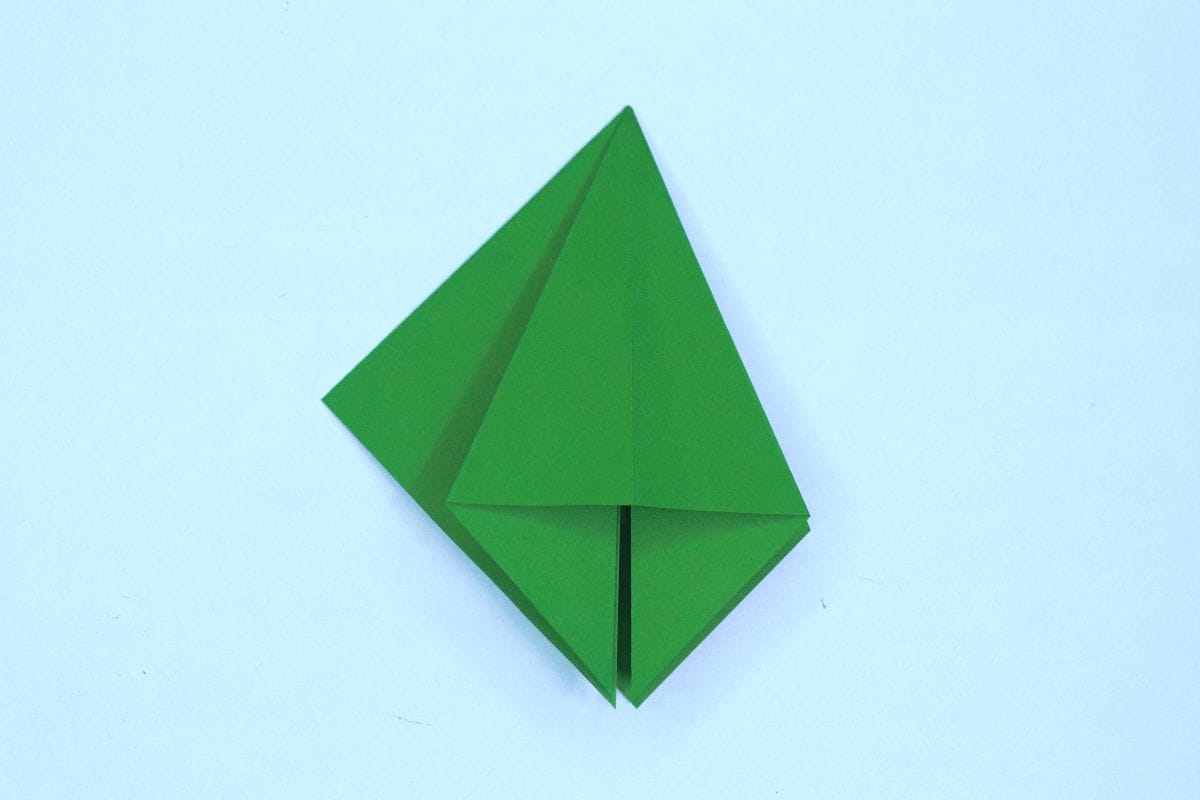
22
Squash it down.
Step 23
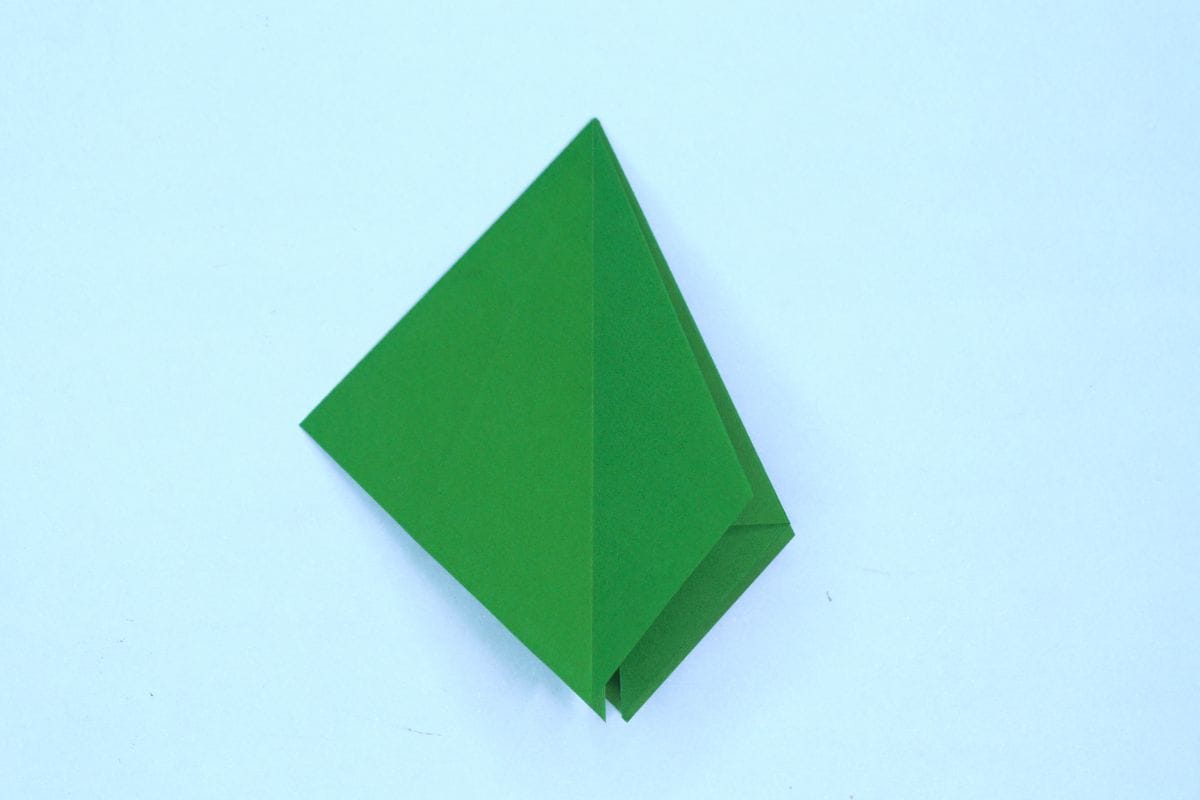
23
Fold the squashed left flap over to the right.
Step 24
24
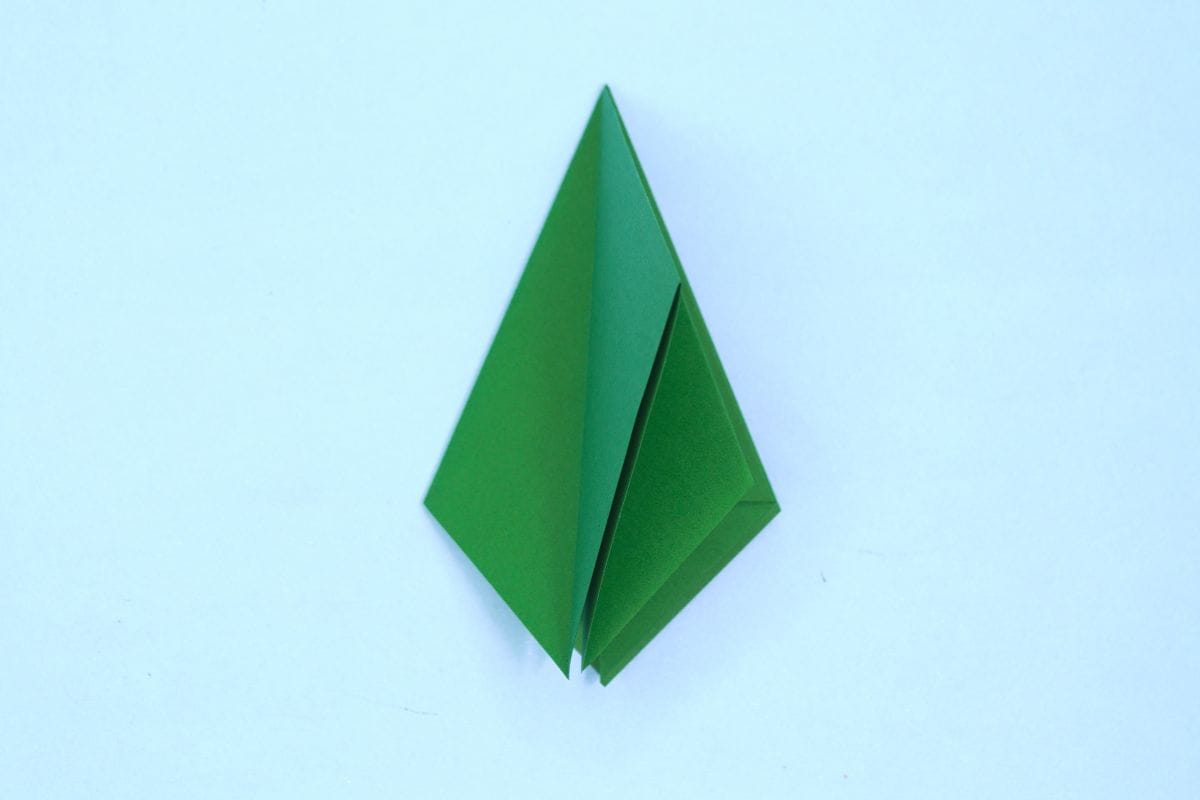
Squash the remaining flap. To do that, lift it up.
Step 25
25
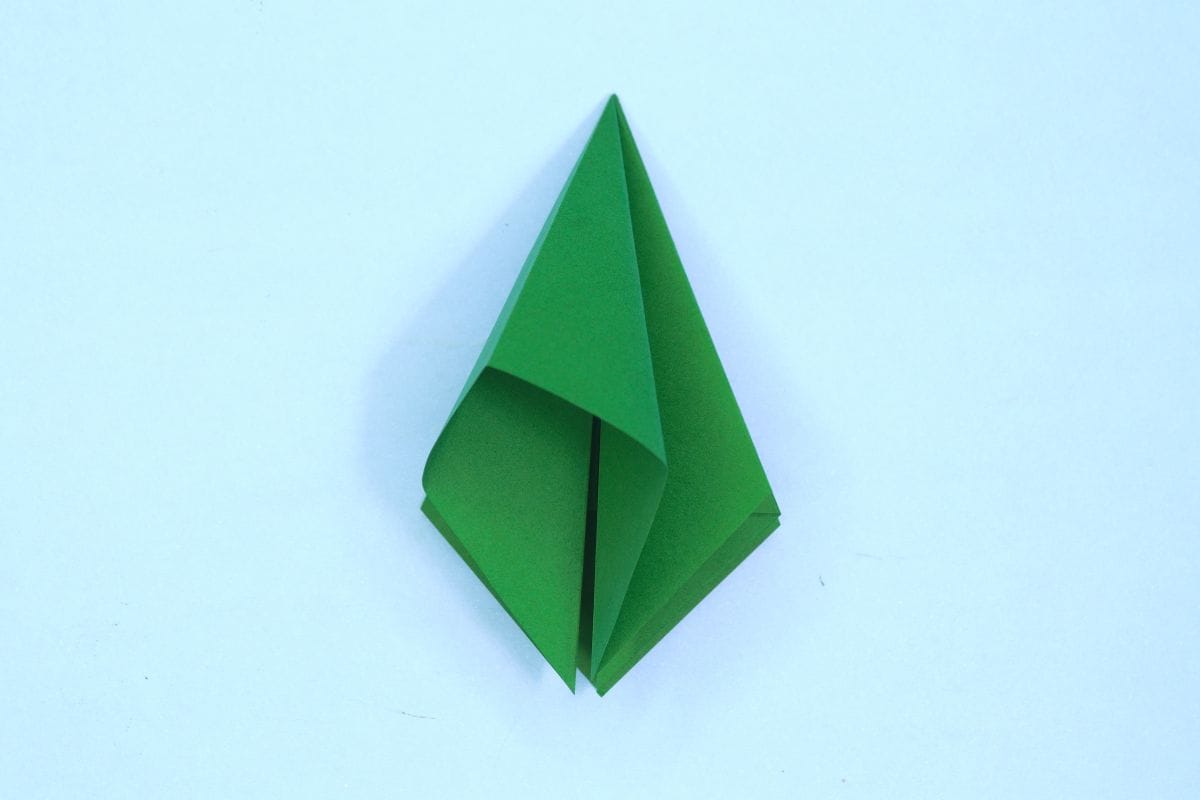
Open the flap.
Step 26
26
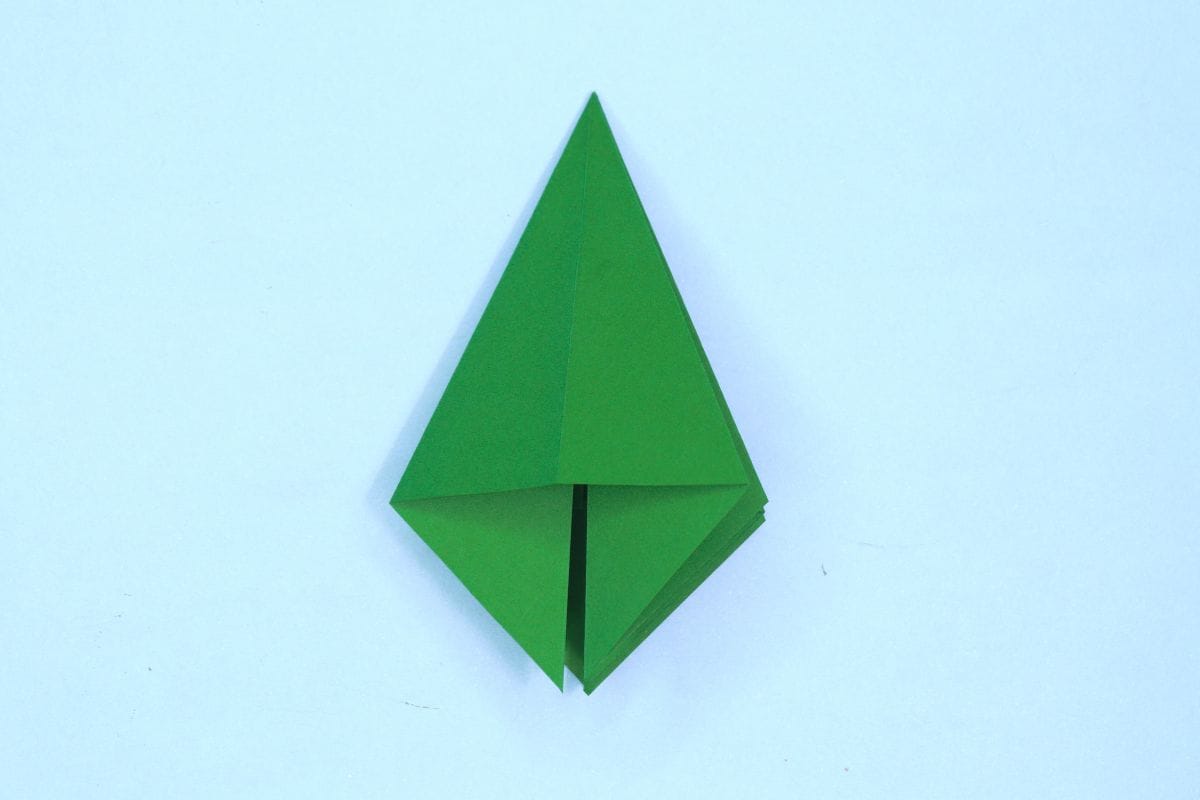
Squash it down.
Step 27
27
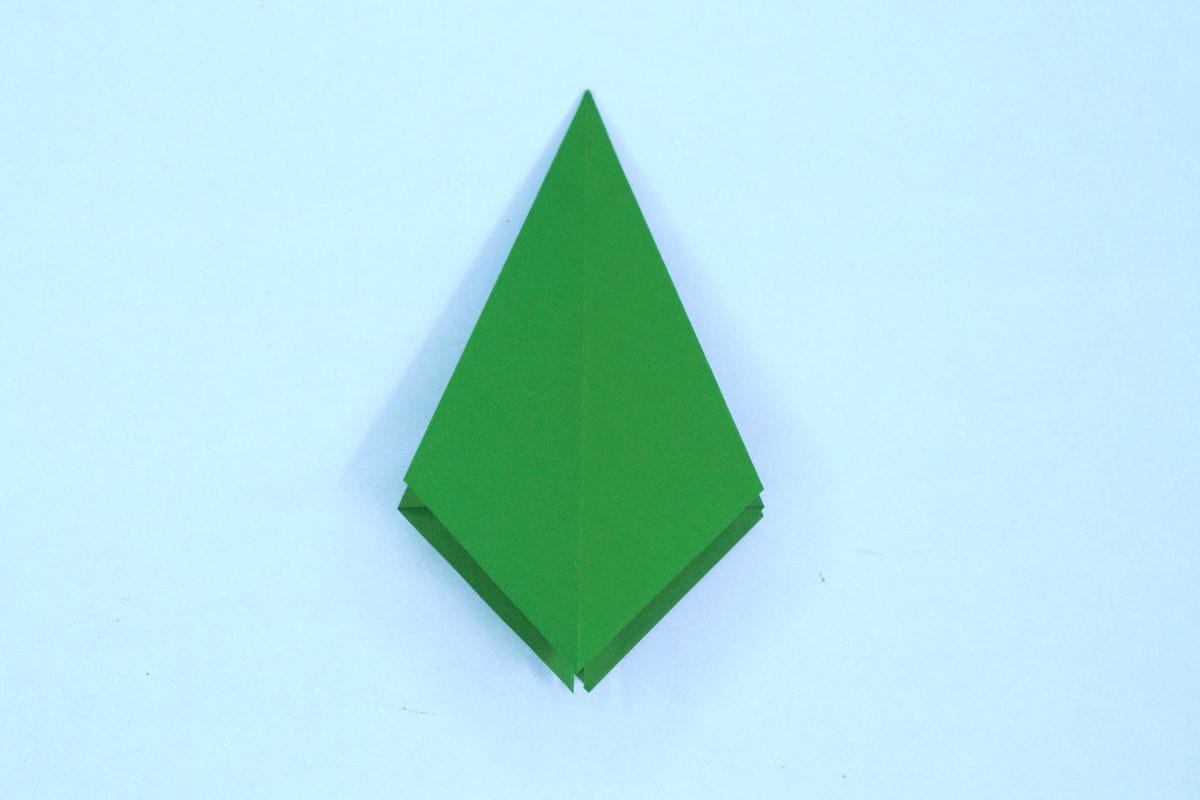
Fold the squashed right flap over to the left. Your figure should now look like this.
Step 28
28
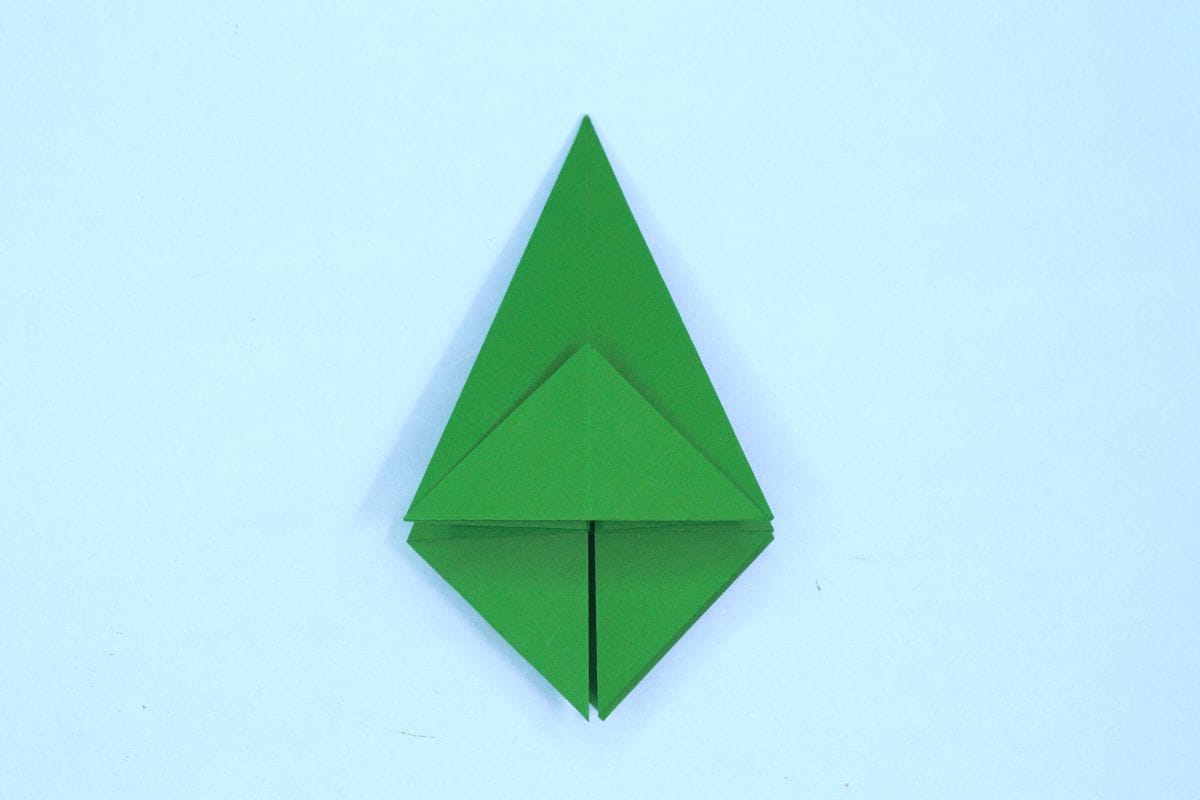
Grab the flap at the bottom and fold up until you get a triangle.
Step 29
29
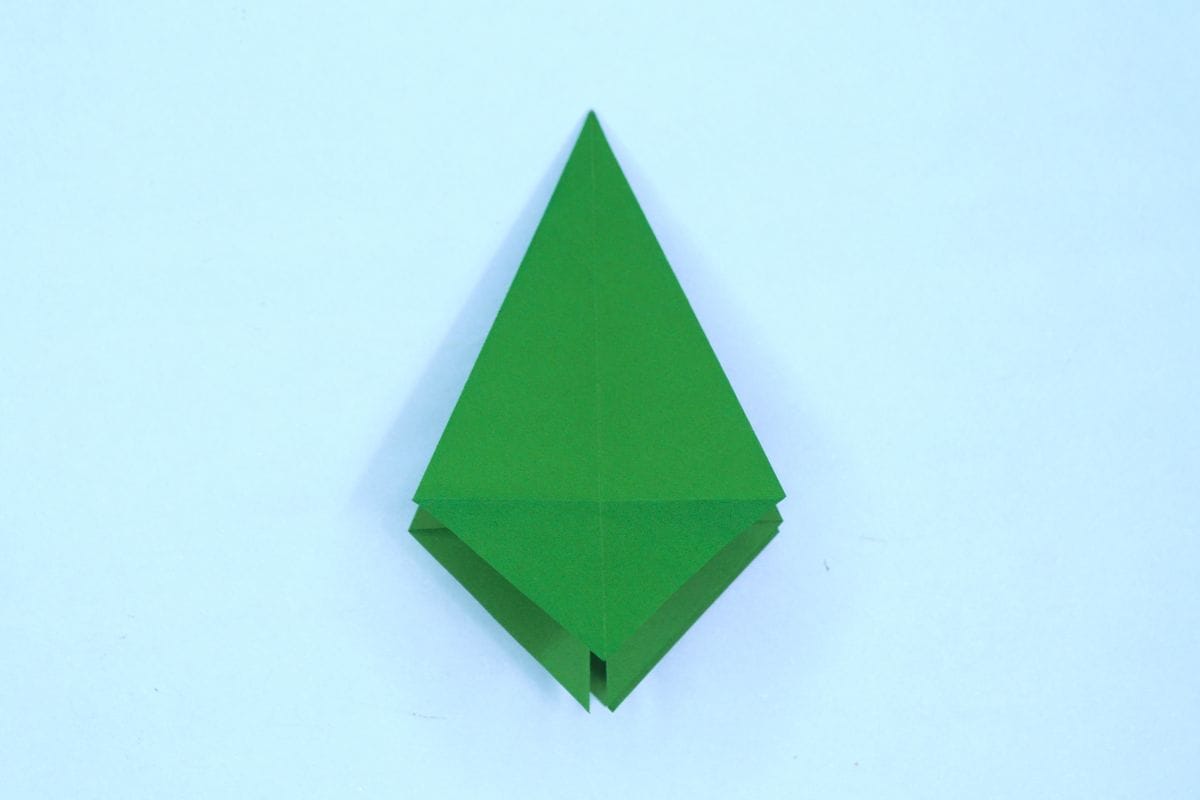
Unfold that flap.
Step 30

30
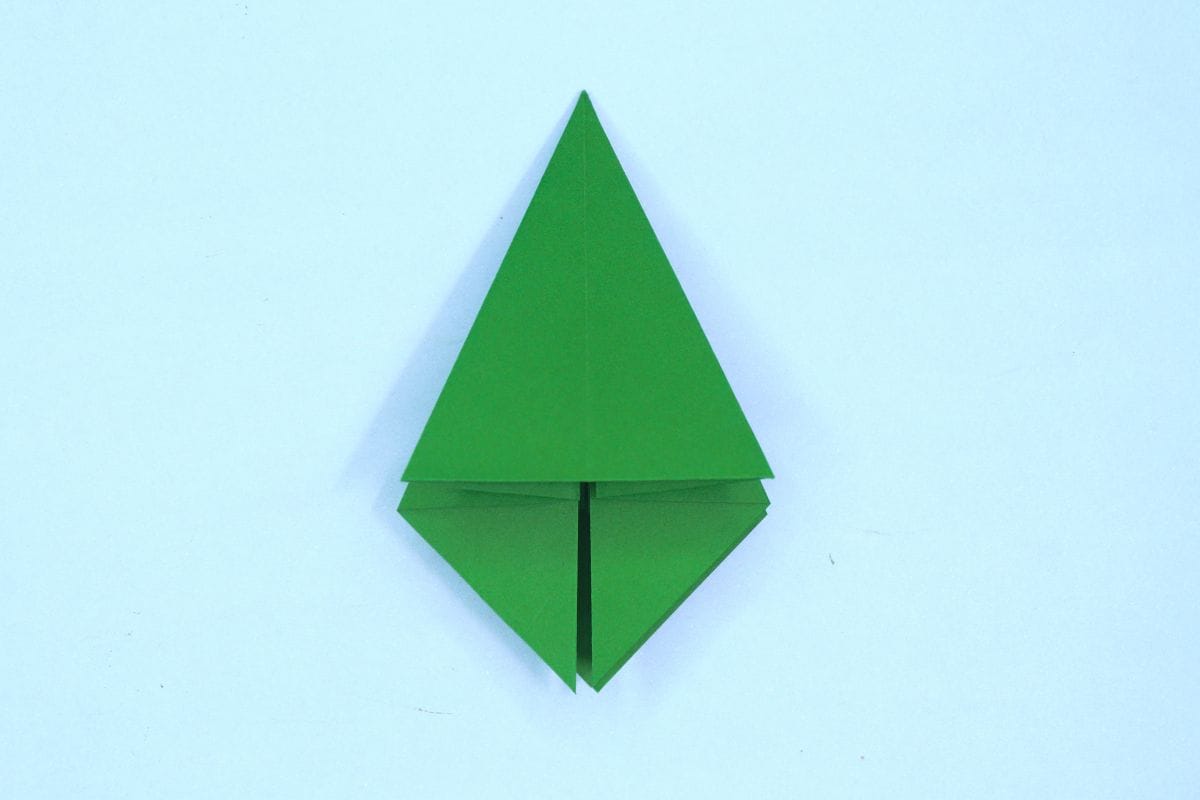
Take that flap and fold in backwards, tucking it underneath.
Step 31
31
After tucking the flap underneath, it should look like the image.
Step 32
32
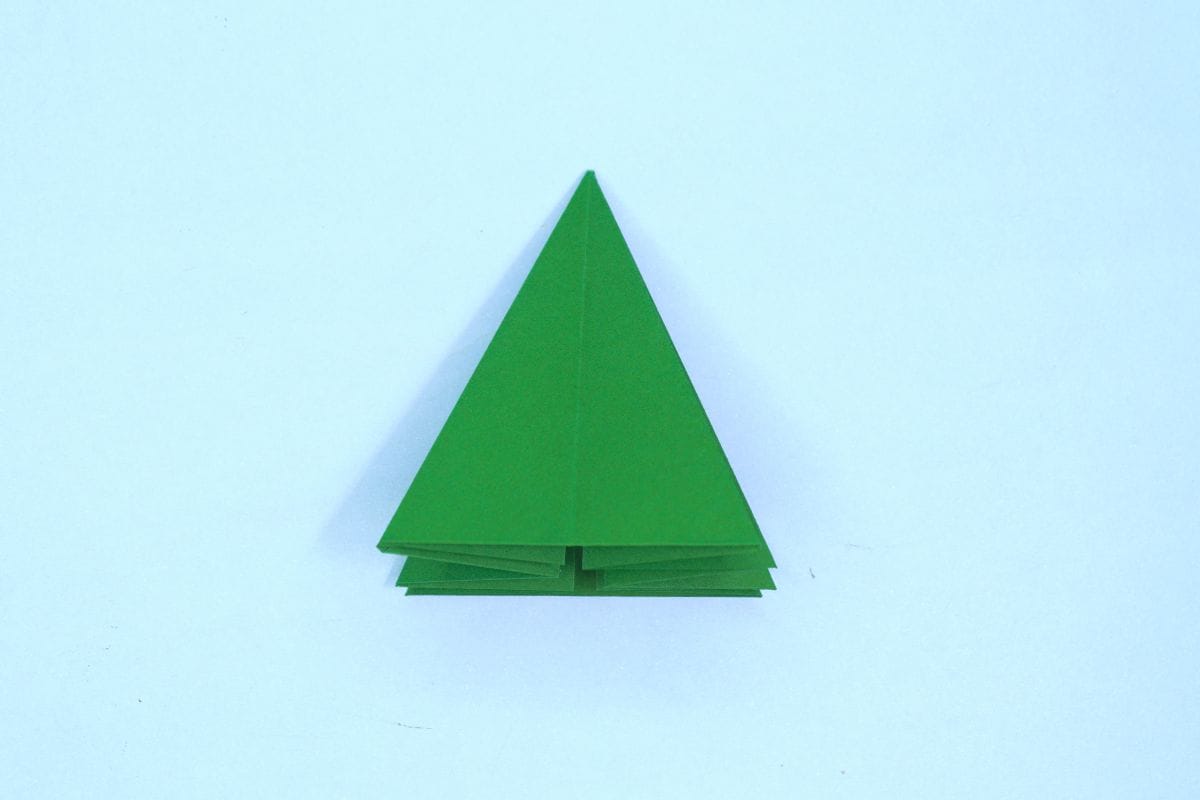
Fold and tuck in the remaining three bottom flaps.
Step 33
33
Finally! Stand your figure up and fan out the flaps until it looks like an origami Christmas tree.
Wasn’t that fun? Now you have a Christmas tree for your family to gather around and put presents under.
Wasn’t that fun? Now you have a Christmas tree for your family to gather around and put presents under.
Share and Comment
We would love to see your creations! Scroll down to the comments section and share a photo of your origami.
Leave a Reply