
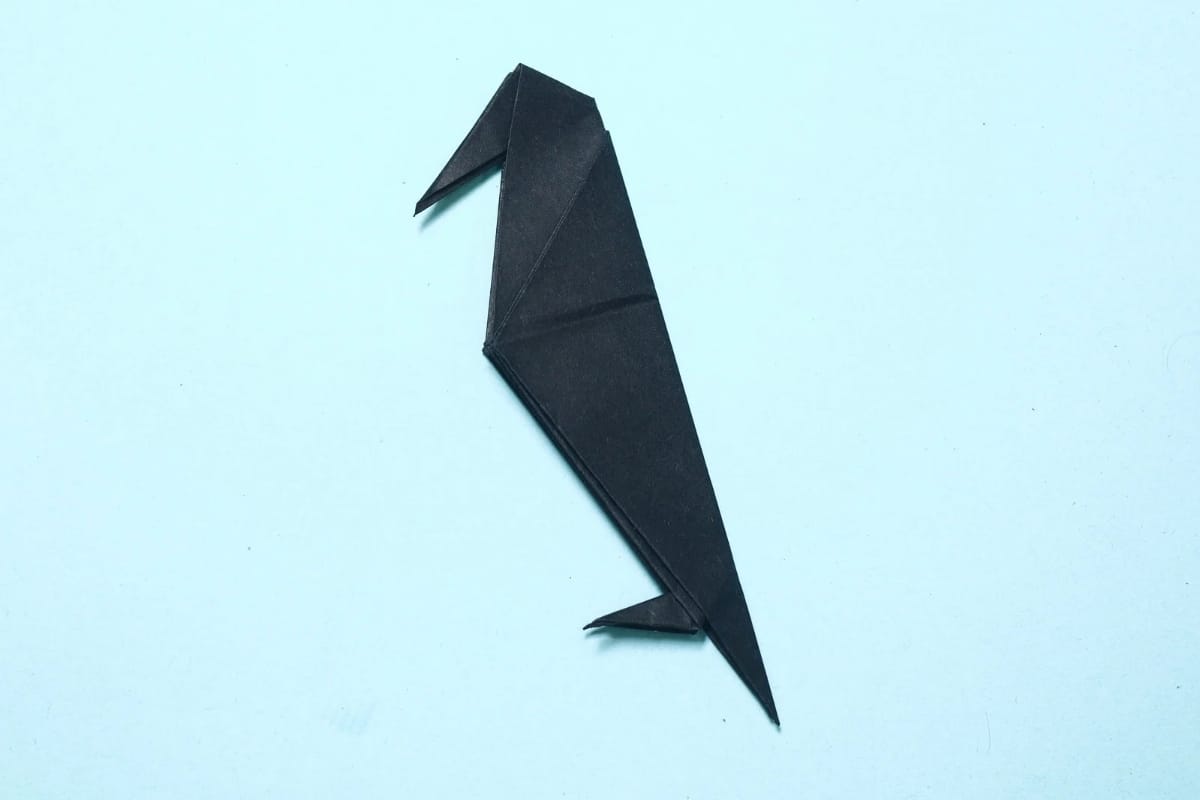
Crows are smart, curious, and just a little bit spooky. Perfect for a fun craft! With a few easy folds, you can create your very own origami crow, ready to perch on your desk or add a touch of mystery to your Halloween decorations. Grab your paper and let’s bring this clever bird to life!
How to Make an Origami Black Crow
Difficulty:
Intermediate
Fold a bold and mysterious Origami crow! Great for spooky Halloween decor, storytelling crafts, or bird-themed fun!
Step 1
1
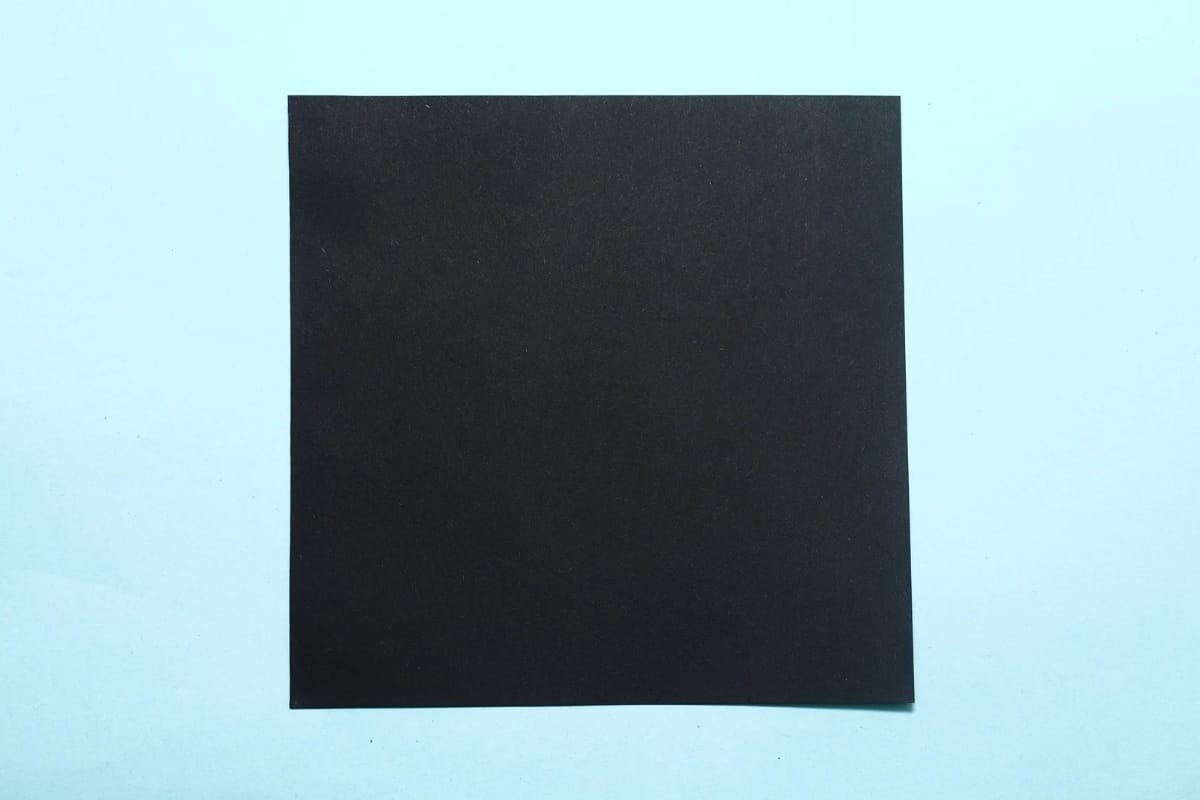
Start with a square piece of origami paper. I am using an 7×7 inches origami paper.
If you only have regular paper, follow these instructions on how to make a square origami paper.
If you only have regular paper, follow these instructions on how to make a square origami paper.
Step 2
2
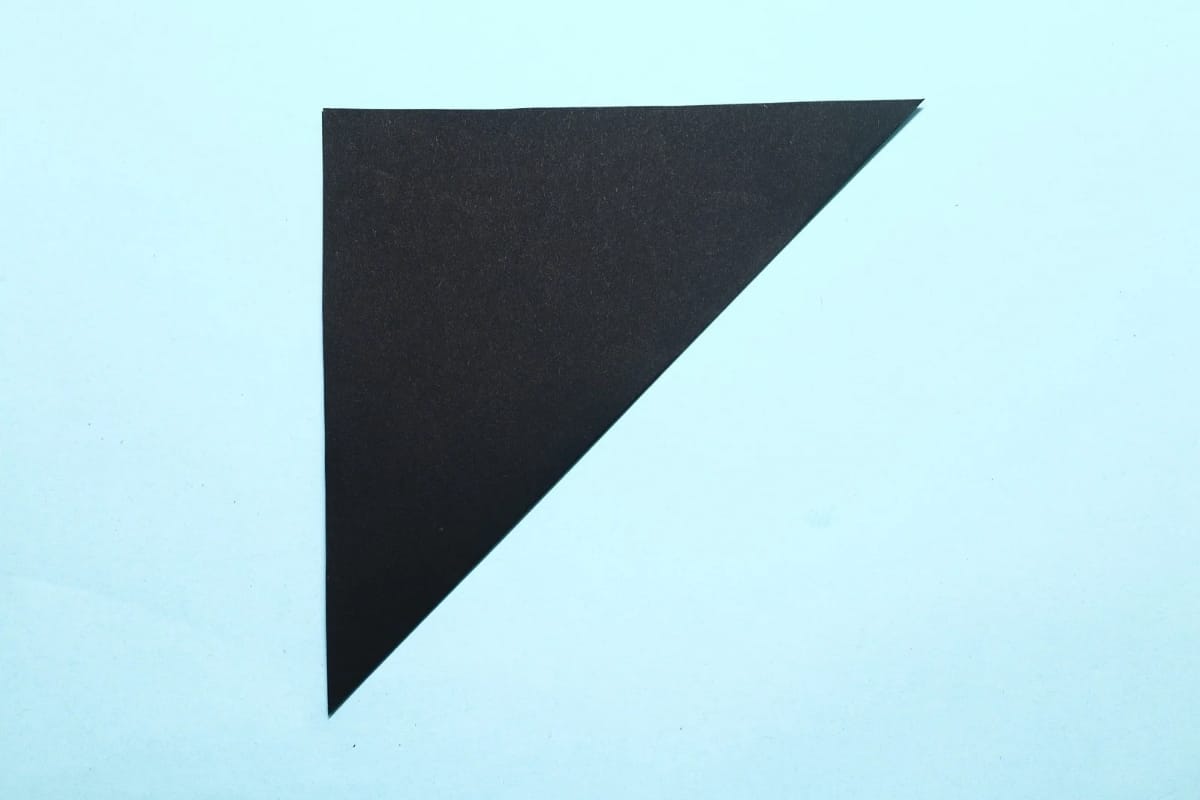
Bring the bottom right corner diagonally upward to the top left corner.
Step 3
3
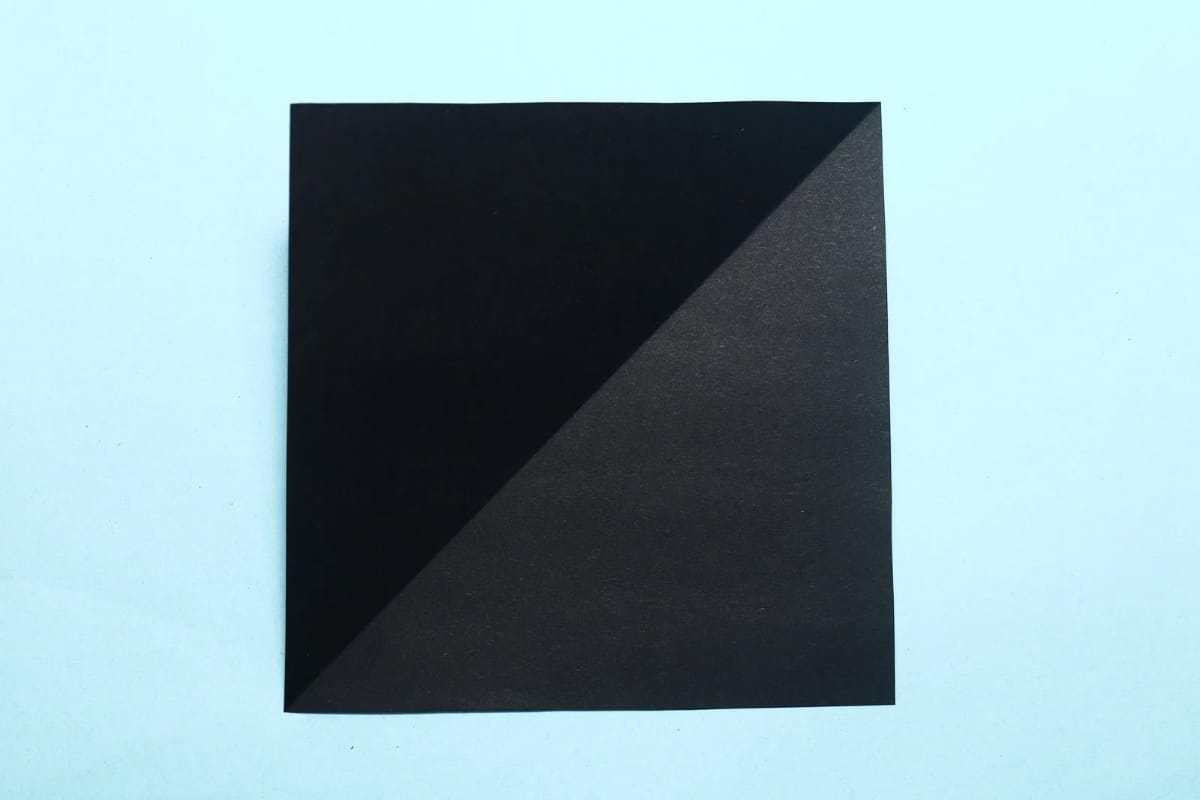
Unfold. We just needed a crease line.
Step 4
4
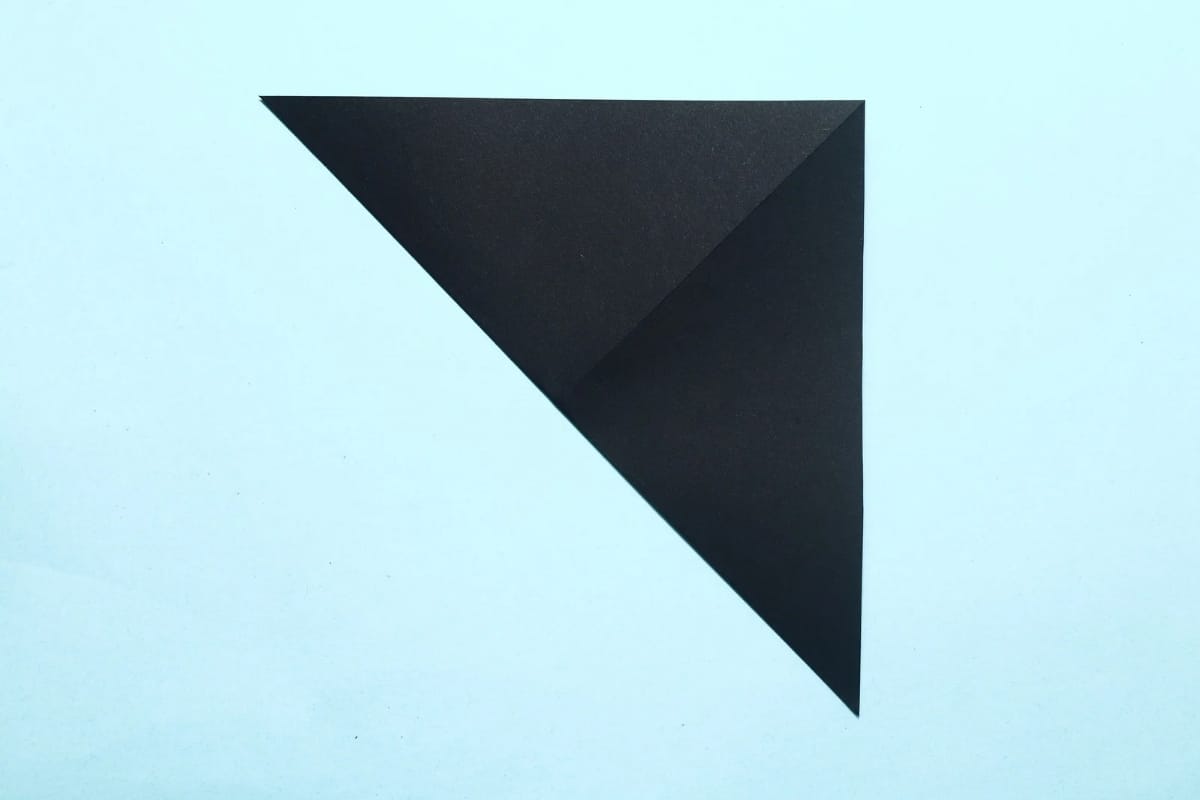
Bring the bottom left corner diagonally upward to the top right corner.
Step 5
5
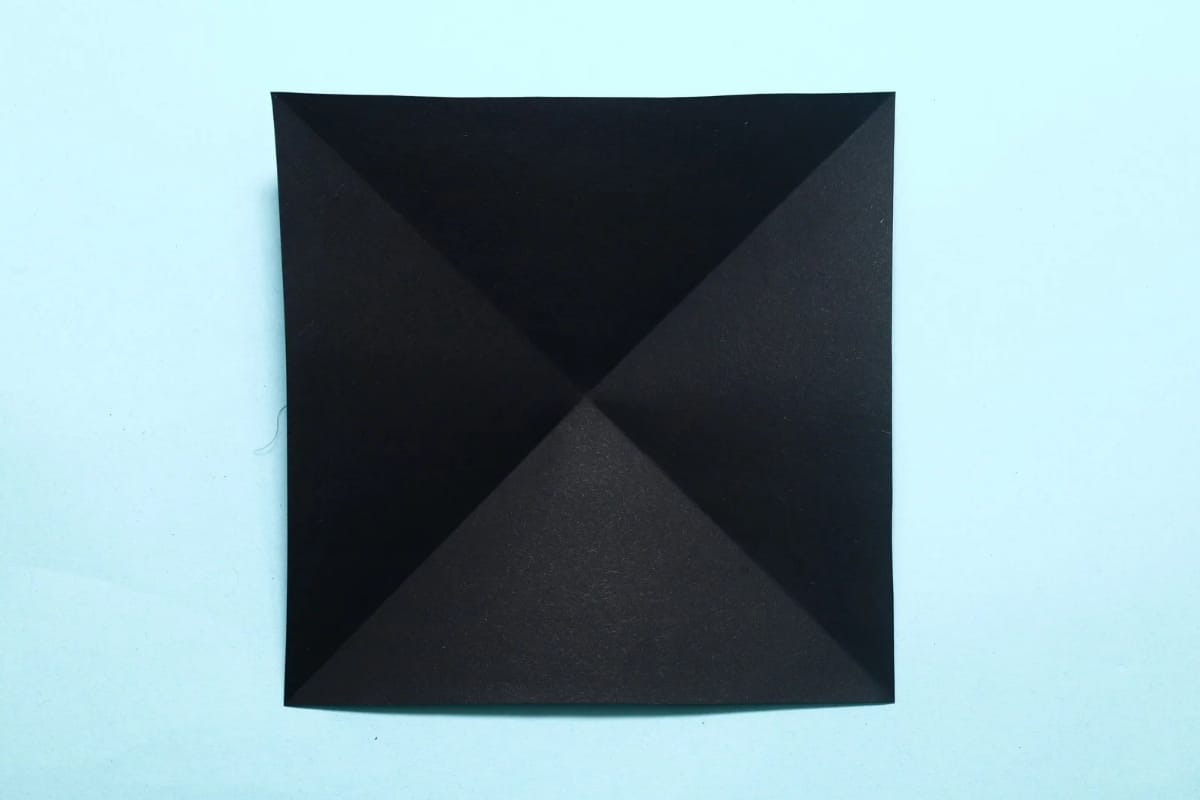
Unfold. We just needed a crease line.
Step 6
6
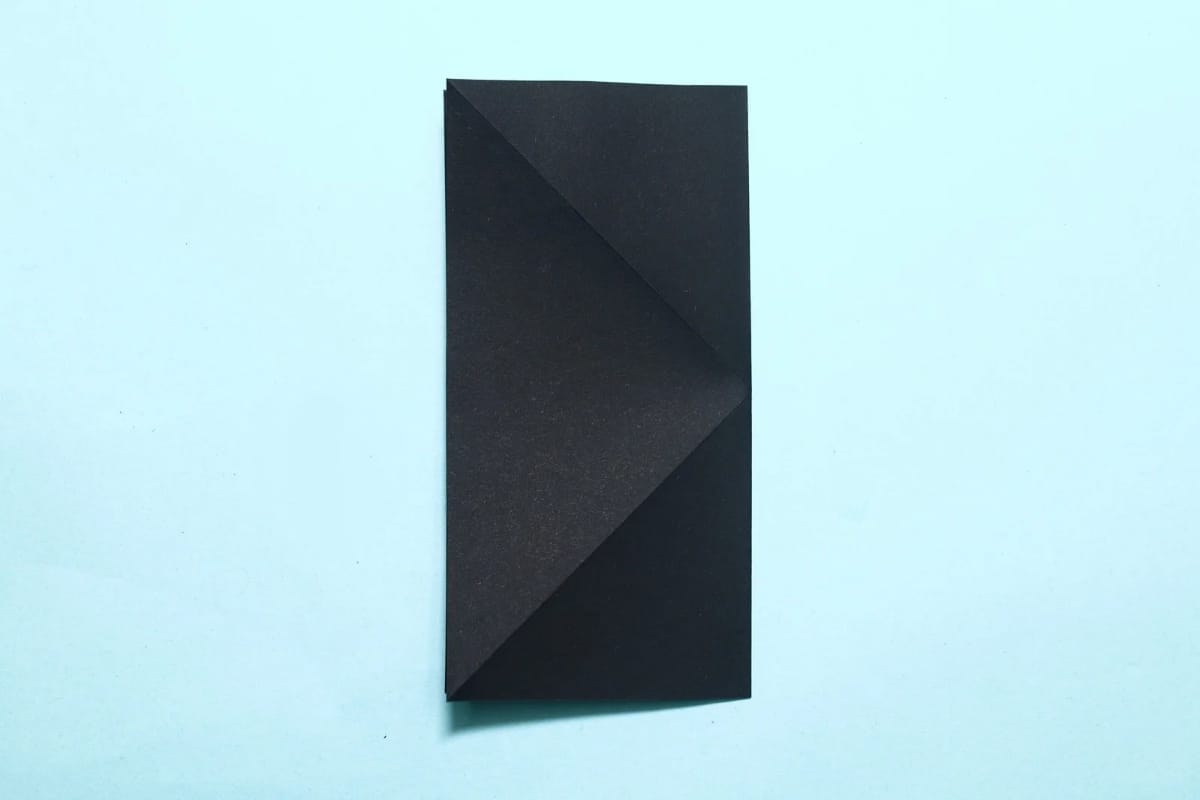
Fold in half, right to left.
Step 7
7
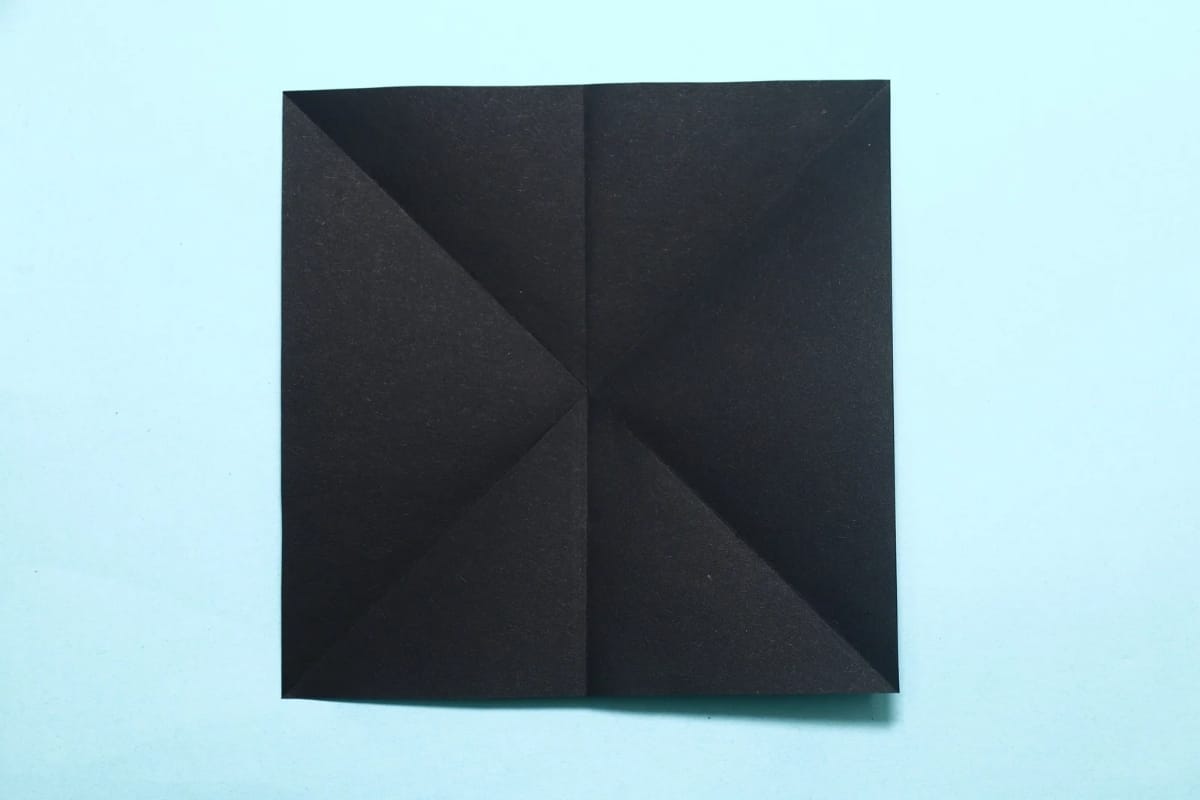
Unfold. We just needed a crease line.
Step 8
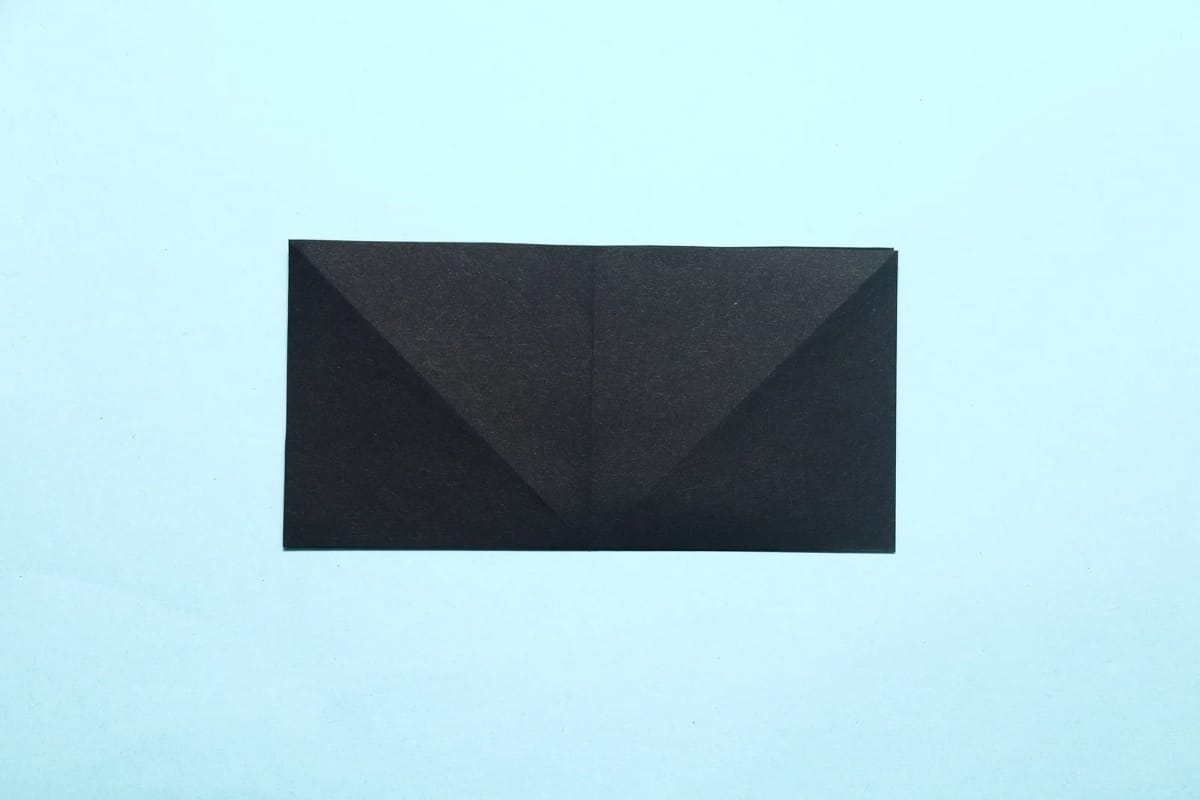
8
Fold in half, bottom to top.
Step 9
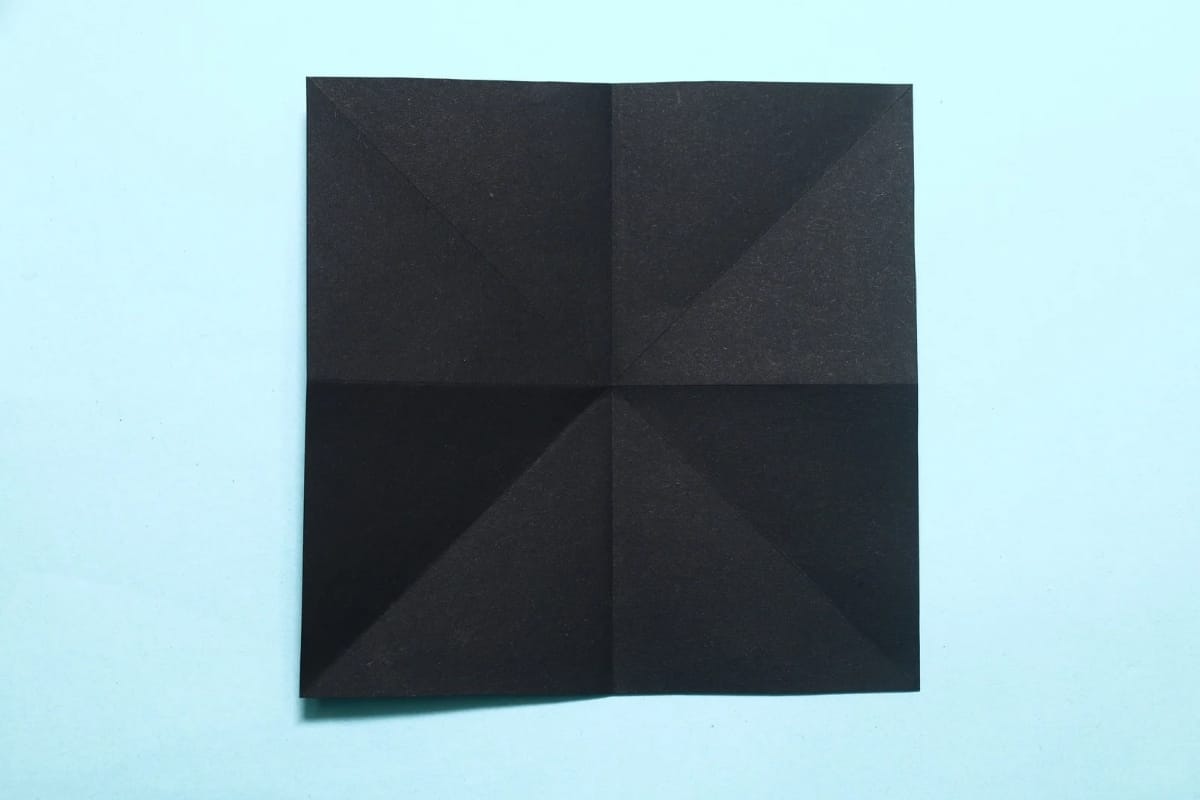
9
Unfold. We just needed a crease line.
Step 10
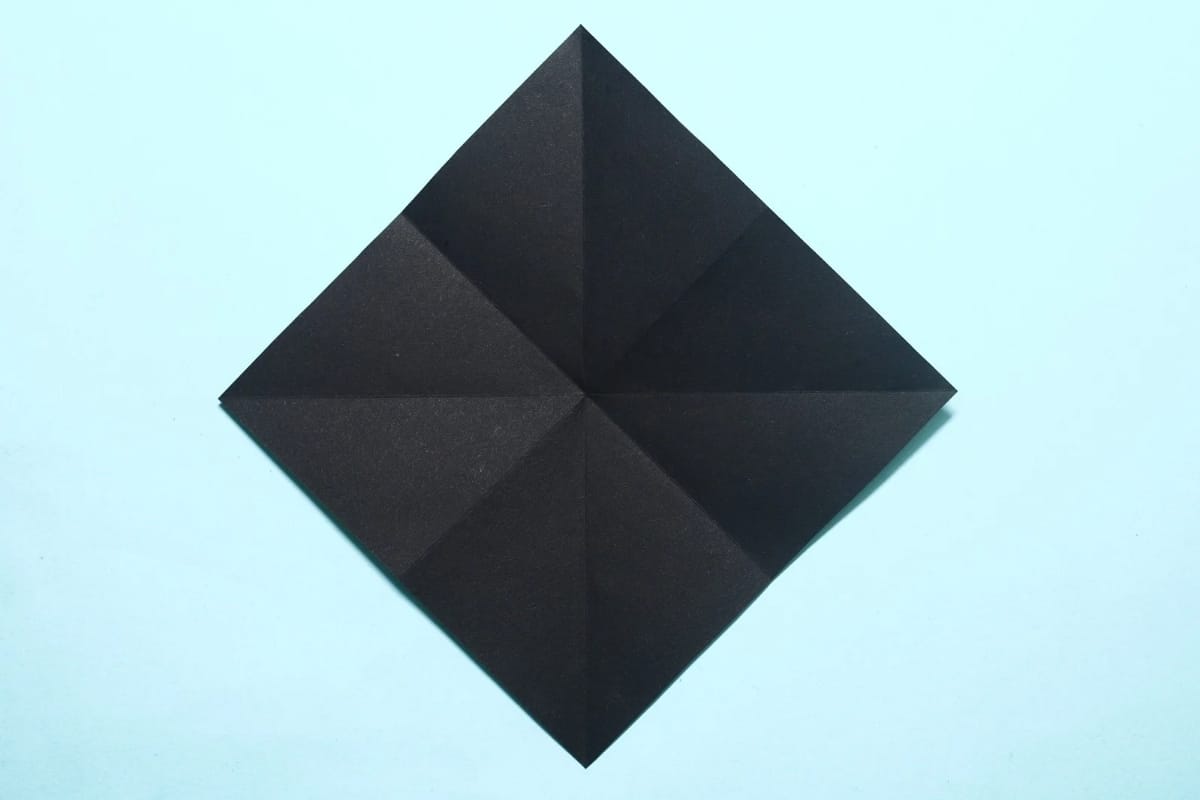
10
Rotate the paper into a diamond shape.
Step 11
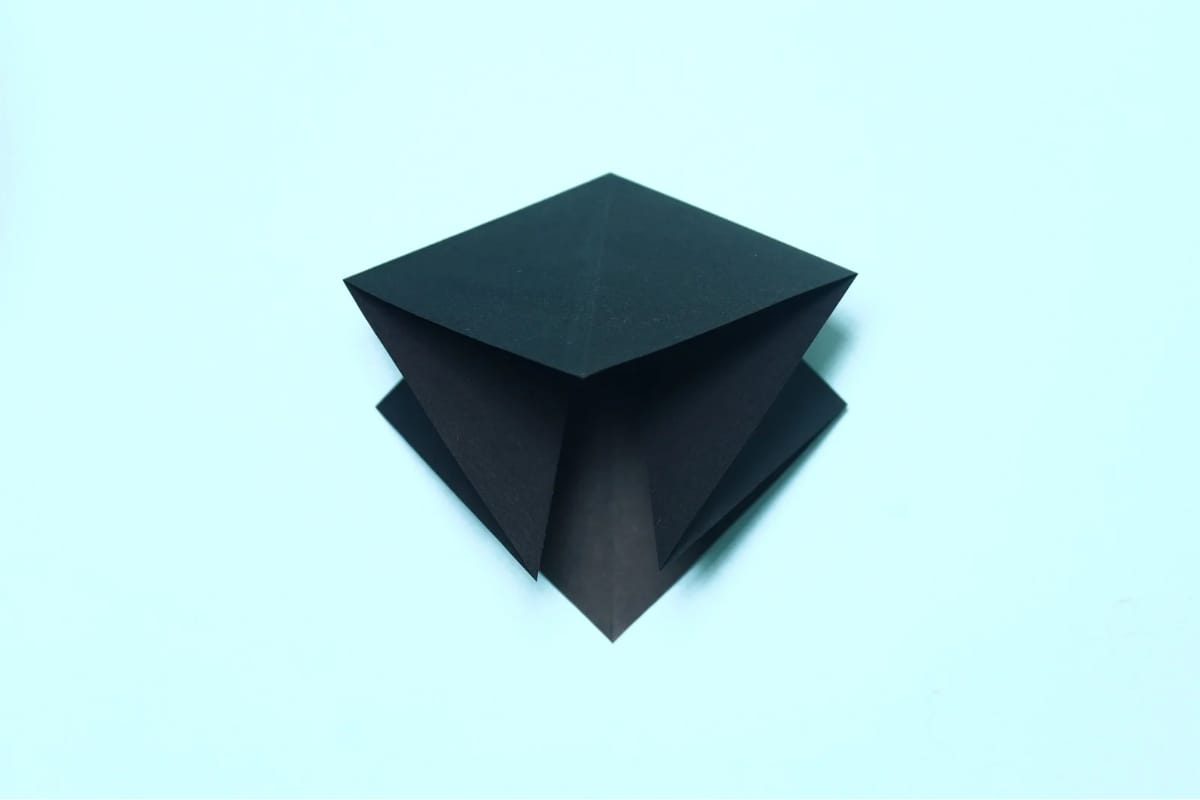
11
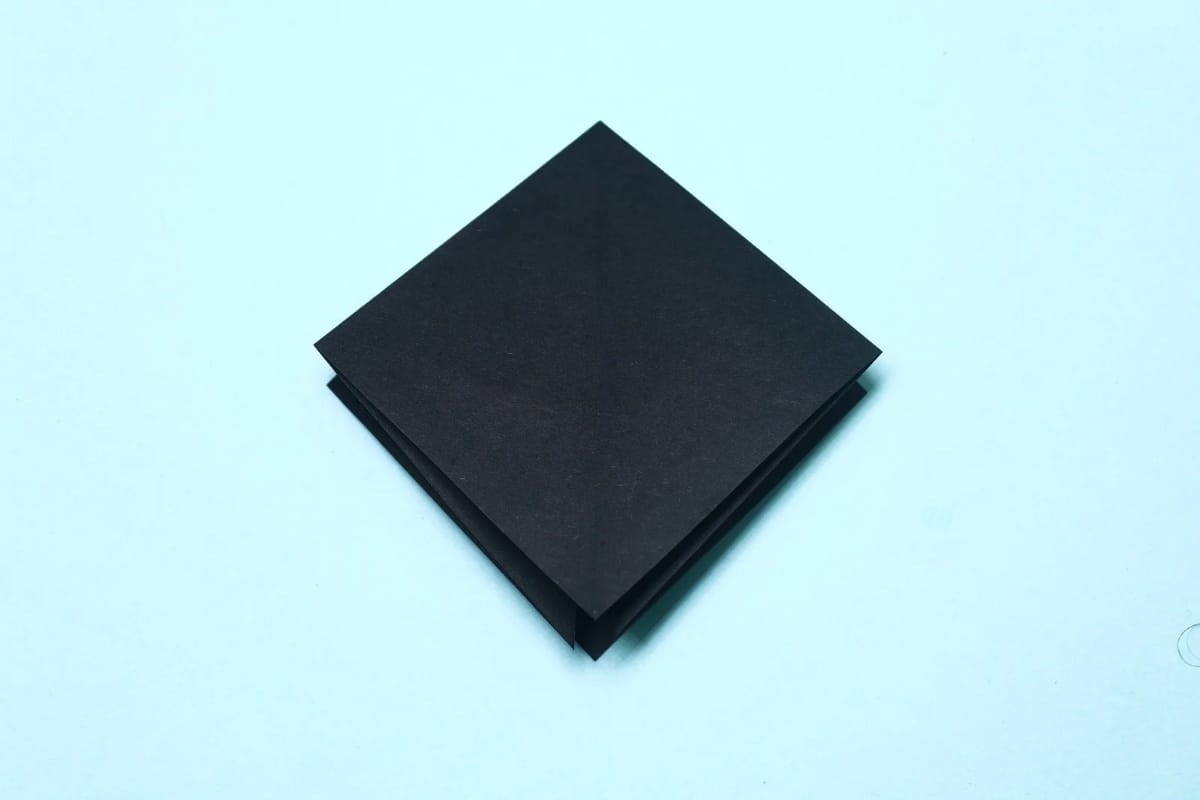
Fold the top point down while bringing the side points inward.
Step 12
12
Flatten the fold. This is a square base.
Step 13
13
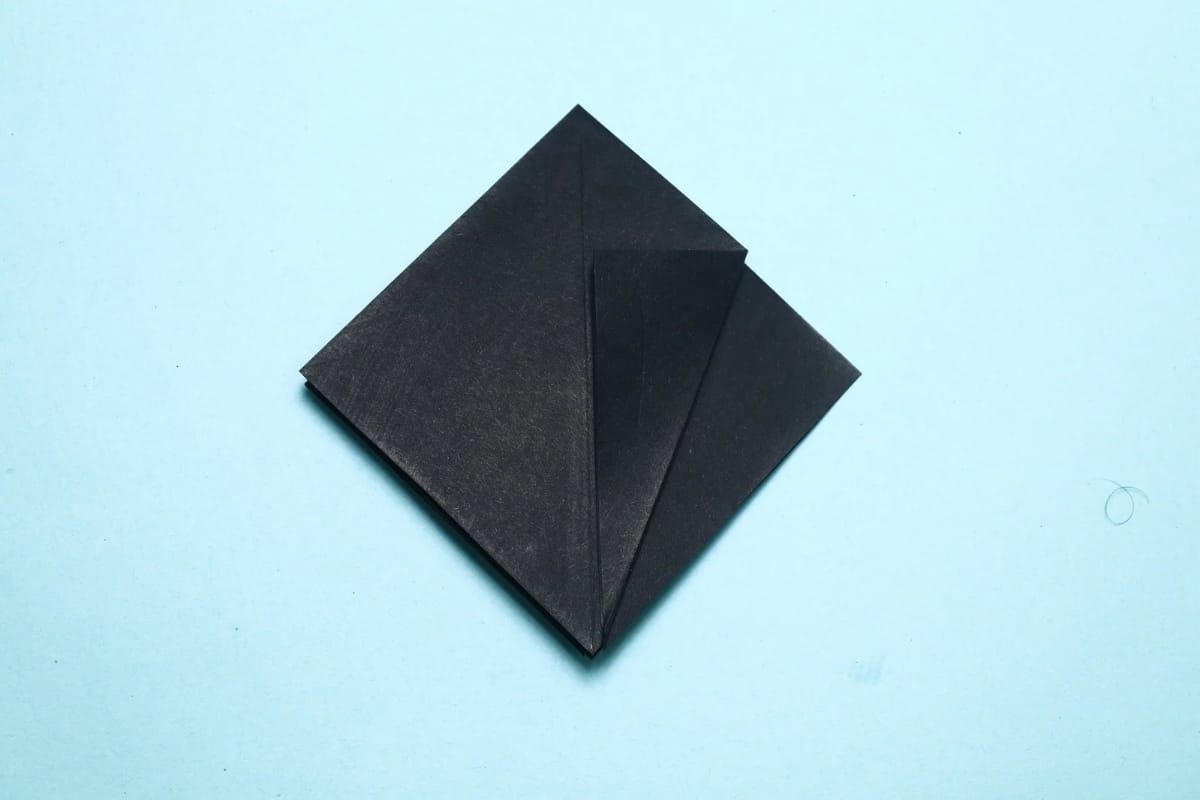
Fold the bottom right edge to meet the central vertical crease.
Step 14
14
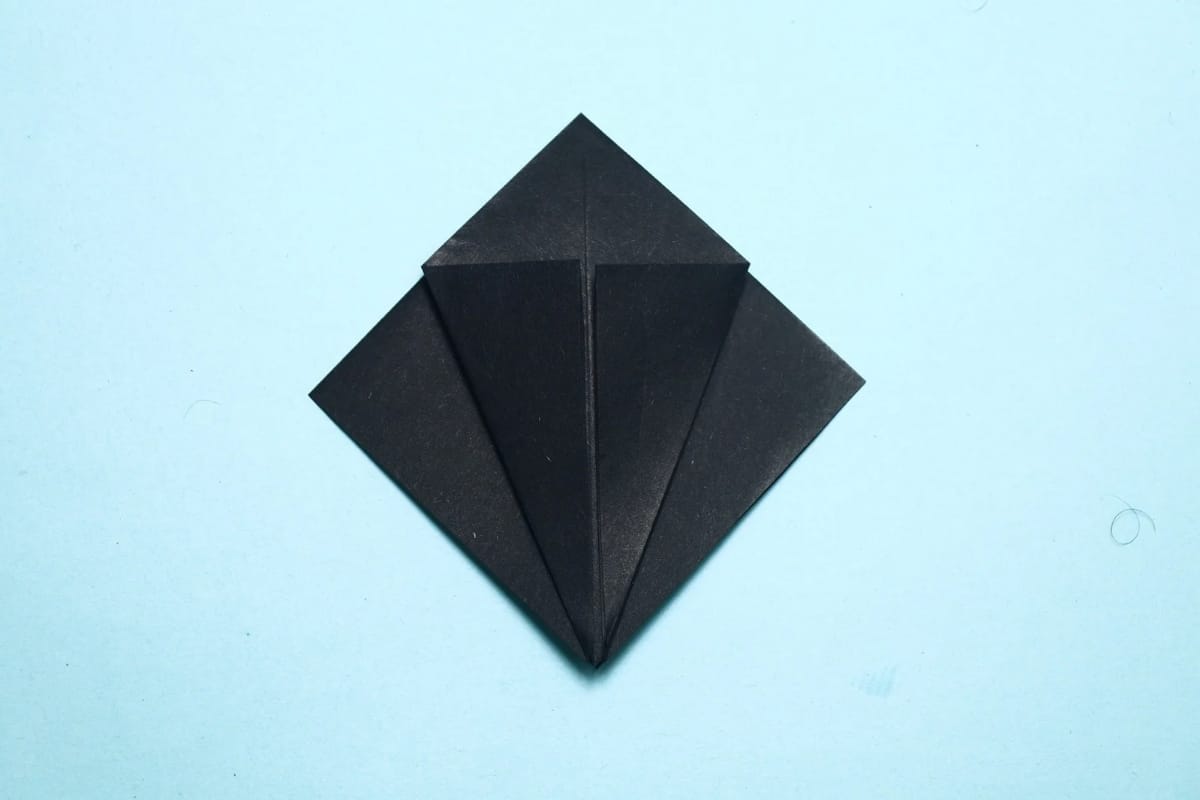
Fold the bottom left edge to meet the central vertical crease.
Step 15
15
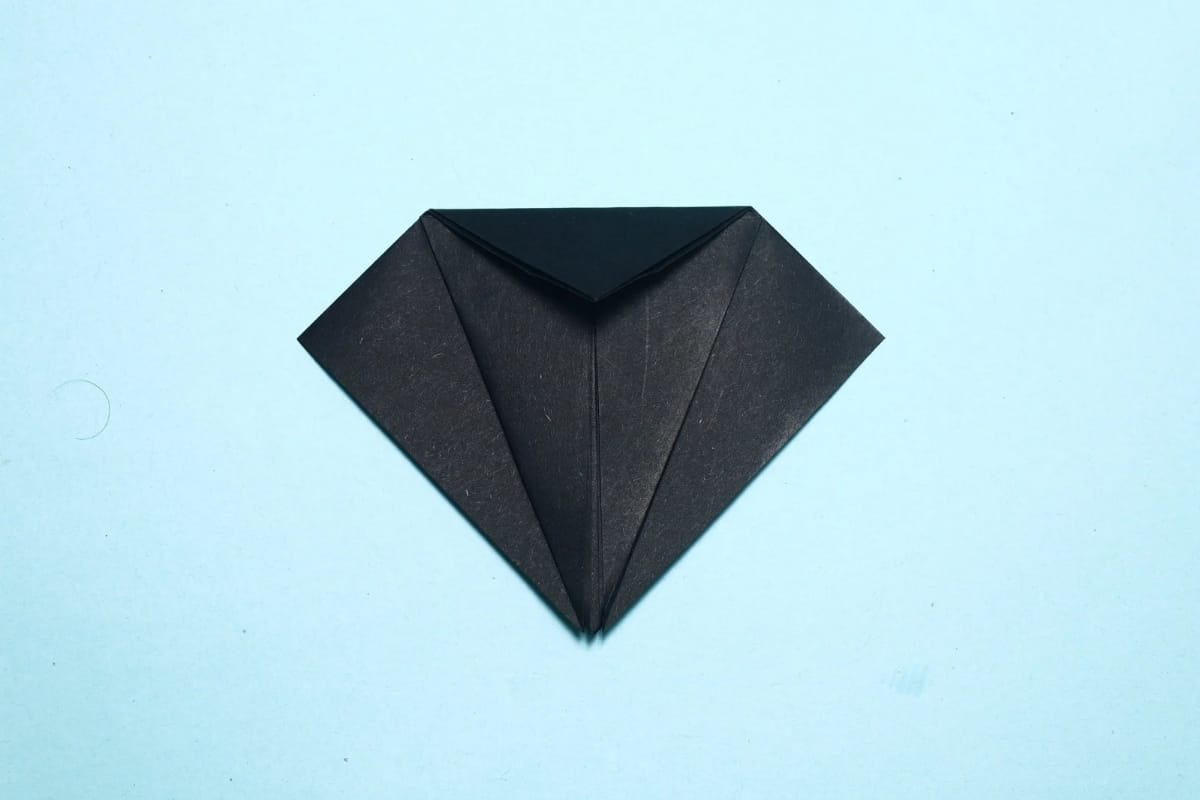
Fold down the top triangle.
Step 16
16
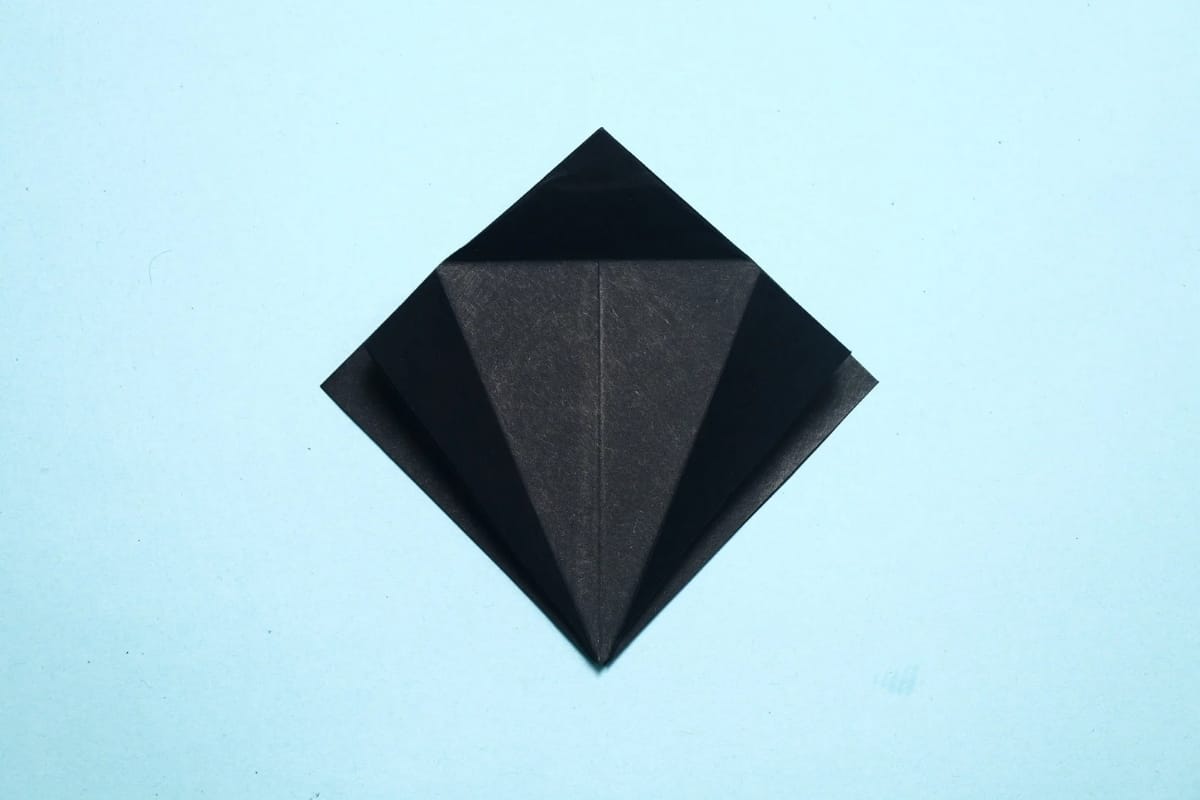
Unfold the top and side flaps. We just needed a crease line.
Step 17
17
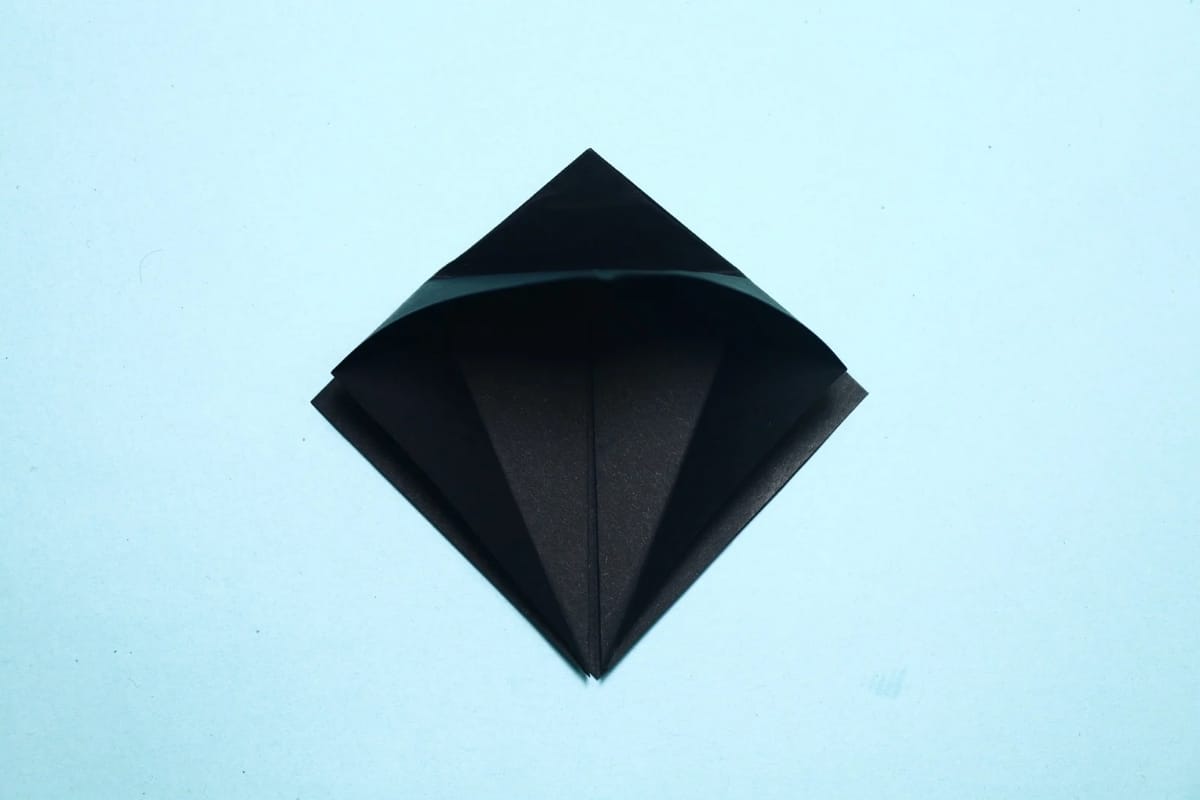
Lift up the flap from the bottom.
Step 18
18
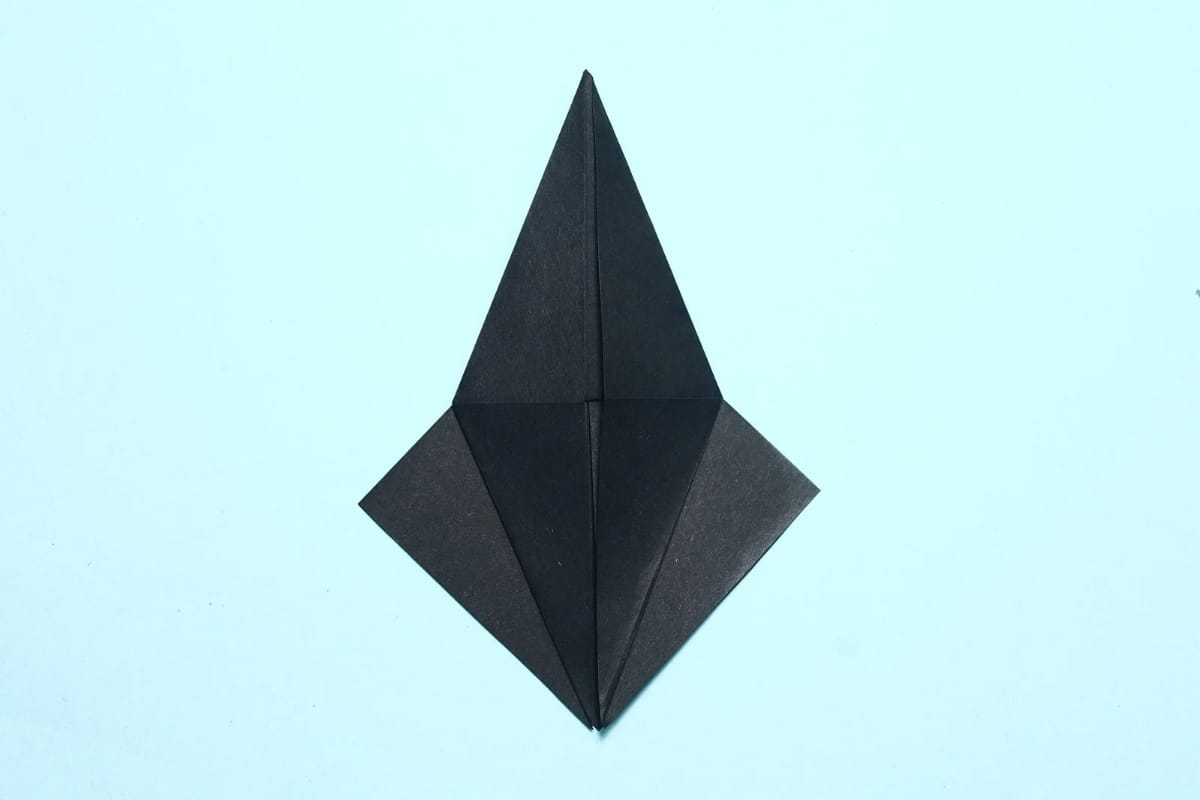
Bring the flap upward and flatten it to create a clean diamond shape.
Step 19
19
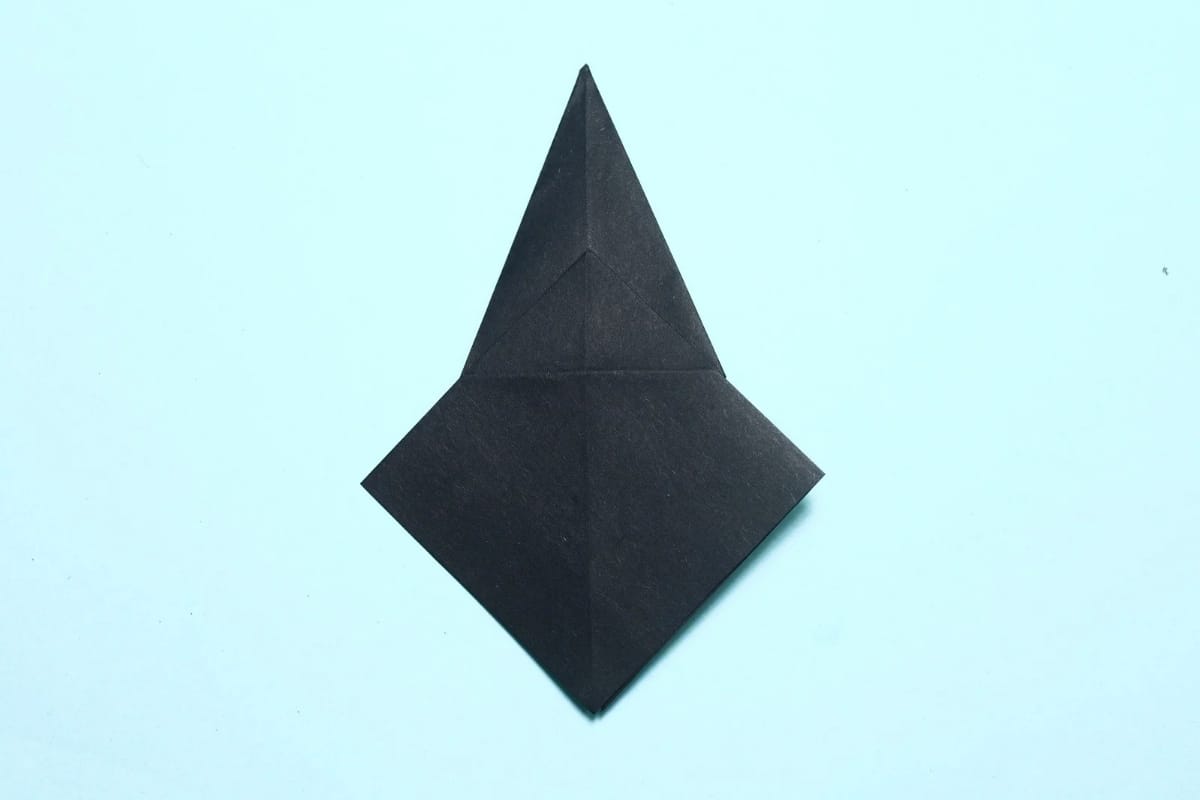
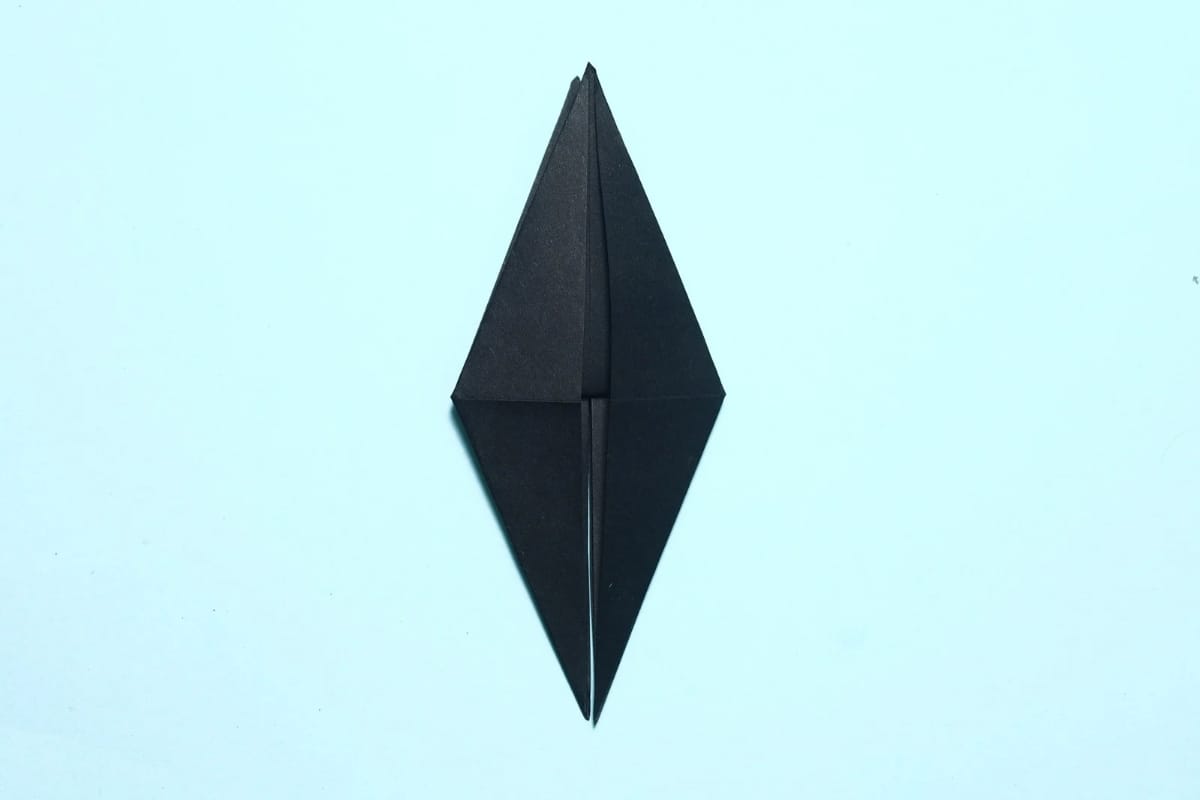
Turn the model over.
Step 20
20
Repeat the steps 13-18 on this side too.
Step 21
21
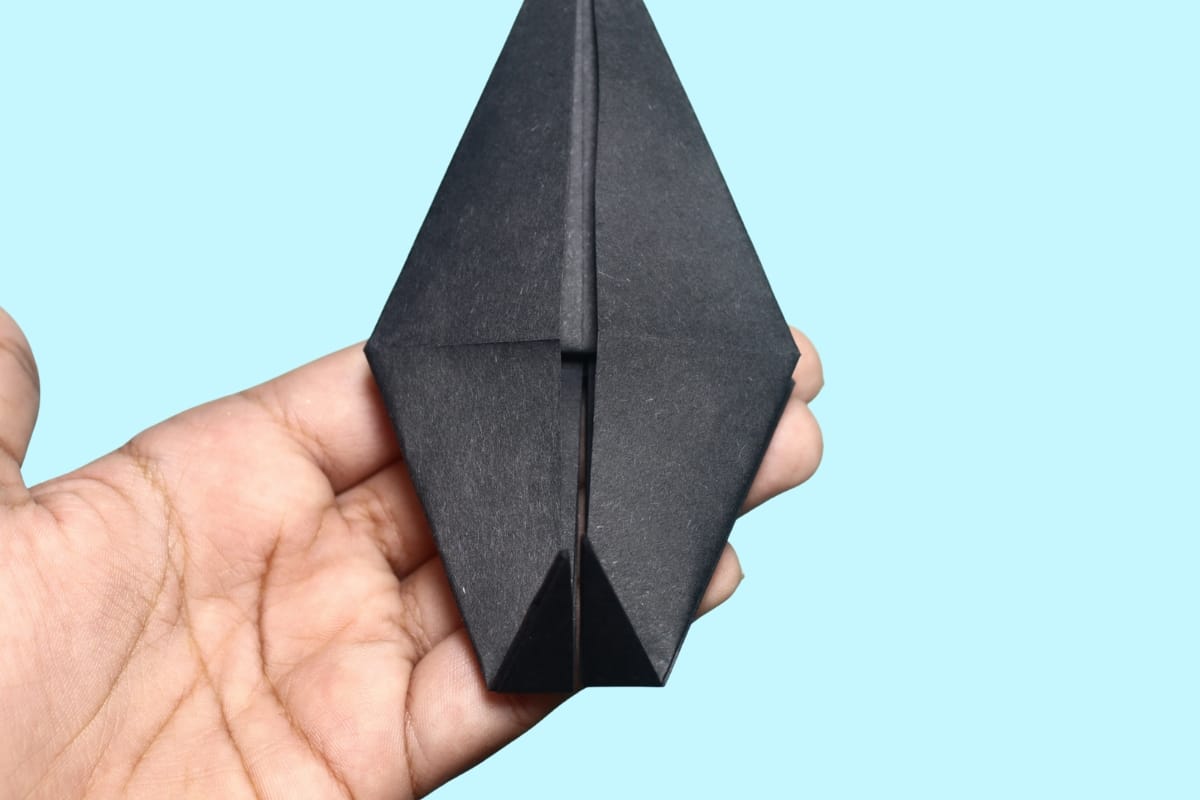
Fold both bottom corners up roughly one-third of the model’s height.
Step 22
22
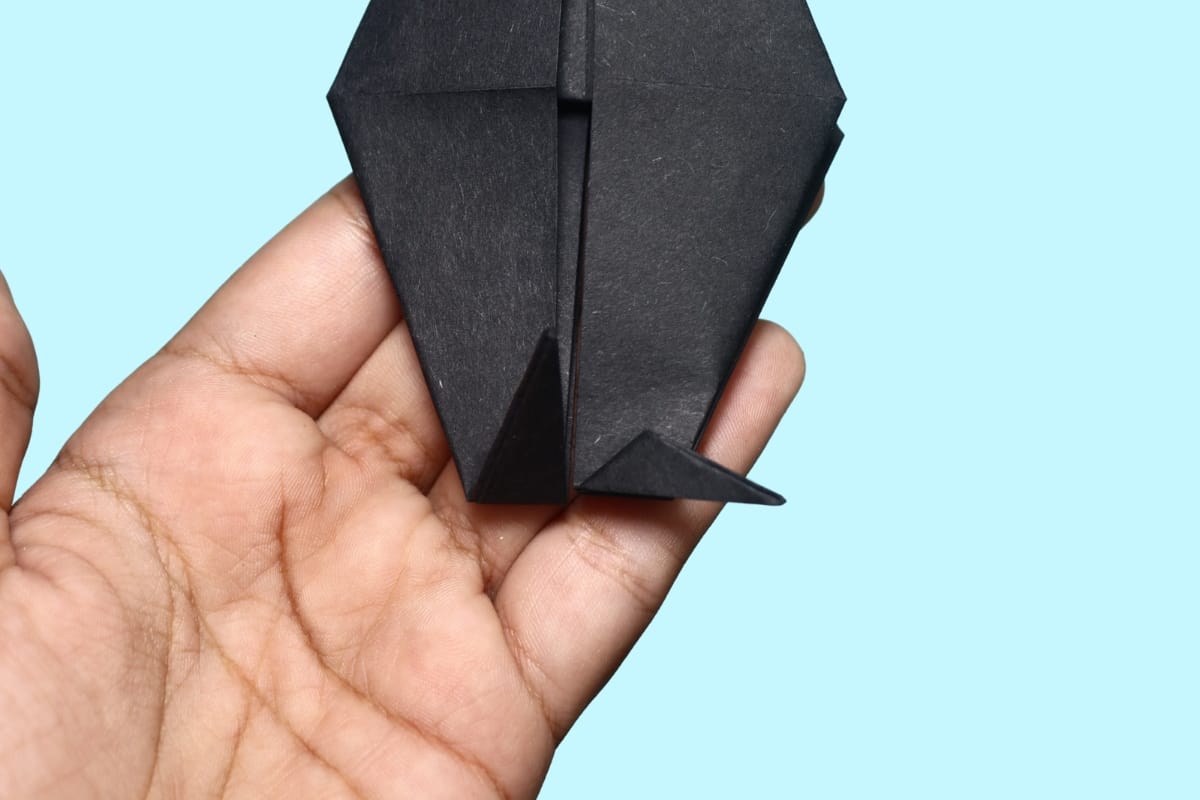
Fold the right flap diagonally downward and outward to the right.
Step 23
23
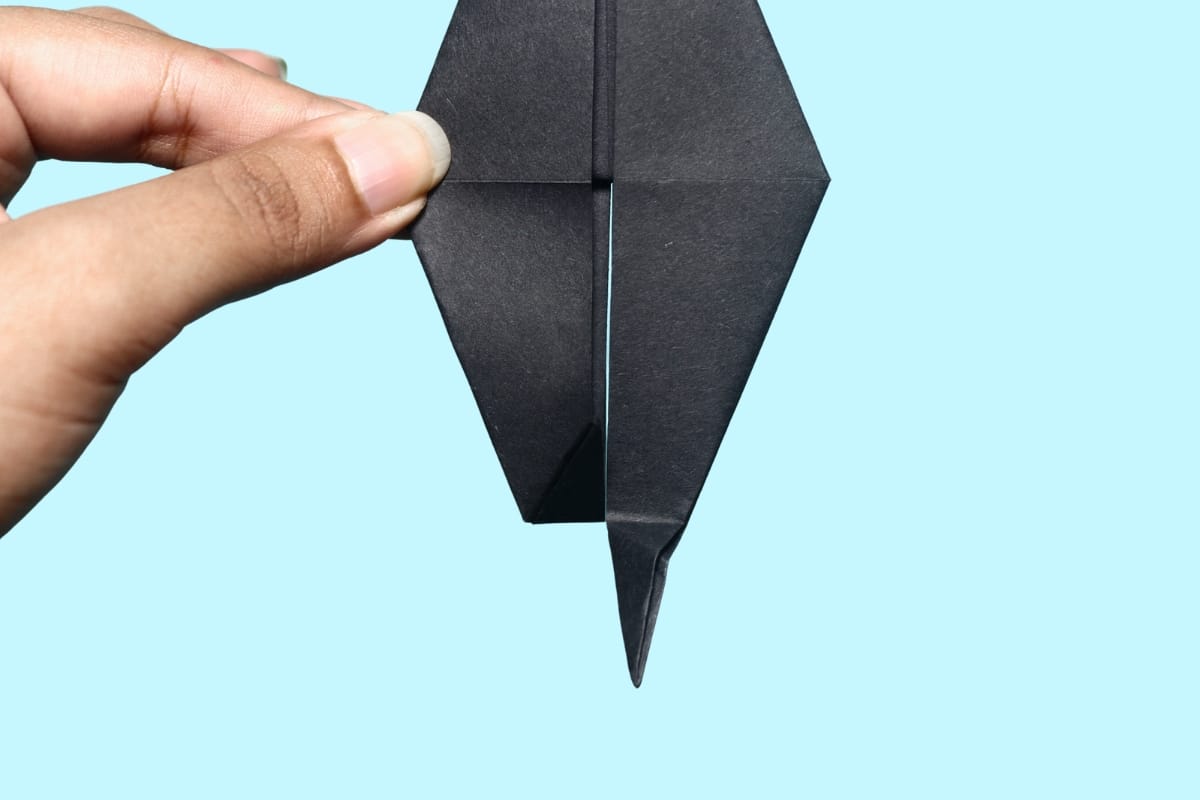
Unfold. We just needed a crease line.
Step 24

24
Gently open the flap and squash fold it outward, shaping it into a sideways kite as shown in the image.
Step 25
25
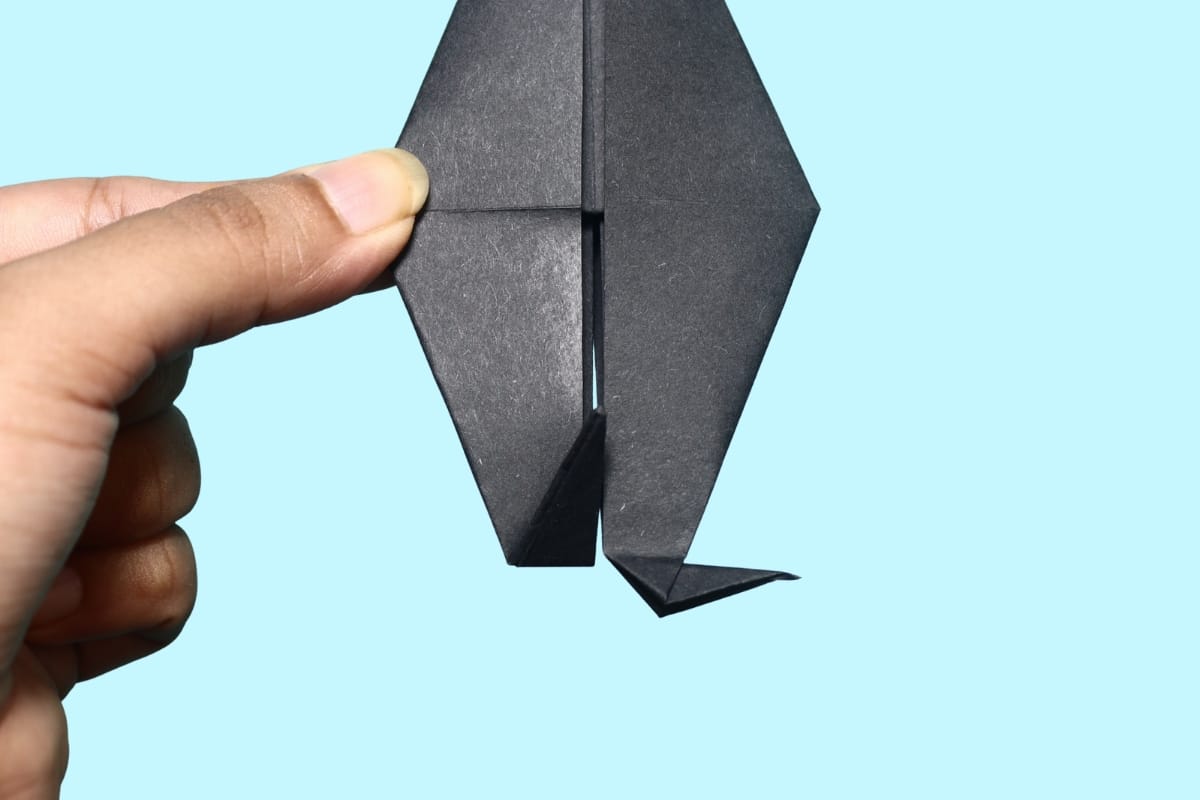
Fold the top of the flap down.
Step 26
26
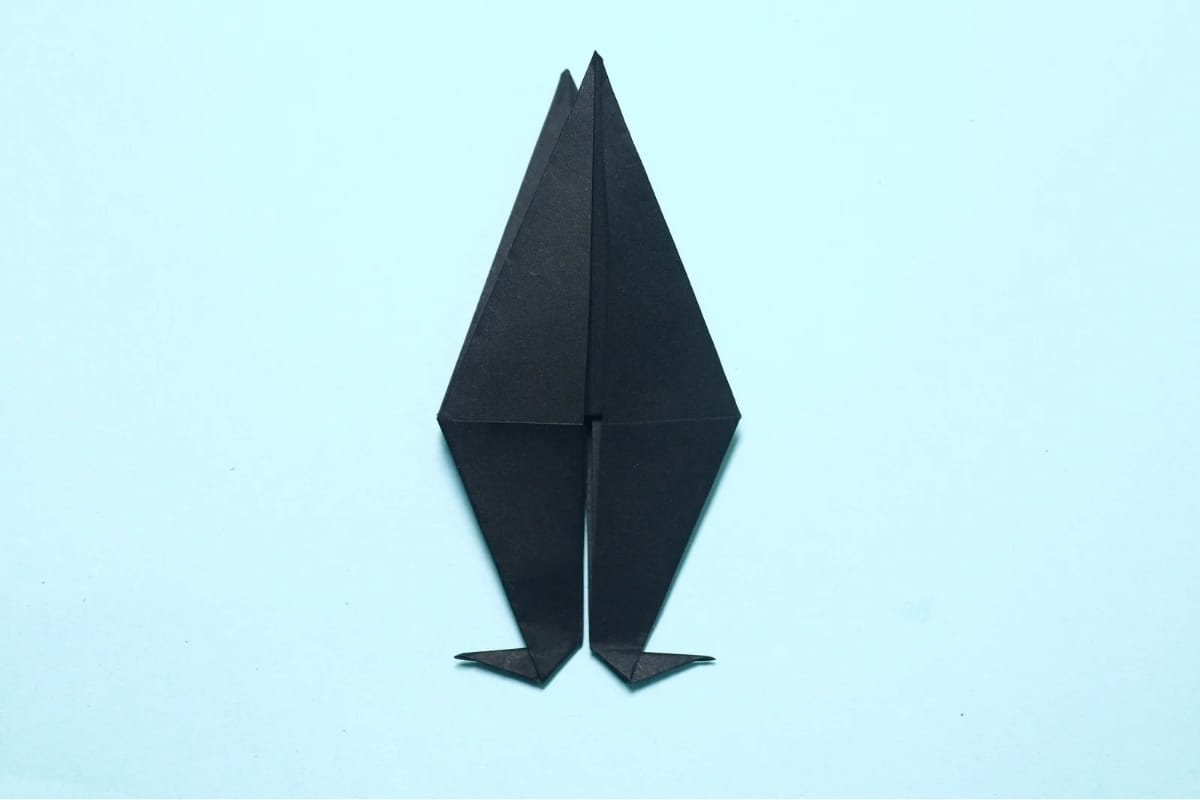
Repeat the steps 22-25 on left side too.
Step 27
27
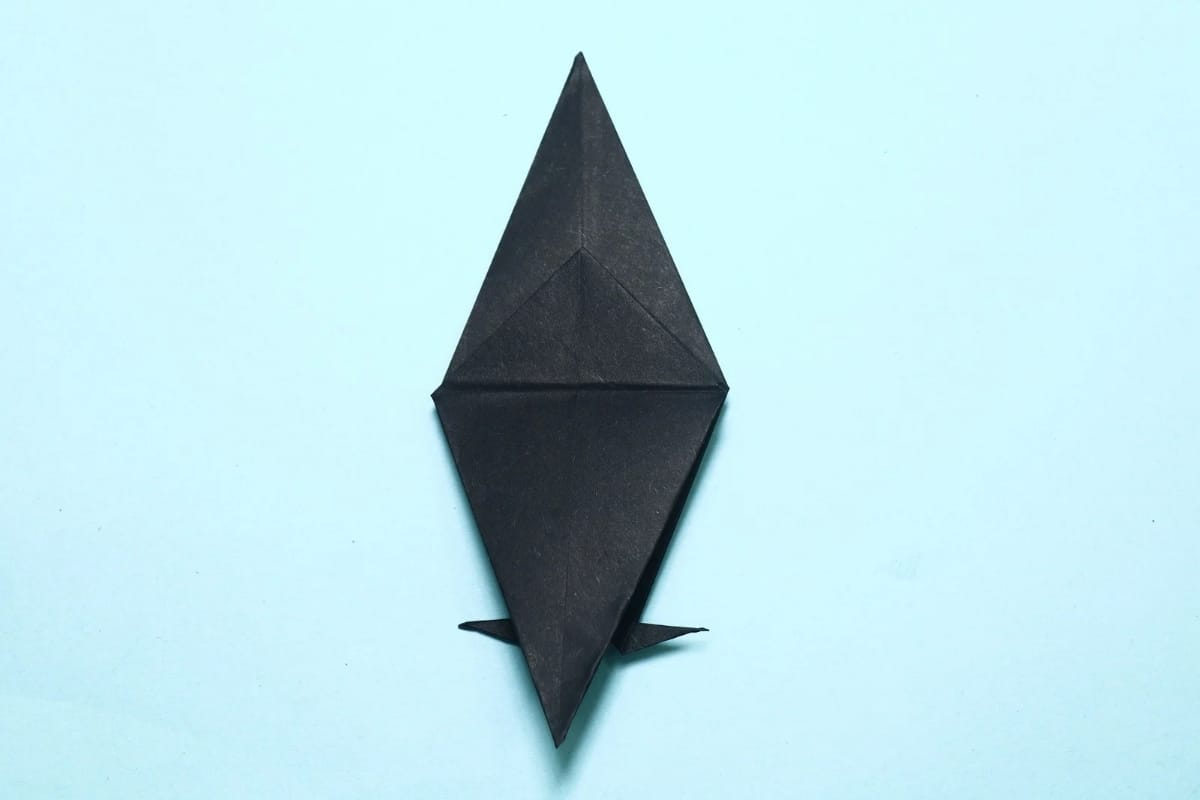
Fold down the top of flap.
Step 28
28
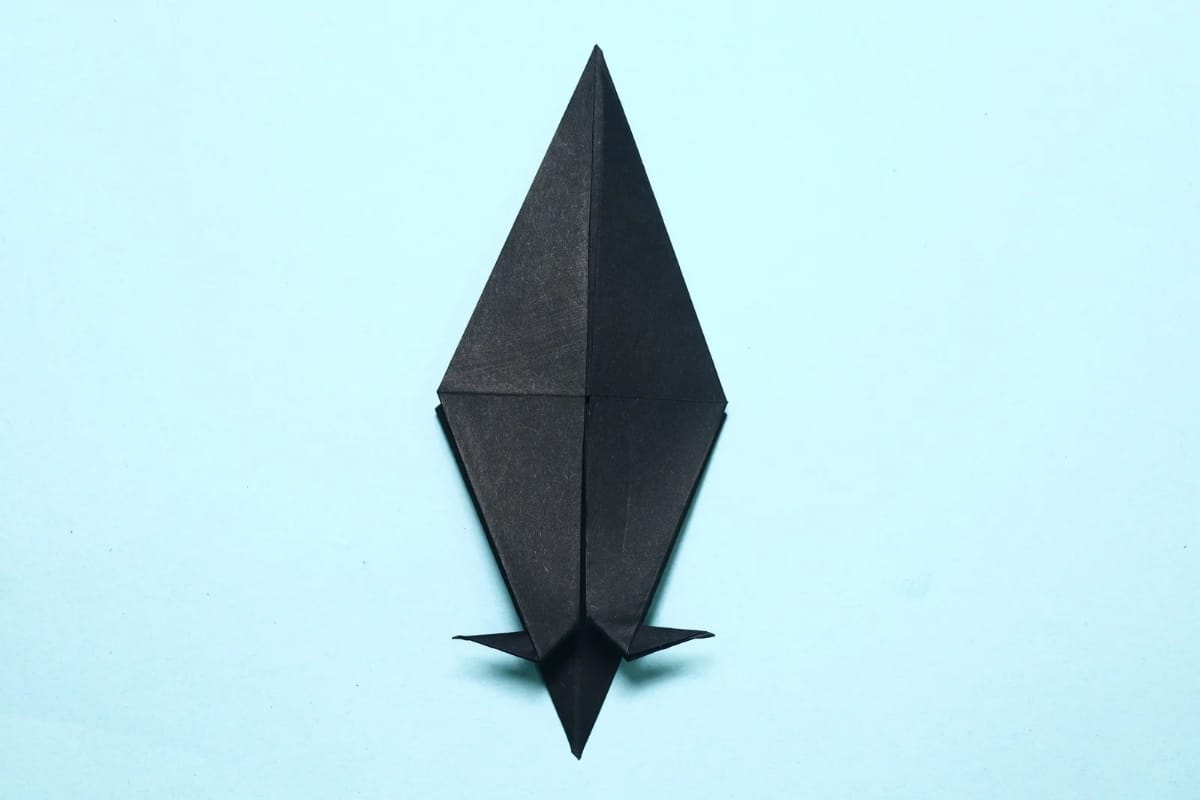
Turn the model over.
Step 29
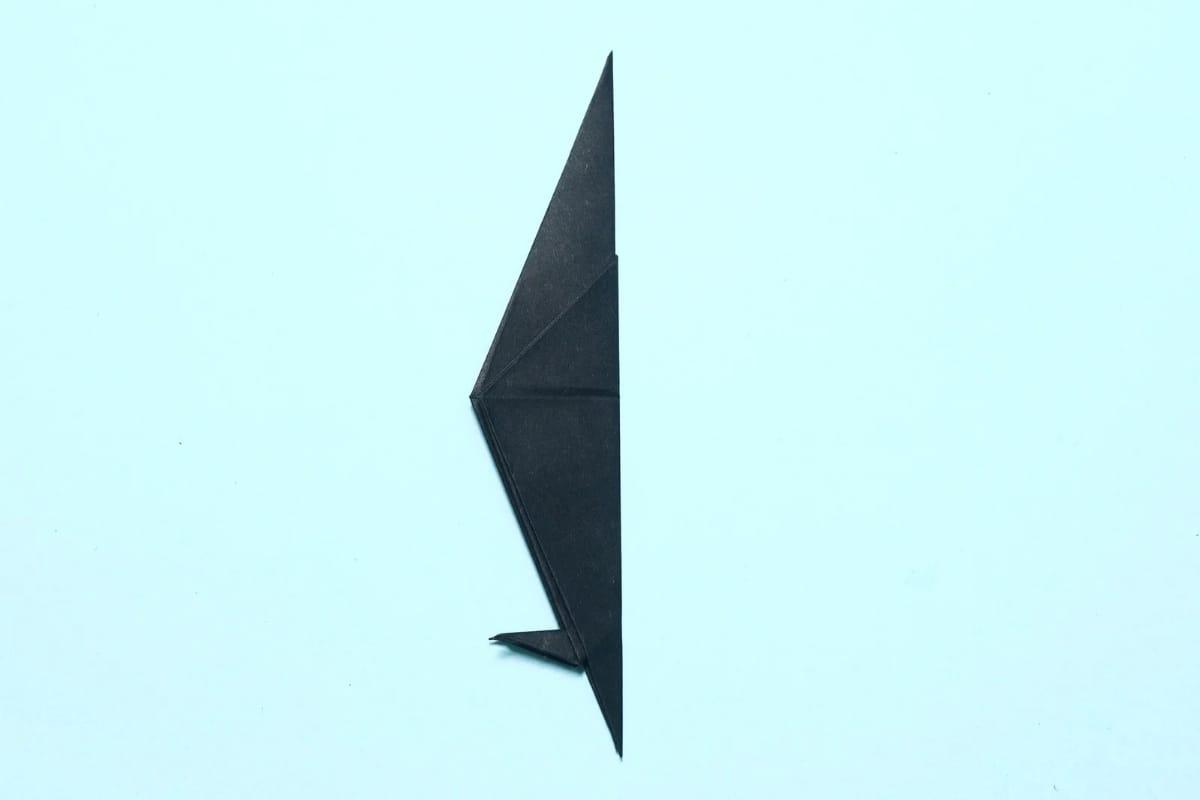
29
Bring the right side across to cover the left.
Step 30
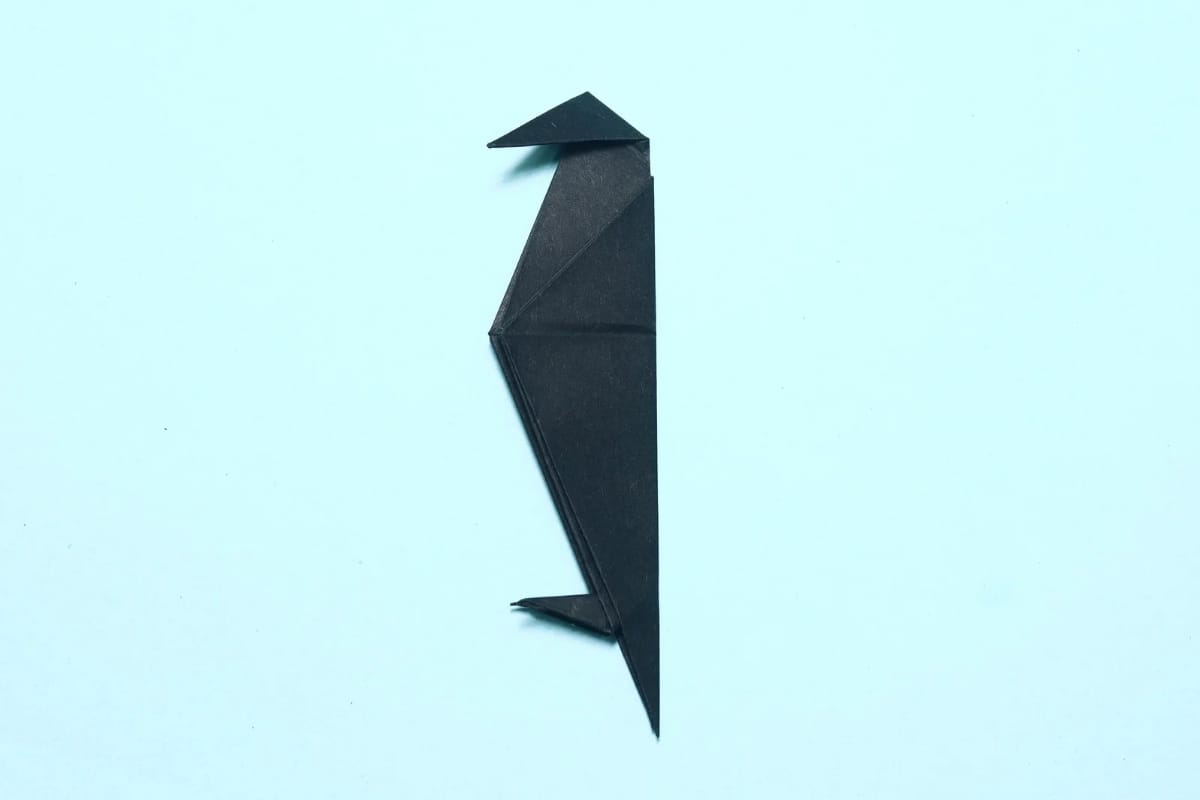
30
Fold the top corner down diagonally to create the head.
Step 31
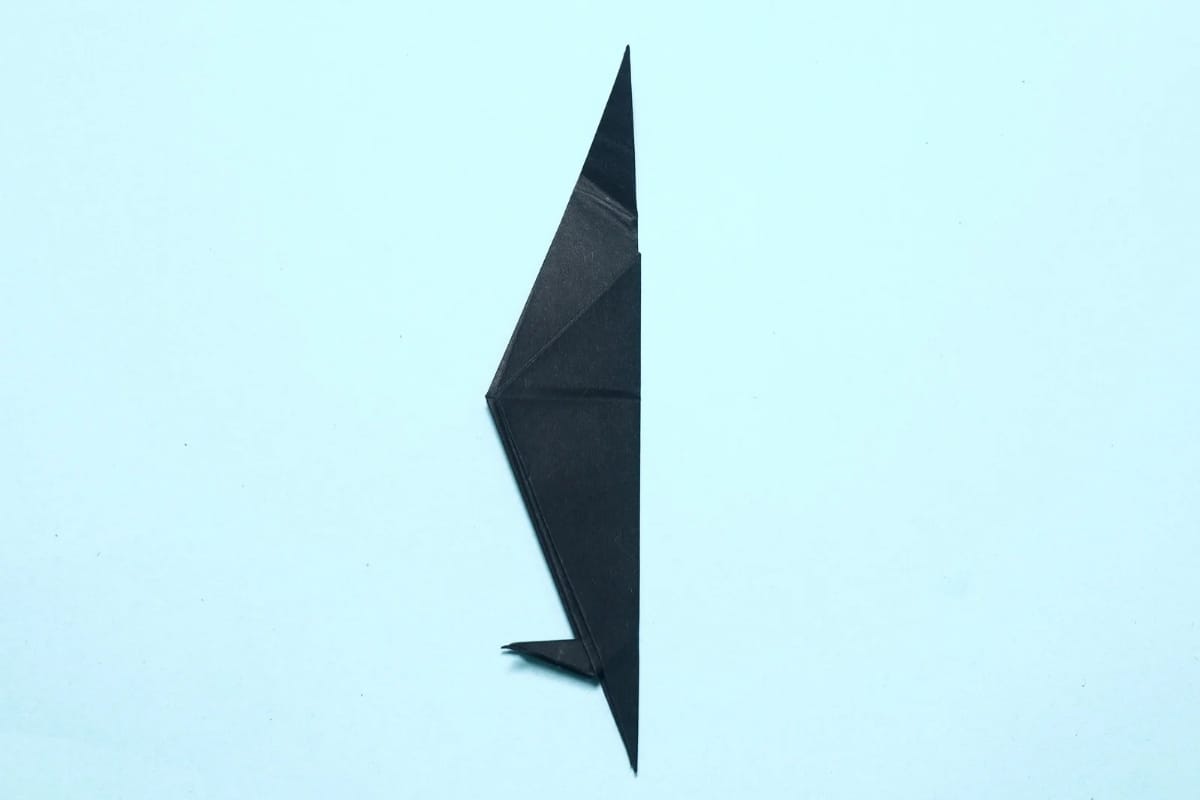
31
Unfold. We just needed a crease line.
Step 32
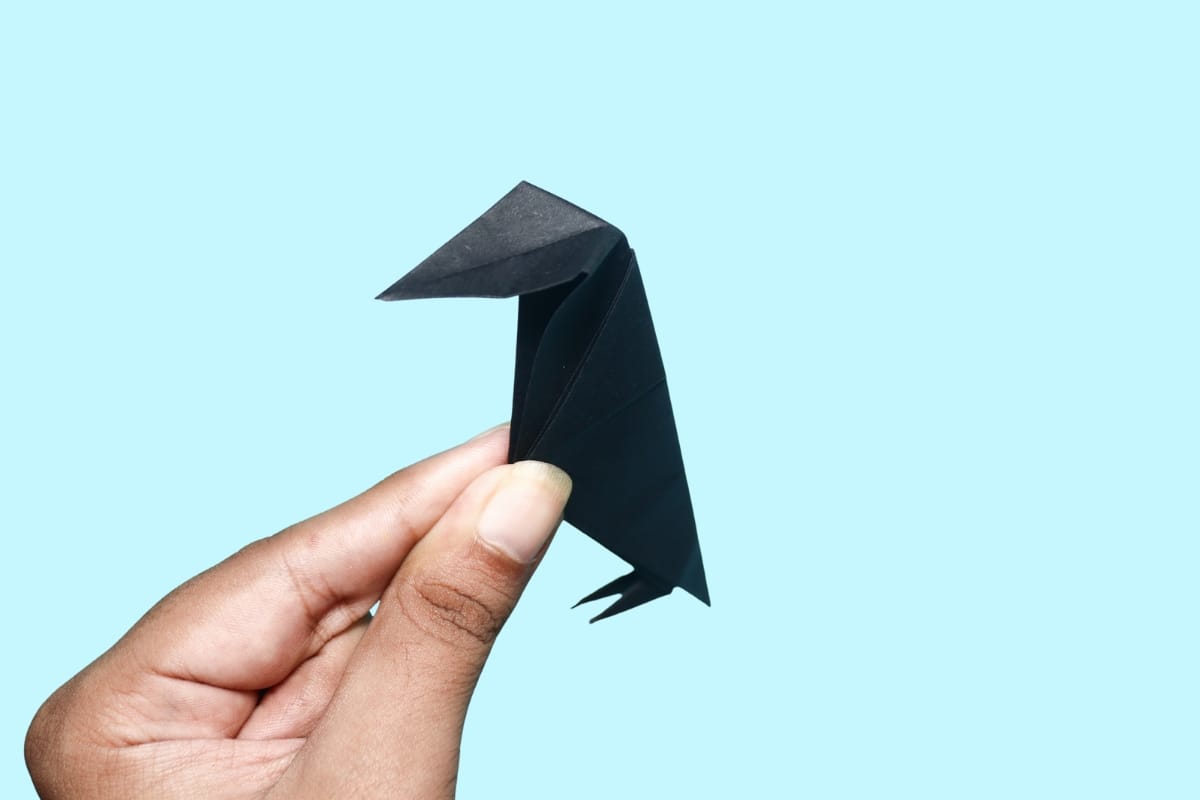
32
Open the flap, then inside reverse fold along the existing crease.
Step 33
33
Flatten the fold — and there it is, your origami crow, ready to take flight!
Share and Comment
We would love to see your creations! Scroll down to the comments section and share a photo of your origami.
Leave a Reply