
Dolphins are some of the smartest and friendliest animals in the ocean, and now you can make one yourself! This origami dolphin is quick to fold, relaxing to make, and so satisfying to see when it’s done. Follow along and let your creativity swim free!
How to Make an Origami Dolphin instructions
Category: Origami Animals

Difficulty: Intermediate
Learn how to fold an adorable Origami dolphin with our easy step-by-step guide. A relaxing and creative craft perfect for all skill levels!
Step 1

1
Start with a square piece of origami paper. I am using an 7×7 inches origami paper.
If you only have regular paper, follow these instructions on how to make a square origami paper.
If you only have regular paper, follow these instructions on how to make a square origami paper.
Step 2

2
Rotate the paper into a diamond shape.
Step 3

3
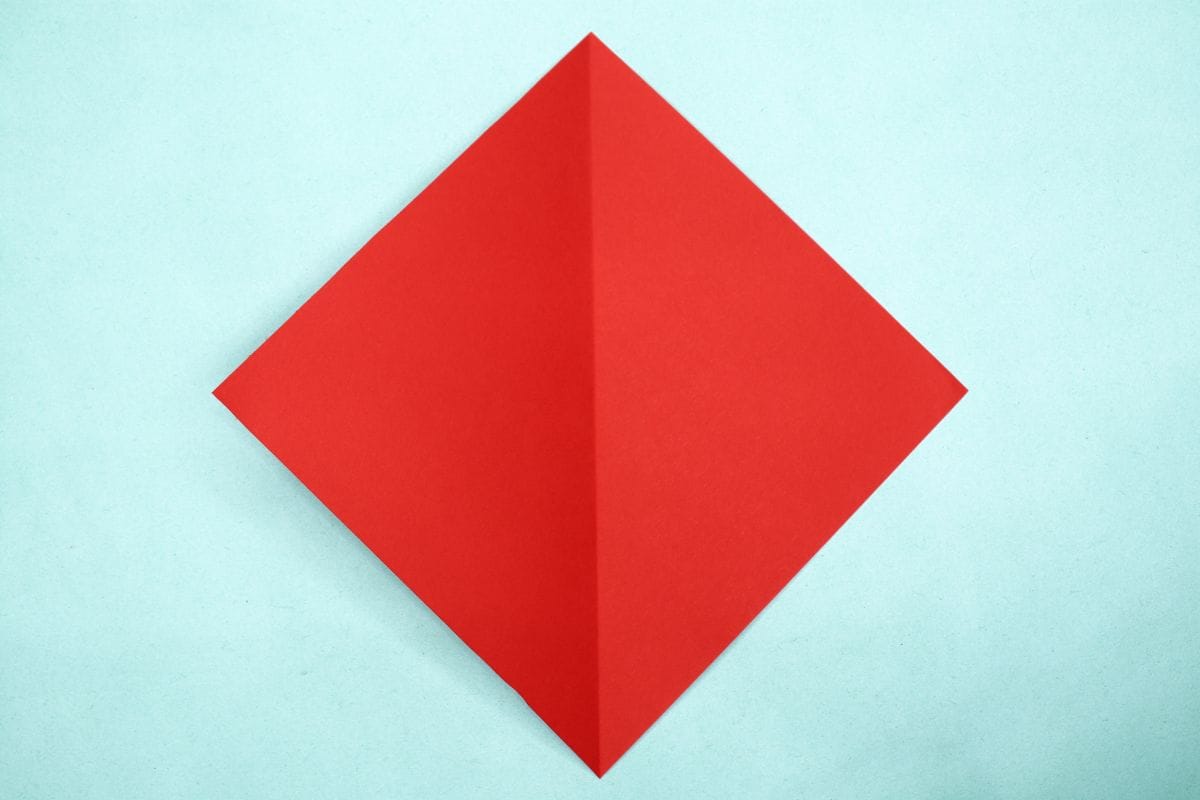
Fold the left corner to meet the right corner.
Step 4
4
Unfold. We just needed a crease line.
Step 5

5
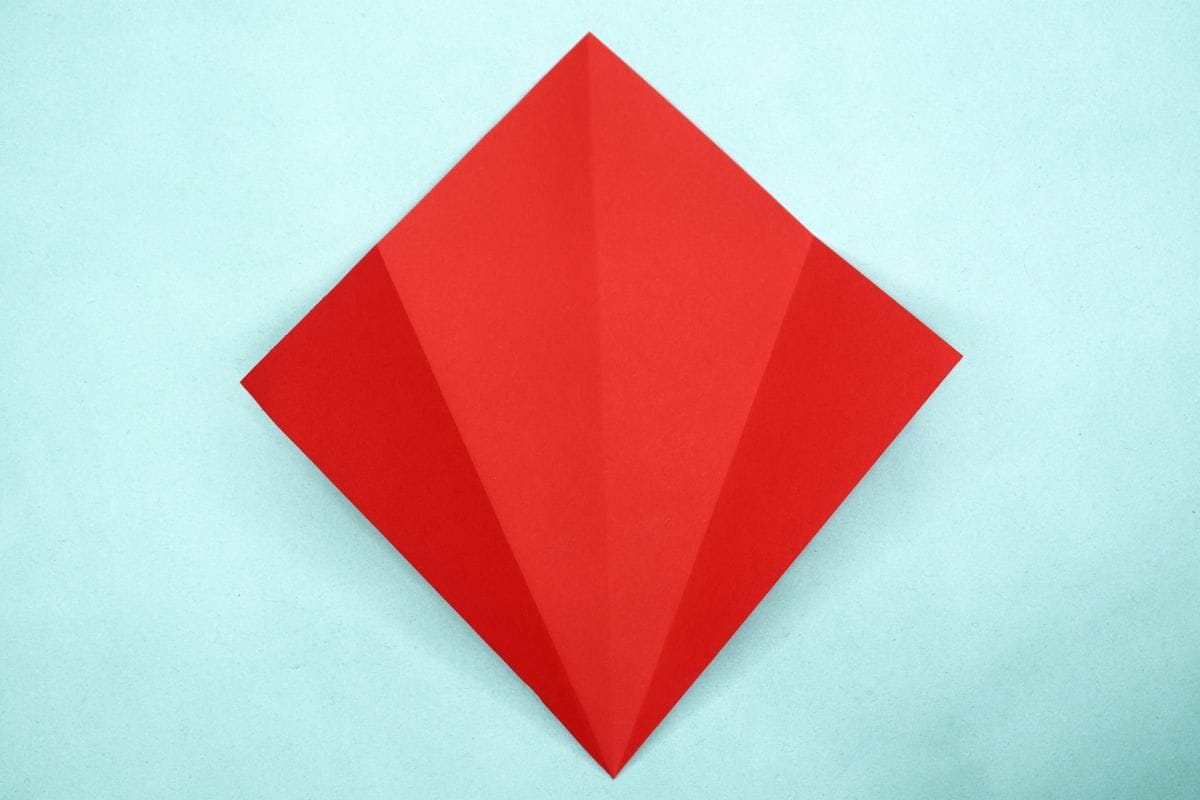
Fold the bottom right edge to meet the center crease.
Step 6

6
Fold the bottom left edge to meet the center crease.
Step 7
7
Unfold the left and right edges.
Step 8

8
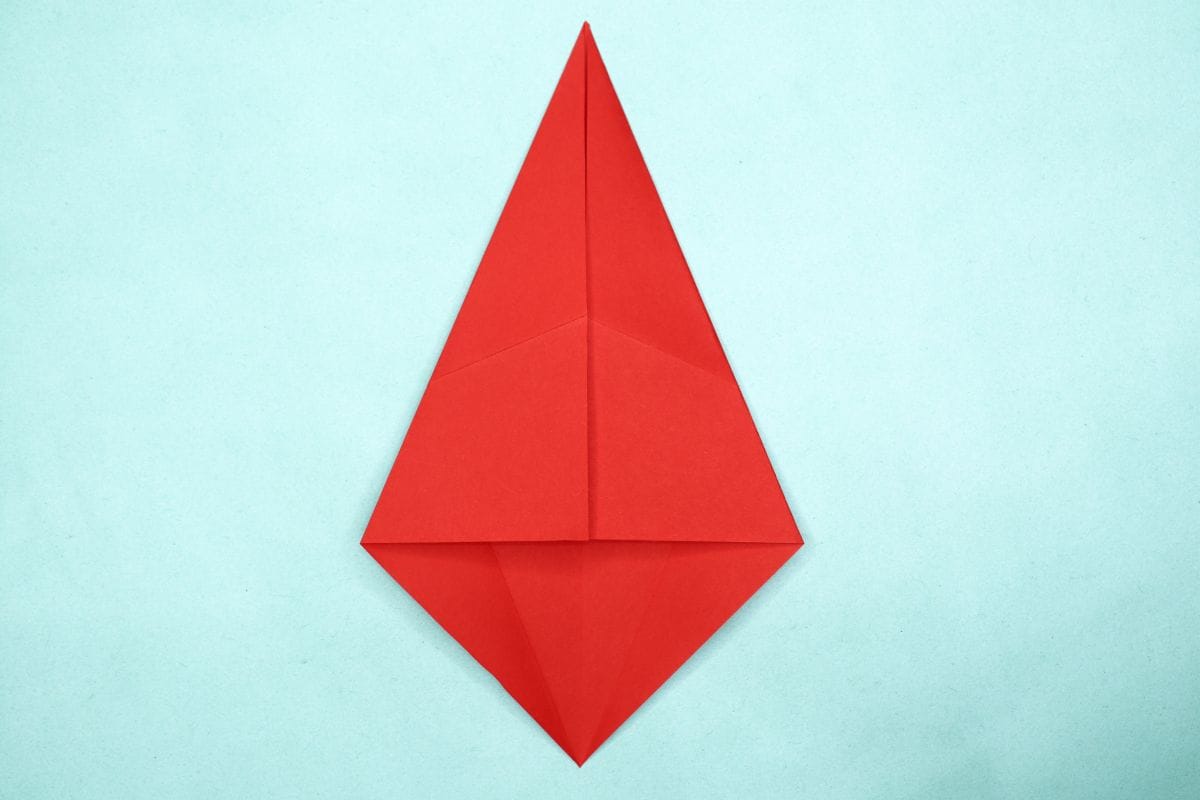
Fold the top right corner to meet the center crease.
Step 9
9
Fold the top left corner to meet the center crease.
Step 10
10
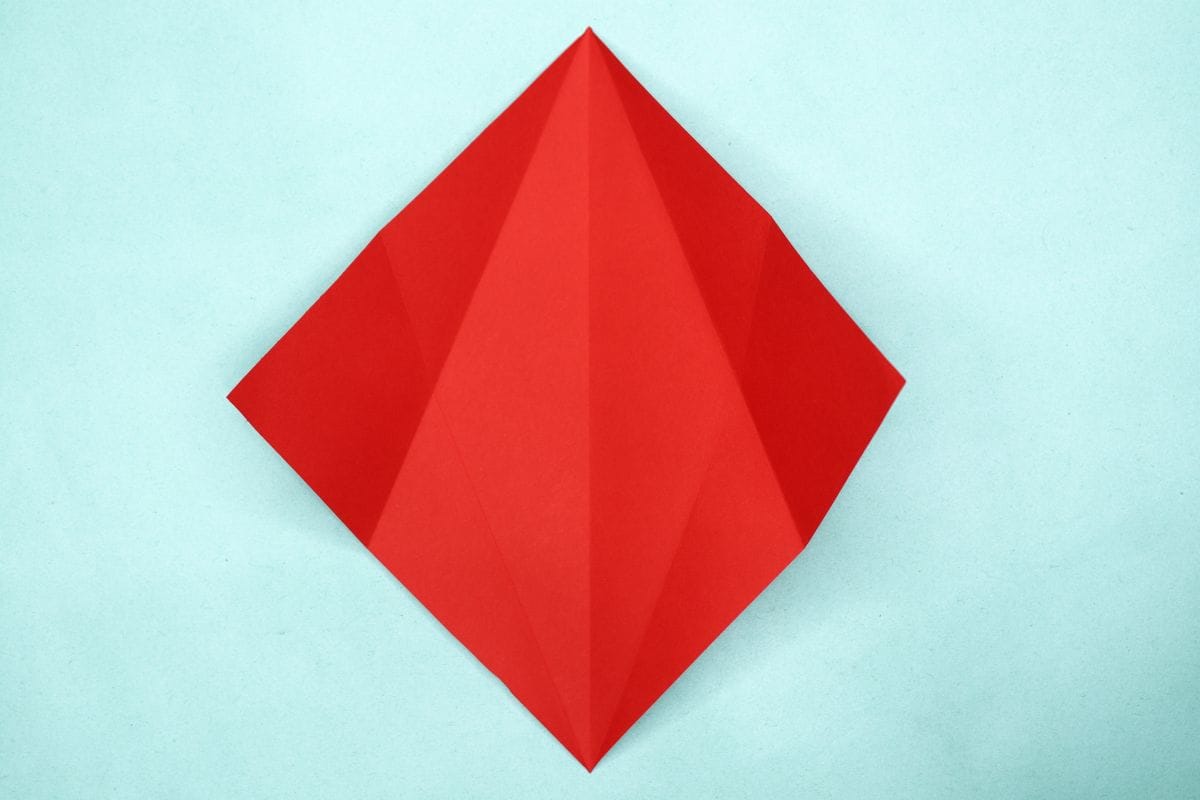
Unfold—the crease lines are all we need.
Step 11

11
Fold the paper in half, bottom to top.
Step 12

12
Unfold. We just needed a crease line.
Step 13

13
Pinch the top and bottom edges together on the right side, using the creases as a guide.
Step 14

14
Bring the edges in to meet the center vertical crease.
Step 15

15
Fold the flap upward.
Step 16

16
Repeat the steps 13-15 on left side too.
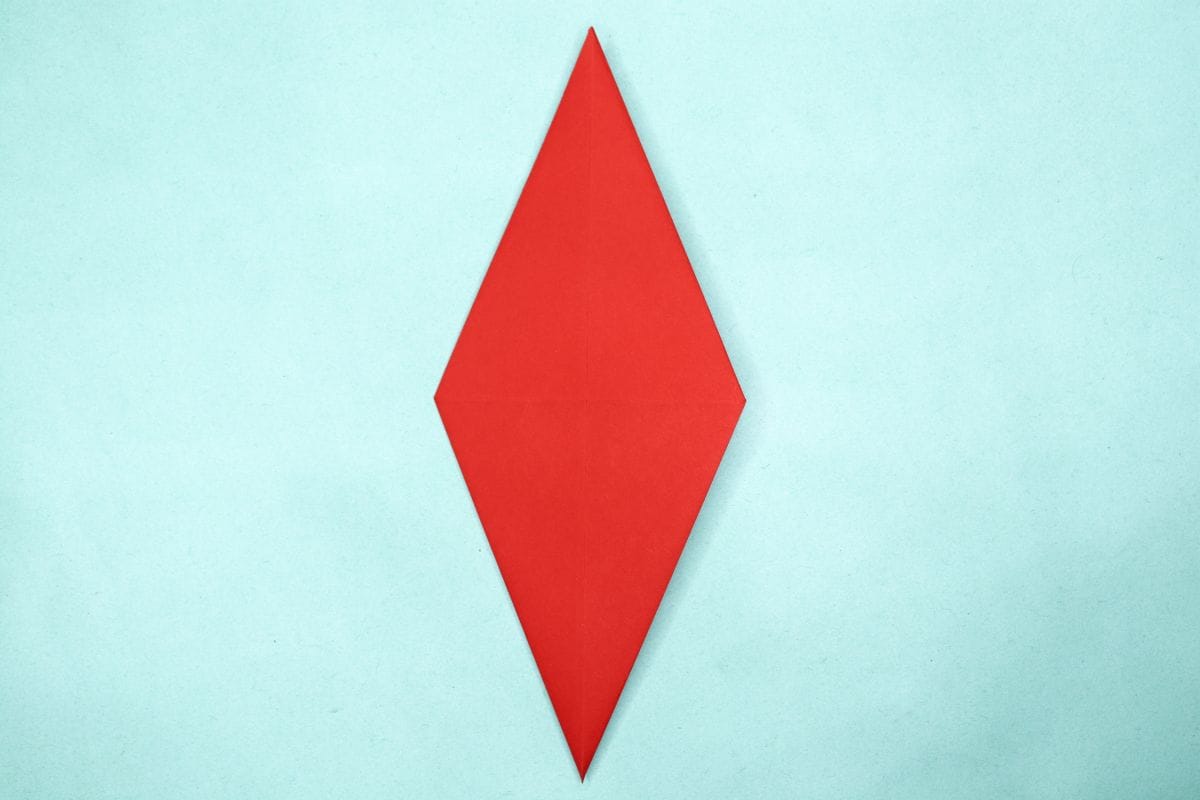
Step 17
17
Turn the model over.
Step 18

18
Fold the bottom corner up to the middle.
Step 19

19
Fold the top corner down, leaving a small part of the crease visible.
Step 20

20
Fold the bottom corner upward.
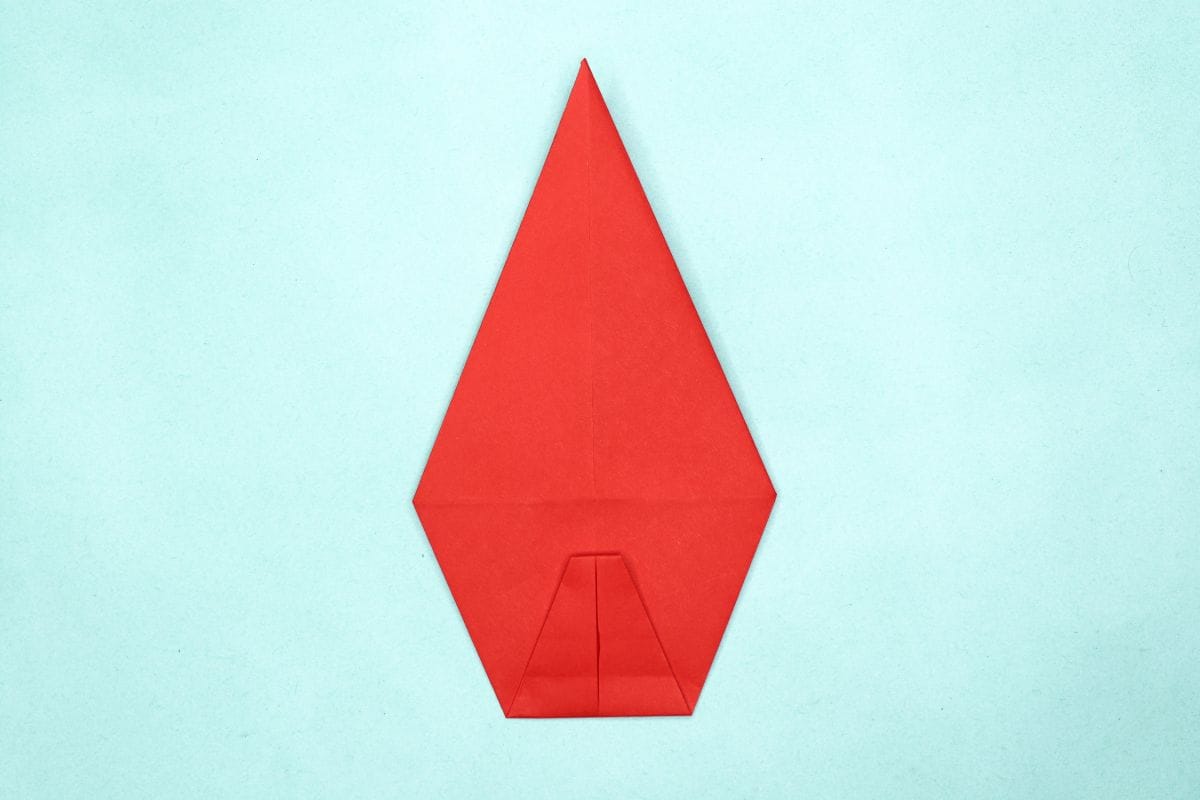
Step 21
21
Unfold the crease as shown.
Step 22
22
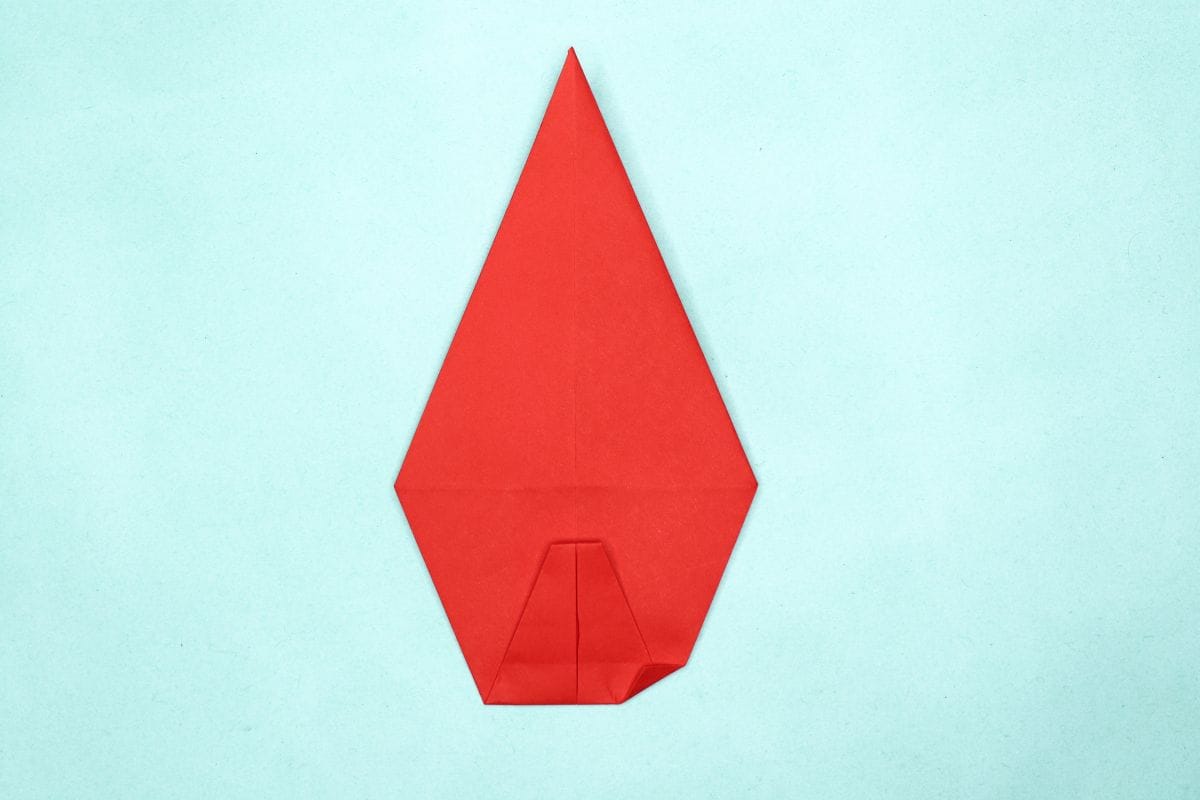
Fold the bottom right corner inward.
Step 23

23
Fold the bottom left corner inward.
Step 24

24
Fold the flap downward.
Step 25

25
Fold in half by bringing the left side over to the right.
Step 26

26
Rotate the model.
Step 27

27
Fold the triangular flap in half downward to form the fin.
Step 28

28
Turn the model over.
Step 29

29
Move the flap to the left side.
Step 30

30
Fold the flap so its top edge meets the bottom edge.
Step 31

31
Fold the flap upwards and squash it down.
Step 32

32
Turn the model over.
Step 33

33
Fold the small part of the tail upward.
Step 34

34
Unfold the tail.
Step 35

35
Cut along the dotted section.
Step 36

36
Model should look like the image after cutting.
Step 37

37
Fold in half again, using the middle horizontal crease as a guide.
Step 38

38
Fold the small part of the tail upward, using the crease made in step 33.
Step 39

39
Turn the model over.
Step 40

40
Fold down the top layer of tail as shown.
Step 41
41
Turn the dolphin over—and voilà! You’ve just made yourself a paper dolphin.
Share and Comment
We would love to see your creations! Scroll down to the comments section and share a photo of your origami.
Leave a Reply