Here’s a bouquet that will never wilt. An origami flower bouquet brings together several folded blooms into one cheerful arrangement. The best part is that you get to mix and match colors, shapes, and styles until it feels just right. It takes a little time to fold each flower, but watching your bouquet grow is half the joy. Whether it’s a gift, a centerpiece, or just something pretty for your desk, this is one bunch of flowers that lasts forever.
How to Make an Origami Flower Bouquet
Category: Origami Flowers

Difficulty: Intermediate
Create a stunning origami flower bouquet using our clear step-by-step instructions that make each fold easy to follow.
Step 1

1
Start with a square piece of origami paper. I am using an 7×7 inches origami paper.
If you only have regular paper, follow these instructions on how to make a square origami paper.
If you only have regular paper, follow these instructions on how to make a square origami paper.
Step 2

2
Fold the top right corner to meet the bottom
left corner.
left corner.
Step 3

3
Unfold. We just needed a crease line.
Step 4

4
Fold the top left corner to meet the bottom right corner.
Step 5

5
Unfold and turn the model over.
Step 6

6
Fold the paper in half, top to bottom.
Step 7

7
Unfold. We just needed a crease line.
Step 8

8
Fold the paper in half, left to right.
Step 9

9
Unfold. We just needed a crease line.
Step 10

10
Rotate the paper as shown.
Step 11

11
Bring in the left and right corners together to meet the bottom corner.
Step 12

12
Flatten the fold well.
Step 13

13
Fold the right corner to meet center vertical crease (slightly higher from the center point of the model).
Step 14

14
Repeat the same step on left side too.
Step 15
15
Repeat the last two steps on the back side of the model too.
Step 16

16
Fold the left flap to meet the right.
Step 17

17
Turn the model over.
Step 18

18
Fold the left flap to meet the right.
Step 19

19
Fold the top left edge inward as shown.
Step 20

20
Now the same step on the right side.
Step 21

21
Turn the model over.
Step 22

22
Repeat the same steps (19,20) on this side too.
Step 23

23
Open up the top of the model.
Step 24

24
After opening the side flaps it should look like the image.
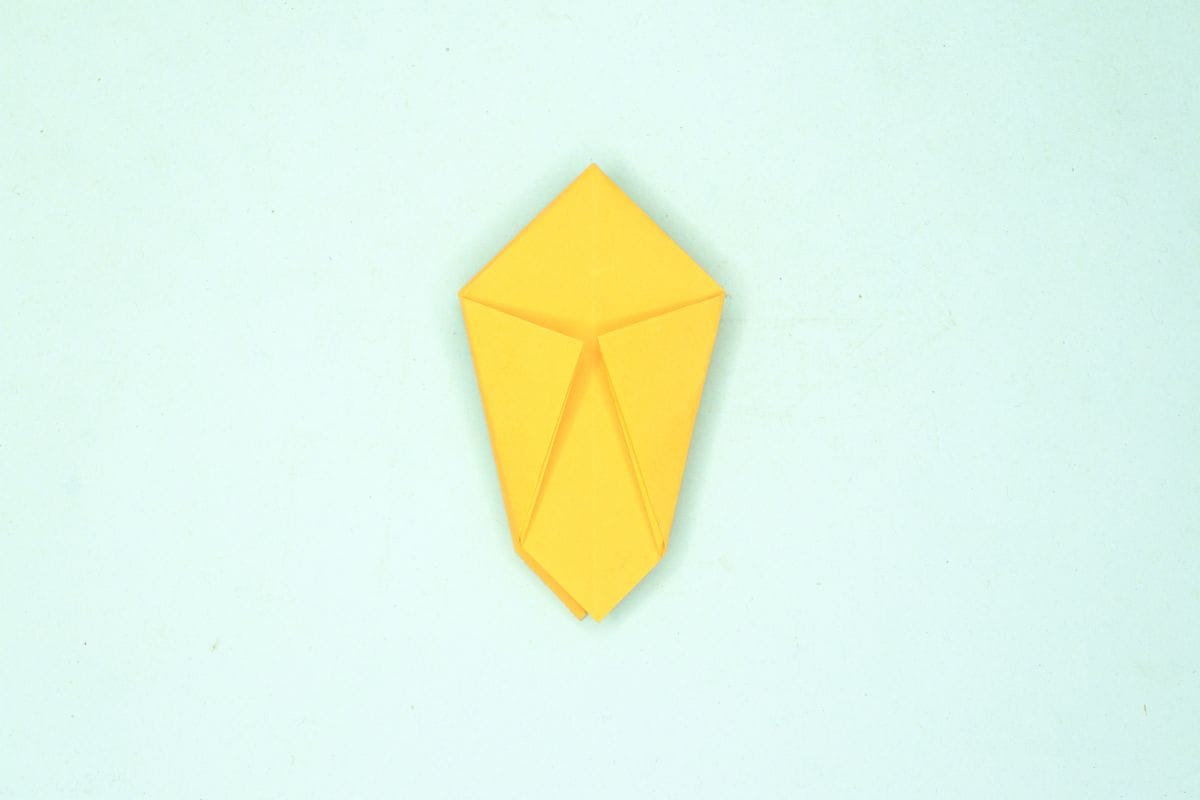
Step 25

25
Curl down the four corners.
Step 26

26
Now we need a stem for the flower.
Step 27
27
Make a stem by curling the rectangular sheet of paper.
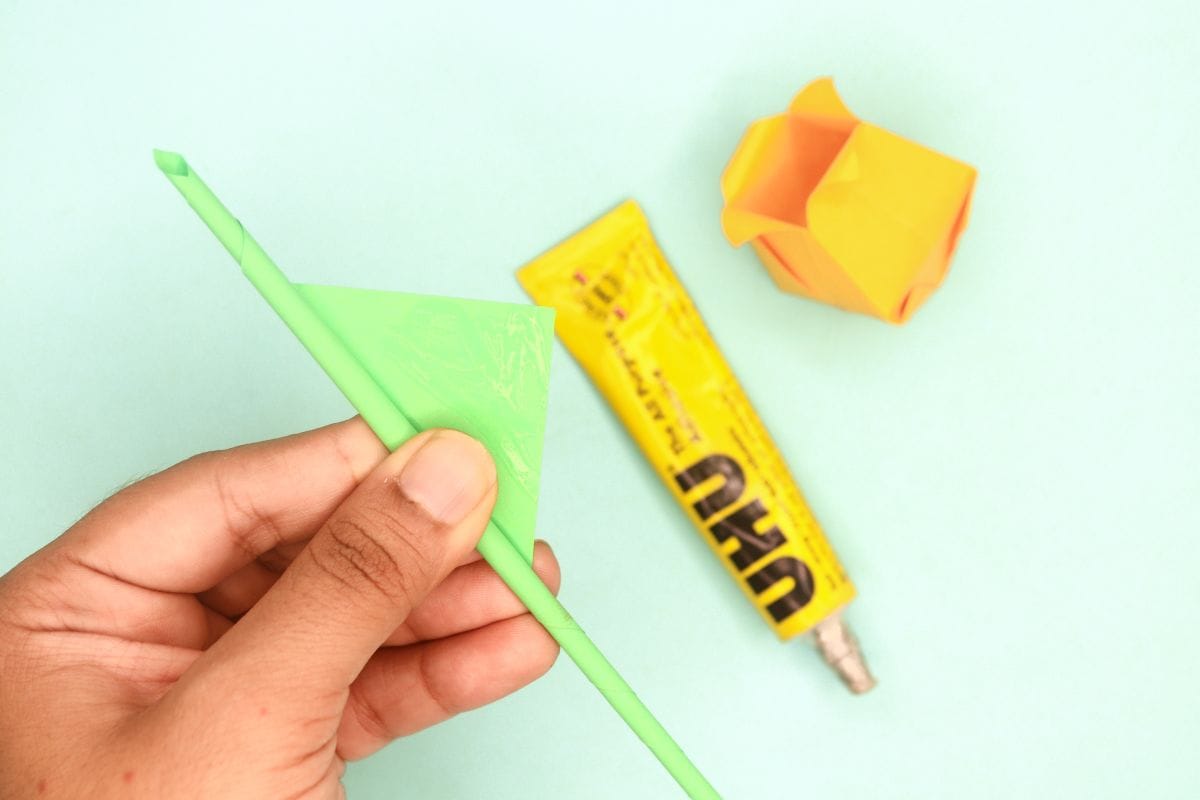
Step 28
28
Apply glue to the end of the paper so it can seal well.
Step 29

29
Glue the stick to the flower.
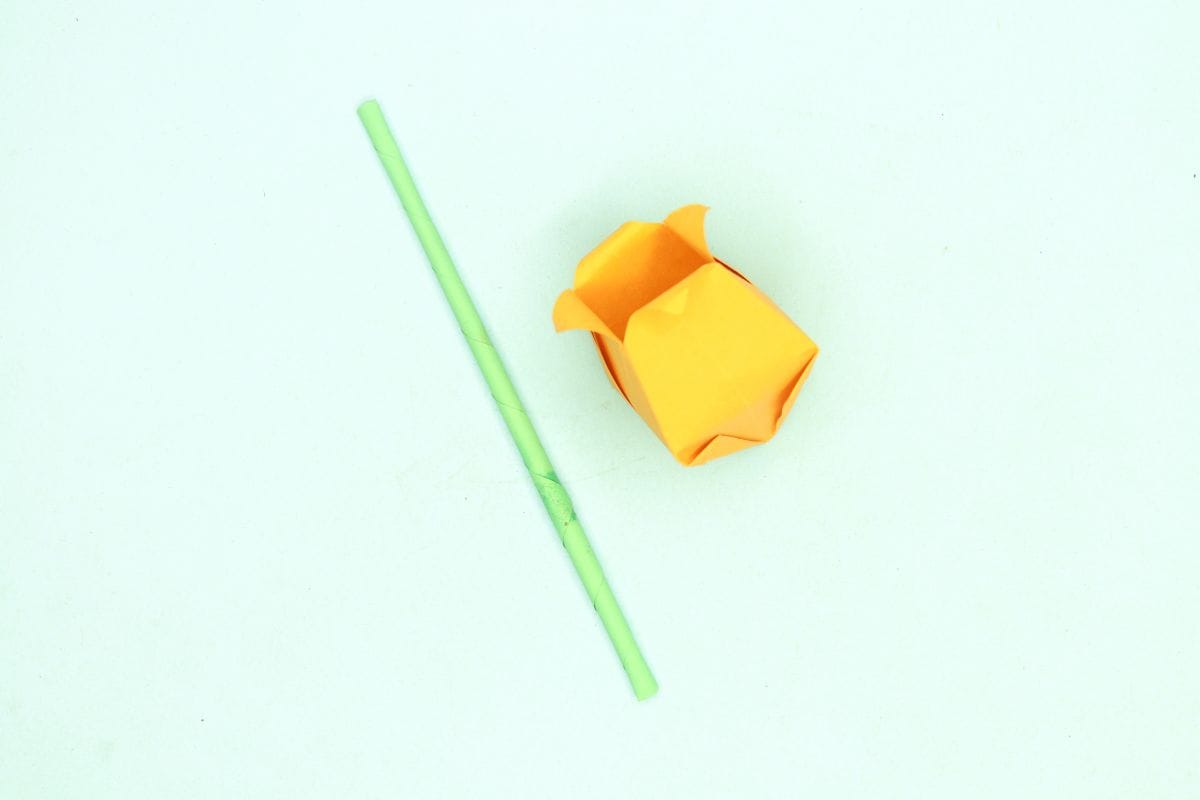
Step 30

30
Make many more of these so we can make a bouquet out of it.
Step 31

31
Fold an A4 sized white sheet of paper.
Step 32
32
Place the paper flowers in the bouquet and you are done!
Share and Comment
We would love to see your creations! Scroll down to the comments section and share a photo of your origami.
Leave a Reply