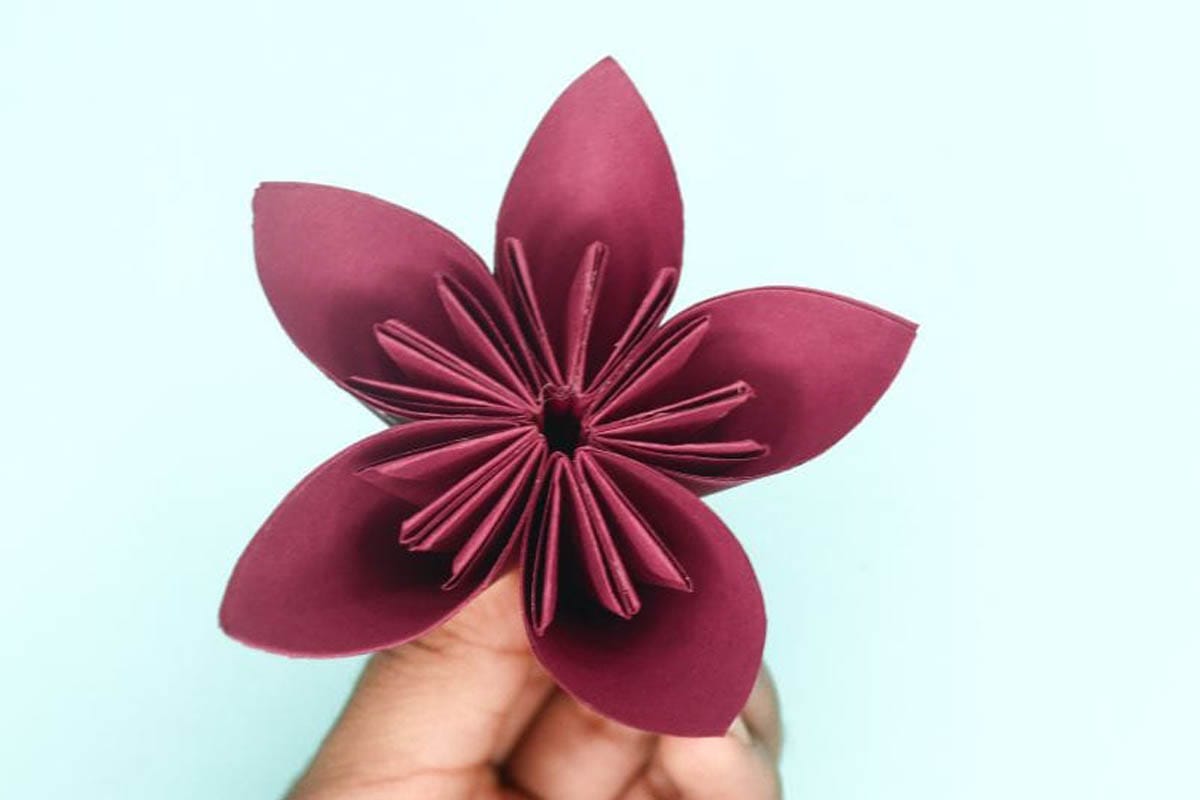
The kusudama, literally “medicine ball” in Japanese, has roots in old traditions of gathering flowers and herbs into a hanging sphere. Folding one is a beautifully repetitive ritual: the same gentle creases, again and again, each petal adding to something greater than itself. There’s a quiet rhythm to it that’s easy to get lost in. Take your time, fold one petal at a time, and watch a delicate paper blossom slowly take shape in your hands
Origami Kusudama Flower Instructions
Category: Origami Flowers
Difficulty: Intermediate
Learn how to make a beautiful origami kusudama flower with clear step-by-step instructions that guide you through every fold.
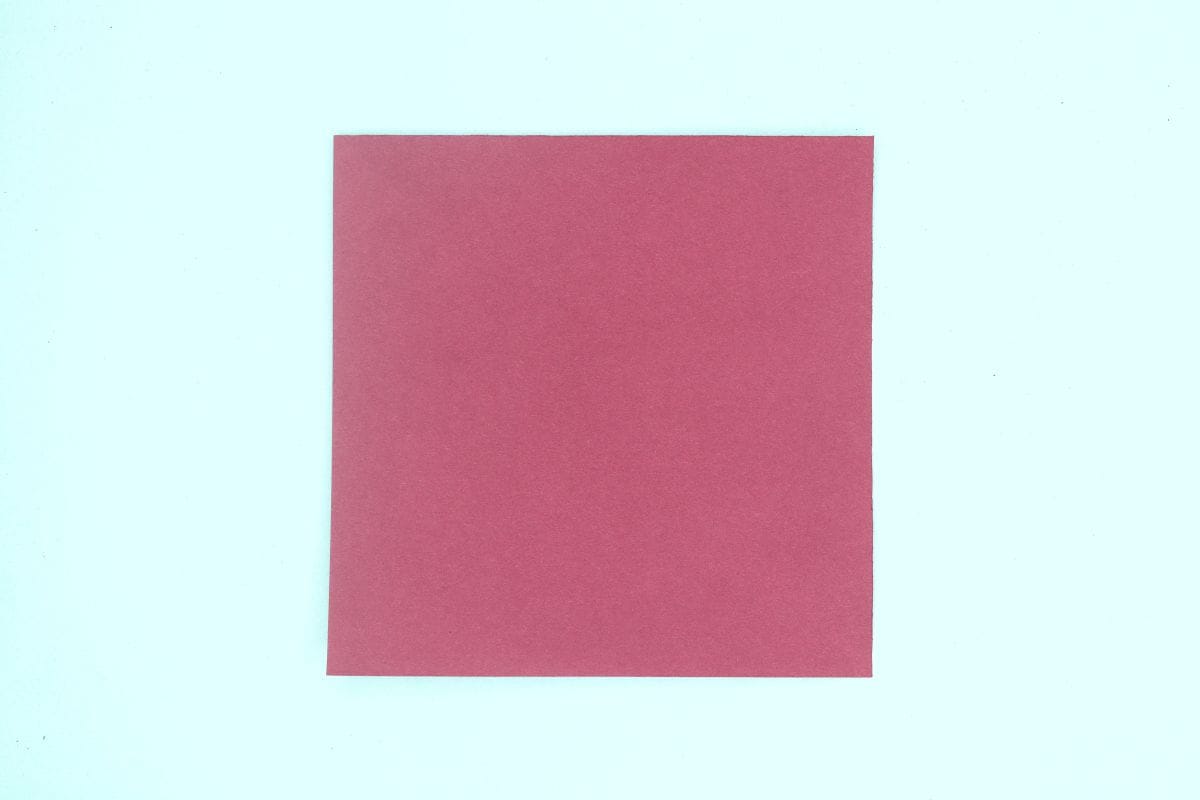
Step 1
1
Start with a square sheet of origami paper. I am using an 3×3 inches origami sheet.
If you only have regular paper, follow these instructions on how to make a square origami paper.
If you only have regular paper, follow these instructions on how to make a square origami paper.
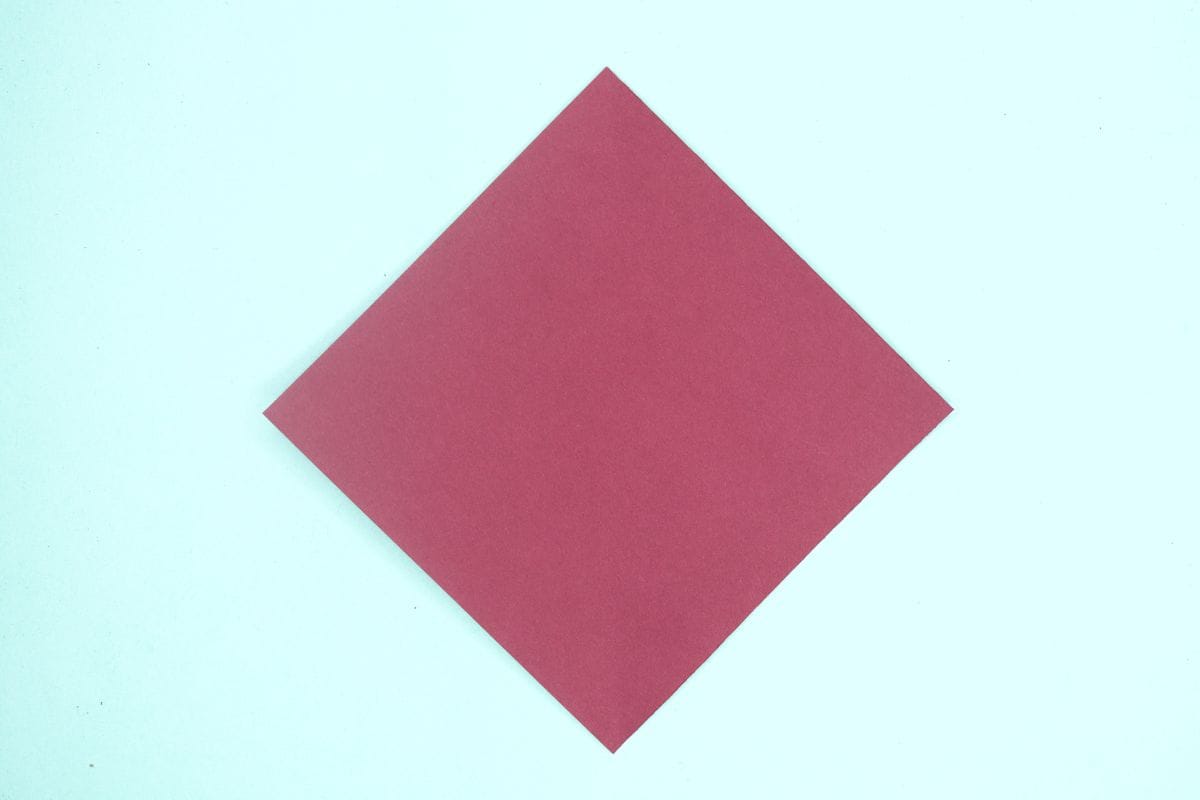
Step 2
2
Rotate the paper into a diamond.
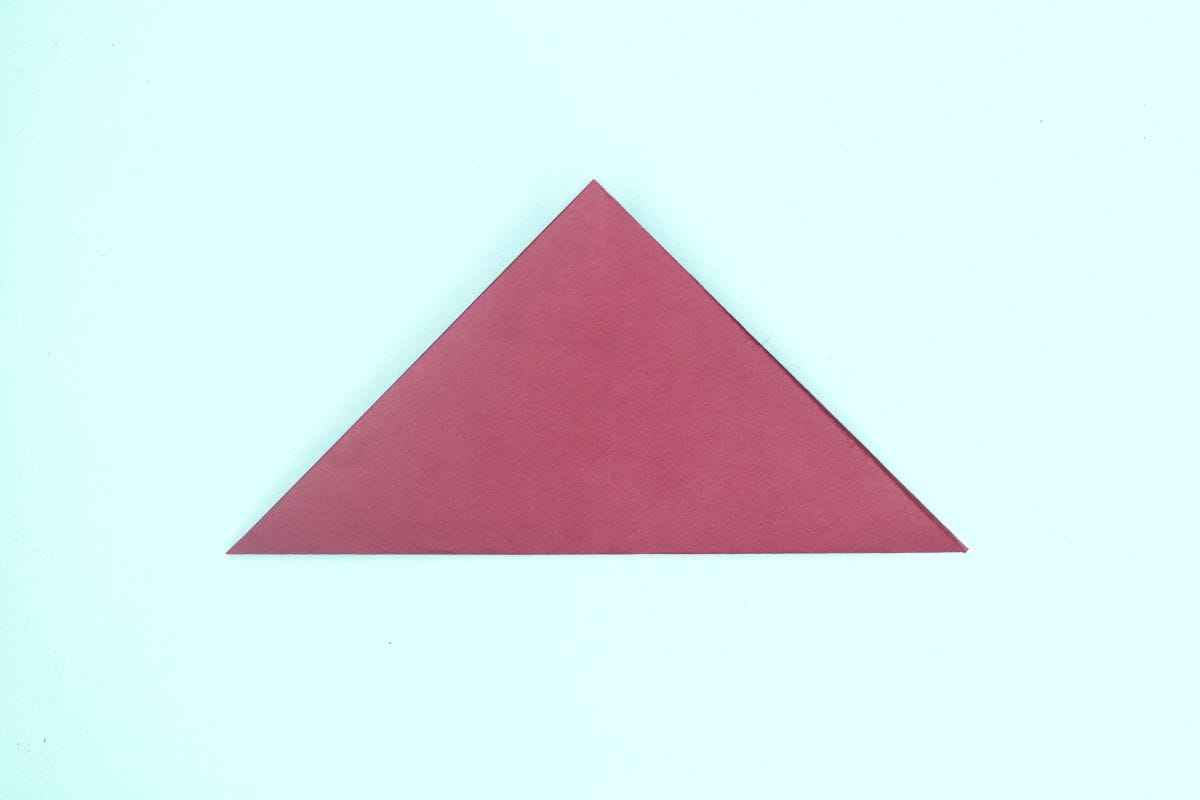
Step 3
3
Fold in half.
Step 4
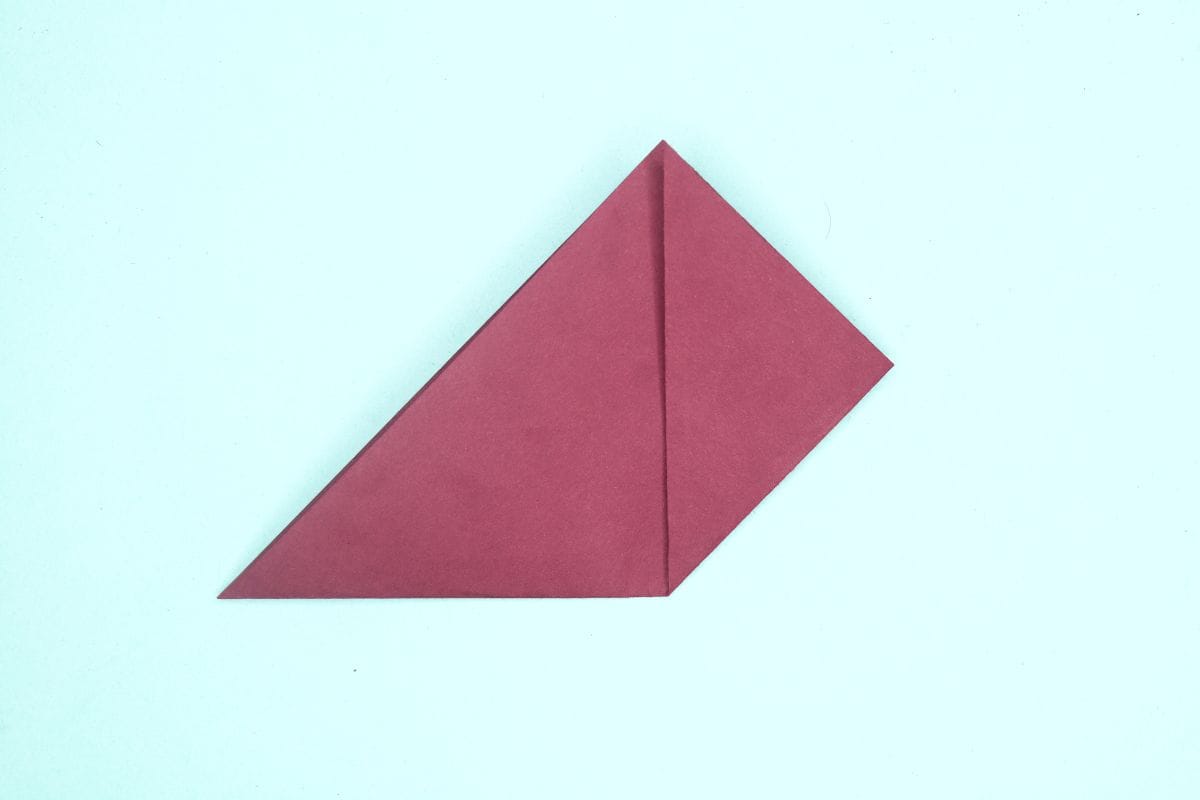
4
Fold the right corner to meet the top corner.
Step 5
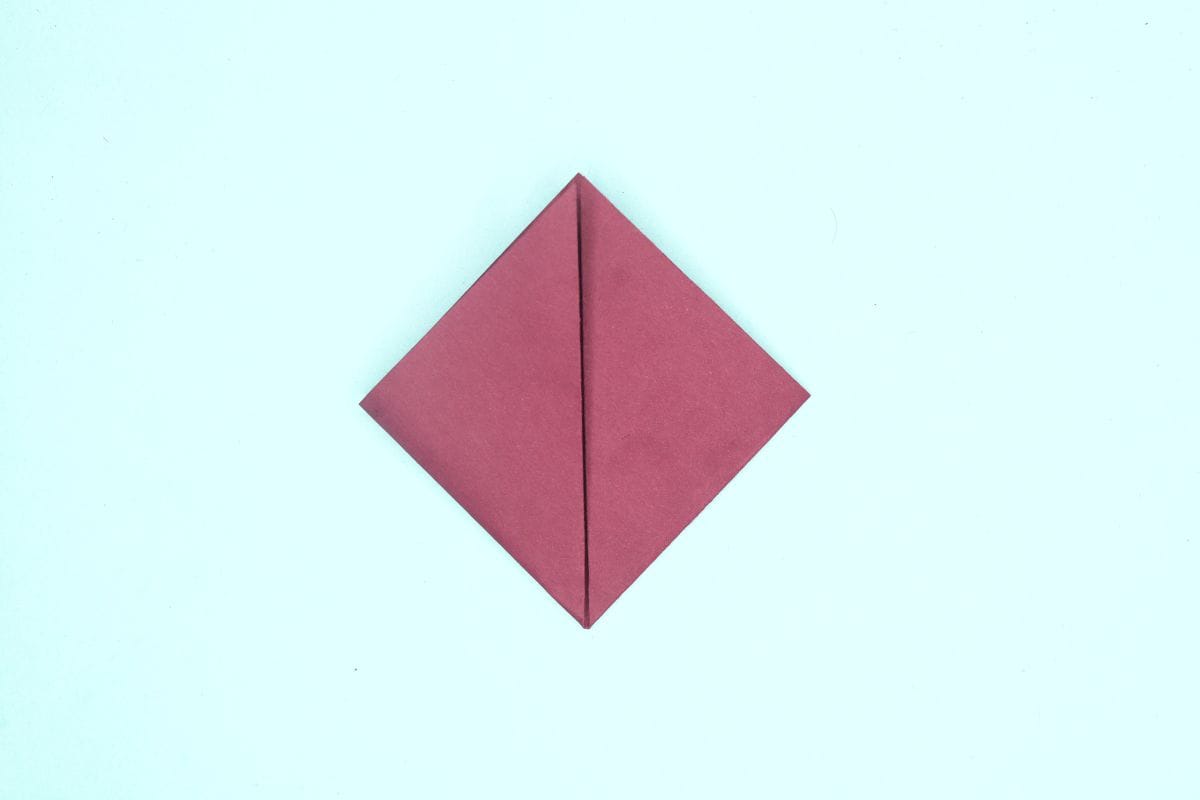
5
Fold the left corner to meet the top corner.
Step 6
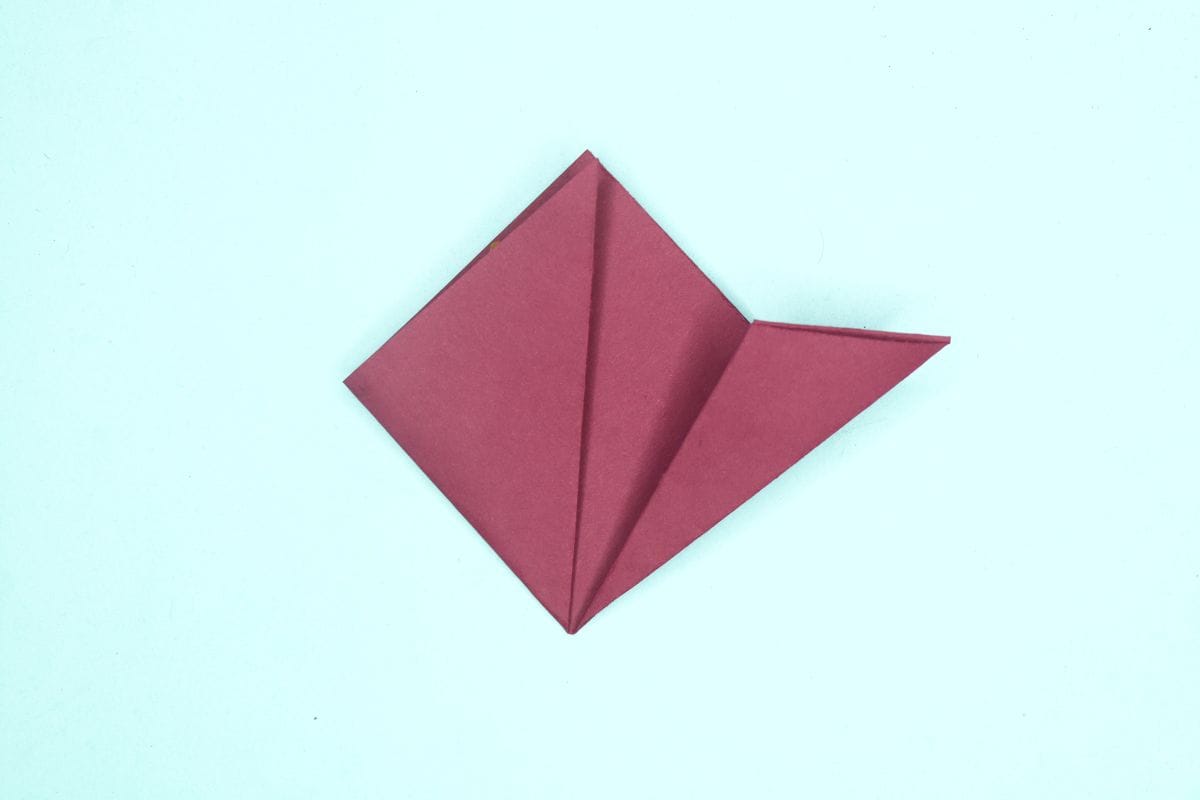
6
Fold the right flap towards the right diagonally at at an angle.
Step 7
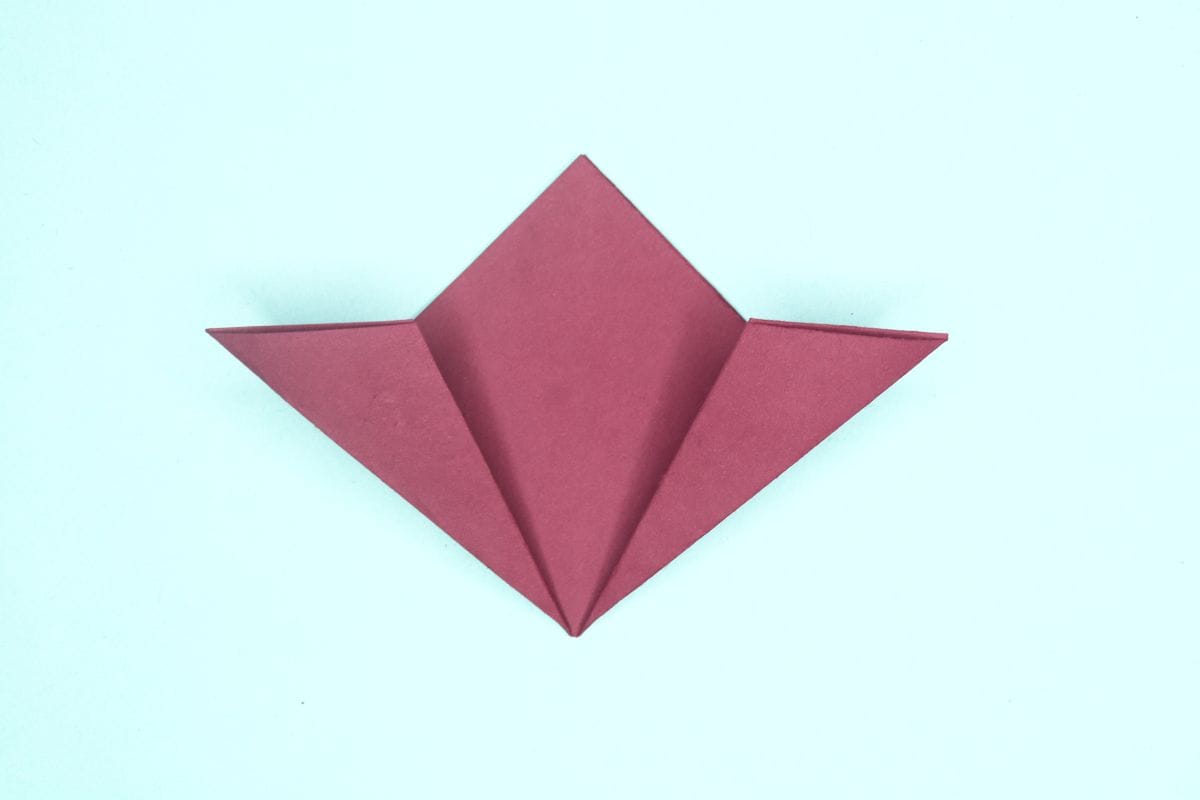
7
Fold the left flap towards the left diagonally at an angle.
Step 8
8
Unfold the left flap we just needed the crease line.
Step 9

9
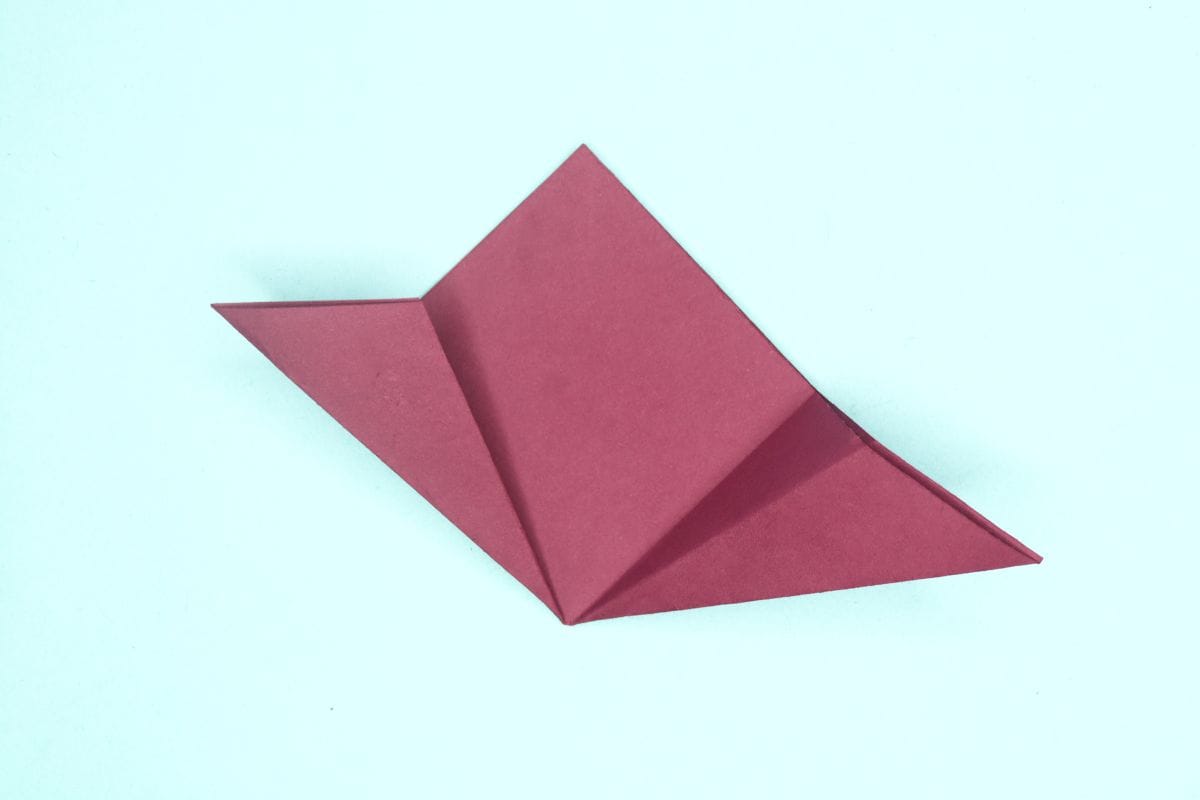
Open the pocket of right flap as shown.
Step 10
10
Do the squash fold by flattening down the pocket.
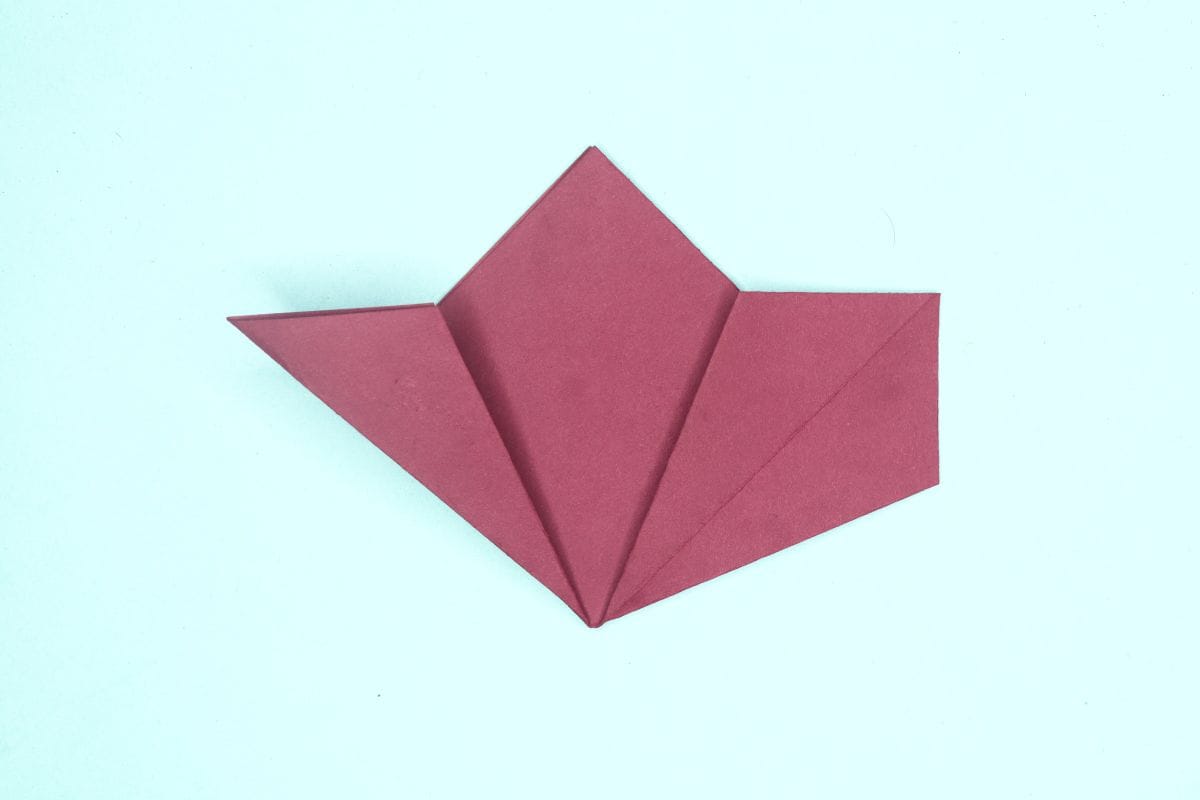
Step 11
11
Repeat the last two steps on left side too.
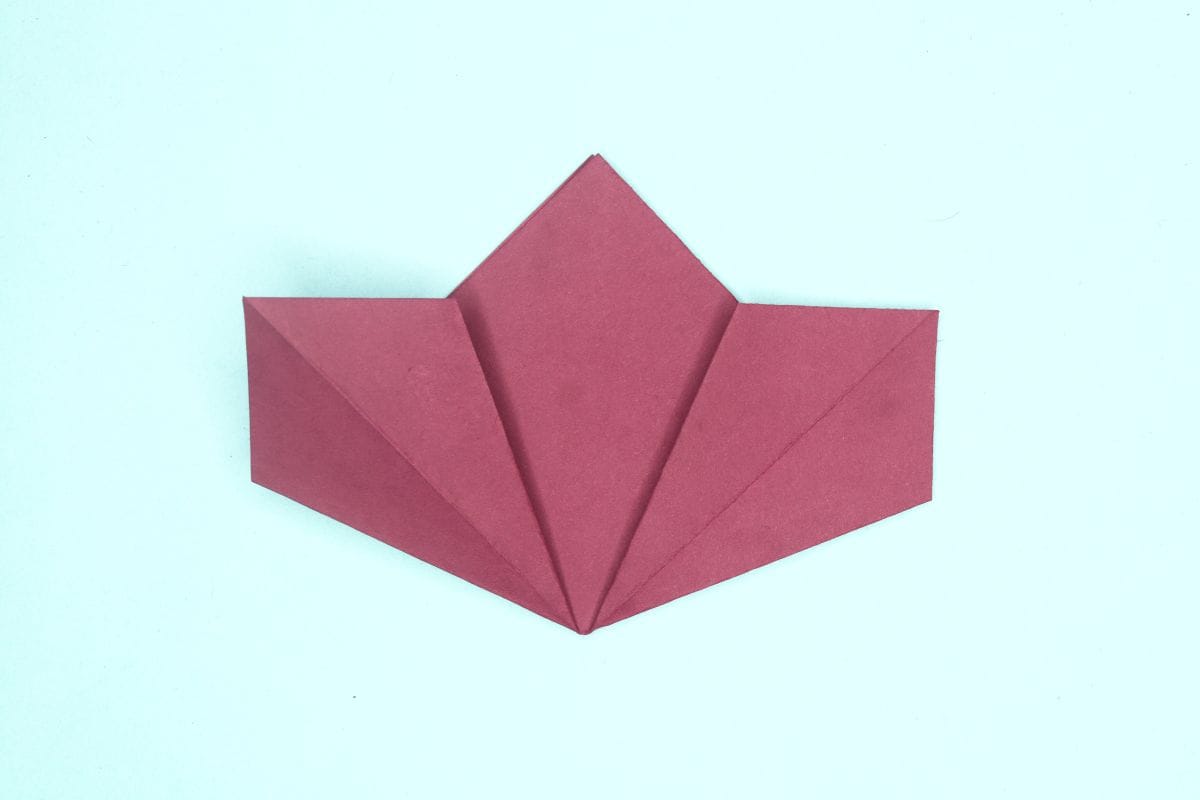
Step 12
12
Fold down the top left and right corners.
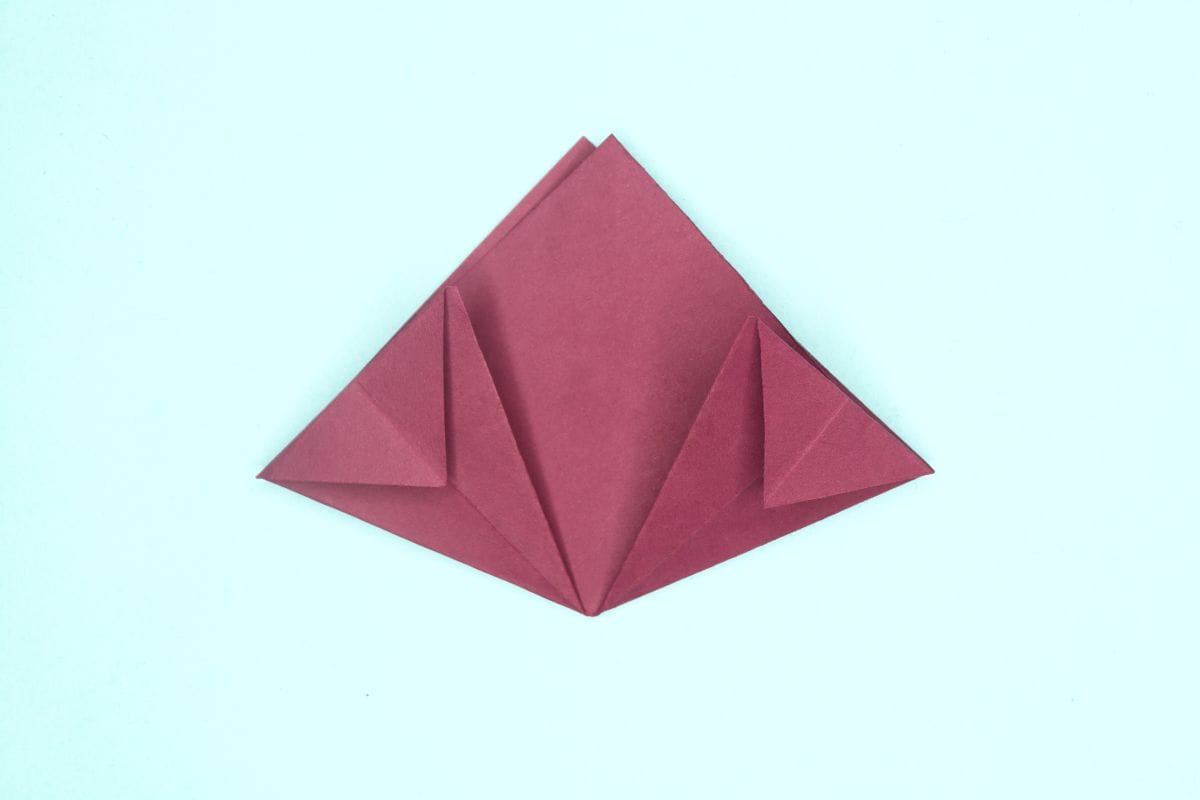
Step 13
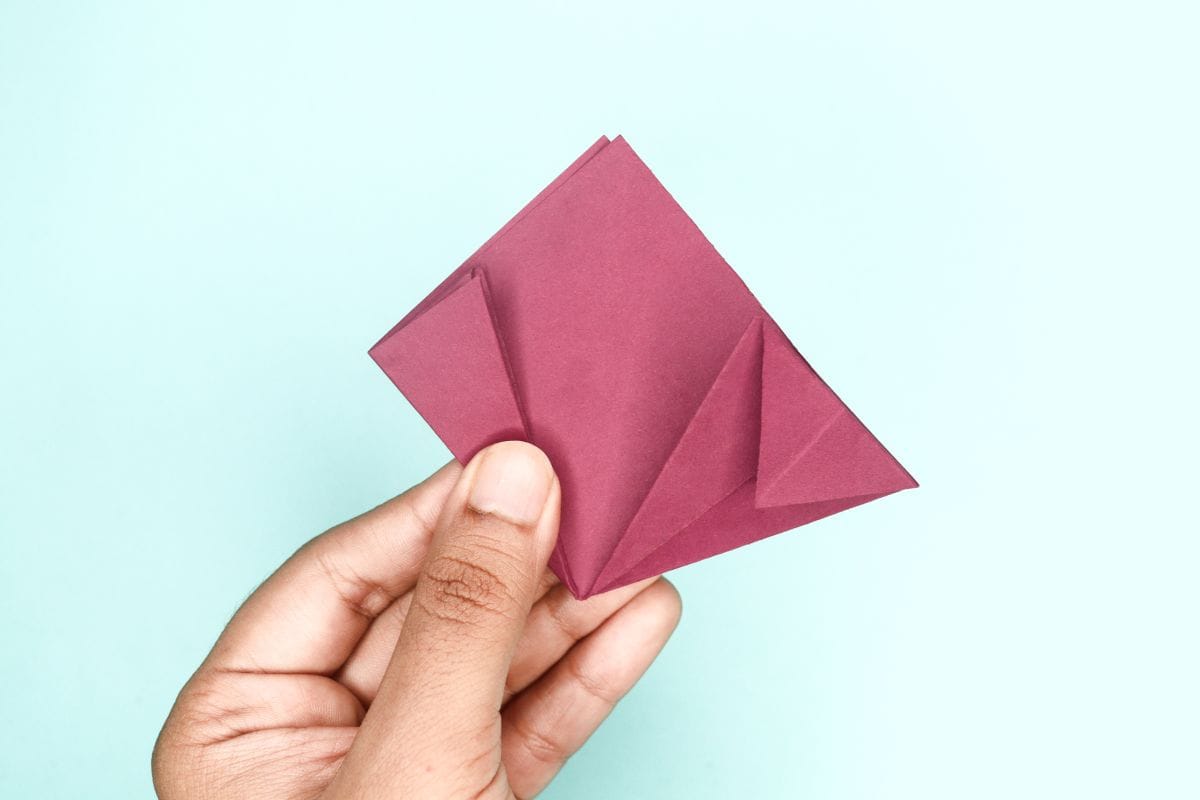
13
fold in the left edge as shown.
Step 14
14
Fold in the right edge too.
Step 15
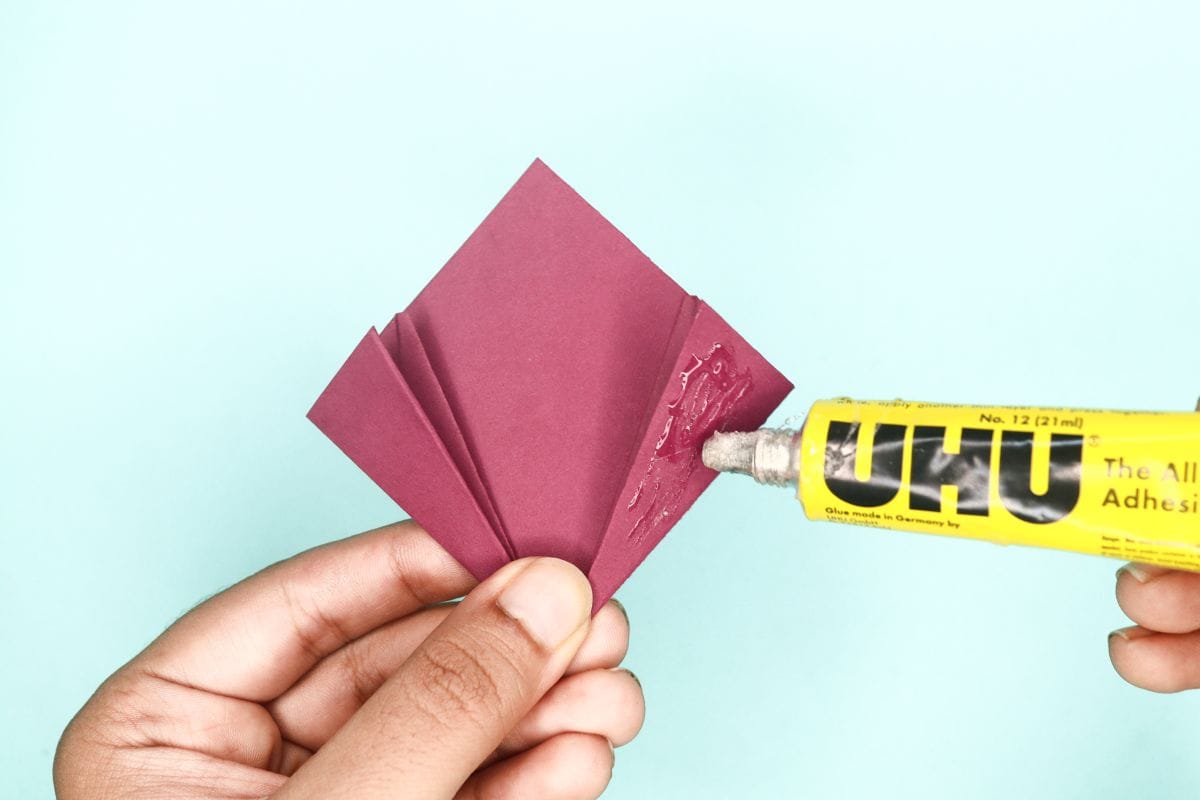
15
Glue the left and right flaps.
Step 16
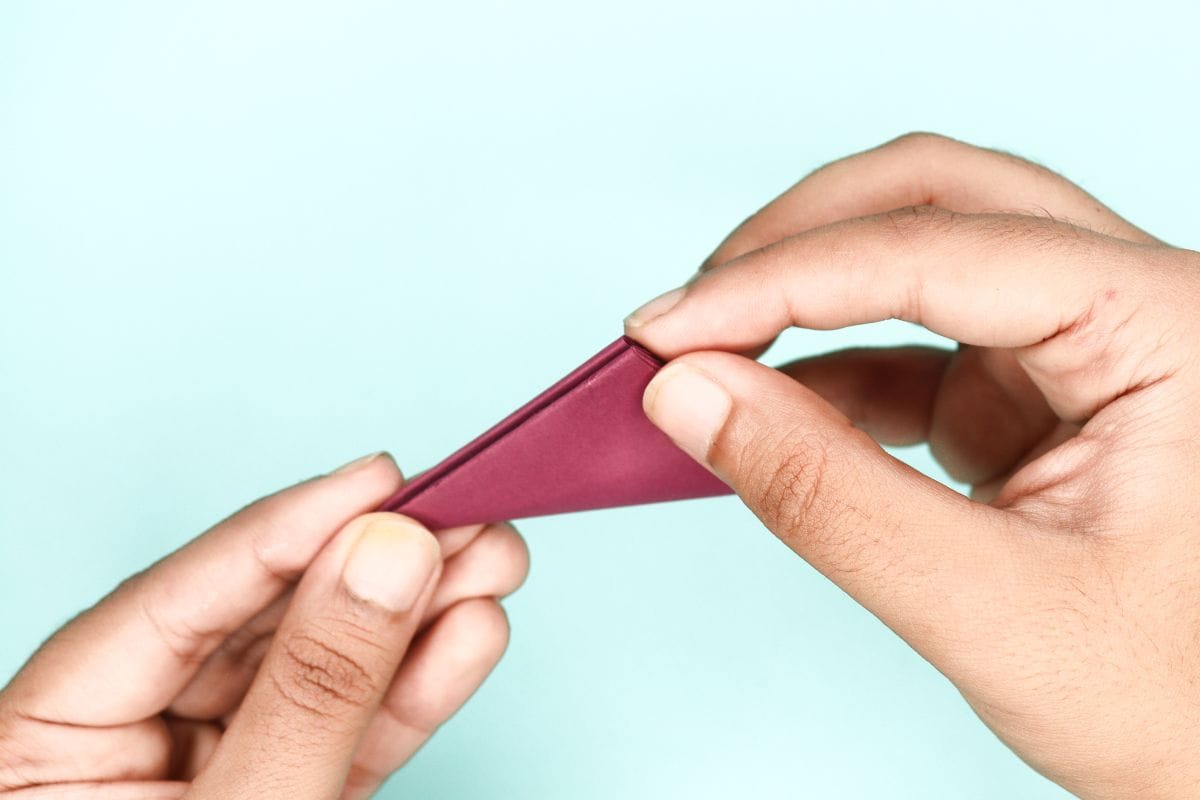
16
Join the faces of flaps together.
Step 17
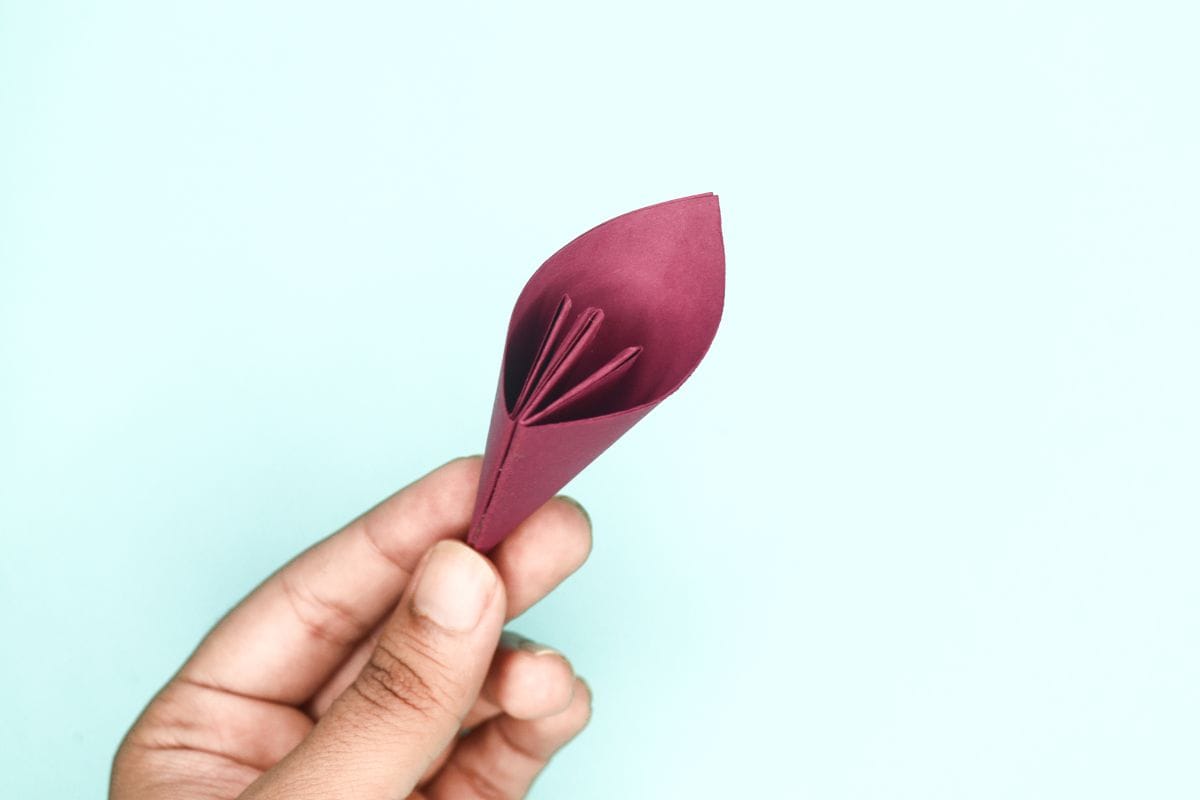
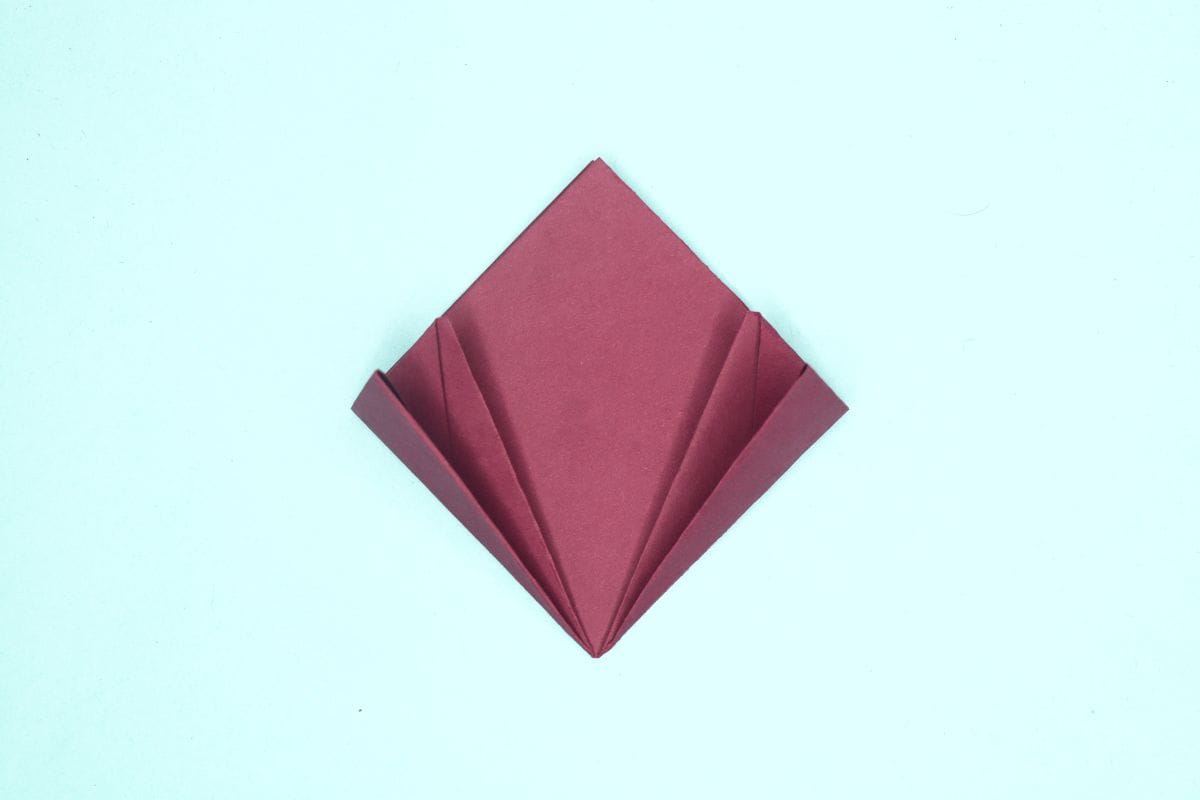
17
It should look like this by now.
Step 18
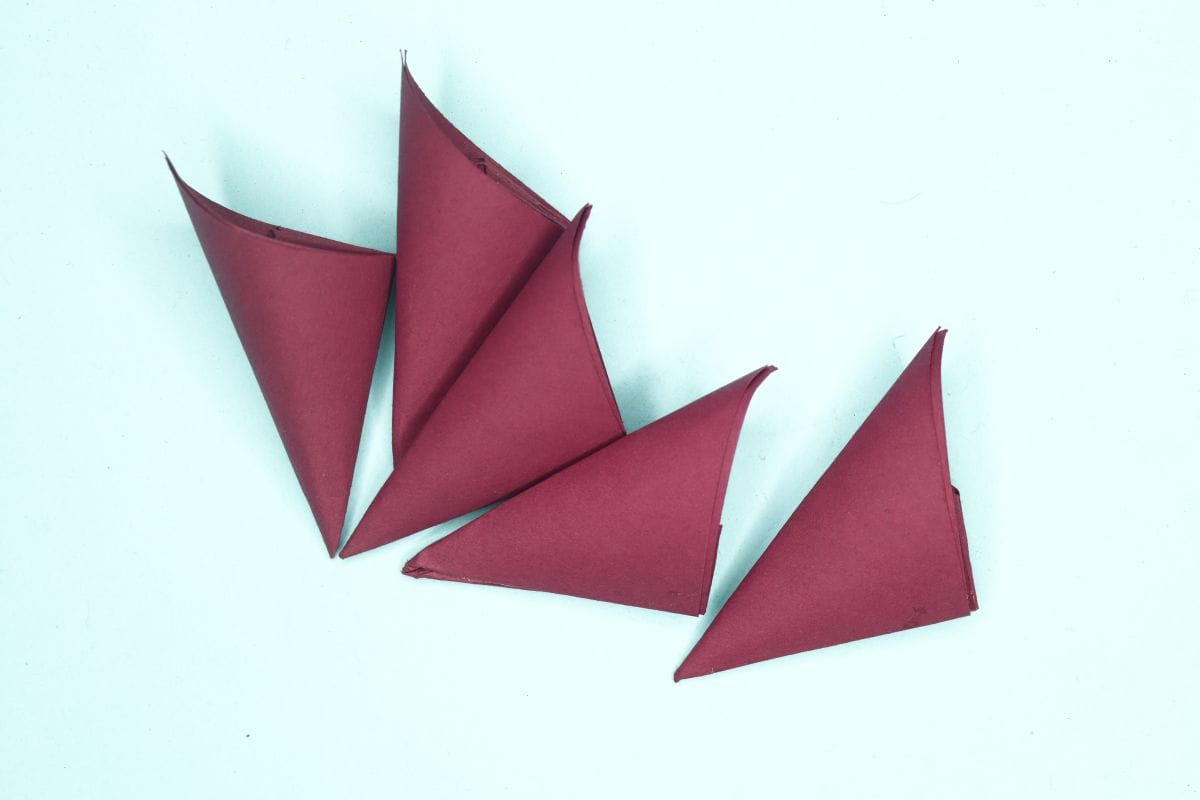
18
Make a total of 5 of those pieces.
Step 19
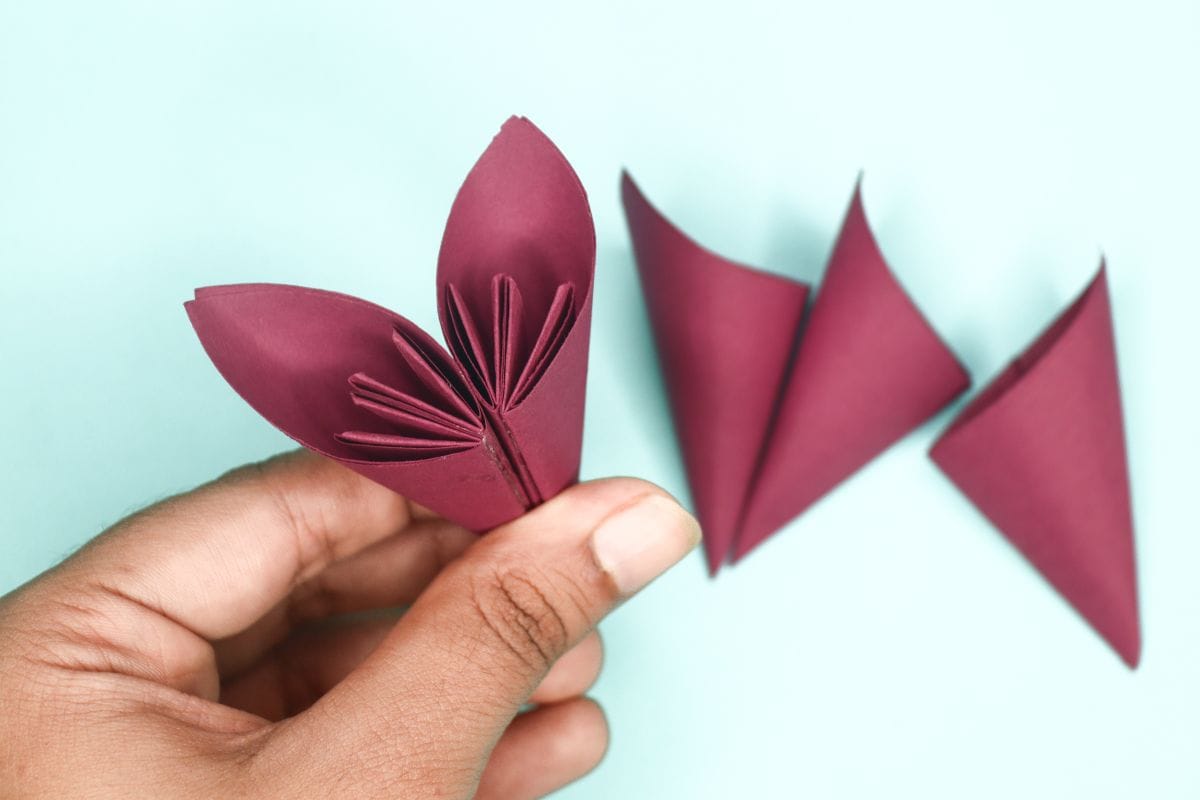
19
Glue the two pieces together.
Step 20
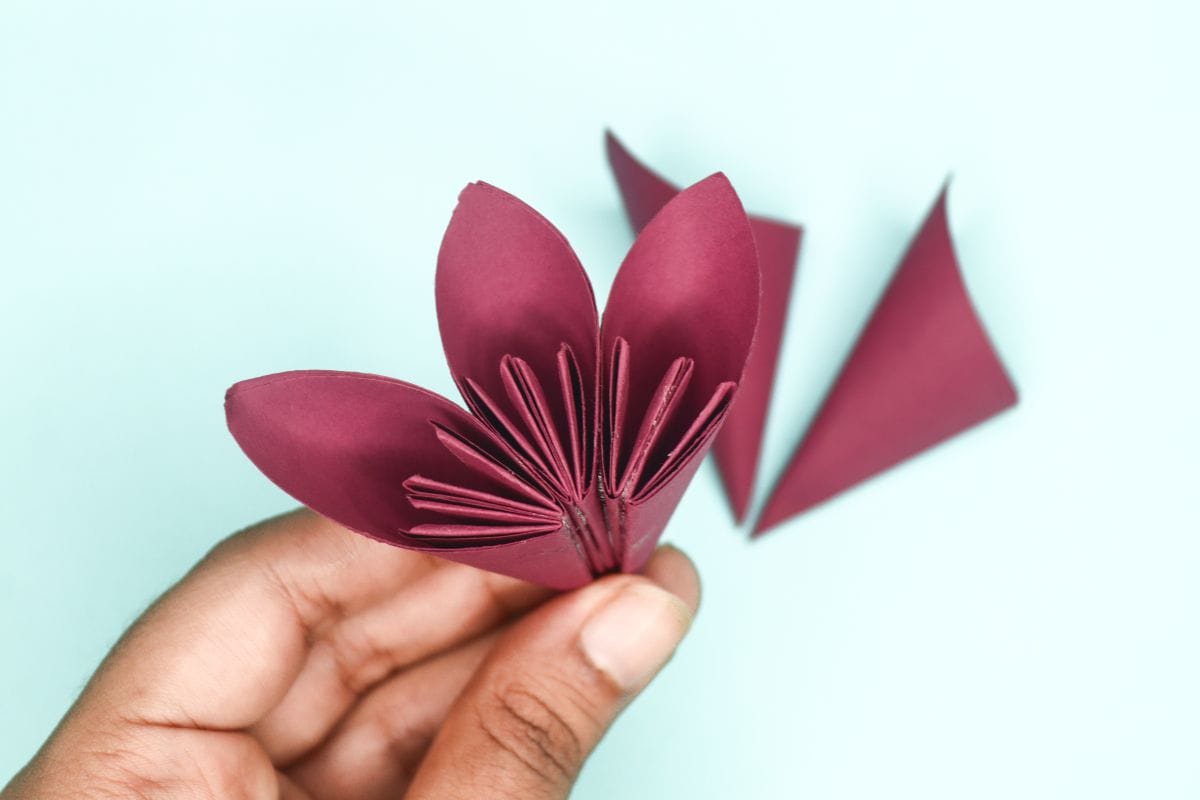
20
Start glueing all the pieces together.
Step 21
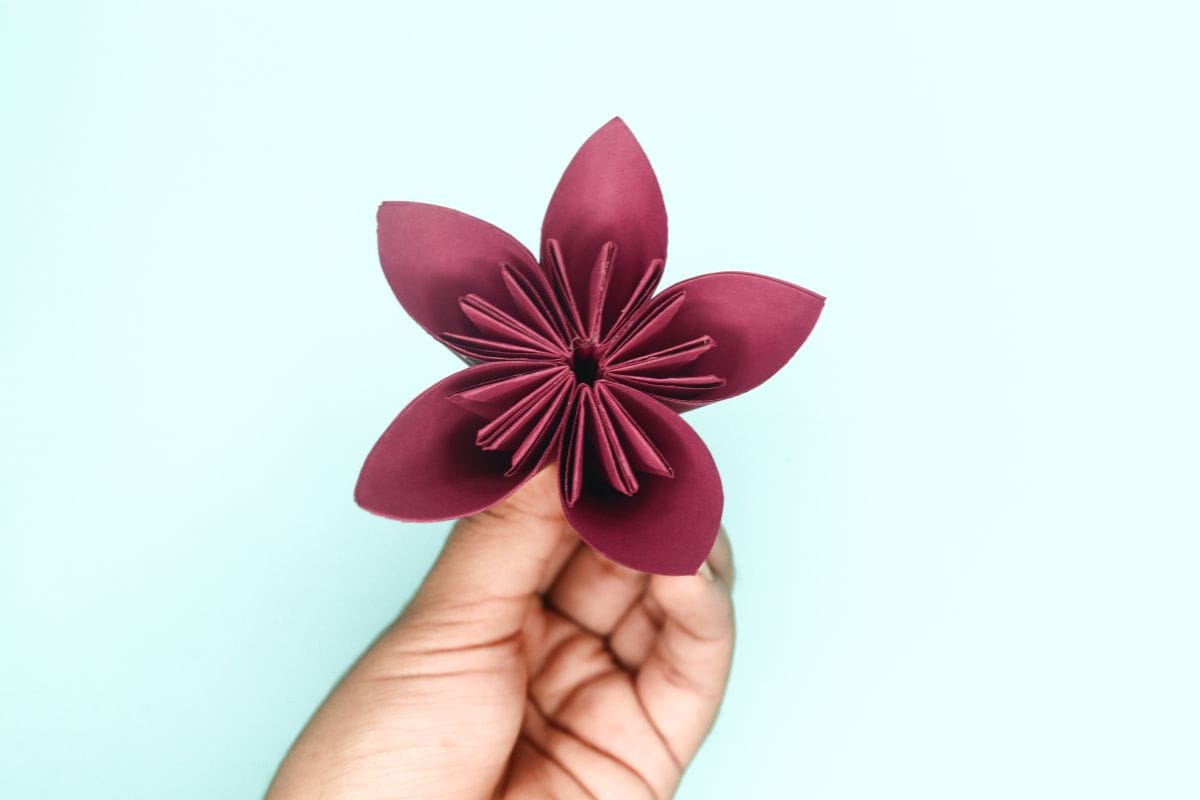
21
Your origami Kusudama flower is ready.
Share and Comment
We would love to see your creations! Scroll down to the comments section and share a photo of your origami.
Leave a Reply