Origami Mushroom Instructions

Mushroom origami final
Difficulty: Intermediate
Follow the simple step-by-step instructions with pictures to learn how to make an easy origami mushroom.

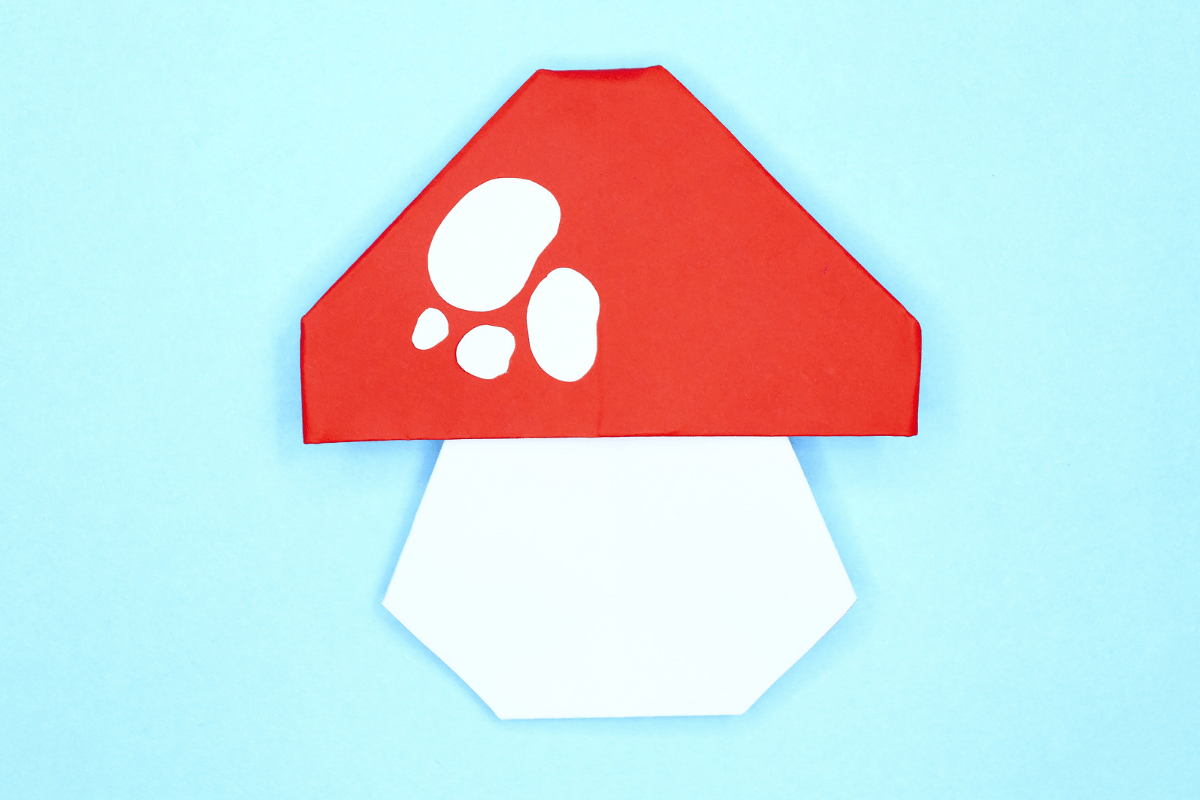
Have you seen mushrooms in the famous game โ€œPlants vs Zombiesโ€? There are big mushrooms and small mushrooms, right? They produce water to attack the enemies. But in real life, mushrooms are not used to attack zombies, and we have not seen real zombies in real life. Mushrooms are used for cooking, they give delicious taste to food. Our origami mushroom can also be used by kids for their fun play or maybe to decorate their room.

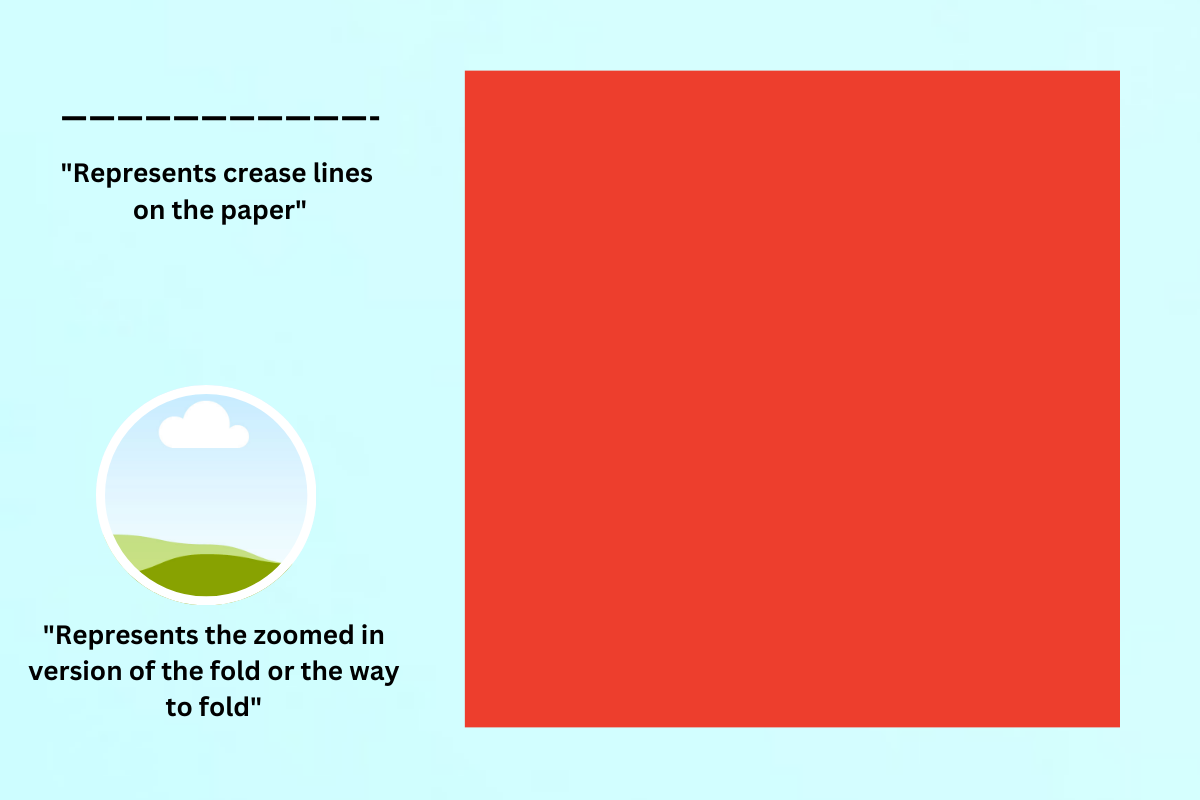
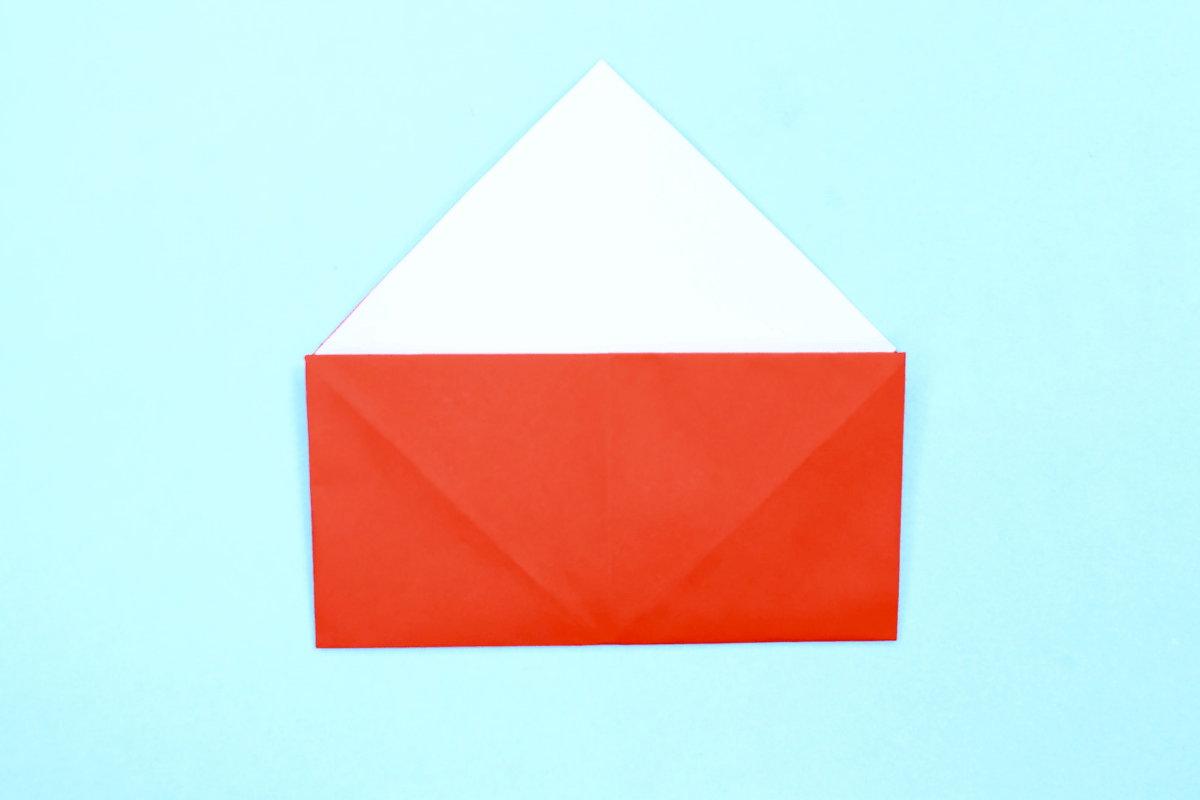
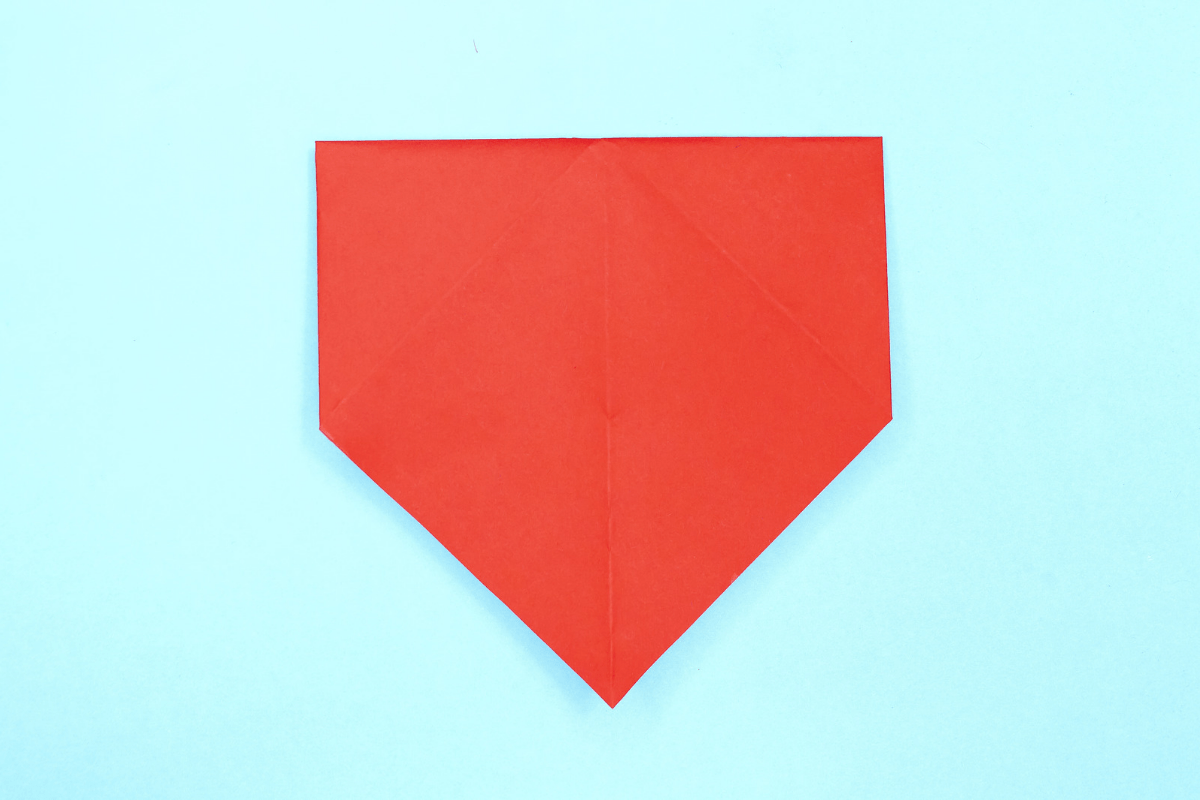
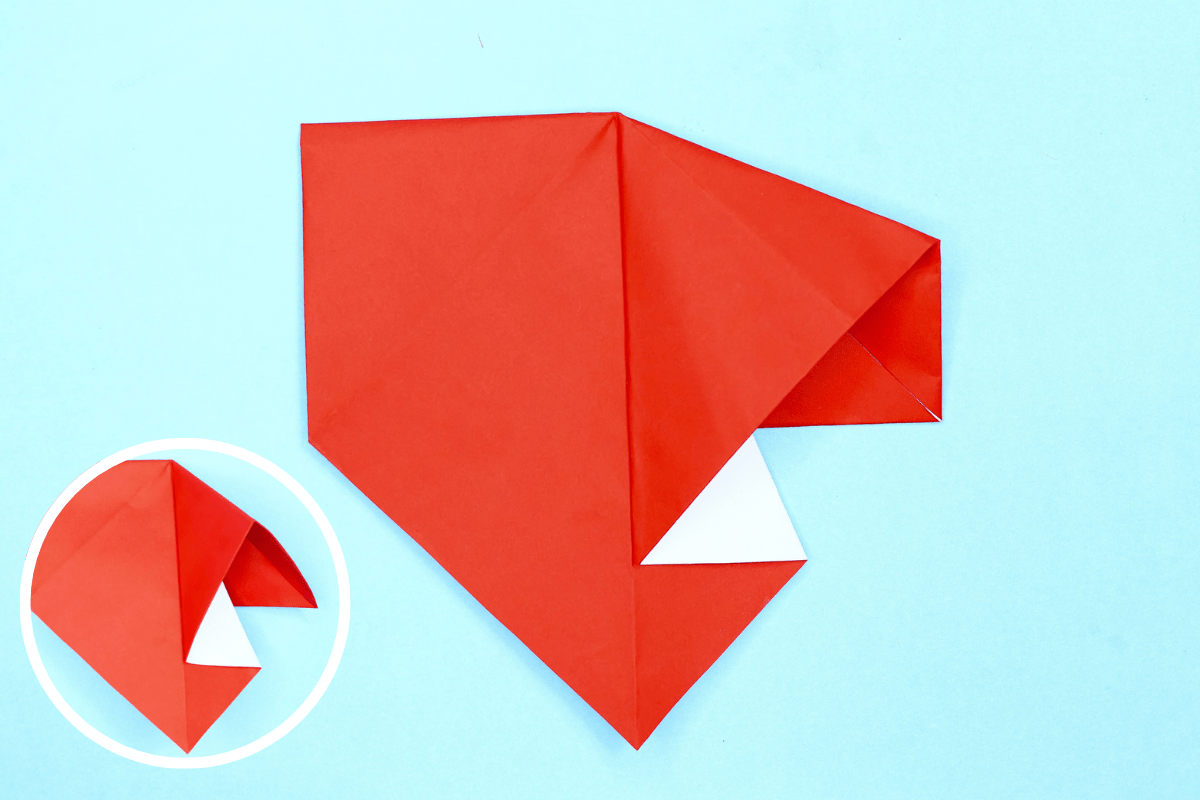
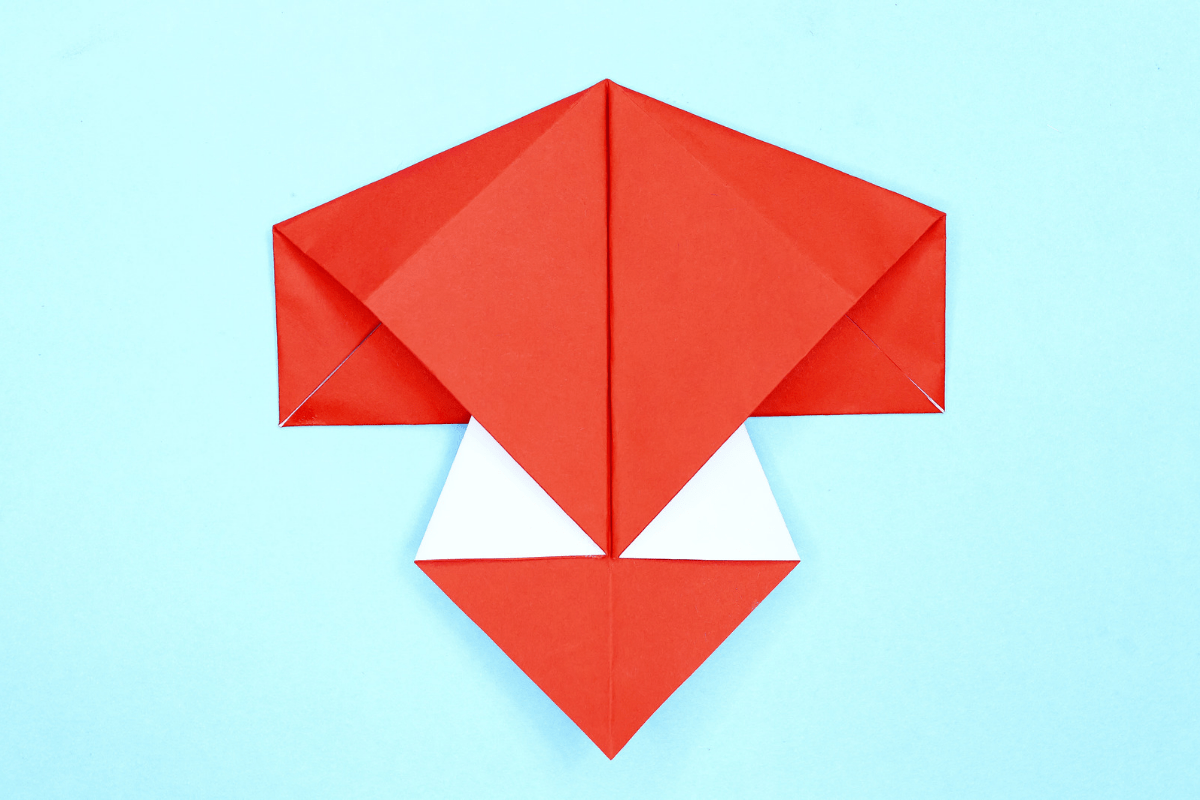
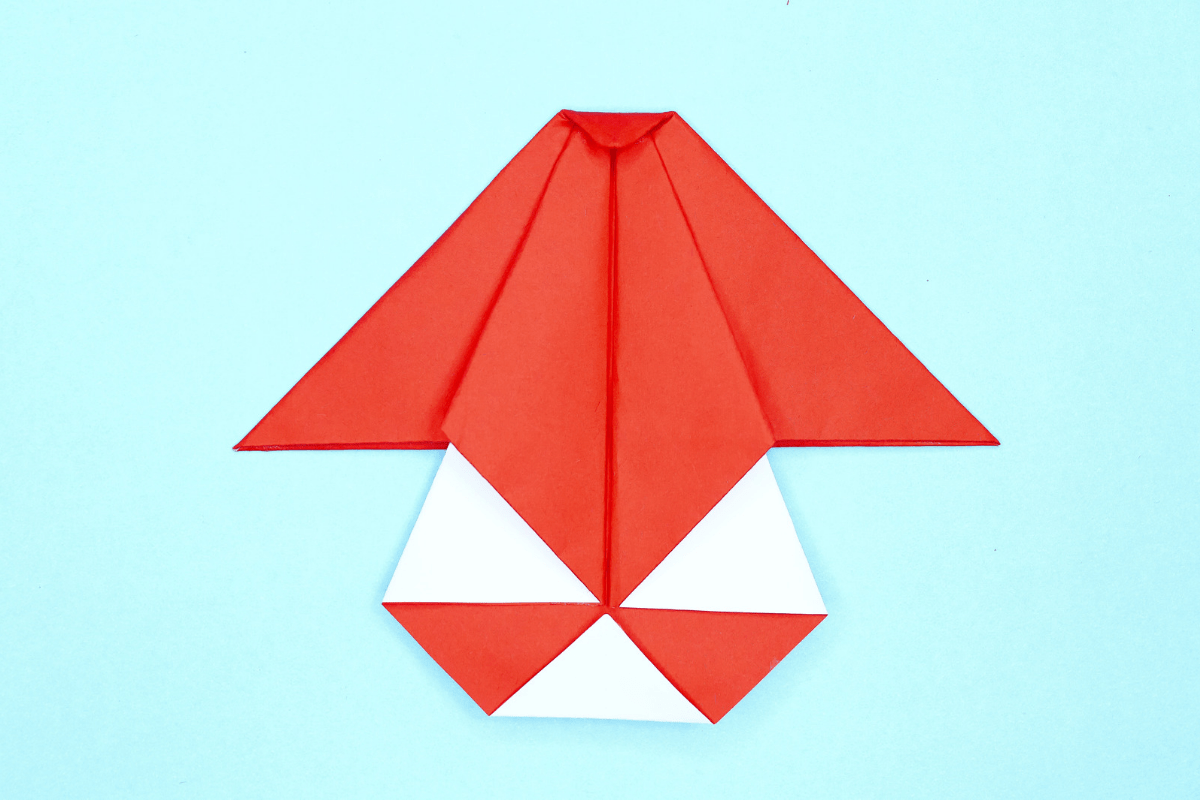
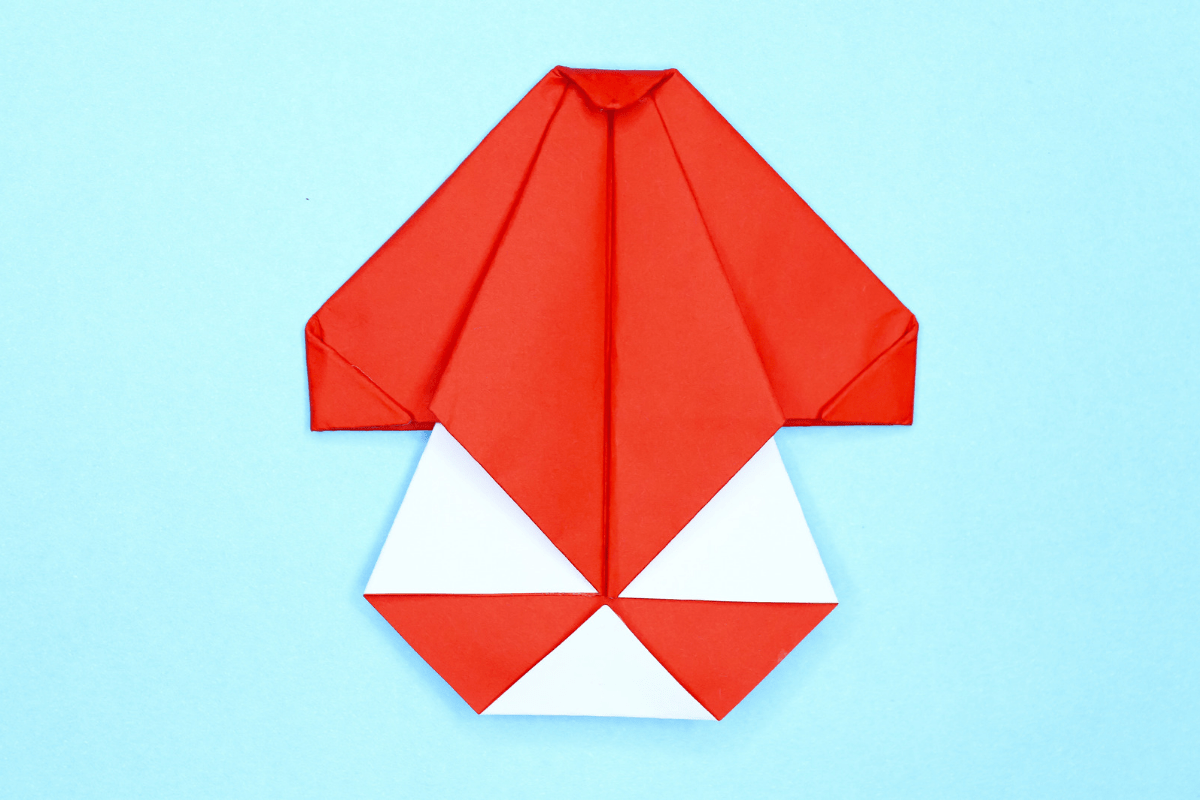
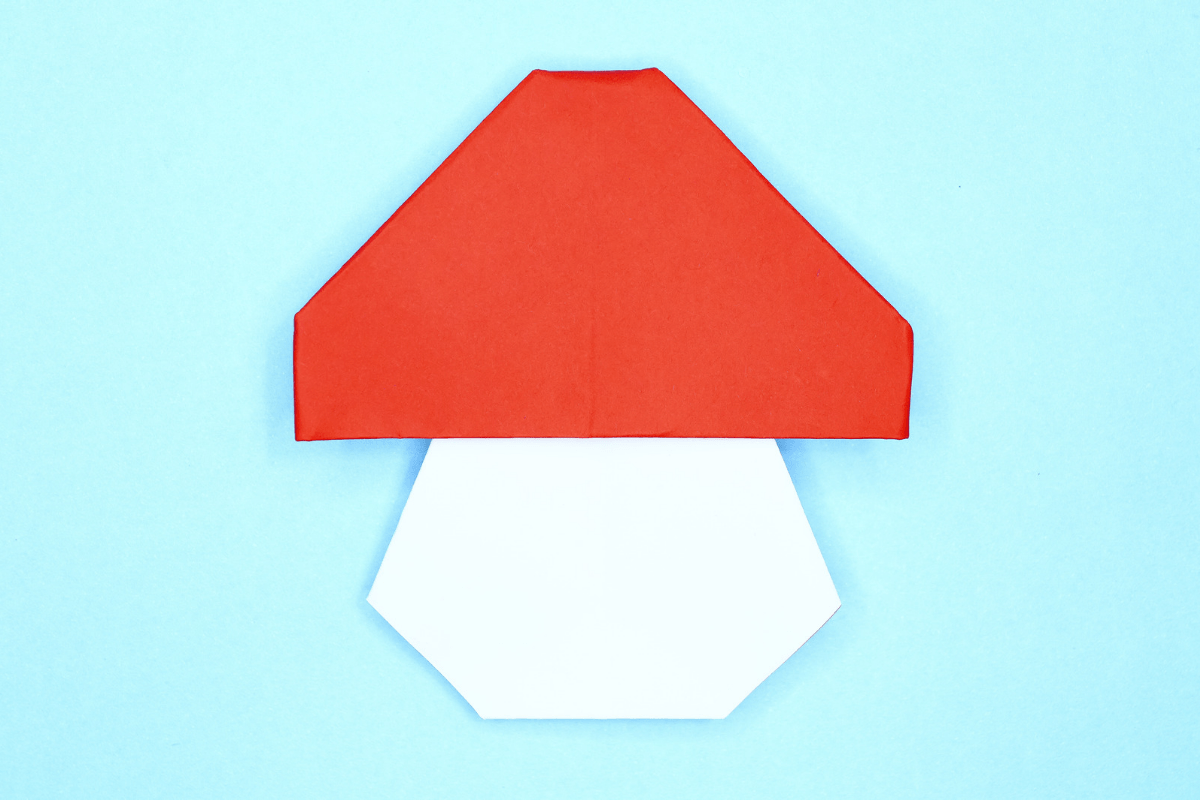
How to Make a Mushroom Origami?

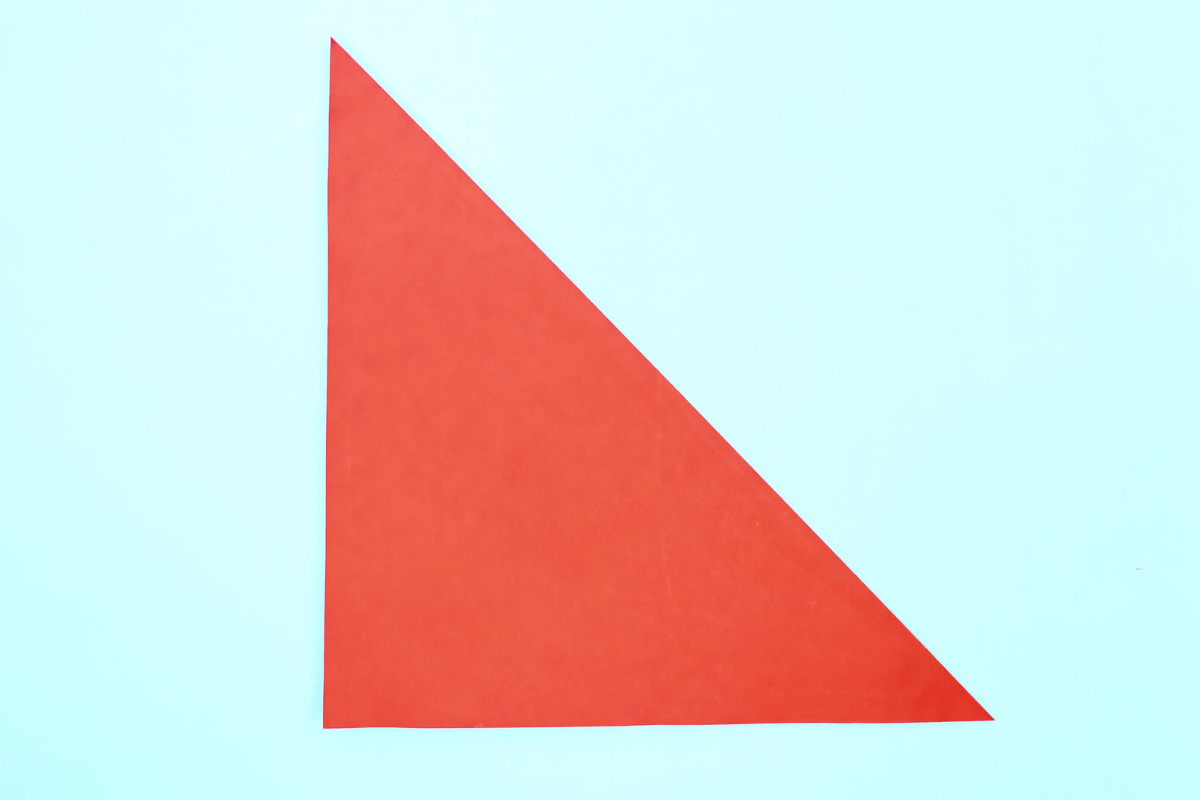
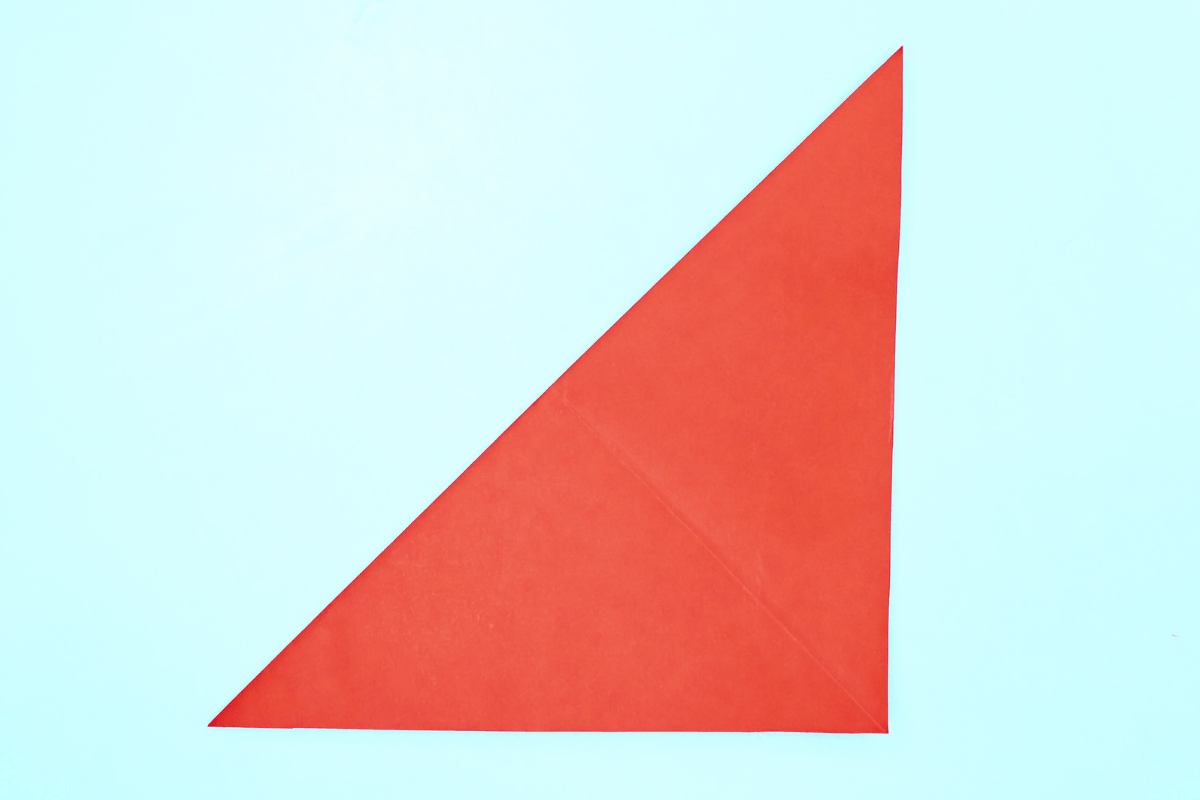
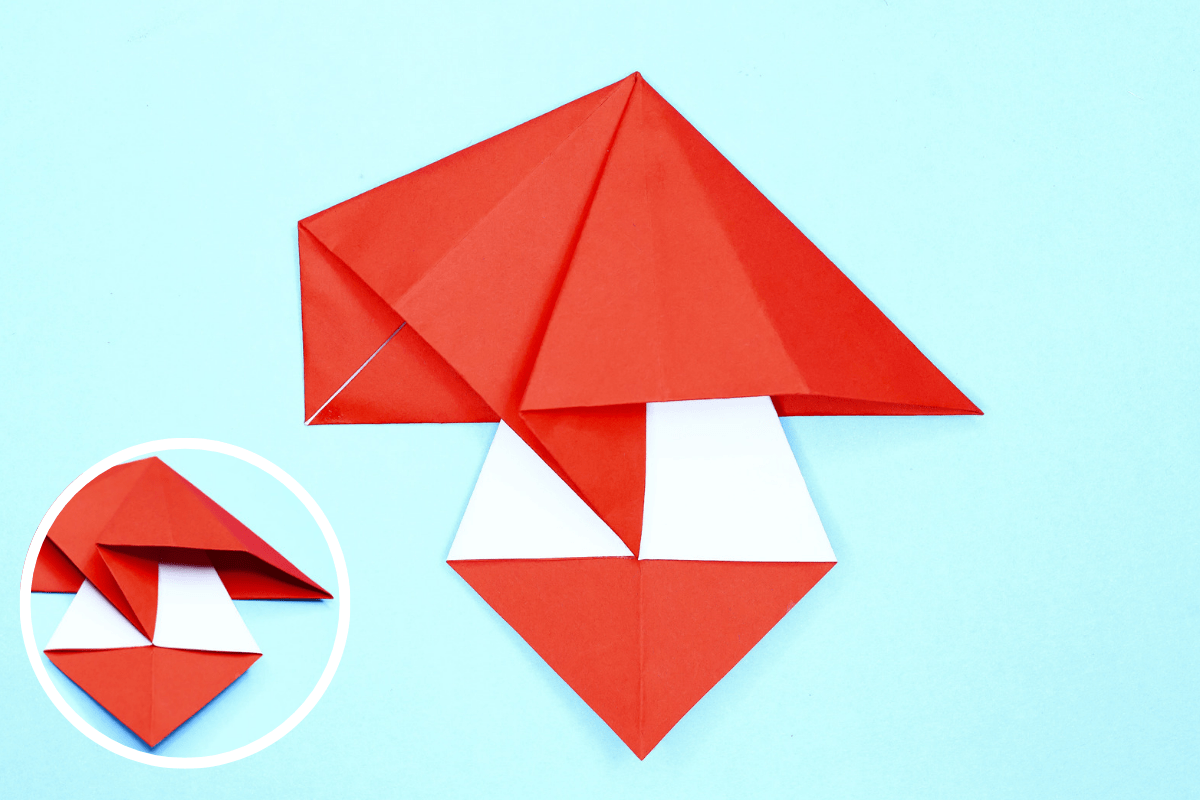
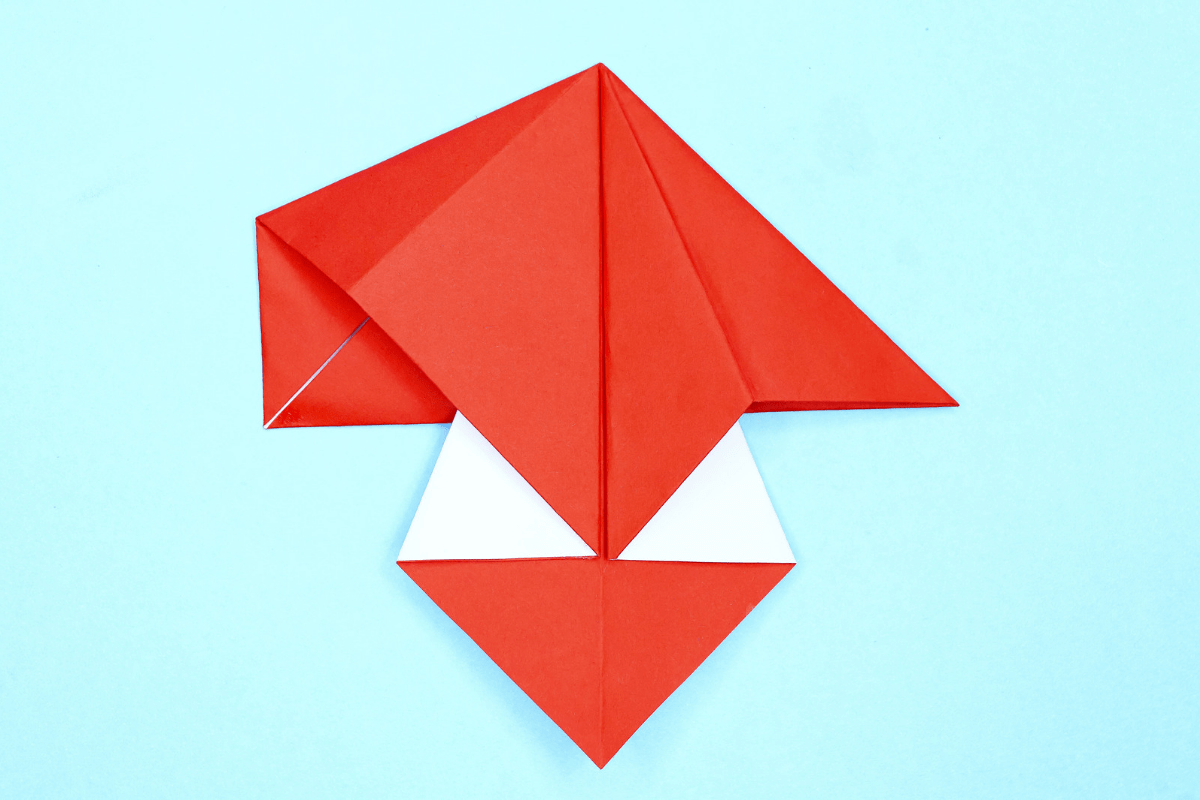
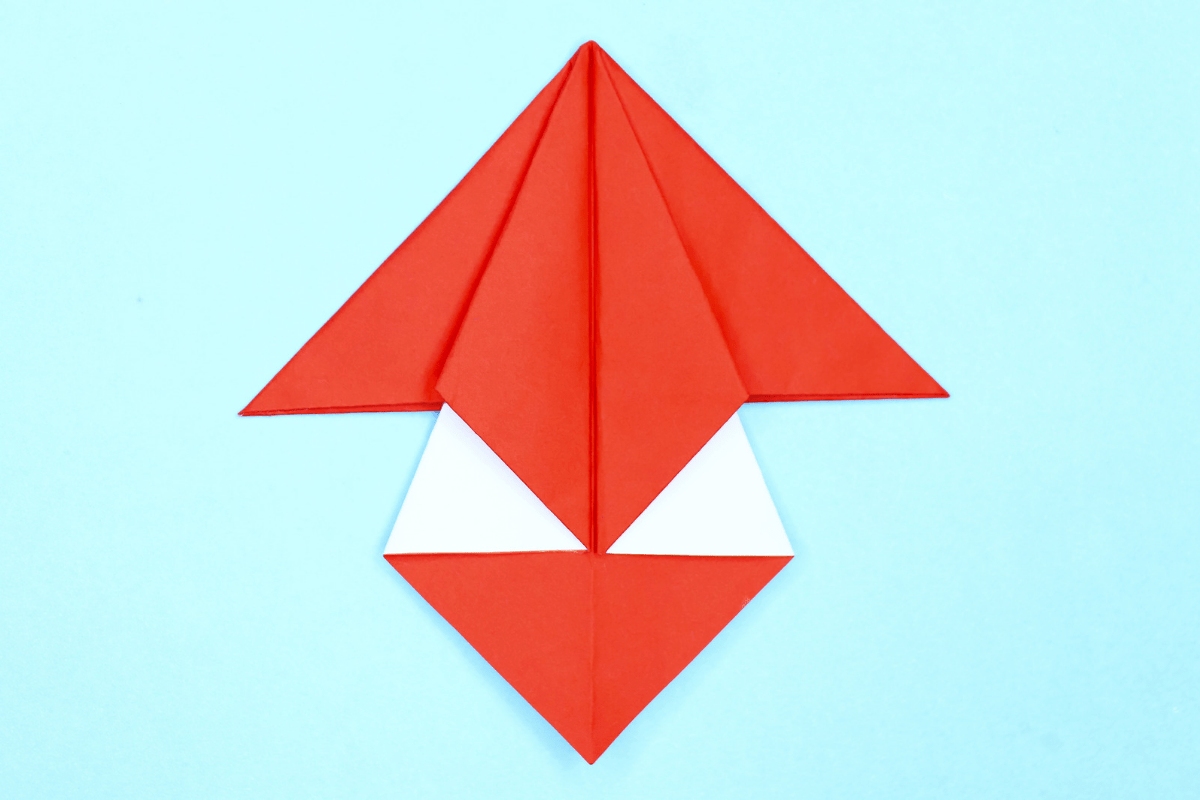
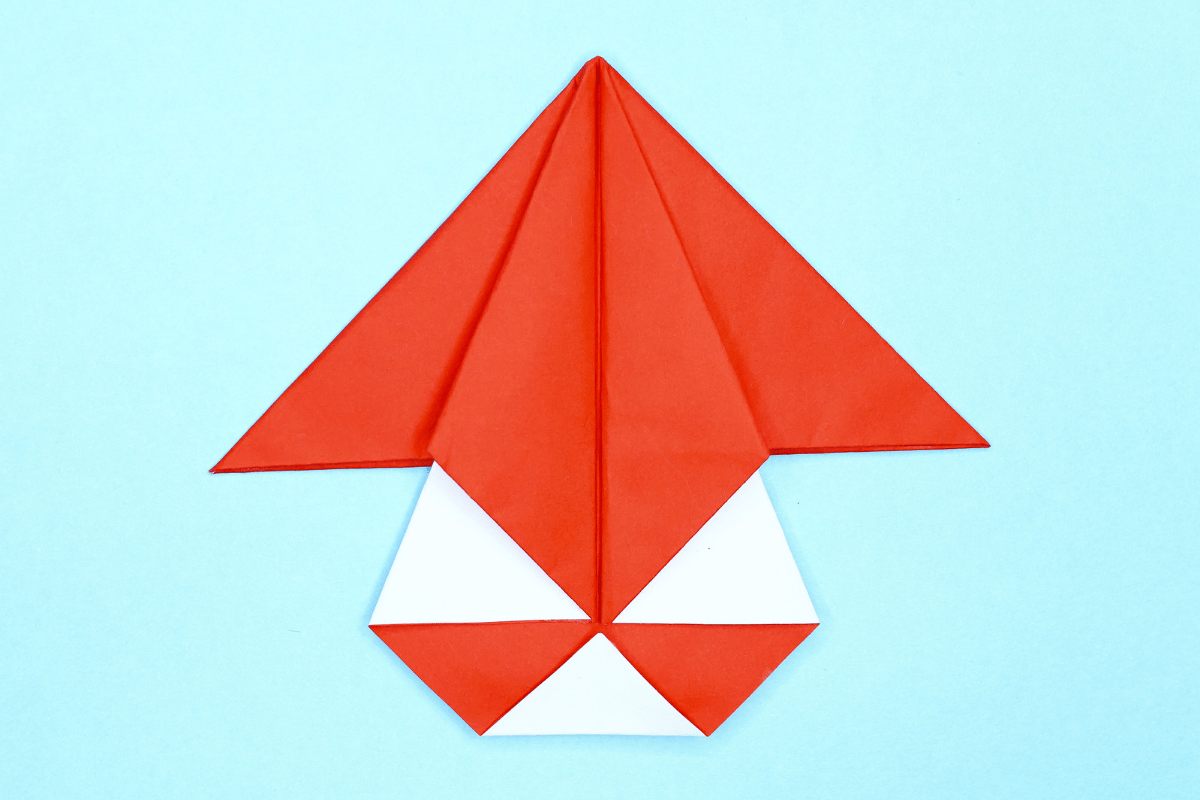
Follow these easy steps to create your very own origami mushroom!

Step 1
Rocket origami step 1
1
Start with a square piece of origami paper. I used an 7×7 inches origami paper. Dotted lines in the images indicates the creases of paper and bubble represents the process of folding and zoomed versions of difficult steps.

If you only have regular paper, follow these instructions on how to make a square origami paper.

Step 2
Mushroom origami step 2
2
If you have a two sided origami paper, have the lighter color side face up.

Step 3
Mushroom origami step 3
3
Fold from the top right corner to the bottom left corner.

Step 4
Mushroom rocket step 4
4
Unfold. You now have a diagonal crease where the dotted black line goes.

Step 5
Mushroom origami step 5
5
Fold from the top left corner to the bottom left corner.

Step 6
Mushroom rocket step 6
6
Unfold.

Step 7
Mushroom origami step 7
7
Fold from the top edge to the bottom edge.

Step 8
Mushroom rocket step 8
8
Unfold.

Step 9
Mushroom origami step 9
9
Fold again from the left side to the right side.

Step 10
Mushroom rocket step 10
10
Unfold.

Step 11
Mushroom rocket step 11
11
Rotate the paper diagonally.

Step 12
Mushroom origami step 12
12
Fold three corners at the bottom to the center.

Step 13
Mushroom origami step 13
13
Fold the bottom edge upward.

Step 14
Mushroom origami step 14
14
Turn the paper over.

Step 15
Mushroom rocket step 15
15
Fold the right corner to the center.

Step 16
Mushroom origami step 16
16
Repeat the previous step on left side too.

Step 17
Mushroom rocket step 17
17
Flatten the middle of the right corner.

Step 18
Mushroom origami step 18
18
Fold the flap back to the right.

Step 19
Mushroom origami step 19
19
Repeat the steps 17 and 18 on the left side too.

Step 20
Mushroom origami step 20
20
Fold the bottom corner inward.

Step 21
Mushroom origami step 21
21
Fold the top corner inward.

Step 22
Mushroom origami step 22
22
Fold inwardly the left and right pointy edges.

Step 23
Mushroom origami step 23
23
Flip the model over.

Step 24
Mushroom origami final
24
Draw small white spots to give your mushroom more fun look!

Comments

Leave a Reply

Your email address will not be published. Required fields are marked *