
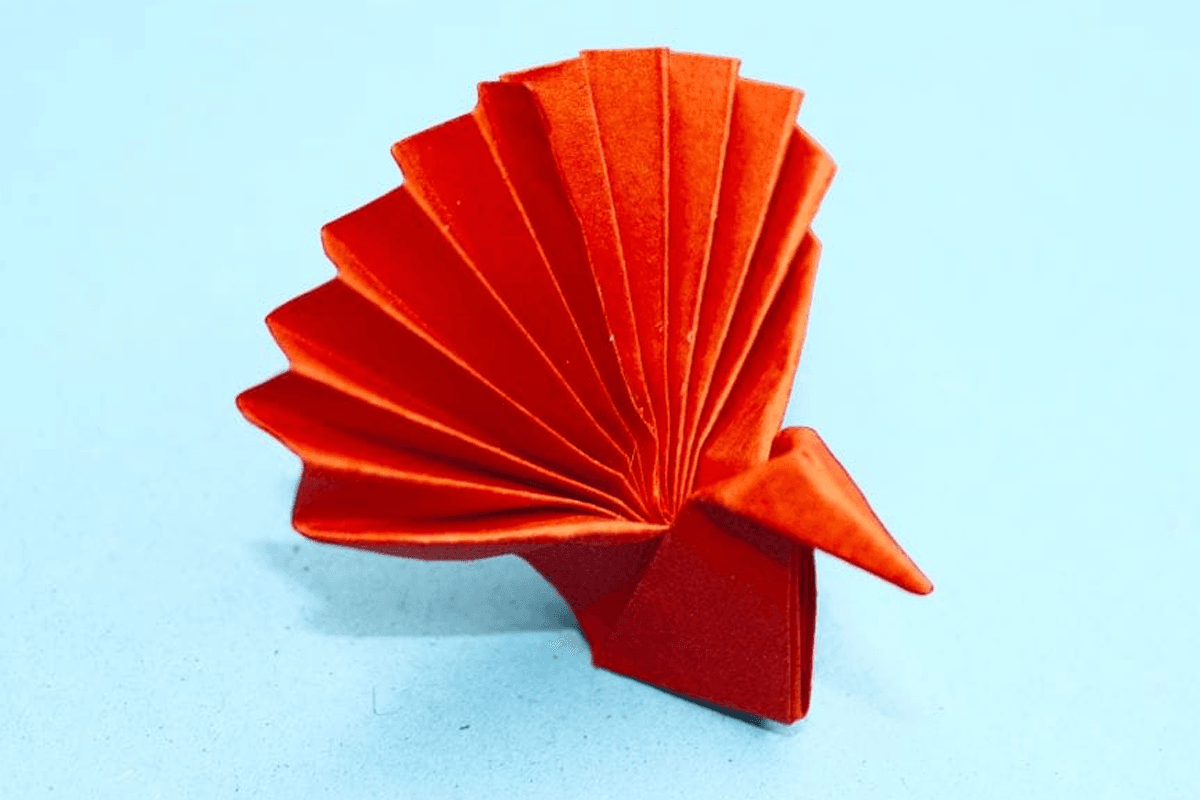
Prepare to create pure paper elegance with this stunning origami peacock! Through a series of satisfying folds, you’ll transform ordinary paper into an extraordinary creature complete with a graceful neck, proud stance, and that iconic fanned tail. Use colorful or patterned paper to really capture the peacock’s iridescent glory, or add your own decorative touches with markers and metallic pens. Whether displayed on a shelf or given as a handmade gift, this origami peacock is guaranteed to make a statement!
How to Make an Origami Peacock
Category: Origami Birds
Difficulty: Intermediate
Create a beautiful origami peacock with our clear step-by-step instructions. Clear instructions help you craft this intricate paper bird perfectly.
Step 1
1
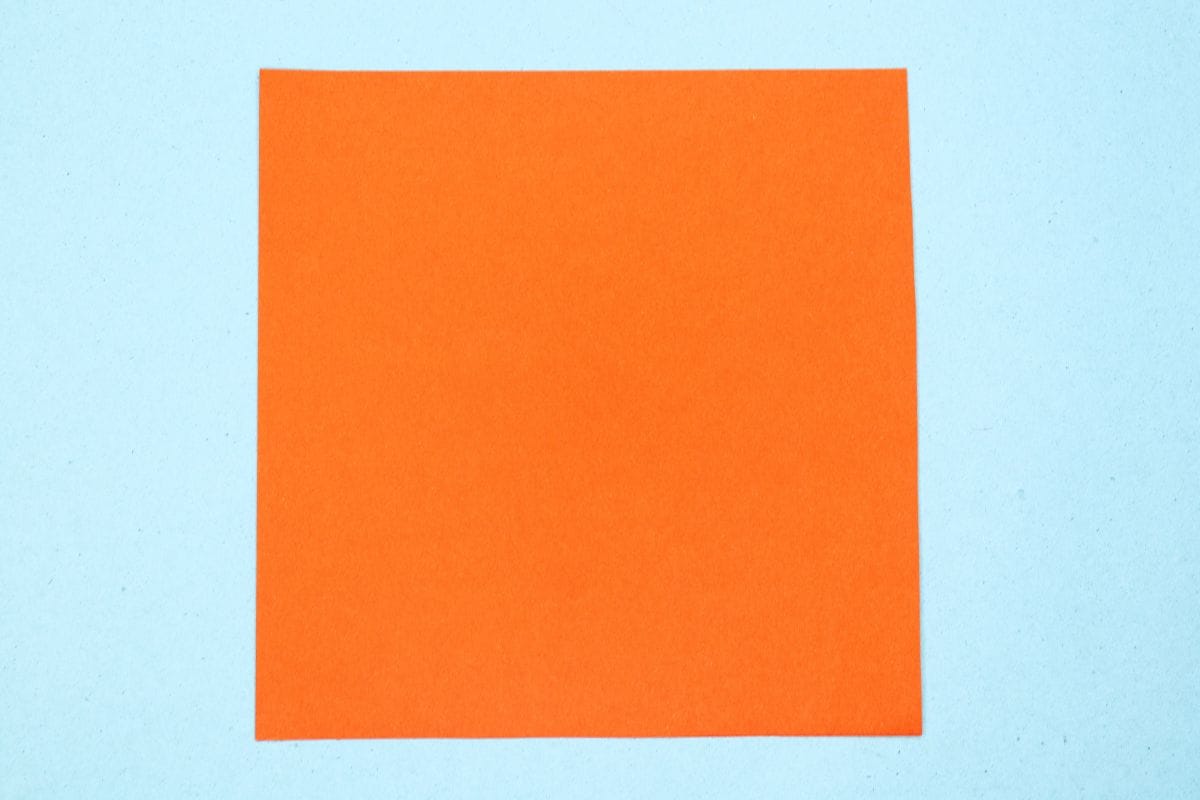
Start with a square piece of origami paper. I am using an 7×7 inches origami paper.
If you only have regular paper, follow these instructions on how to make a square origami paper.
If you only have regular paper, follow these instructions on how to make a square origami paper.
Step 2
2
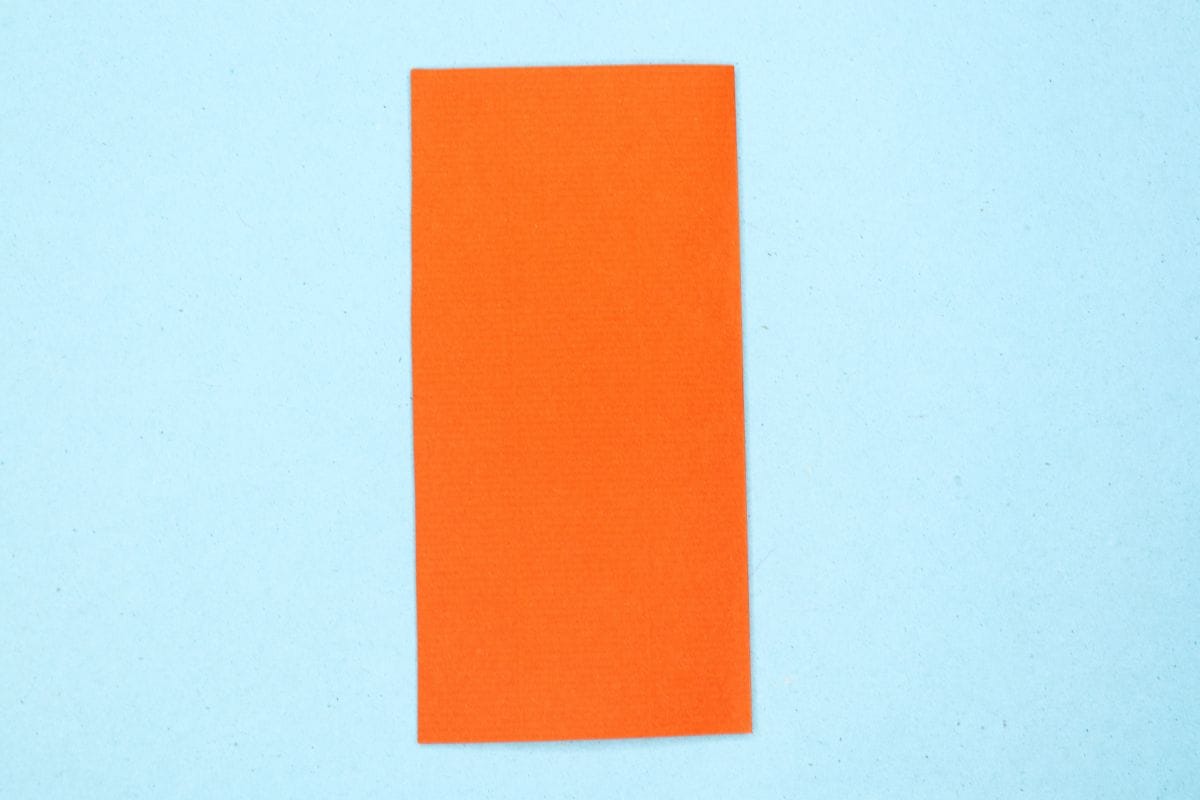
Make a vertical fold from the left edge to the right edge.
Step 3
3
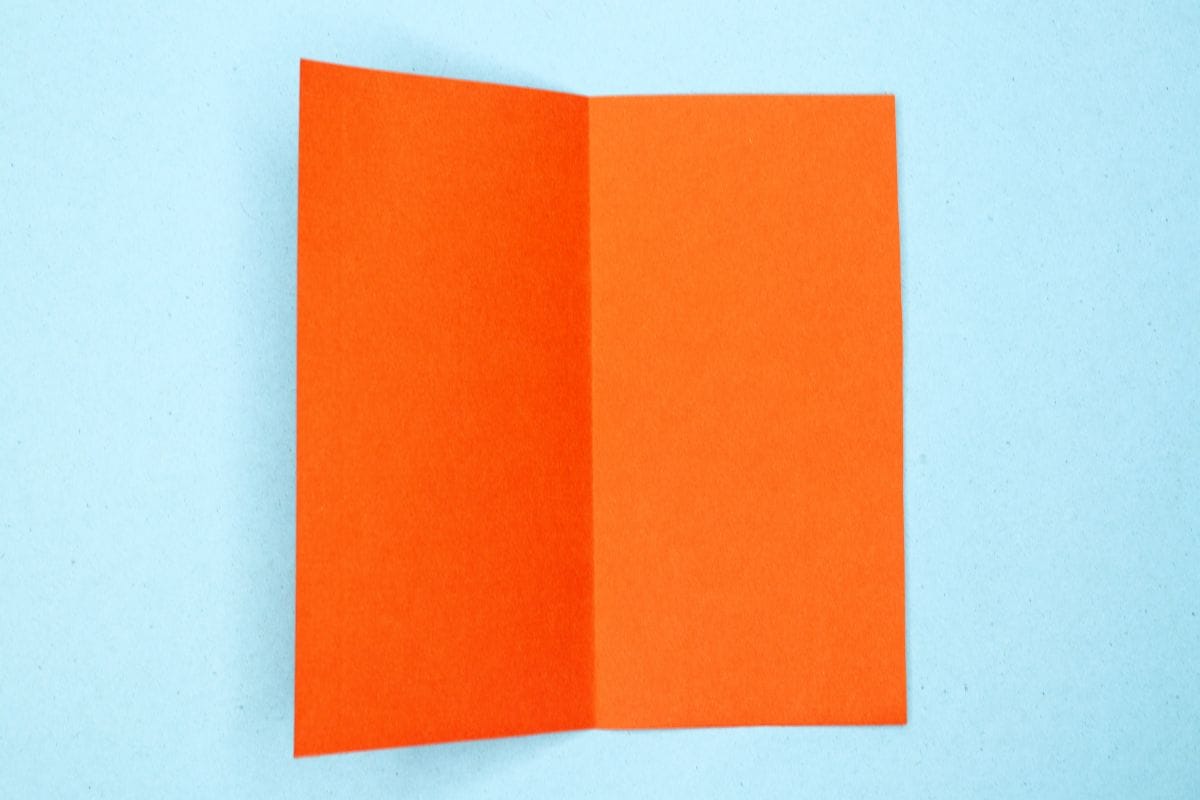
Unfold. We just needed a crease line.
Step 4
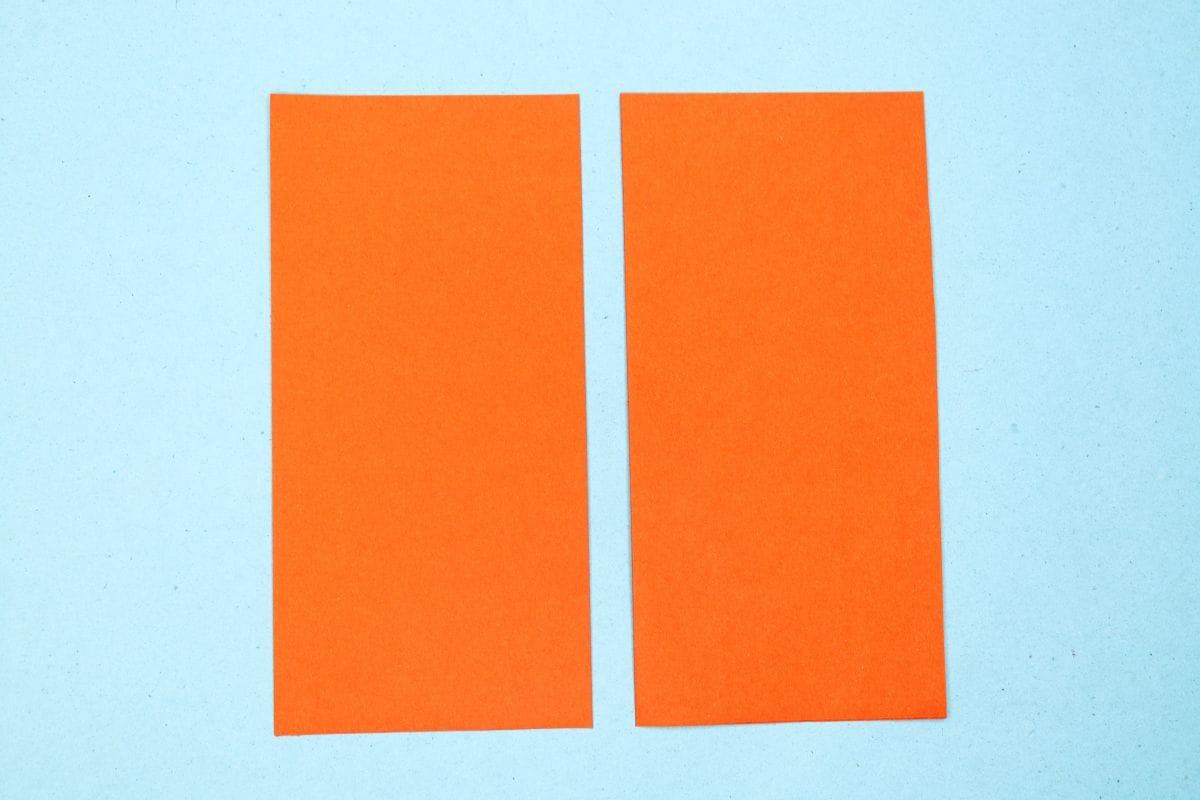
4
Cut the paper along the center crease you made earlier.
Step 5
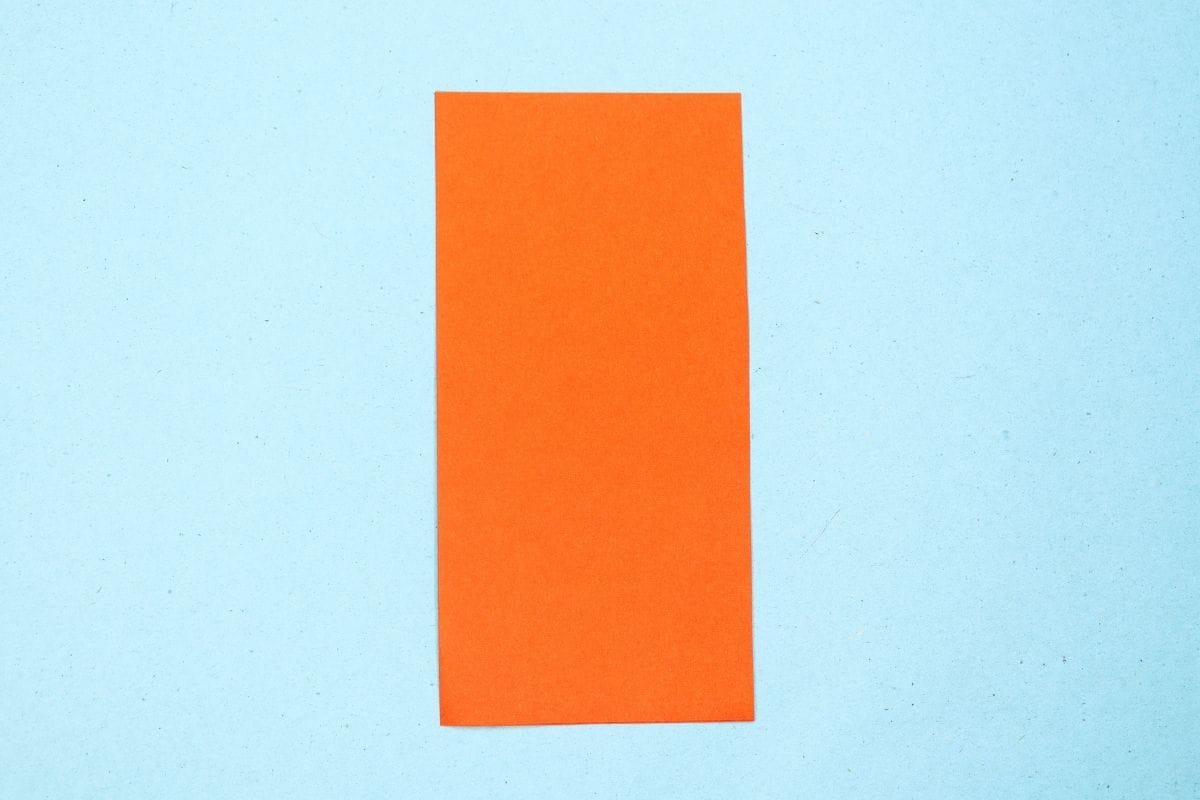
5
We only need one sheet.
Step 6
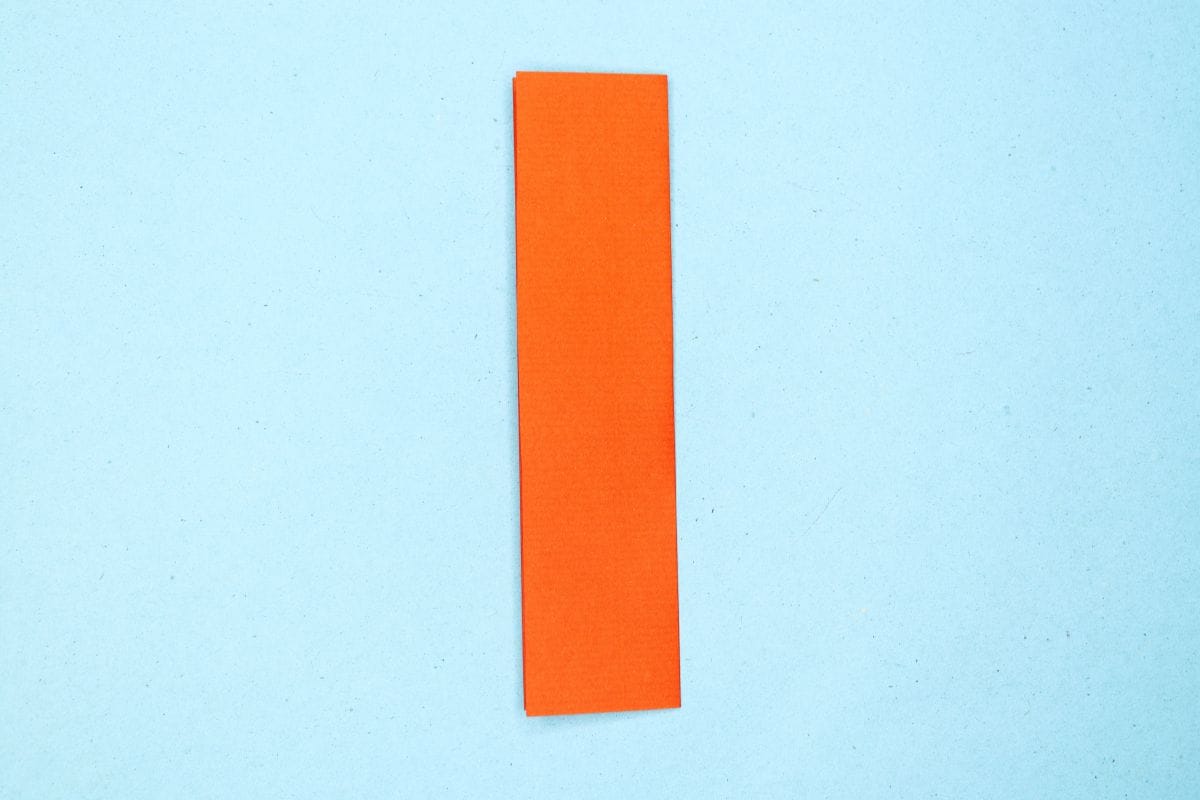
6
Make a vertical fold from the left edge to the right edge.
Step 7
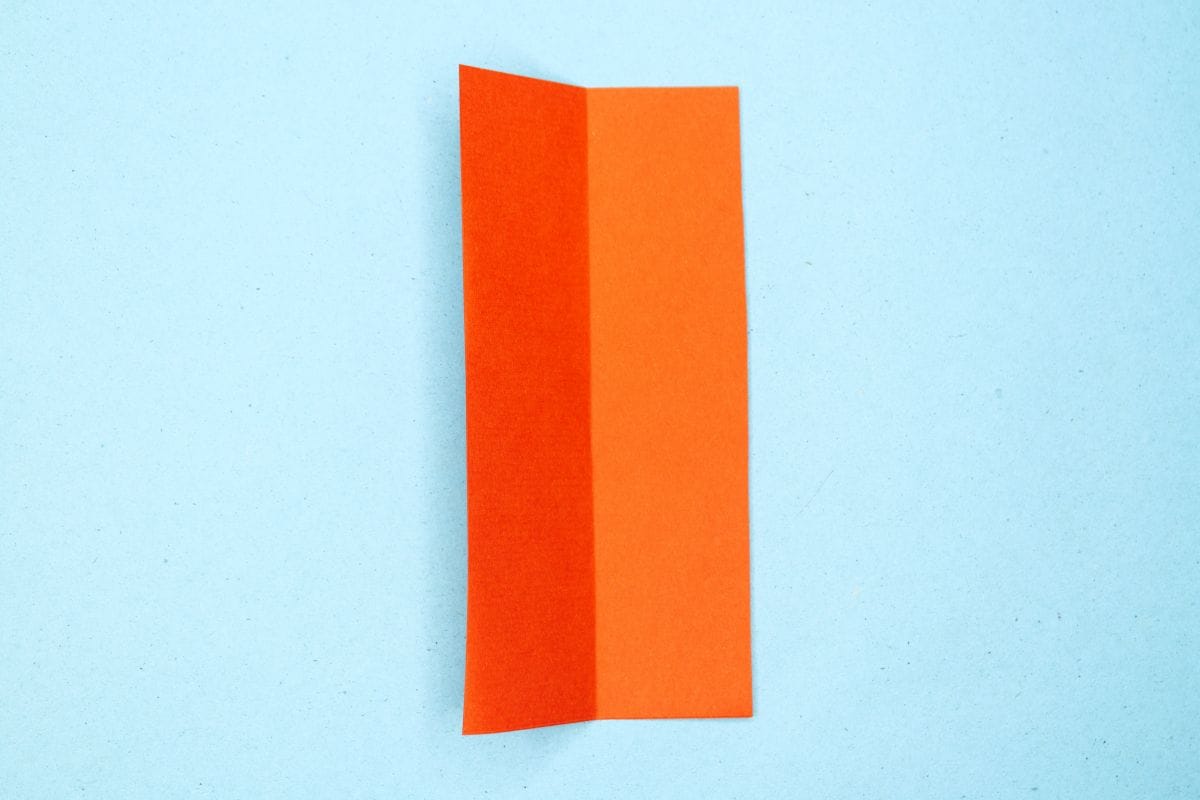
7
Unfold. We just needed a crease line.
Step 8
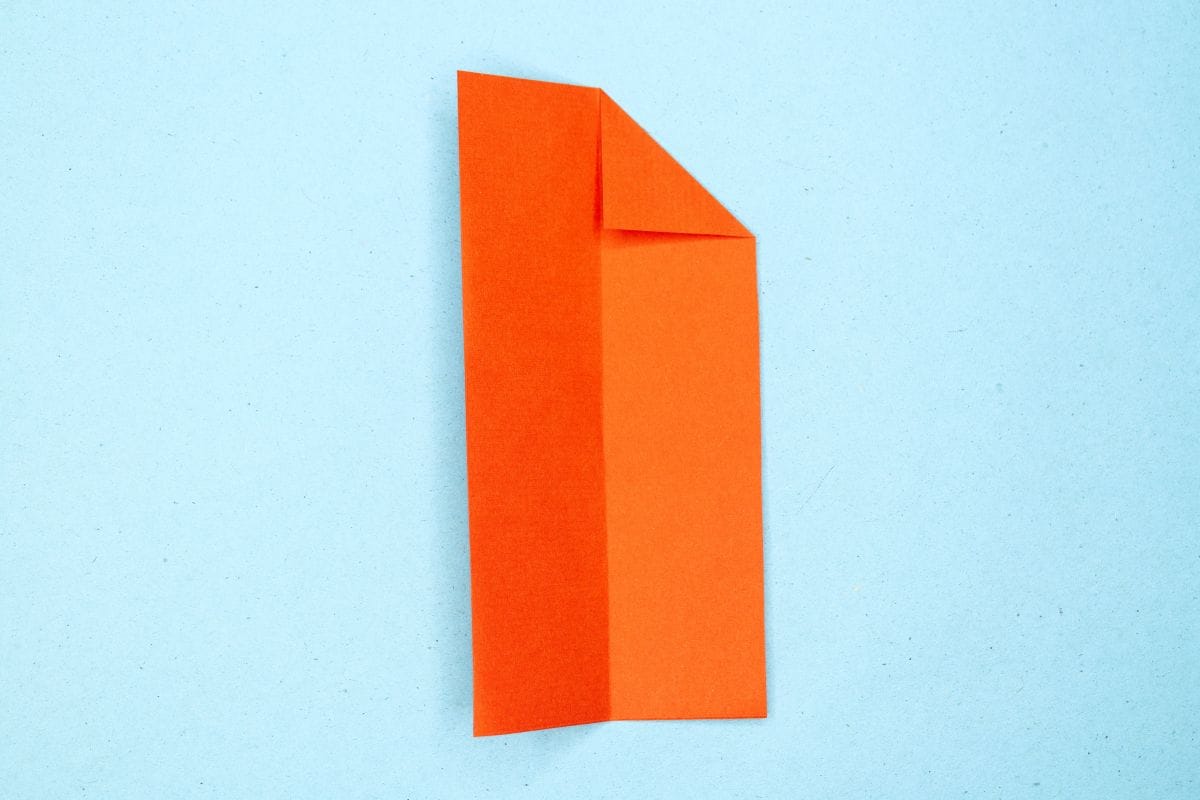
8
Bring the right edge inward to align with the center crease.
Step 9
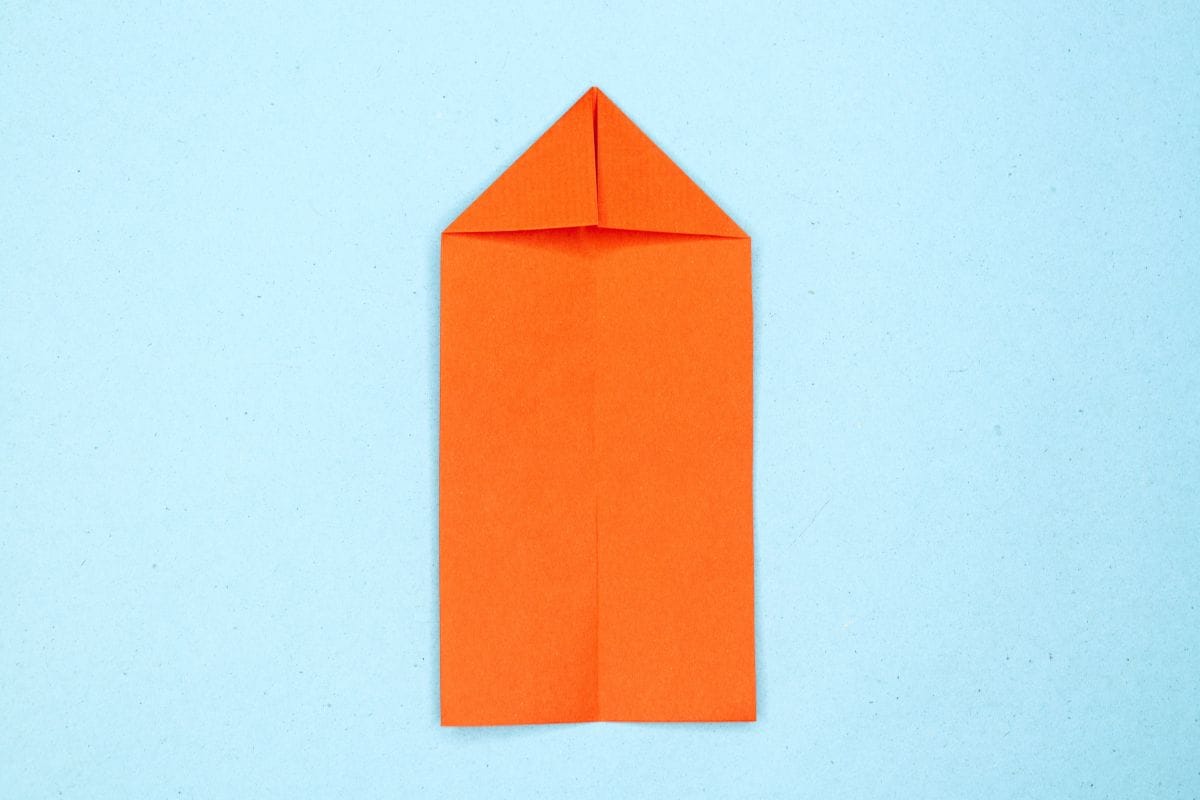
9
Bring the left edge inward to align with the center crease.
Step 10
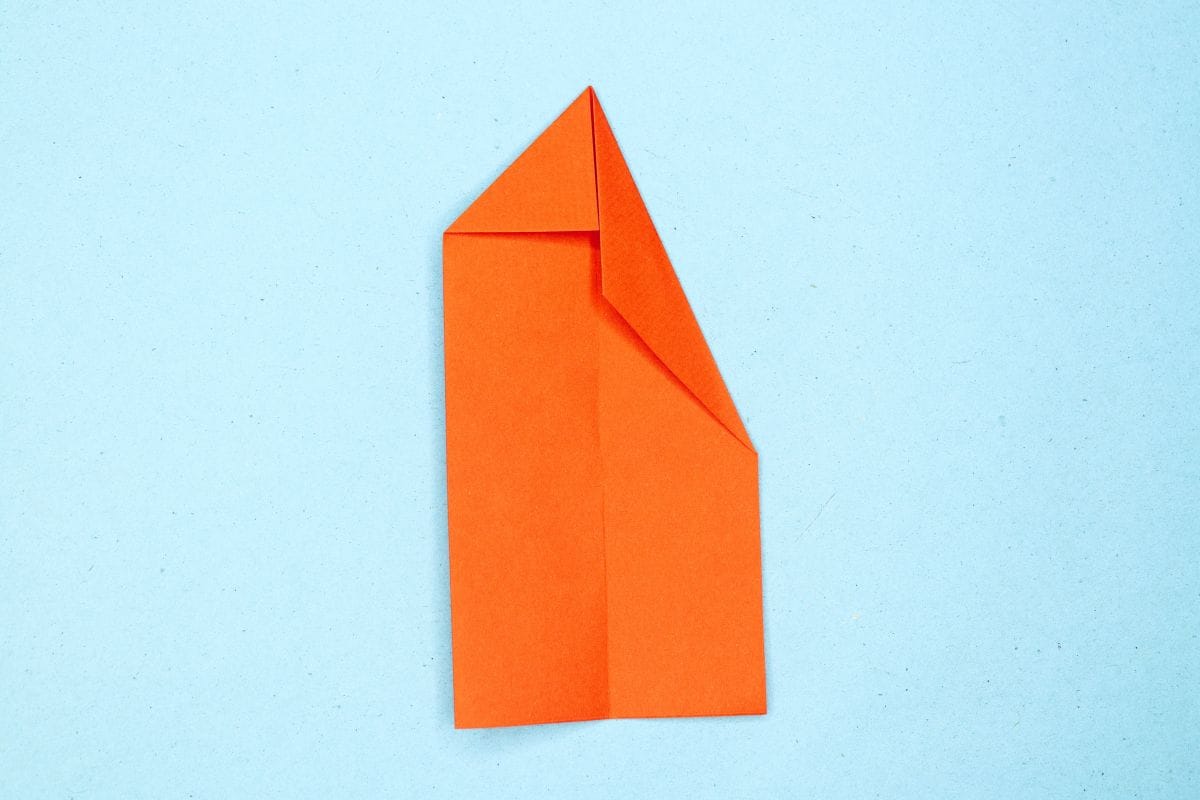
10
Bring the right edge inward to align with the center crease.
Step 11

11
Bring the left edge inward to align with the center crease.
Step 12

12
Turn the model over.
Step 13
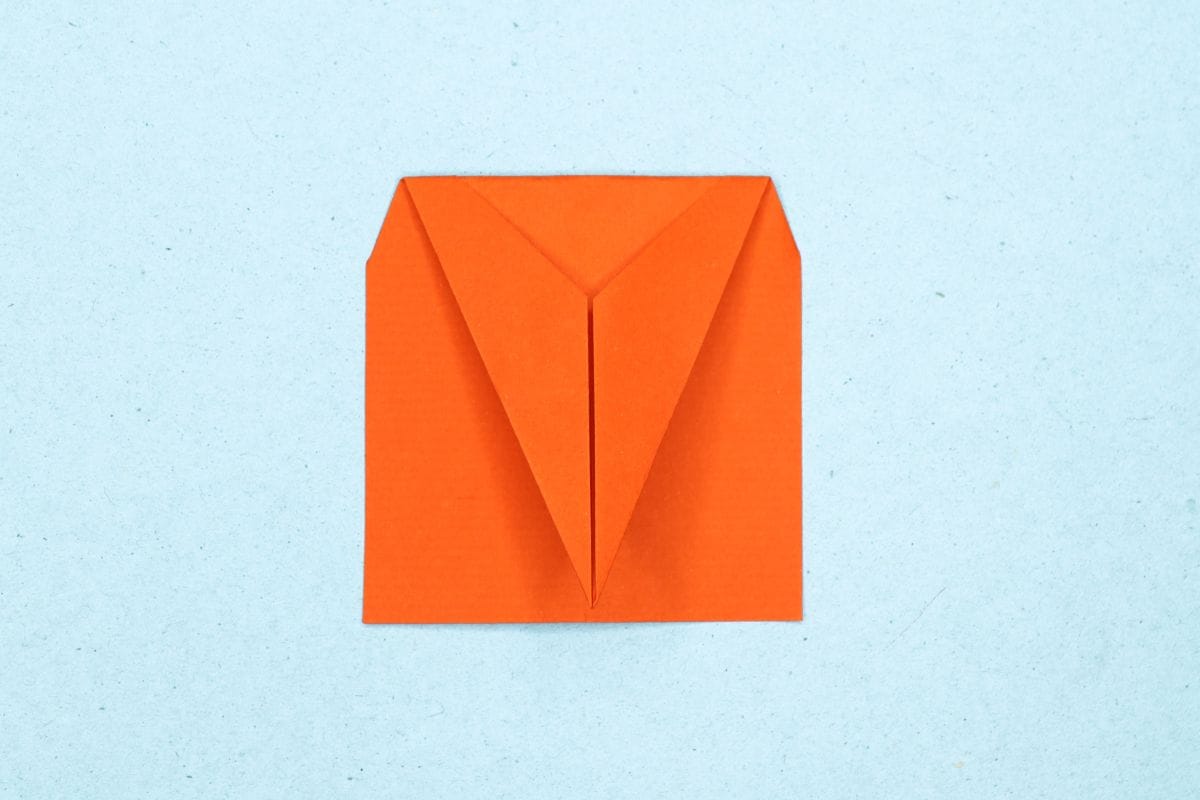
13
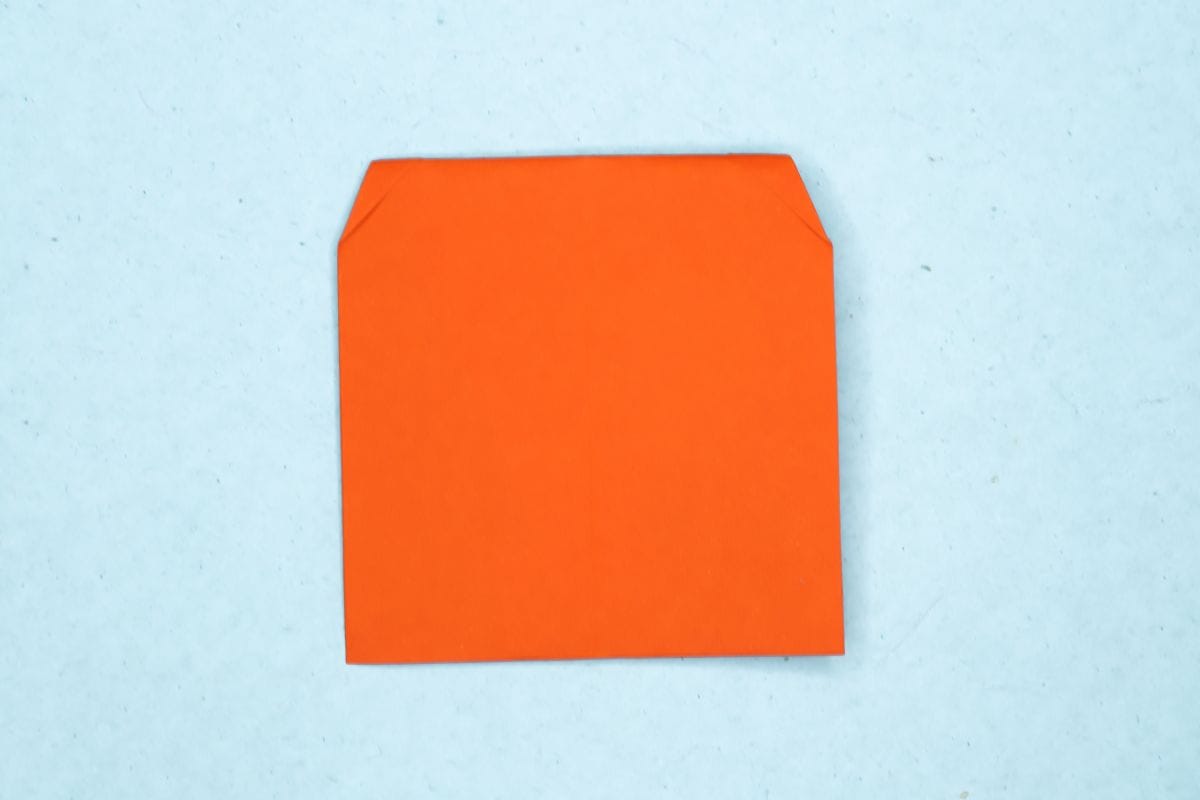
Bring the top corner downward until it meets the bottom edge.
Step 14
14
Turn the model over.
Step 15
15
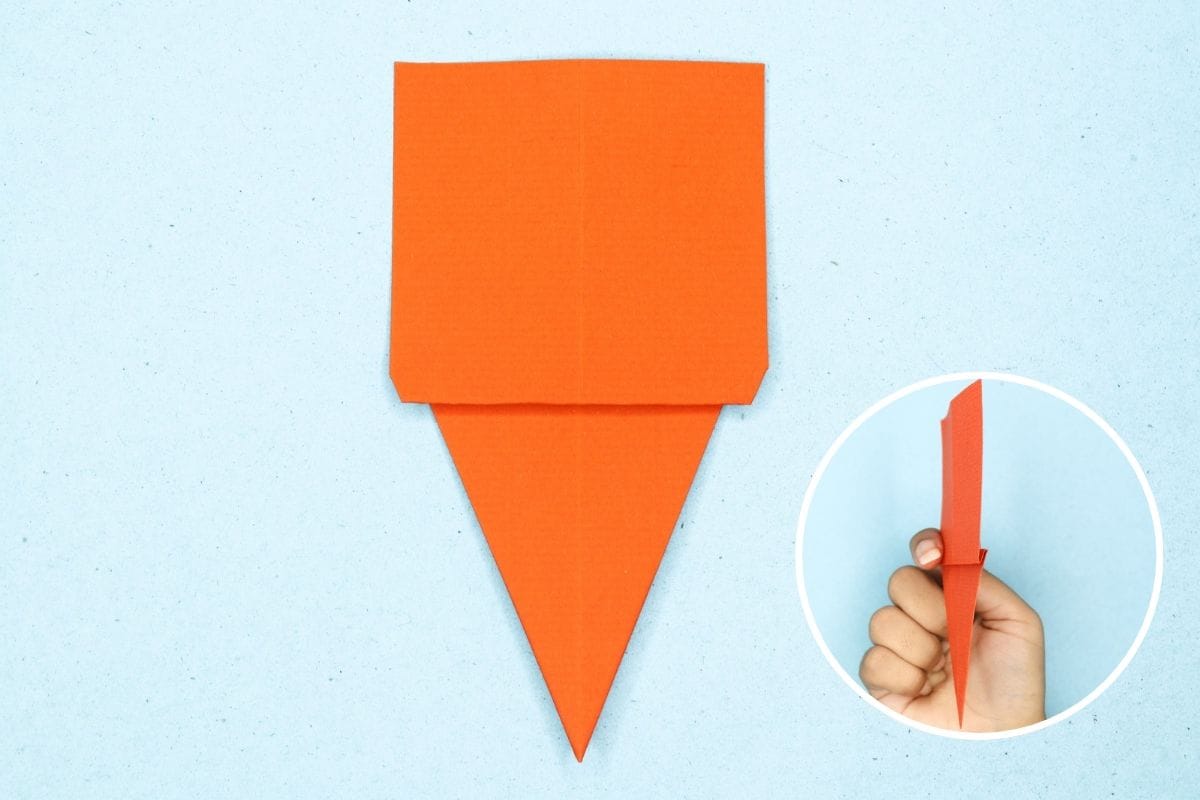
Fold a portion of the bottom edge upward, leaving part of the top edge unfolded.
Step 16

16
Fold a portion of the top edge downward, leaving part of the bottom edge unfolded.
Step 17
17
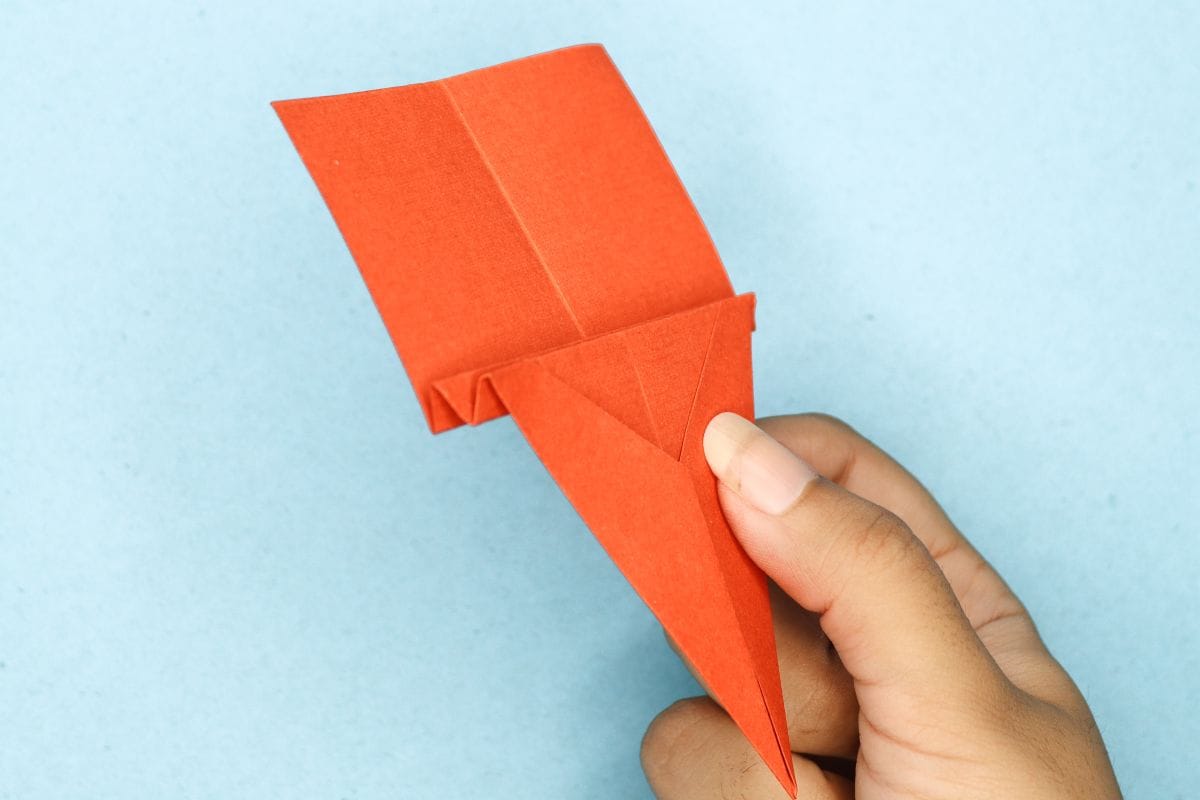
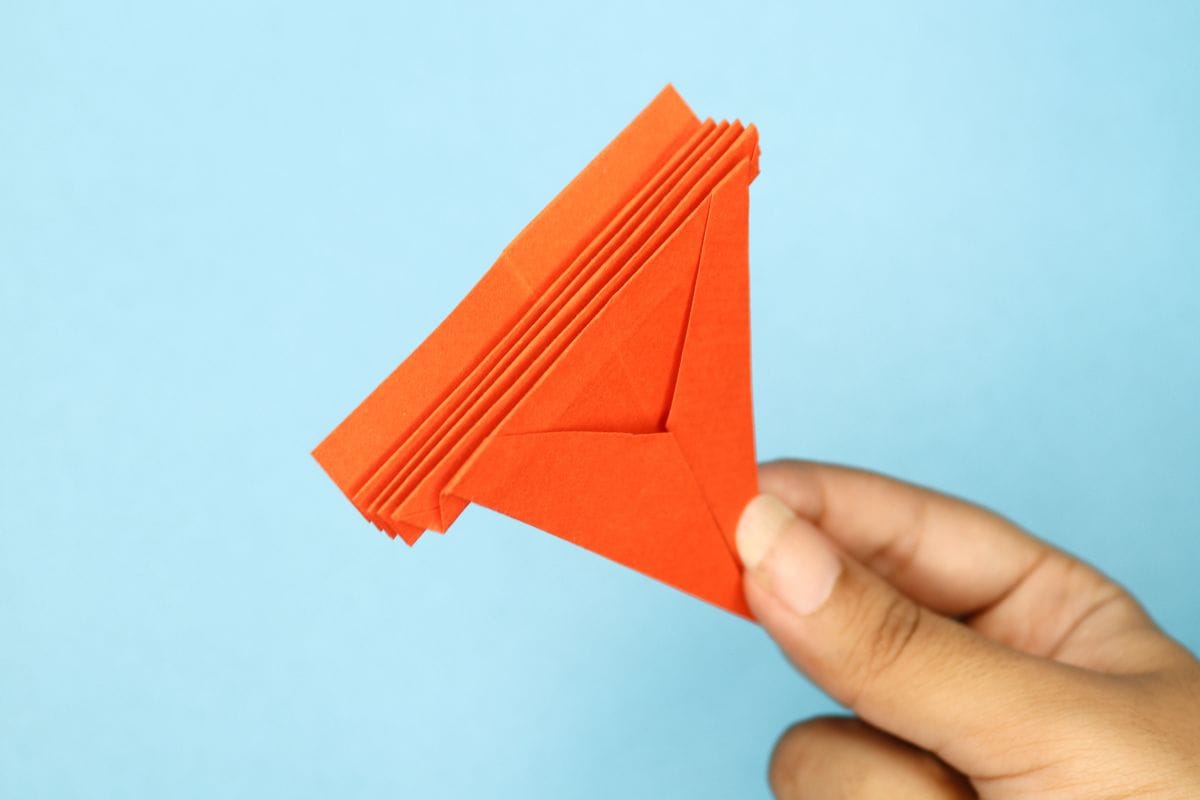
Continue alternating the last two folds to form an accordion-style fold.
Step 18
18
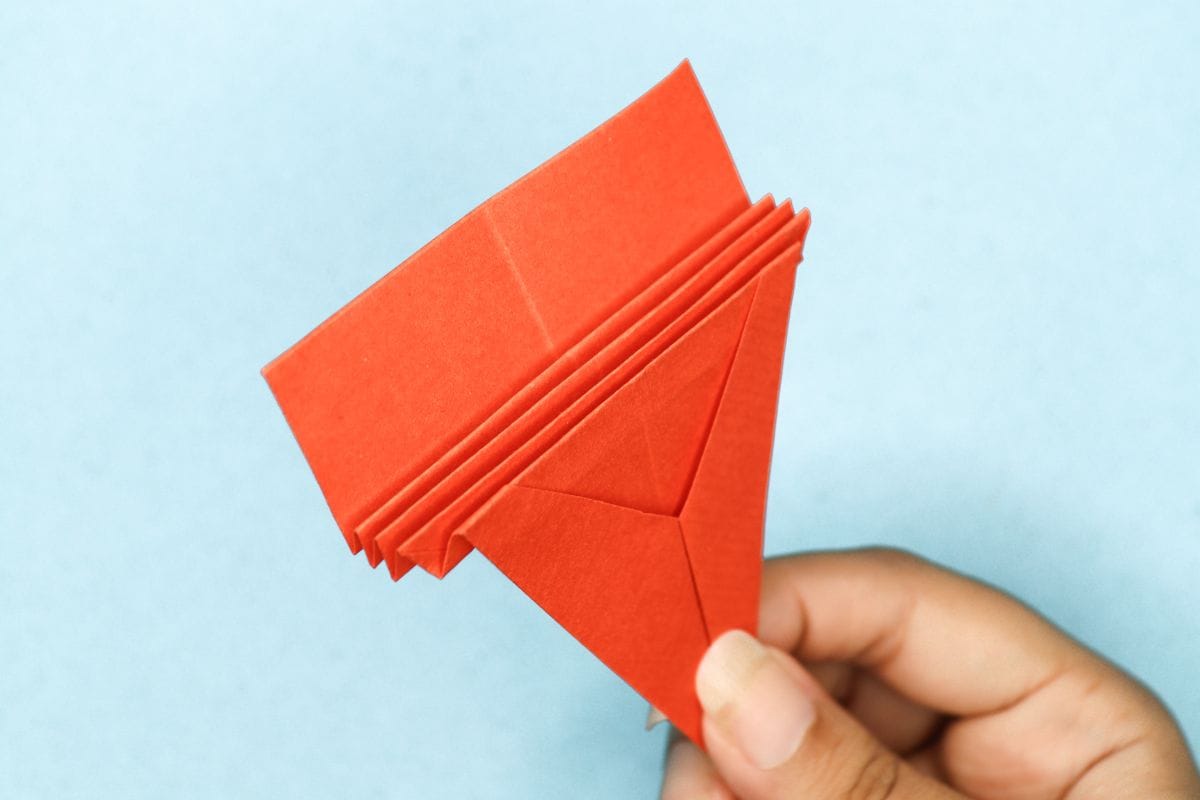
Continue alternating the last two folds to form an accordion-style fold.
Step 19
19
Continue alternating the last two folds to form an accordion-style fold.”
Step 20

20
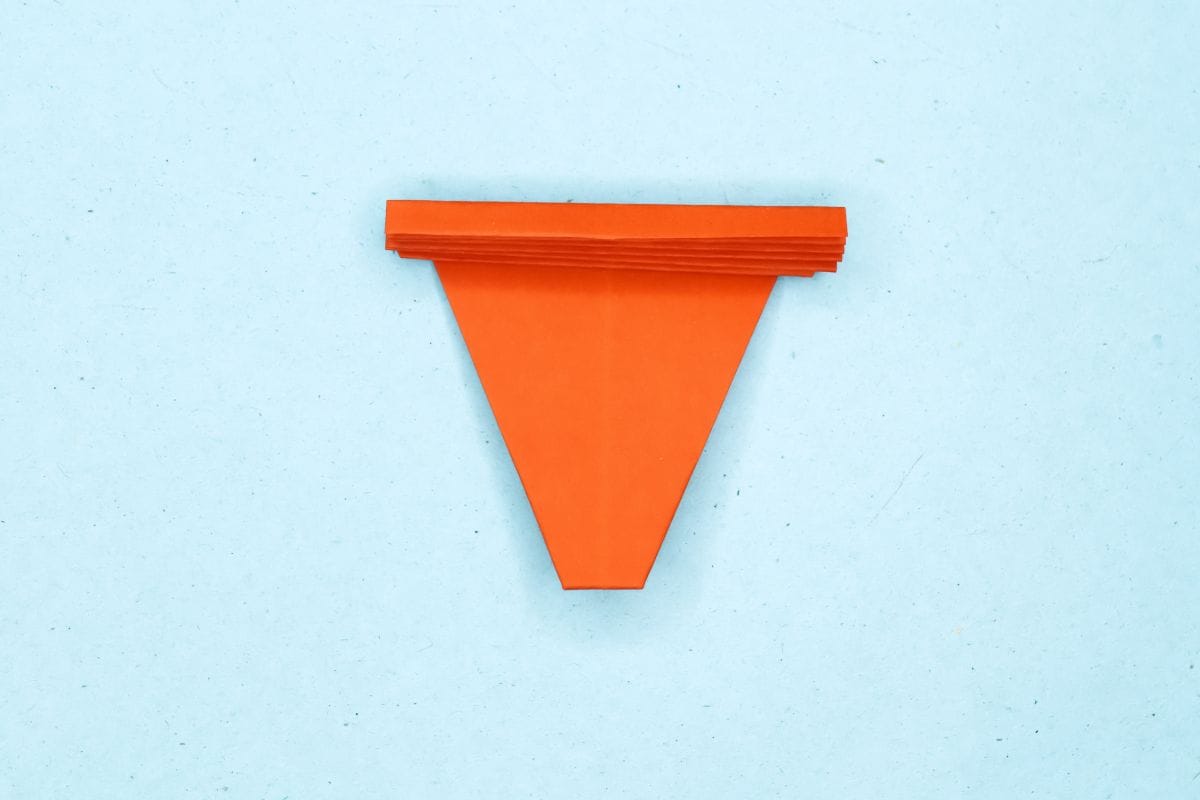
After completing the accordion fold, it should look like this.
Step 21
21
Make a backward fold with the bottom corner.
Step 22
22
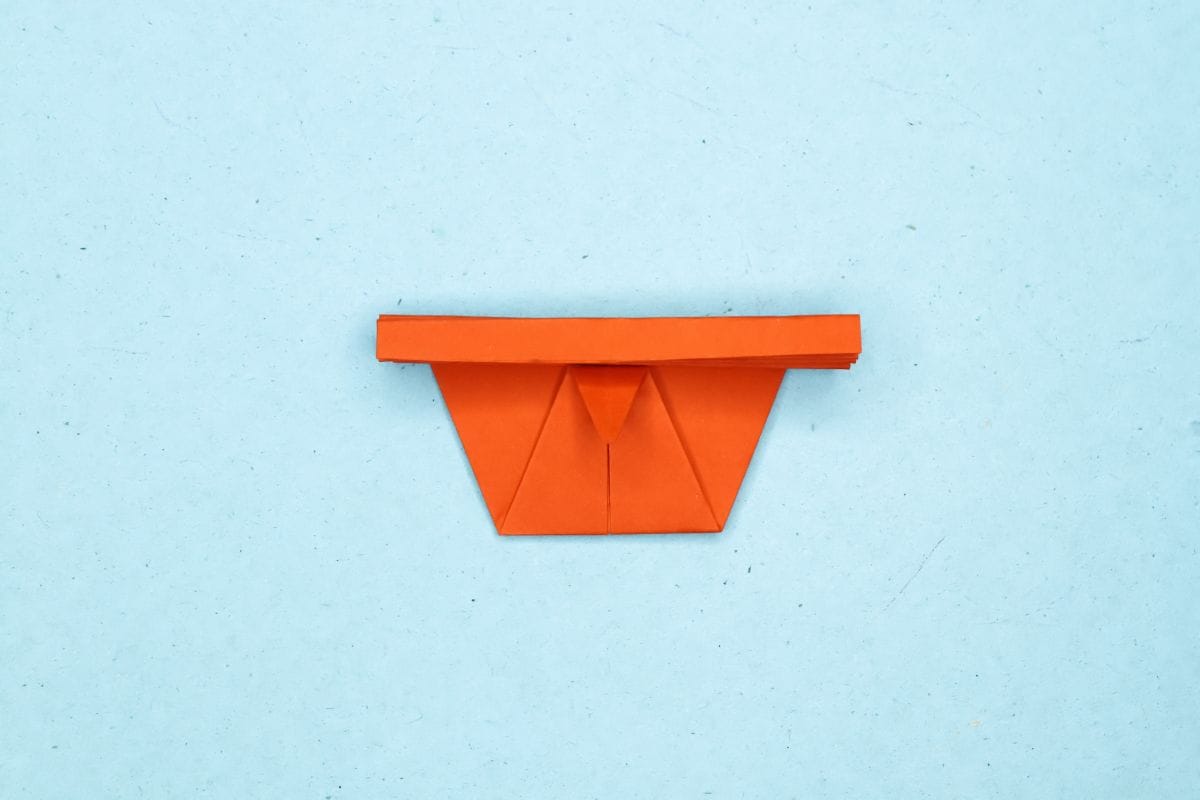
Fold the bottom edge up to meet the top edge.
Step 23
23
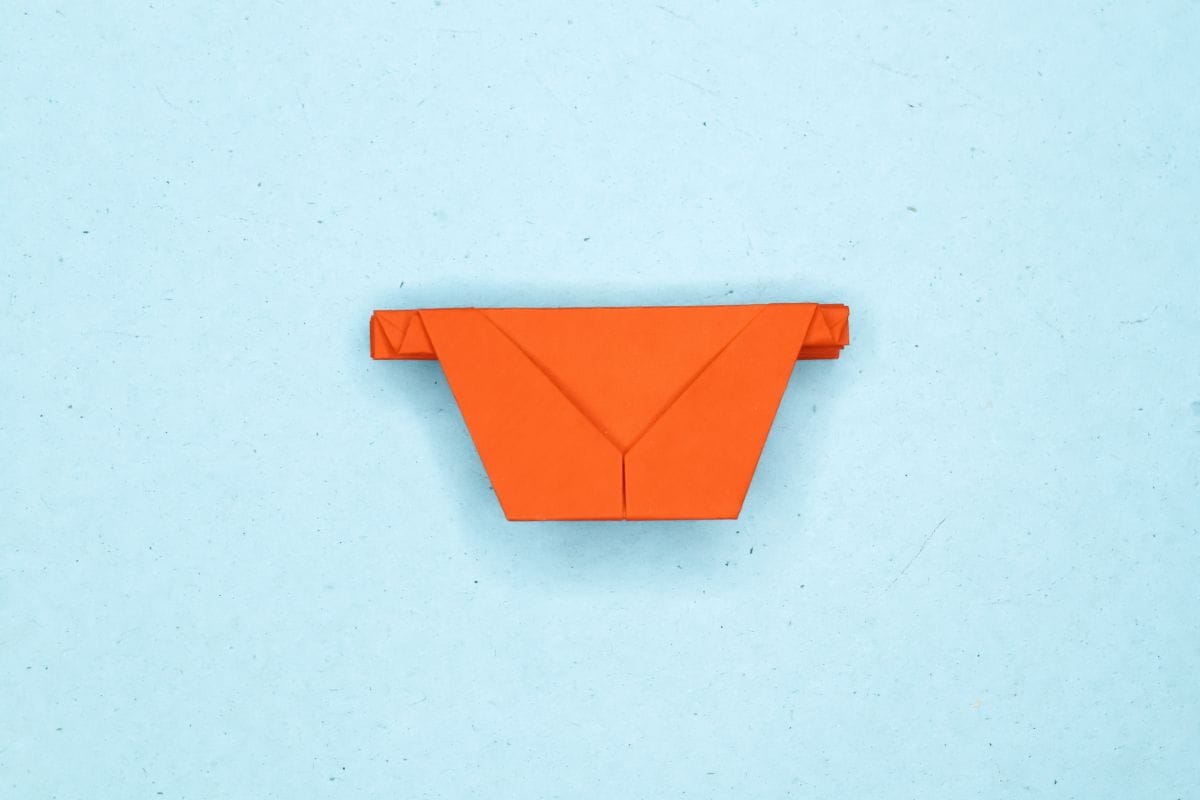
Turn the model over.
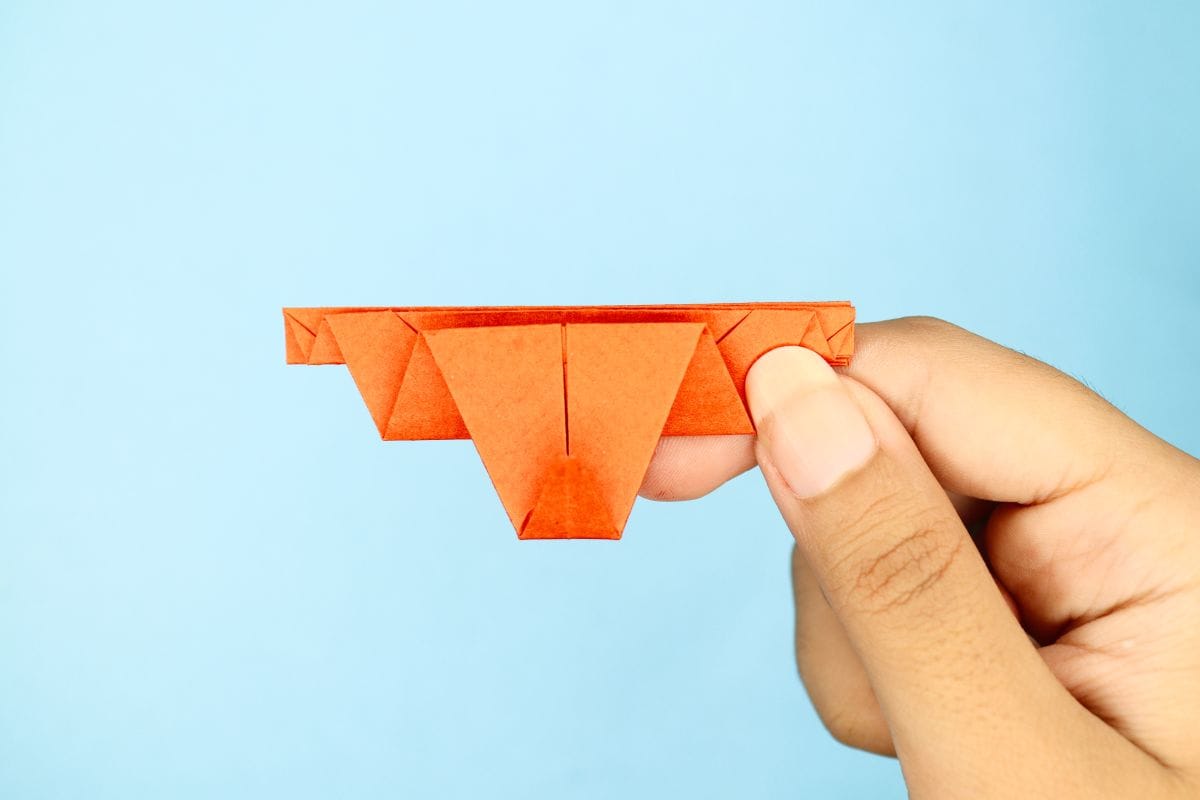
Step 24
24
Fold the bottom edge upward, but not all the way to the top.
Step 25
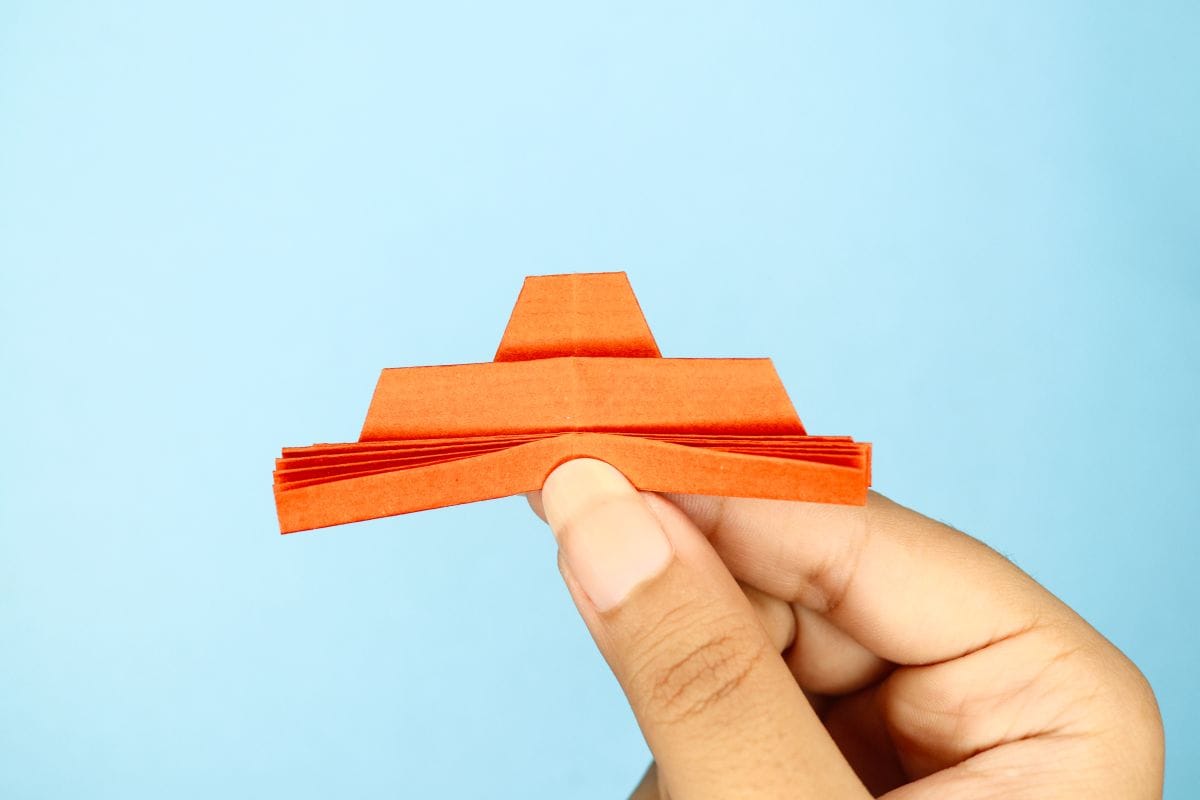
25
Flip the model over.
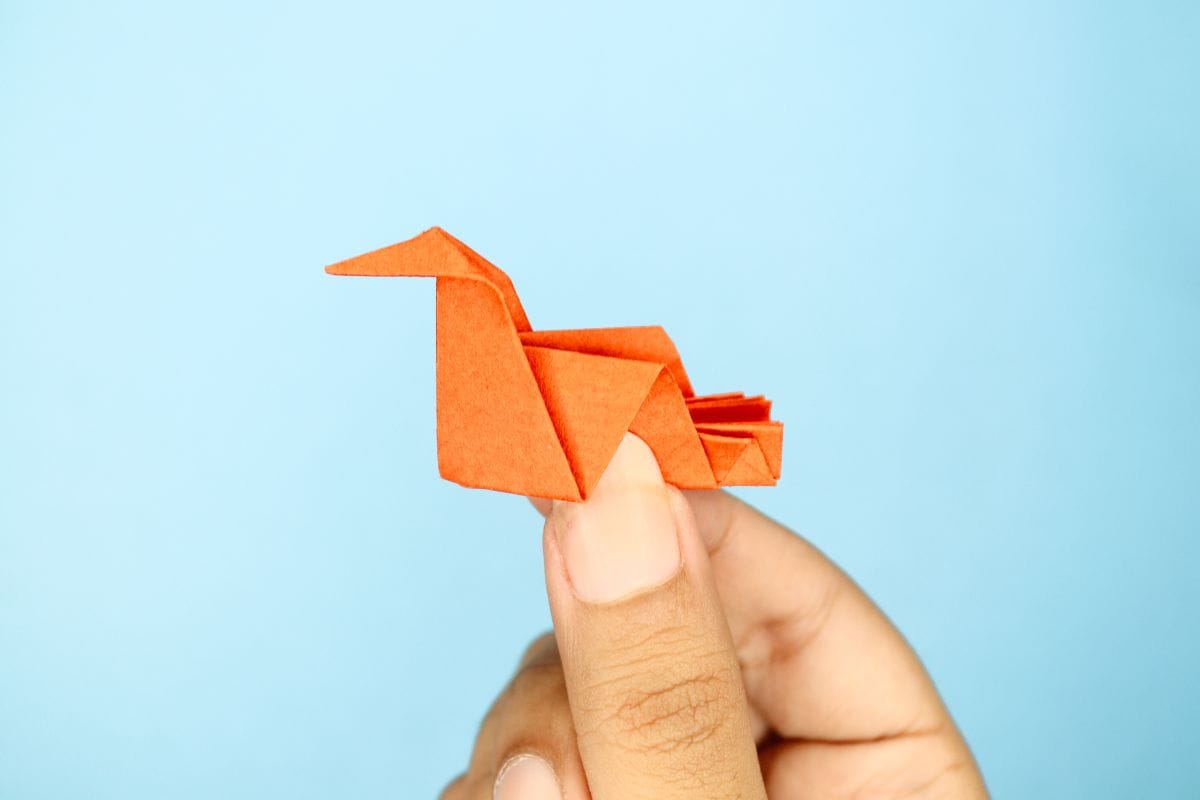
Step 26
26
Fold the paper in half by moving the left edge to the right.
Step 27
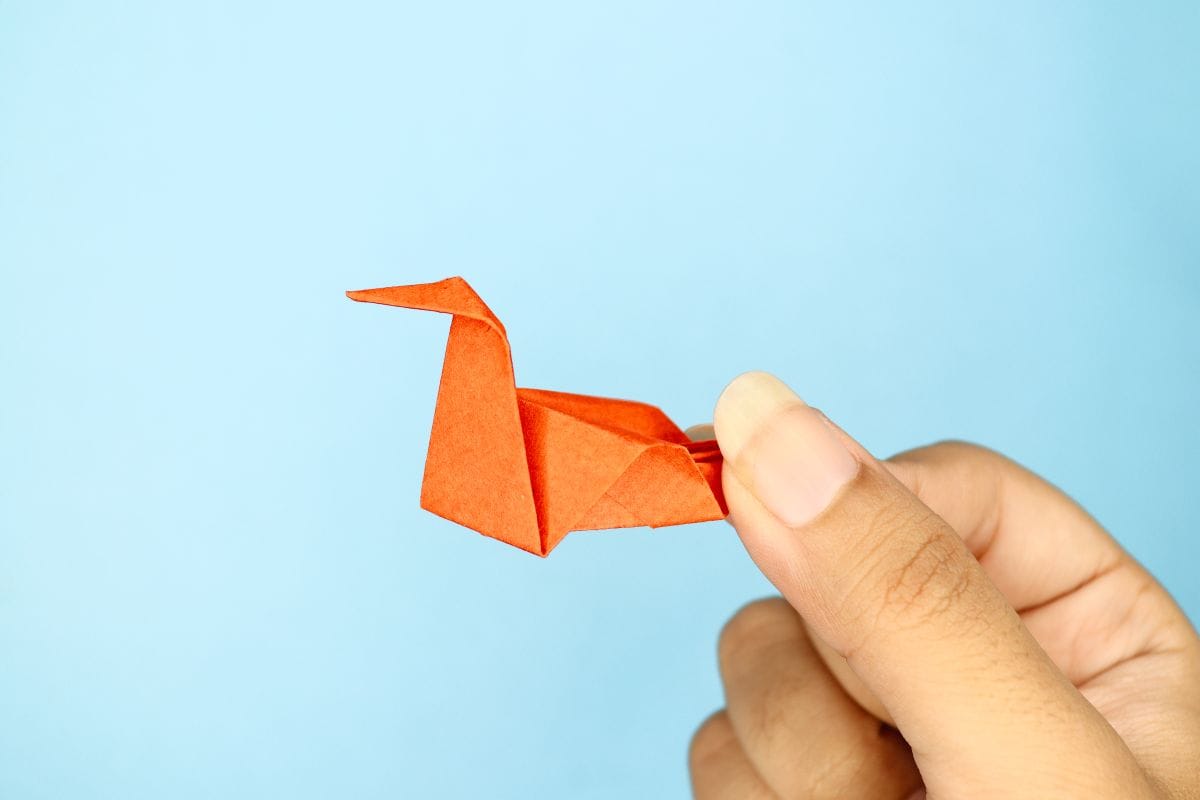
27
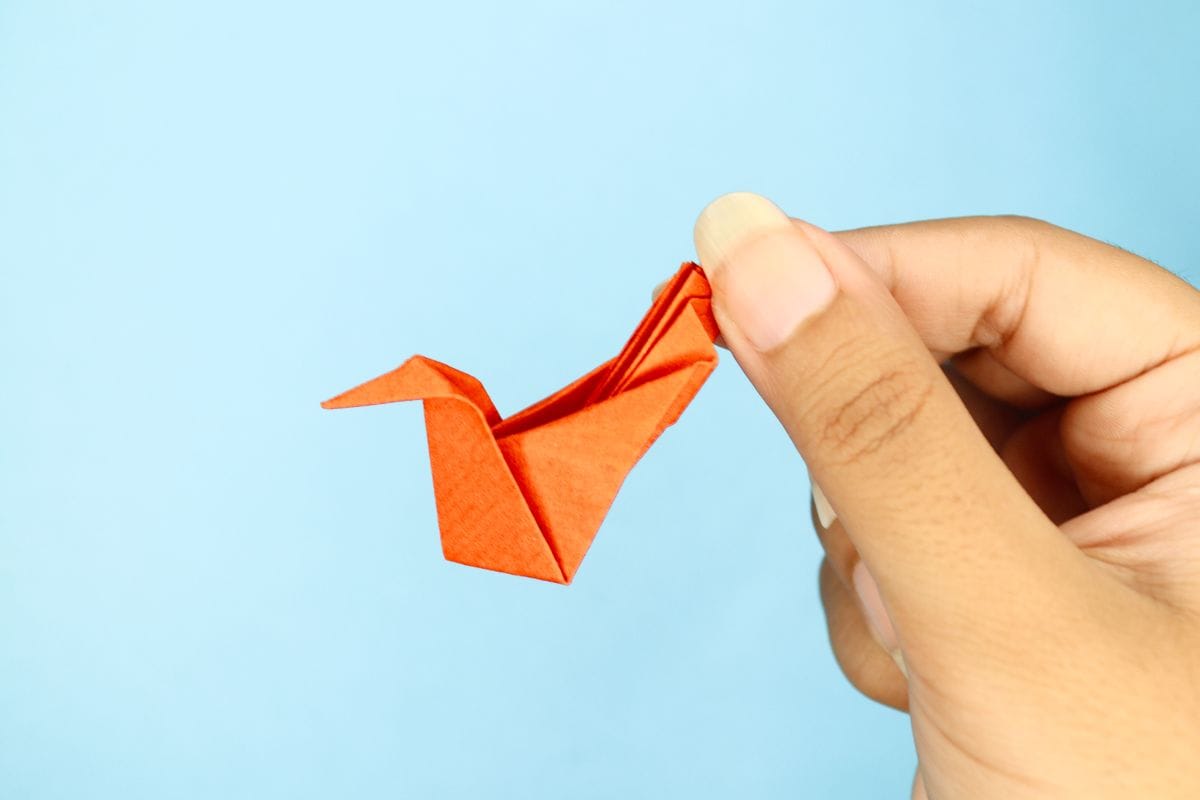
Begin lifting the tail of the peacock.
Step 28
28
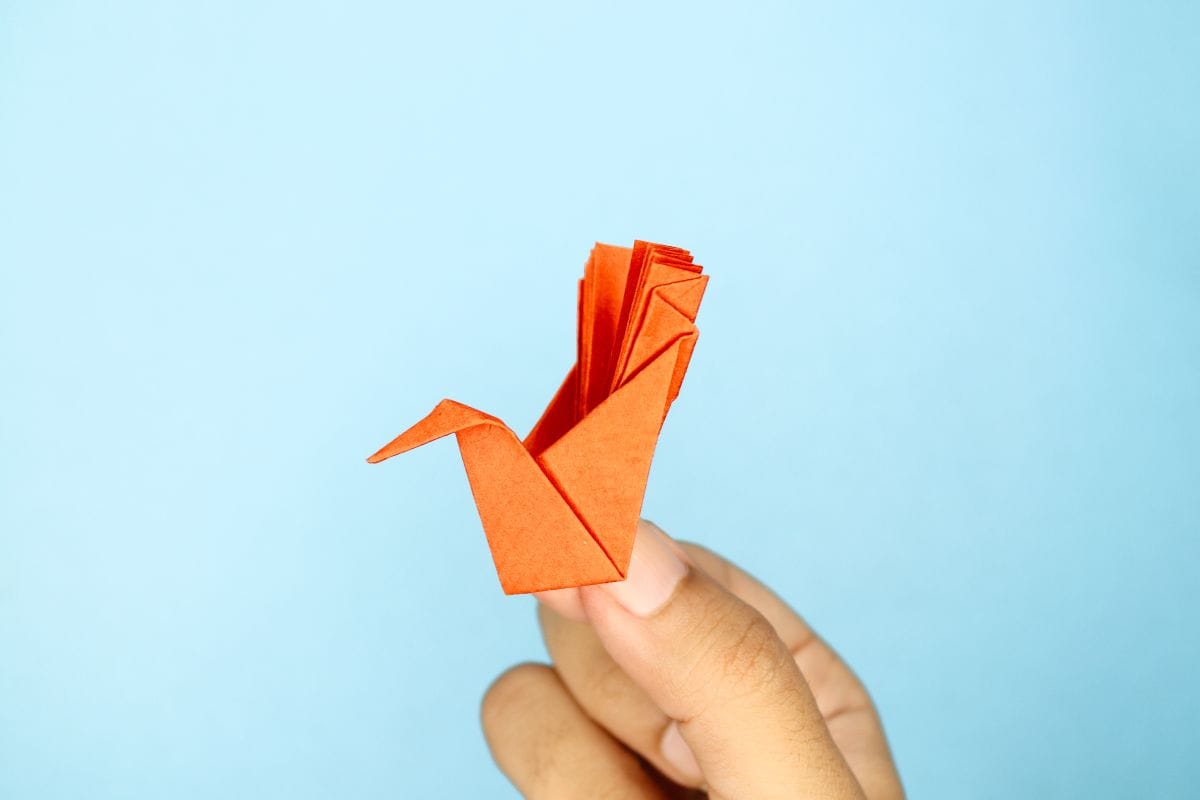
Raise it all the way to the top.
Step 29
29
After raising the tail all the way to the top, it should look like this.
Step 30
30
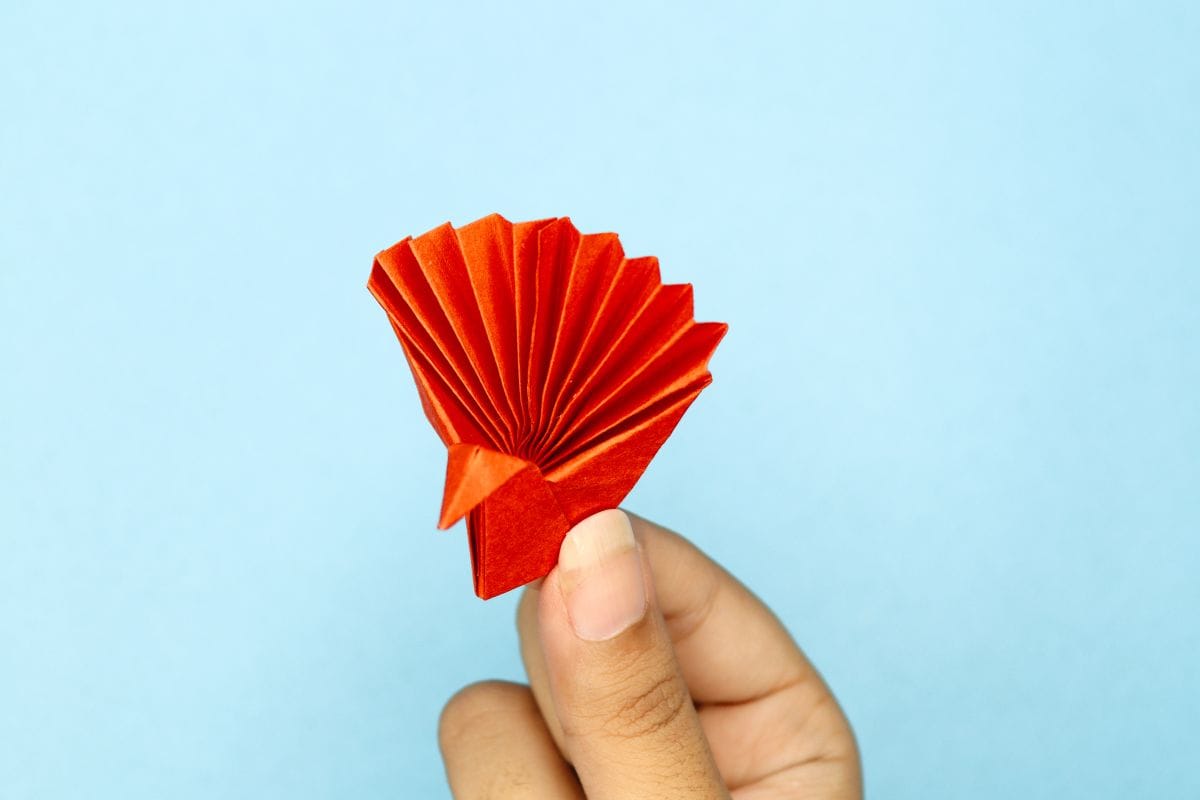
Fan out the accordion fold.
Step 31
31
Your origami peacock is ready.
Share and Comment
We would love to see your creations! Scroll down to the comments section and share a photo of your origami.
Comments
One response to “How to Make an Origami Peacock”
-

wonderful tutorial


Leave a Reply