
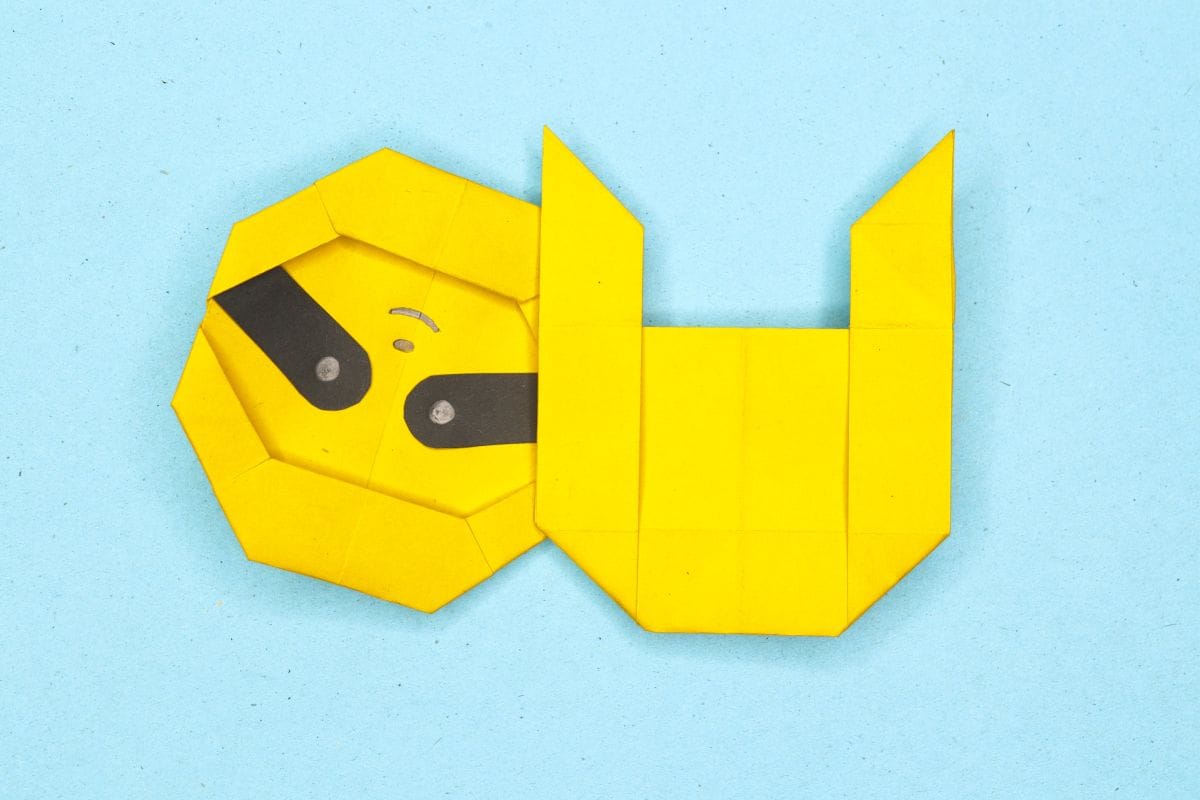
Ready to take your origami skills to the next level? This adorable origami sloth may look relaxed, but folding it is a fun little challenge! With a few tricky steps and some patience (which sloths are great at teaching us), you’ll end up with a charming paper buddy ready to hang out on your desk.
How to Make an Origami Sloth
Category: Origami Animals
Difficulty:
Intermediate
Learn to fold a detailed origami sloth with our clear step-by-step instructions. Master this intricate paper design with expert guidance.
Step 1

1
Start with a square sheet of origami paper. I am using an 7×7 inches origami sheet.
If you only have regular paper, follow these instructions on how to make a square origami paper.
If you only have regular paper, follow these instructions on how to make a square origami paper.
Step 2
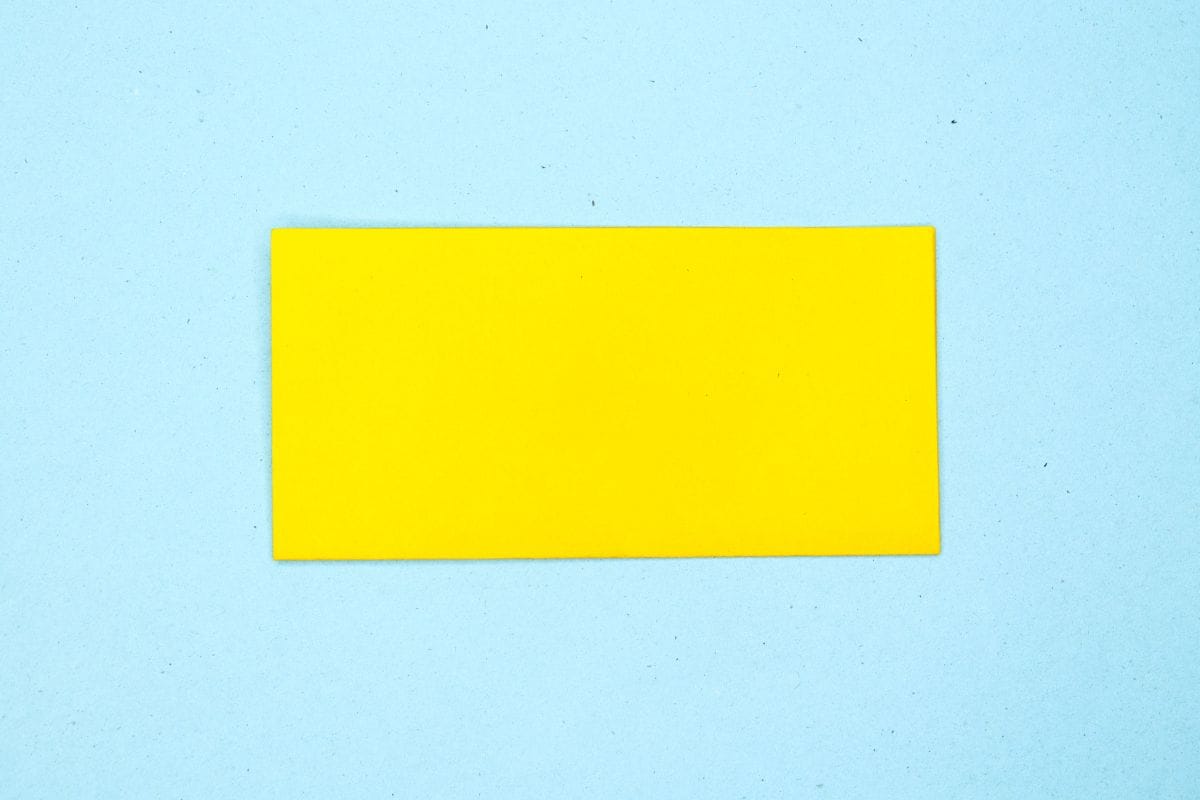
2
Fold the bottom edge to meet the top edge.
Step 3

3
Unfold. We just needed a crease line.
Step 4

4
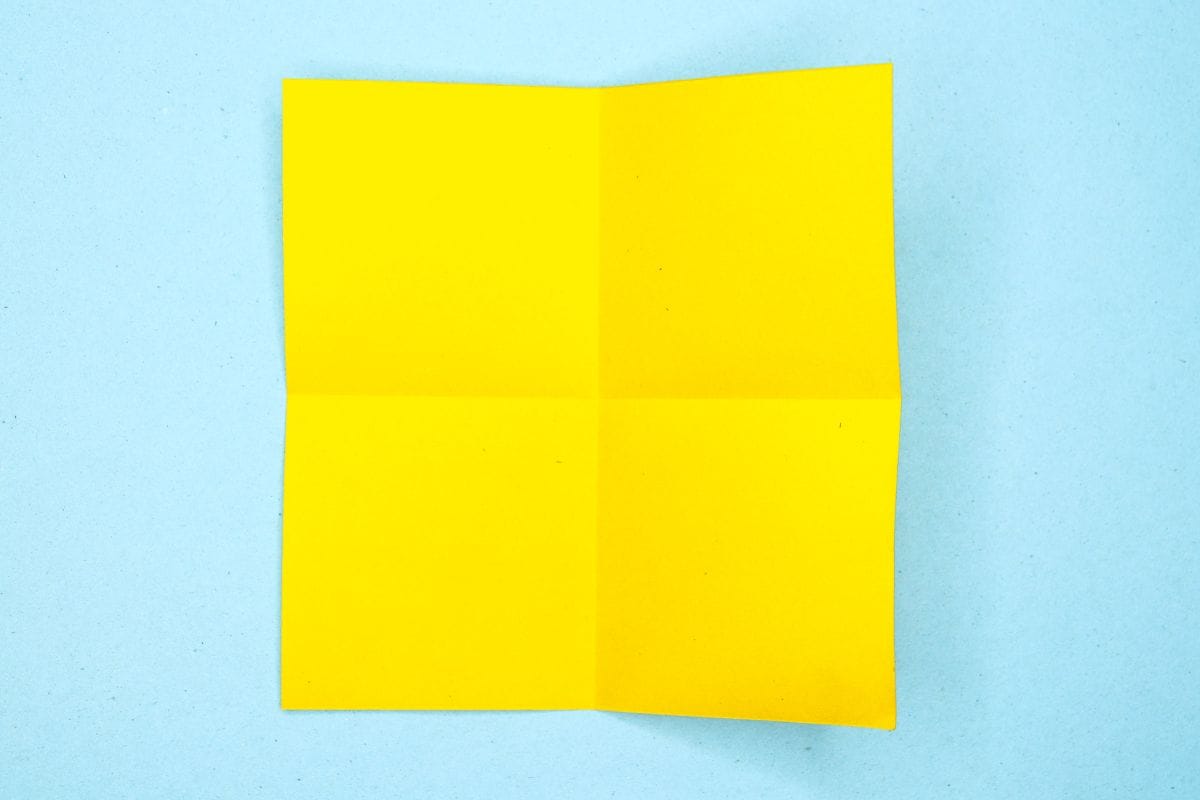
Fold the left edge to meet the right edge.
Step 5
5
Unfold. We just needed a crease line.
Step 6
6
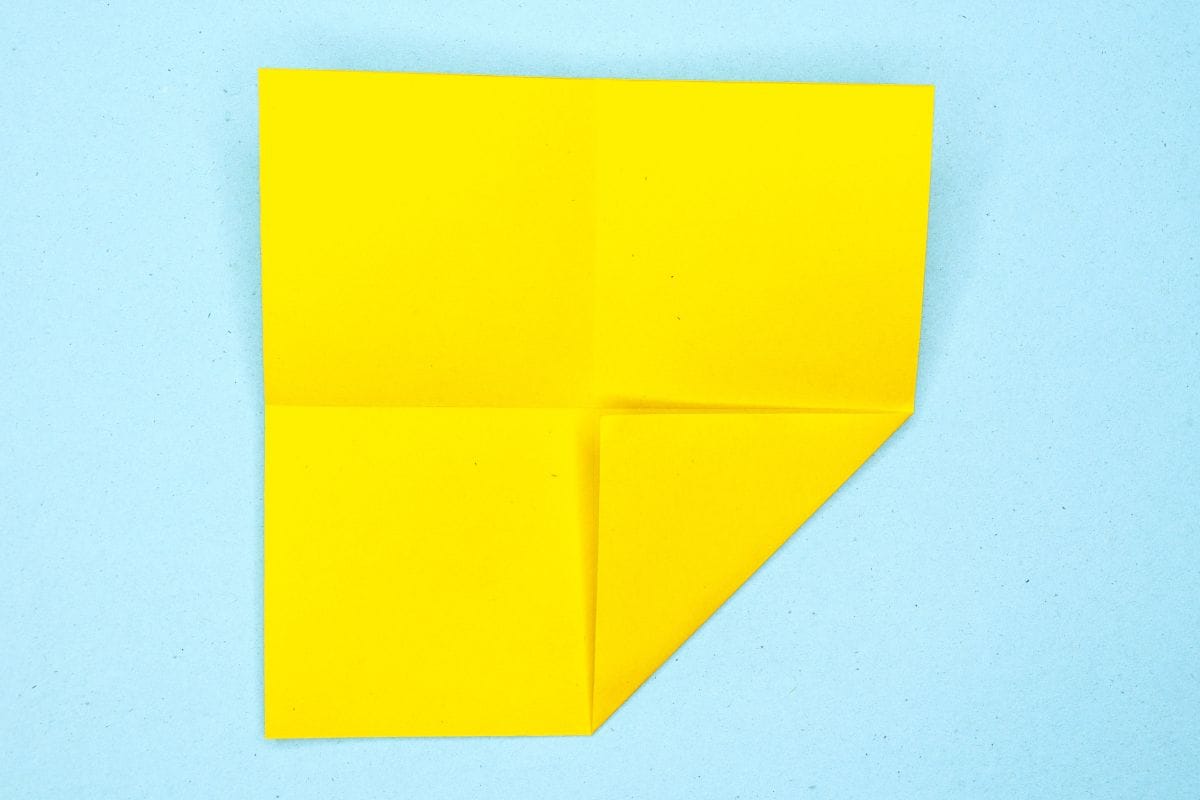
Fold the lower right corner to the center.
Step 7

7
Fold the top right corner to the center.
Step 8

8
Fold the upper left corner to the center.
Step 9

9
Fold the lower left corner to the center crease.
Step 10
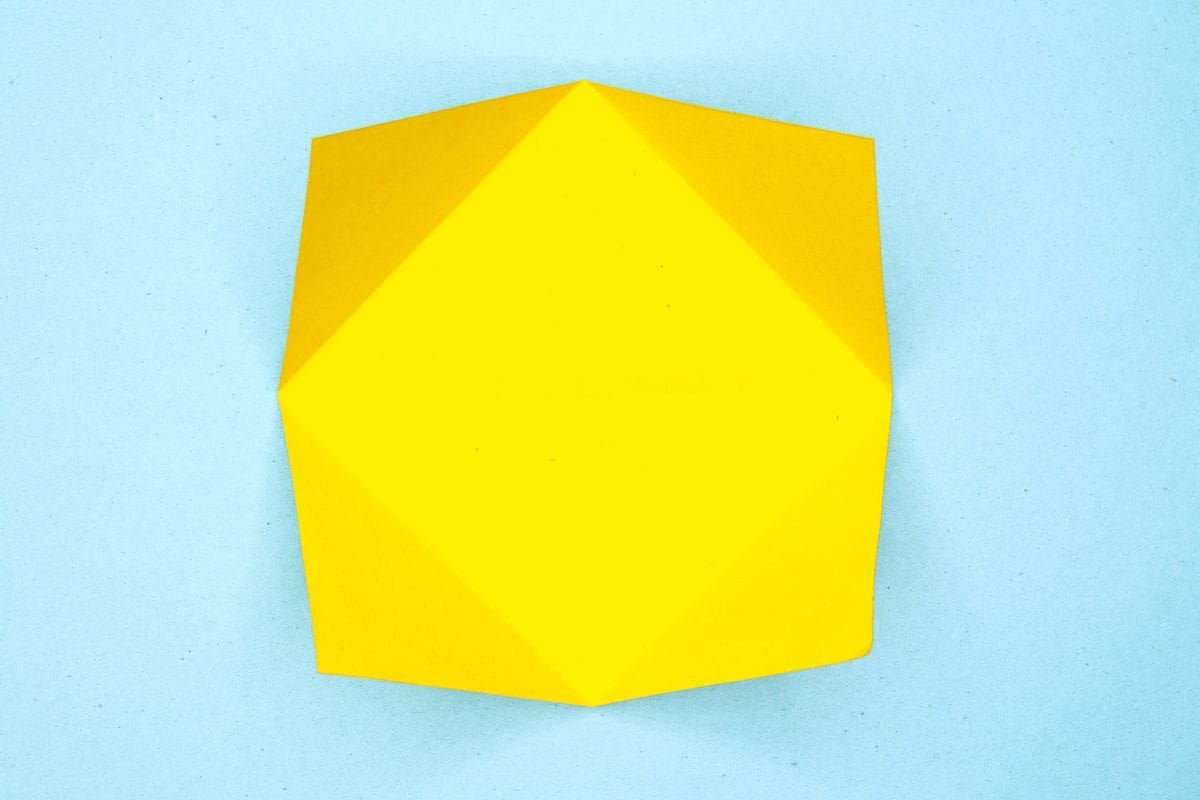
10
Unfold all the four corners.
Step 11
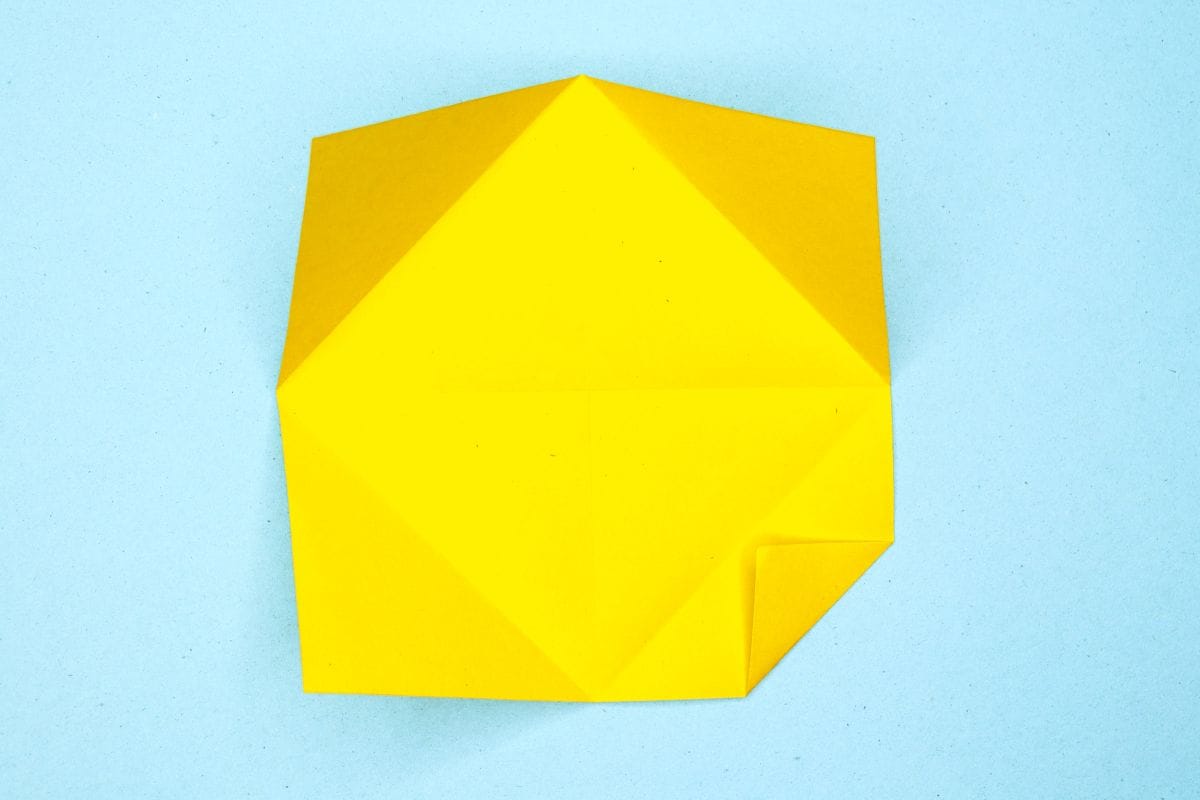
11
Fold the lower right corner to the first crease.
Step 12
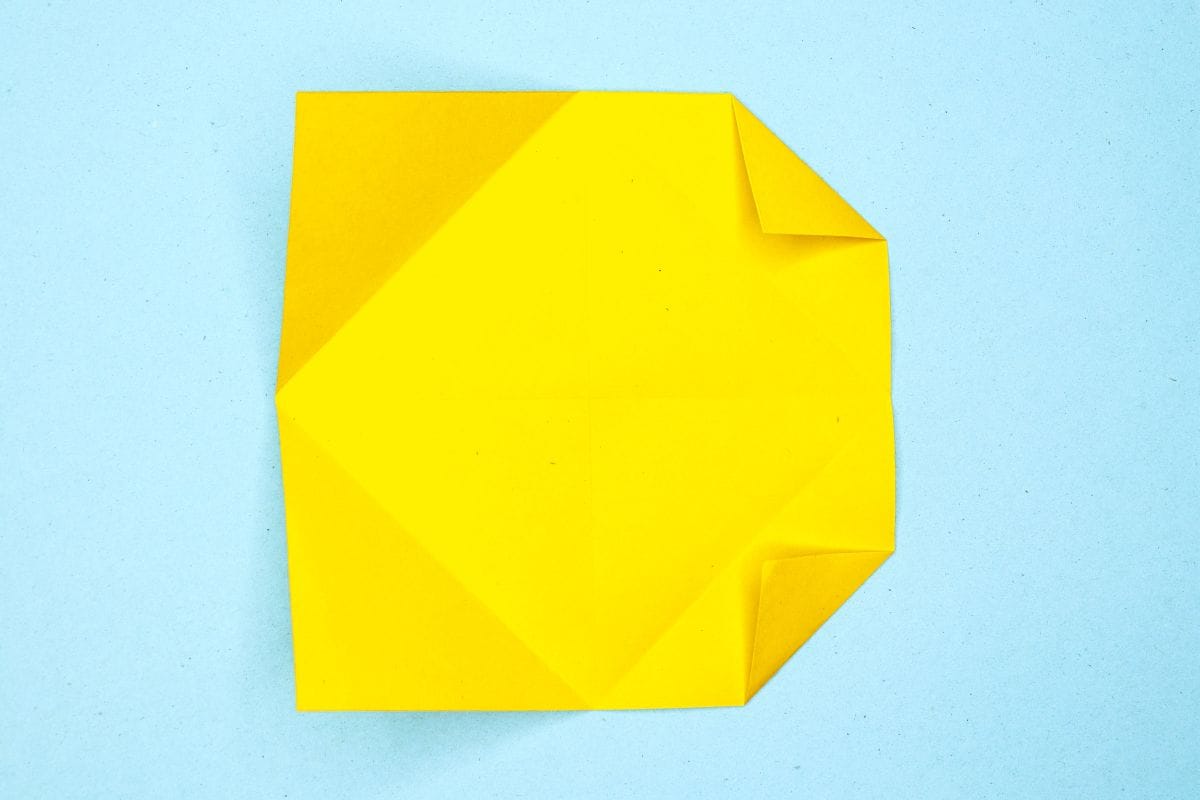
12
Fold the upper right corner to the first crease.
Step 13

13
Fold the upper and lower left corner to the first crease from their respective sides.
Step 14
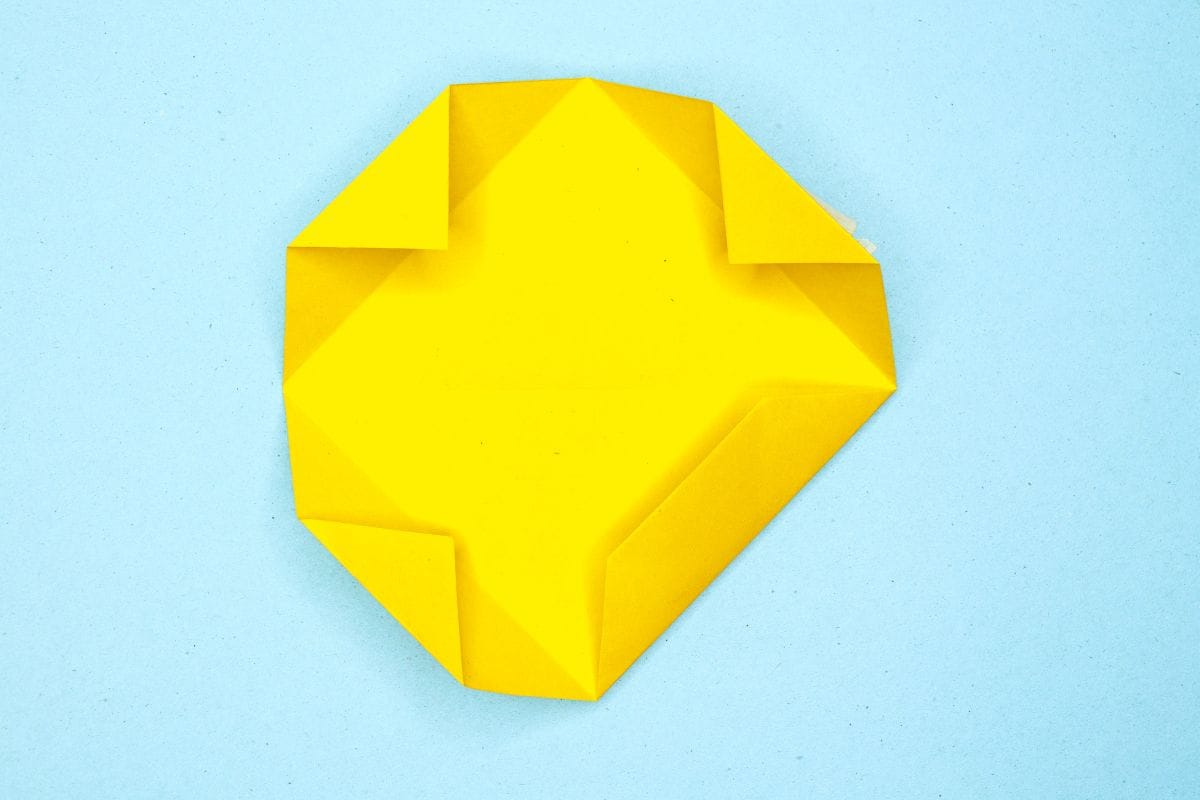
14
Fold the lower right edge inward along the previously created crease.
Step 15

15
Fold the remaining three edges inward too along the previously created crease.
Step 16

16
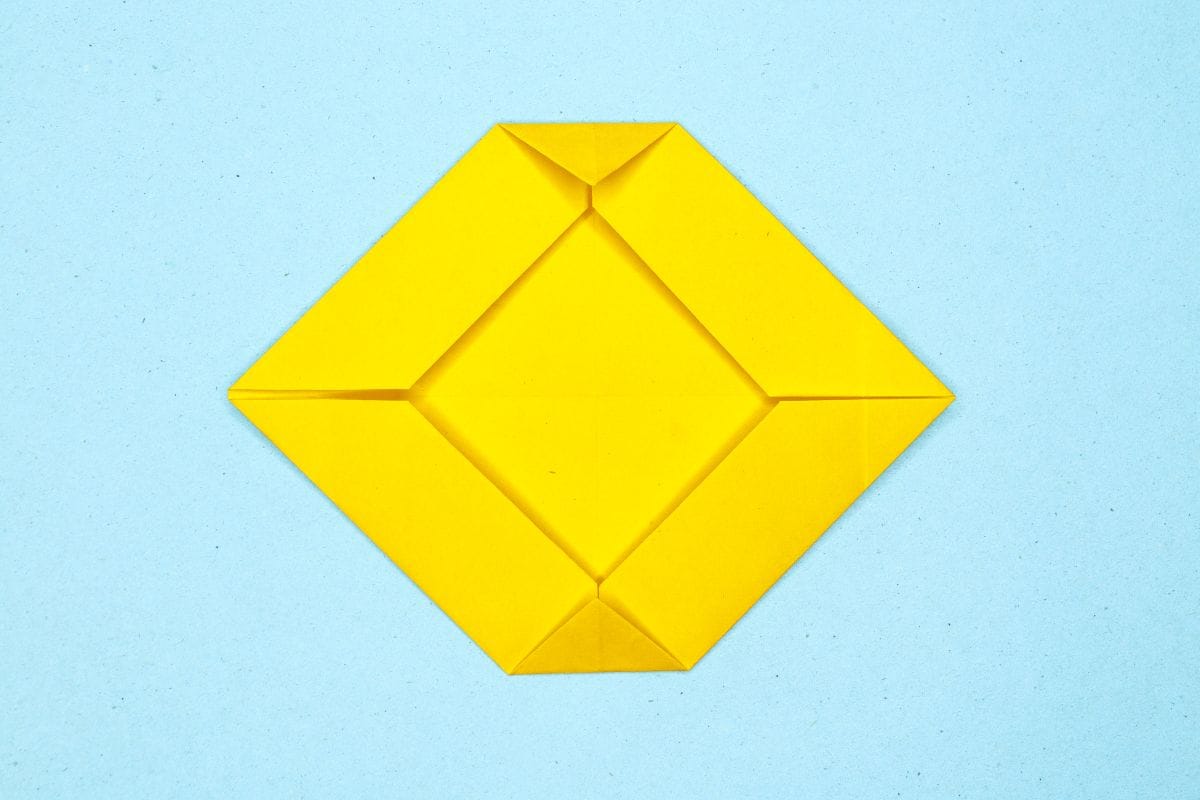
Fold the corner upward into a small triangle.
Step 17
17
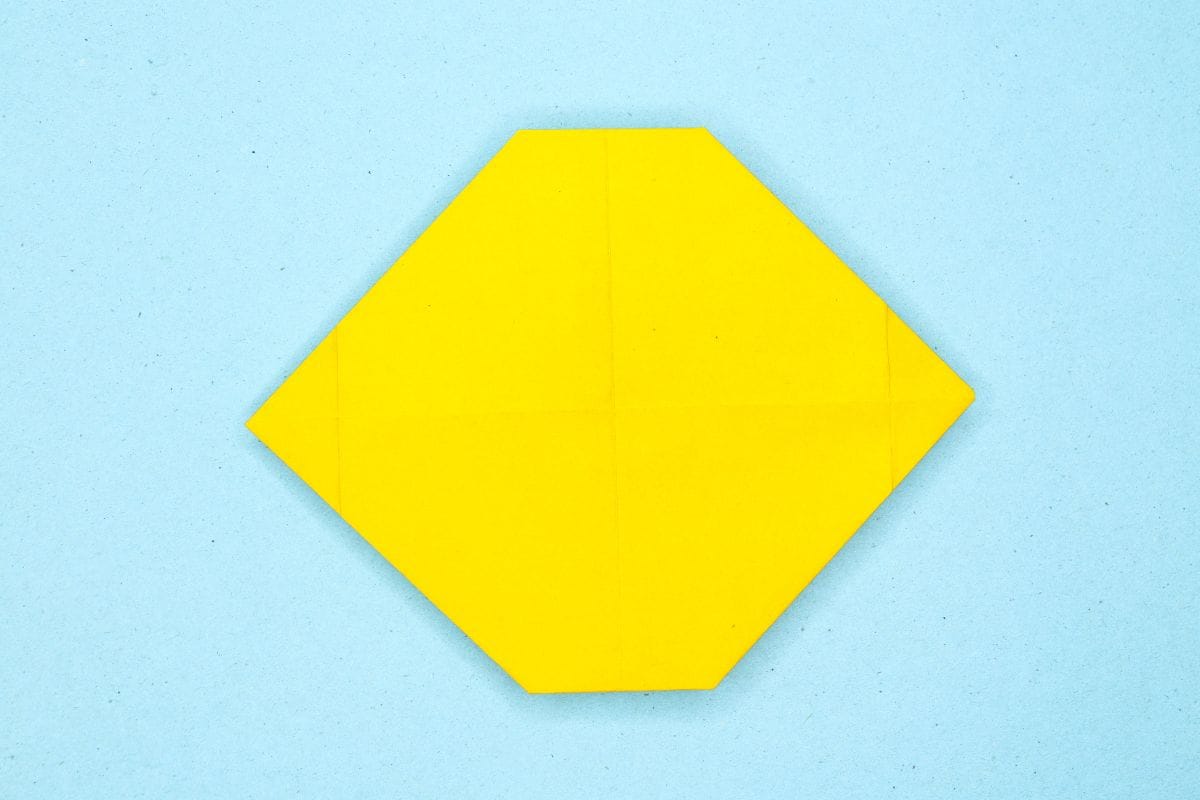
Fold the top corner downward into a small triangle.
Step 18
18
Turn the model over.
Step 19
19
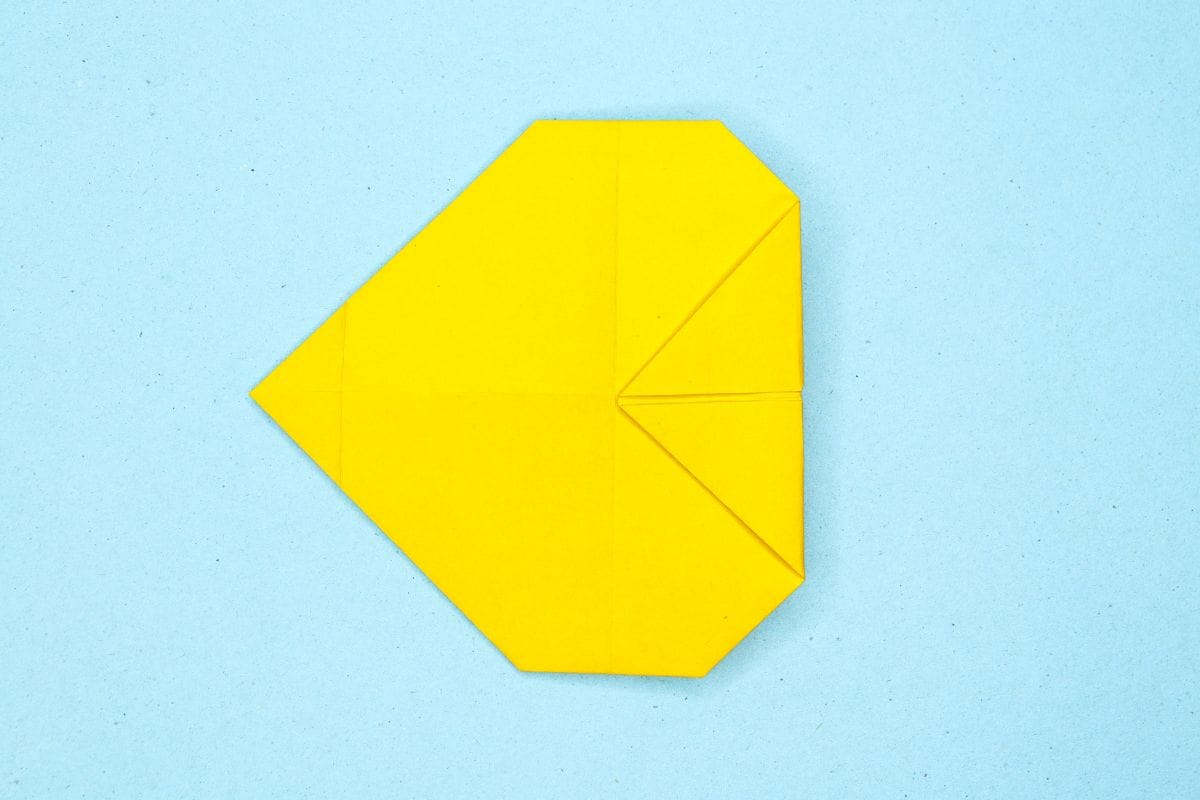
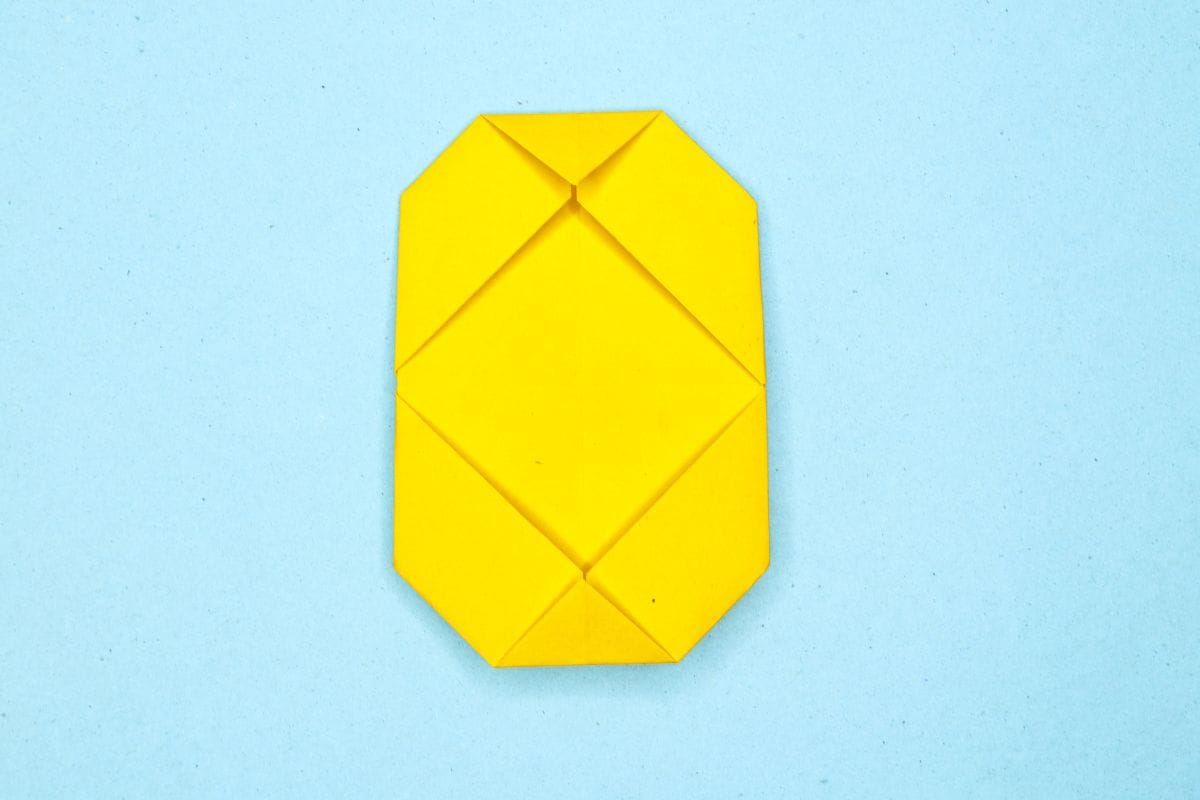
Fold the right corner to meet the center crease.
Step 20
20
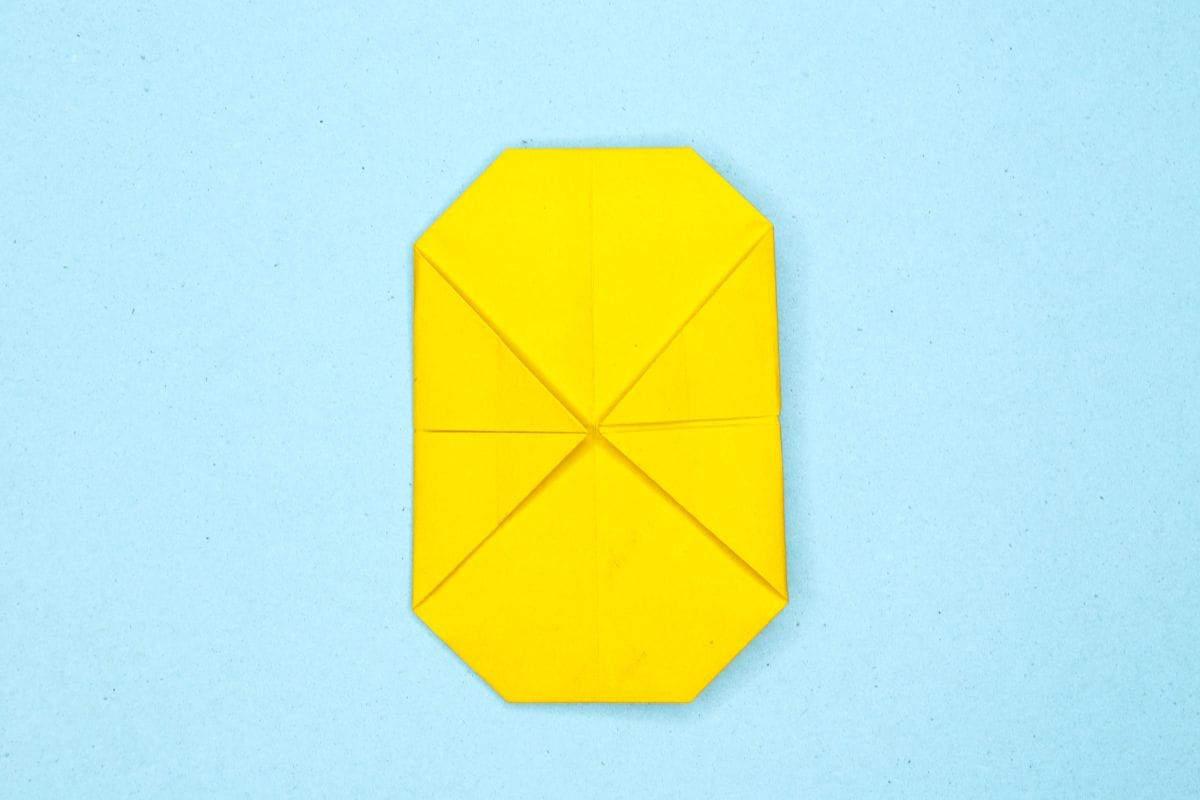
Fold the left corner to meet the center crease.
Step 21
21
Turn the model over.
Step 22
22
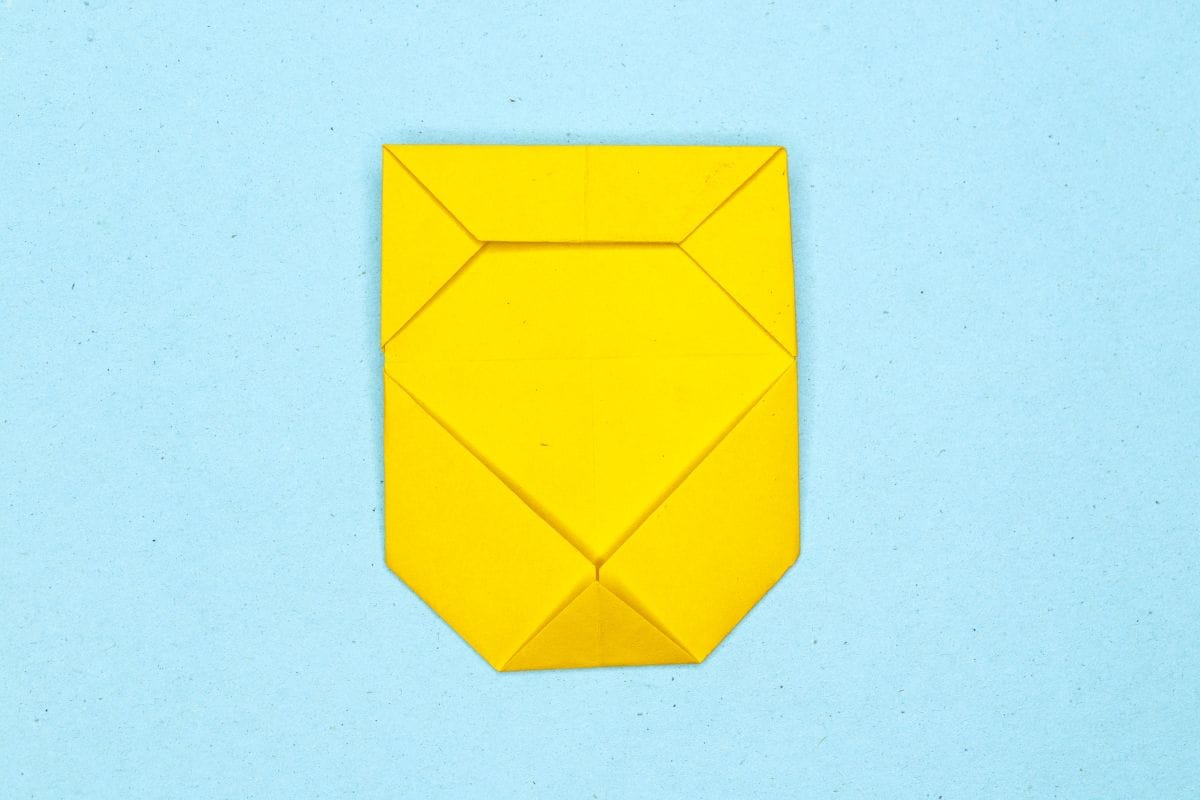
Fold down the top edge.
Step 23
23
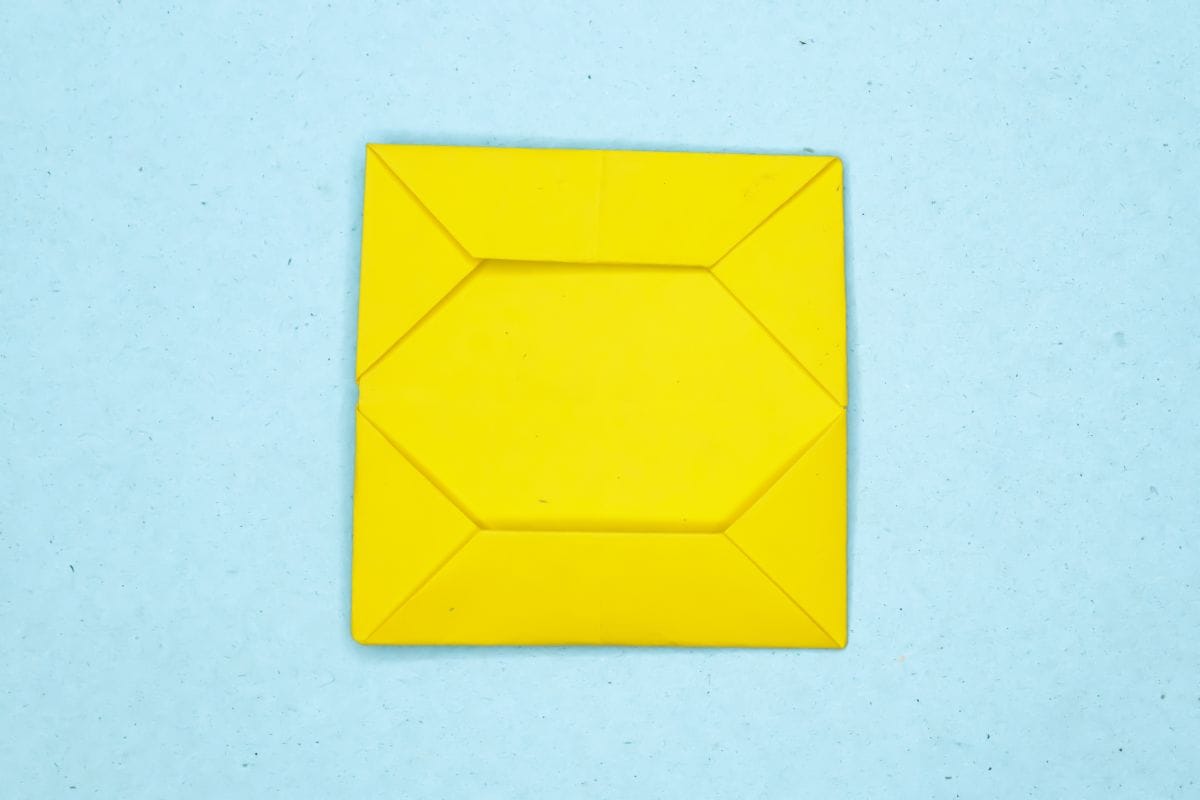
Fold the bottom edge upward.
Step 24
24
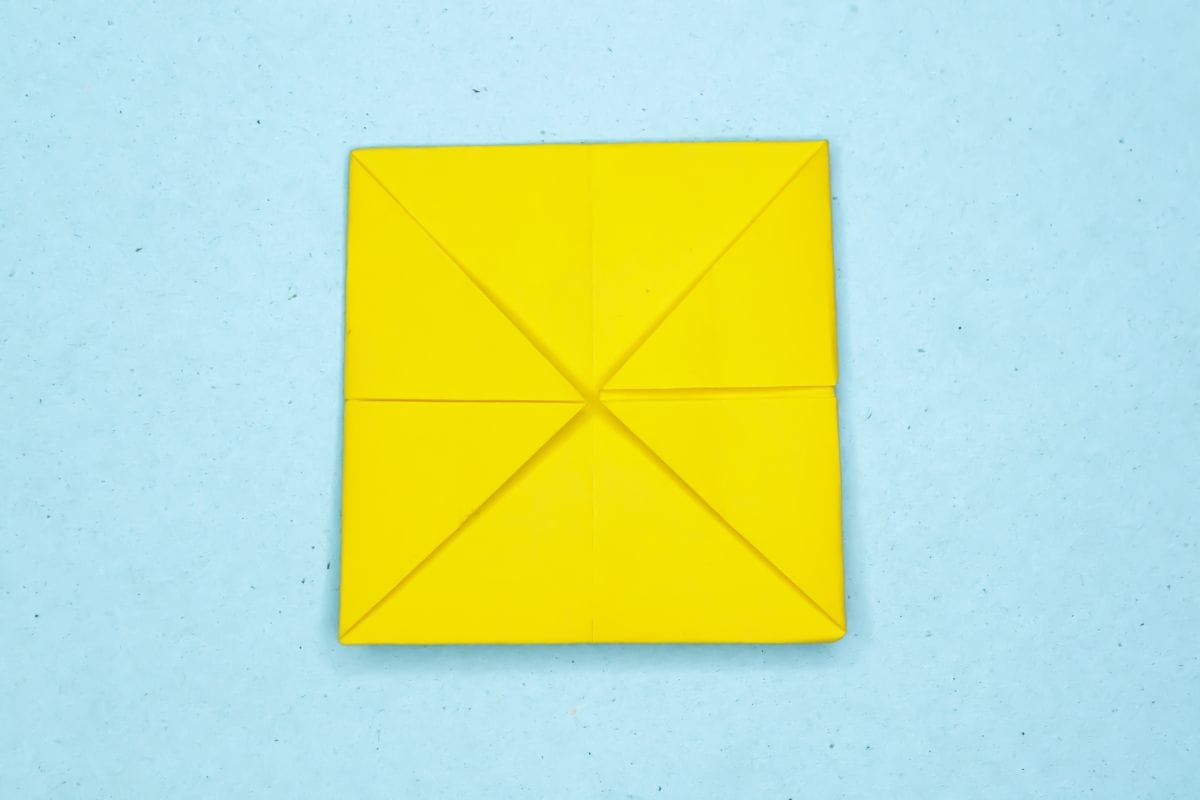
Turn the model over.
Step 25
25
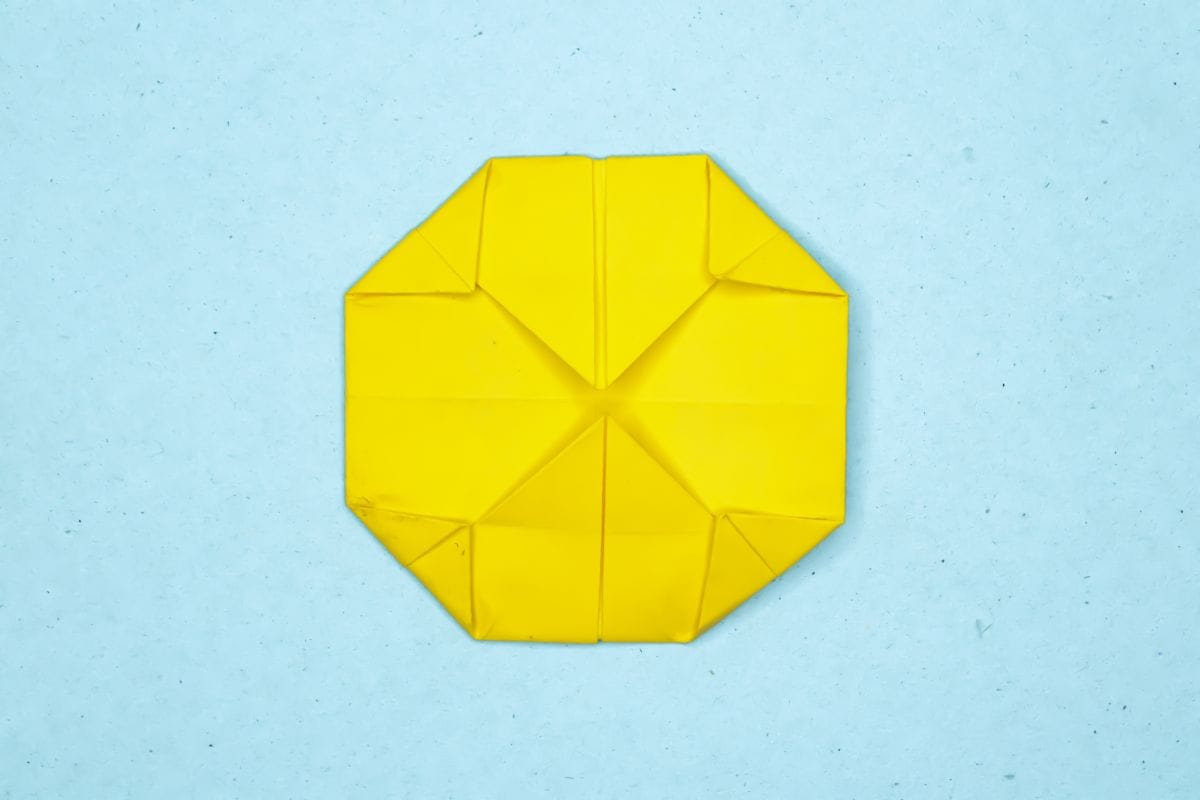
Fold all four corners inward to form small triangles.
Step 26
26
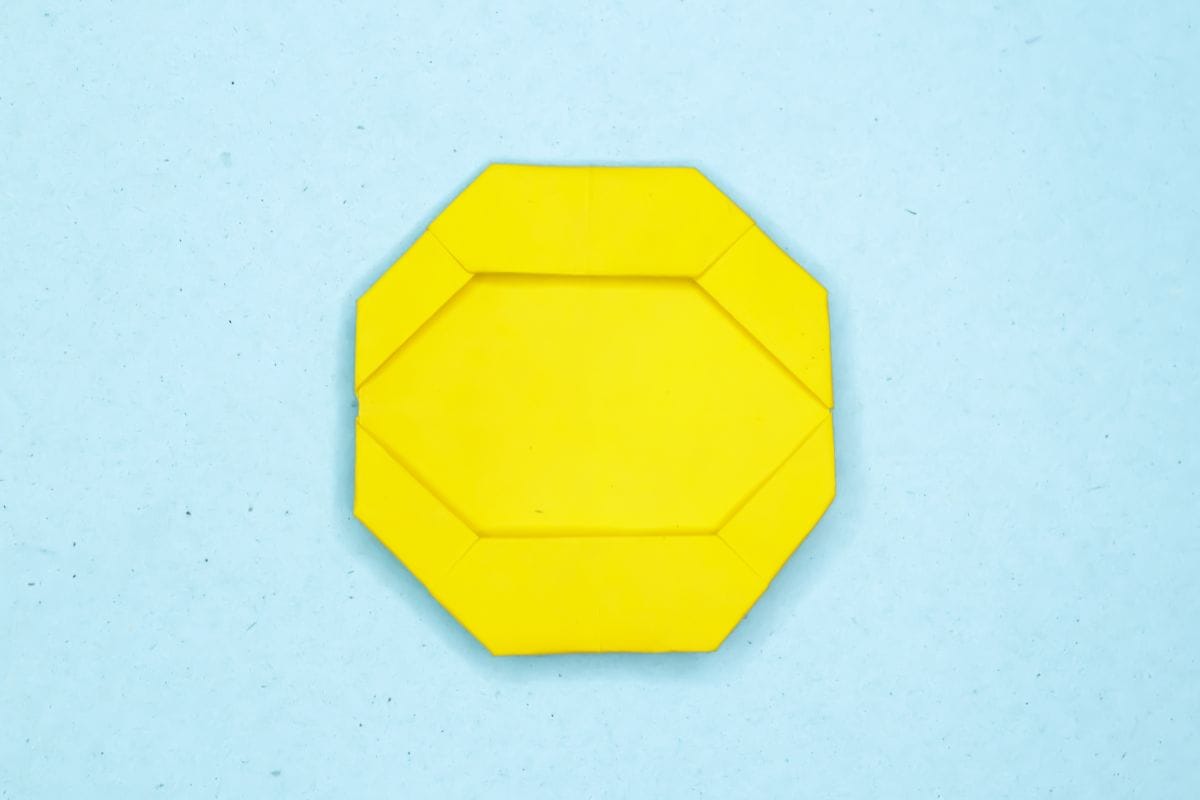
Turn the model over.
Step 27
27
Start with a square sheet of origami paper. I am using an 7×7 inches origami sheet.
Step 28
28
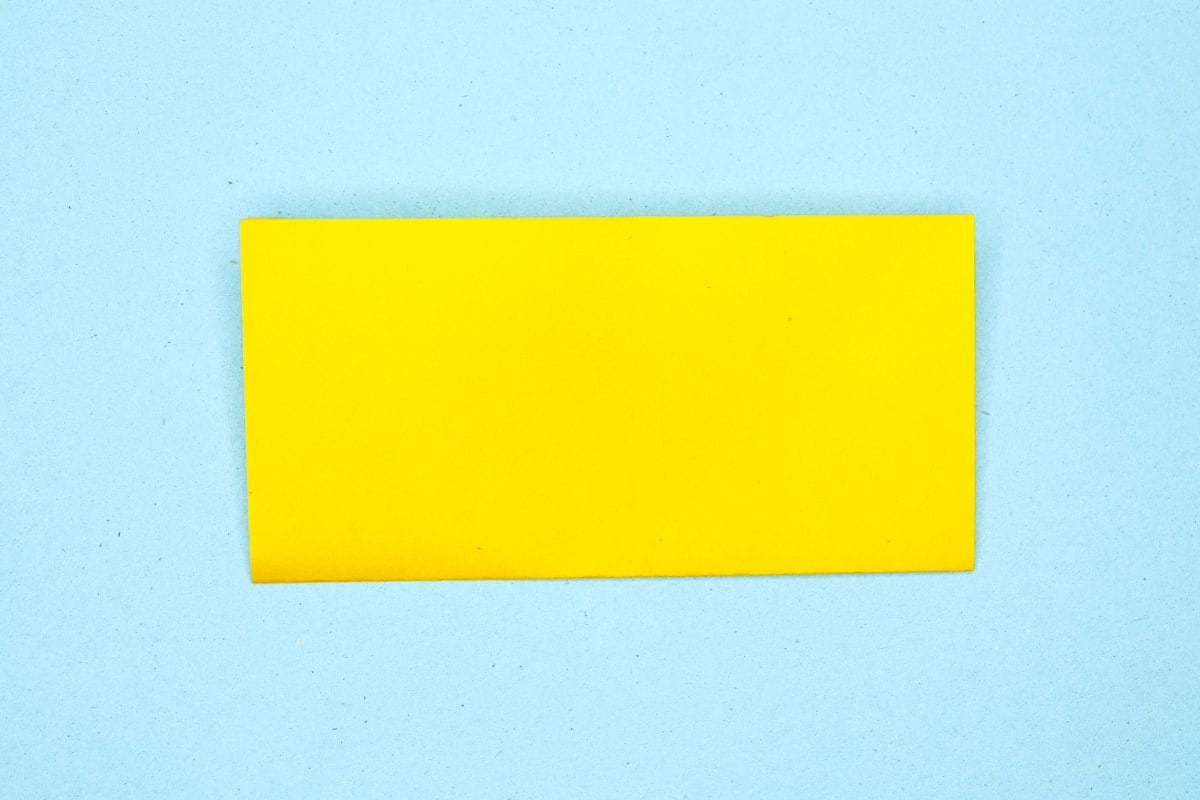
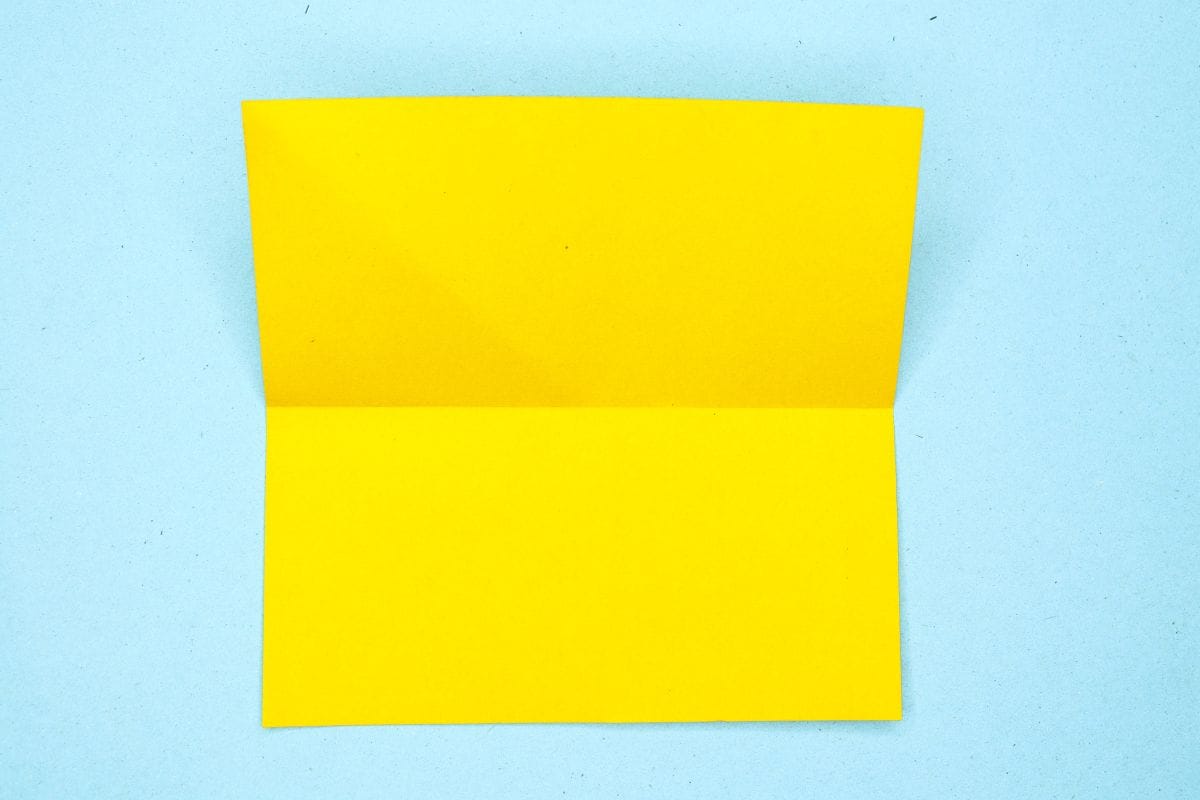
Fold the top edge downward to meet the bottom edge.
Step 29
29
Unfold. We just needed a crease line.
Step 30
30
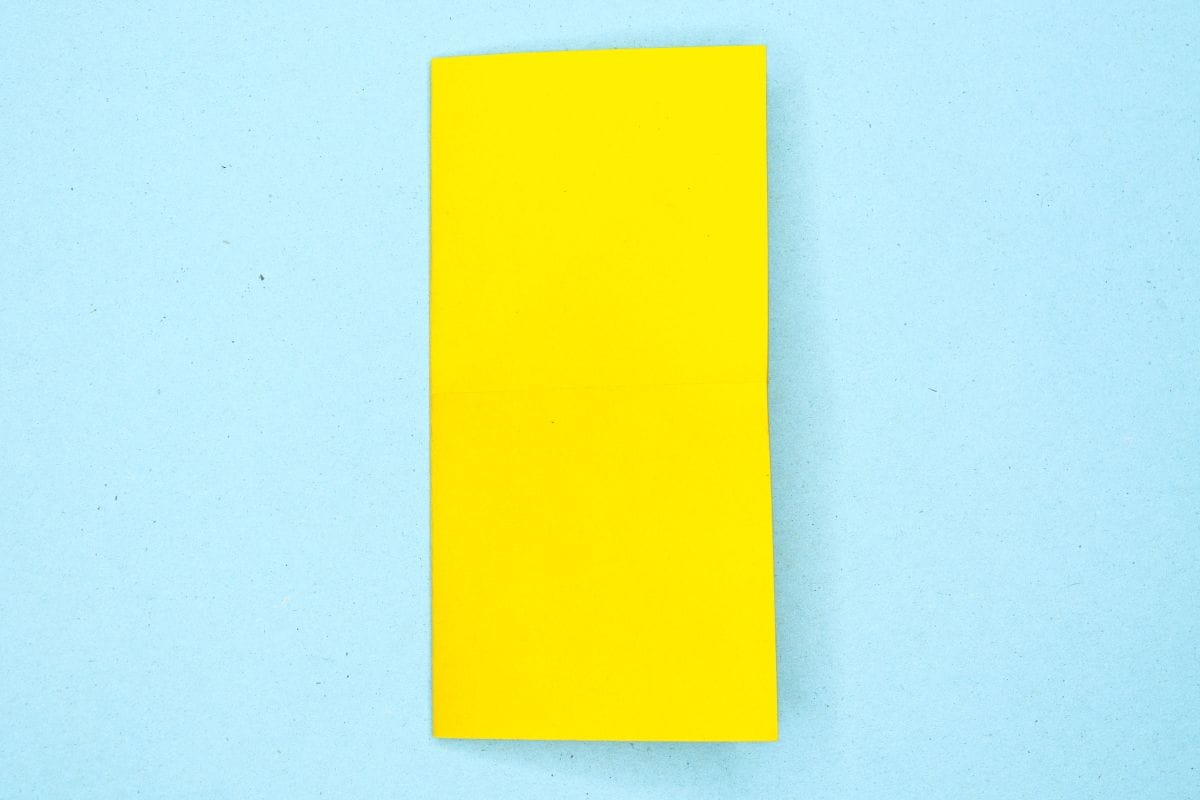
Fold the left edge to meet the right edge.
Step 31

31
Unfold. We just needed a crease line.
Step 32
32
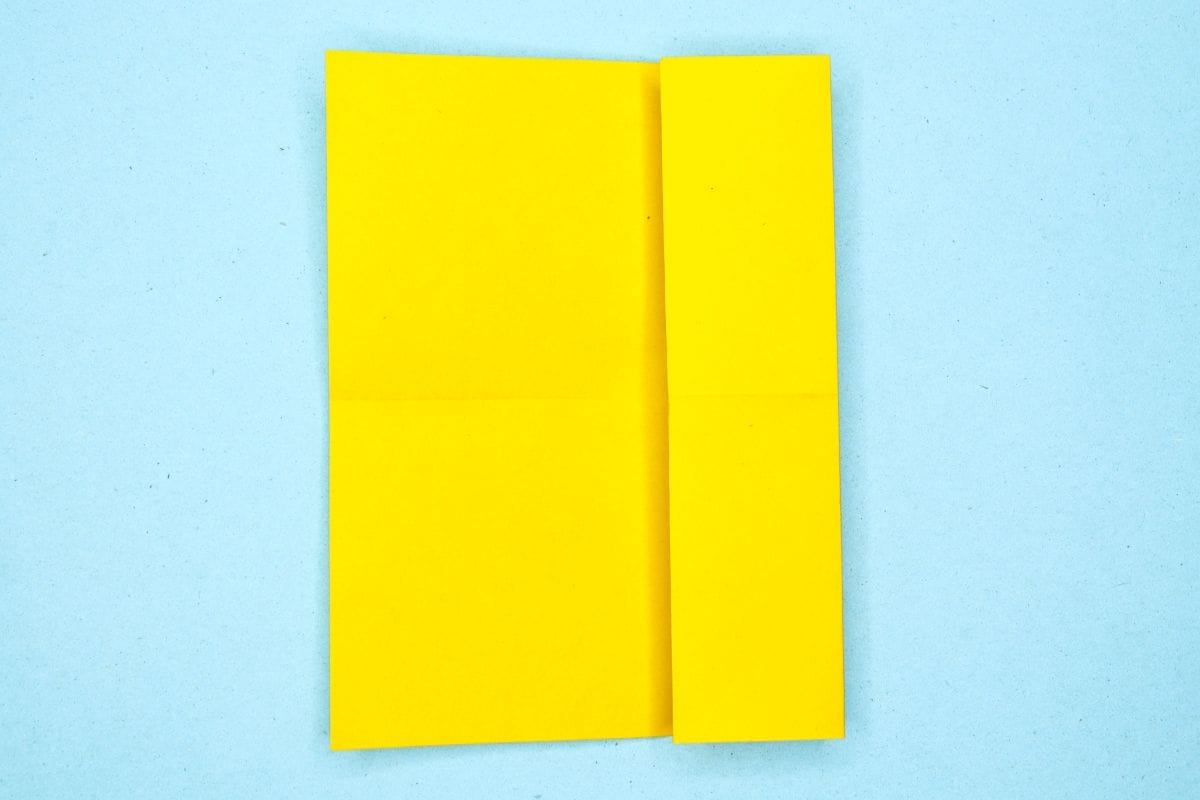
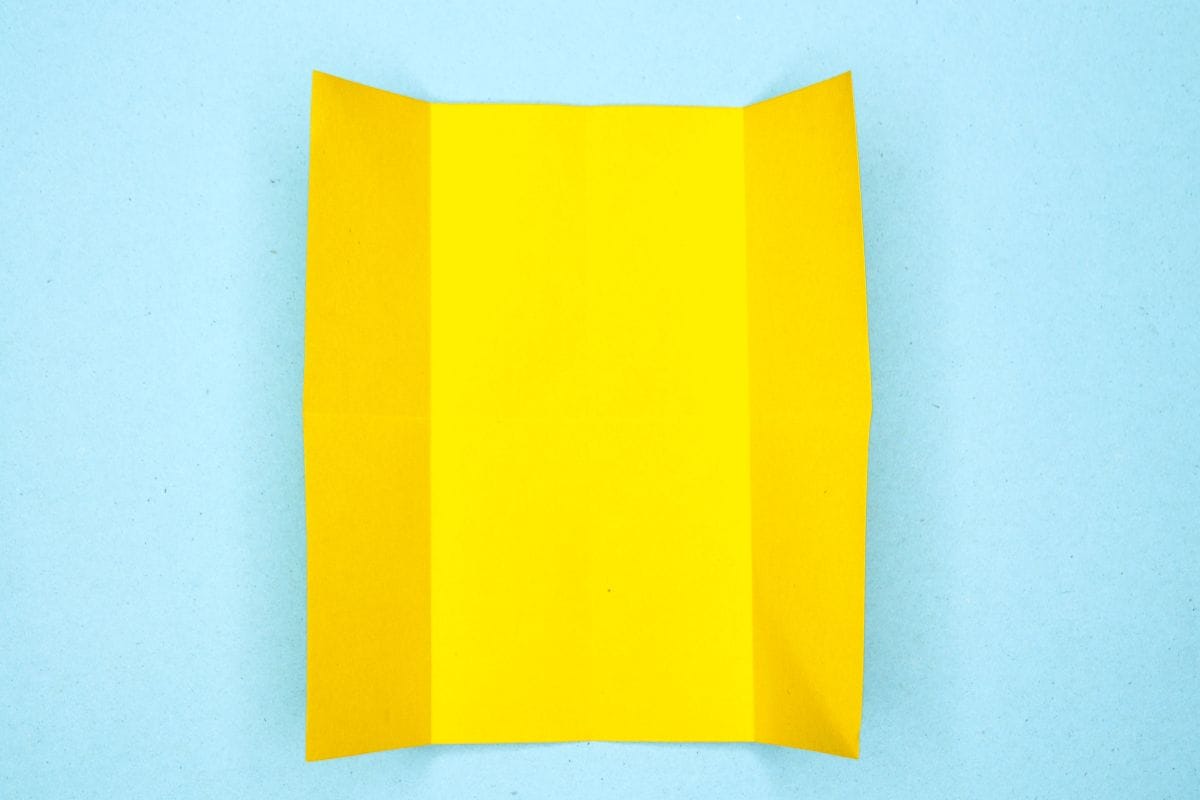
Fold the right edge to the center crease.
Step 33
33
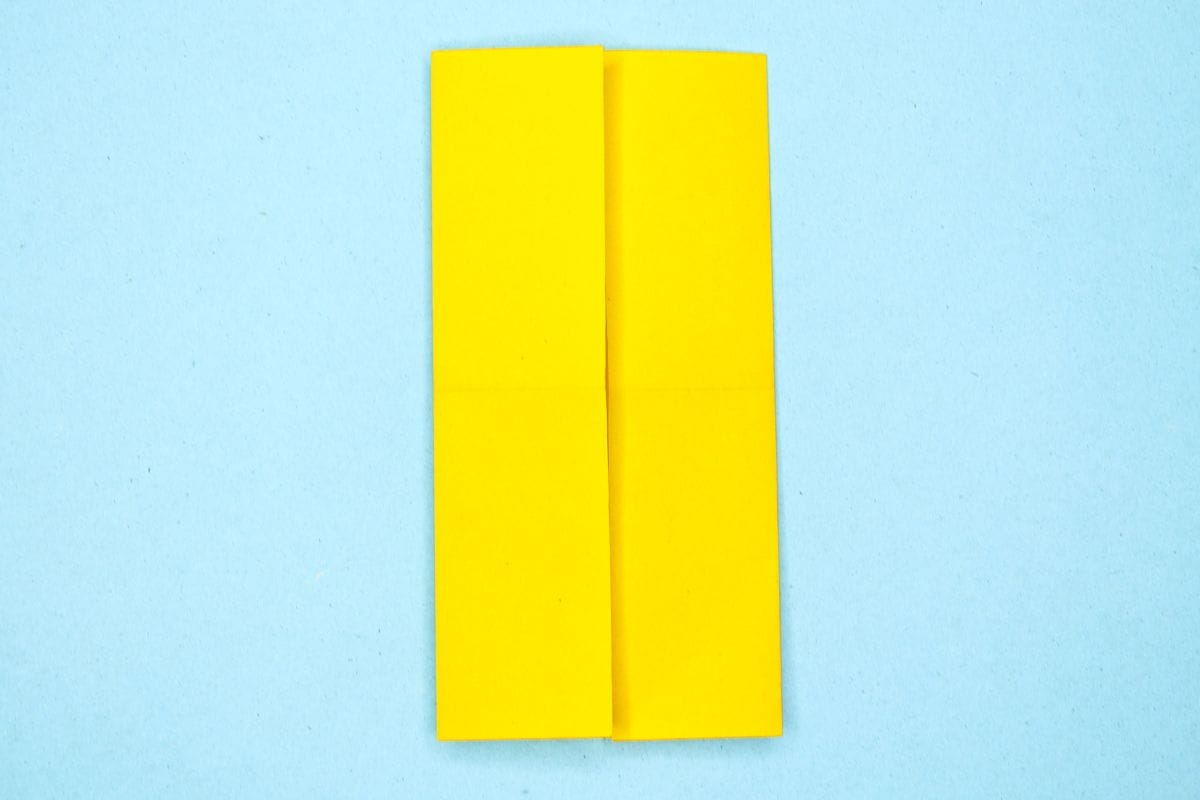
Fold the left edge to the center crease.
Step 34
34
Unfold. We just needed crease lines
Step 35
35
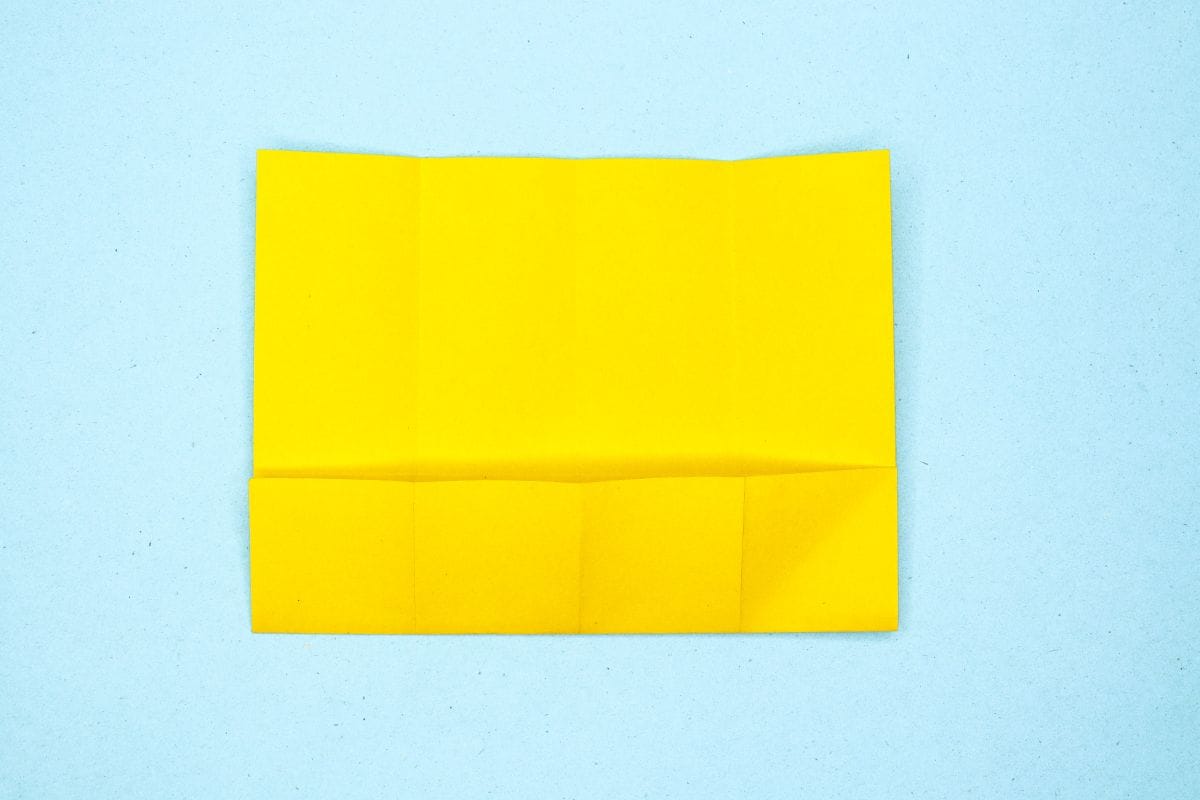
Fold the bottom edge upward to meet the center crease.
Step 36
36
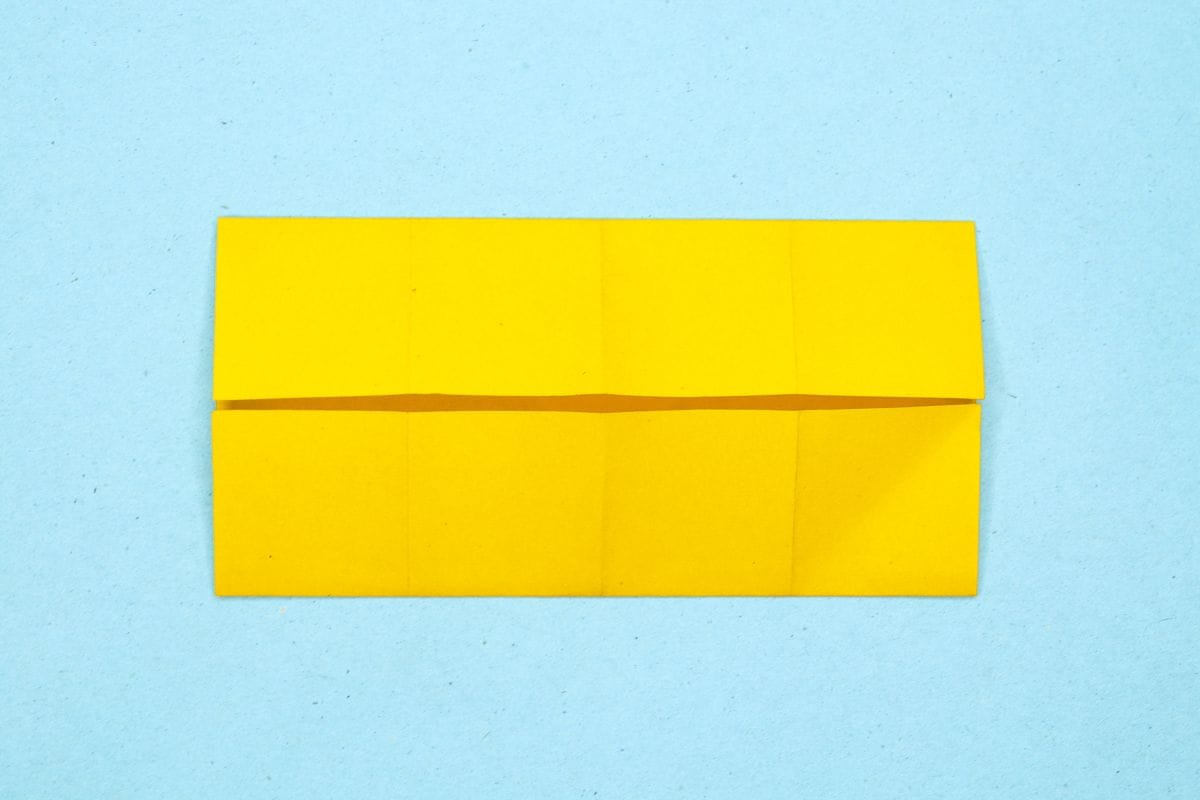
Fold the top edge downward to meet the center crease.
Step 37
37
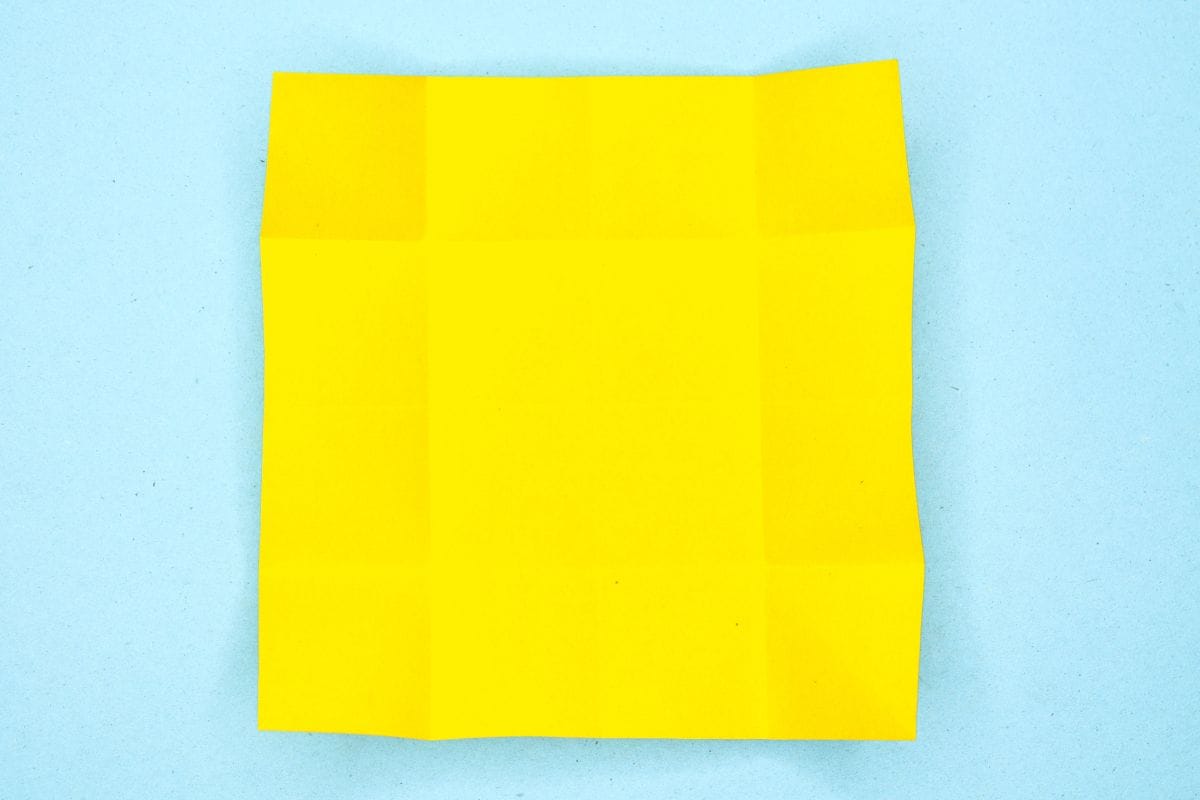
Unfold the top and bottom edges.
Step 38
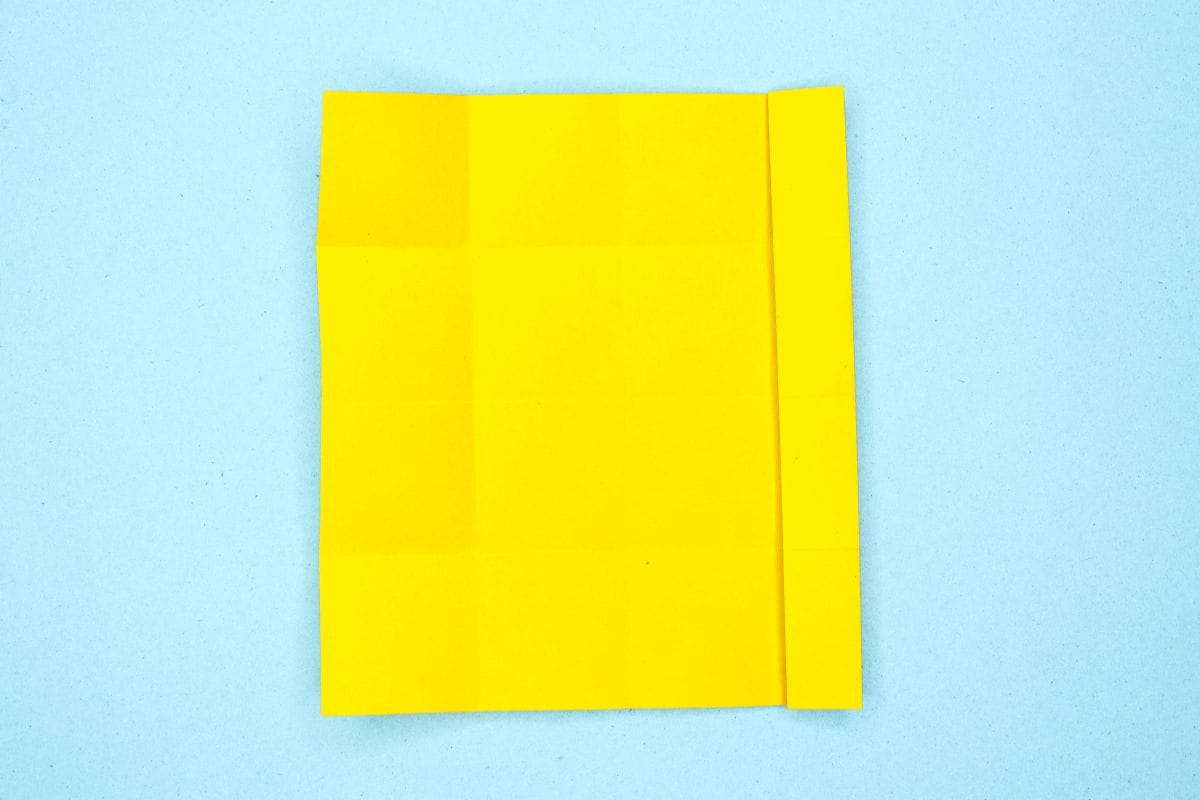
38
Fold the right edge inward to meet the first crease line from the right.
Step 39
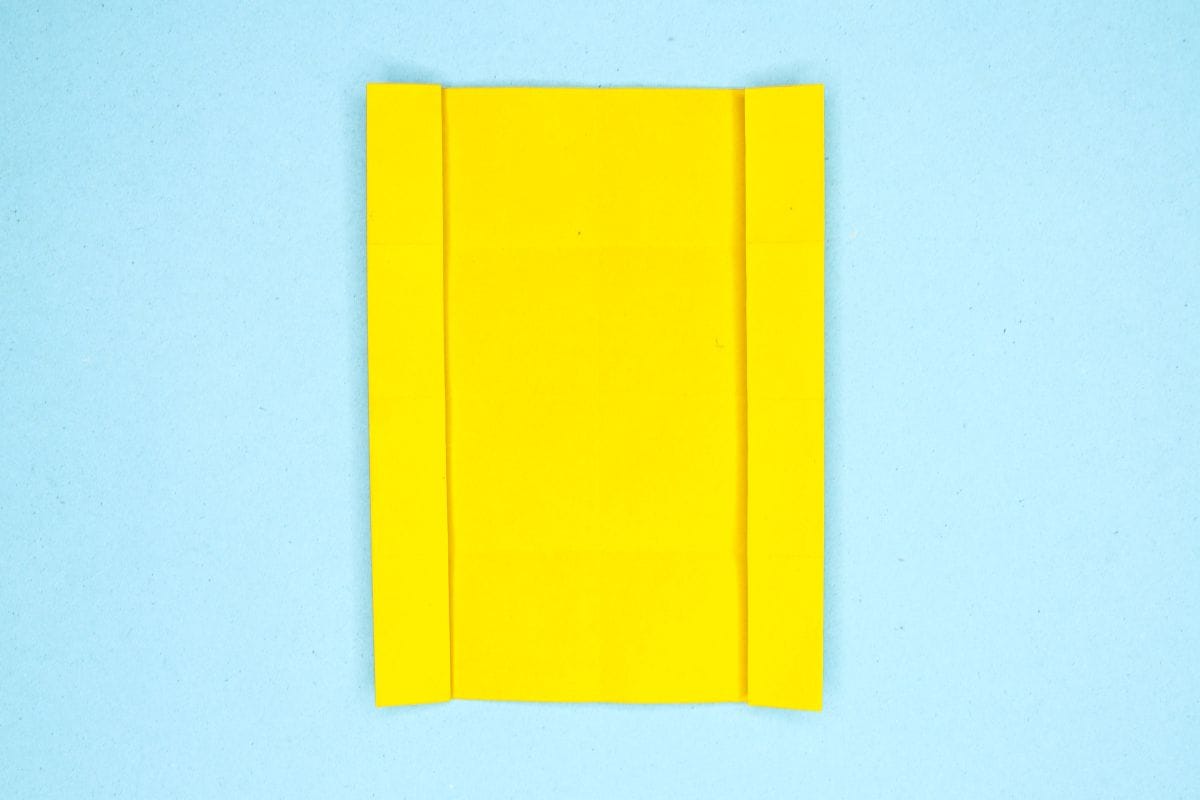
39
Fold the left edge inward to meet the first crease line from the left.
Step 40
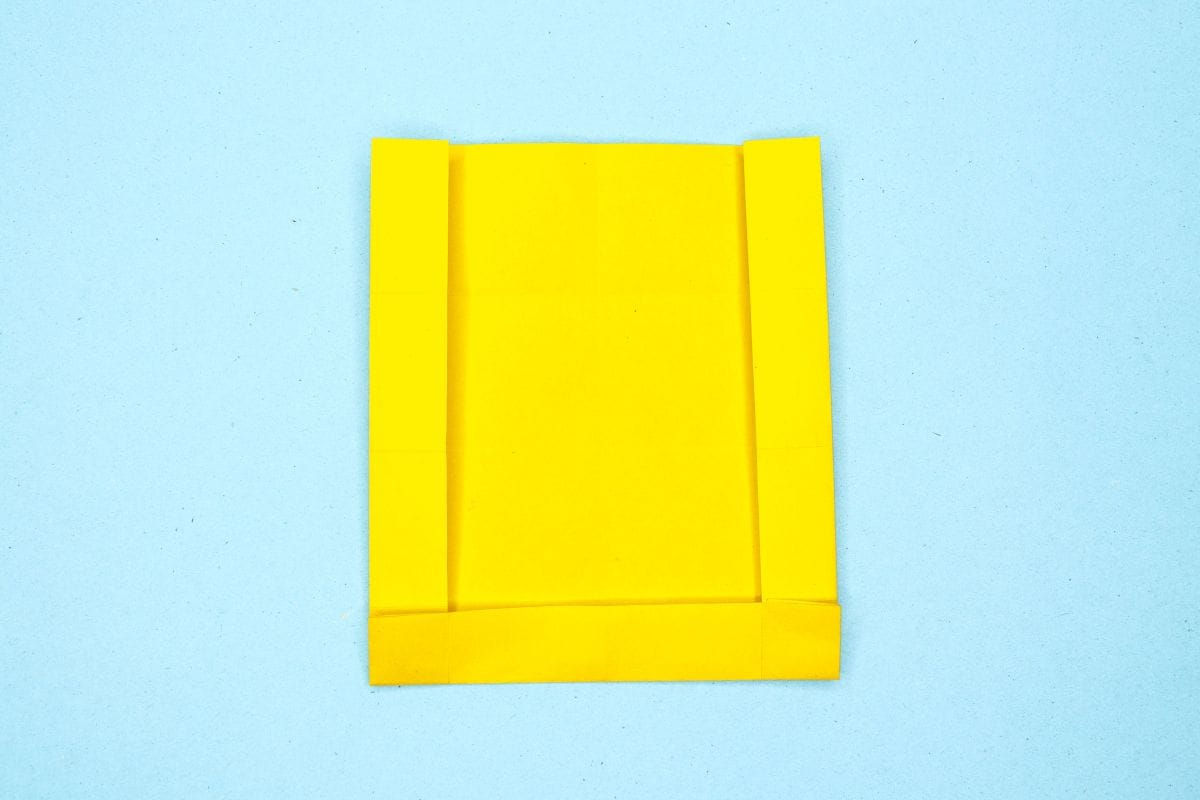
40
Fold the bottom edge upward to meet the first crease line from the bottom edge.
Step 41
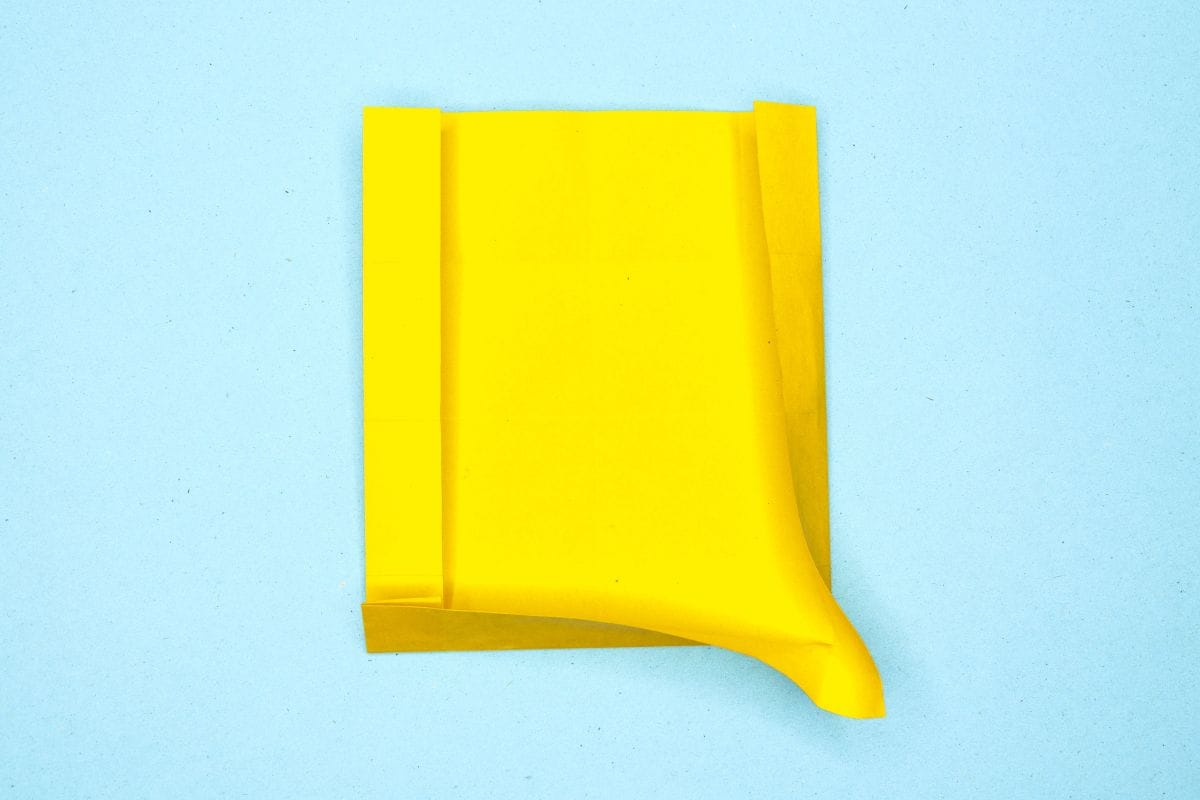
41
Unfold the bottom right corner.
Step 42
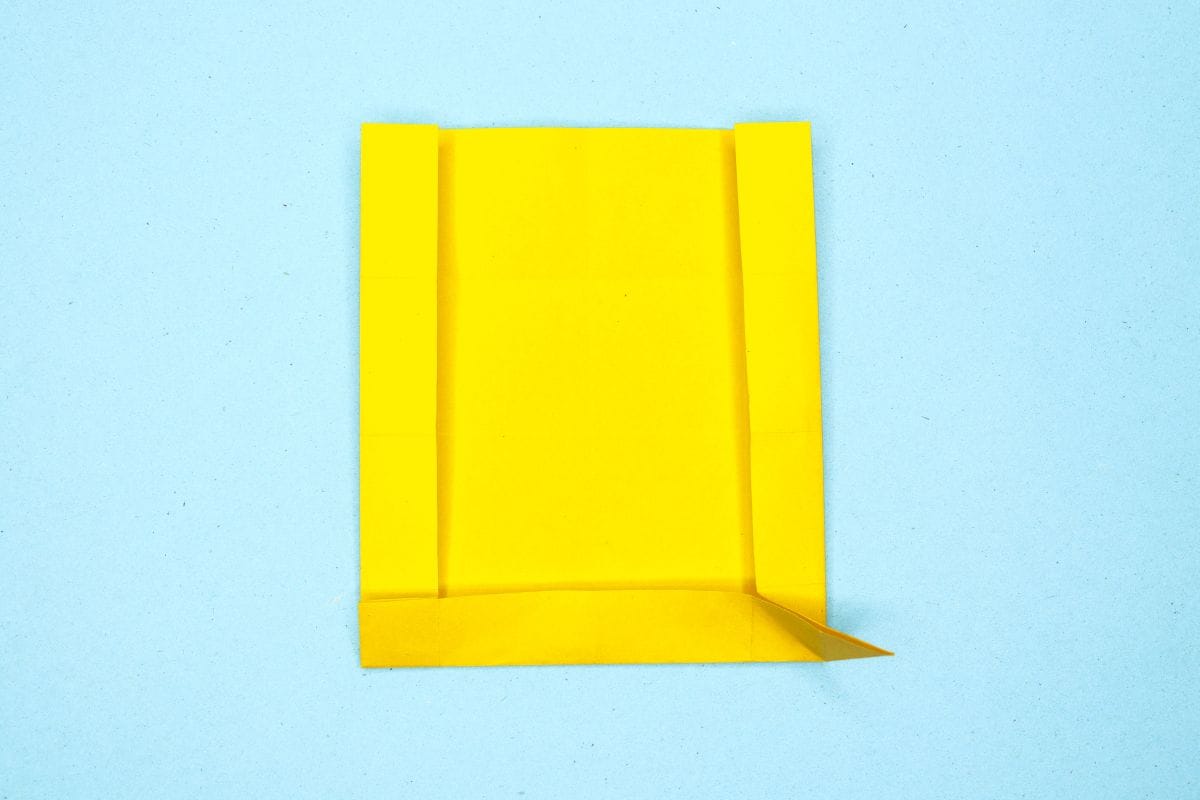
42
Pinch the edges together.
Step 43
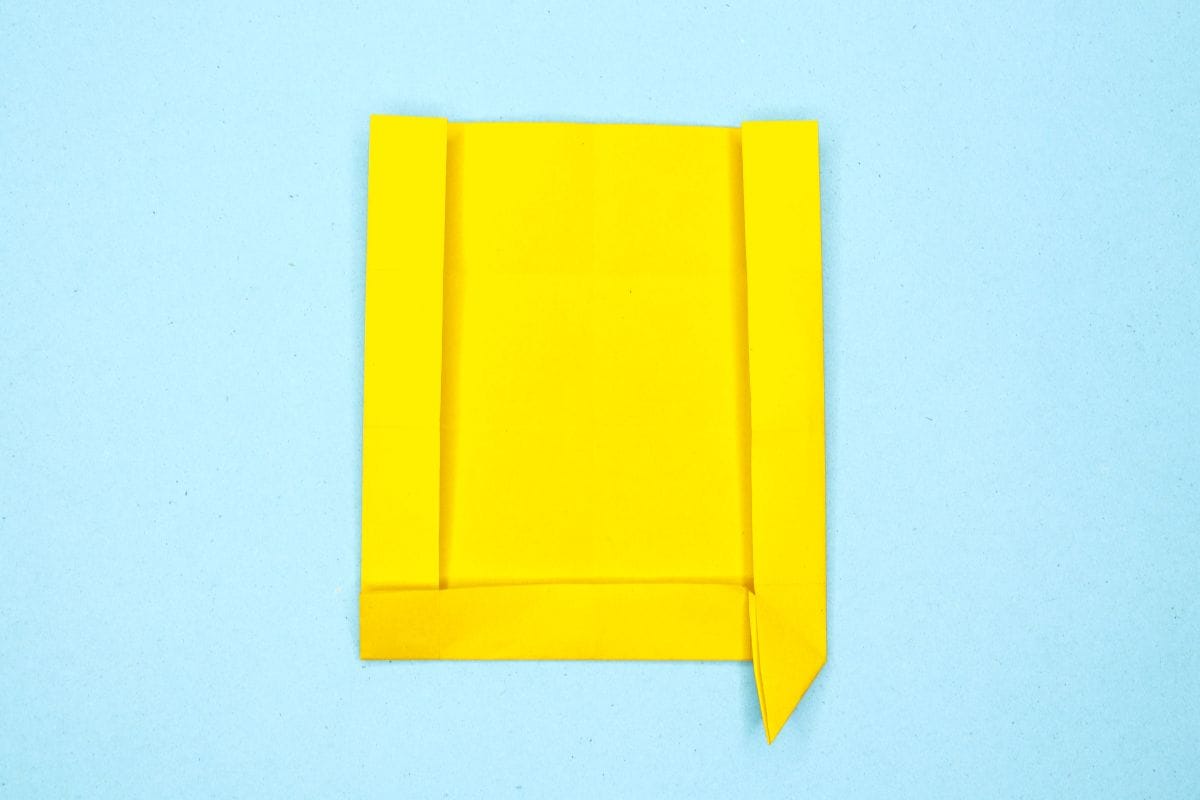
43
Fold down the flap as shown.
Step 44
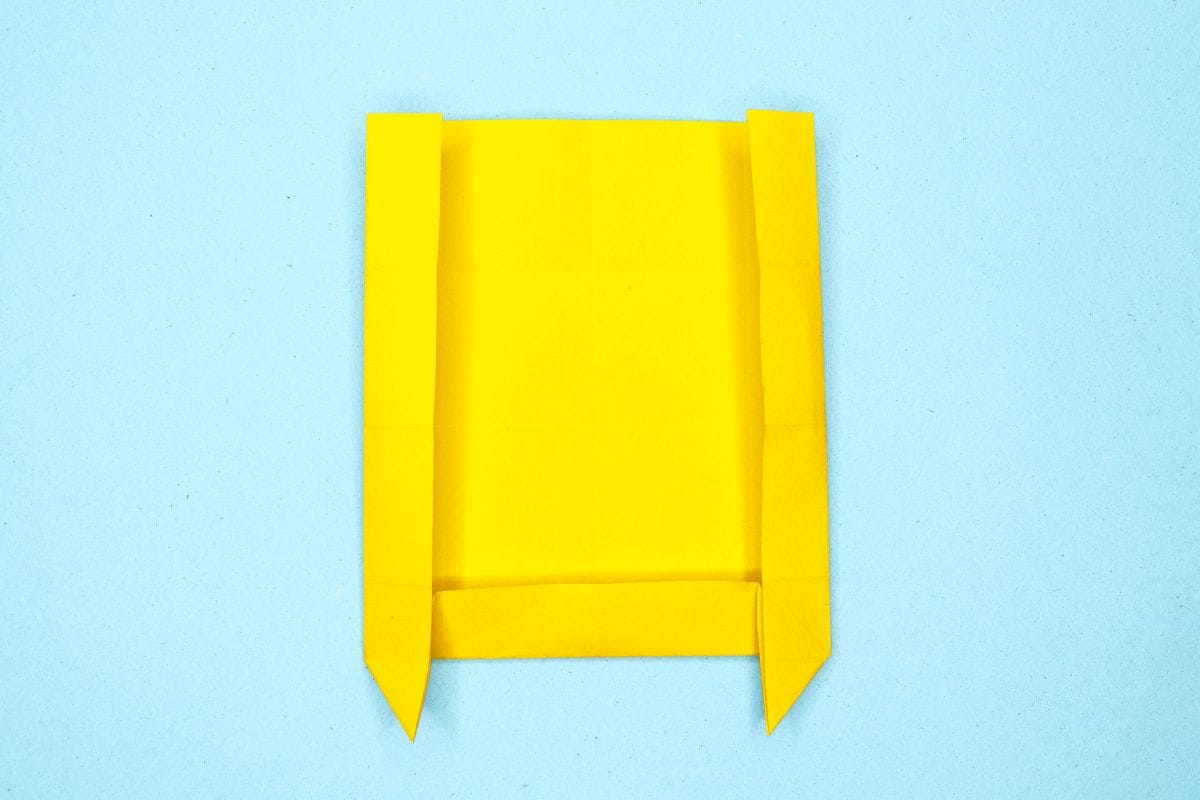
44
Repeat the steps 41 to 43 on the left side too.
Step 45
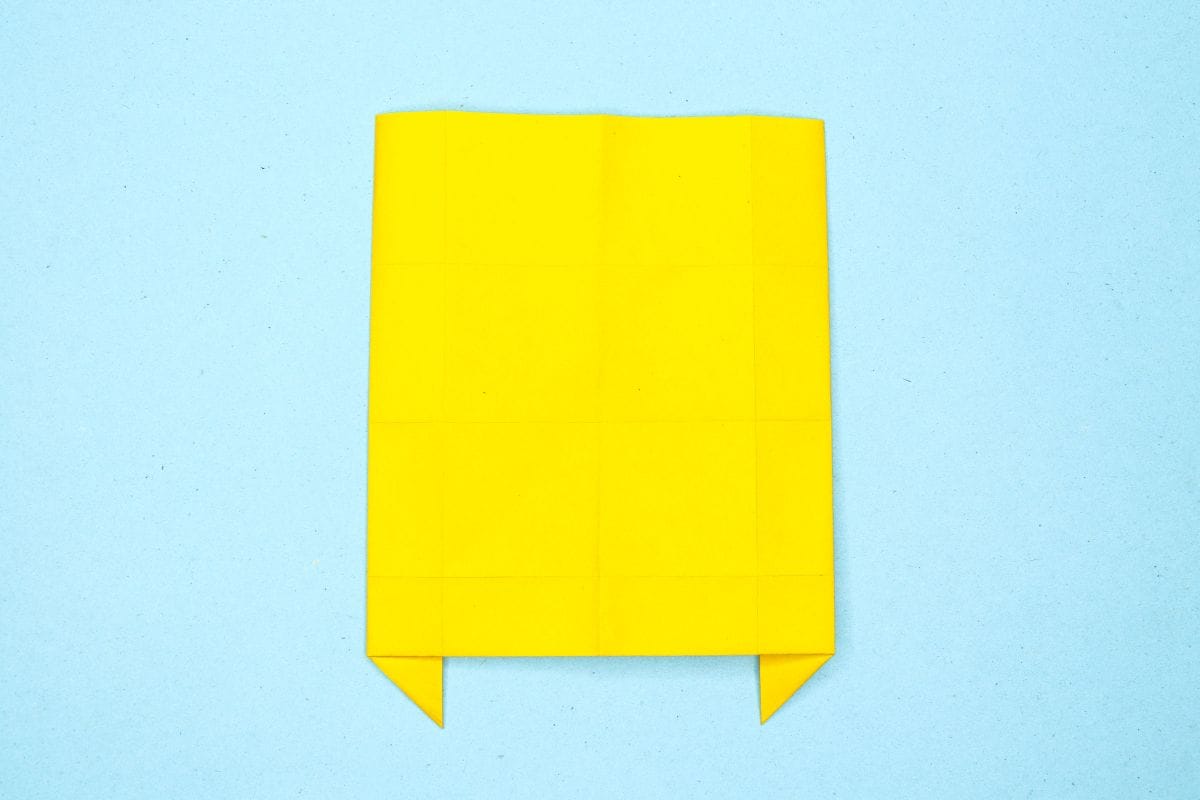
45
Turn the model over.
Step 46
46
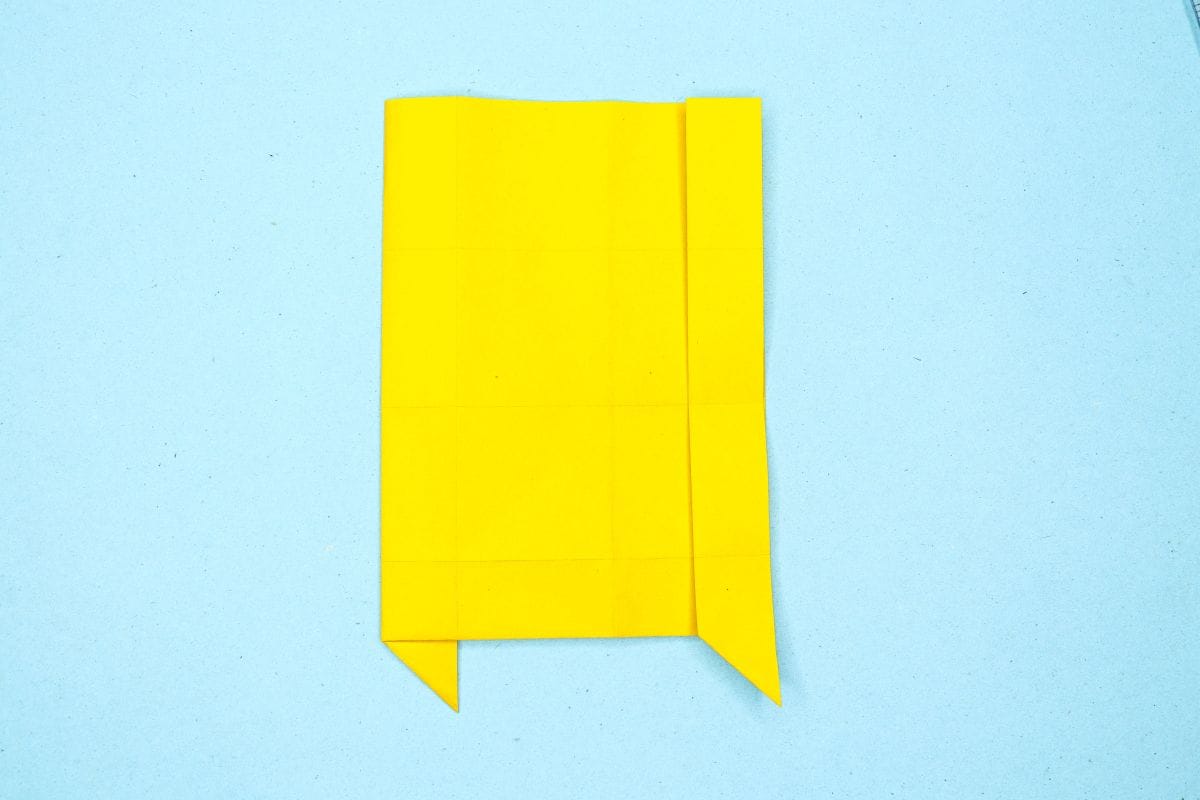
Fold the right edge inward.
Step 47
47
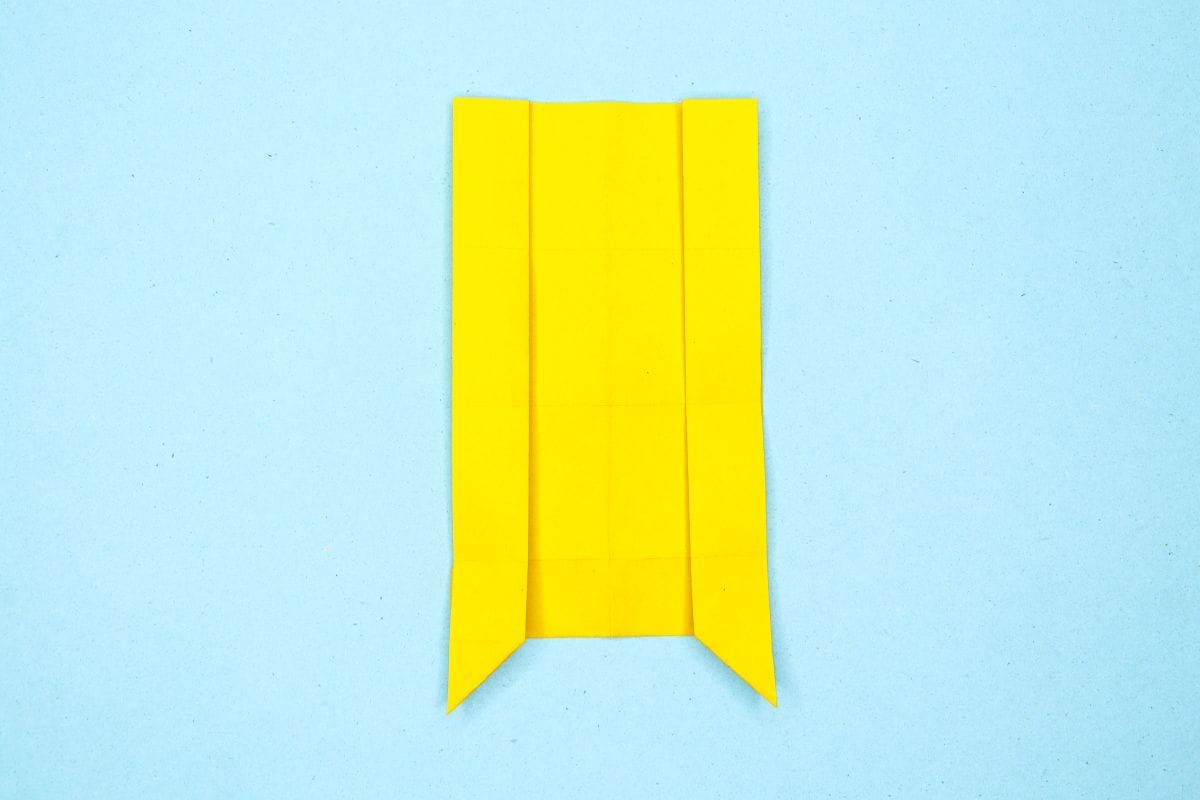
Fold the left edge inward.
Step 48
48
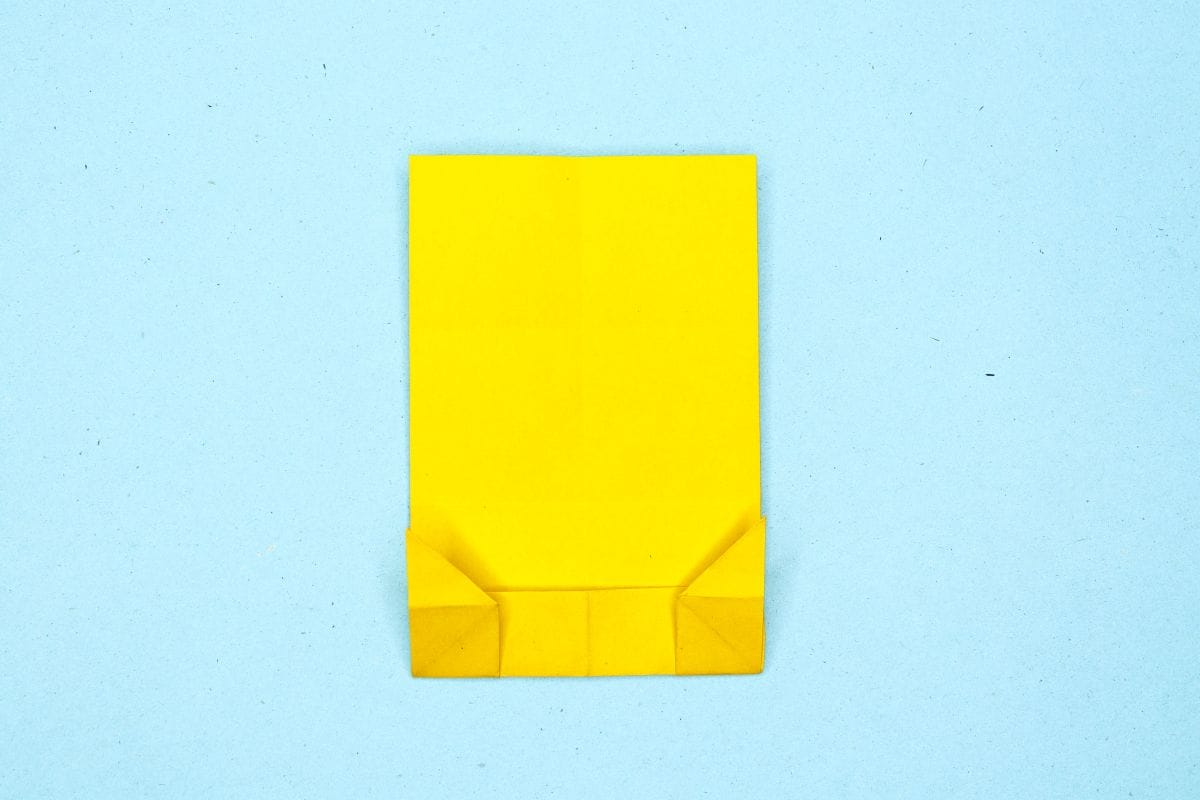
Fold the bottom edge upward.
Step 49
49
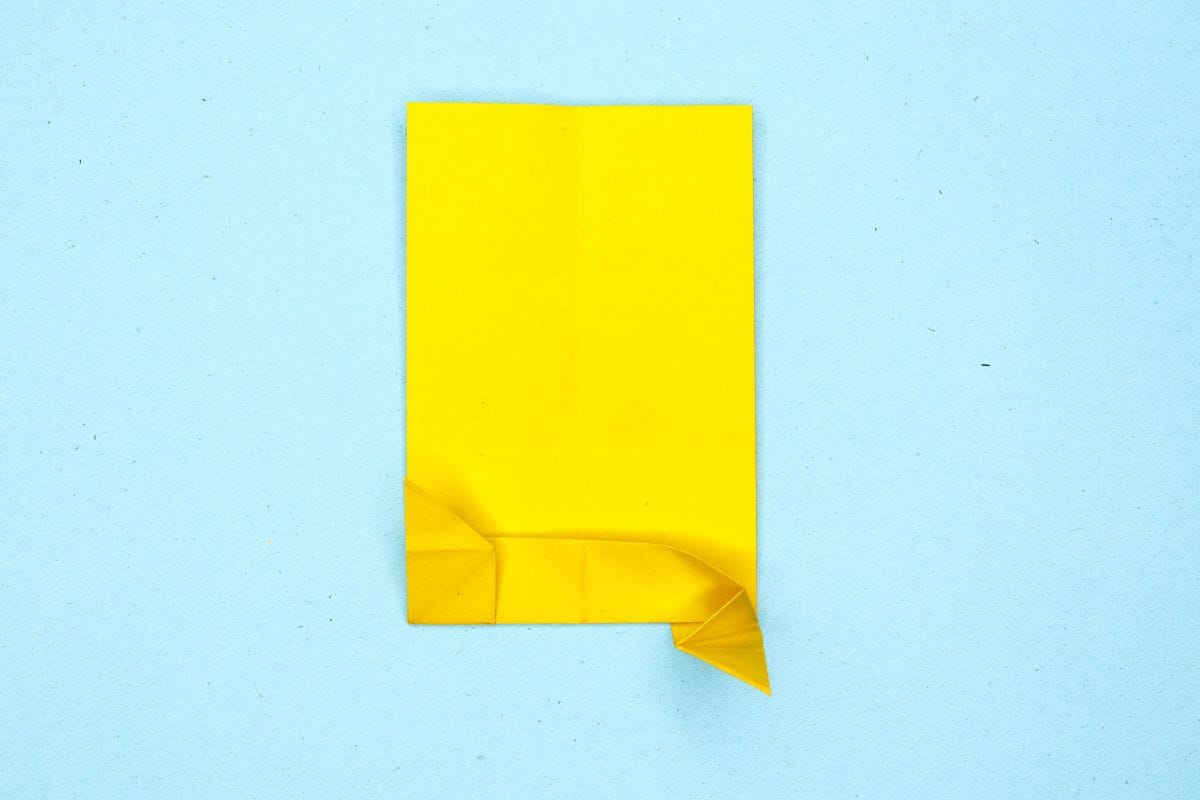
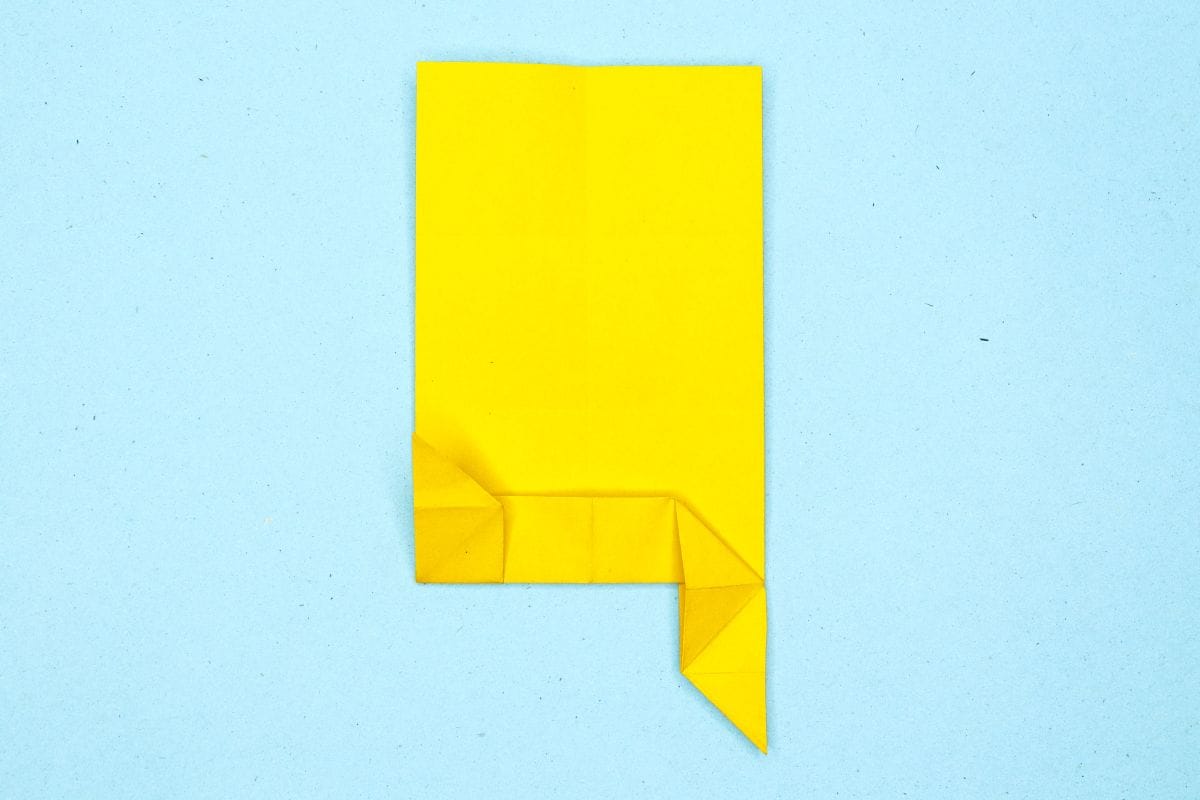
Unfold the bottom right flap.
Step 50
50
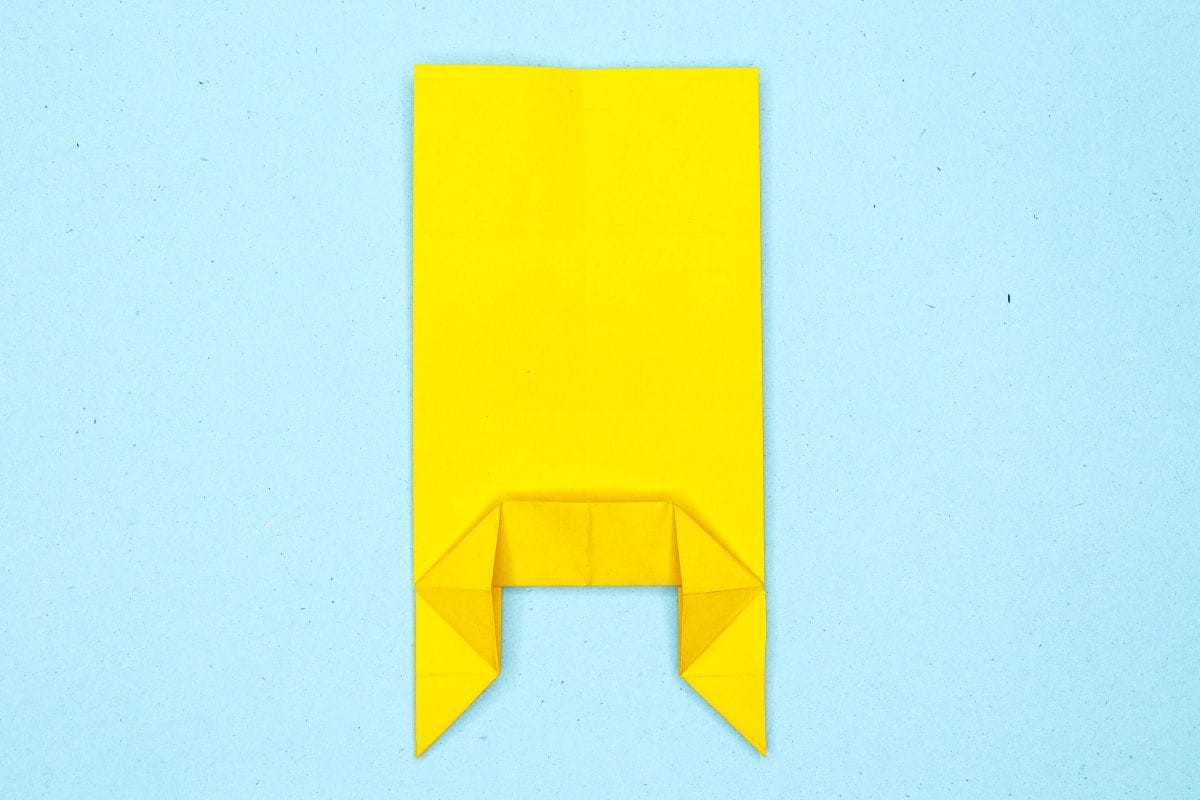
Fold it downward and press firmly to flatten.
Step 51
51
Repeat the steps 49 and 50 on the left side too.
Step 52
52
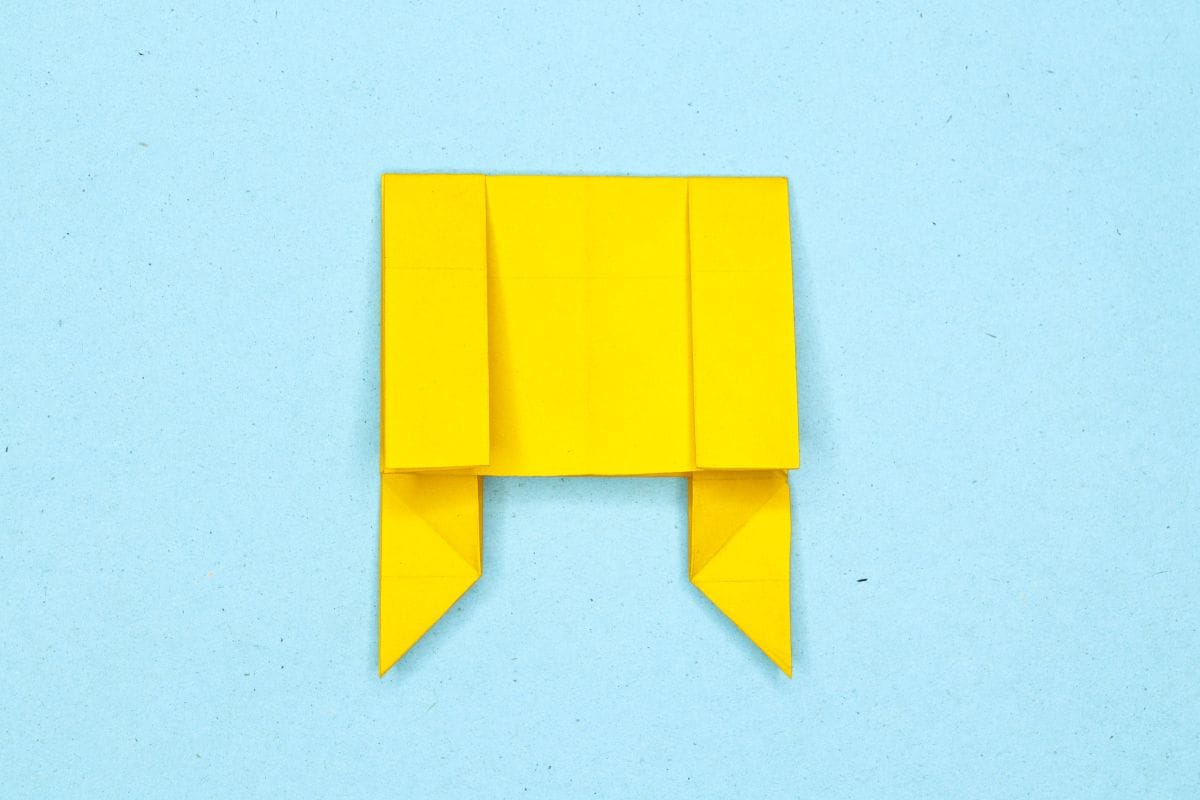
Fold down the top edge to meet the bottom edge.
Step 53

53
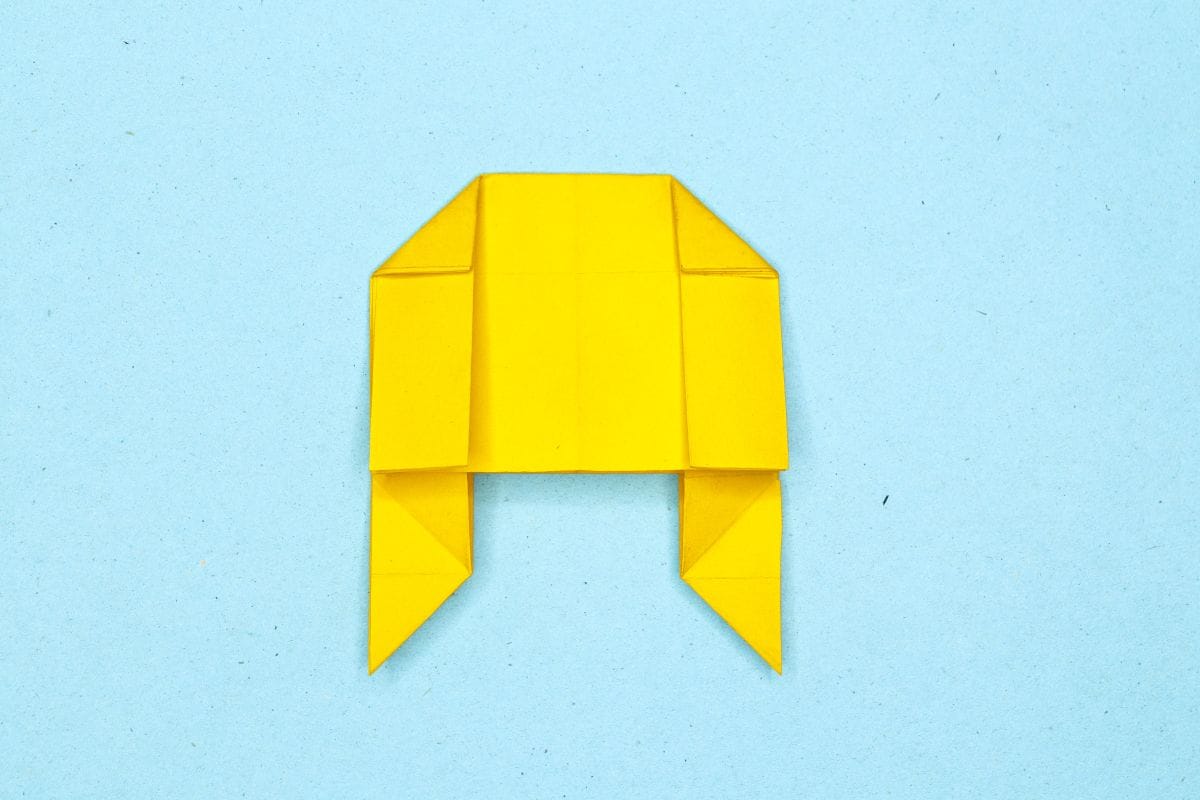
Fold in the top right corner into a triangle.
Step 54
54
Fold in the top left corner into a triangle.
Step 55
55
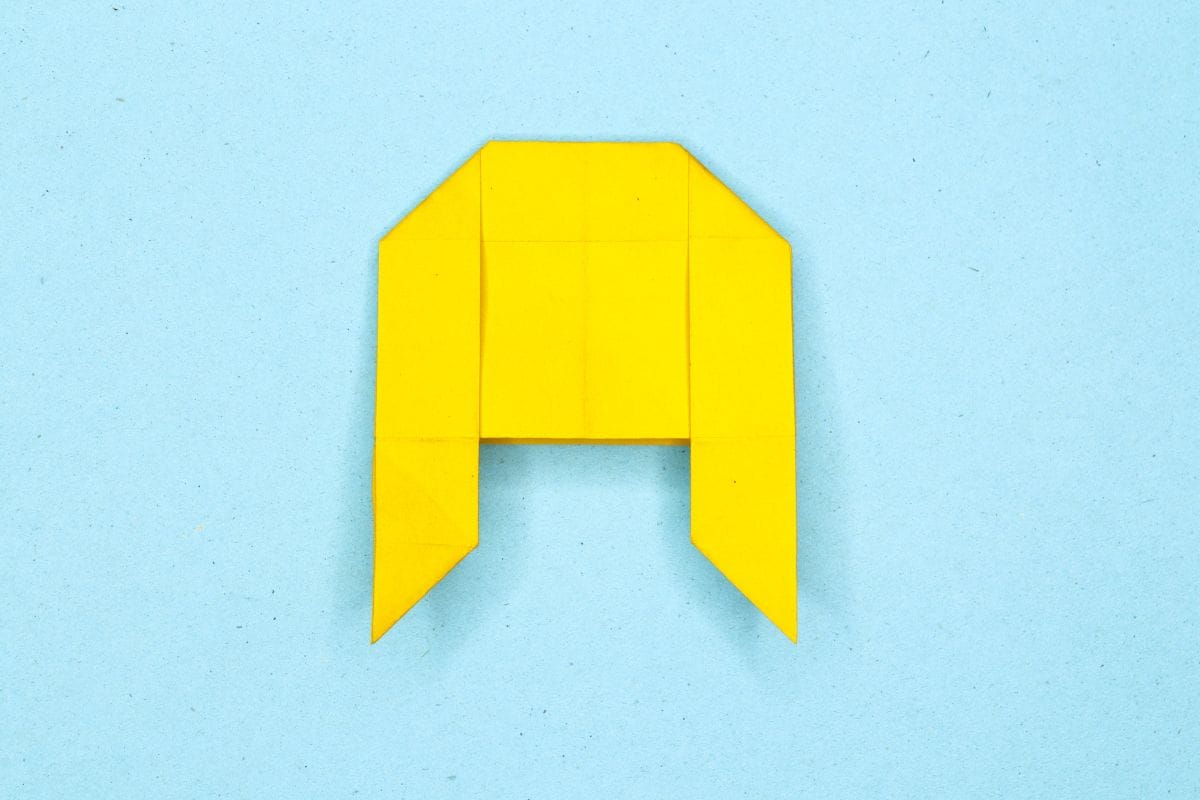
Turn the model over.
Step 56
56
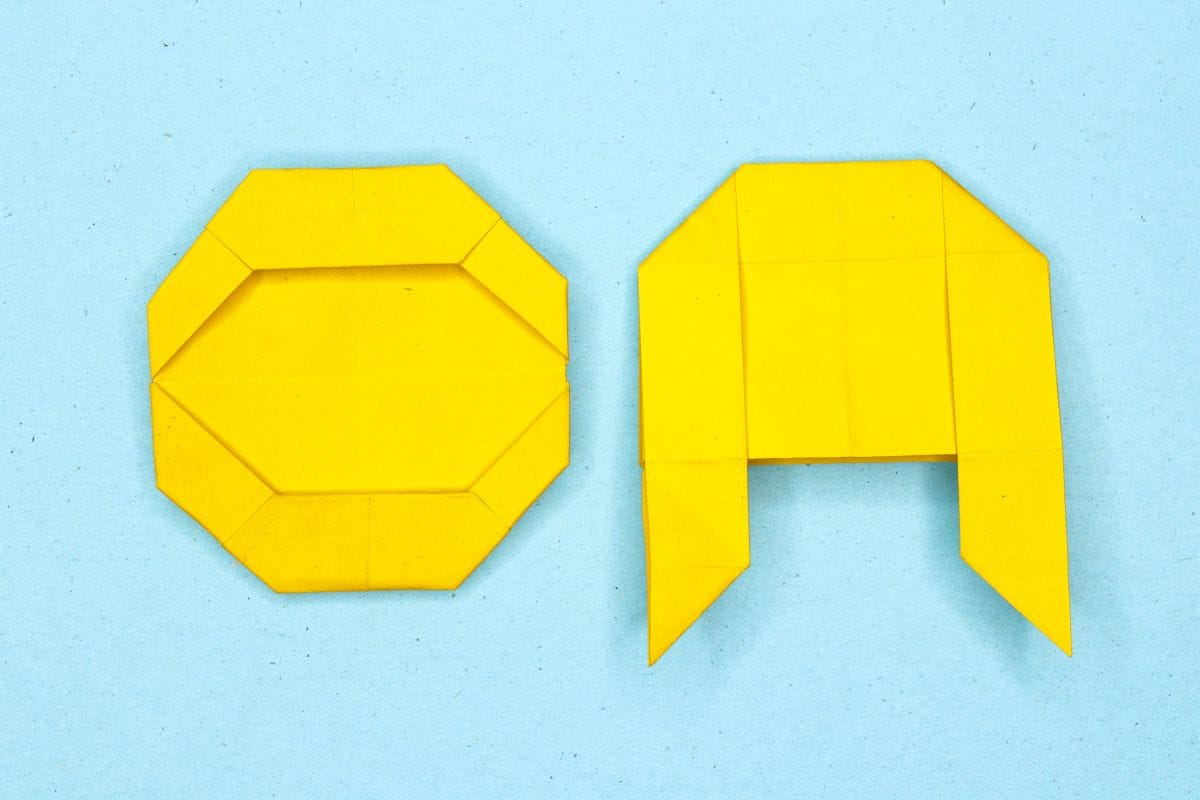
Bring the head and body together.
Step 57
57
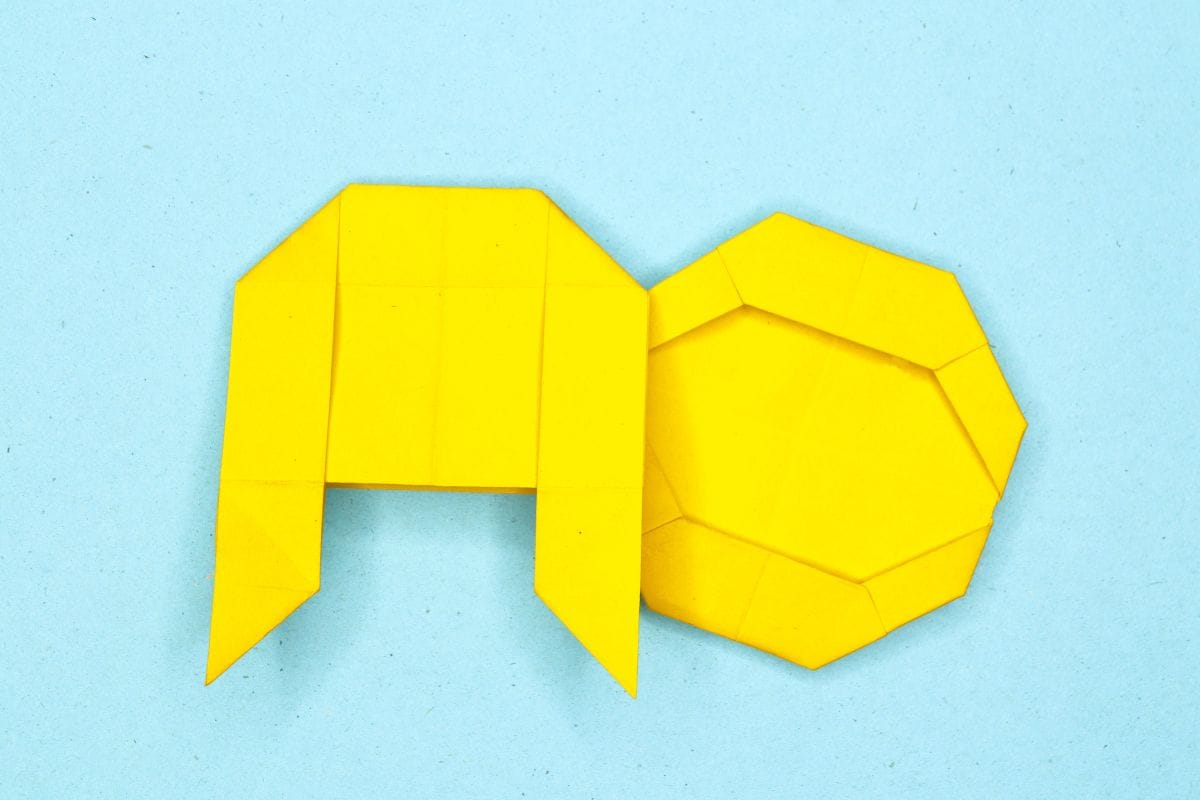
Attach the head to the body using glue to complete the figure.
Step 58
58
Draw the face of sloth and voila!
Share and Comment
We would love to see your creations! Scroll down to the comments section and share a photo of your origami.
Leave a Reply