Origami Turtle Instructions

Category:
origami turtle final step
Difficulty: Intermediate
Follow our clear step-by-step instructions to create an origami turtle and bring a delightful paper animal to life.

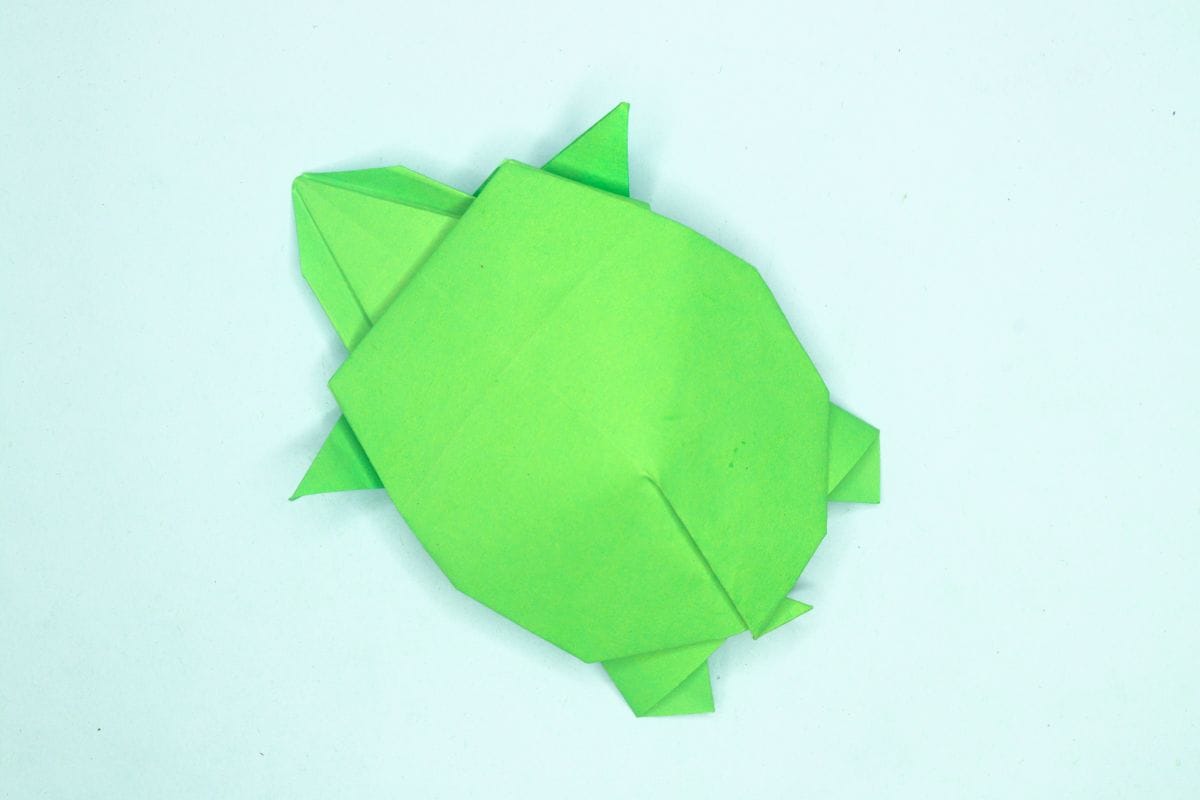
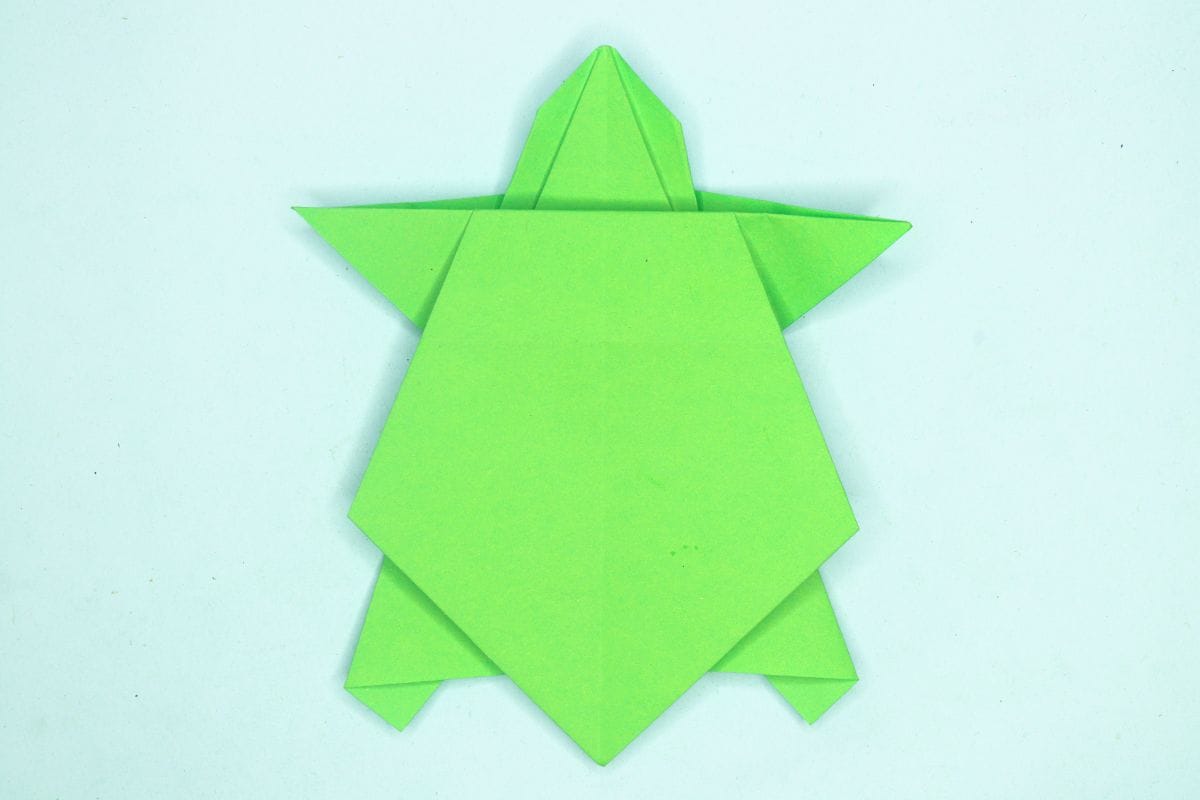
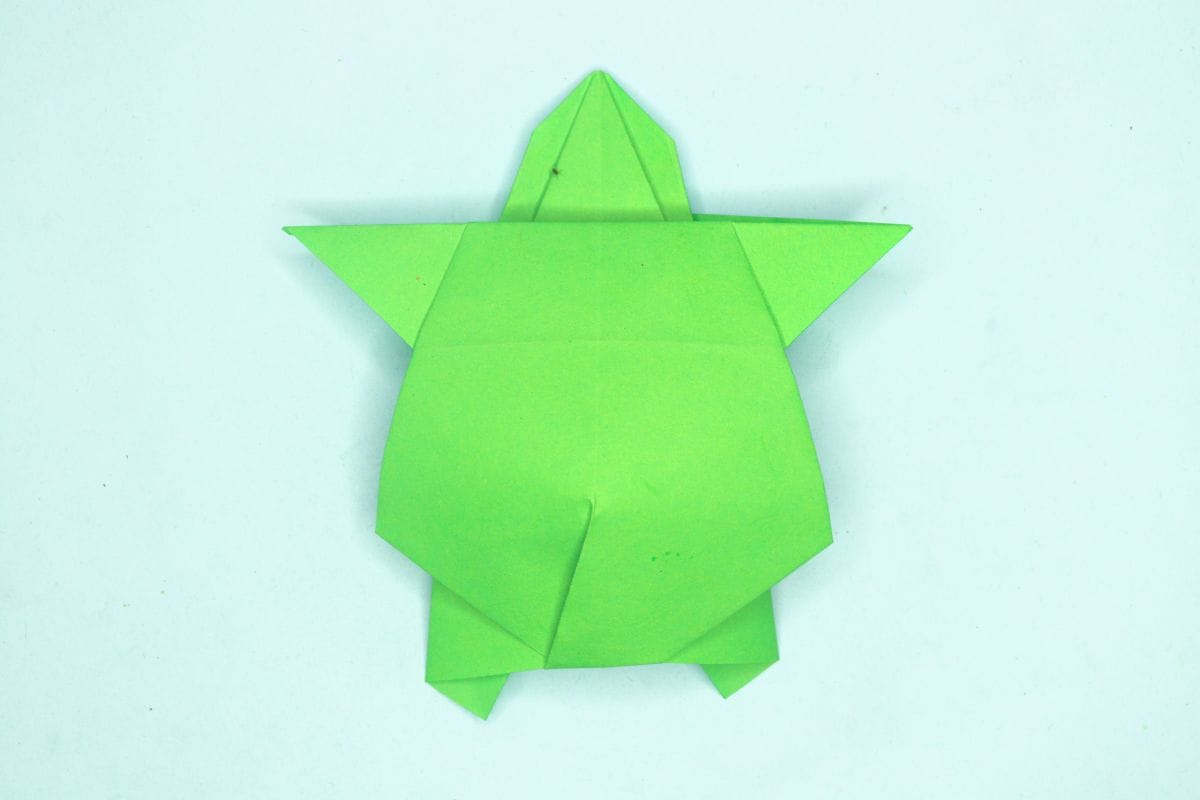
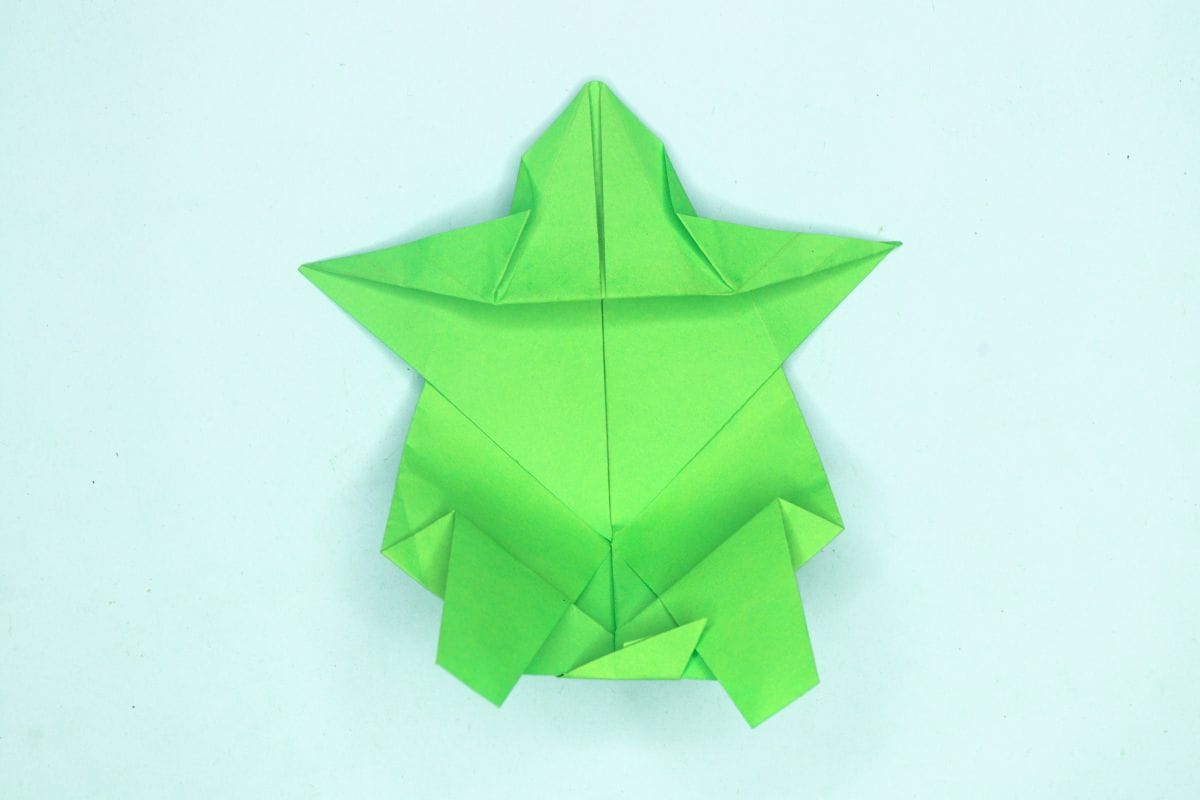
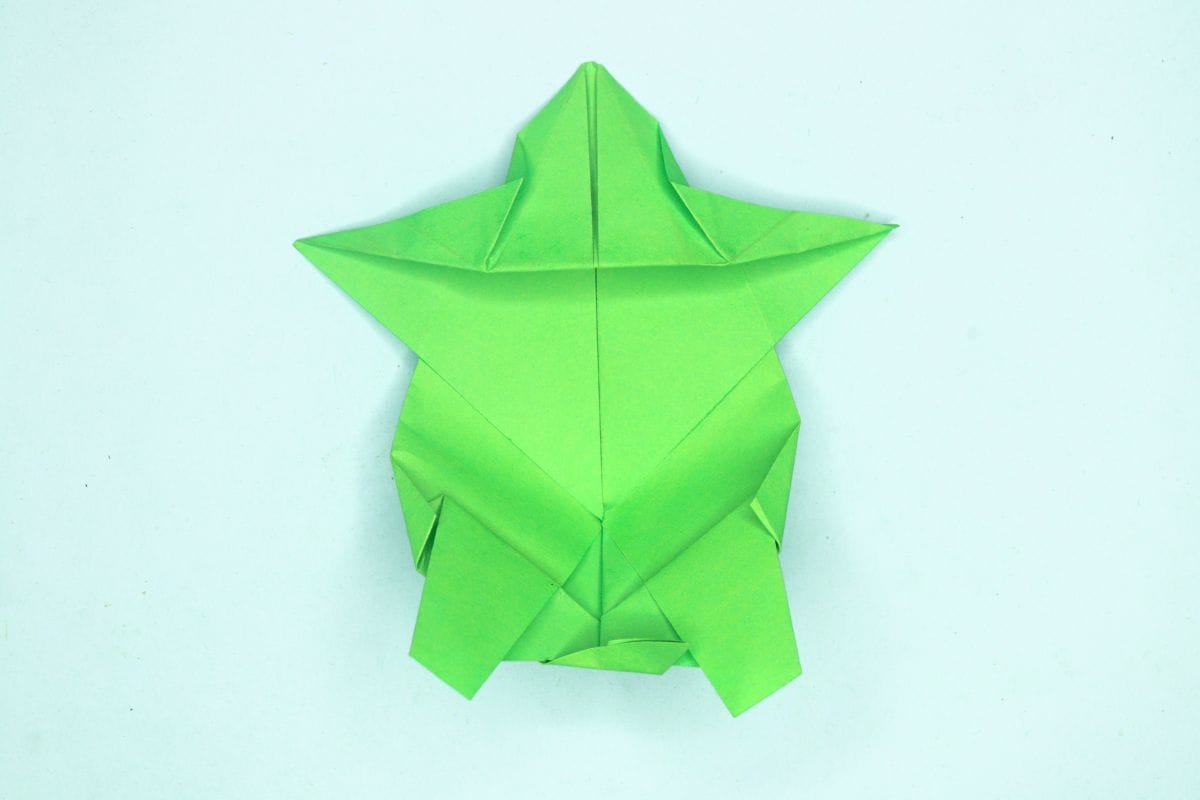
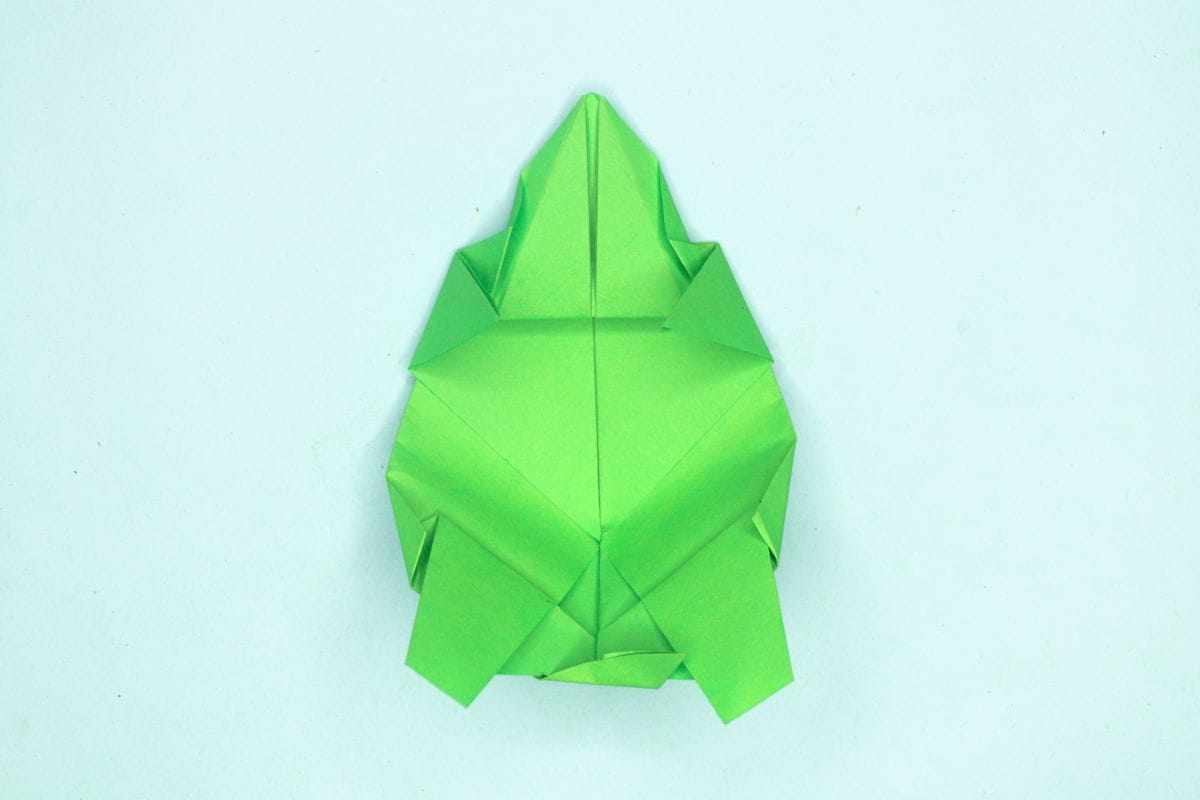
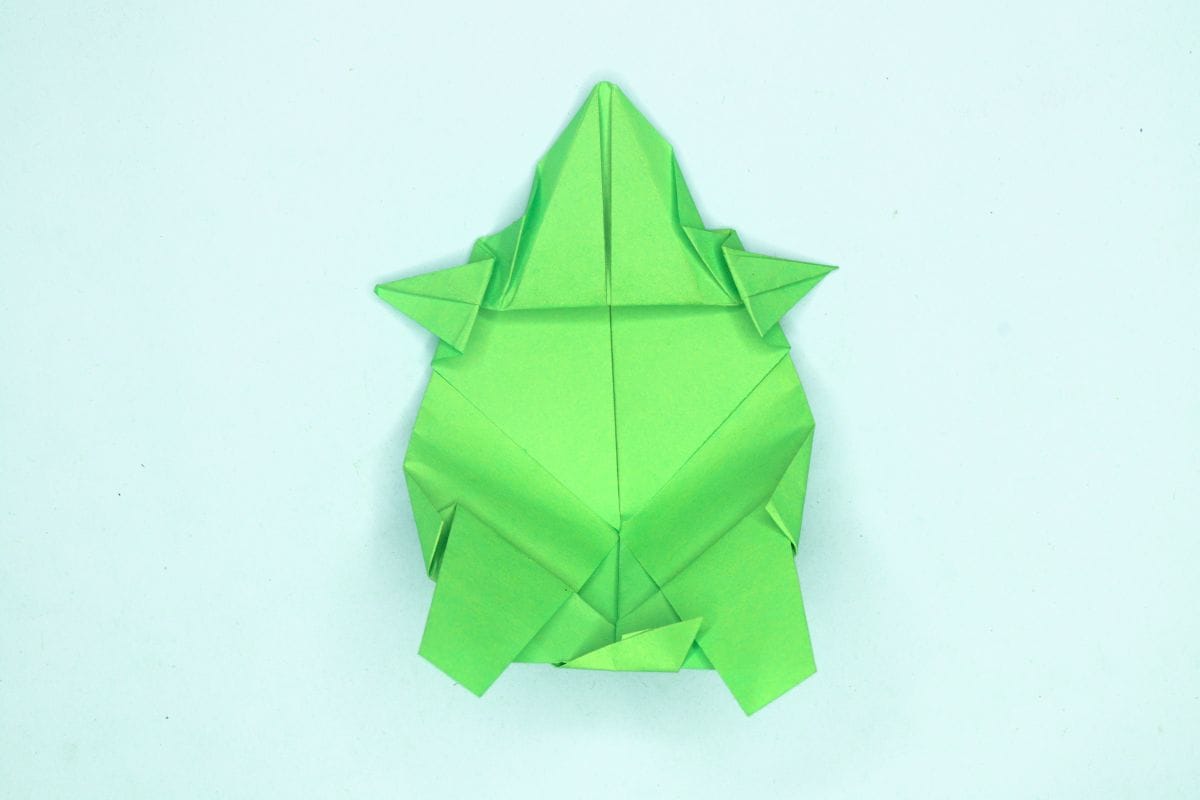
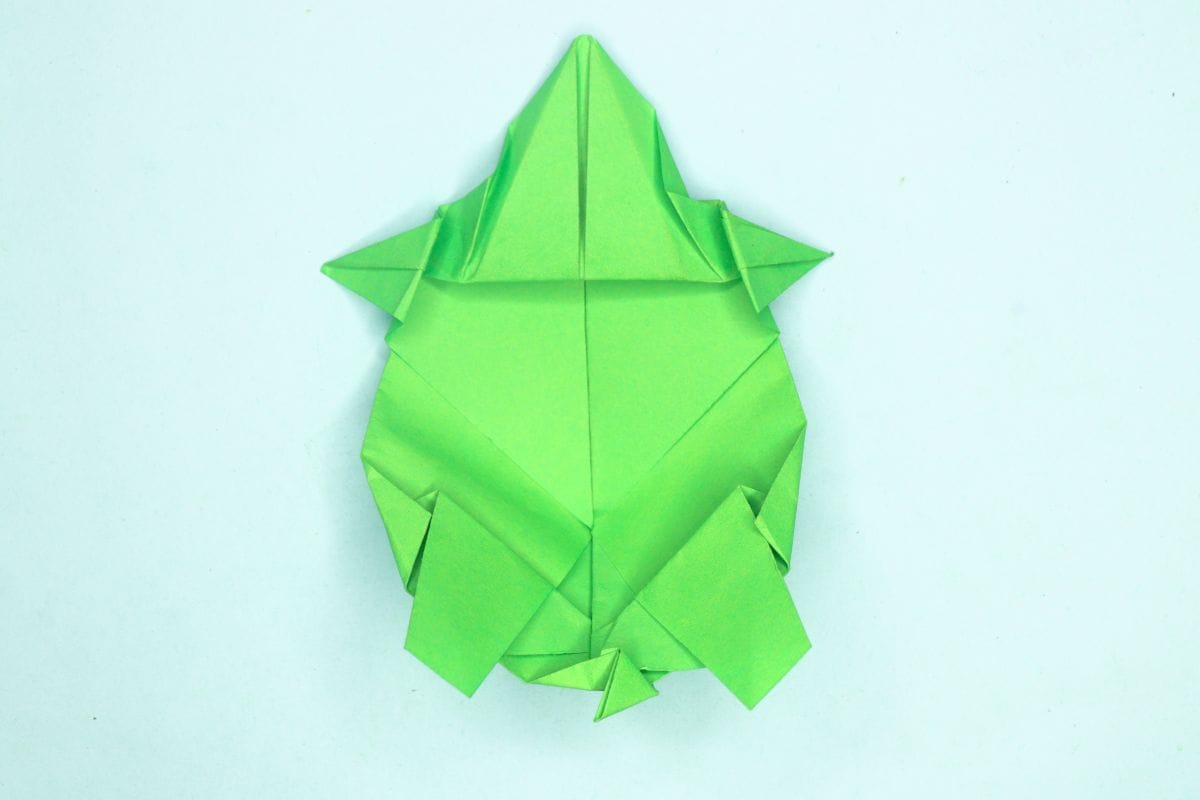
Although this origami turtle looks complete and impressive, it’s surprisingly easy to fold. Nice-looking turtles usually require complex folding techniques, while simpler turtles, though easier to fold, tend to be plain and unsatisfying. This origami turtle strikes the perfect balance between foldability and aesthetics.

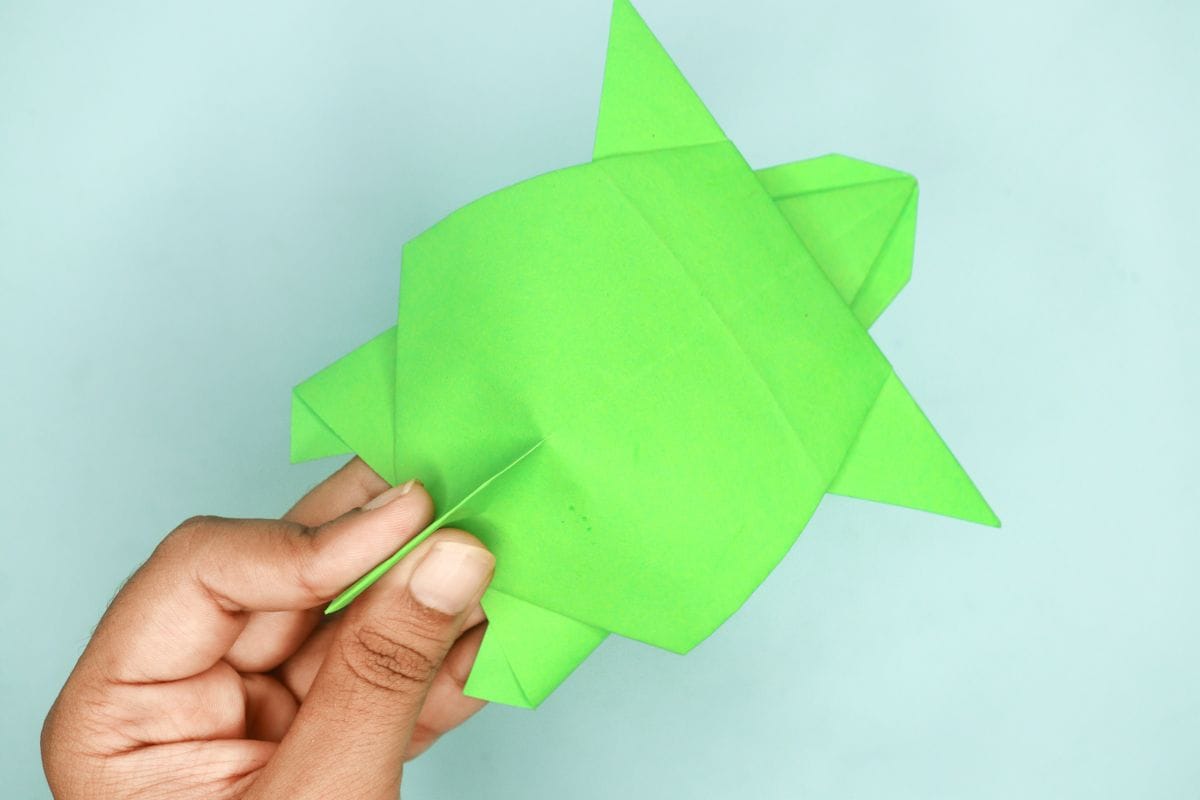
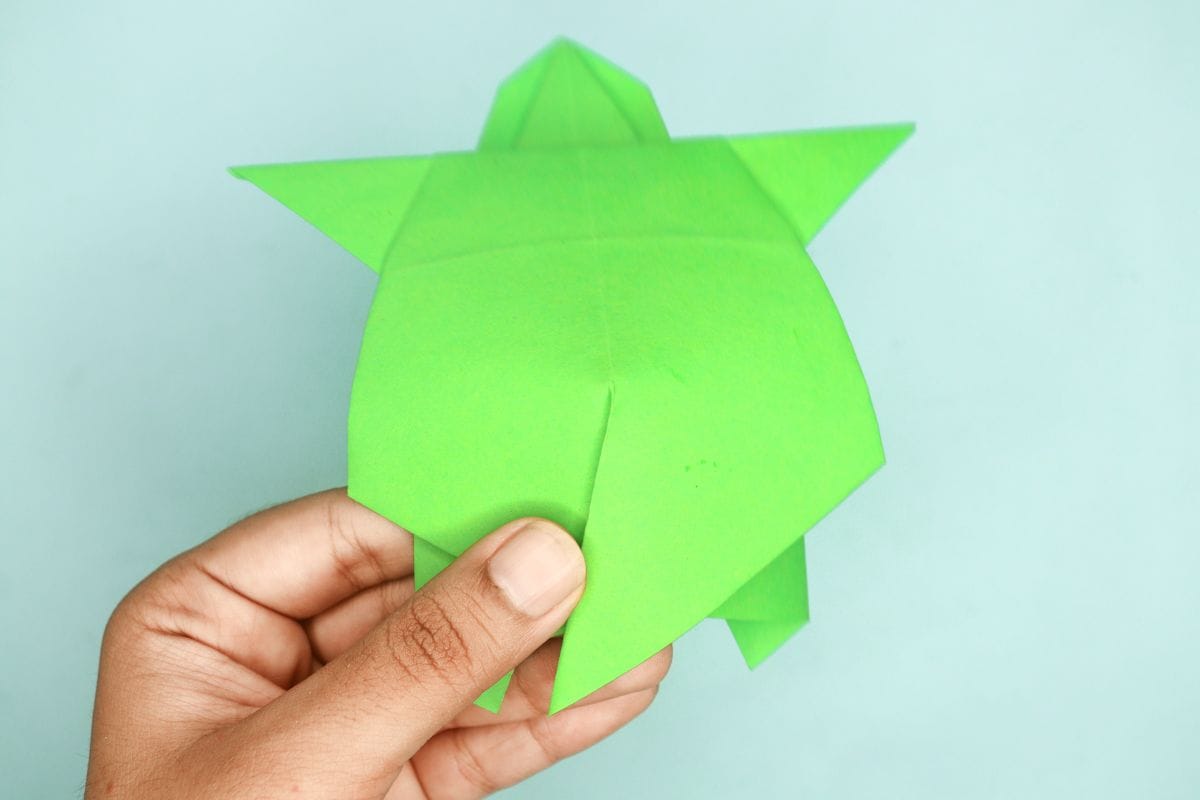
There is one caveat, however. The neck may be a tad tricky, but I’m sure you’ll be able to tackle it thanks to my awesome instructions. Everything else you should be able to fold pretty effortlessly.

Step 1
origami turtle step 01
1
Start with a square sheet of an origami paper. I am using an 7×7 inches origami paper.

If you only have regular paper, follow these instructions on how to make a square origami paper.

Step 2
origami turtle step 02
2
Fold the paper in half, left to right.

Step 3
origami turtle step 03
3
Unfold. We just needed a crease line.

Step 4
origami turtle step 04
4
Fold the top right corner to meet the center vertical crease.

Step 5
origami turtle step 05
5
Fold the top left corner to meet the center vertical crease.

Step 6
origami turtle step 06
6
Turn the model over.

Step 7
origami turtle step 07
7
Fold the left and right edges to meet the center vertical crease.

Step 8
origami turtle step 08
8
Unfold the left and right flaps as shown.

Step 9
origami turtle step 09
9
Fold the bottom left corner upward to meet the center.

Step 10
origami turtle step 10
10
Fold the bottom right corner upward to meet the center.

Step 11
origami turtle step 11
11
Fold down the right flap leaving a small section unfolded.

Step 12
origami turtle step 12
12
Fold down the left flap leaving a small section unfolded.

Step 13
origami turtle step 13
13
Fold down the top corner as shown. An inverted triangle will form.

Step 14
origami turtle step 14
14
Fold back the top flap or the inverted triangle upward while leaving a small section unfolded.

Step 15
origami turtle step 15
15
Open the left flap as shown.

Step 16
origami turtle step 16
16
Squash down the flap using the previously created creases as a guide.

Step 17
origami turtle step 17
17
Repeat the last two steps on right side too.

Step 18
origami turtle step 18
18
Turn the model over.

Step 19
origami turtle step 19
19
Pinch together the bottom of the turtle as shown.

Step 20
origami turtle step 20
20
Flatten the pinched section down.

Step 21
origami turtle step 21
21
Fold the bottom triangle backwards.

Step 22
origami turtle step 22
22
Turn the model over.

Step 23
origami turtle step 23
23
Fold in the left and right corners as shown.

Step 24
origami turtle step 24
24
Fold in the top left and flaps.

Step 25
origami turtle step 25
25
Fold the left and right flap outward leaving behind a small section unfolded.

Step 26
origami turtle step 26
26
Fold the tail diagonally outward.

Step 27
origami turtle final step
27
Turn the model over and your origami turtle is ready!

Share and Comment
We would love to see your creations! Scroll down to the comments section and share a photo of your origami.

Comments

Leave a Reply

Your email address will not be published. Required fields are marked *

Drop file here