
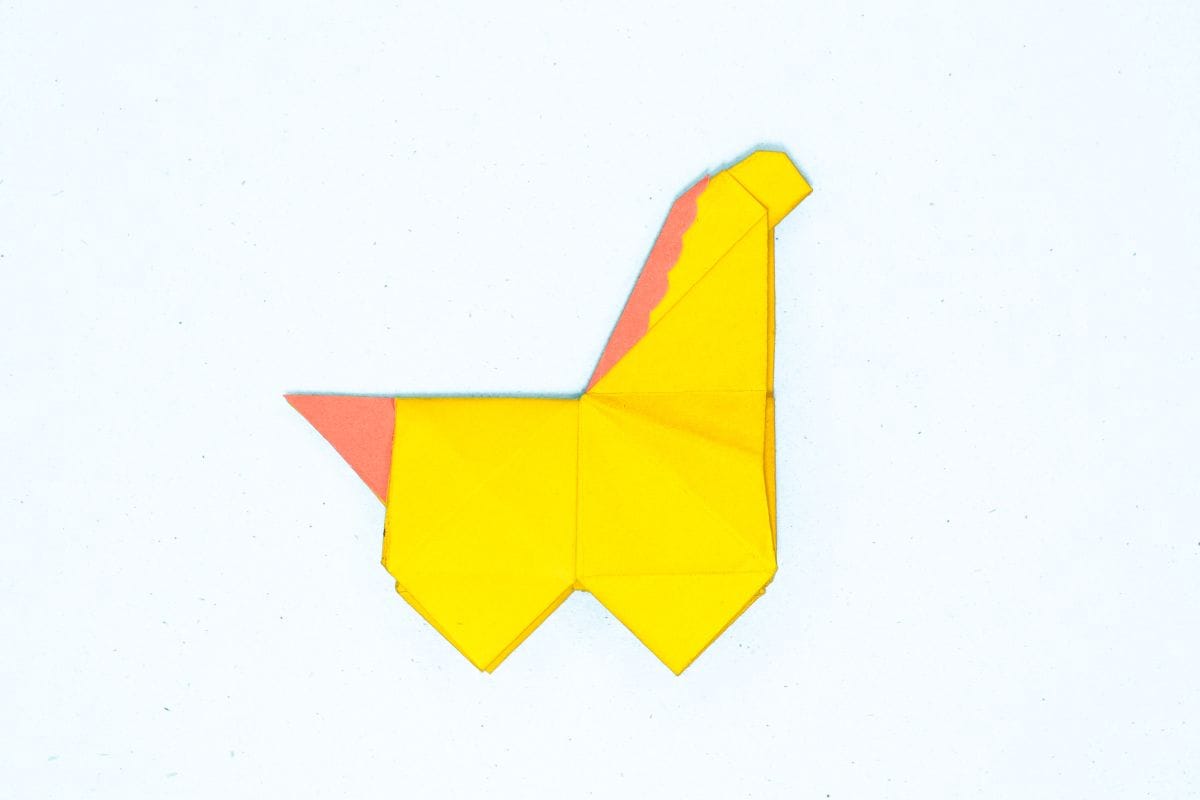
Want to create this magical creature and imagine it as your very own friend? All you need is a single sheet of paper and a pencil to bring your unicorn to life. Follow the simple steps, have fun along the way, and watch your child’s eyes light up with wonder when they see the final creation!
How to Make an Origami Unicorn
Category: Origami Animals
Difficulty:
Hard
Fold a magical Origami unicorn! Easy step-by-step guide to create a whimsical paper creature. Perfect for dreamers of all ages!
Step 1
1
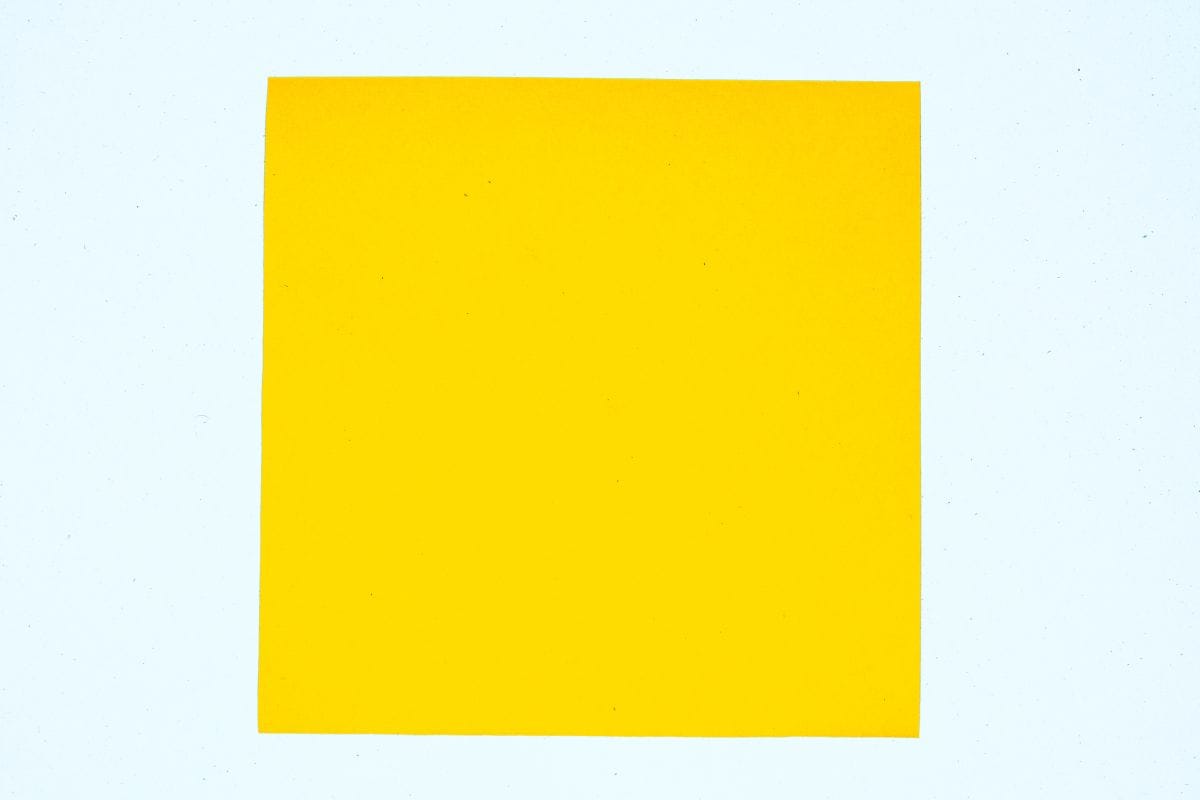
Start with a square sheet of origami paper. I am using an 7×7 inches origami sheet.
If you only have regular paper, follow these instructions on how to make a square origami paper.
If you only have regular paper, follow these instructions on how to make a square origami paper.
Step 2
2
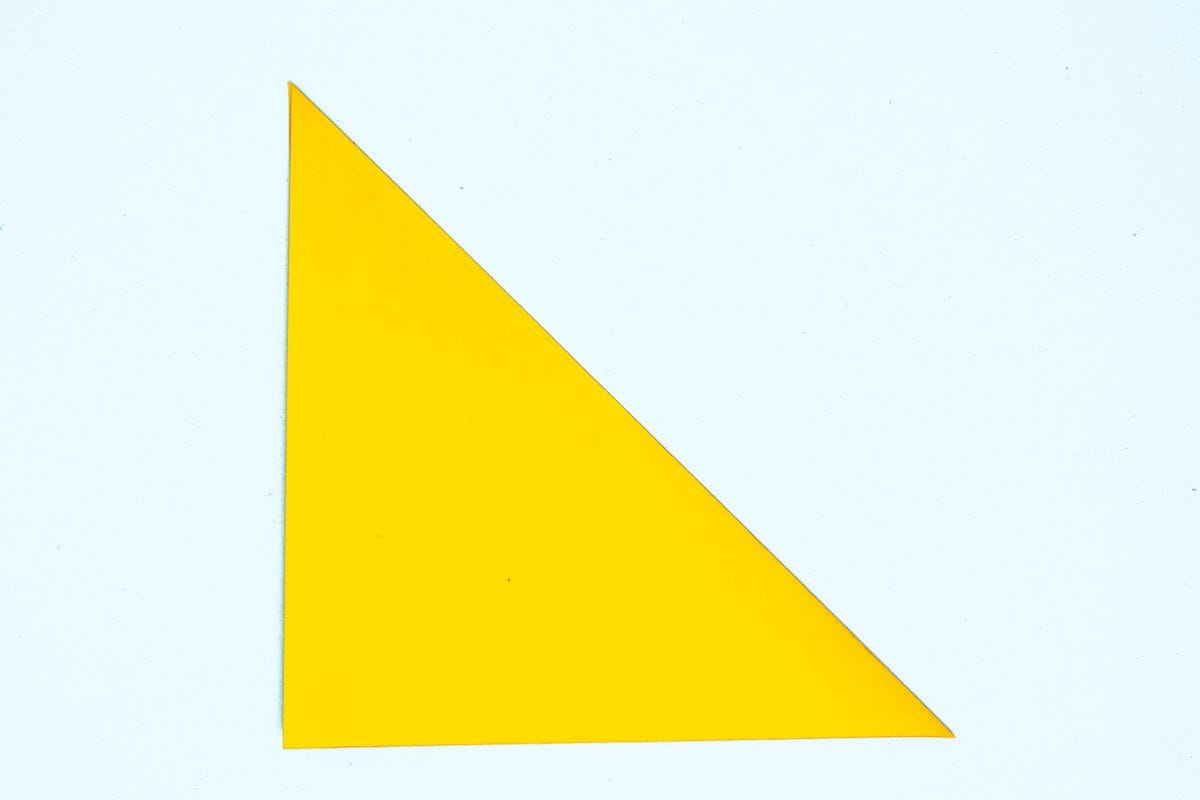
Fold the top right corner to the bottom left corner.
Step 3
3
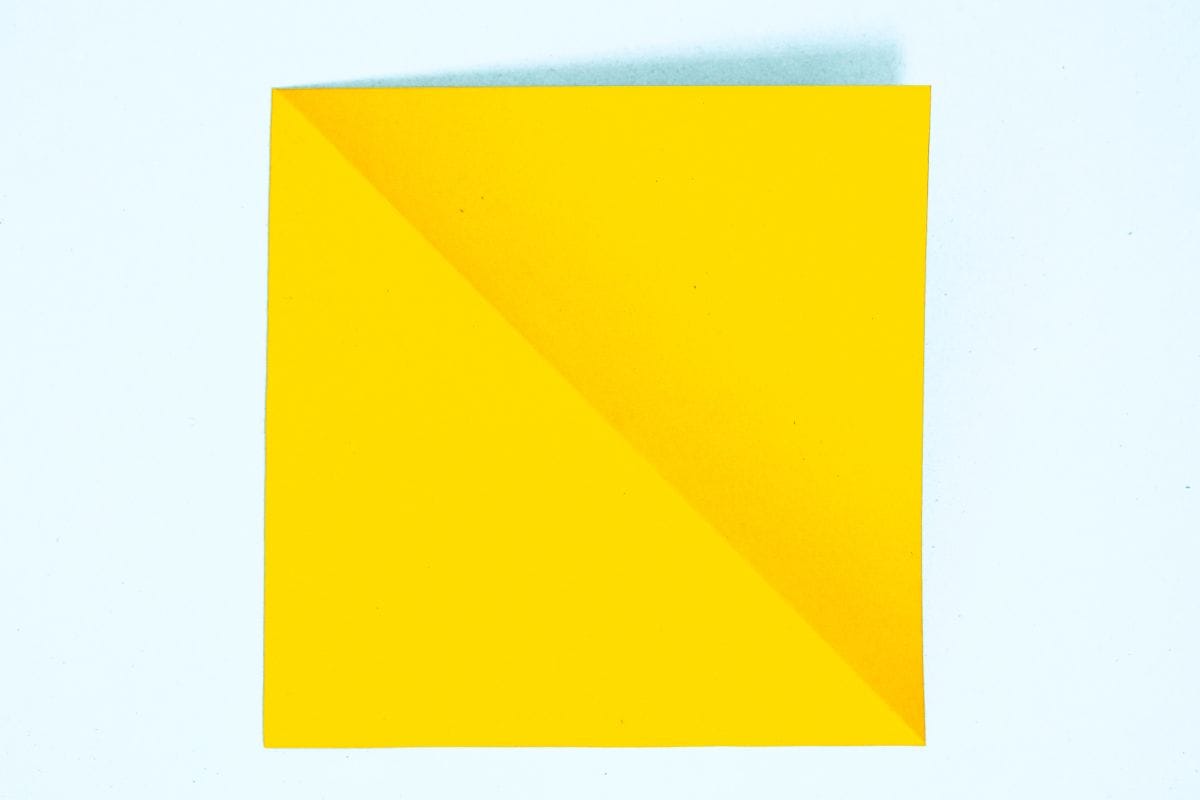
Unfold. We just needed a crease line.
Step 4
4
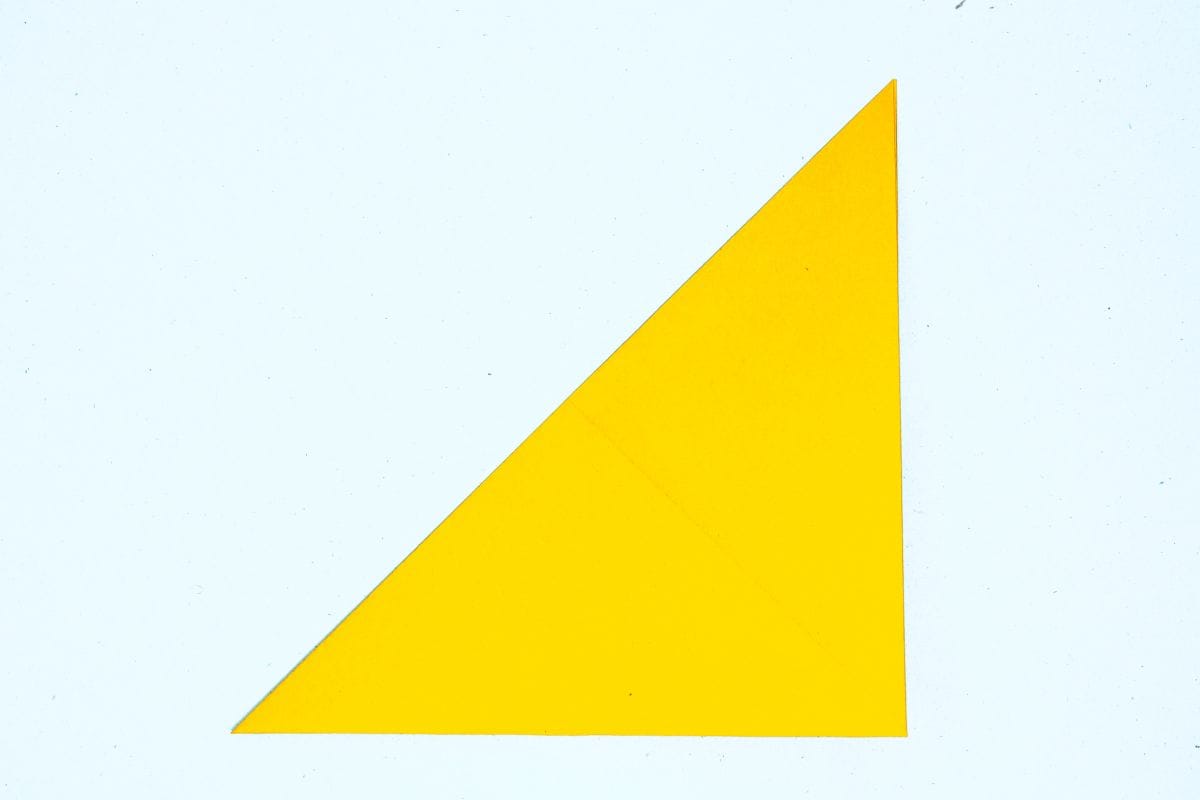
Fold the top left corner to the bottom right corner.
Step 5
5
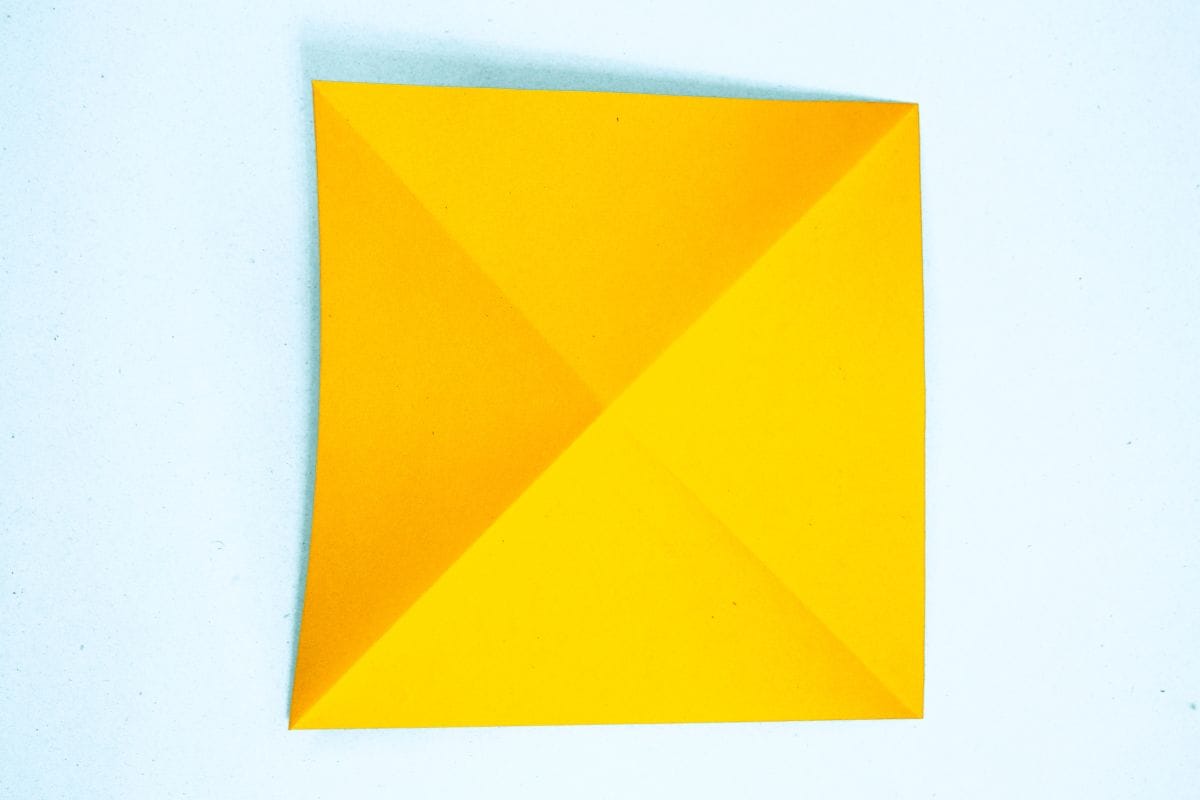
Unfold. We just needed a crease line.
Step 6
6
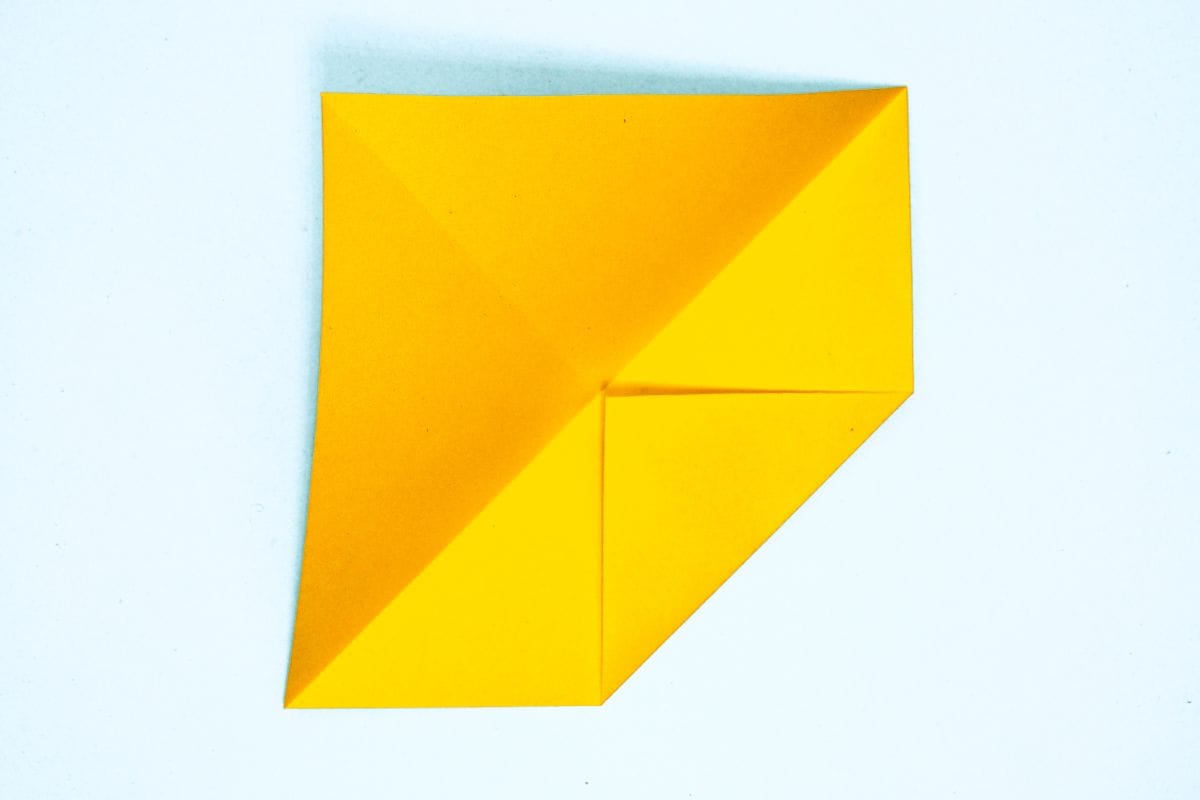
Fold the bottom right corner to the center.
Step 7
7
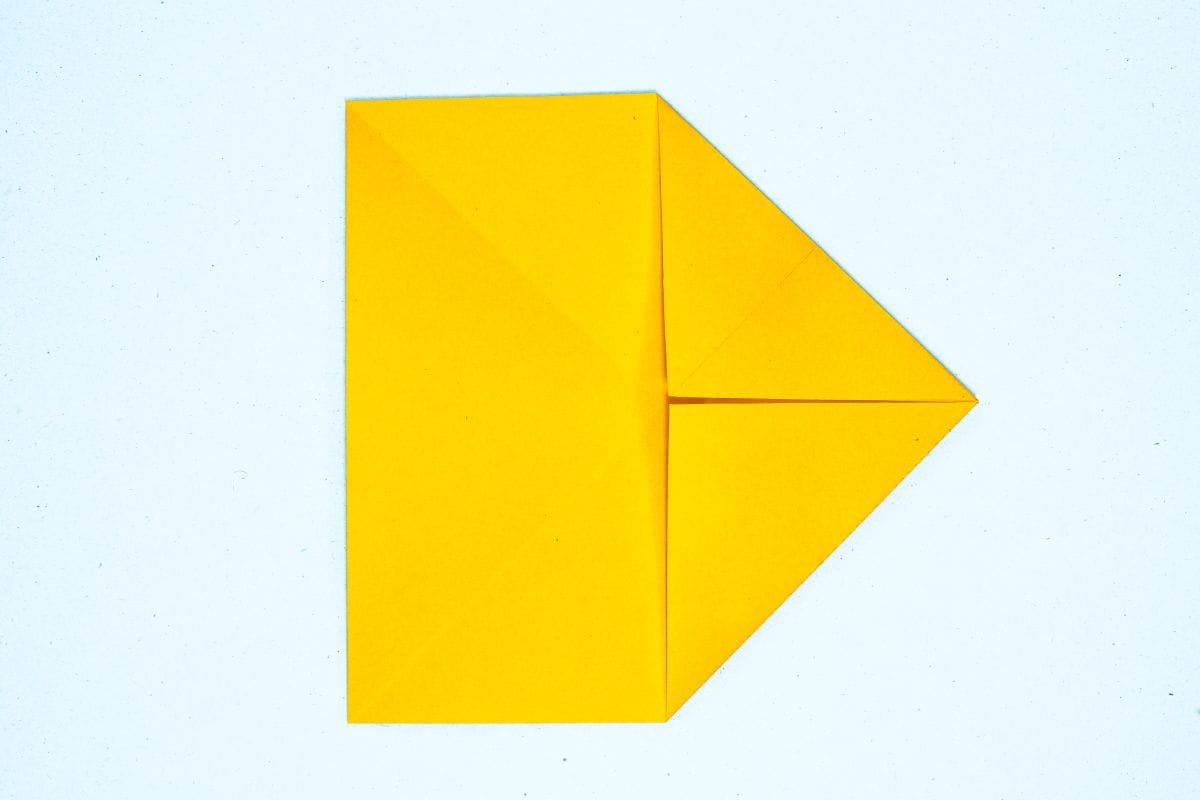
Fold the top right corner to the center.
Step 8
8
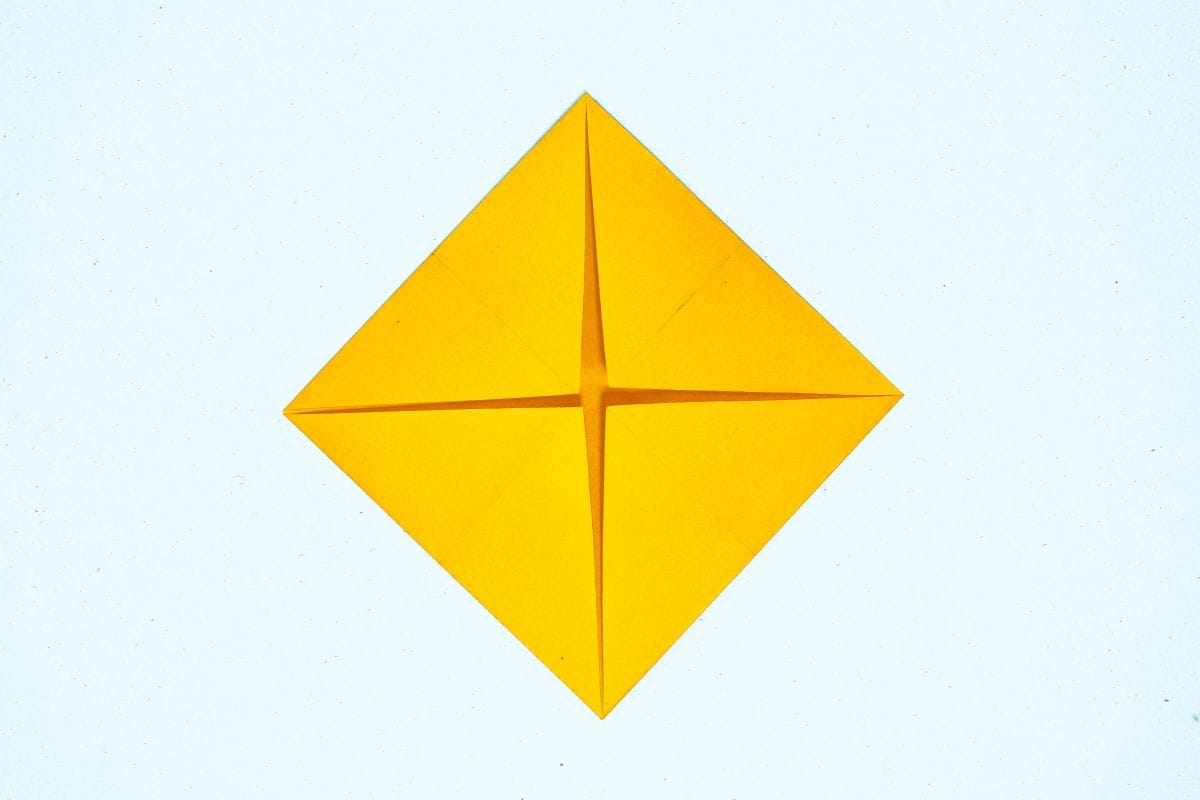
Fold the top and bottom left corners to the center.
Step 9
9
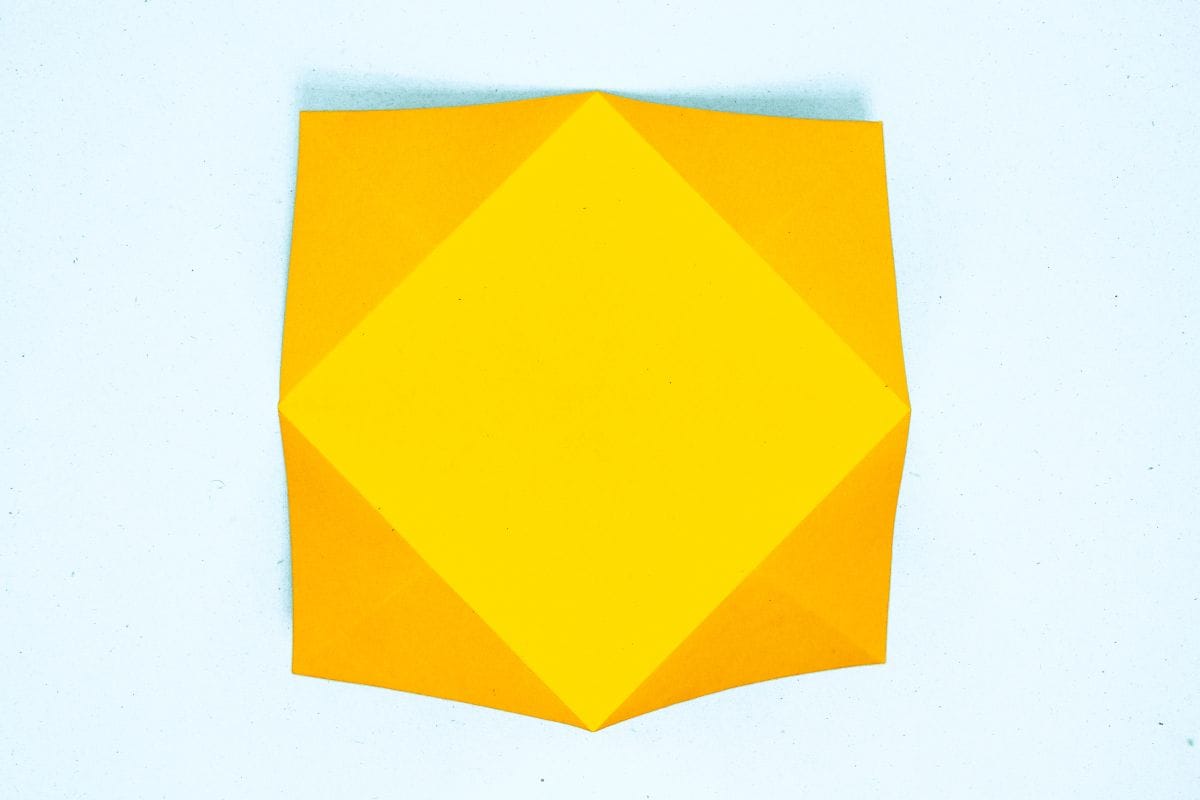
Unfold the four corners.
Step 10
10
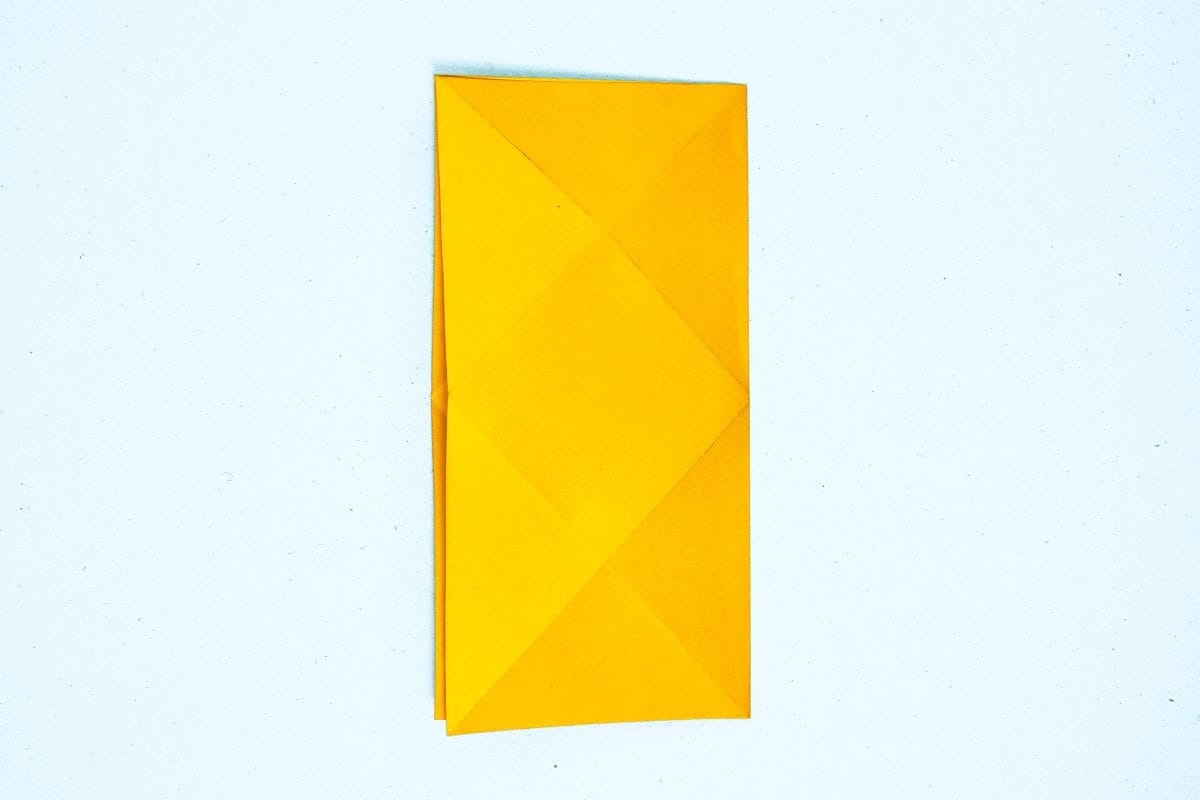
Fold the right edge to meet the left edge.
Step 11
11
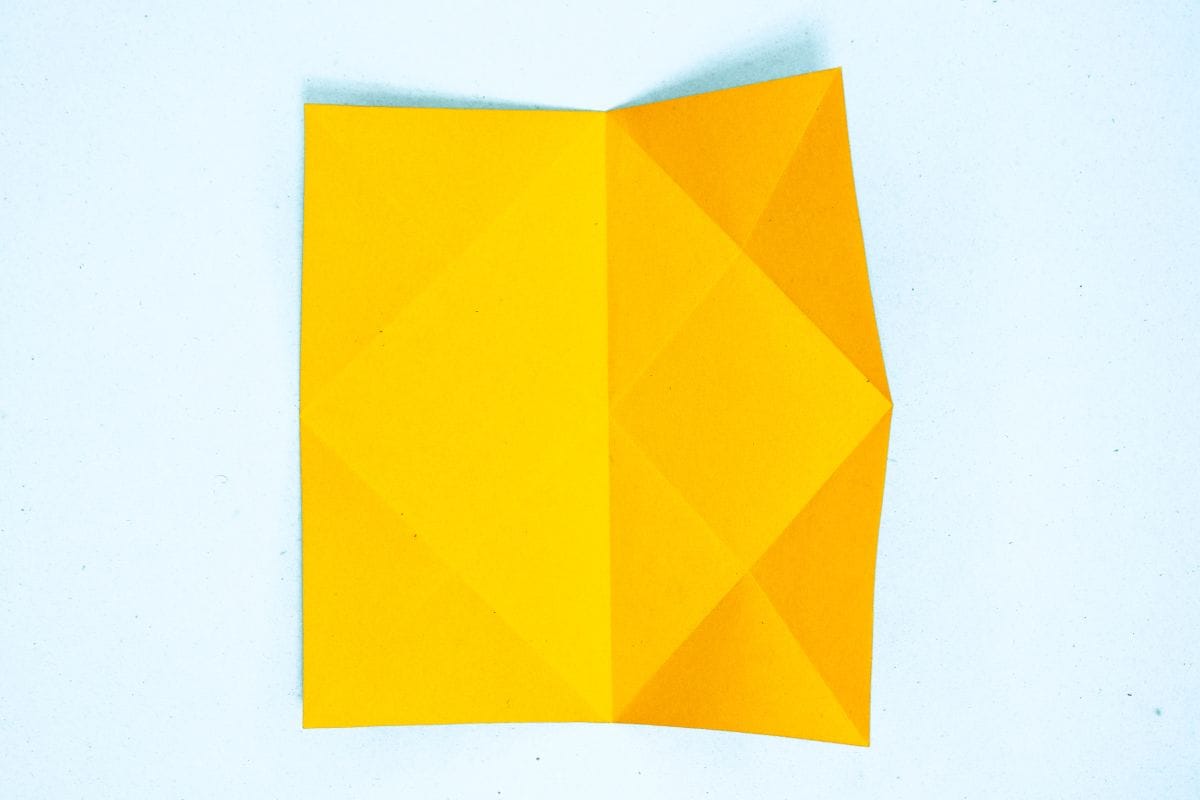
Unfold.
Step 12
12
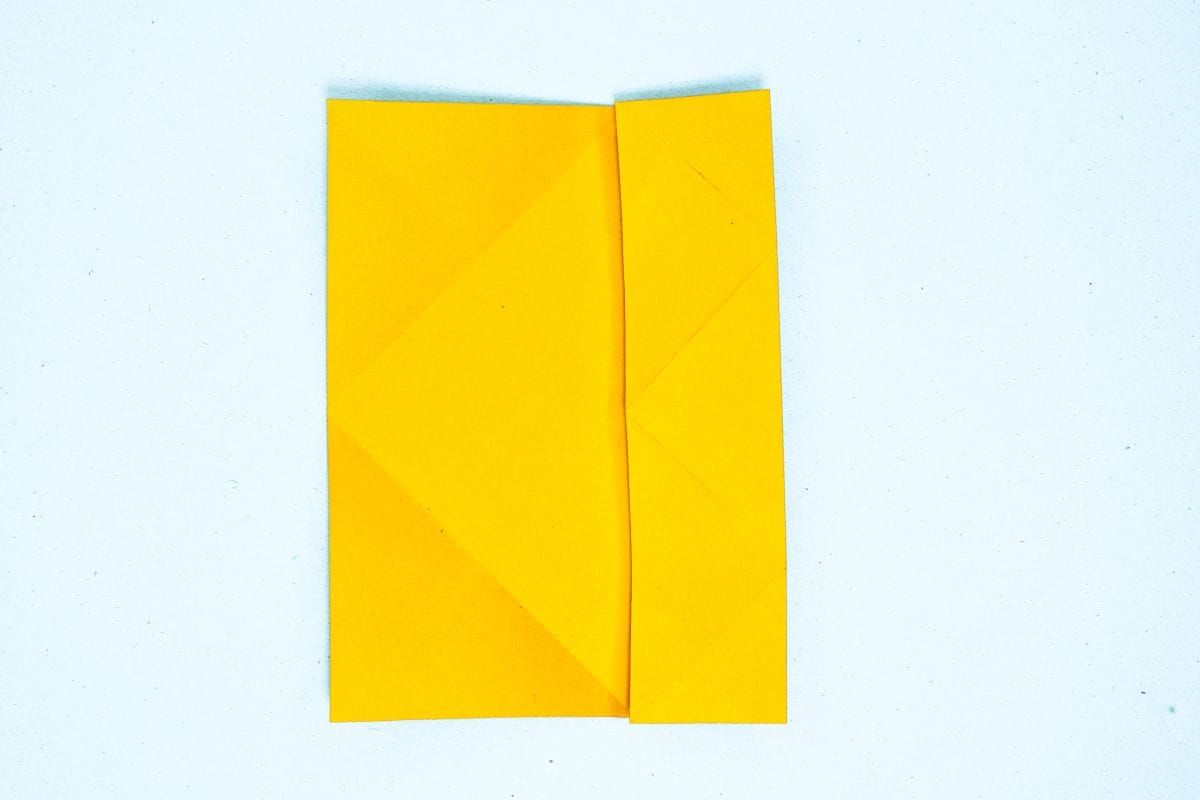
Fold the right edge to meet the center crease.
Step 13
13
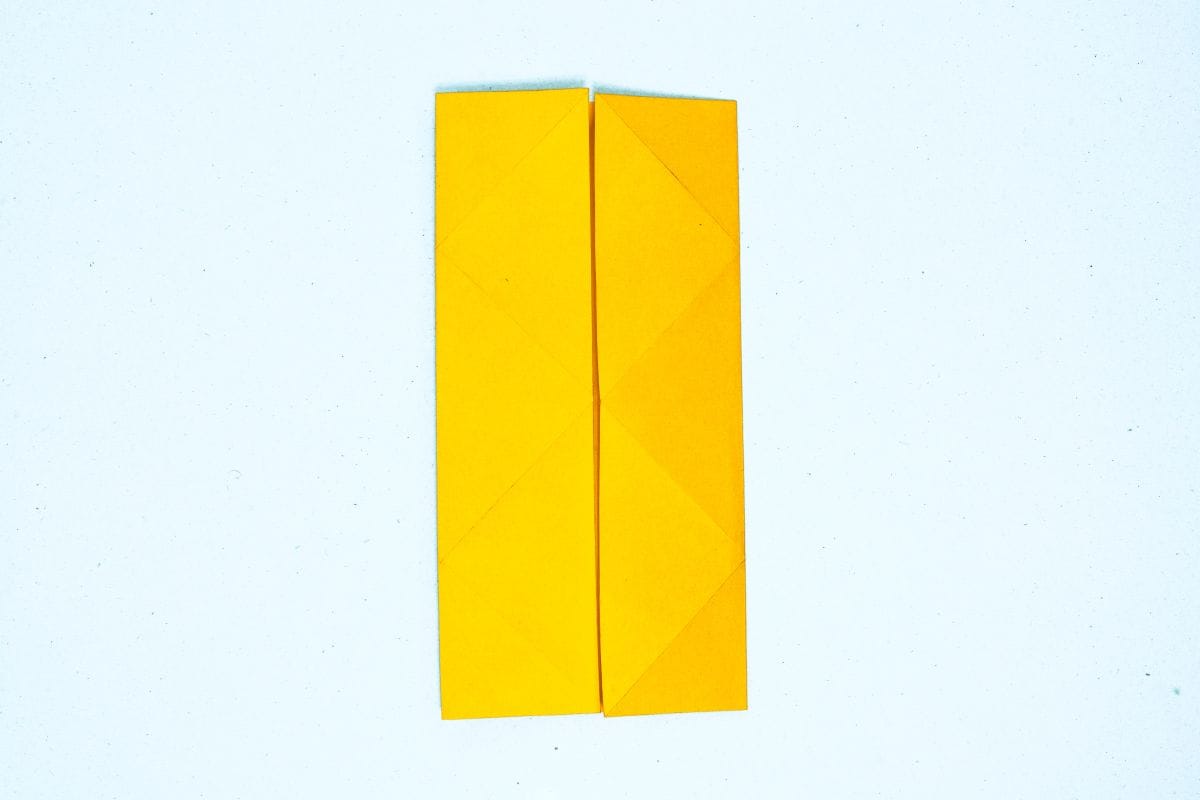
Fold the left edge to meet the center crease.
Step 14
14
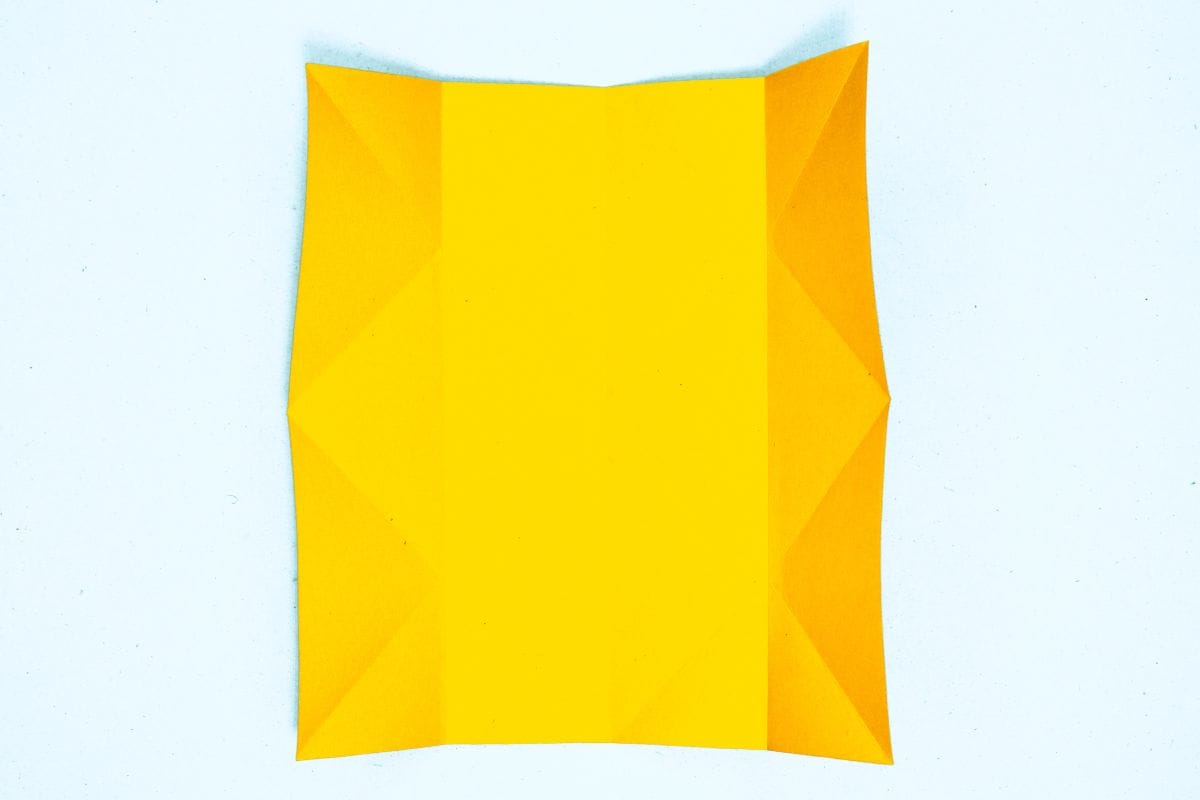
Unfold the left and right edges.
Step 15
15
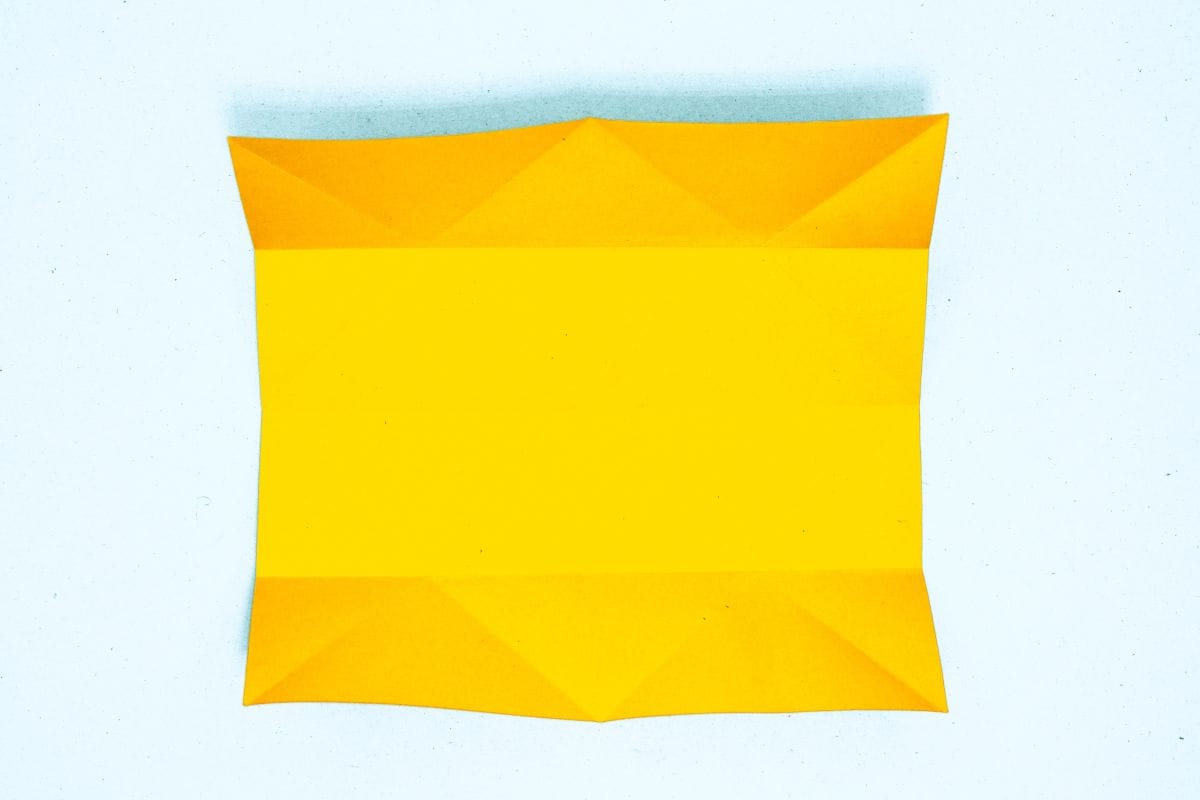
Rotate the model as shown.
Step 16
16
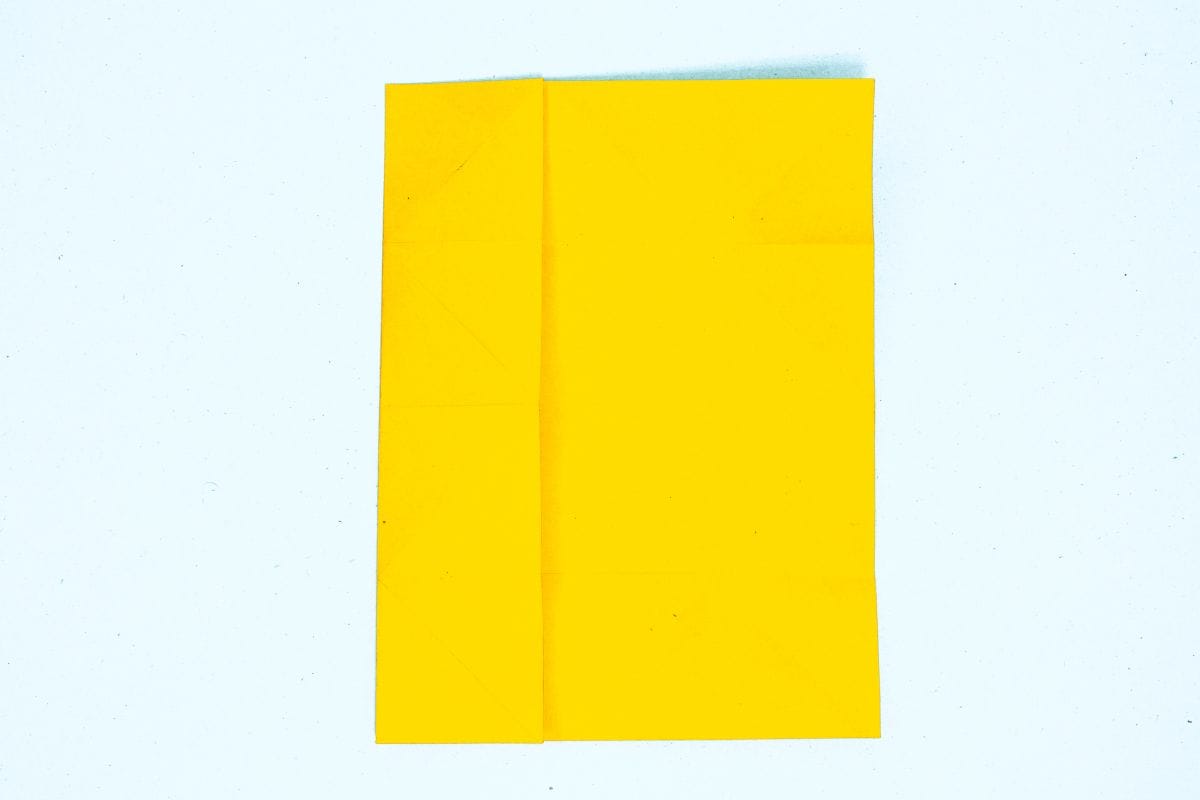
Fold the left edge to meet the center crease
Step 17
17
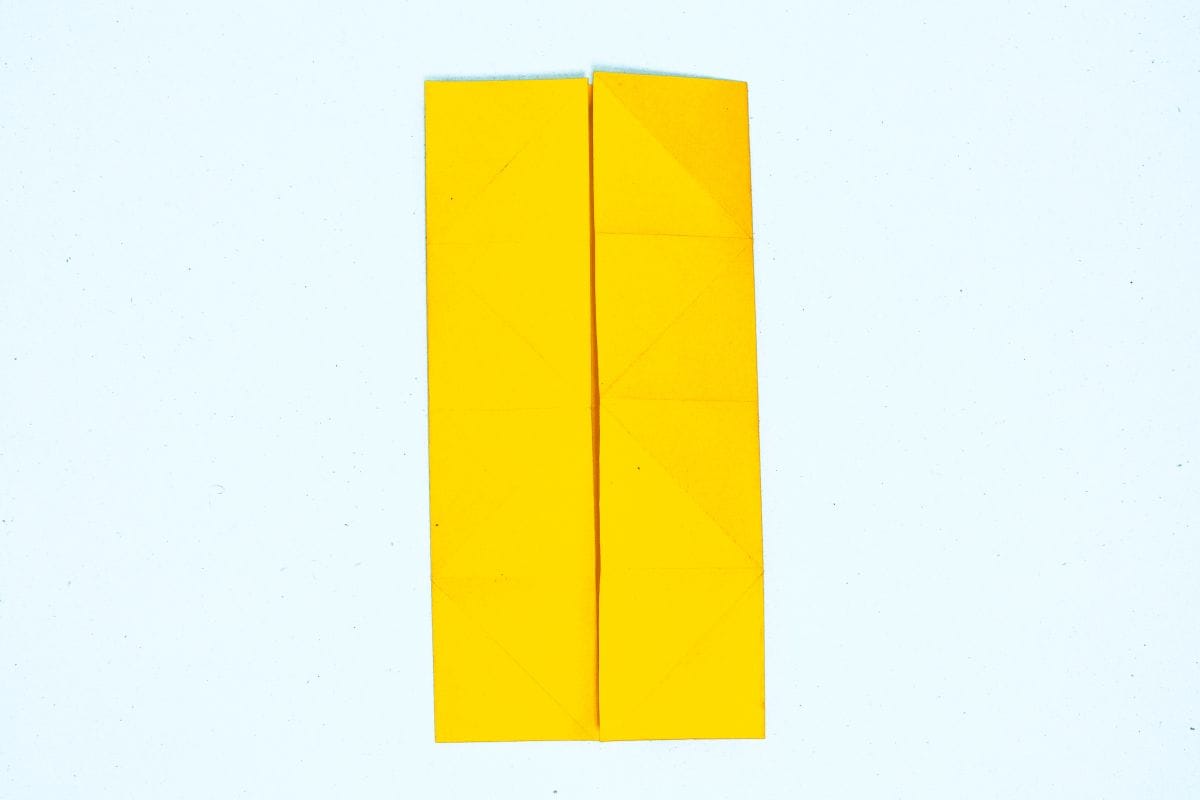
Fold the right edge to meet the center crease.
Step 18
18
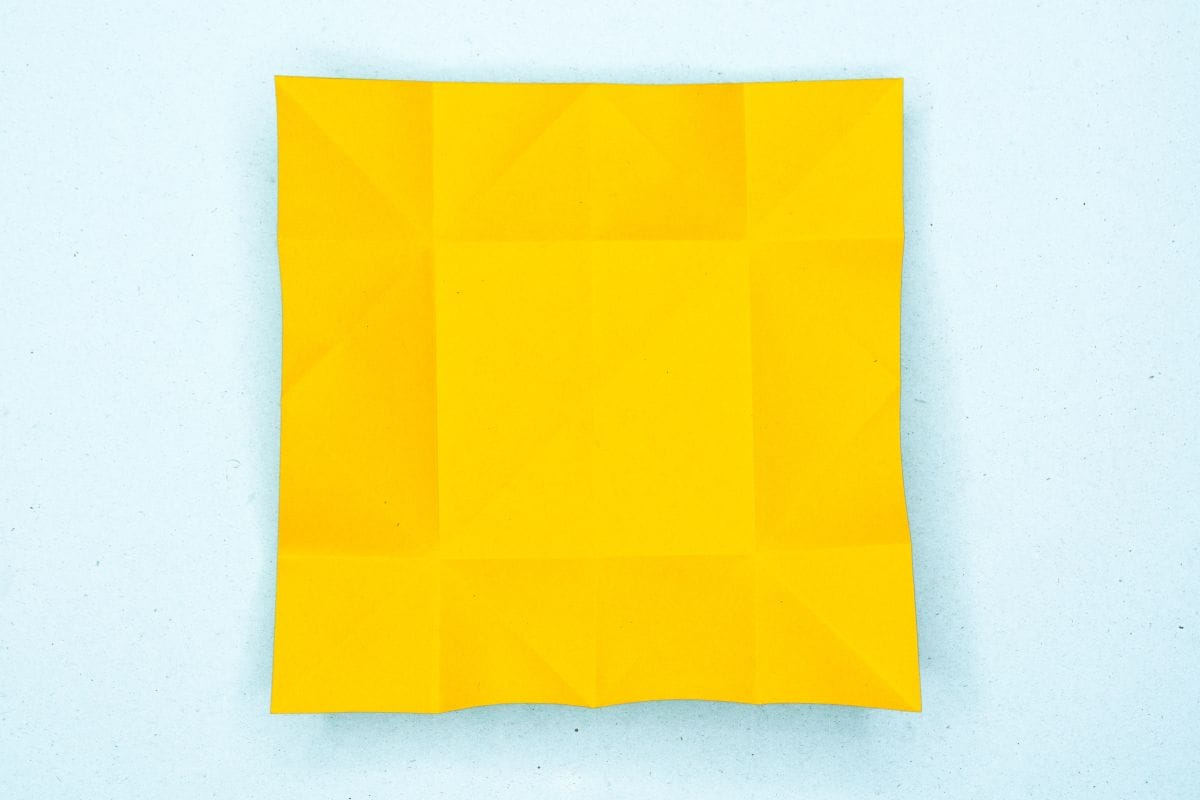
Unfold. We just needed crease lines
Step 19
19
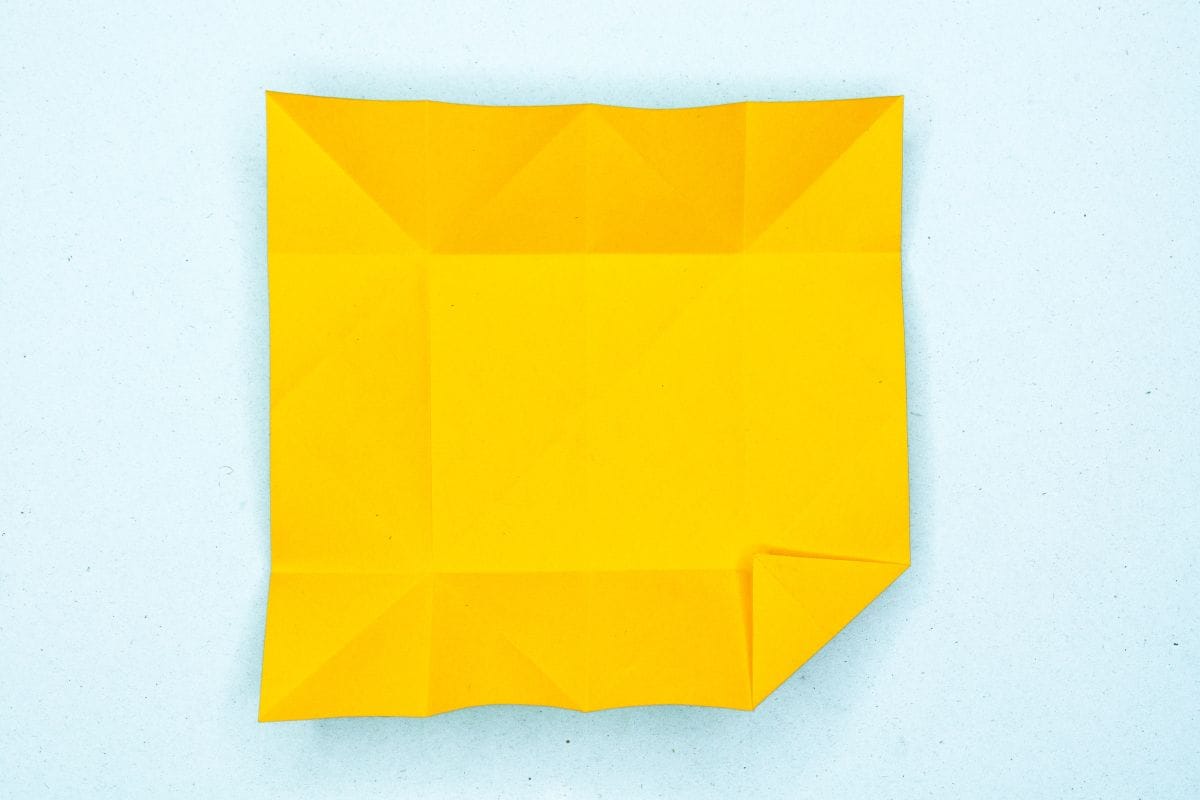
Fold the lower right corner inward so it aligns with the corner of the inner cube shaped crease.
Step 20
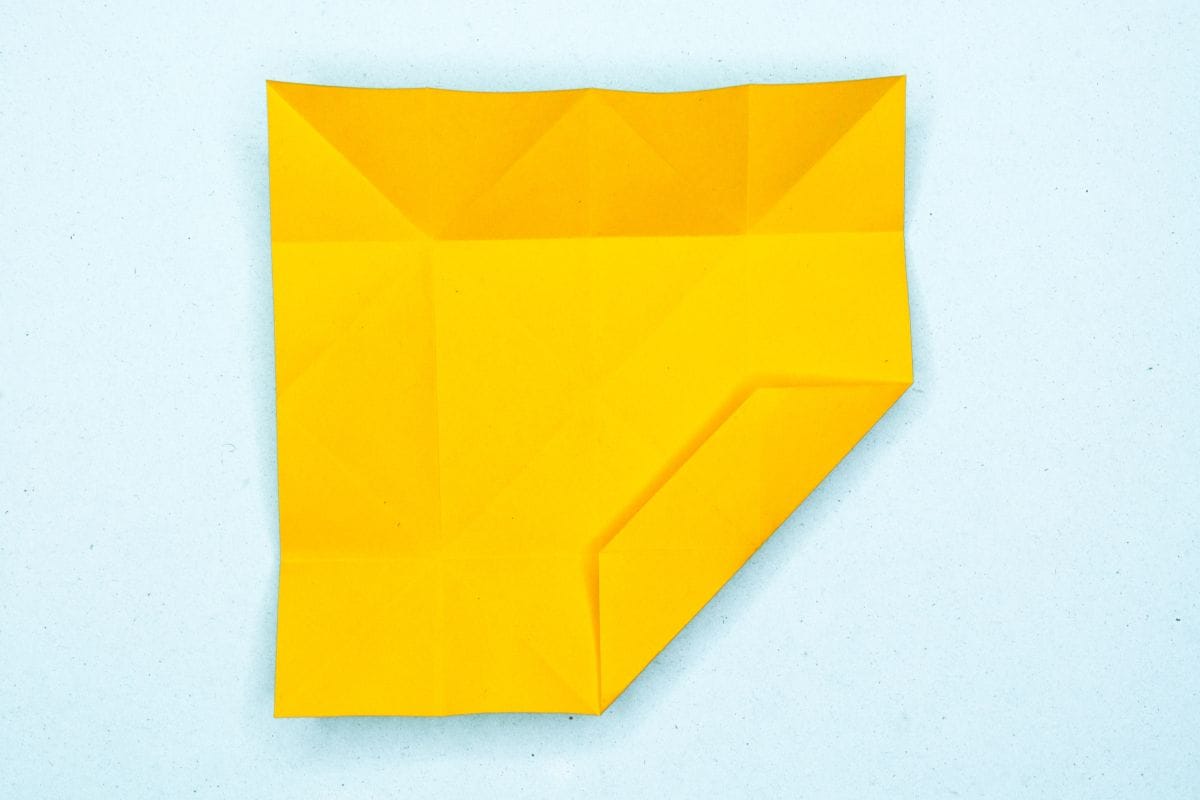
20
Fold the edge inward again, using the existing crease as a guide.
Step 21
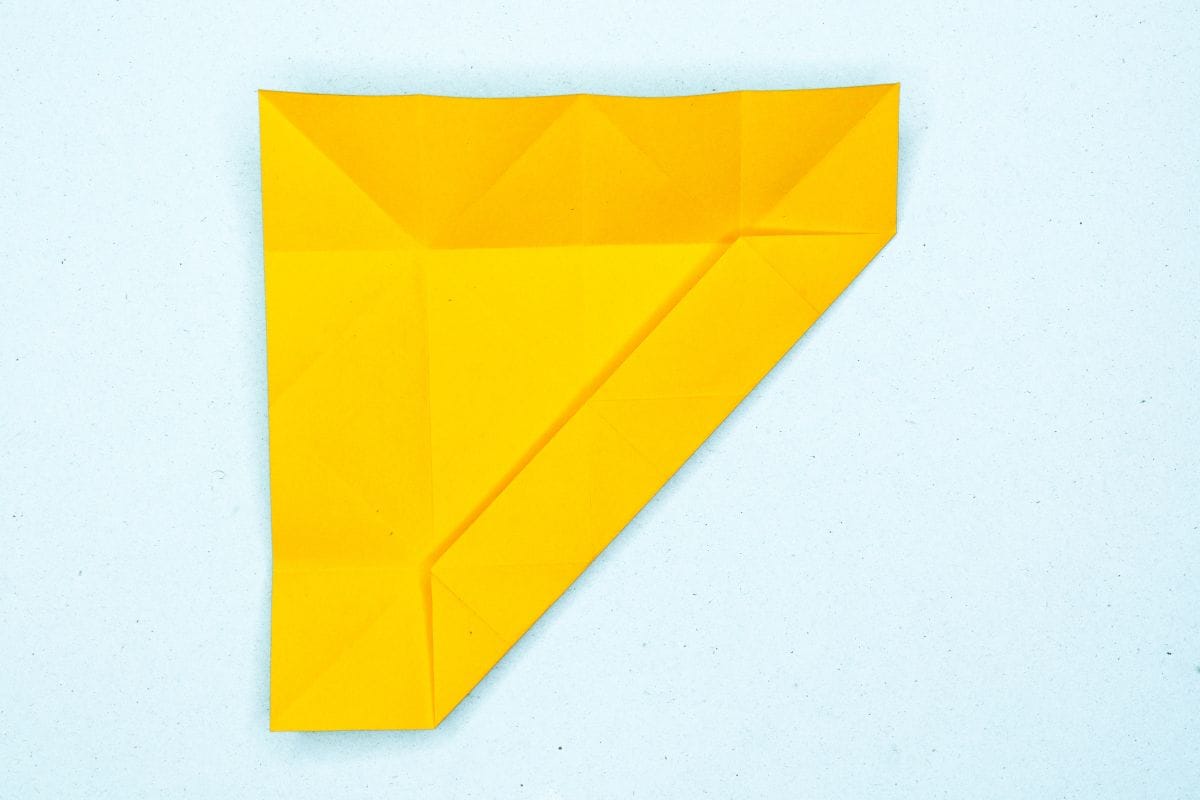
21
Fold the edge inward again. The edge will now meet the center diagonal crease.
Step 22
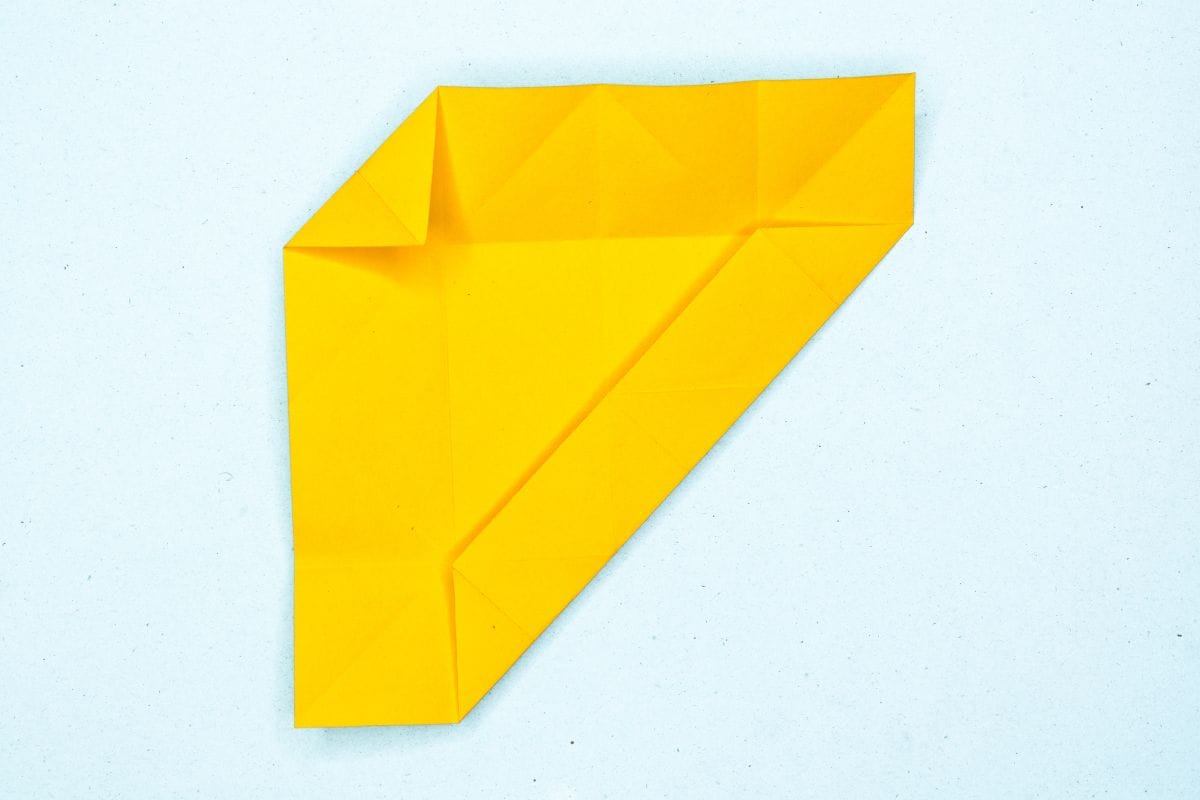
22
Fold the upper left corner inward so it aligns with the corner of the inner cube shaped crease.
Step 23
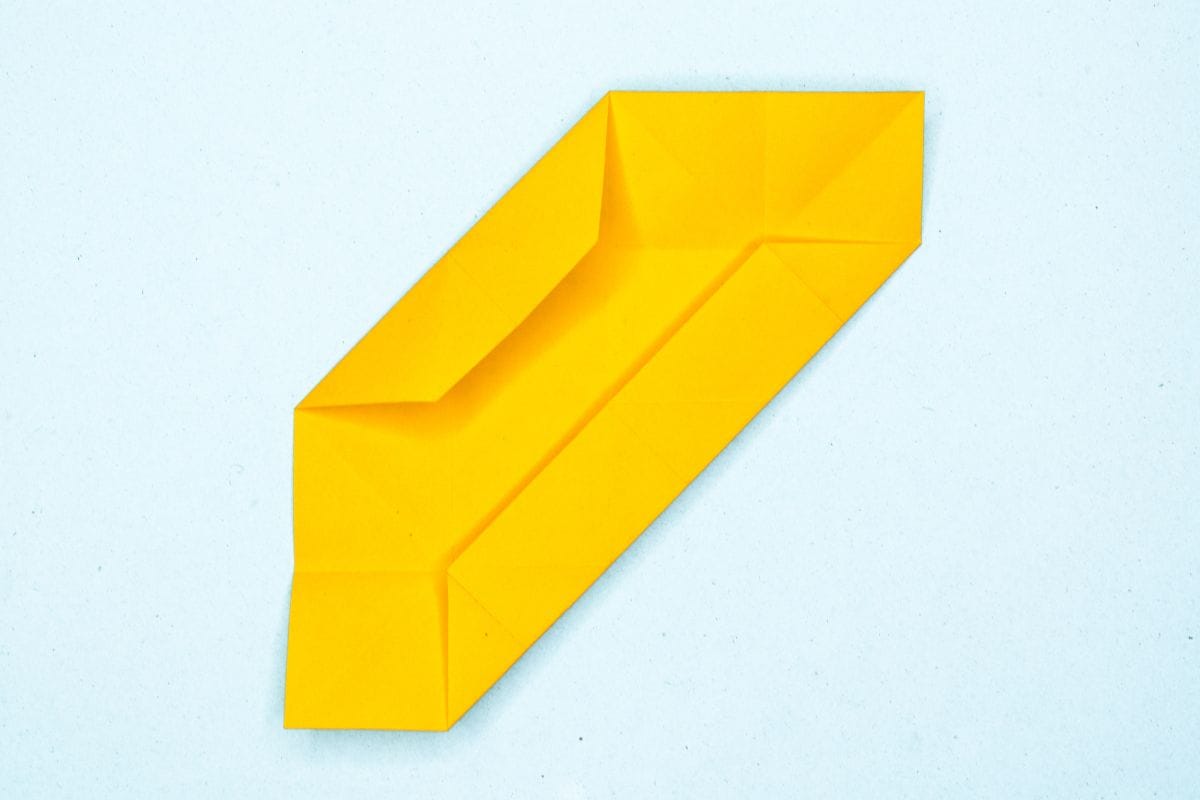
23
Fold the edge inward again, using the existing crease as a guide.
Step 24
24
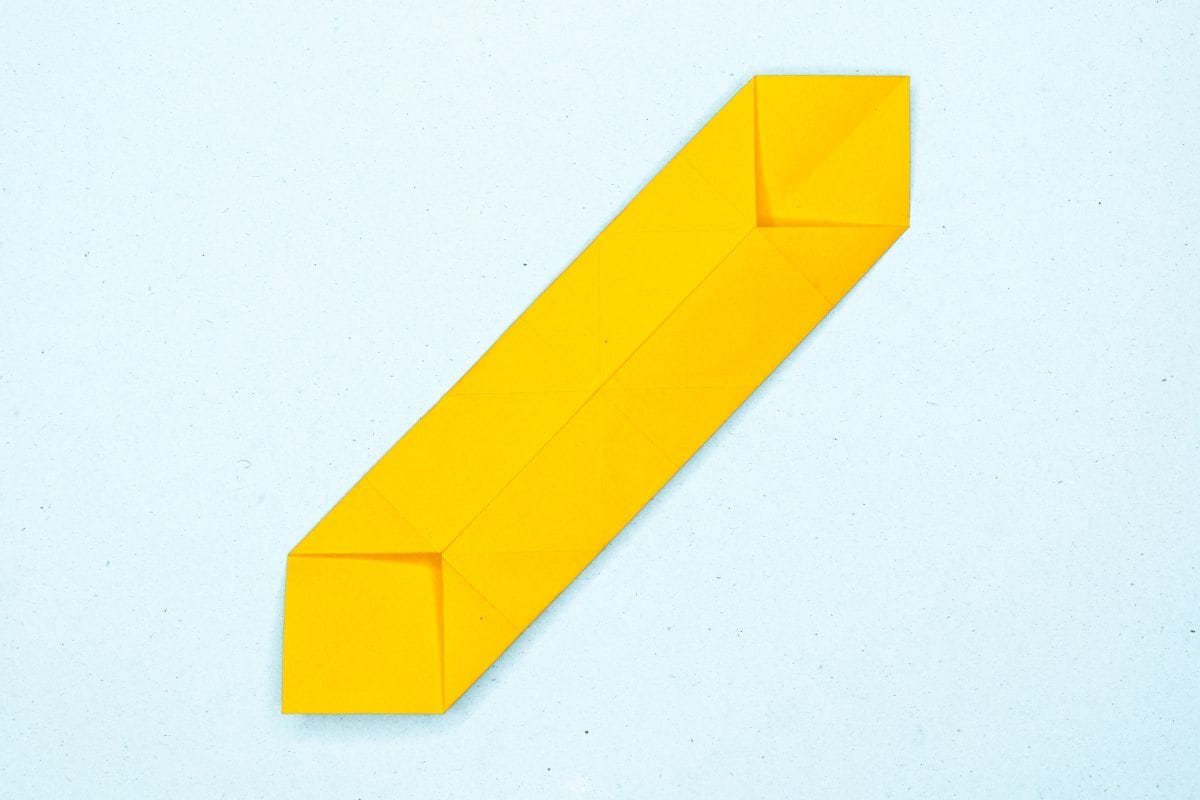
Fold the edge inward again. The edge will now meet the center diagonal crease.
Step 25
25
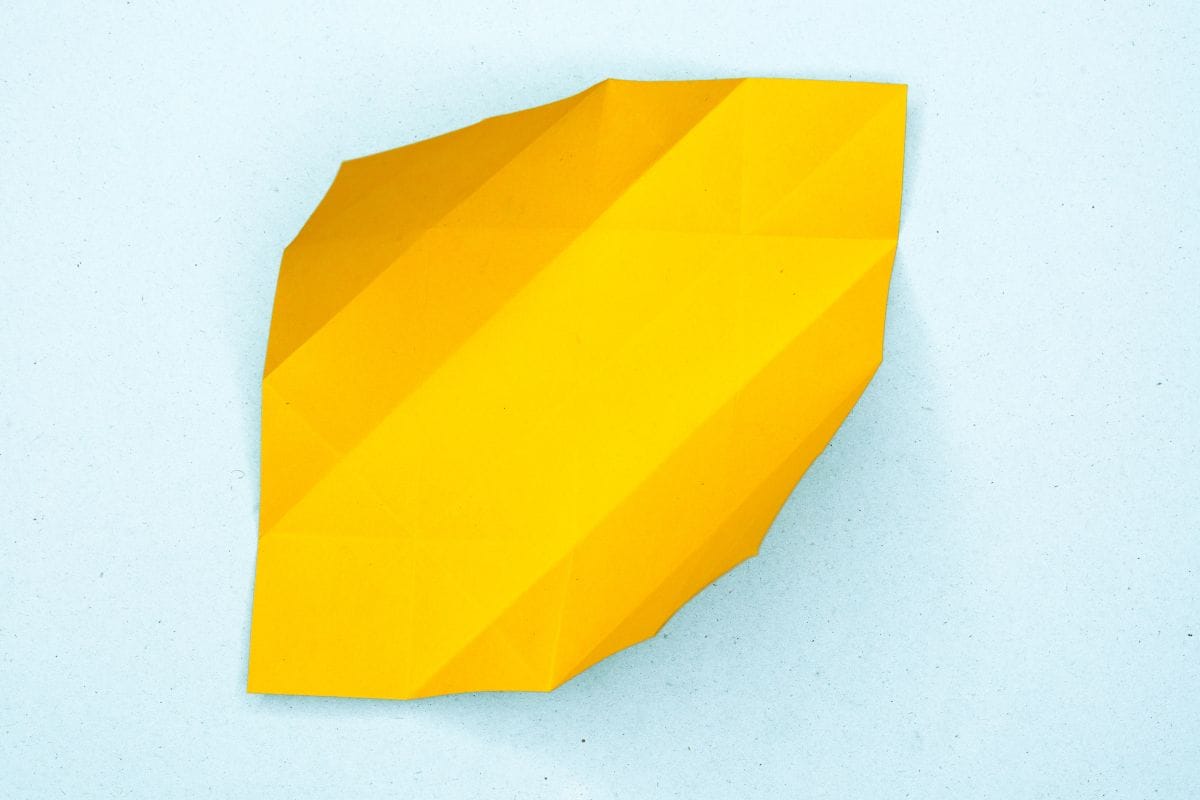
Unfold. We just needed crease lines.
Step 26
26
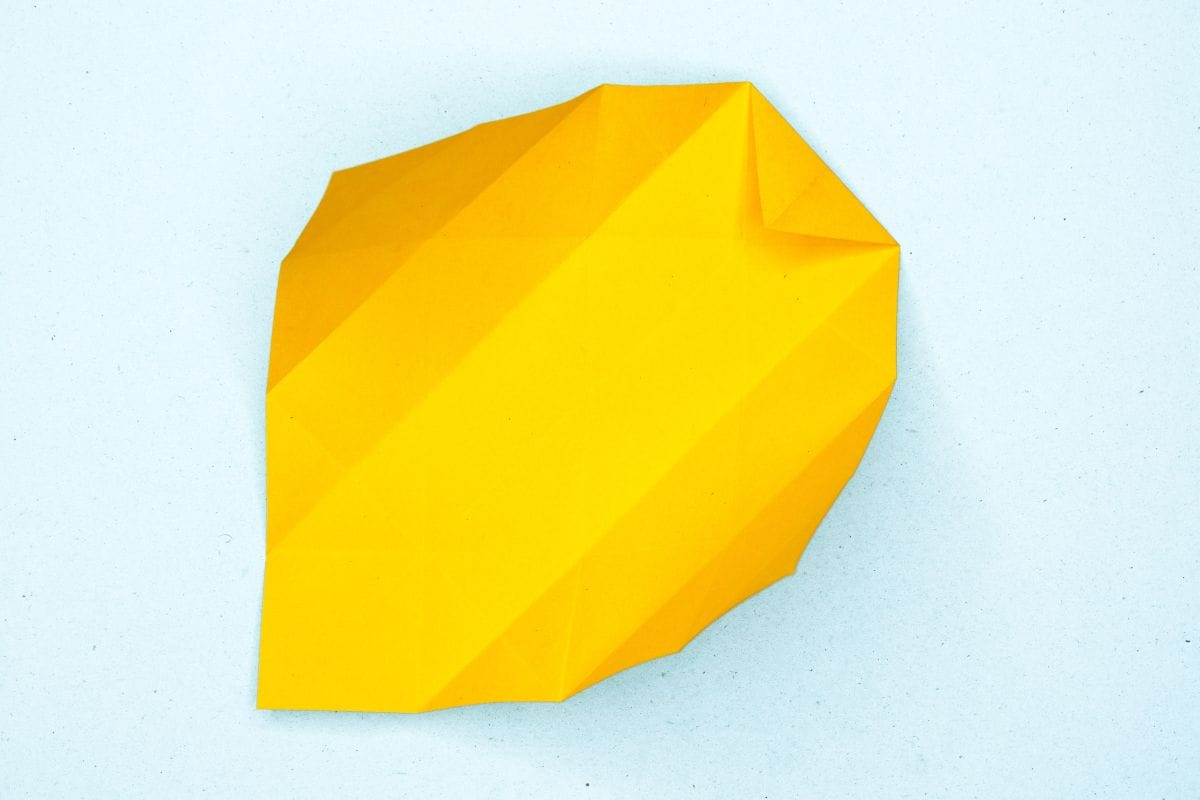
Fold the upper right corner inward so it aligns with the corner of the inner cube shaped crease.
Step 27
27
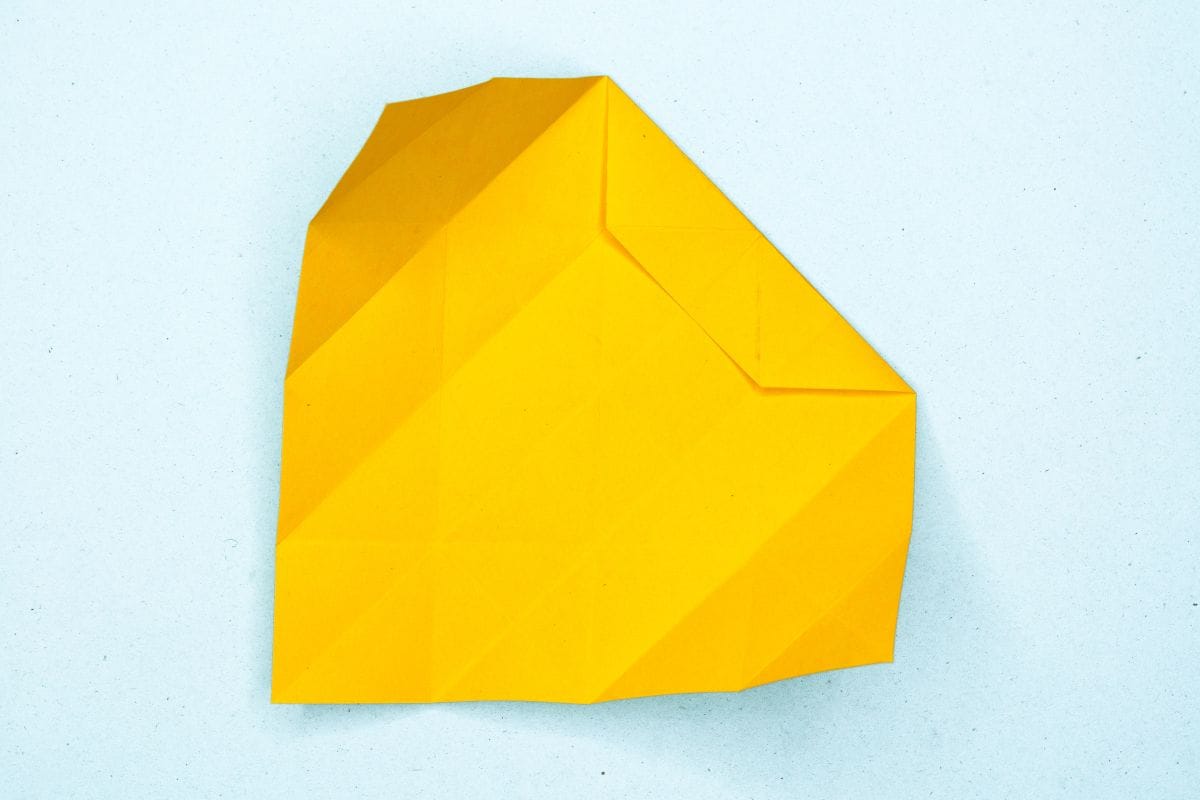
Fold the edge inward again, using the existing crease as a guide.
Step 28

28
Fold the edge inward again. The edge will meet the center diagonal crease.
Step 29
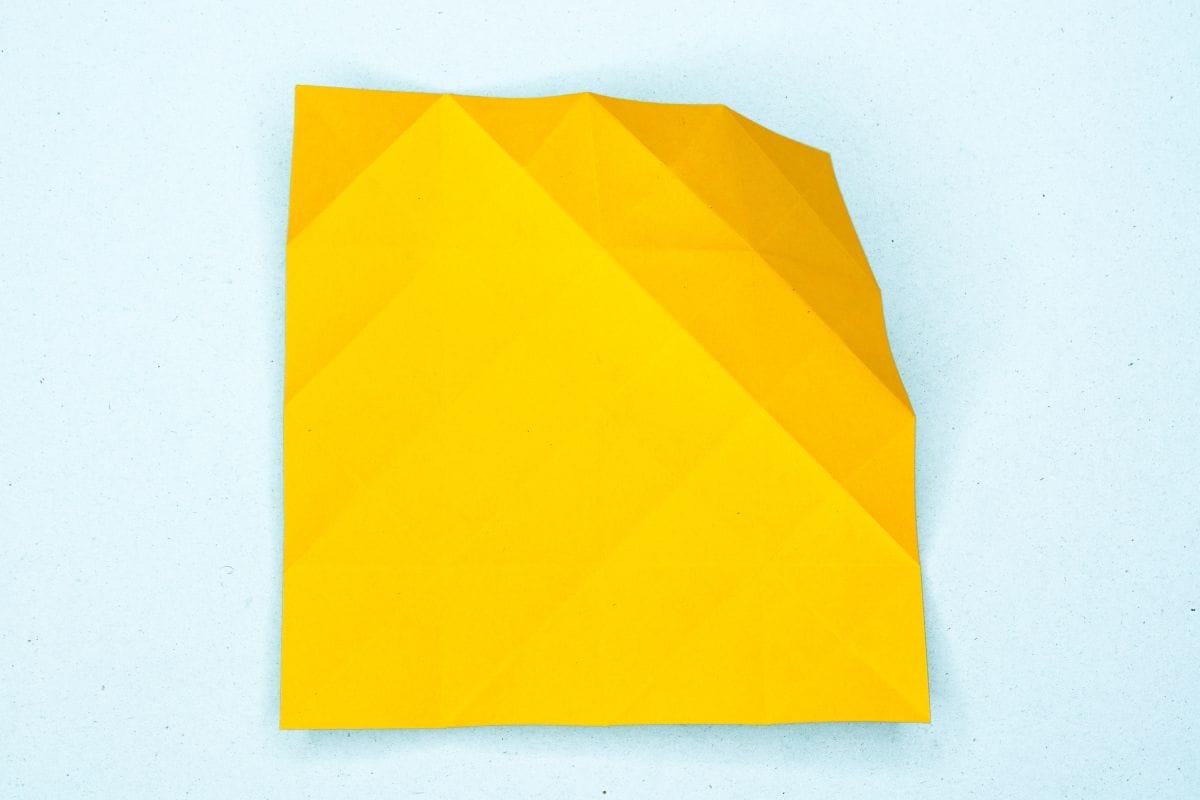
29
Unfold. We just needed crease lines.
Step 30
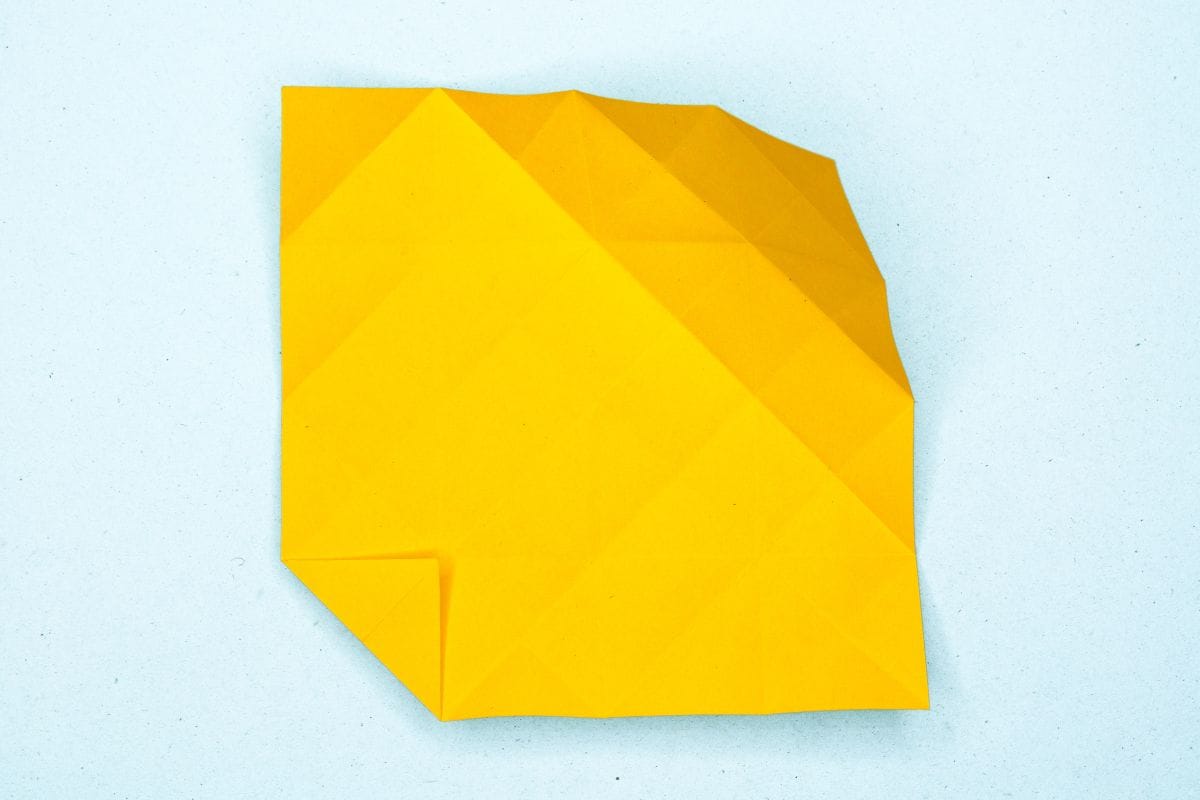
30
Fold the lower left corner inward so it aligns with the corner of the inner cube shaped crease.
Step 31
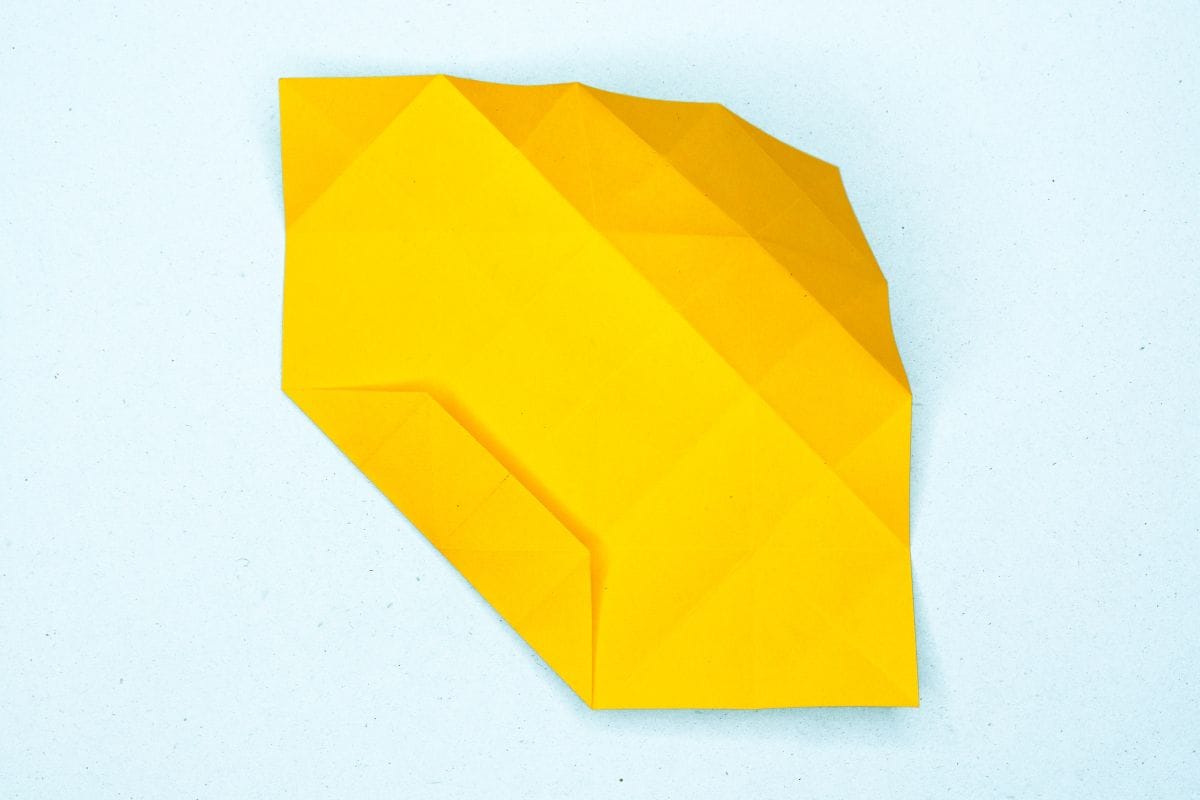
31
Fold the edge inward again, using the existing crease as a guide.
Step 32
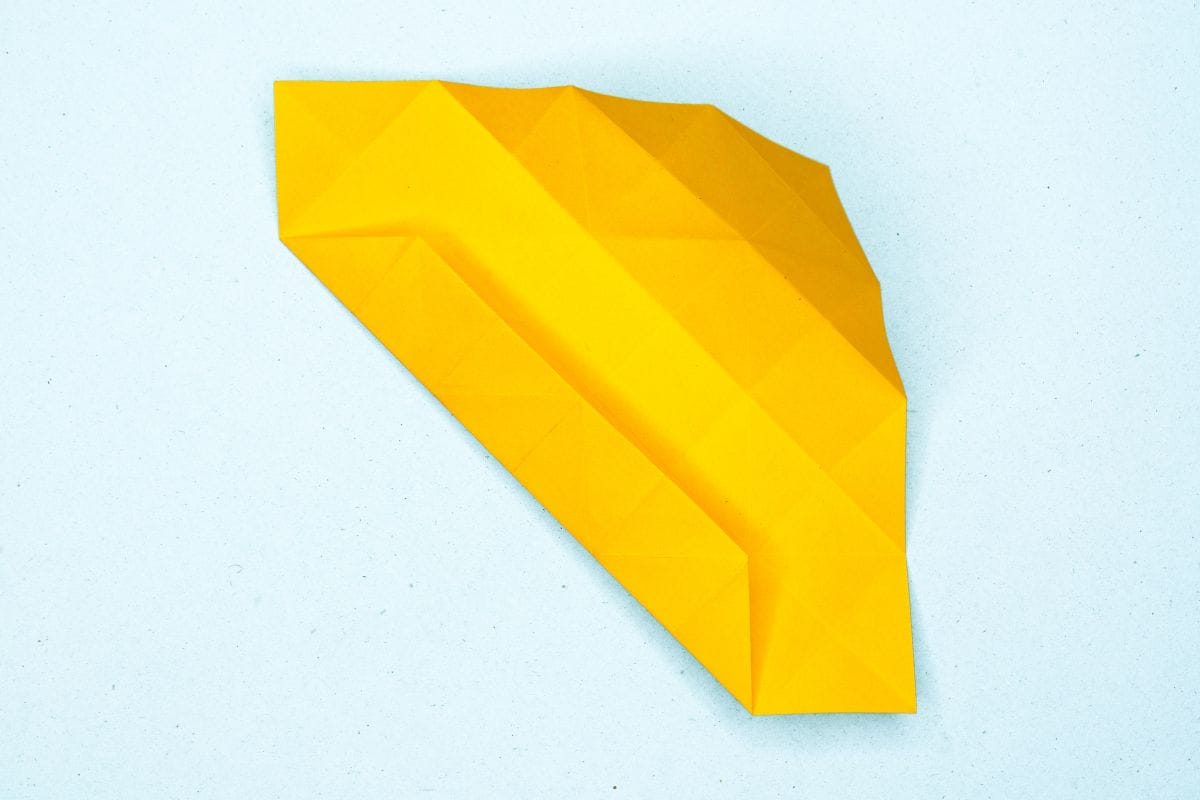
32
Fold the edge inward again. The edge will meet the center diagonal crease.
Step 33
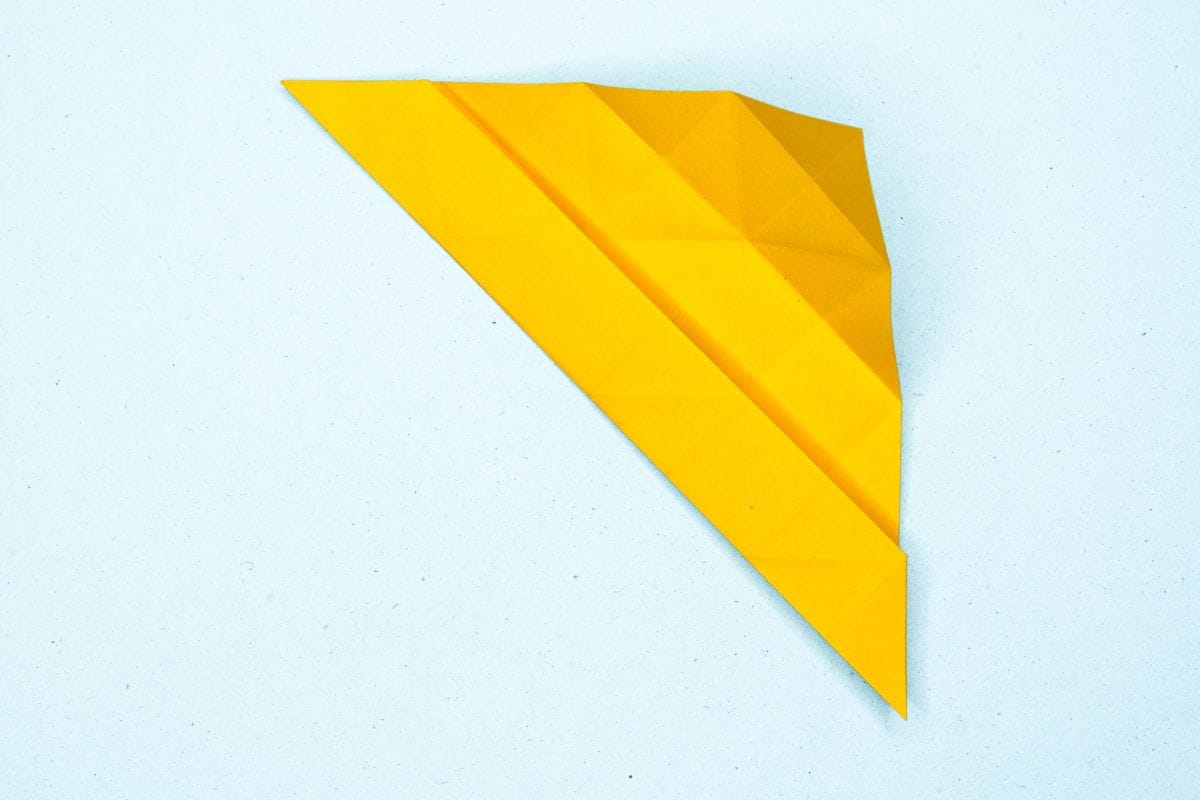
33
Fold the edge inward again, using the center diagonal crease as a guide.
Step 34
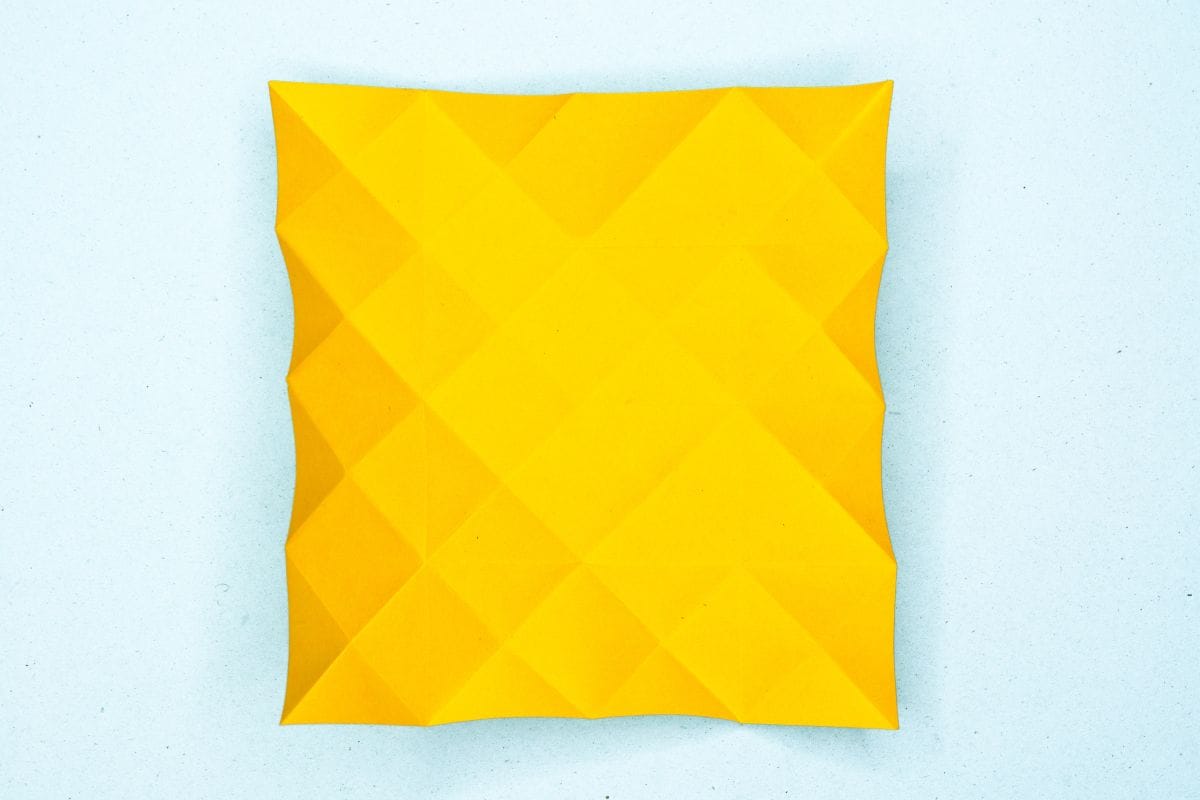
34
Unfold. We just needed crease lines.
Step 35
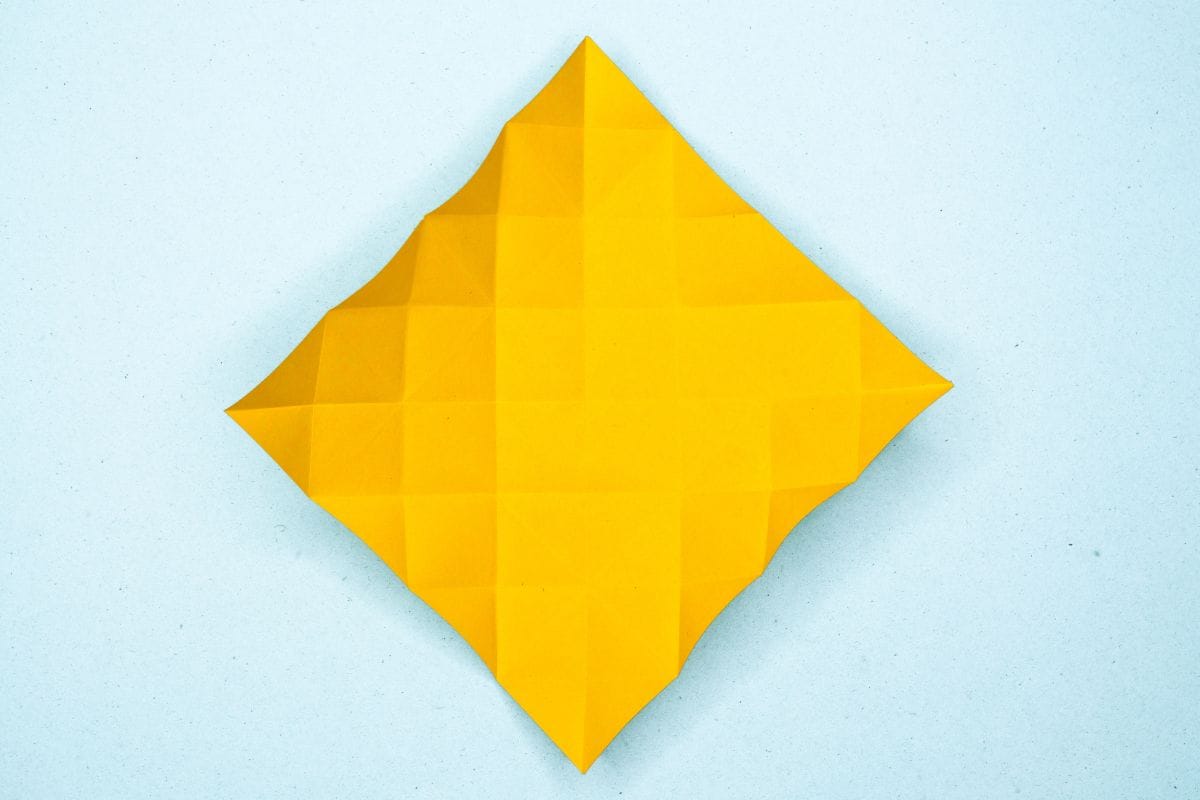
35
Rotate the paper into a diamond.
Step 36
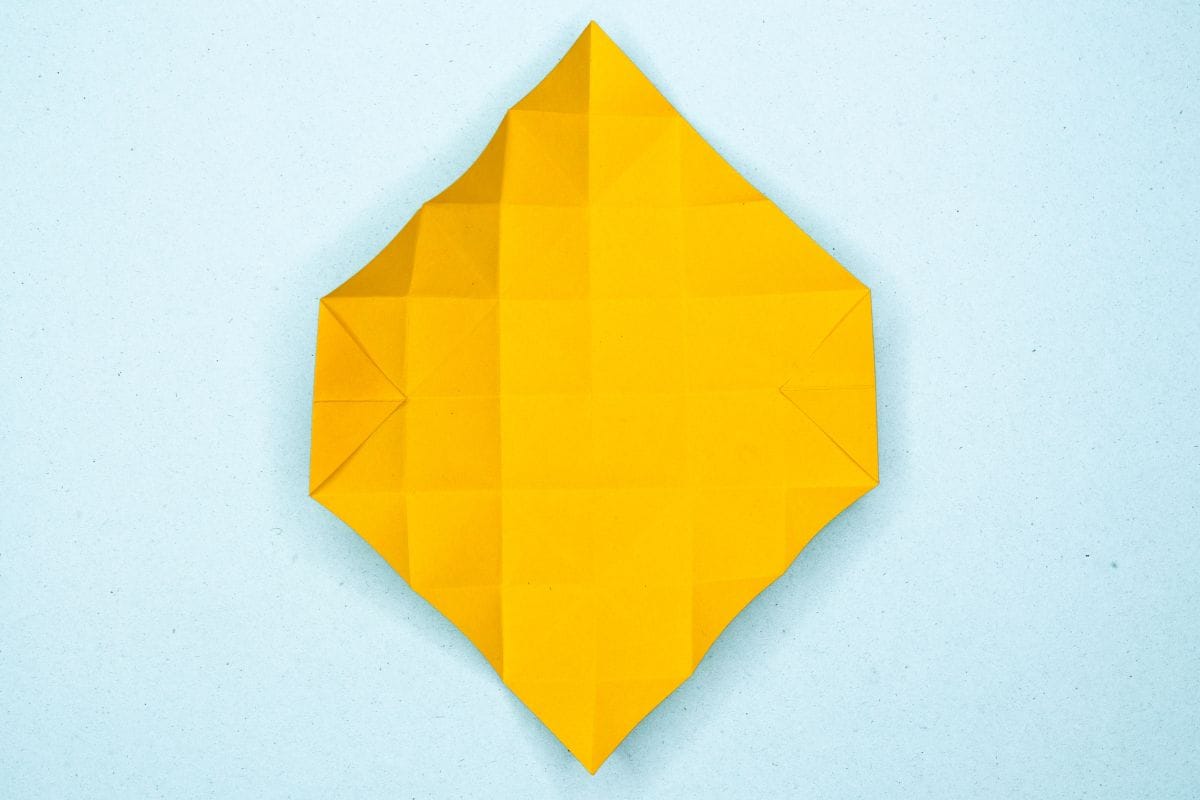
36
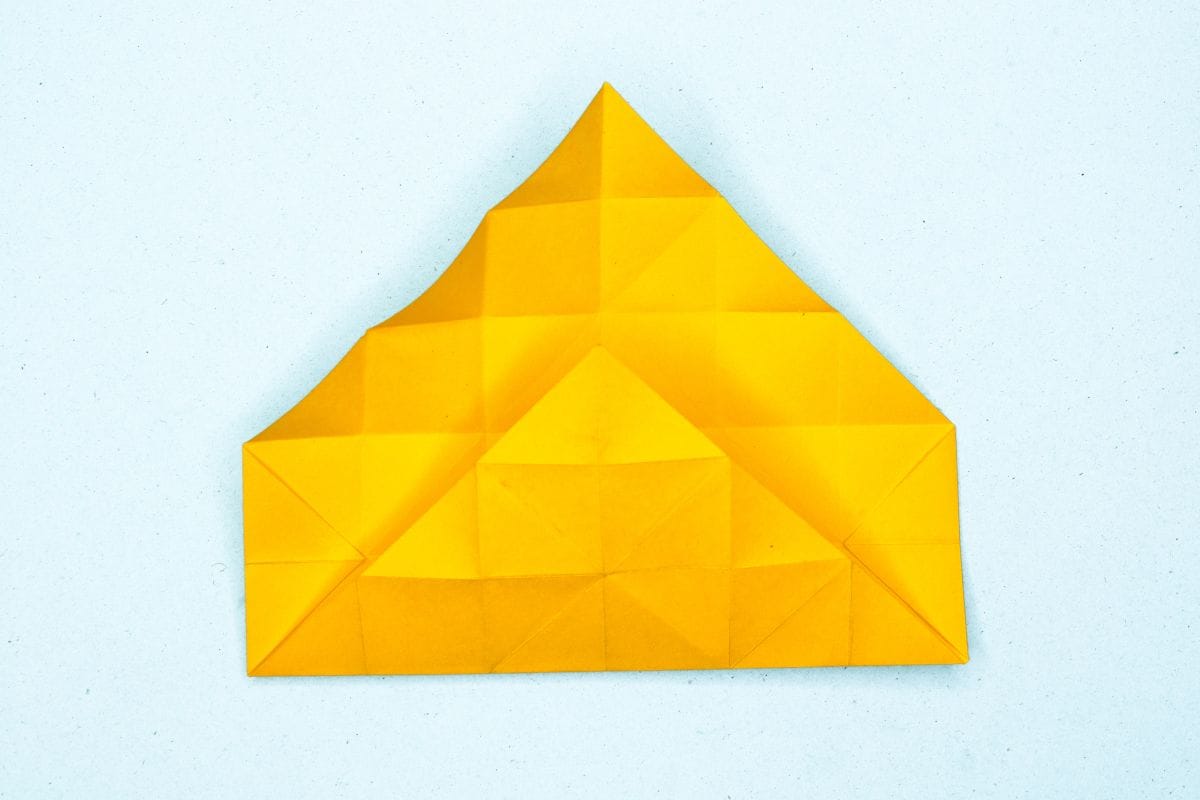
Fold both the left and right corners inward.
Step 37
37
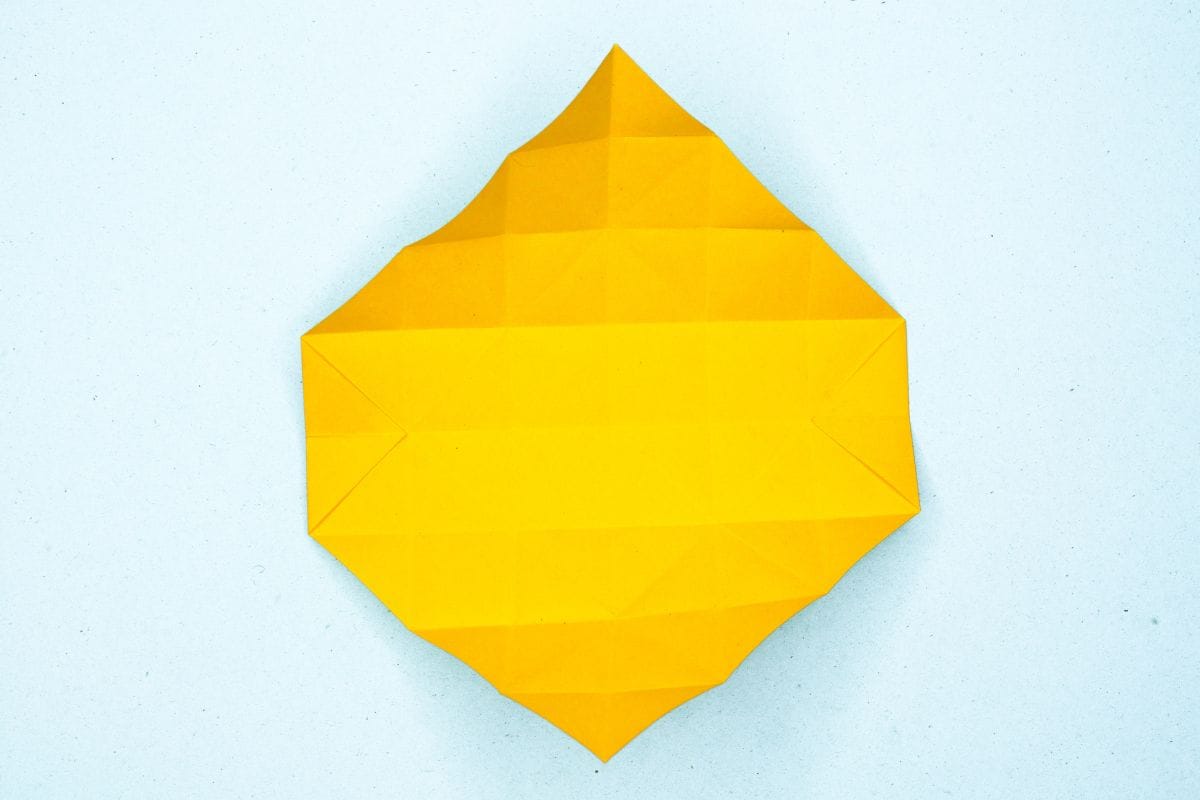
Fold the bottom corner upward to meet the second crease from the top.
Step 38
38
Unfold. We just needed a crease line.
Step 39

39
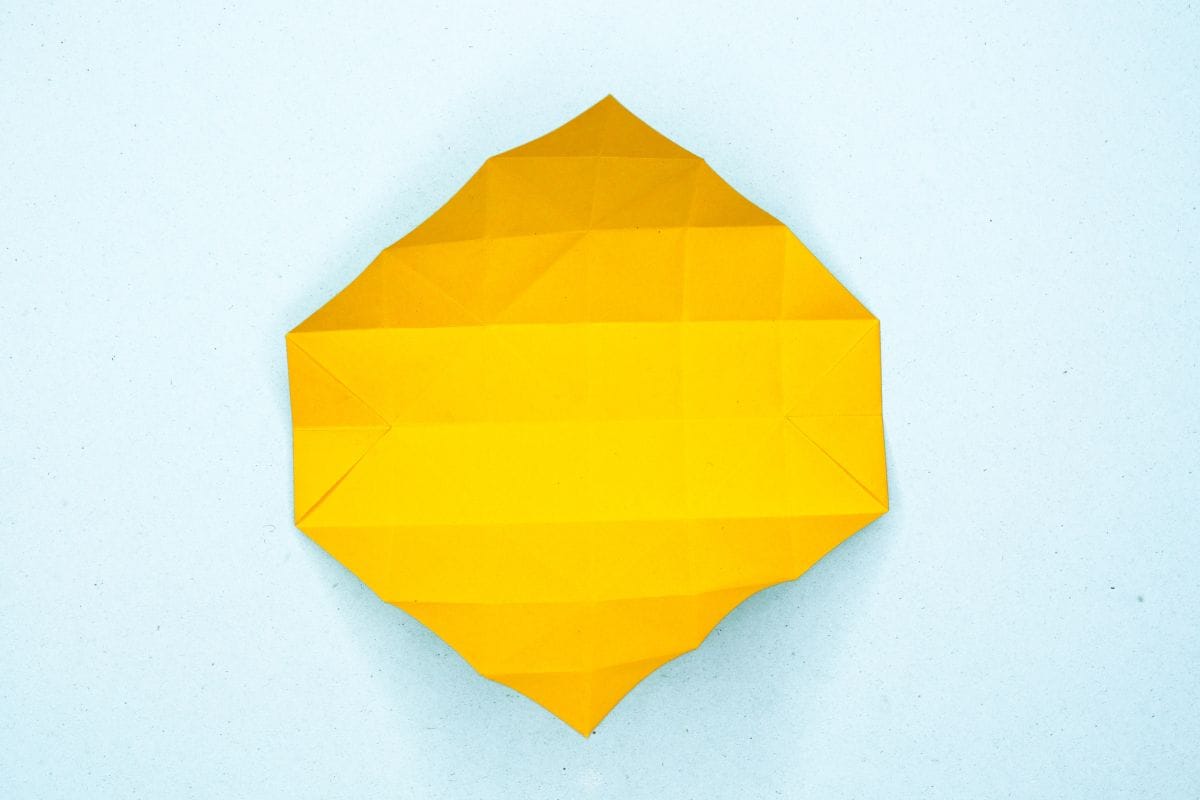
Fold the top corner down to meet the second crease from the bottom.
Step 40
40
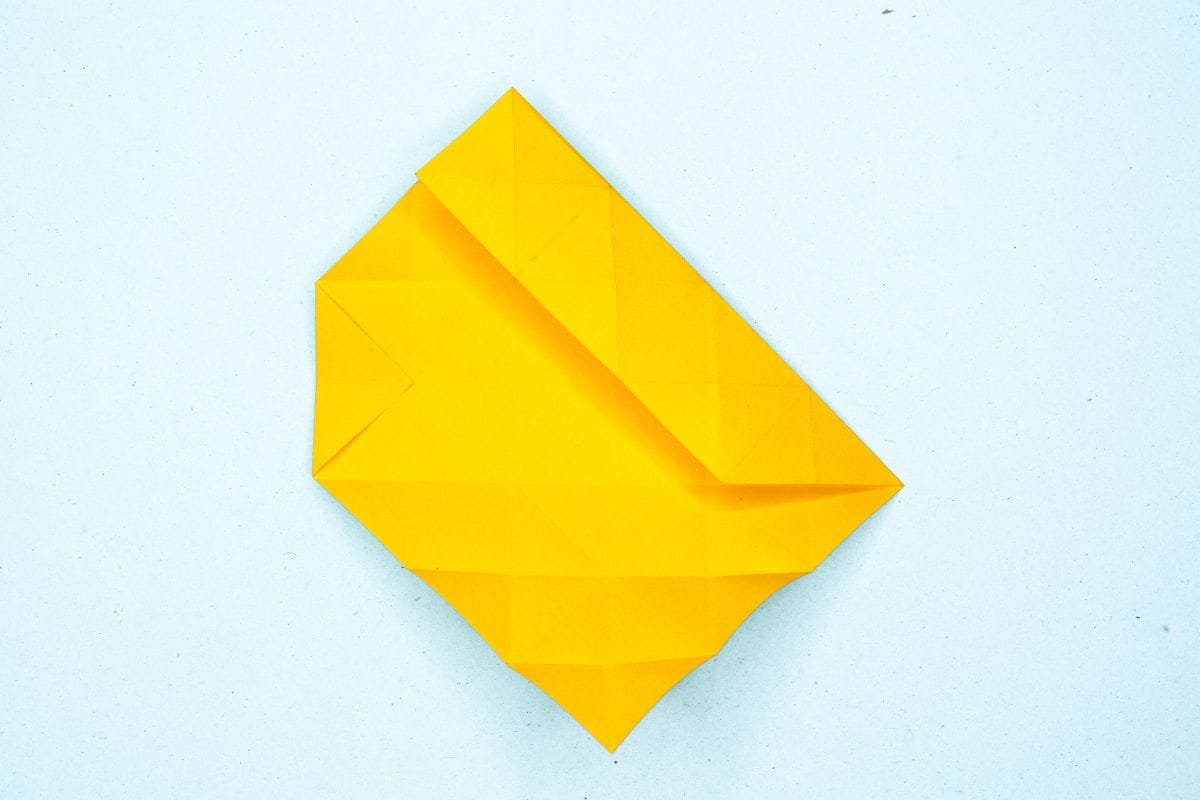
Unfold. We just needed a crease line.
Step 41
41
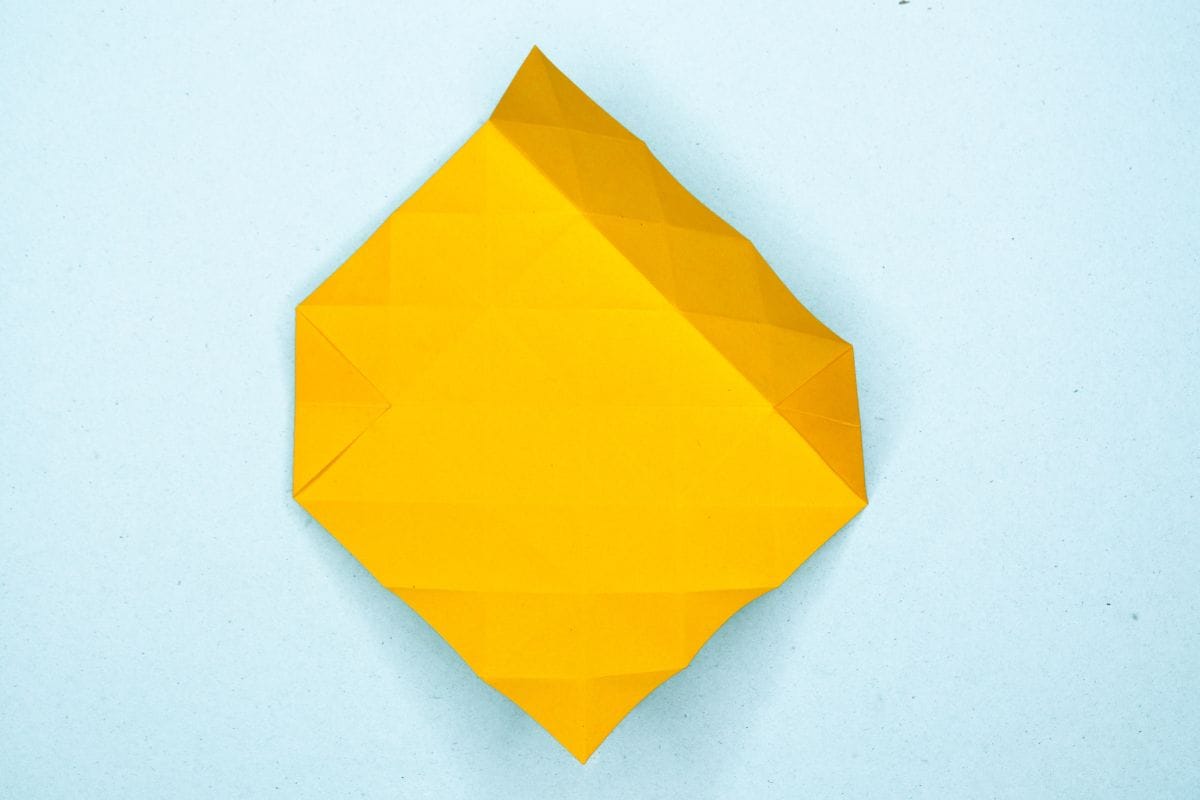
Fold the top right edge inward so it aligns perfectly with the center diagonal crease line.
Step 42
42
Unfold. We just needed a crease line.
Step 43

43
Fold the top left edge inward so it aligns perfectly with the center diagonal crease line.
Step 44

44
Unfold. We just needed a crease line.
Step 45
45
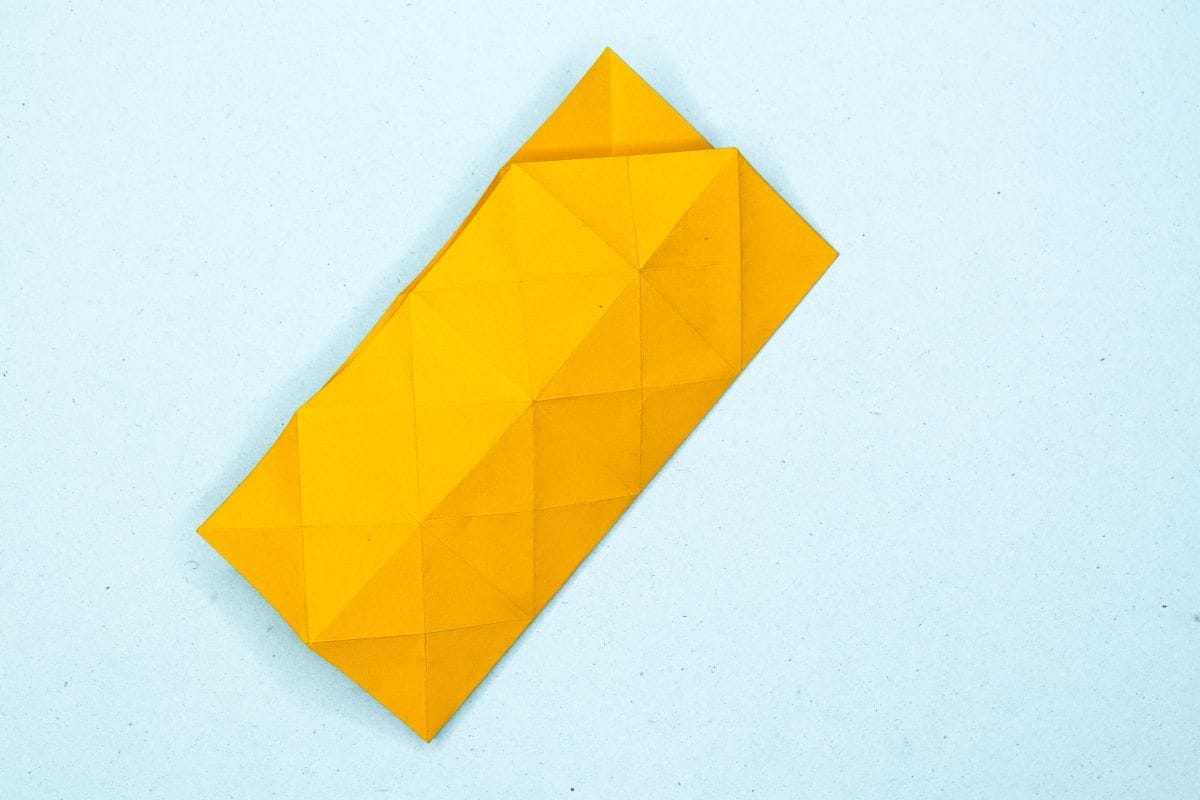
Fold the paper in half along the diagonal.
Step 46

46
Unfold. We just needed a crease line.
Step 47
47
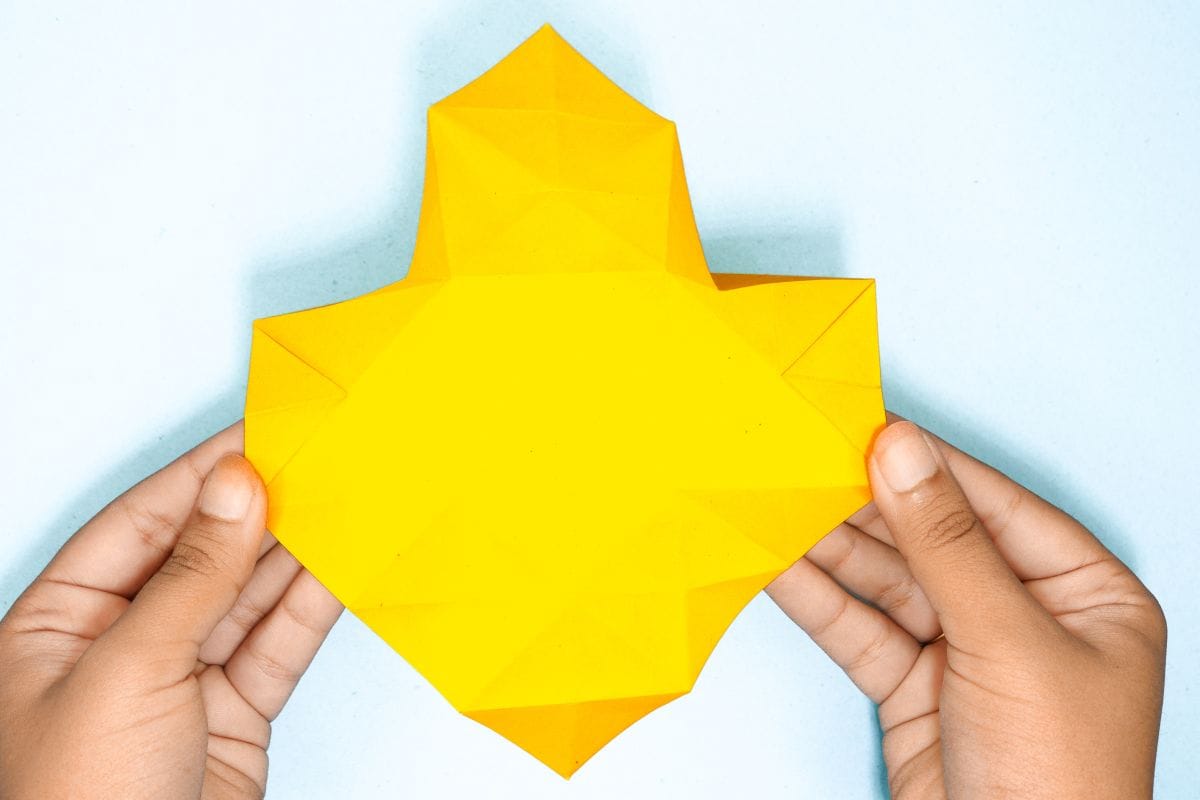
Start bringing the edges together.
Step 48
48
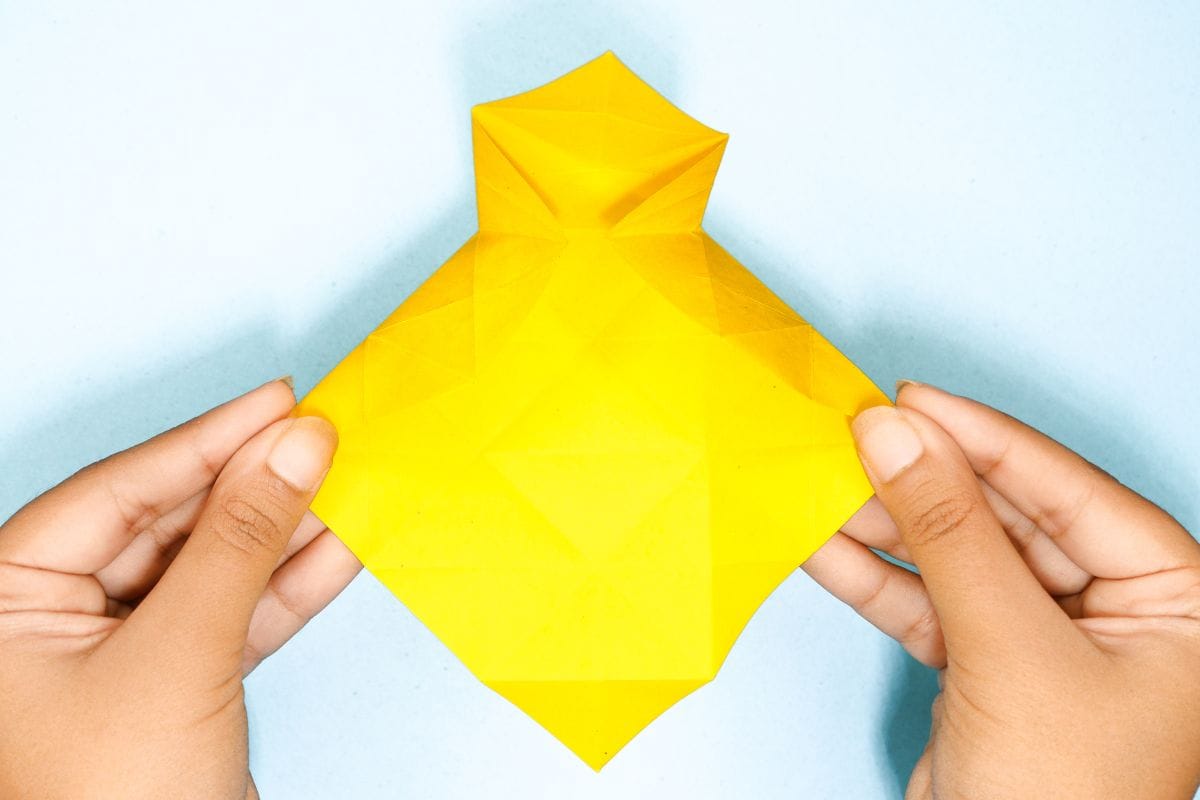
Connect the edges as shown.
Step 49
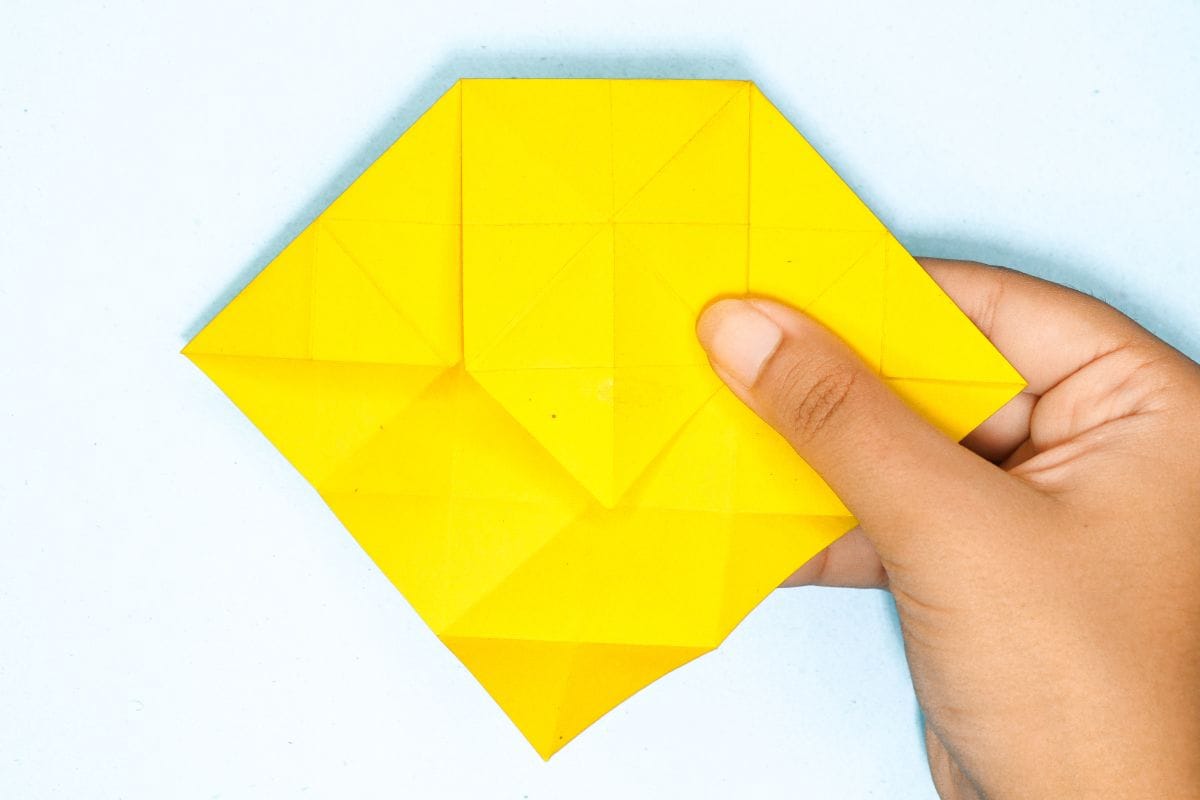
49
Fold down the top corner.
Step 50
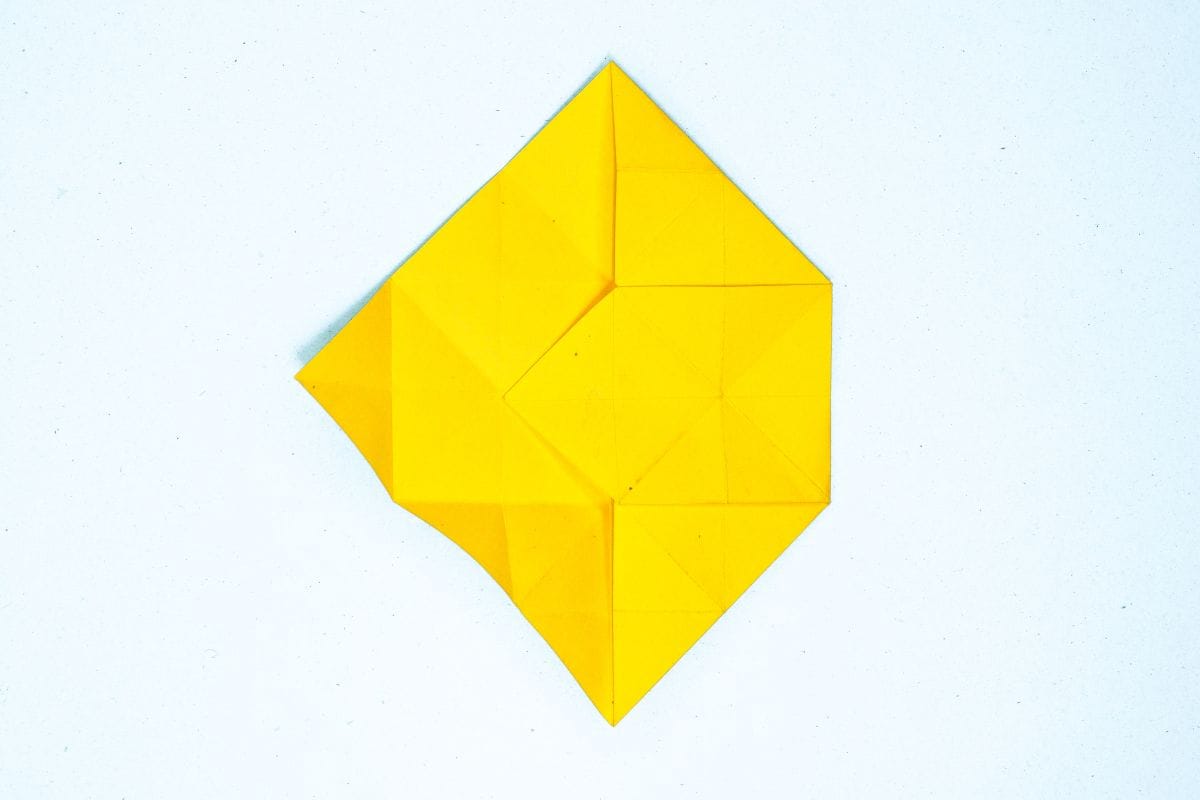
50
Rotate the model as shown.
Step 51
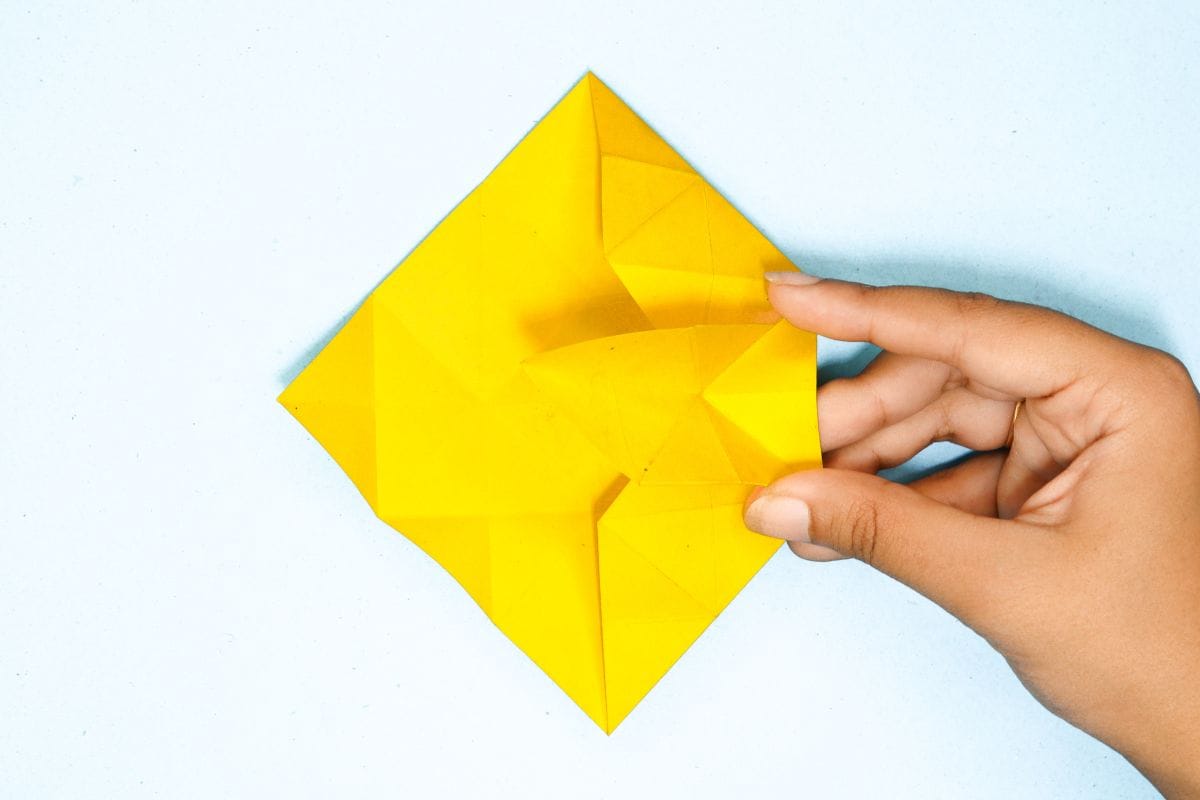
51
Connect the edges that has an “x”crease.
Step 52
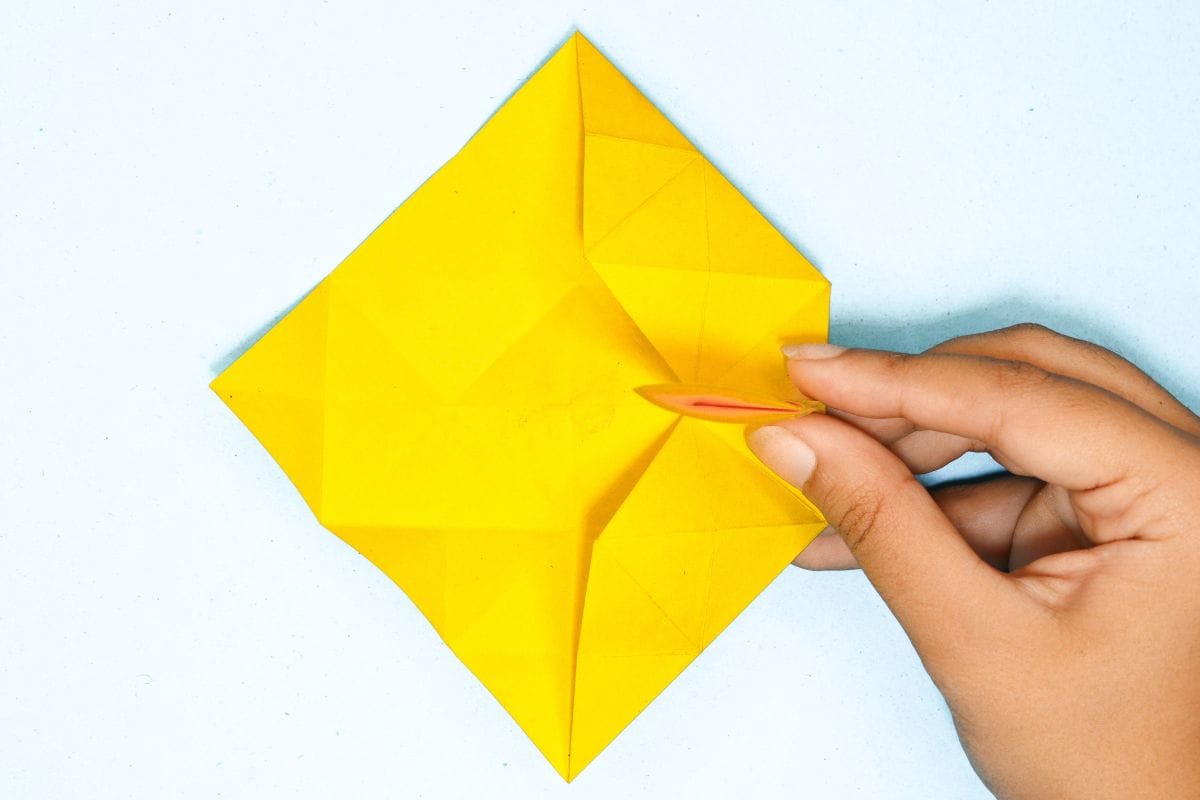
52
Fold them together.
Step 53
53
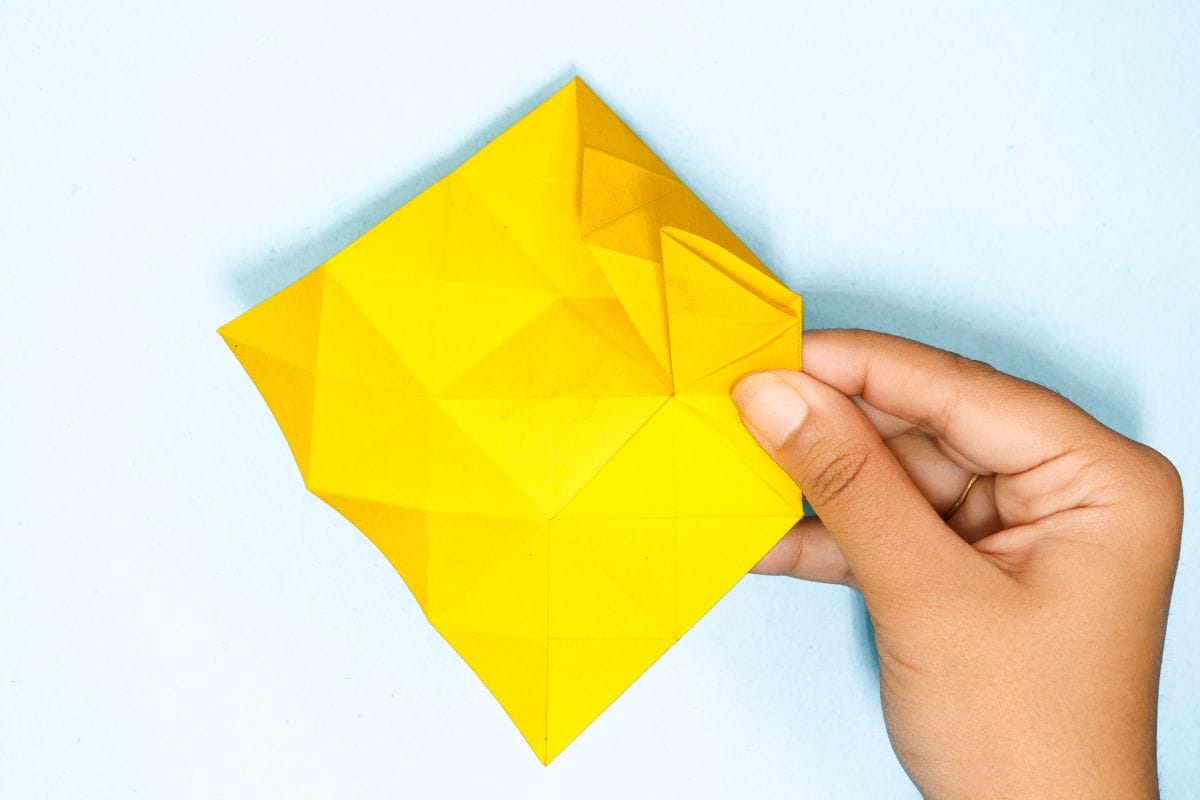
Start moving it to the side.
Step 54
54
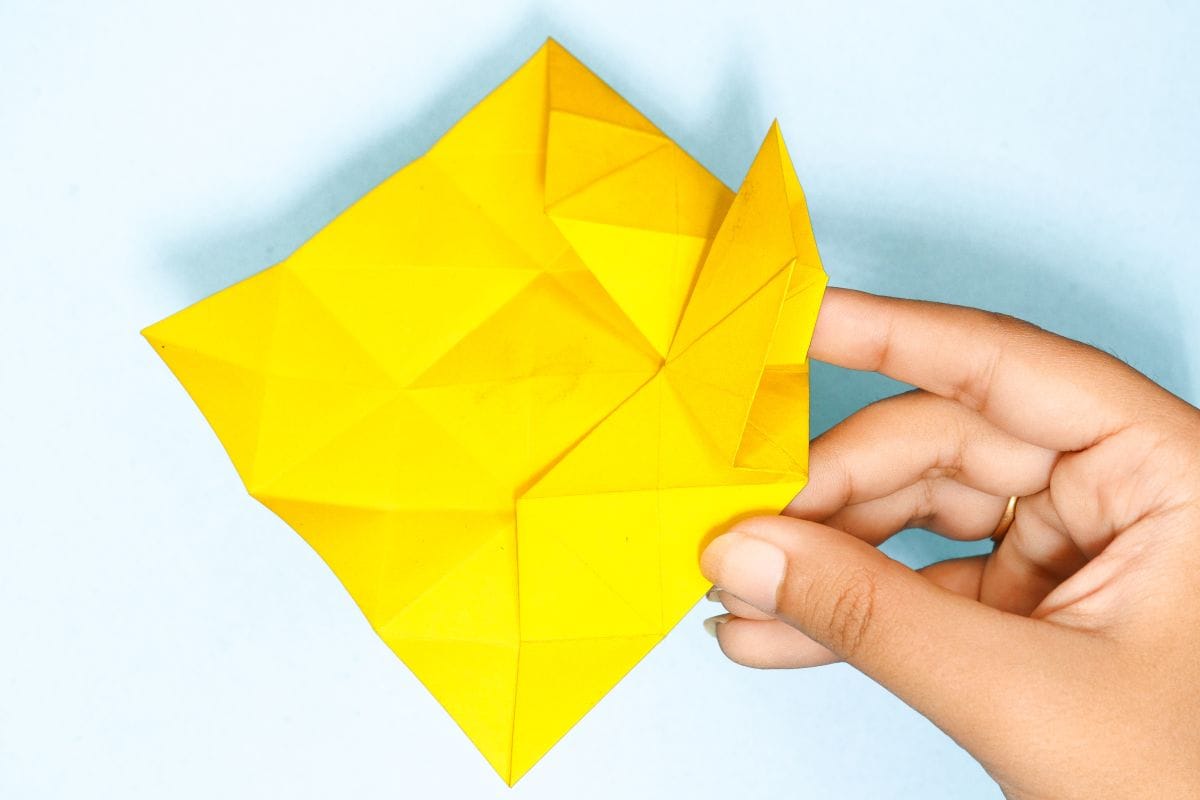
Open and squash the flap diagonally.
Step 55
55
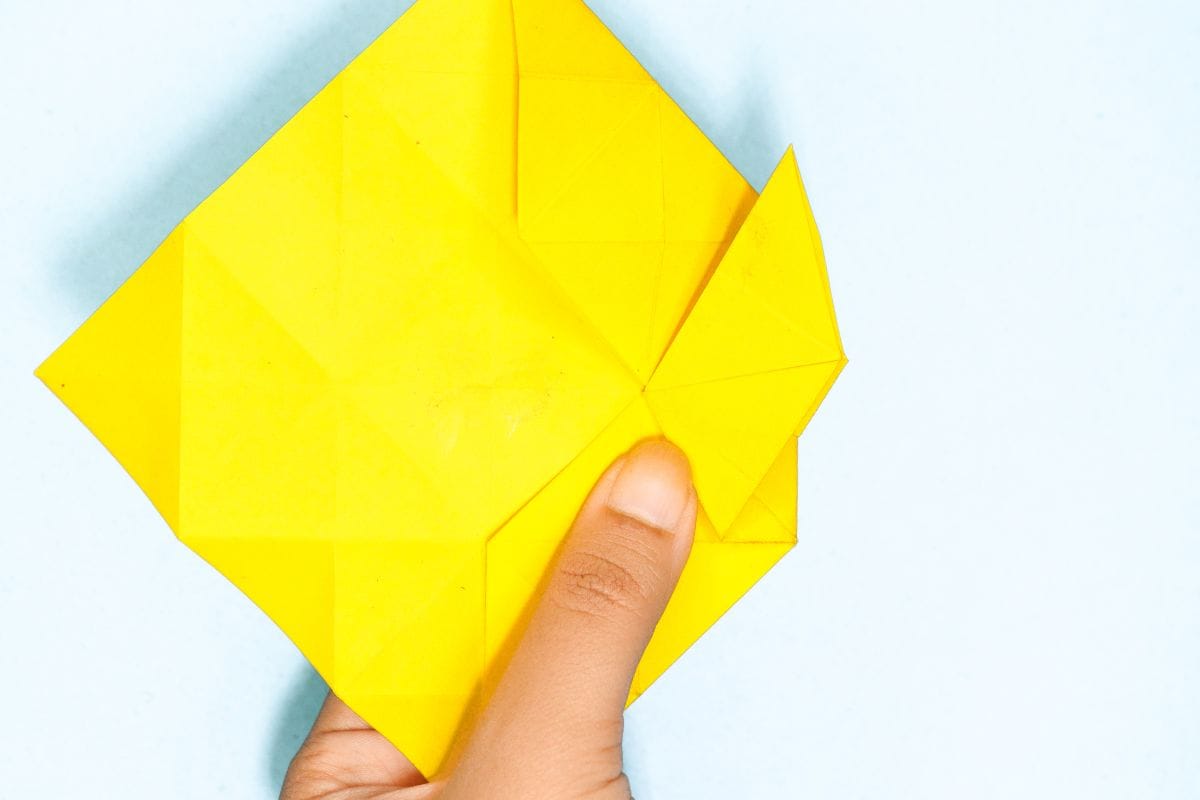
Flatten the fold well.
Step 56
56
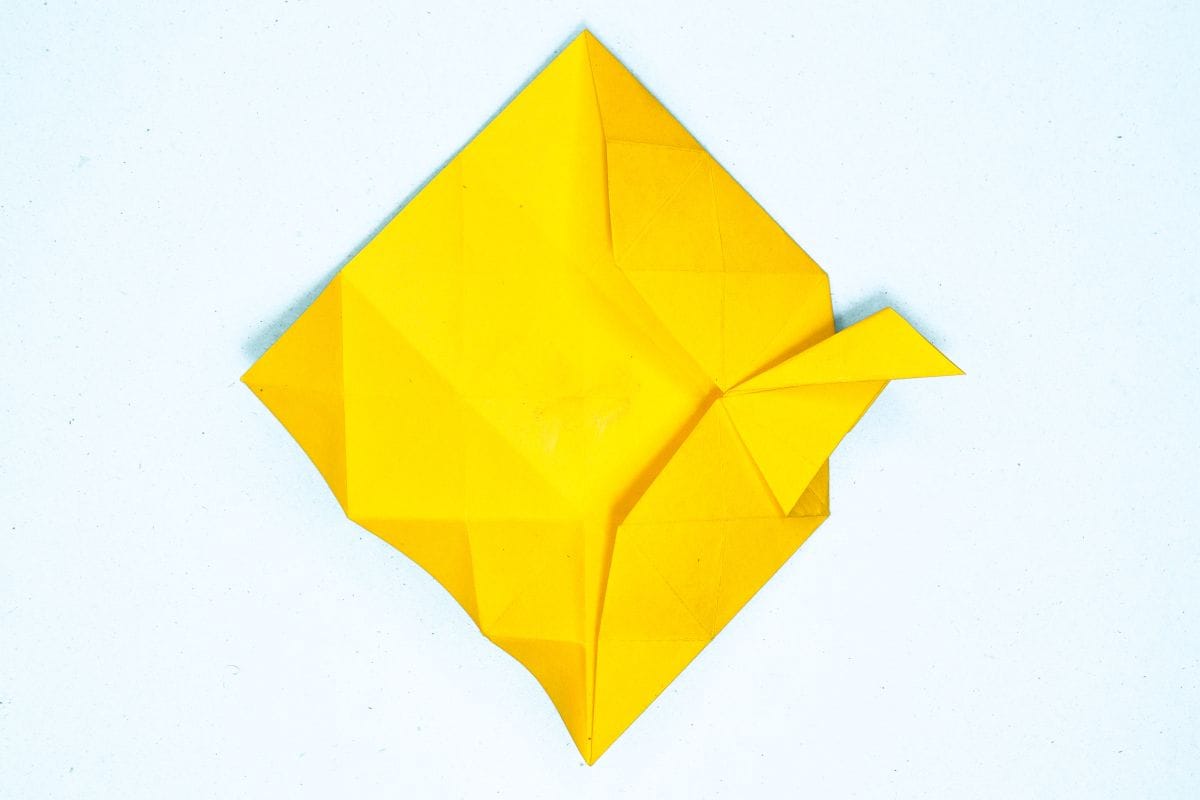
Fold the corner to the side at an angle as shown.
Step 57
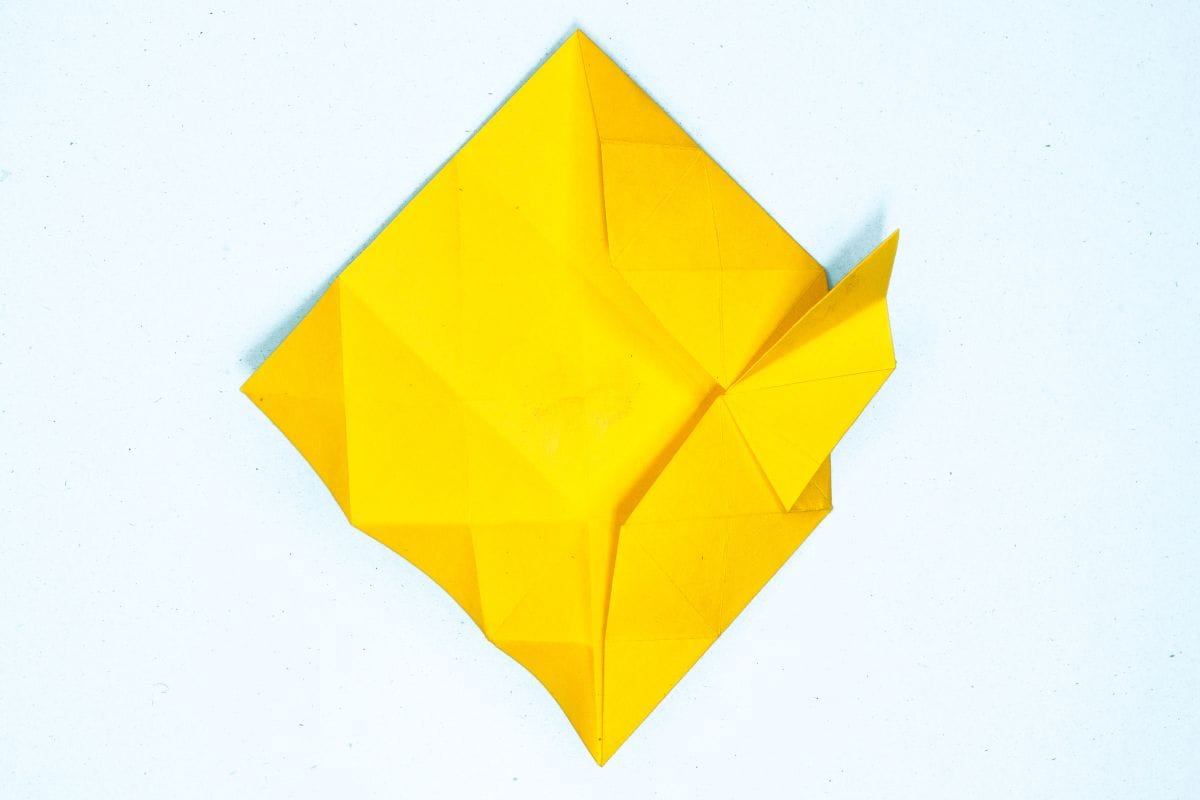
57
Unfold the flap.
Step 58
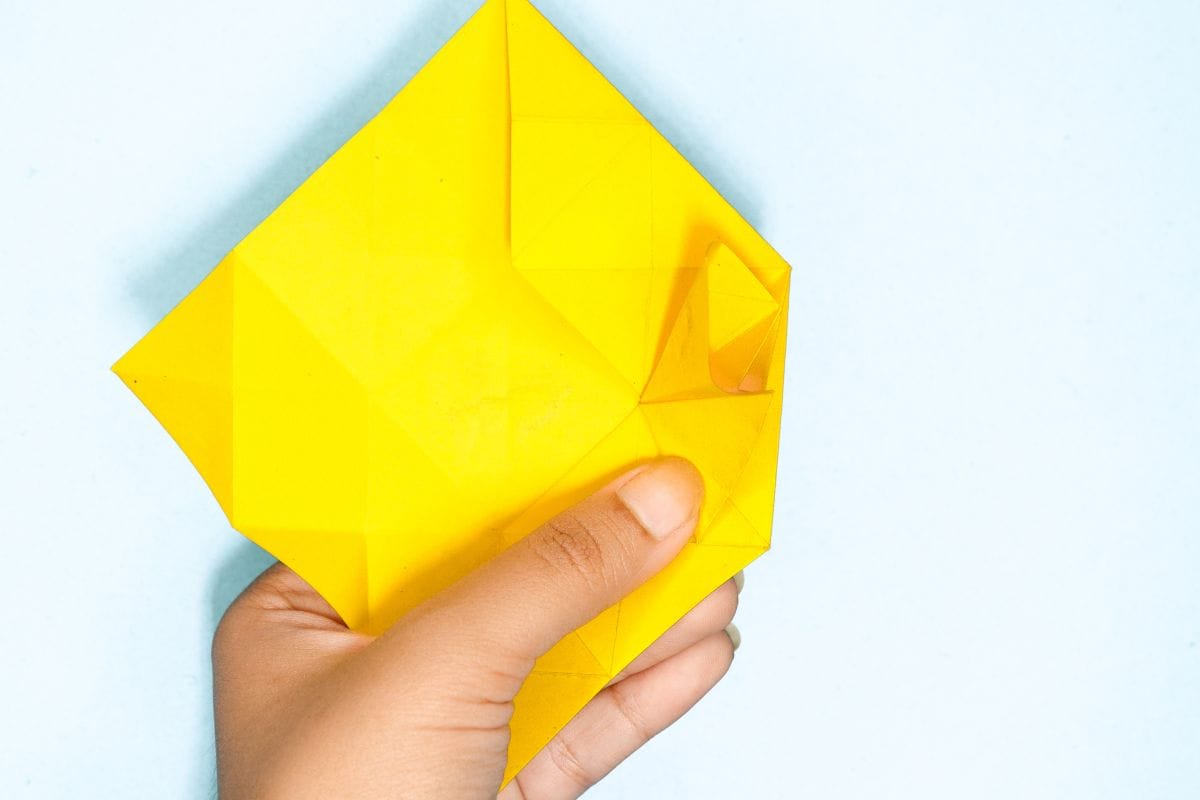
58
Open the flap.
Step 59
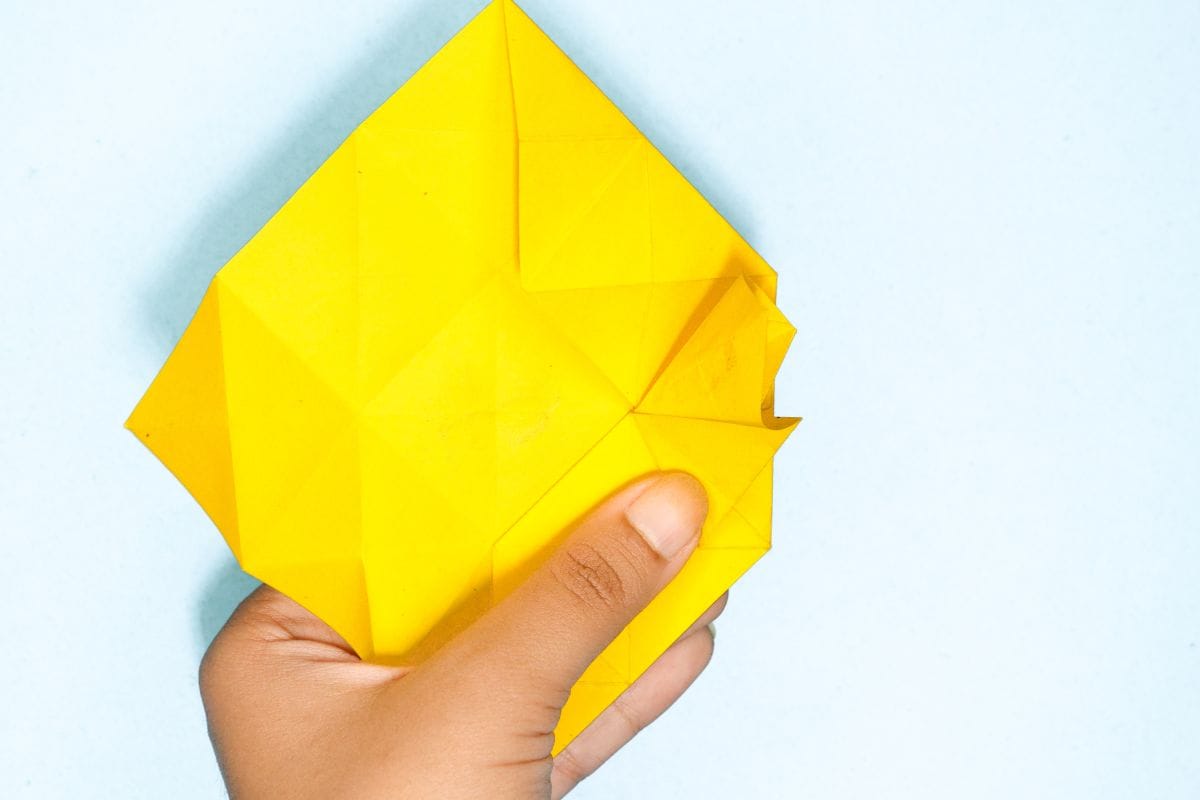
59
Bring the corner of the flap to the right.
Step 60
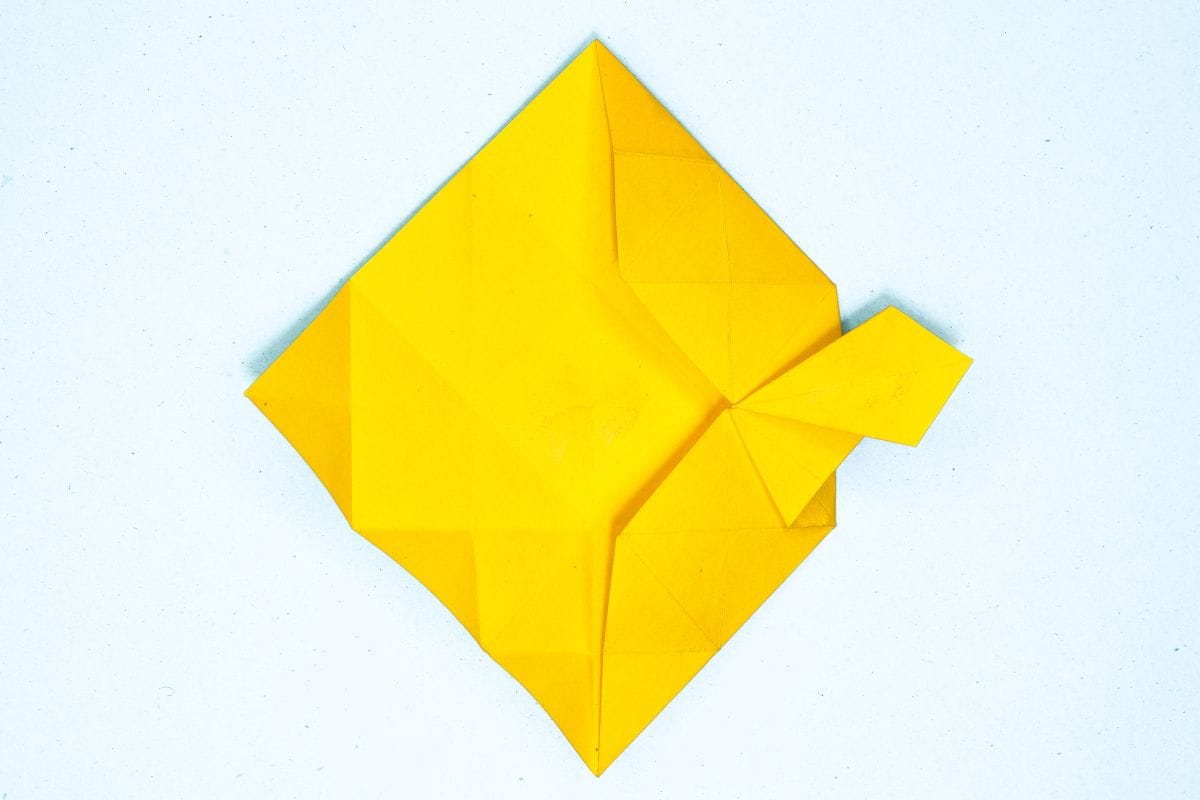
60
Squash the flap down.
Step 61
61
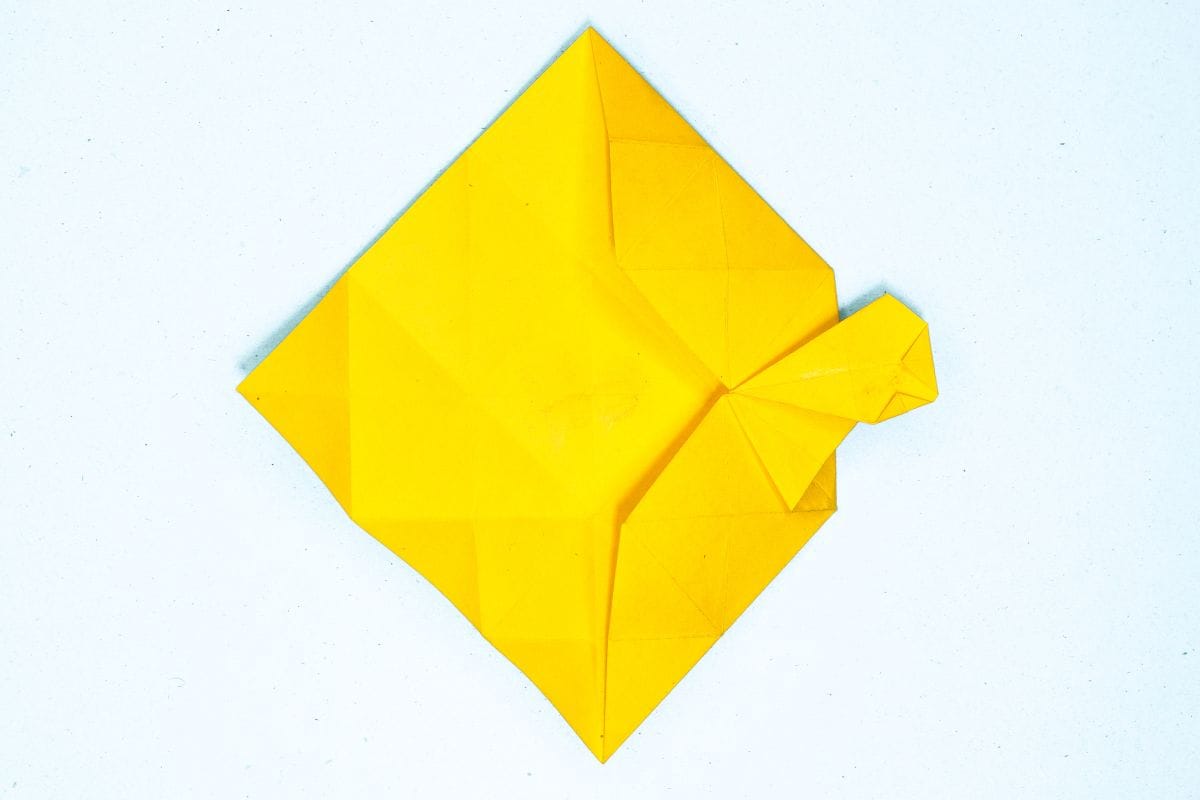
Fold the corners inward.
Step 62
62
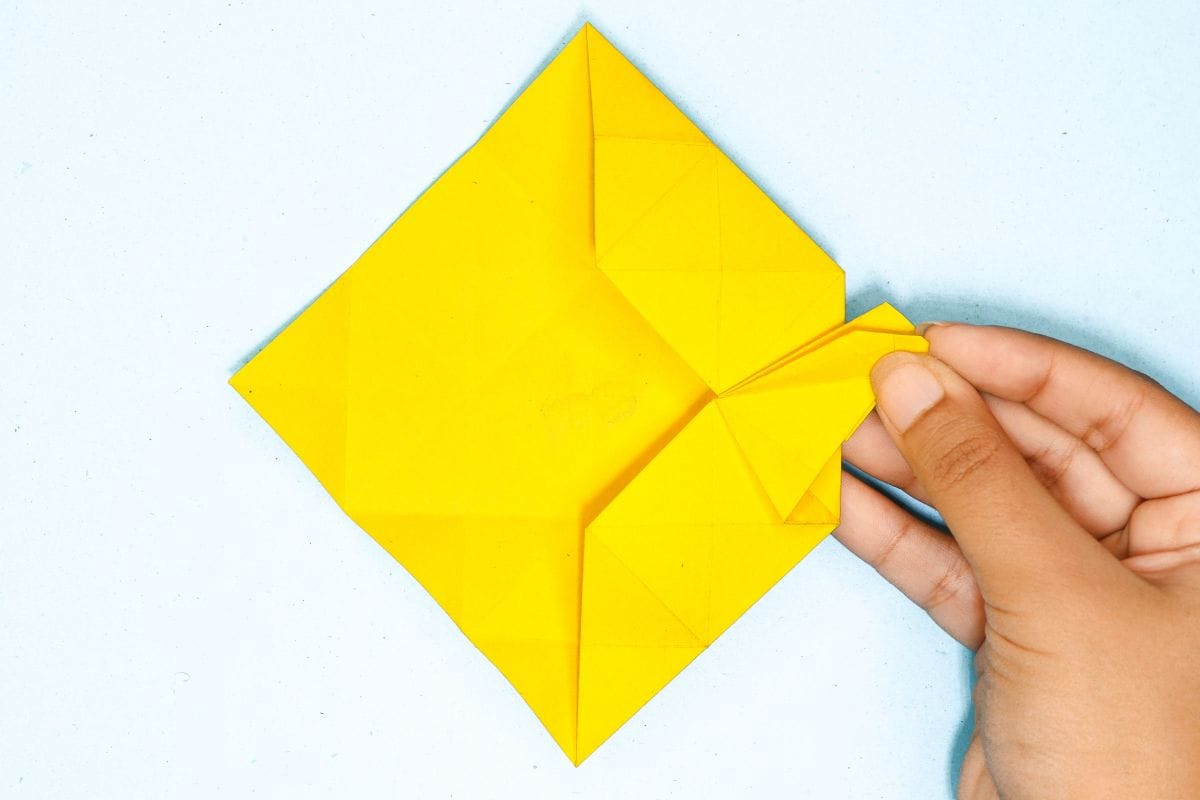
Fold the edges together.
Step 63
63
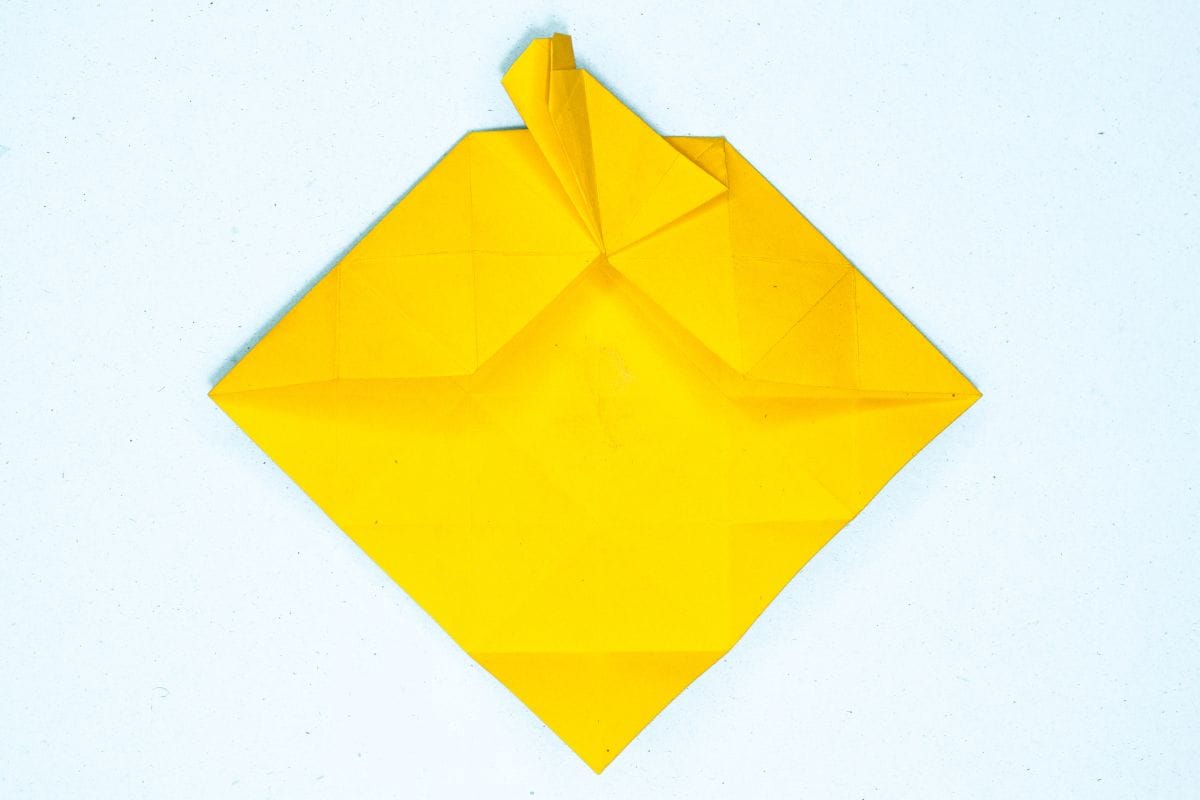
Rotate the model as shown.
Step 64
64
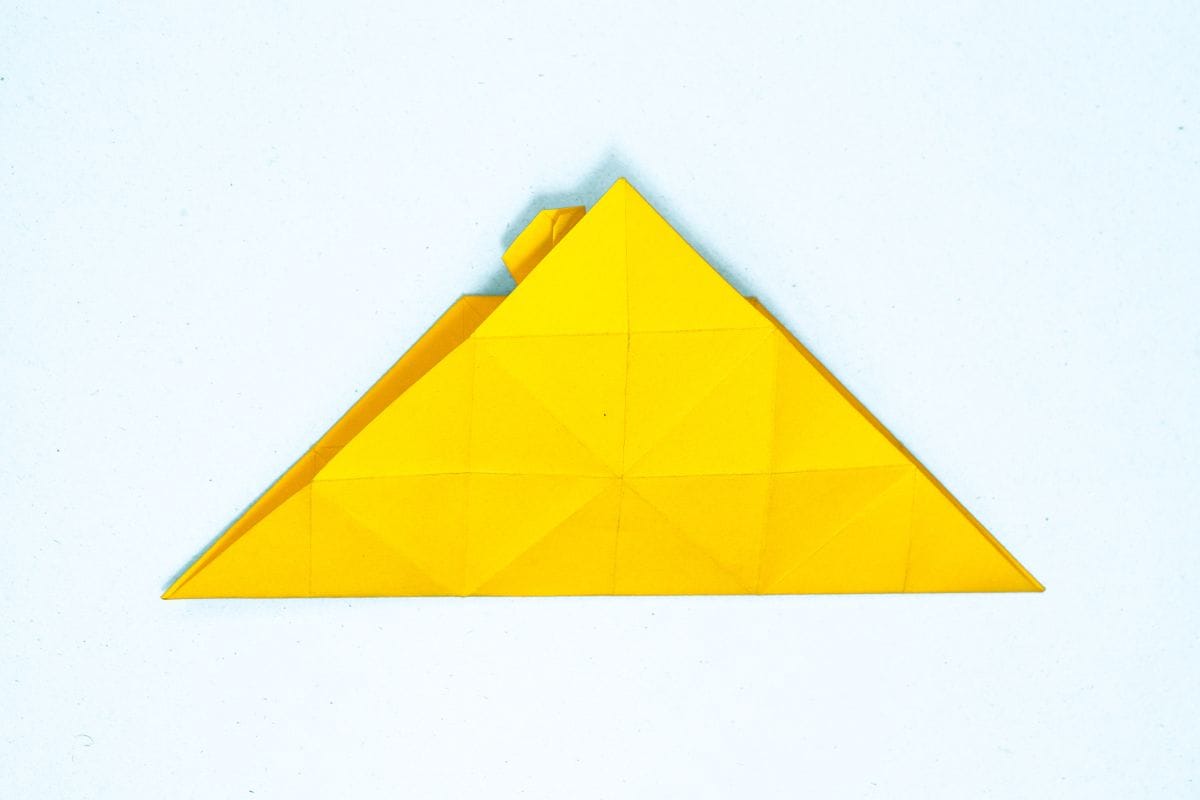
Bring the bottom corner upward to the top.
Step 65
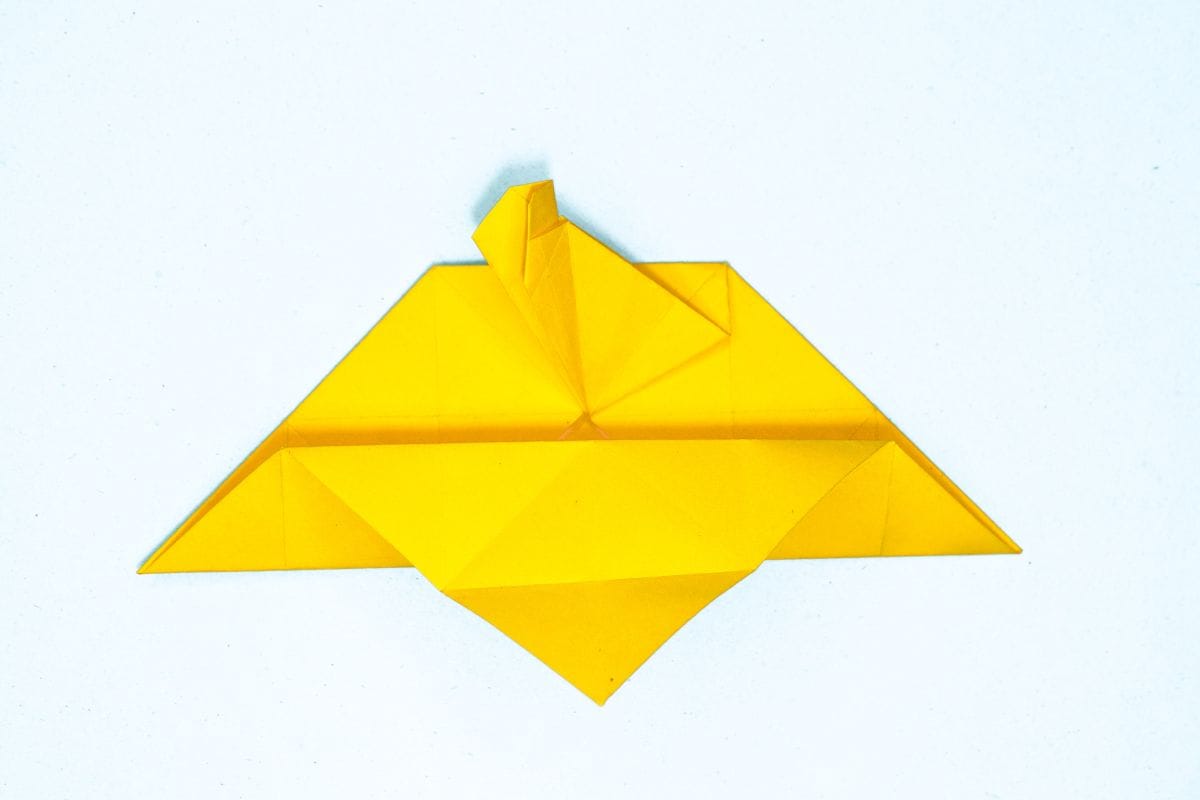
65
Fold down the top corner using the previously created crease as a guide.
Step 66
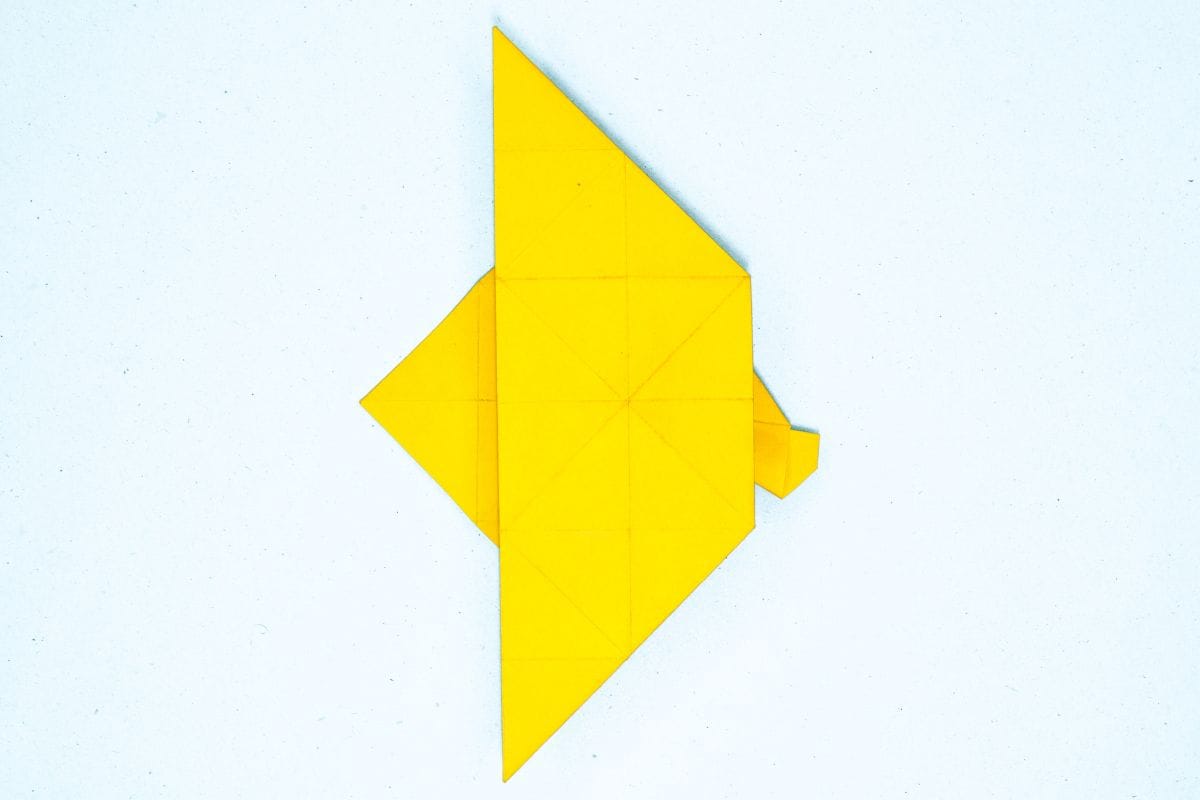
66
Turn the model over and rotate as shown.
Step 67
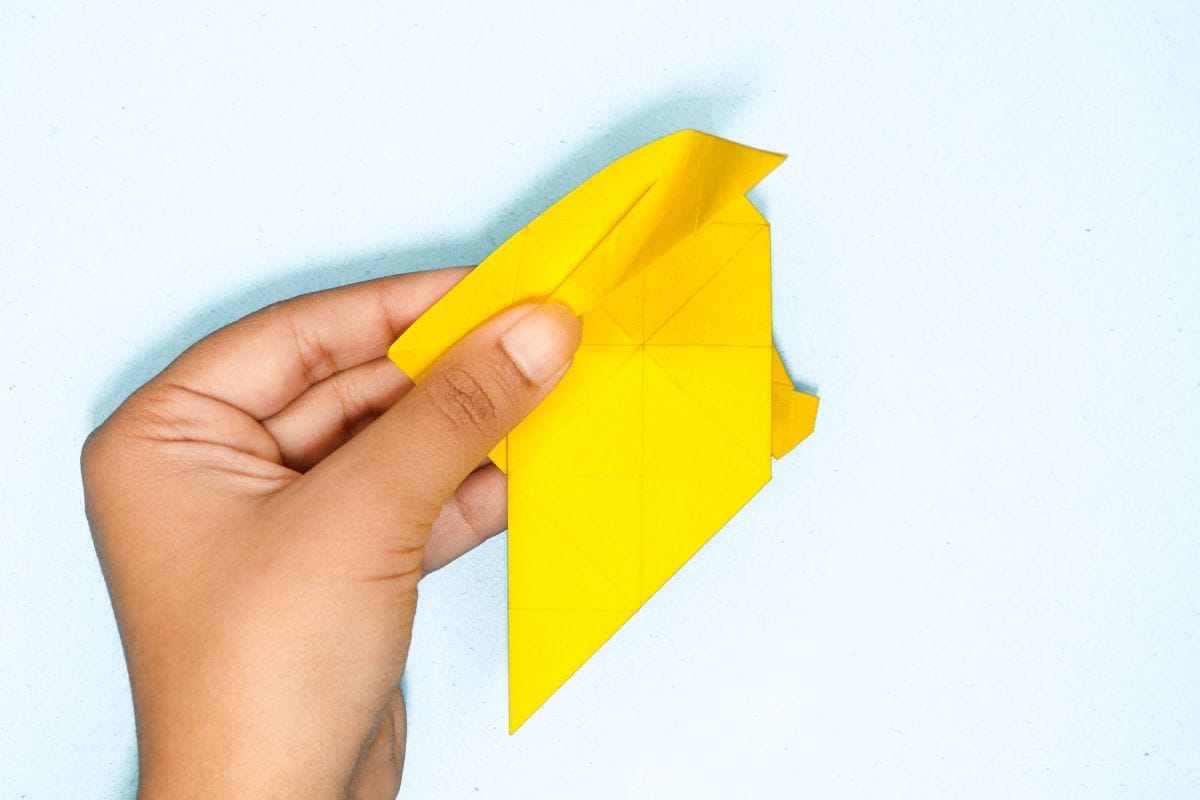
67
Start bringing the top corner to the right.
Step 68
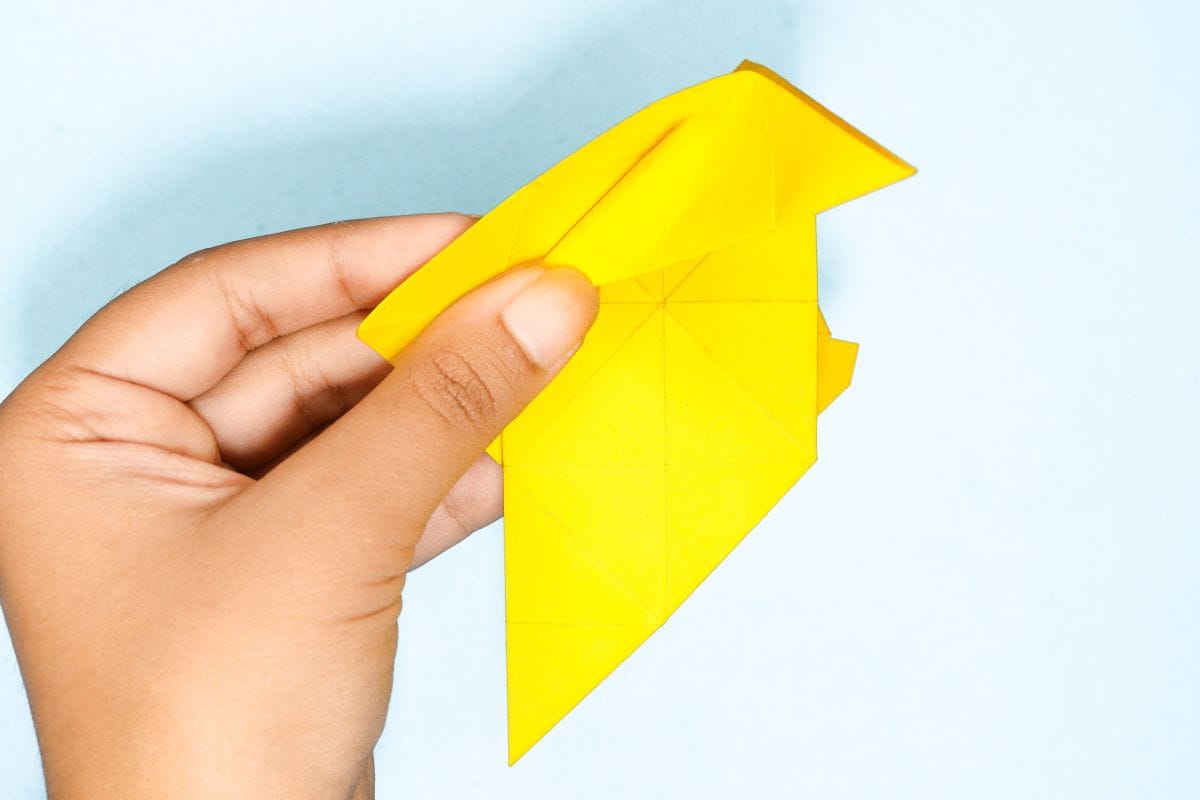
68
Make a diagonal crease while folding the corner to the right.
Step 69
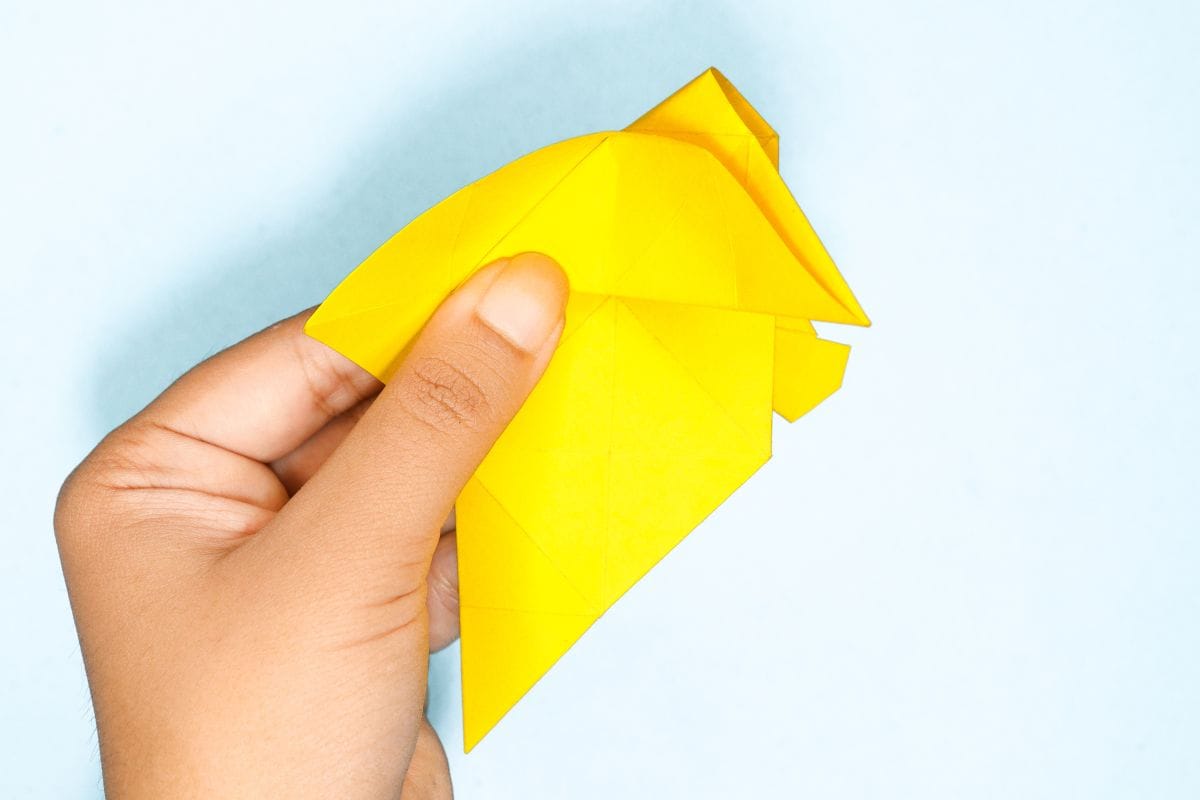
69
After folding the corner all the way to the right, image should look like this.
Step 70
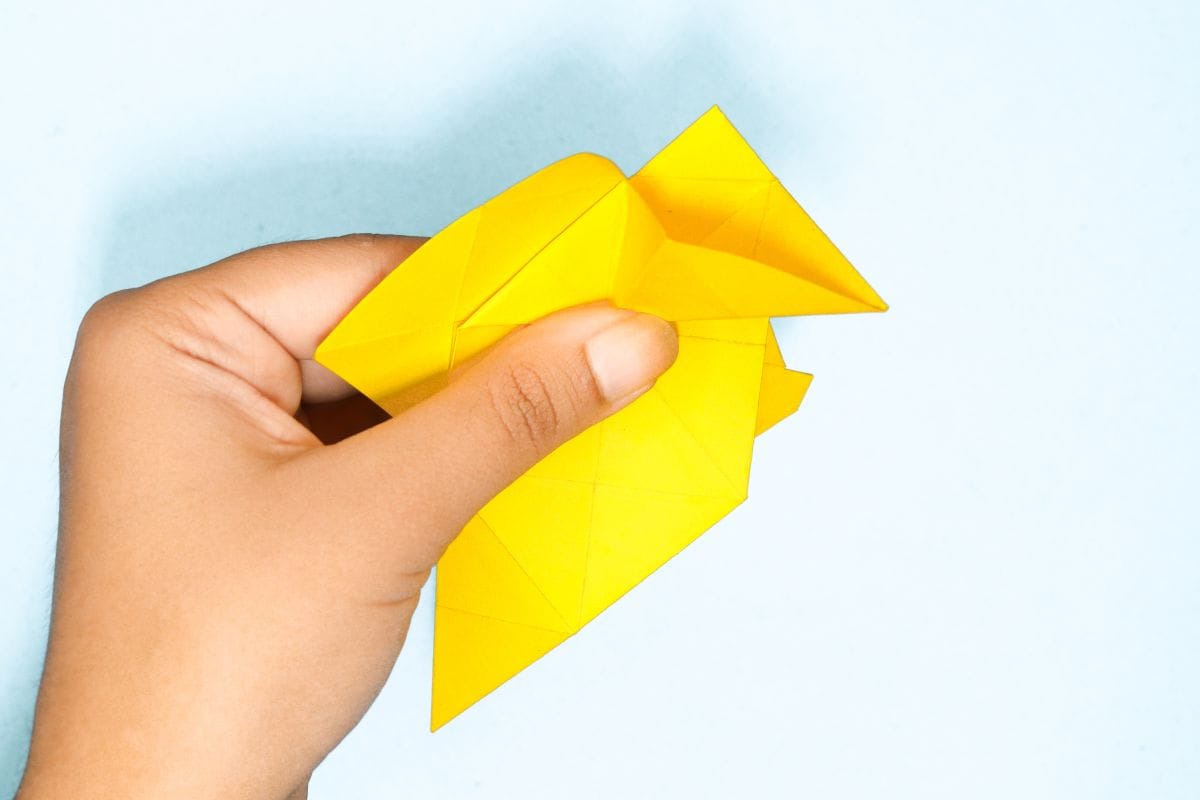
70
Begin foldong the corner upward now.
Step 71
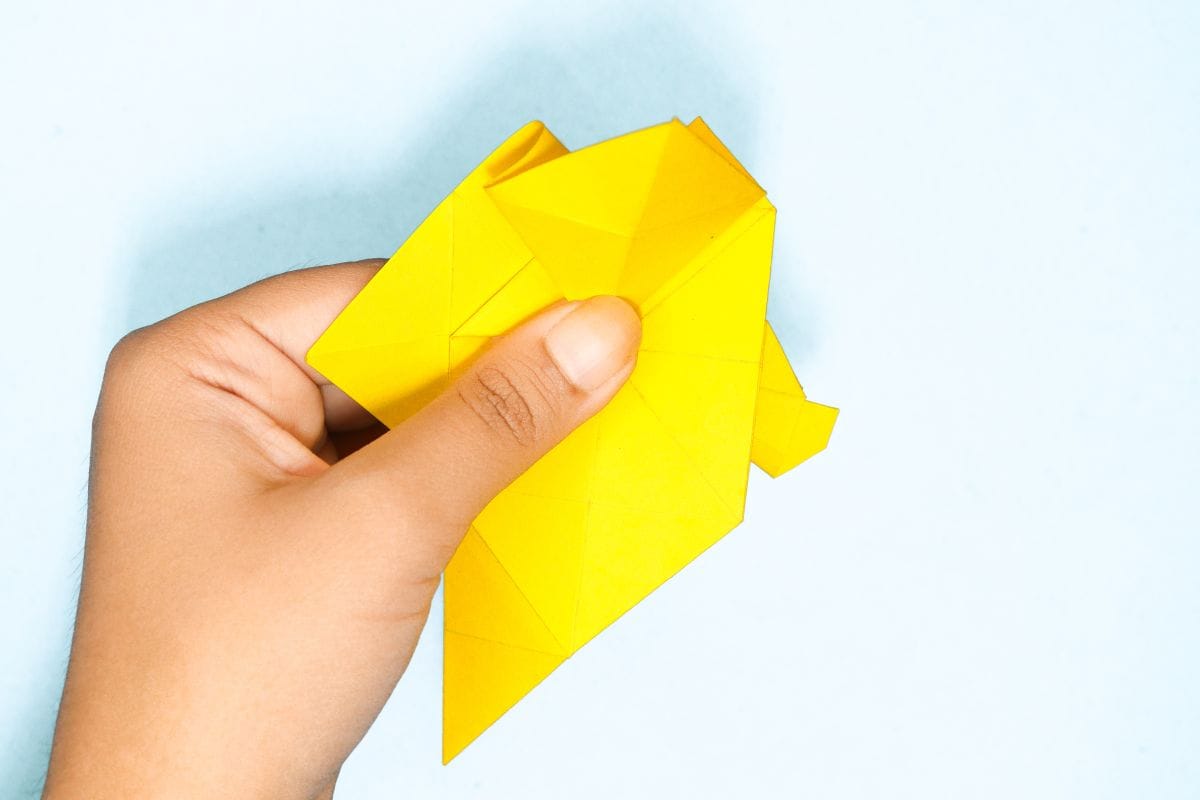
71
Bring it all the way up and squash fold it.
Step 72
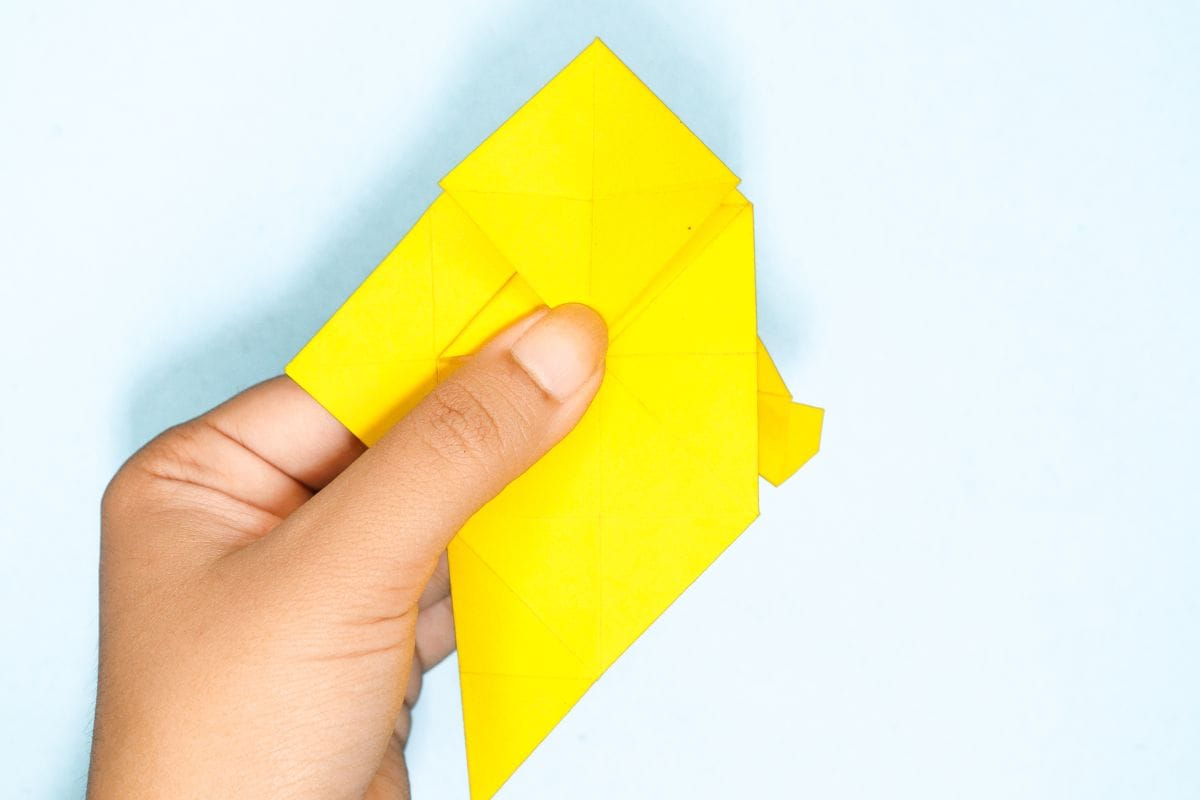
72
It will look a diamond after squash folding.
Step 73
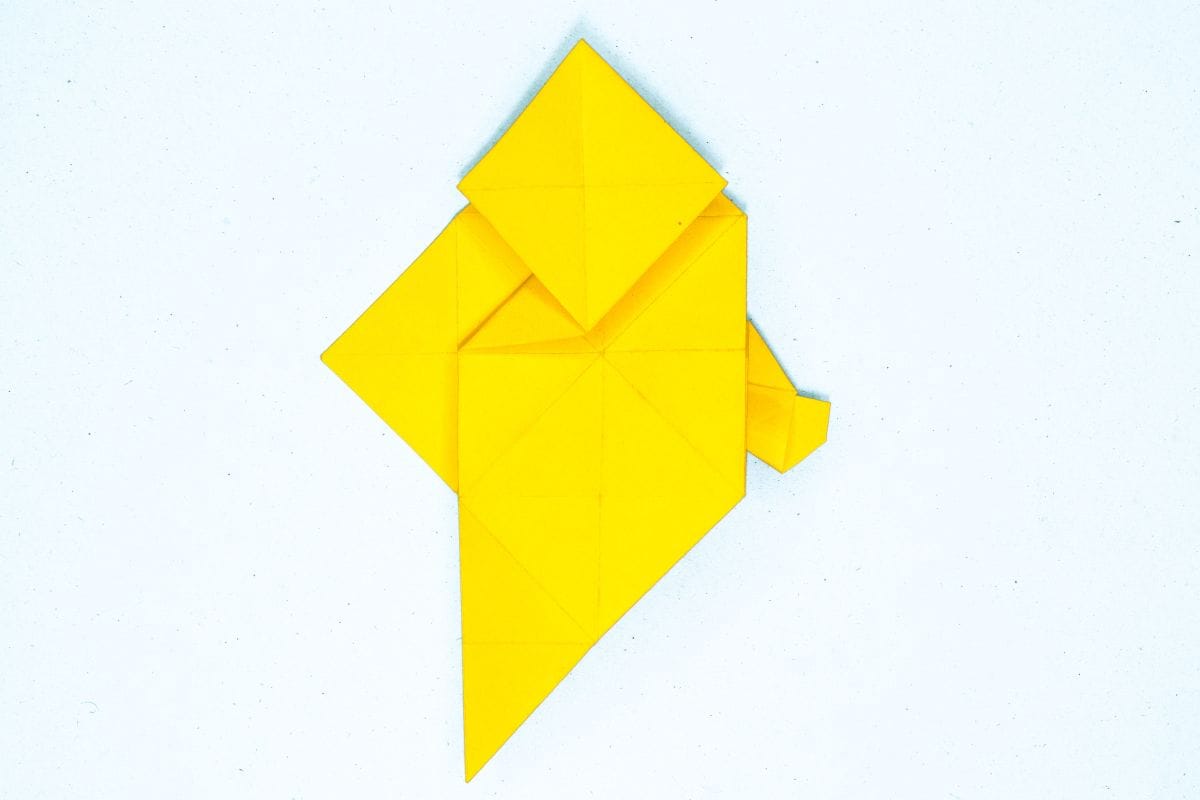
73
By now, your model should look like the image.
Step 74
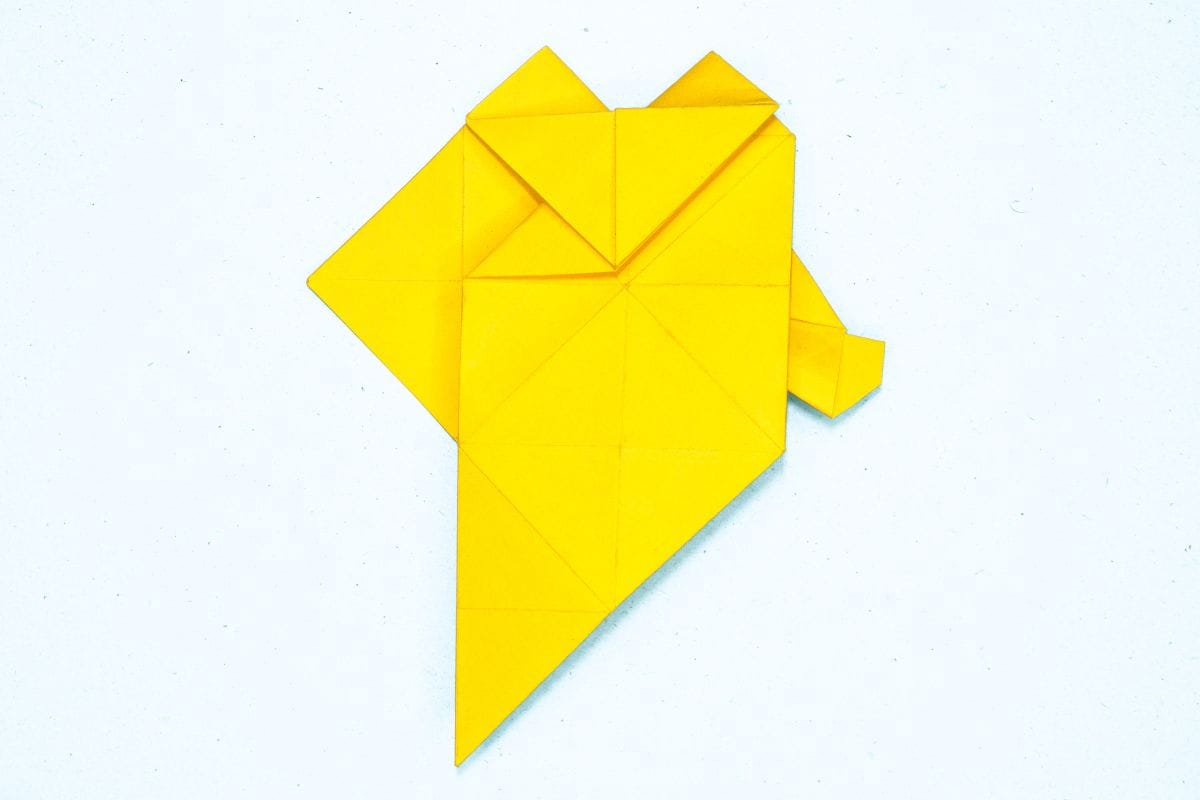
74
Fold down the top corner to match the bottom corner.
Step 75
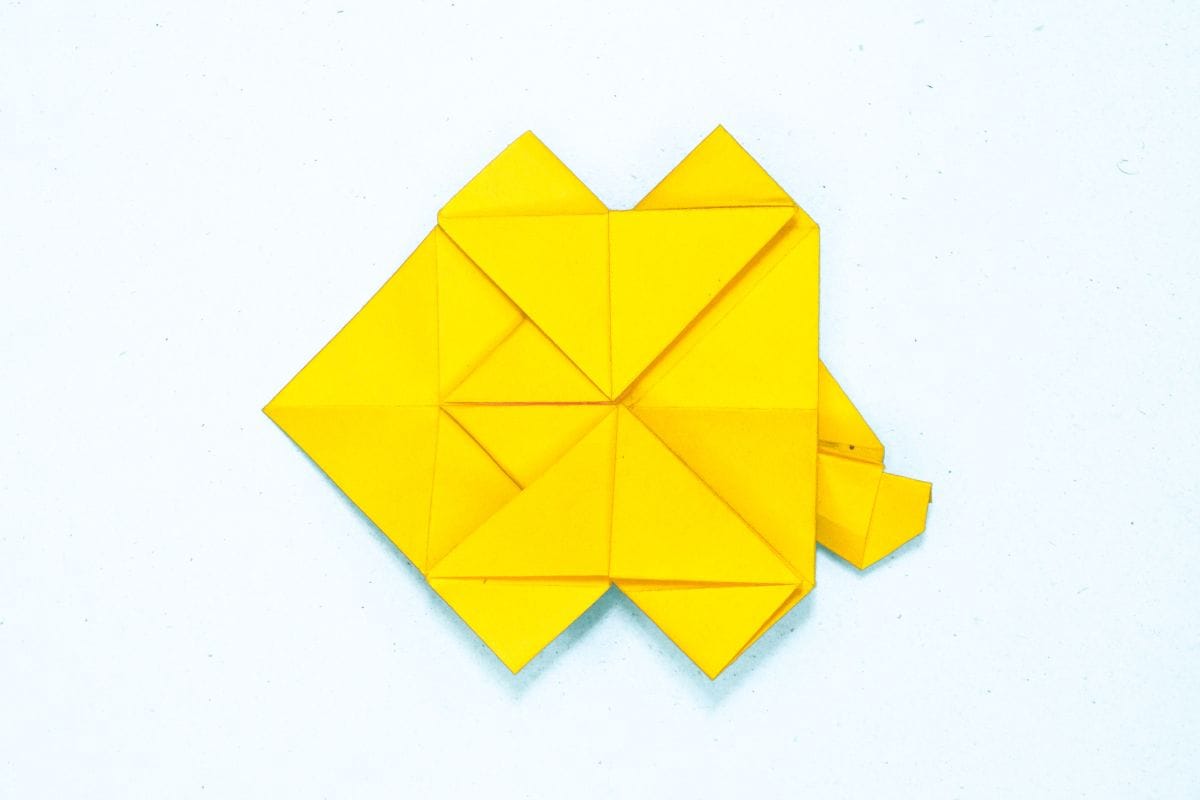
75
Repeat the steps 68 to 75 on the bottom side too.
Step 76
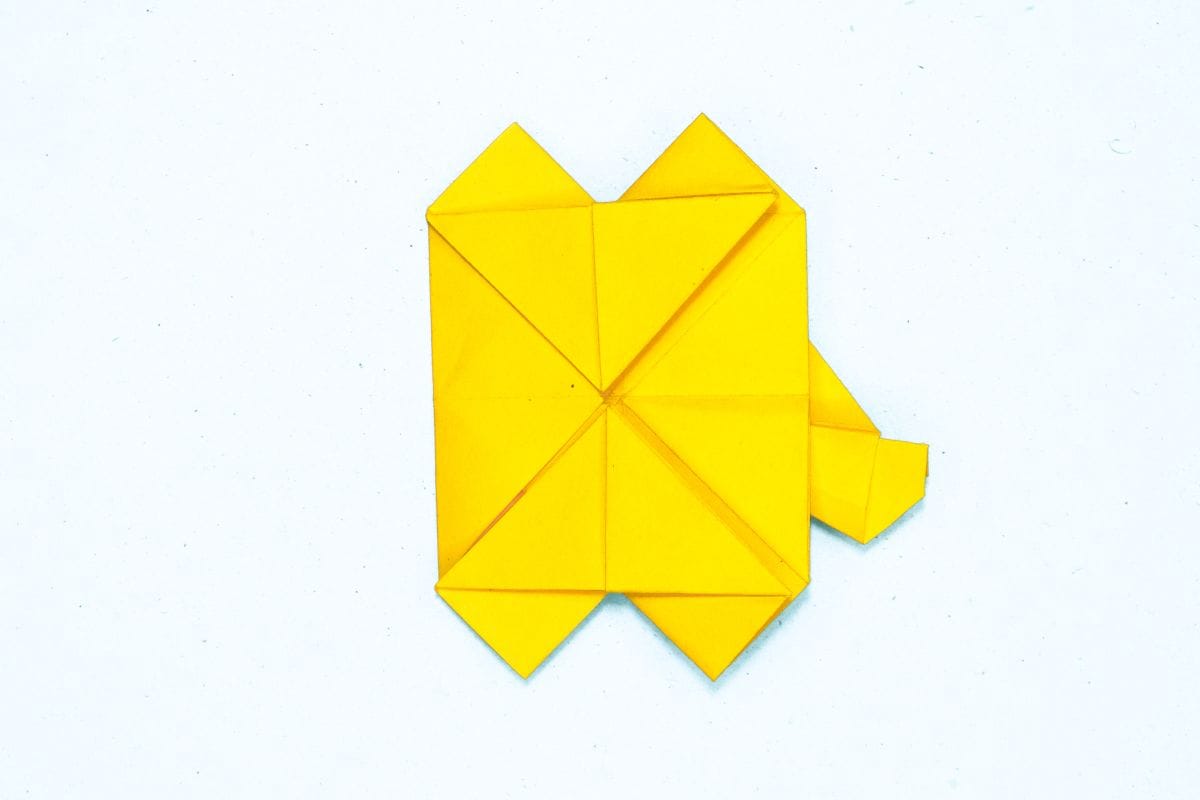
76
Fold in the left corner into a small triangle.
Step 77
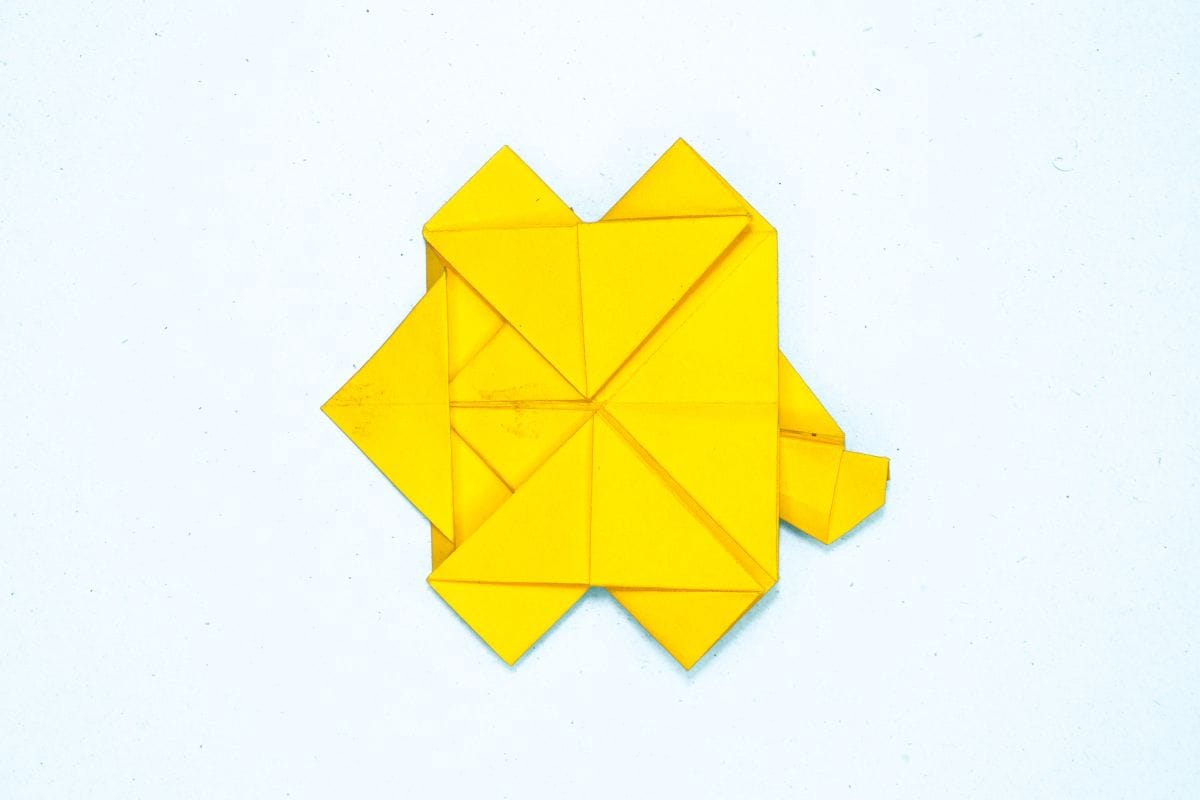
77
Fold that same corner to the left again as shown.
Step 78
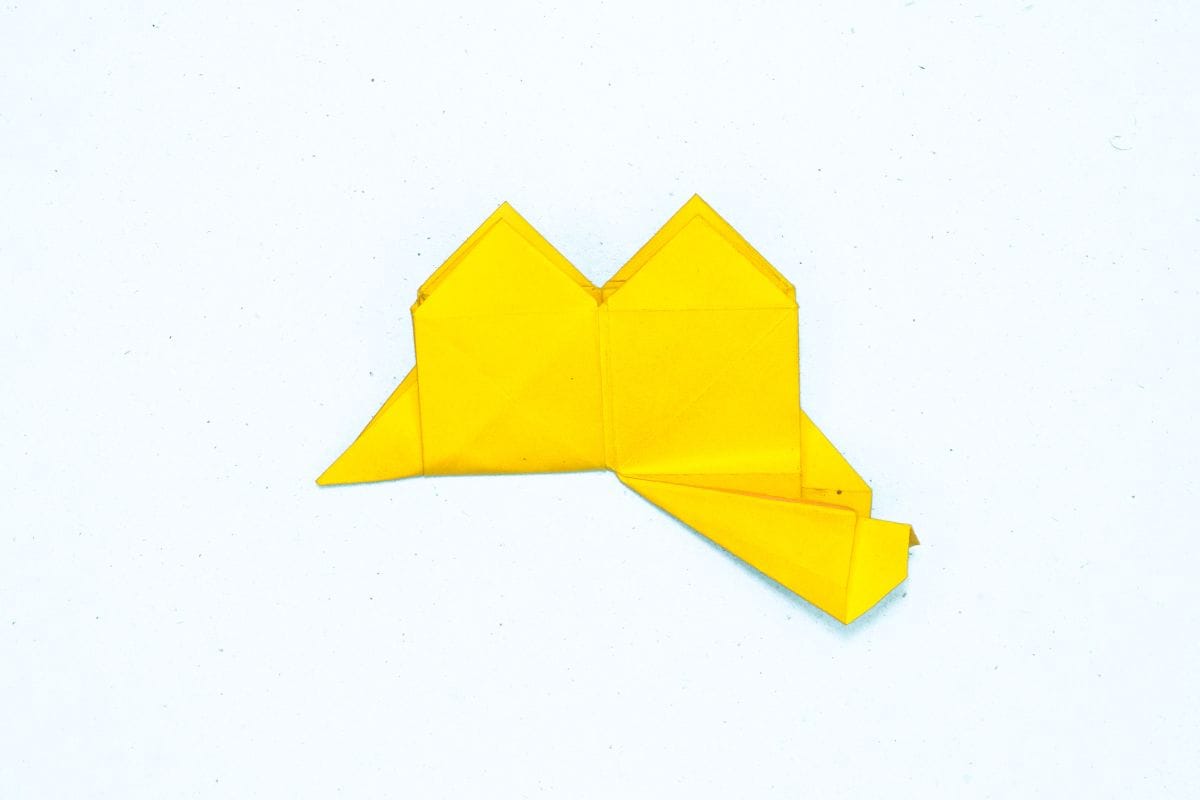
78
Fold the bottom upward to meet the top.
Step 79
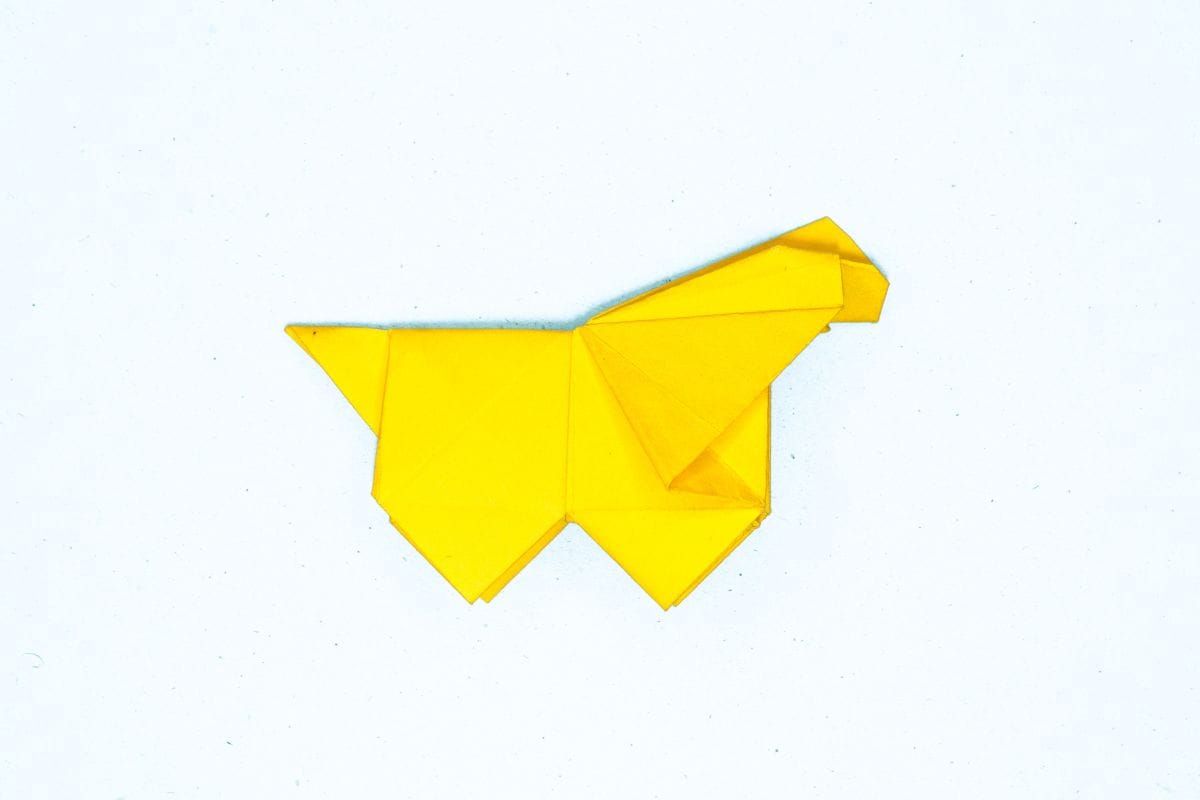
79
Rotate the model.
Step 80
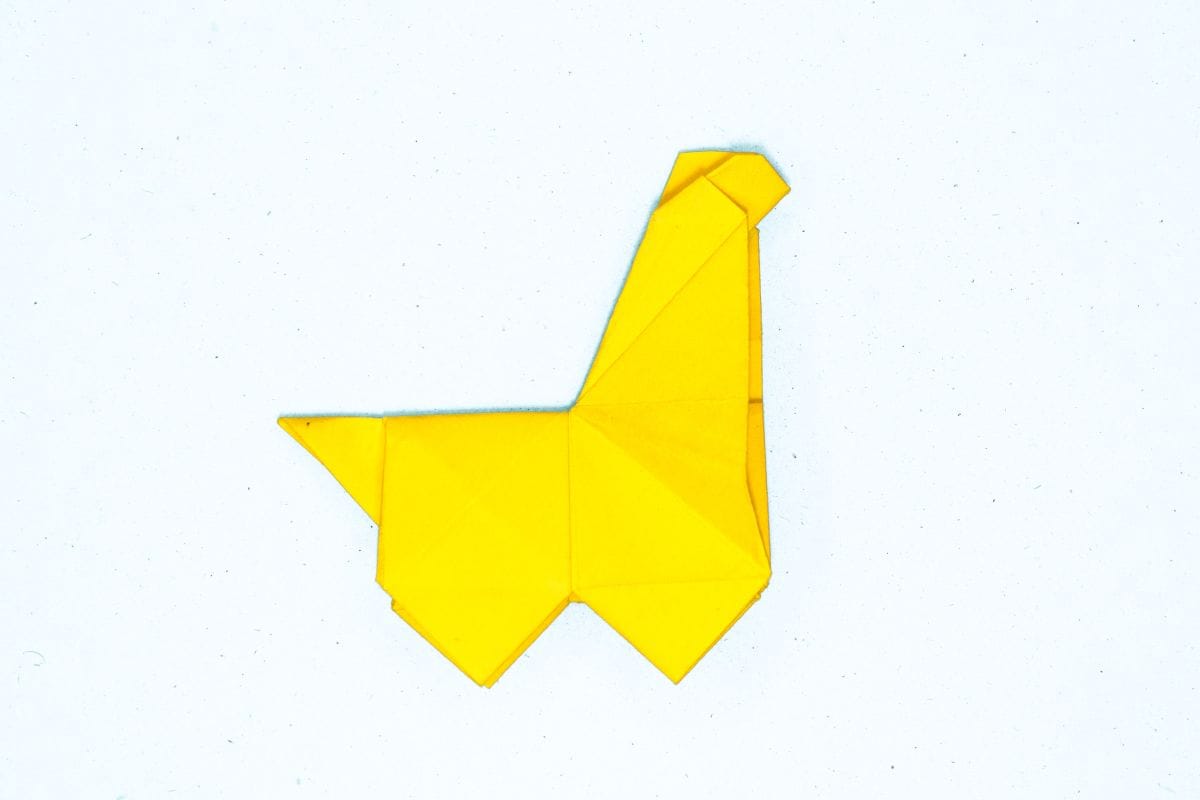
80
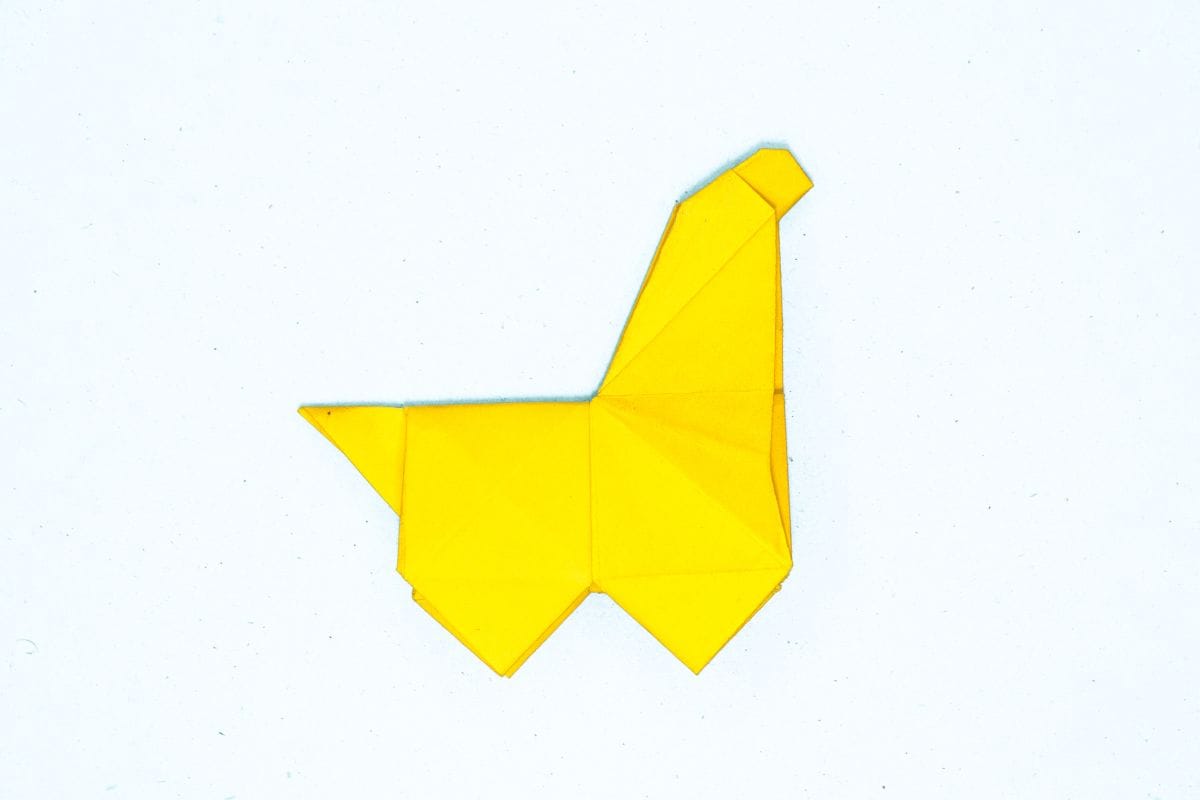
Pull out the head.
Step 81
81
Fold the top corner on the head inward to create a softer, rounded look.
Step 82
82
Color the elements on the unicorn to give it a more magical personality, think sparkly horns, rainbow manes, and twinkling stars!
Share and Comment
We would love to see your creations! Scroll down to the comments section and share a photo of your origami.
Leave a Reply